
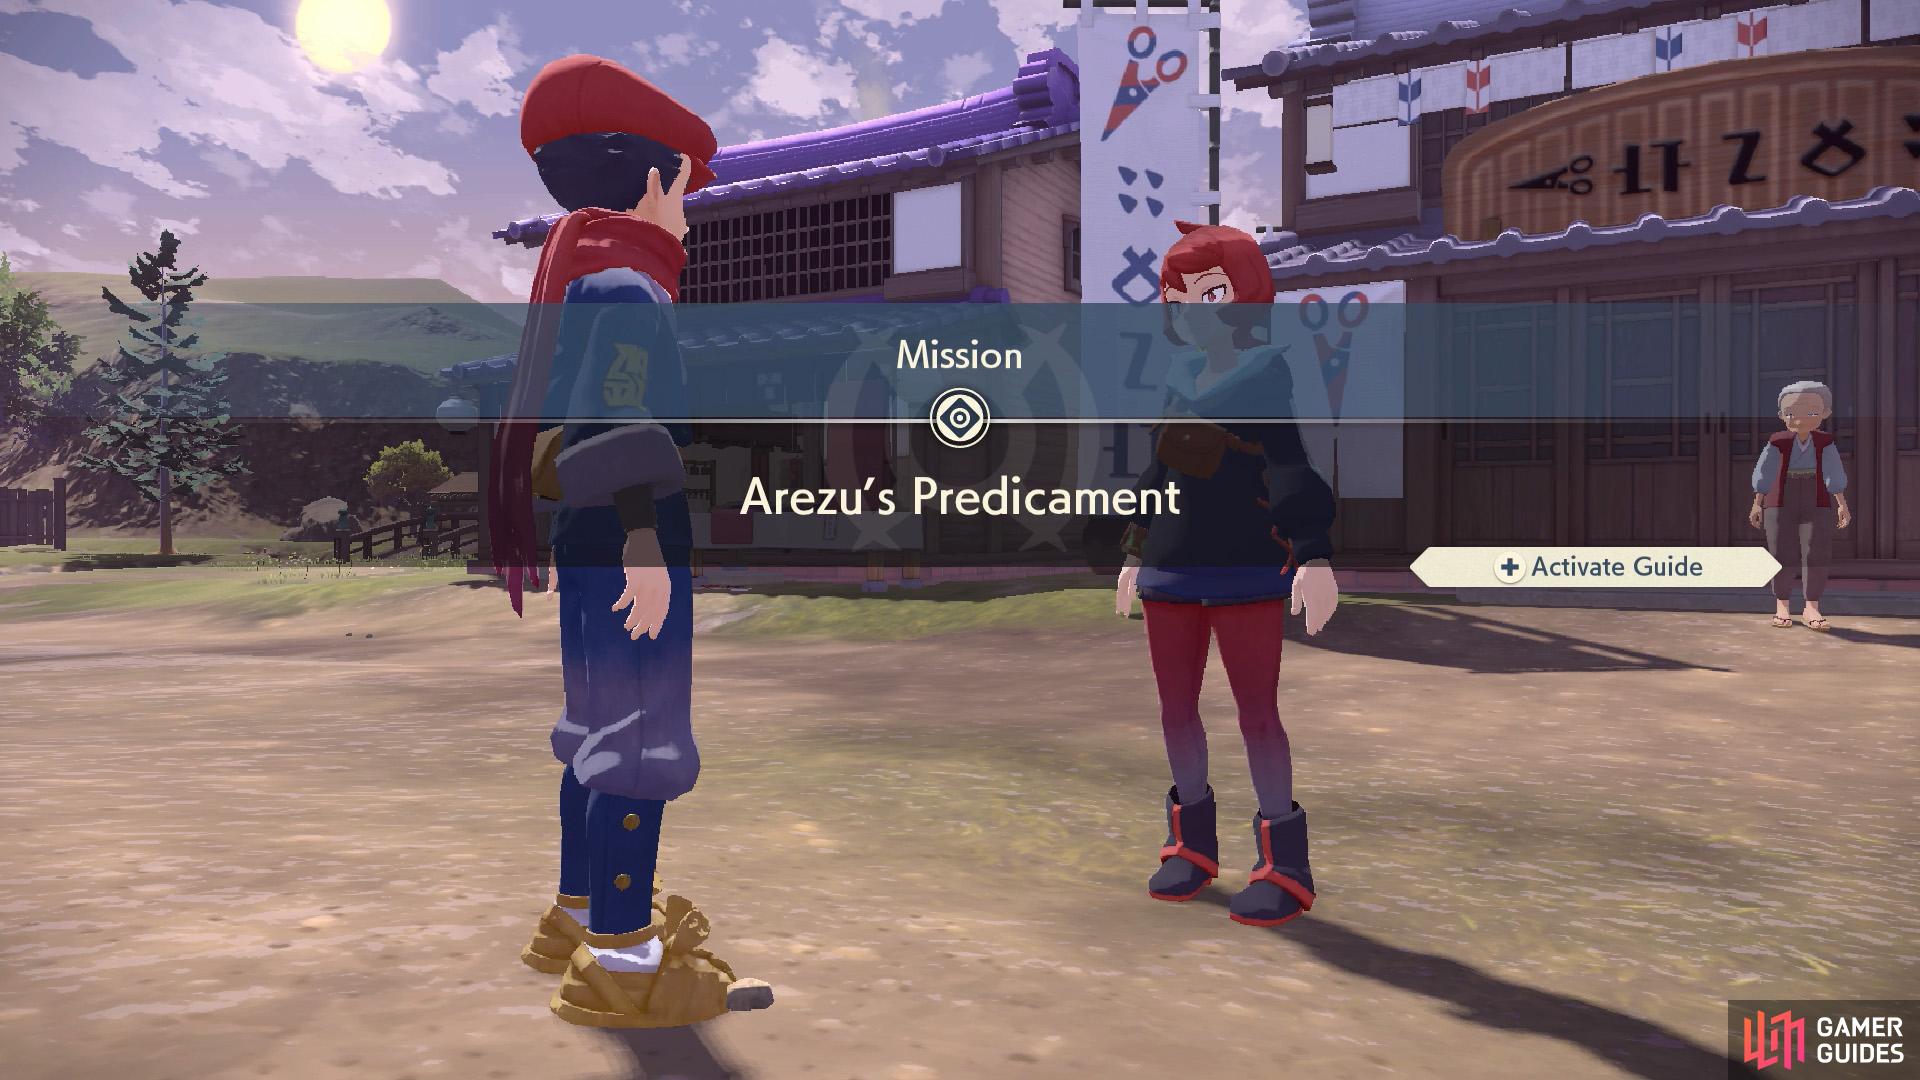
This is a guide for Mission 8: “Arezu’s Predicament” in Pokémon Legends:  Arceus (PLA).
How to Start Mission 8
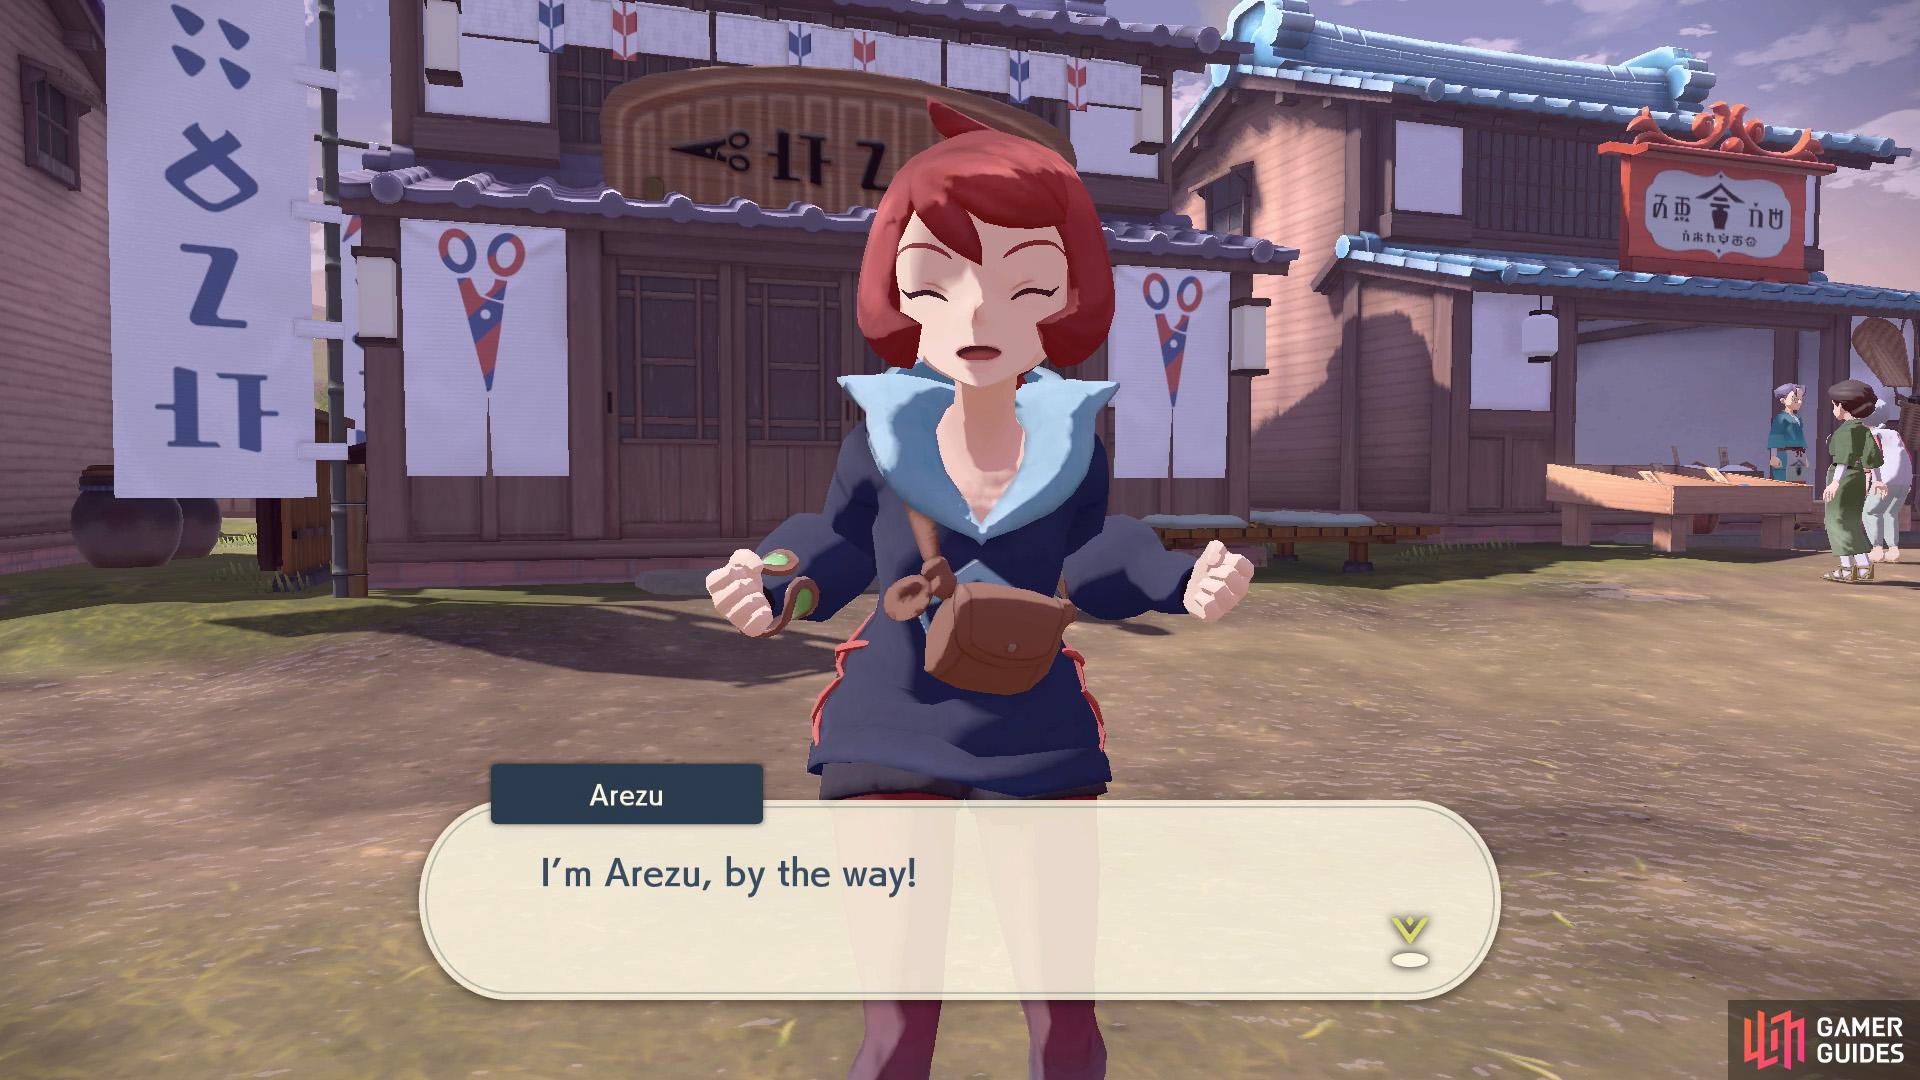
This is Arezu.
She has a predicament; guess who’s going to solve it?
You’ll automatically receive this mission the day after completing Mission 7. As you step outside your house, a lady called Arezu will catch your attention. After a brief chat, Arezu remembers that she has an appointment with Commander Kamado and bids you farewell.
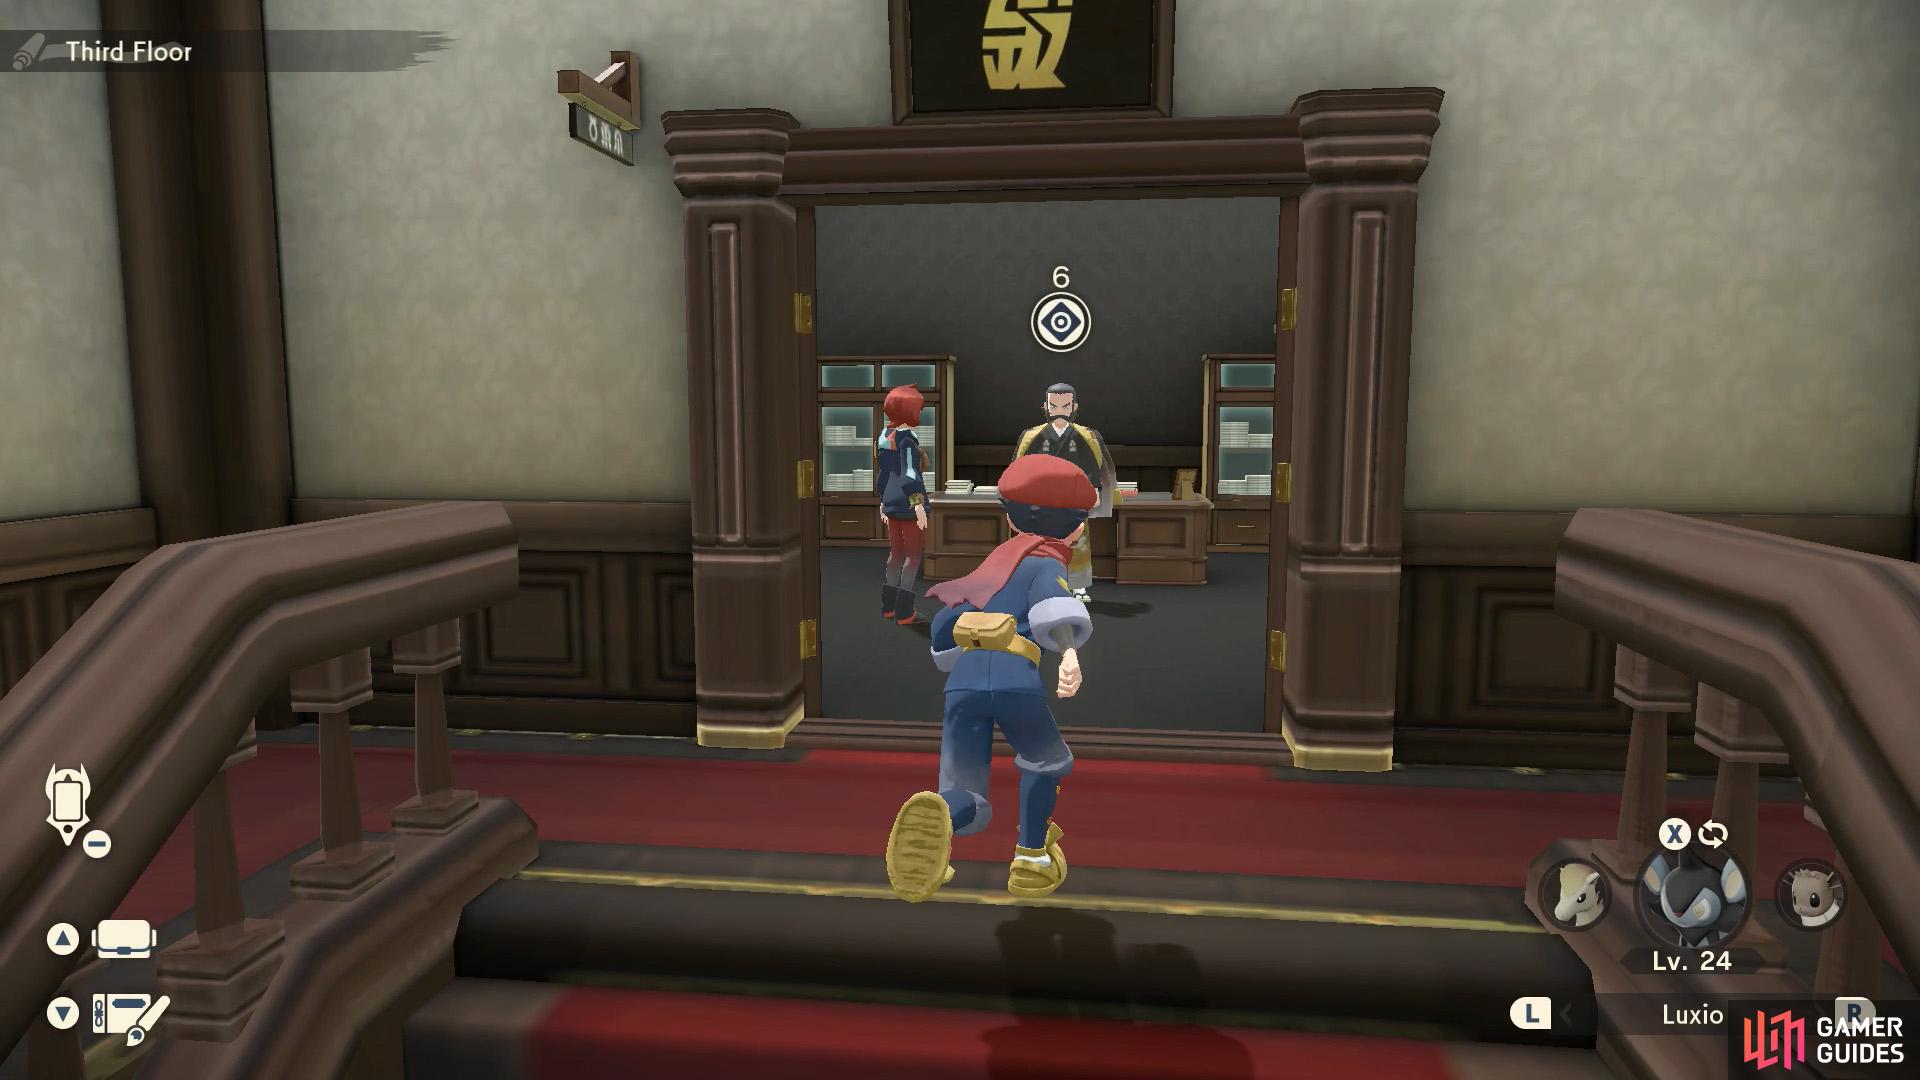
1. Look for Commander Kamado
We have a feeling Arezu and Kamado need your assistance.
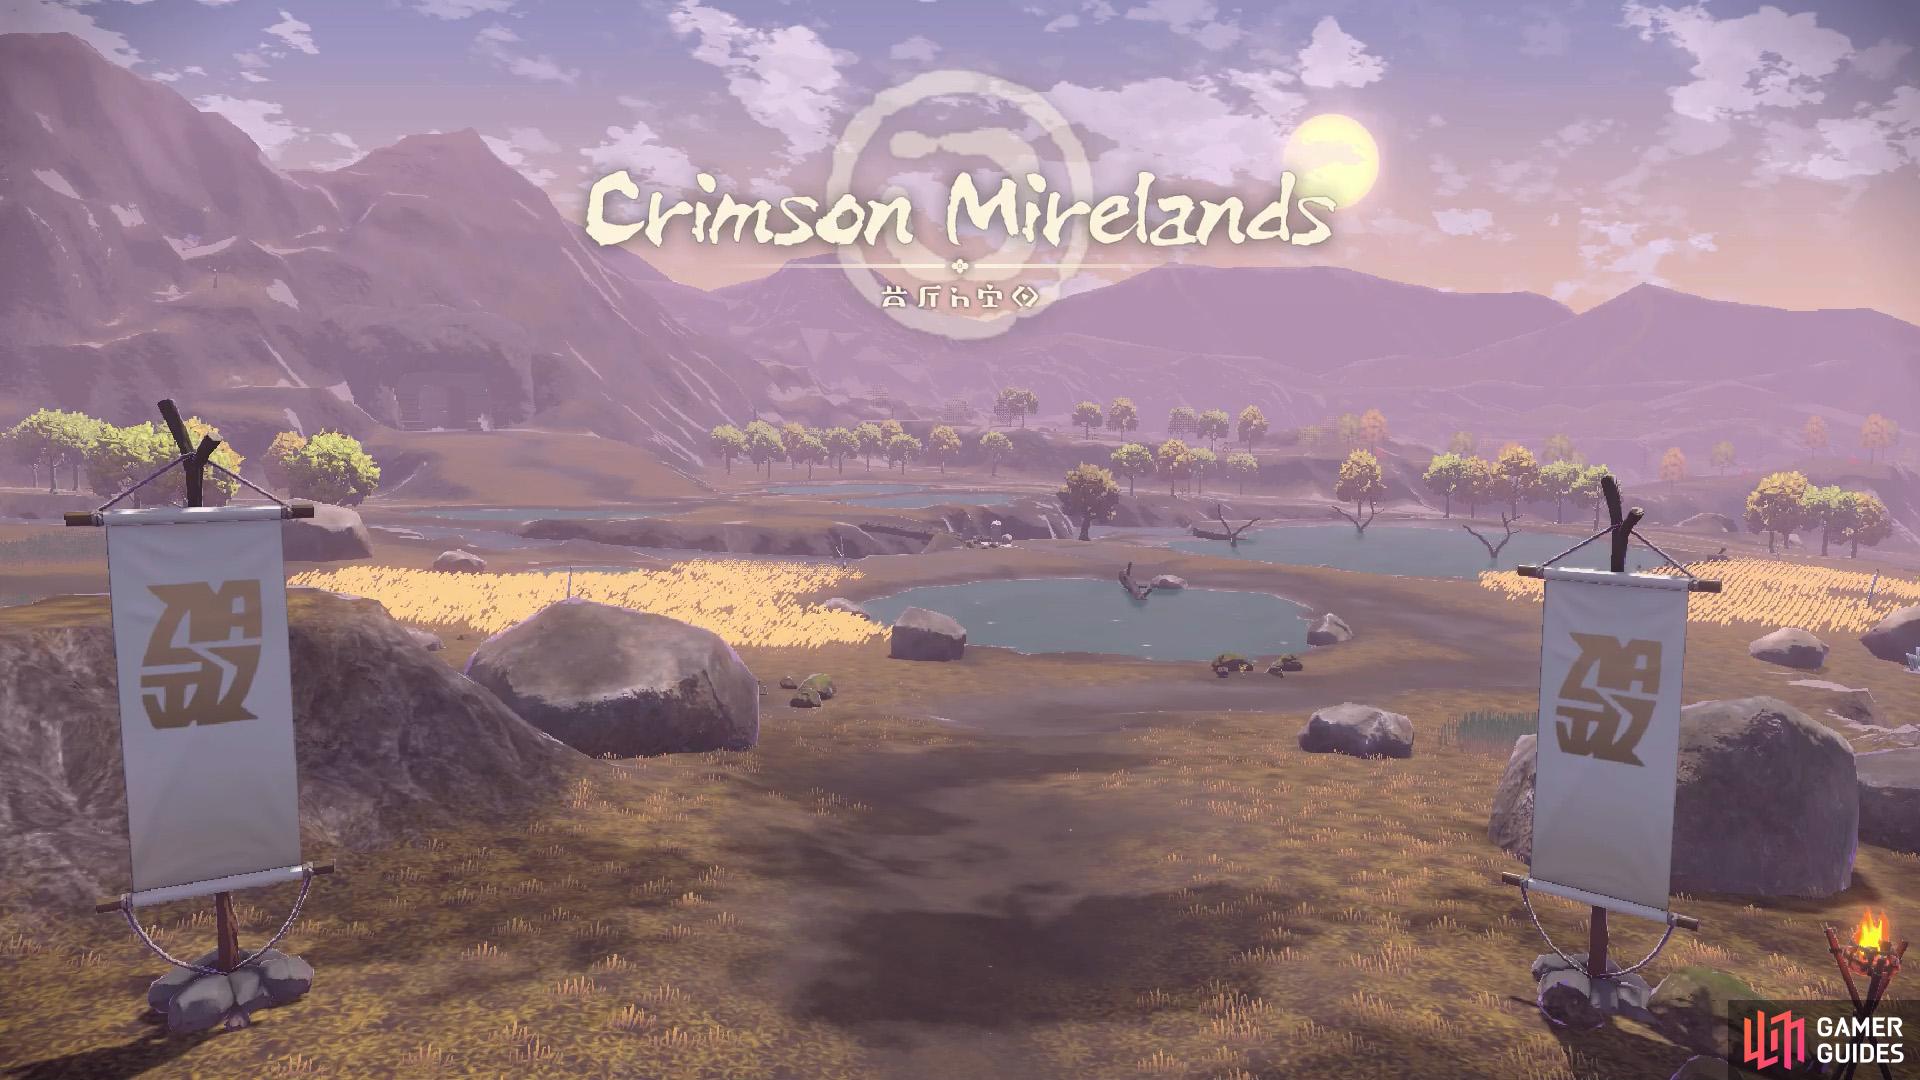
This mission will take you to a new area: the Crimson Mirelands.
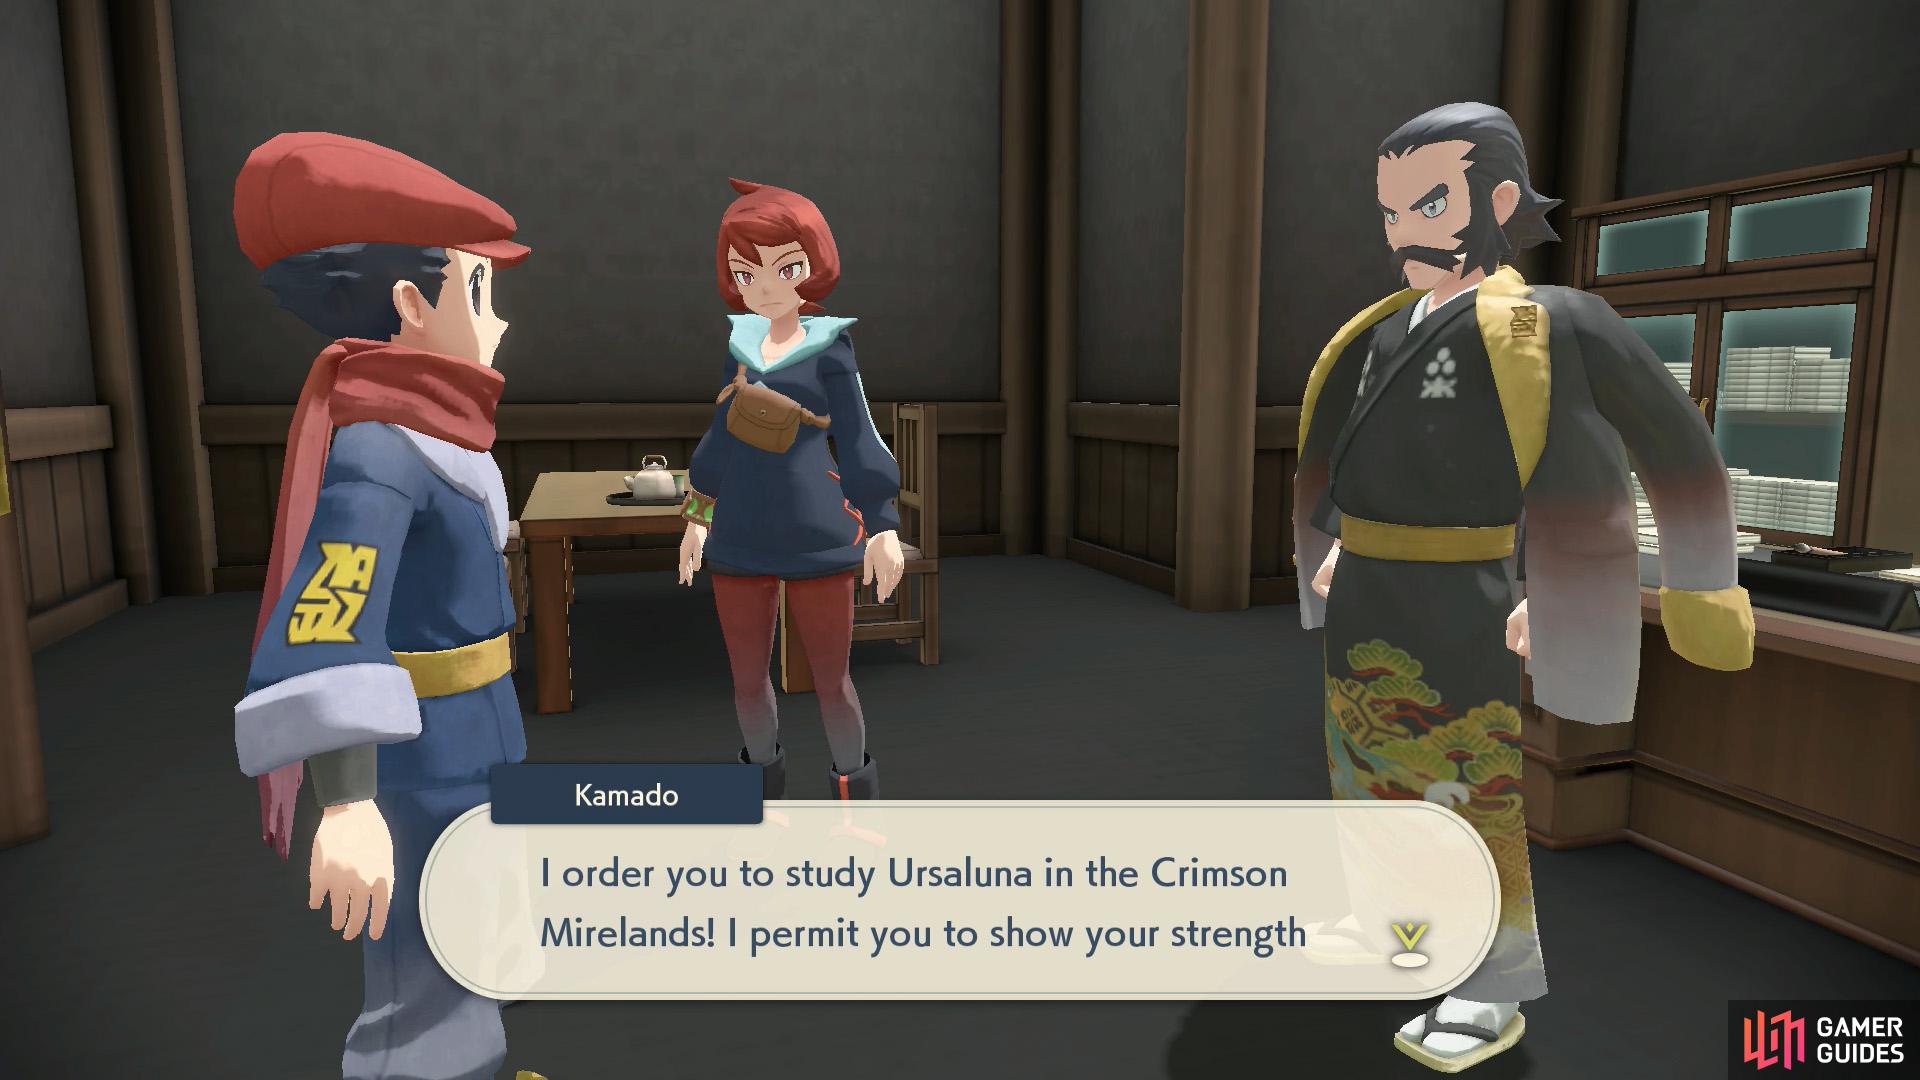
Whenever you have a moment, enter Galaxy Hall and visit Commander Kamado in his third floor office. He’ll be discussing how to deal with a tough problem with Arezu. Now that you’re here, Kamado entrusts Arezu’s predicament with you. Your task is to visit the Crimson Mirelands and sort out Ursaluna.
Once the discussion’s over, you’ll be brought to Captain Cyllene’s office on the first floor. She’ll double check your new mission.
2. Head for the Front Gate
Assuming you have permission to enter the mirelands, when you head for the Front Gate, Akari/Rei will be waiting for you. What do they want? A Pokémon battle, naturally.
Survey Corps’ Akari/Rei
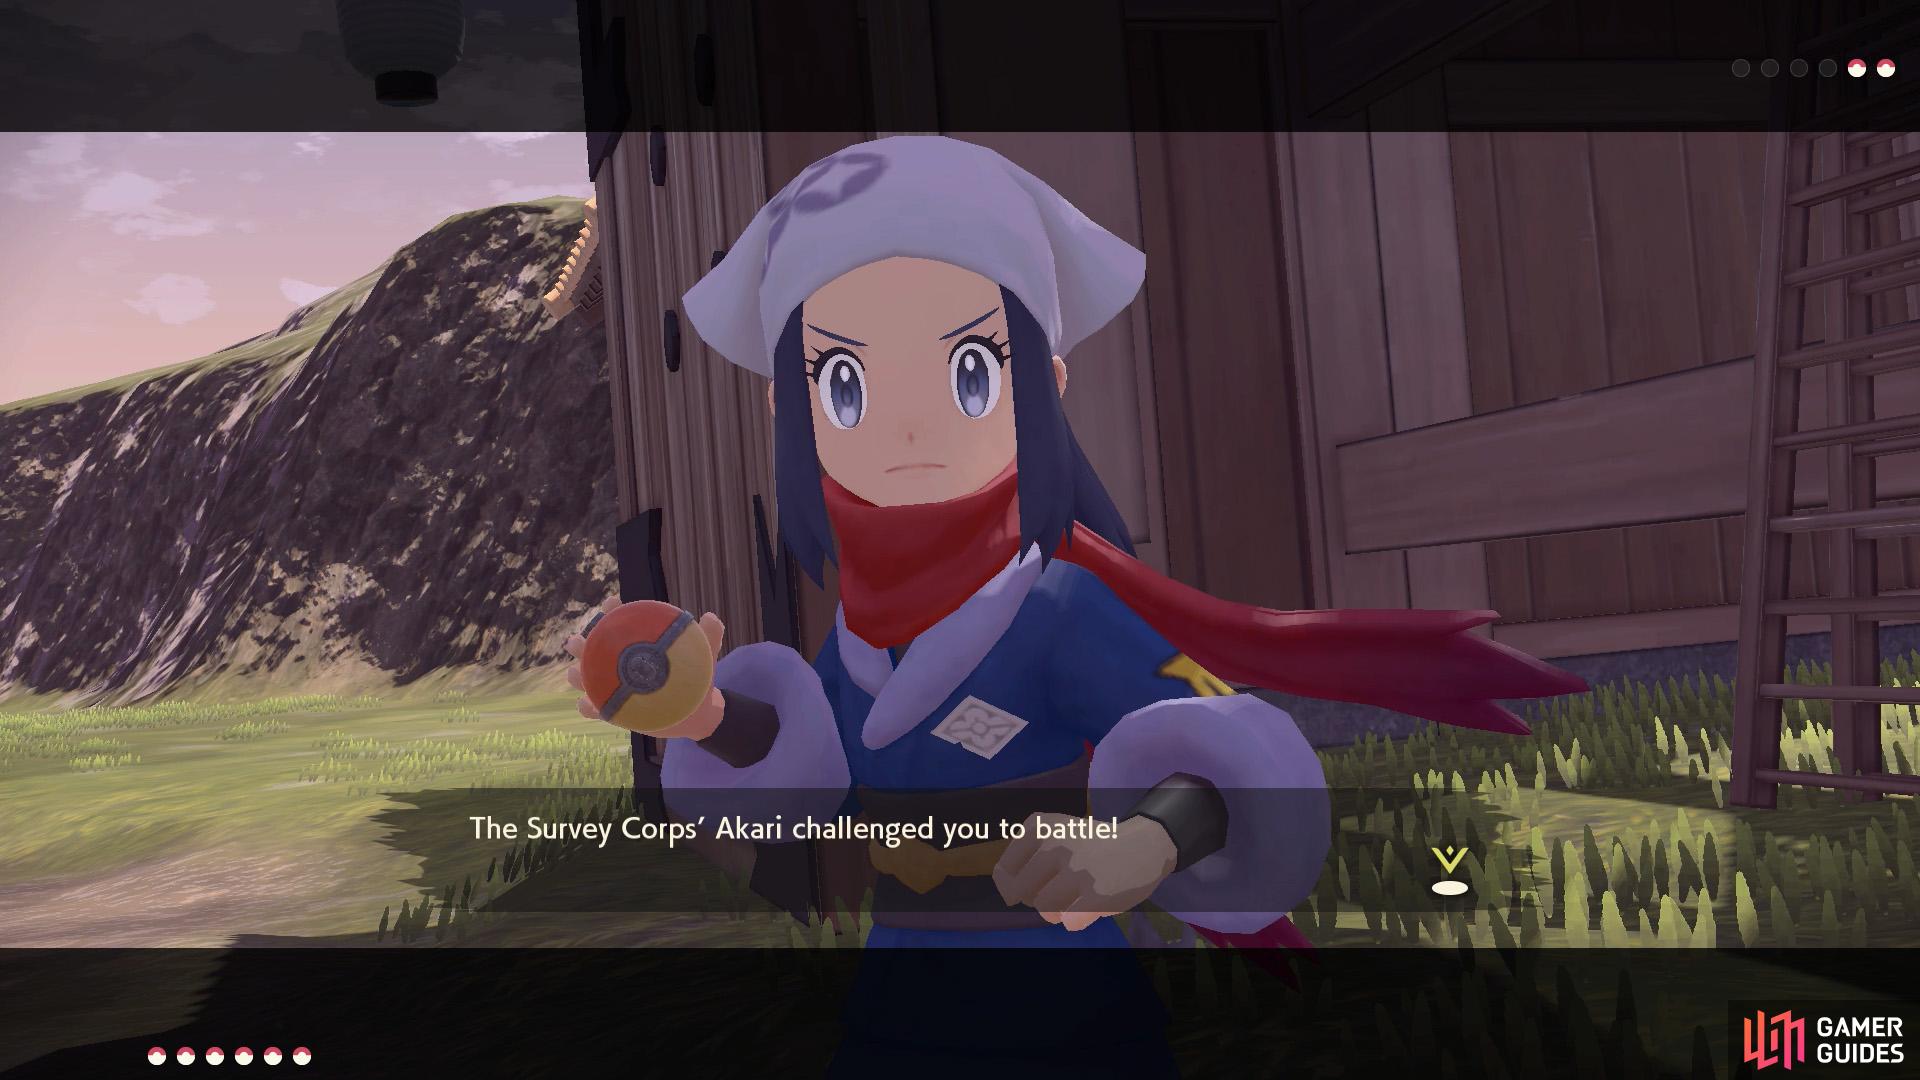
Akari/Rei has a long ways to go, before reaching you. But we can’t fault his/her enthusiasm!
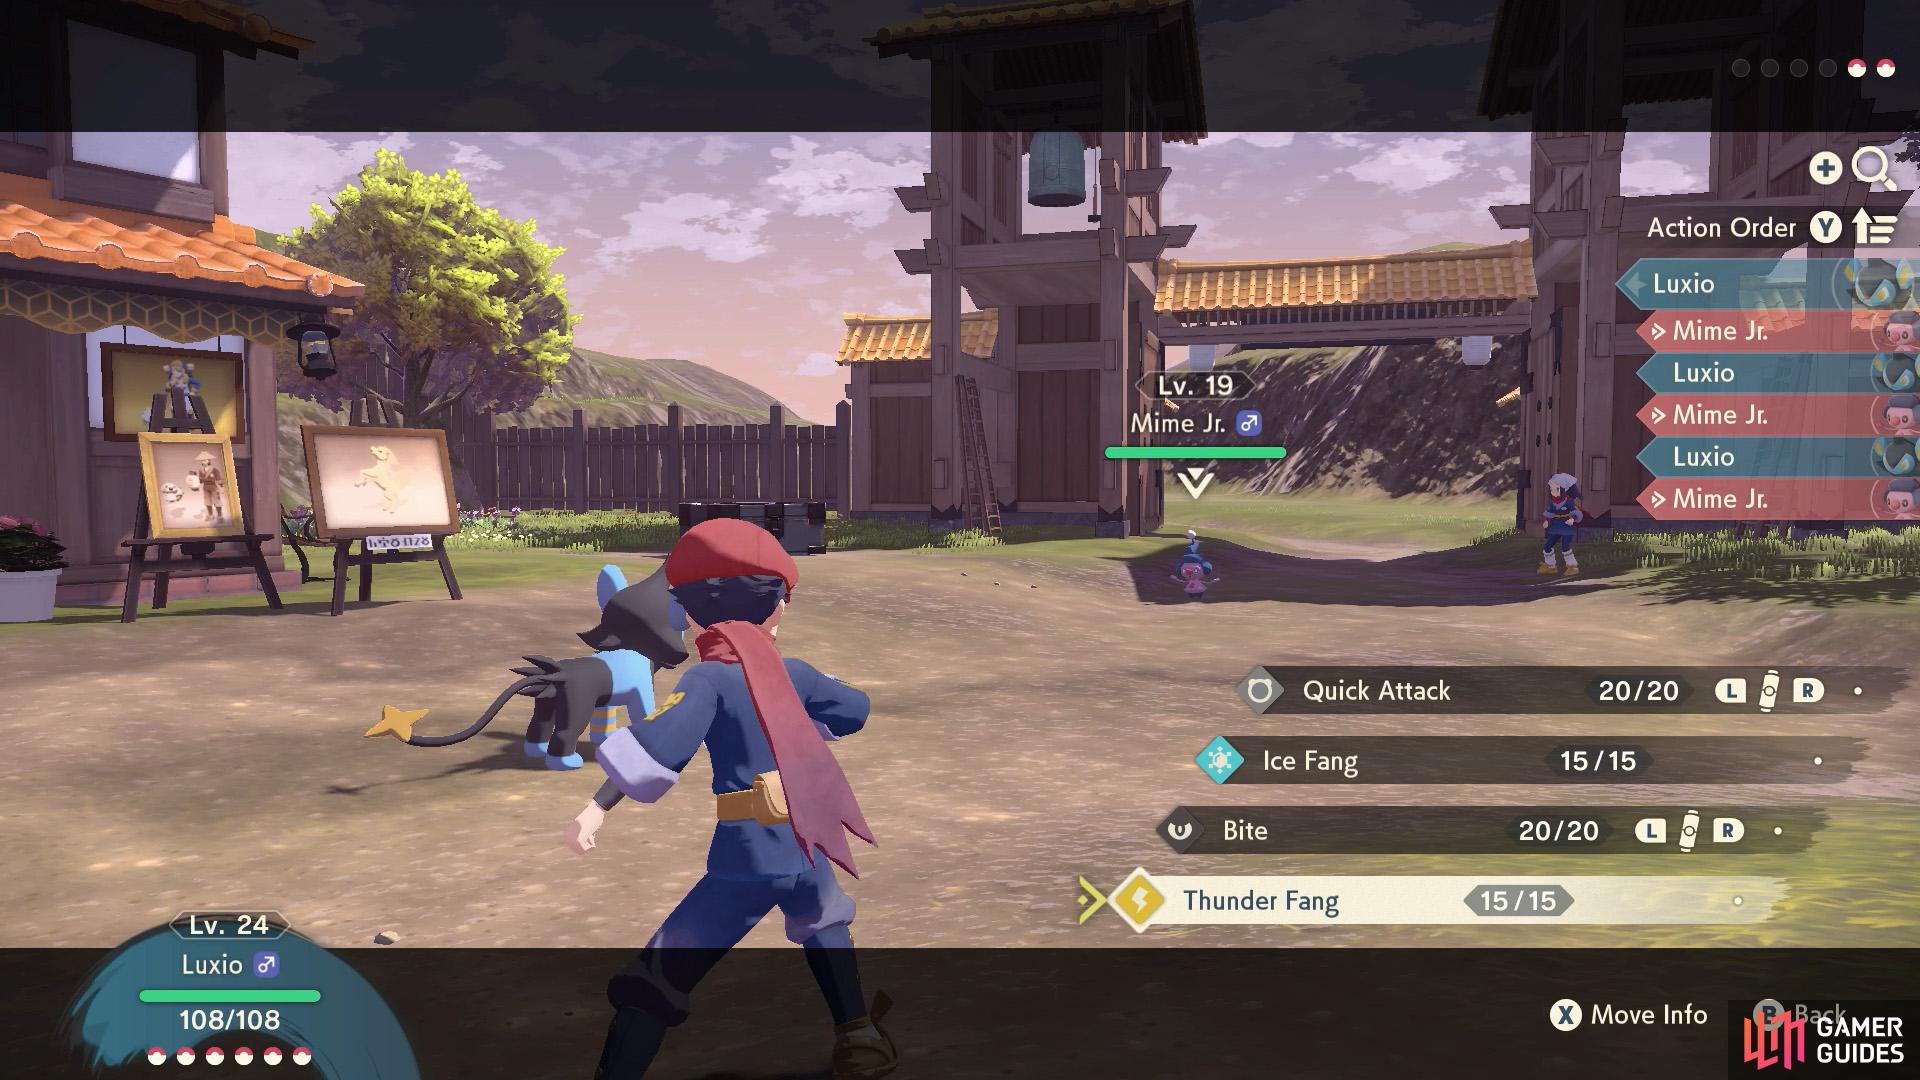
You can find Mime Jr. at the fieldlands, by the way.

Mime. Jr is a new addition to Akari/Rei’s team. This baby Pokémon is weak to Poison, Ghost and Steel. At this stage, you may not have any Pokémon with those types, but that’s fine, since it’s just a baby.
Afterwards, Akari/Rei will sent out their trusty  Pikachu. Like always, Ground-types will make short work of it. Otherwise, anything that isn’t weak to Electric should do OK. Be wary of its Agile/Strong Style moves.
To reward your victory, Akari/Rei will hand you a Stealth Spray Recipe. This is helpful for sneaking up on skittish Pokémon. When you’re ready, depart the village and select the new region towards the south-east, choosing the Mirelands Camp.
3. Visit the Solaceon Ruins
A new area means lot of new Pokémon to catch!
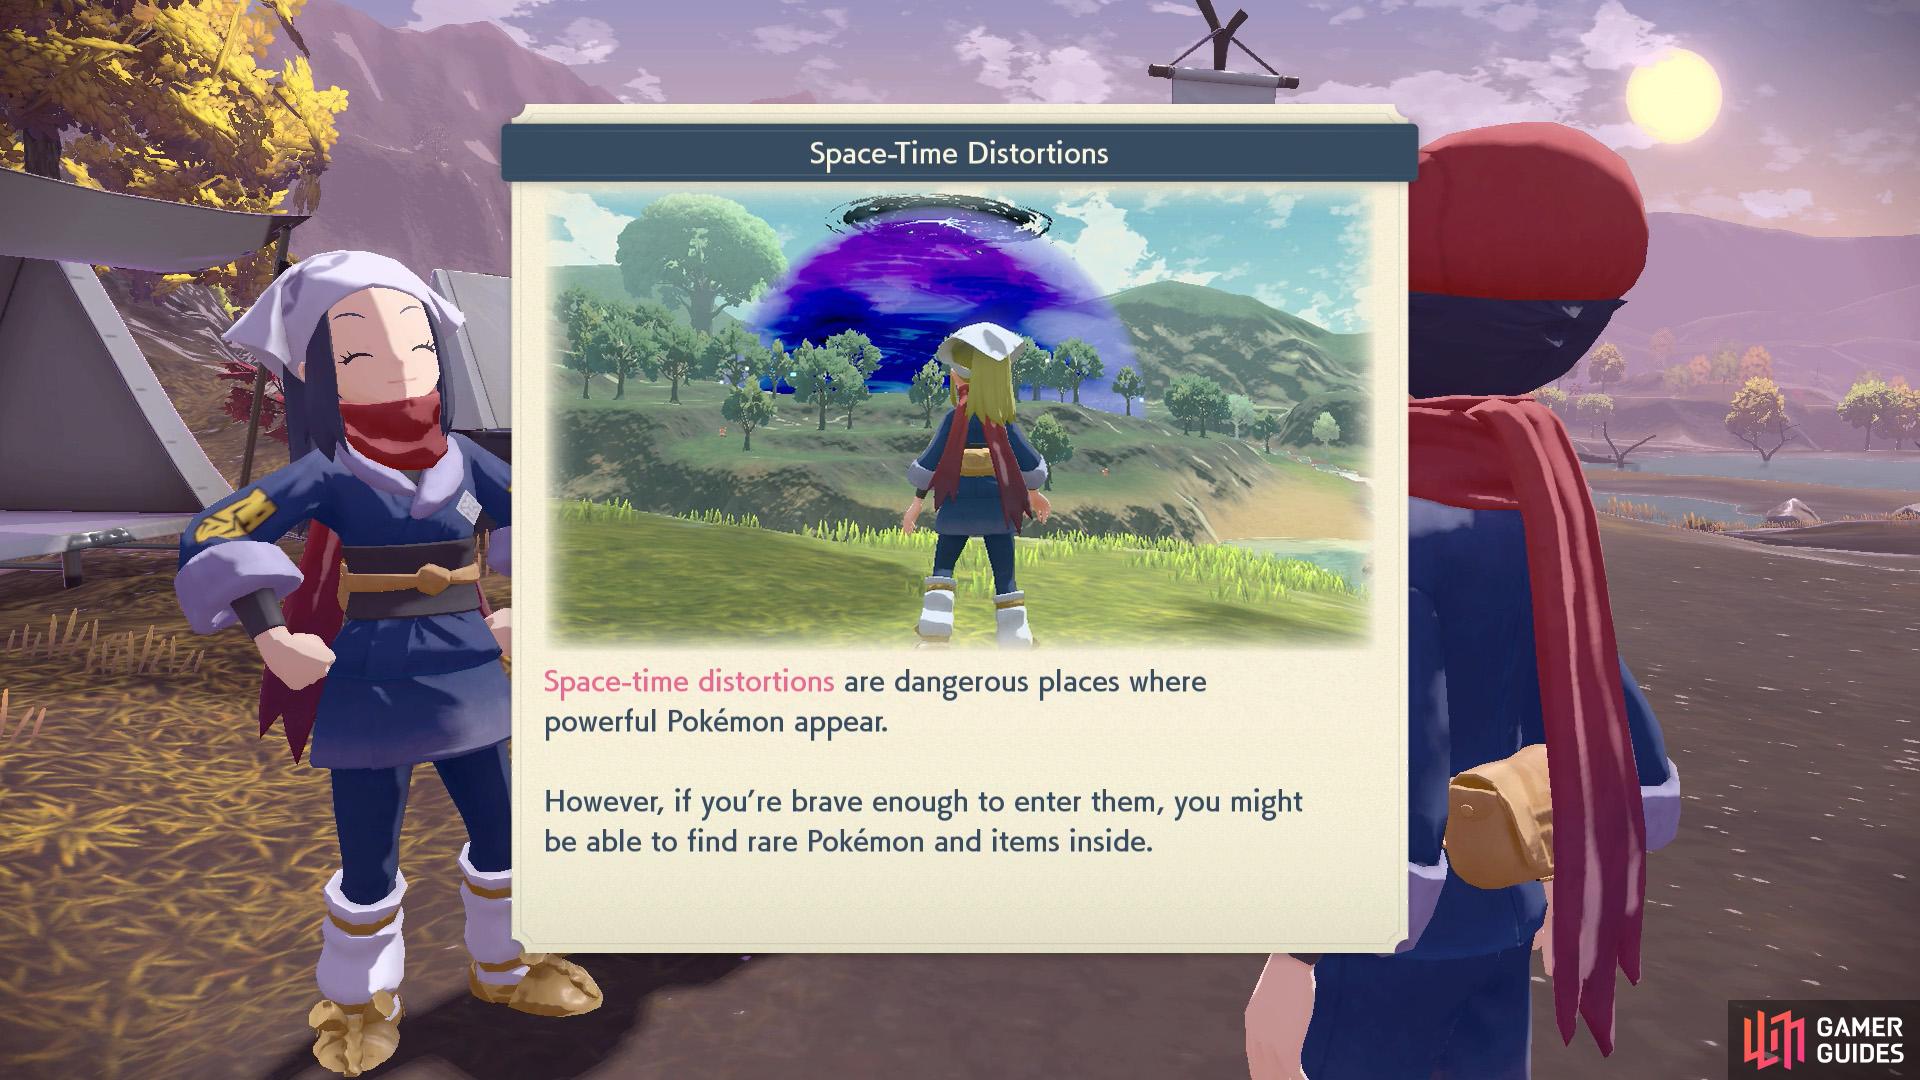
Space-Time Distortions can be scary at first, but as your Pokémon Level Up, they’re a (relative) breeze.
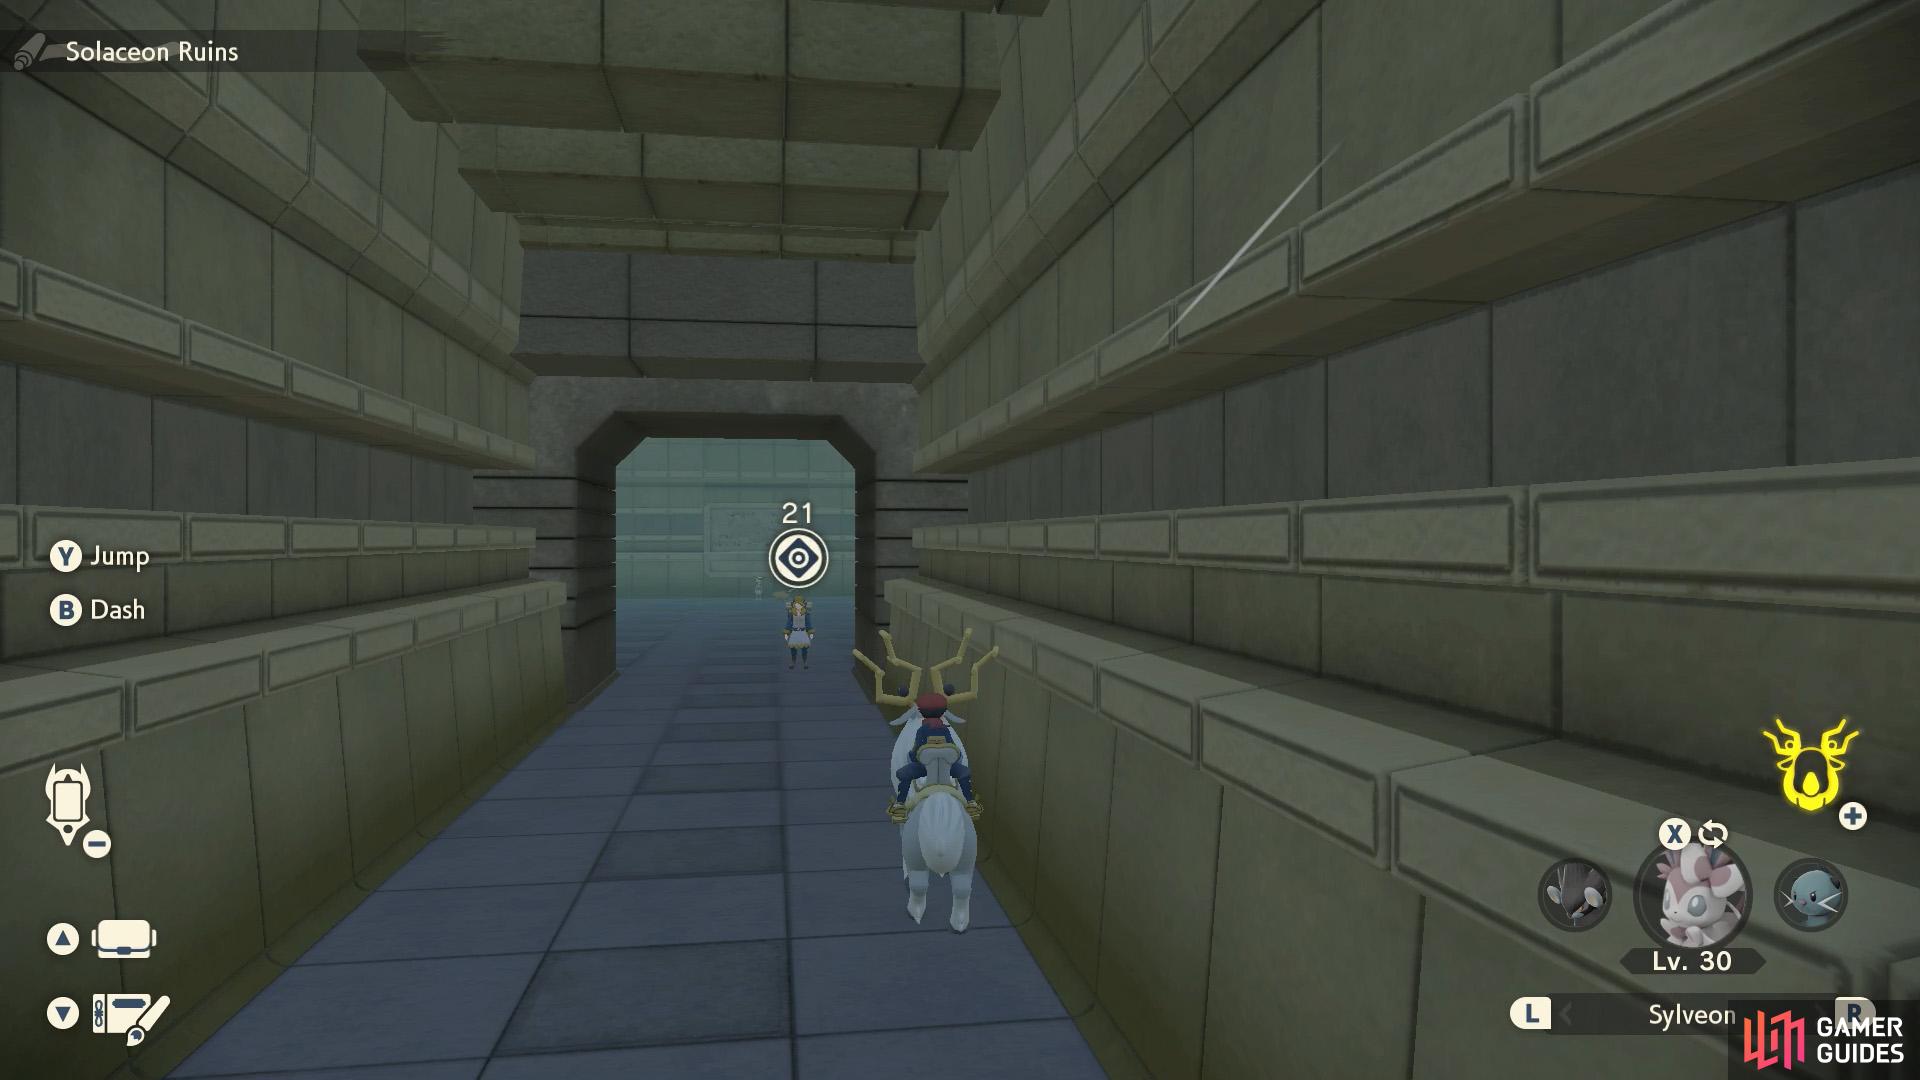
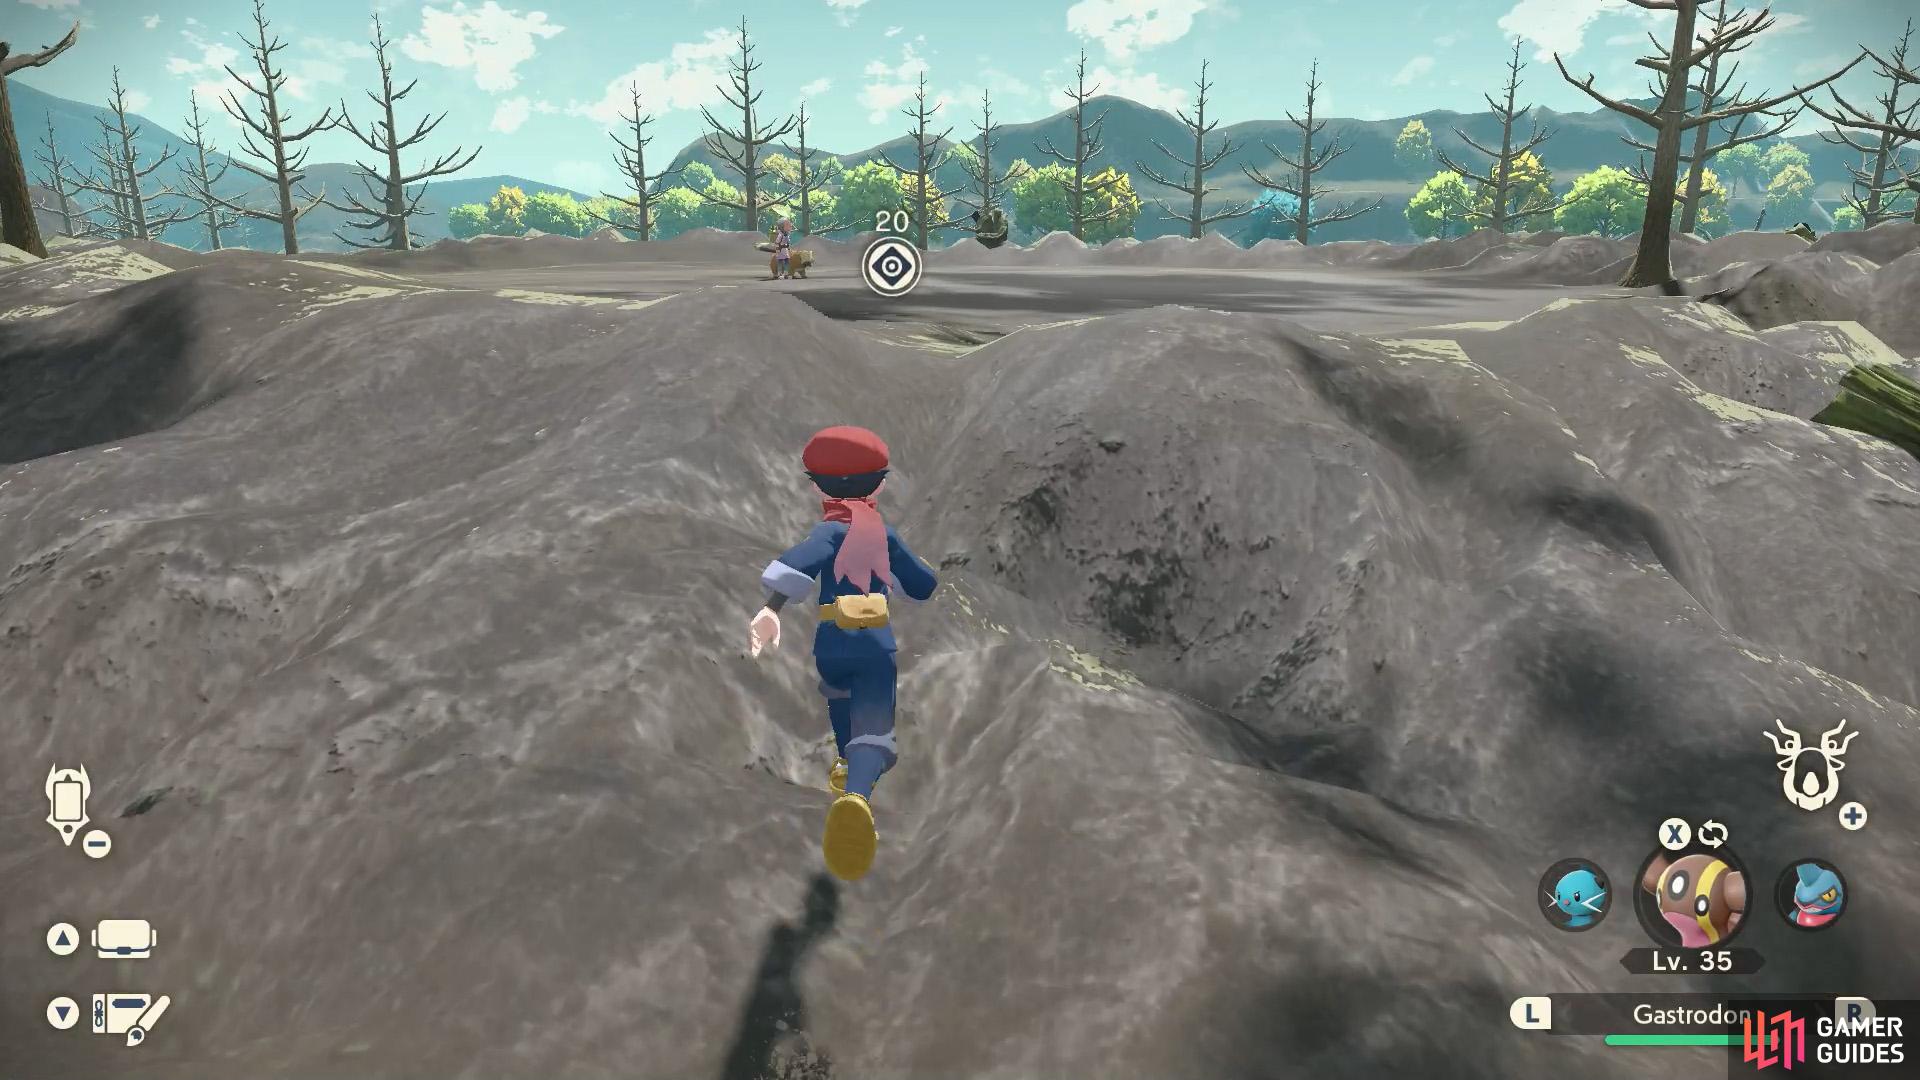
At the Crimson Mirelands, you’ll be given a hint where to go: the Solaceon Ruins. For those who played Diamond/Pearl/Platinum or the remakes, you may recognize this name. Reaching the ruins is extremely simple: head due east, carefully walking across the narrow bridge along the way.
Inside the ruins, you’ll meet Ursaluna’s warden, Cabala from the Pearl Clan. However, she’s not the most friendly of people and tells you to go away. As you leave though, Volo will come to cheer you up with a battle.
Ginkgo Guild Member Volo
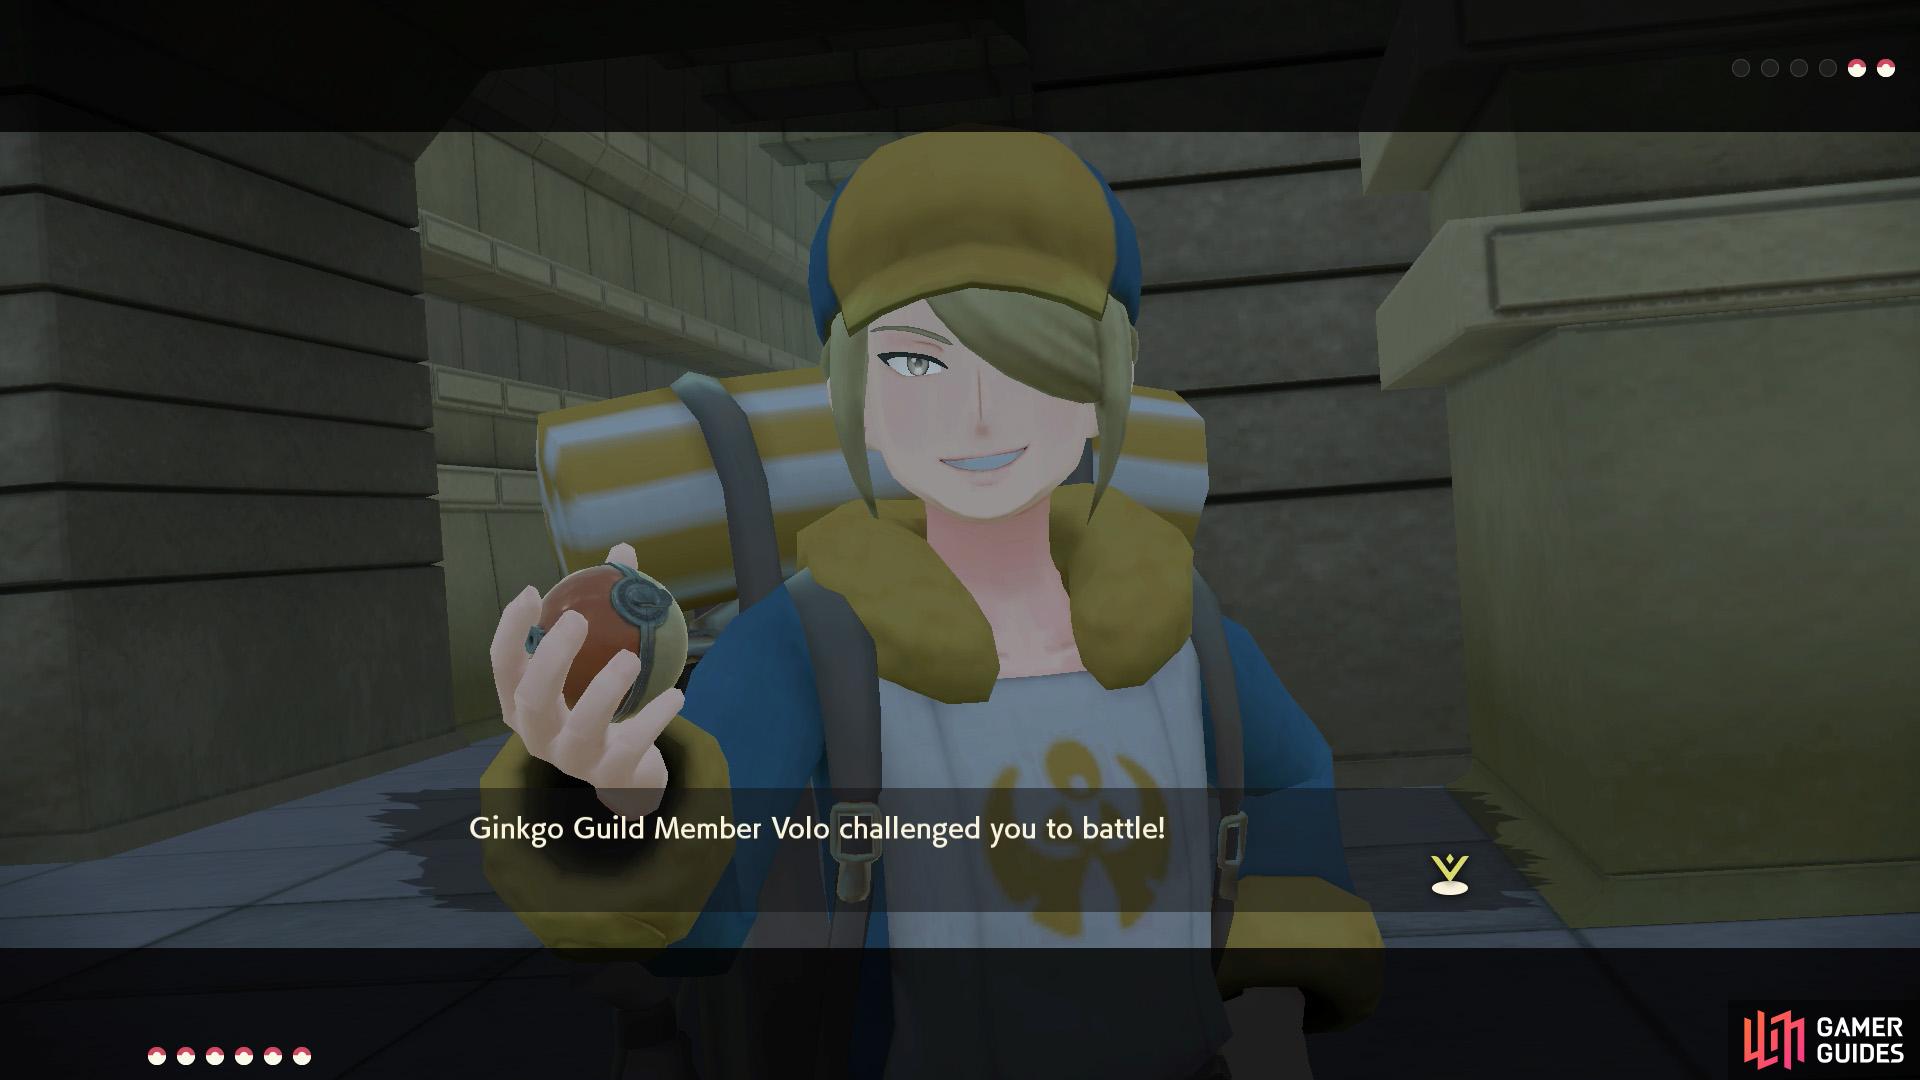
C’mon, that’s surely the kind of smile a villain has.
Togepi and Gible… Hmm, we’re seeing a pattern here. But we’ll wait and see.
Hmm, we dare say Volo is starting to build up a suspicious team, especially when you consider his distinct hairstyle.
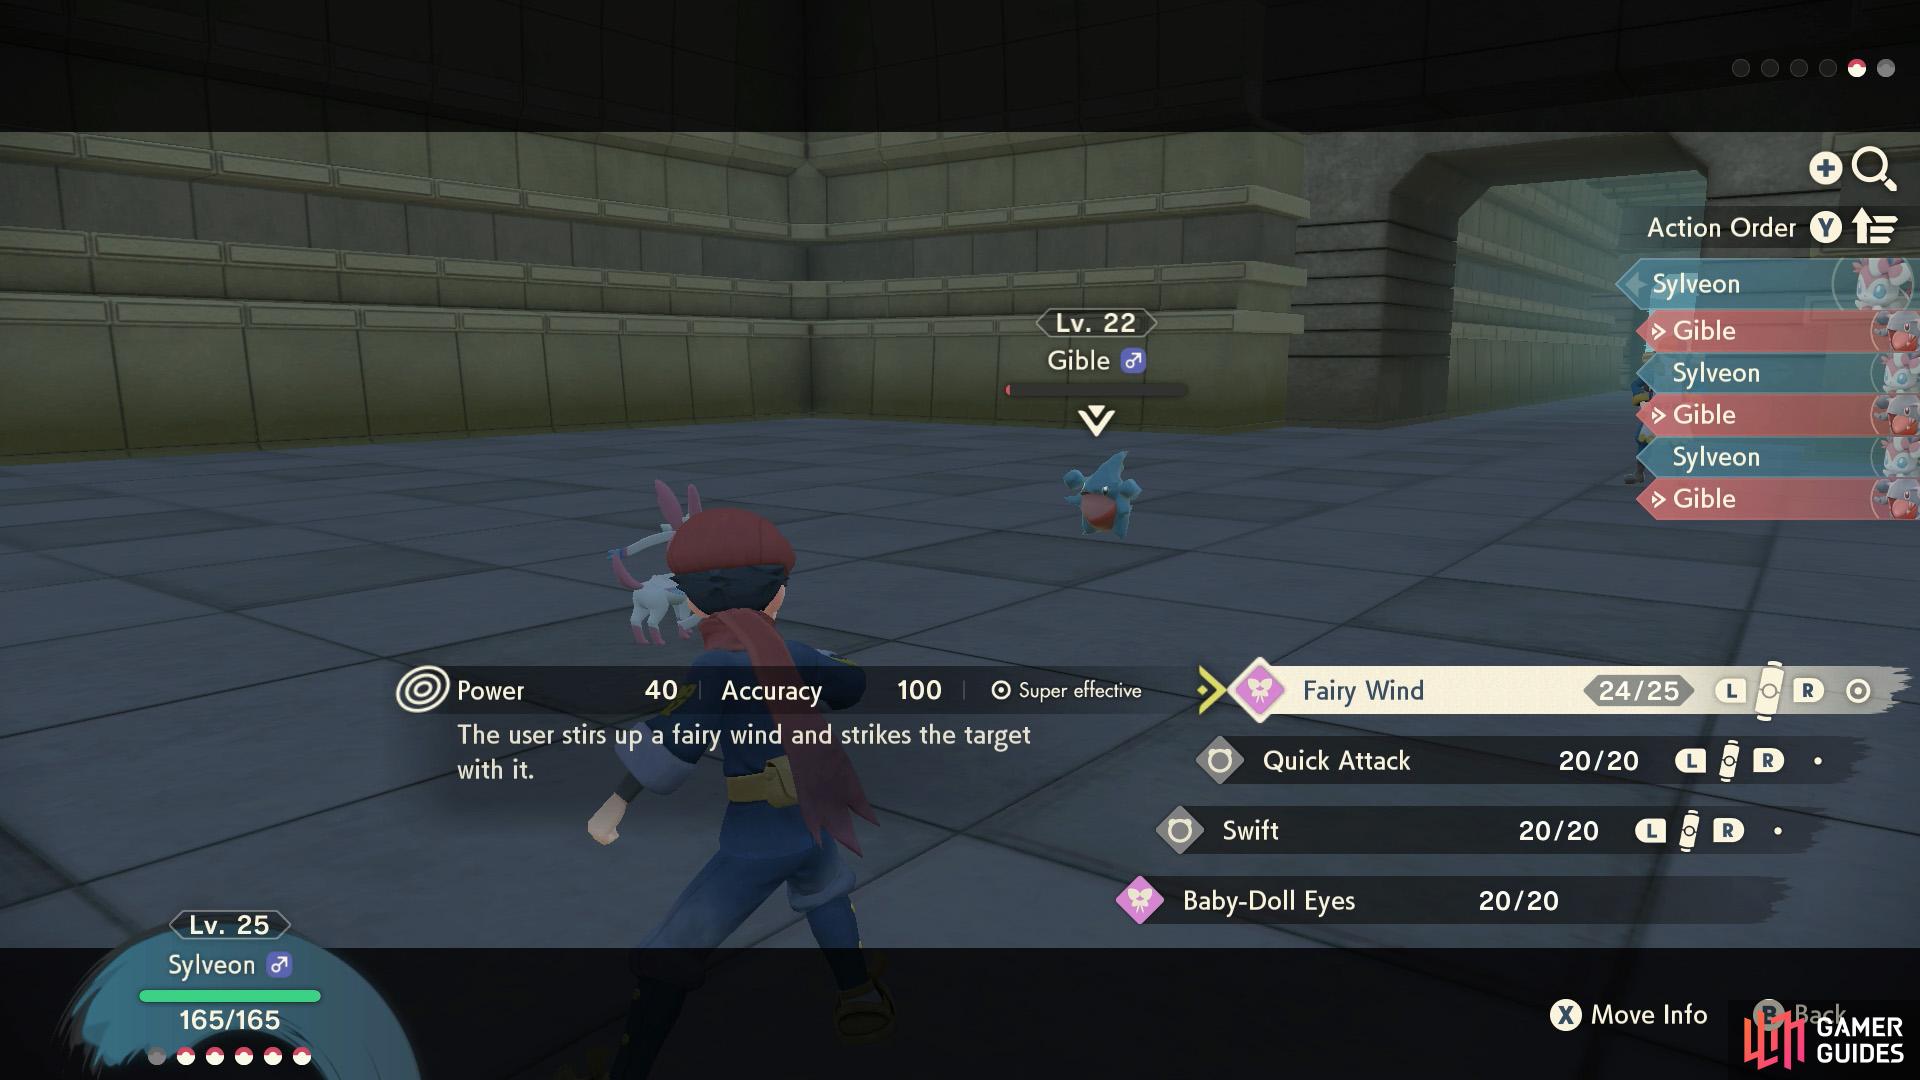
 Togepi you already fought previously. Poison and Steel-types have a type advantage; you can grab some Poison-types from the mirelands. Otherwise, it’s a weak baby. Still, be wary of Calm Mind, which boosts its offensive and defensive stats.
 Gible is weak to Dragon and Fairy, and exceptionally weak to Ice. If you’re lacking those, anything that’s not Fire or Rock should do fine. Bulldoze can be annoying because it reduces your Action Speed, occasionally allowing Gible to attack twice in a row.
4. Check Out the Abandoned Campsite
The suspicious campsite is located north of where you started.
Nobody seems to be around, but maybe…
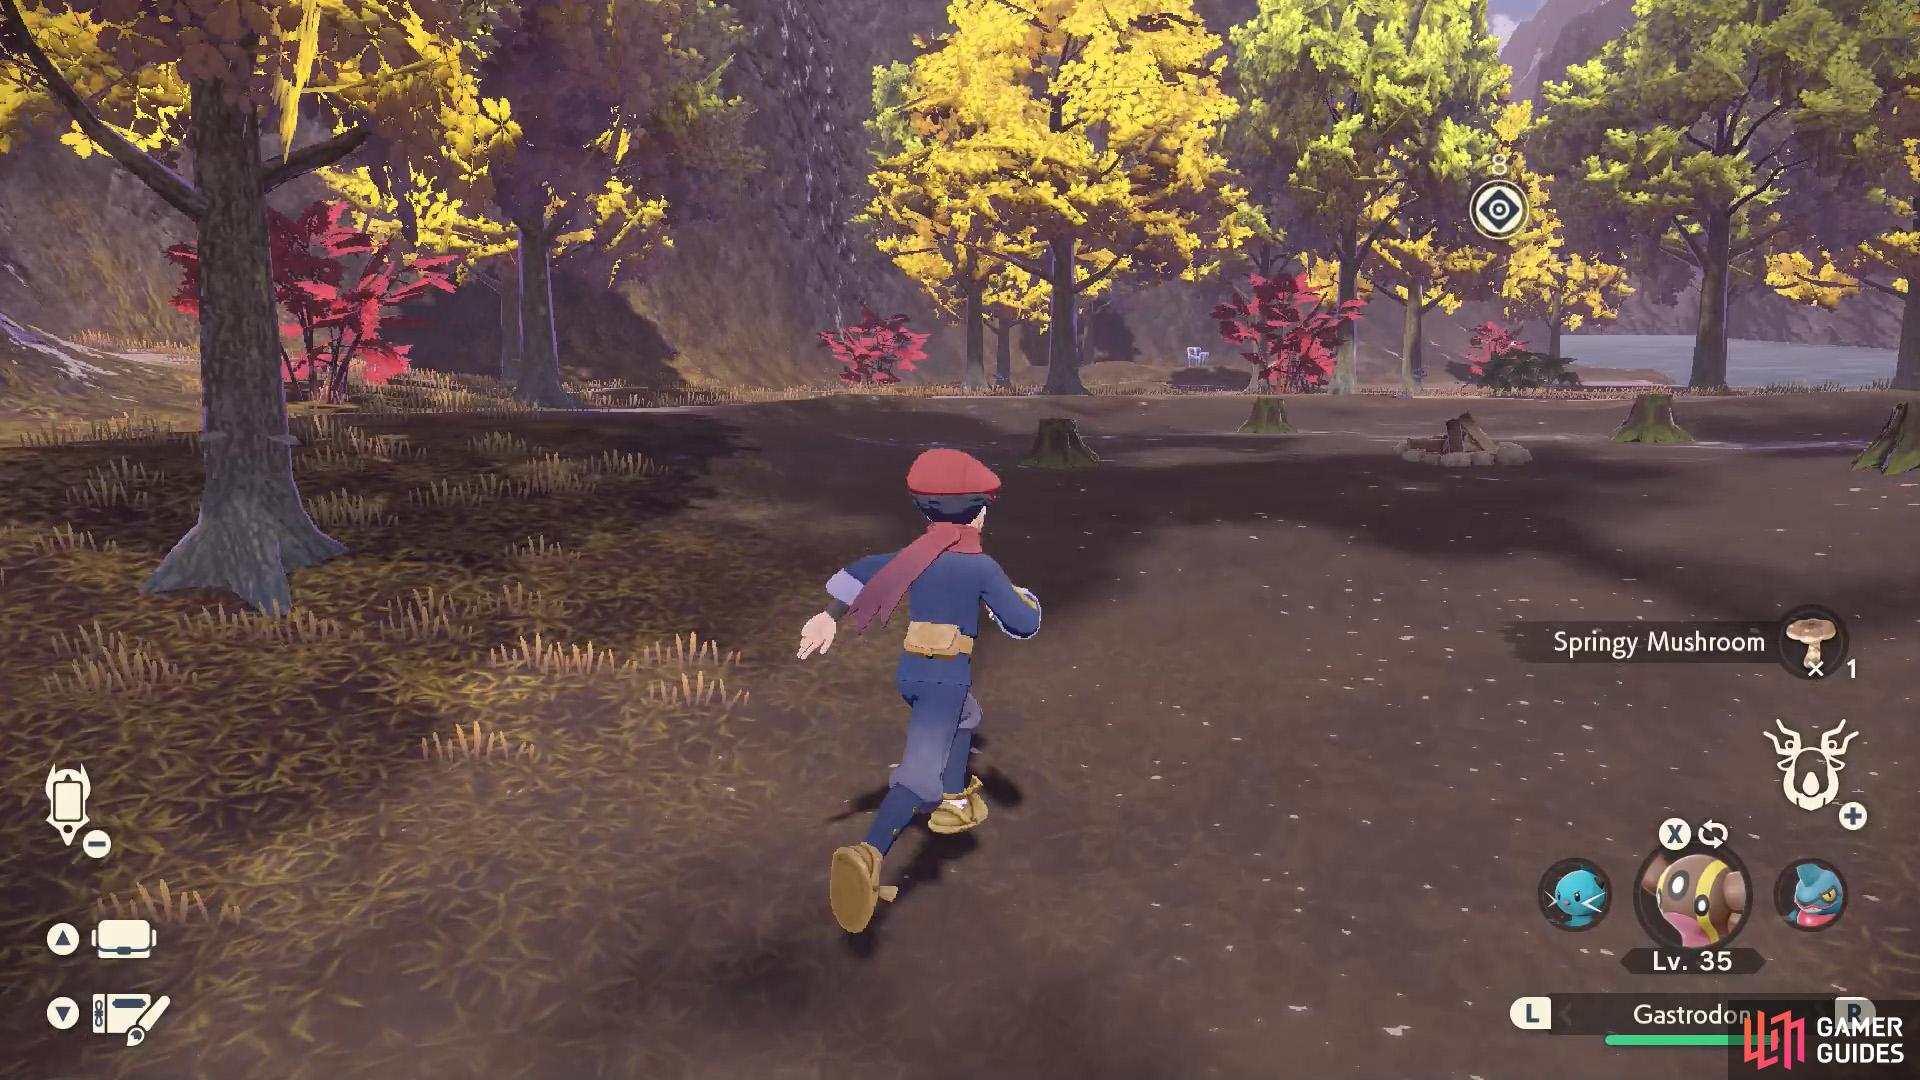
Volo will tip you off about a missing wall fragment stolen by bandits. He suggests checking out a campsite north from the mirelands entrance. If you have nothing else to do, return to the base camp, then make your way north through the woods. Be wary of  Paras prowling around.
It seems Volo was right on the money. A trio of bandit sisters will make a dramatic entrance–and one of them will deign to battle you.
Bandit Coin
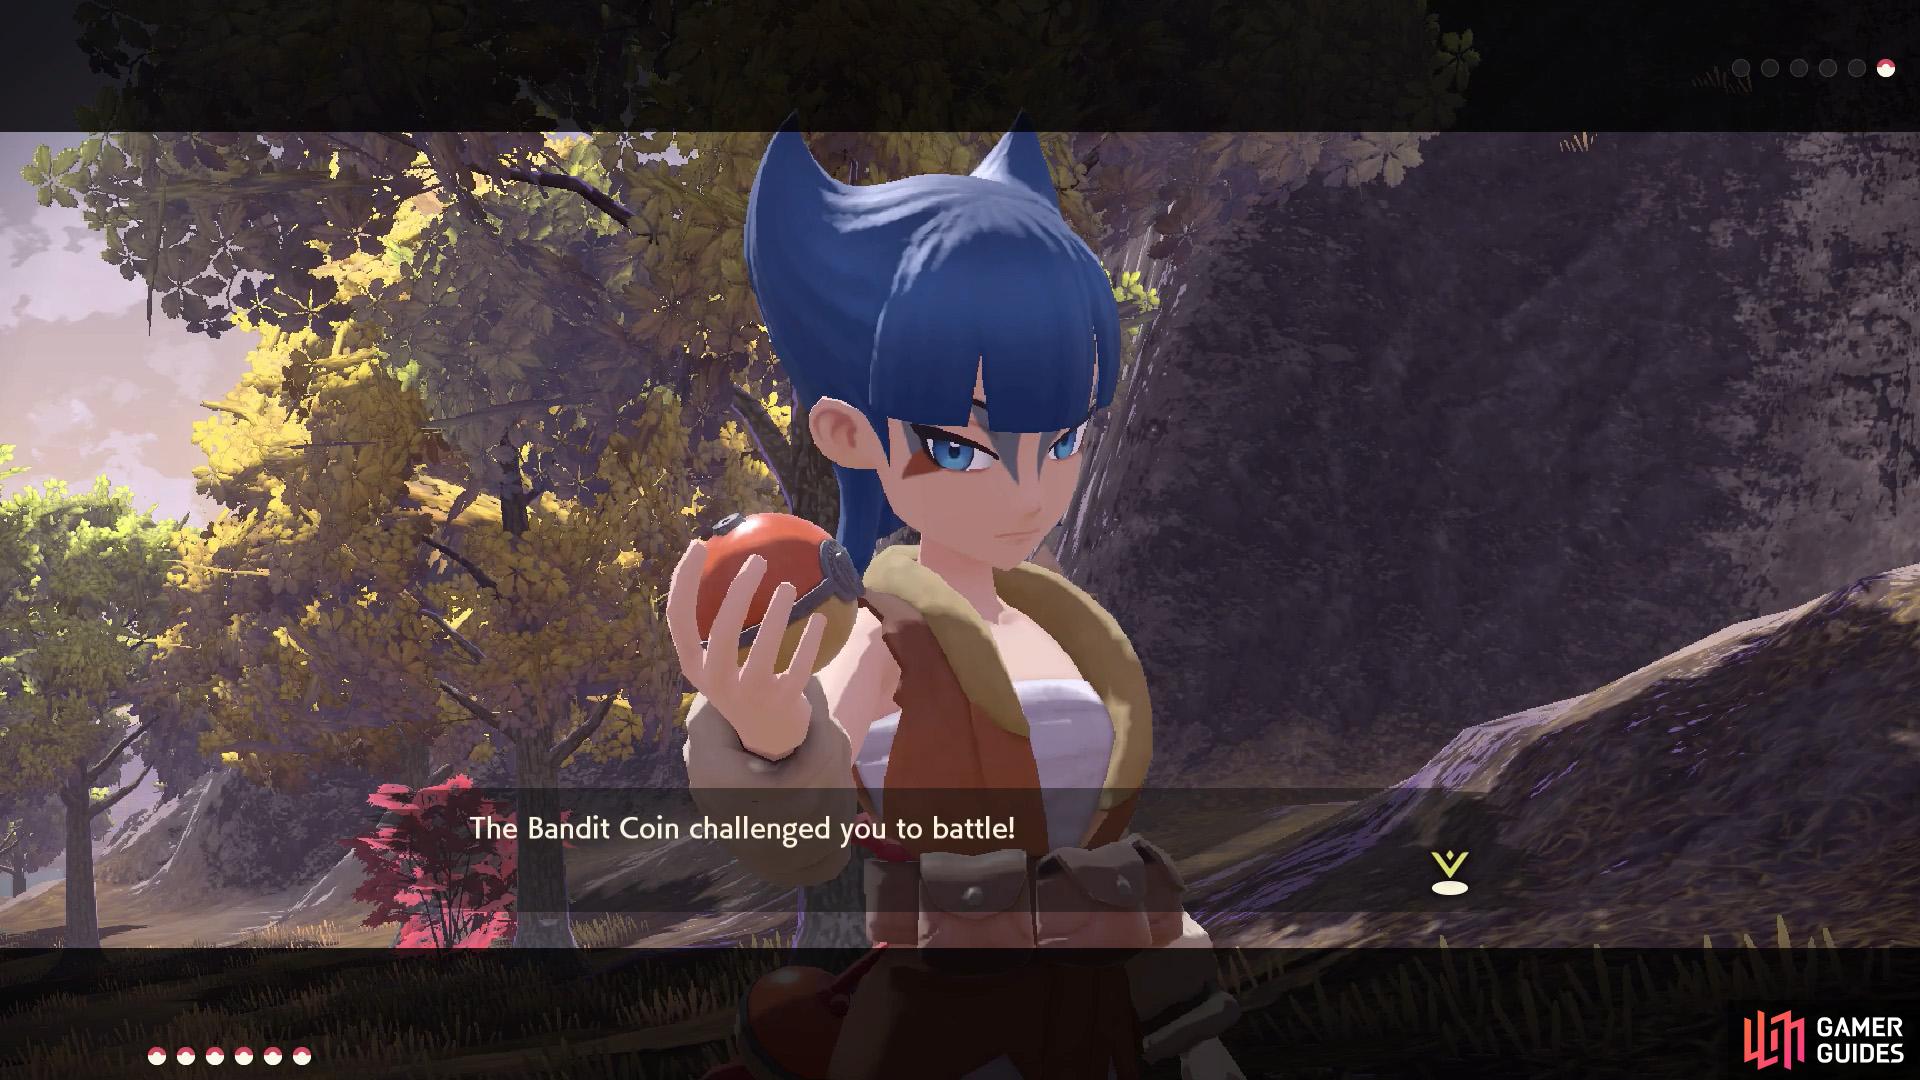
Bandits in a Pokémon game?

Toxicroak is a little tricky, but nothing you can’t handle.
| Pokémon | Level | Type |
|---|---|---|
 Toxicroak Toxicroak |
23 |
Coin has an evolved Pokémon, so you should be somewhat cautious. Still, it’s one versus six, so you’ll have the upper hand by a large margin. If you have them, Psychic-types are ideal. Flying and Ground-types are also great.
After realizing how strong you are, the bandit sisters will make their escape, leaving behind the “worthless” Wall Fragment.
5. Return to the Solaceon Ruins
Volo is patiently waiting for your return.
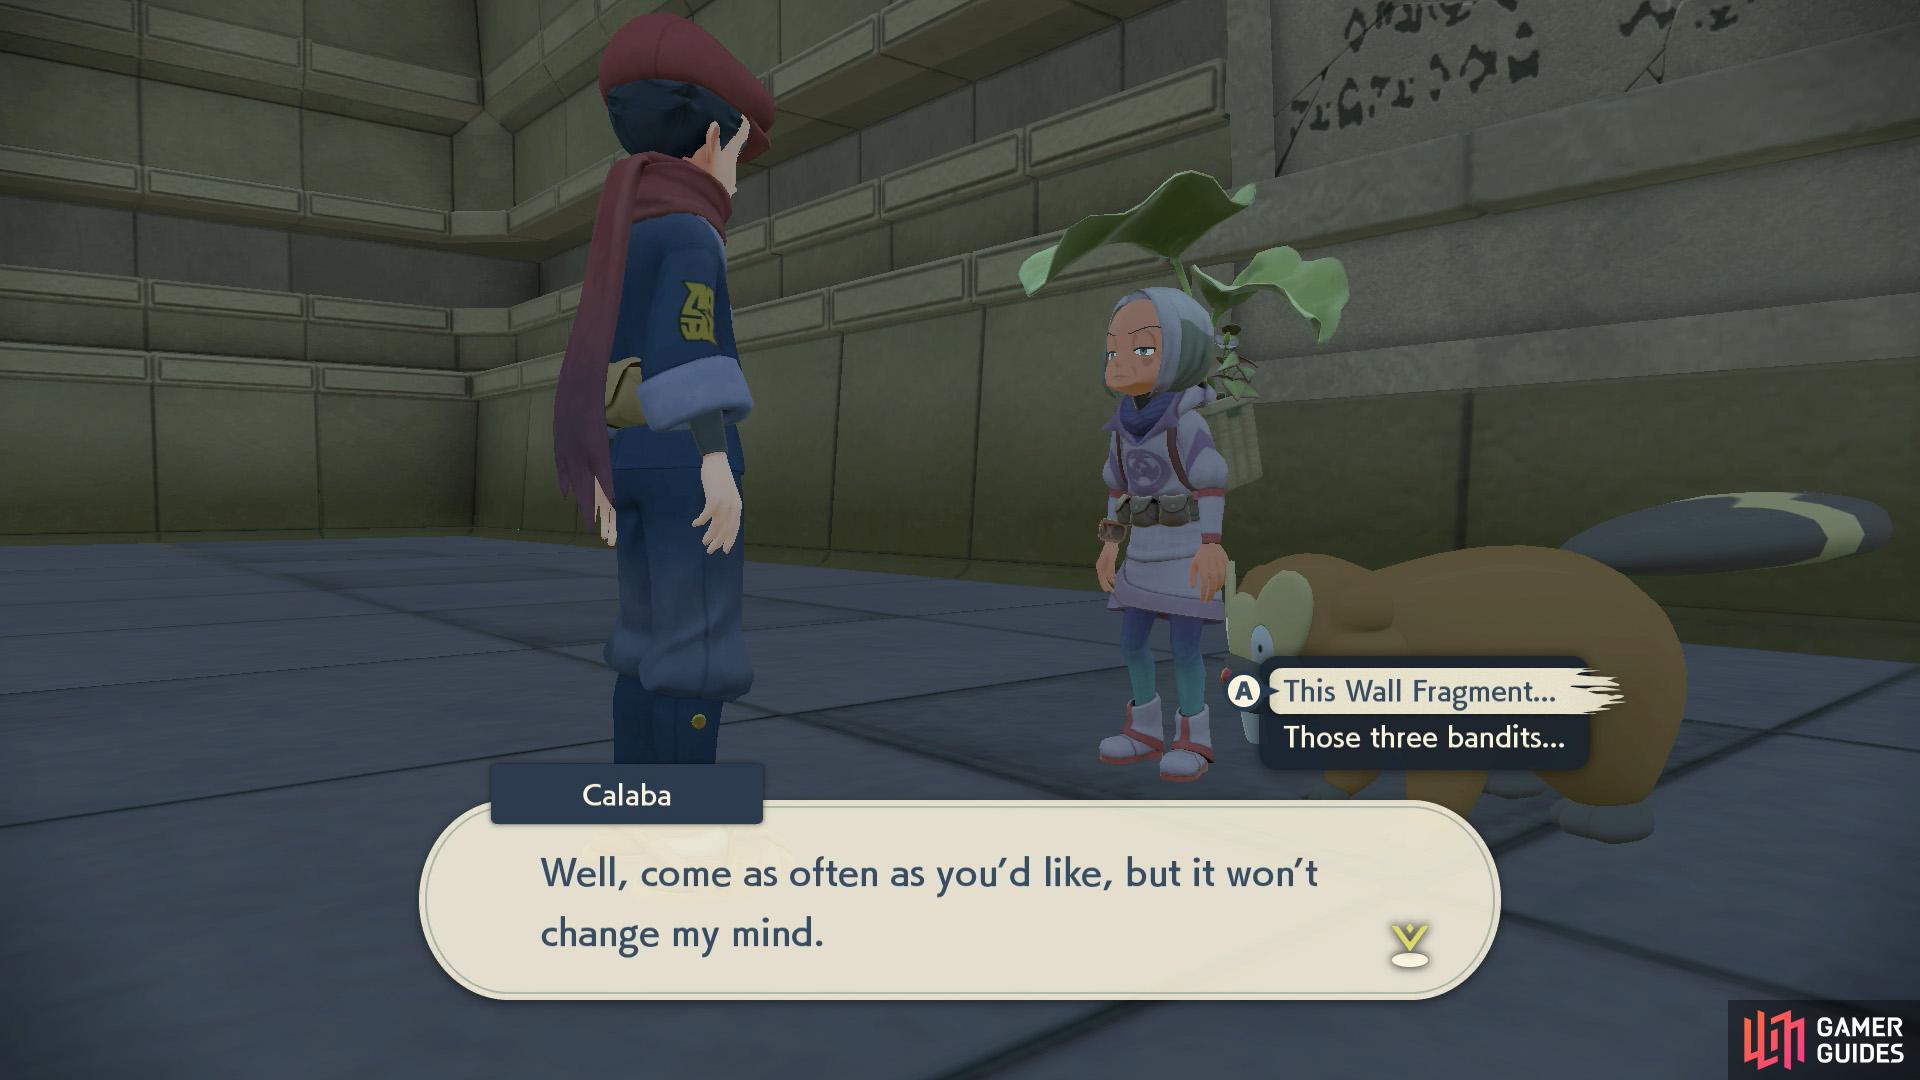
Hmm, will this Wall Fragment change your mind?
Having recovered the Wall Fragment, make your way back to the Solaceon Ruins. To save time, you could fast-travel to the base camp and head east. Or you could walk/Wyrdeer your way there from the bandit sisters’ campsite. Volo will greet you by the entrance, then you should hand over the Wall Fragment to Cabala deeper inside.
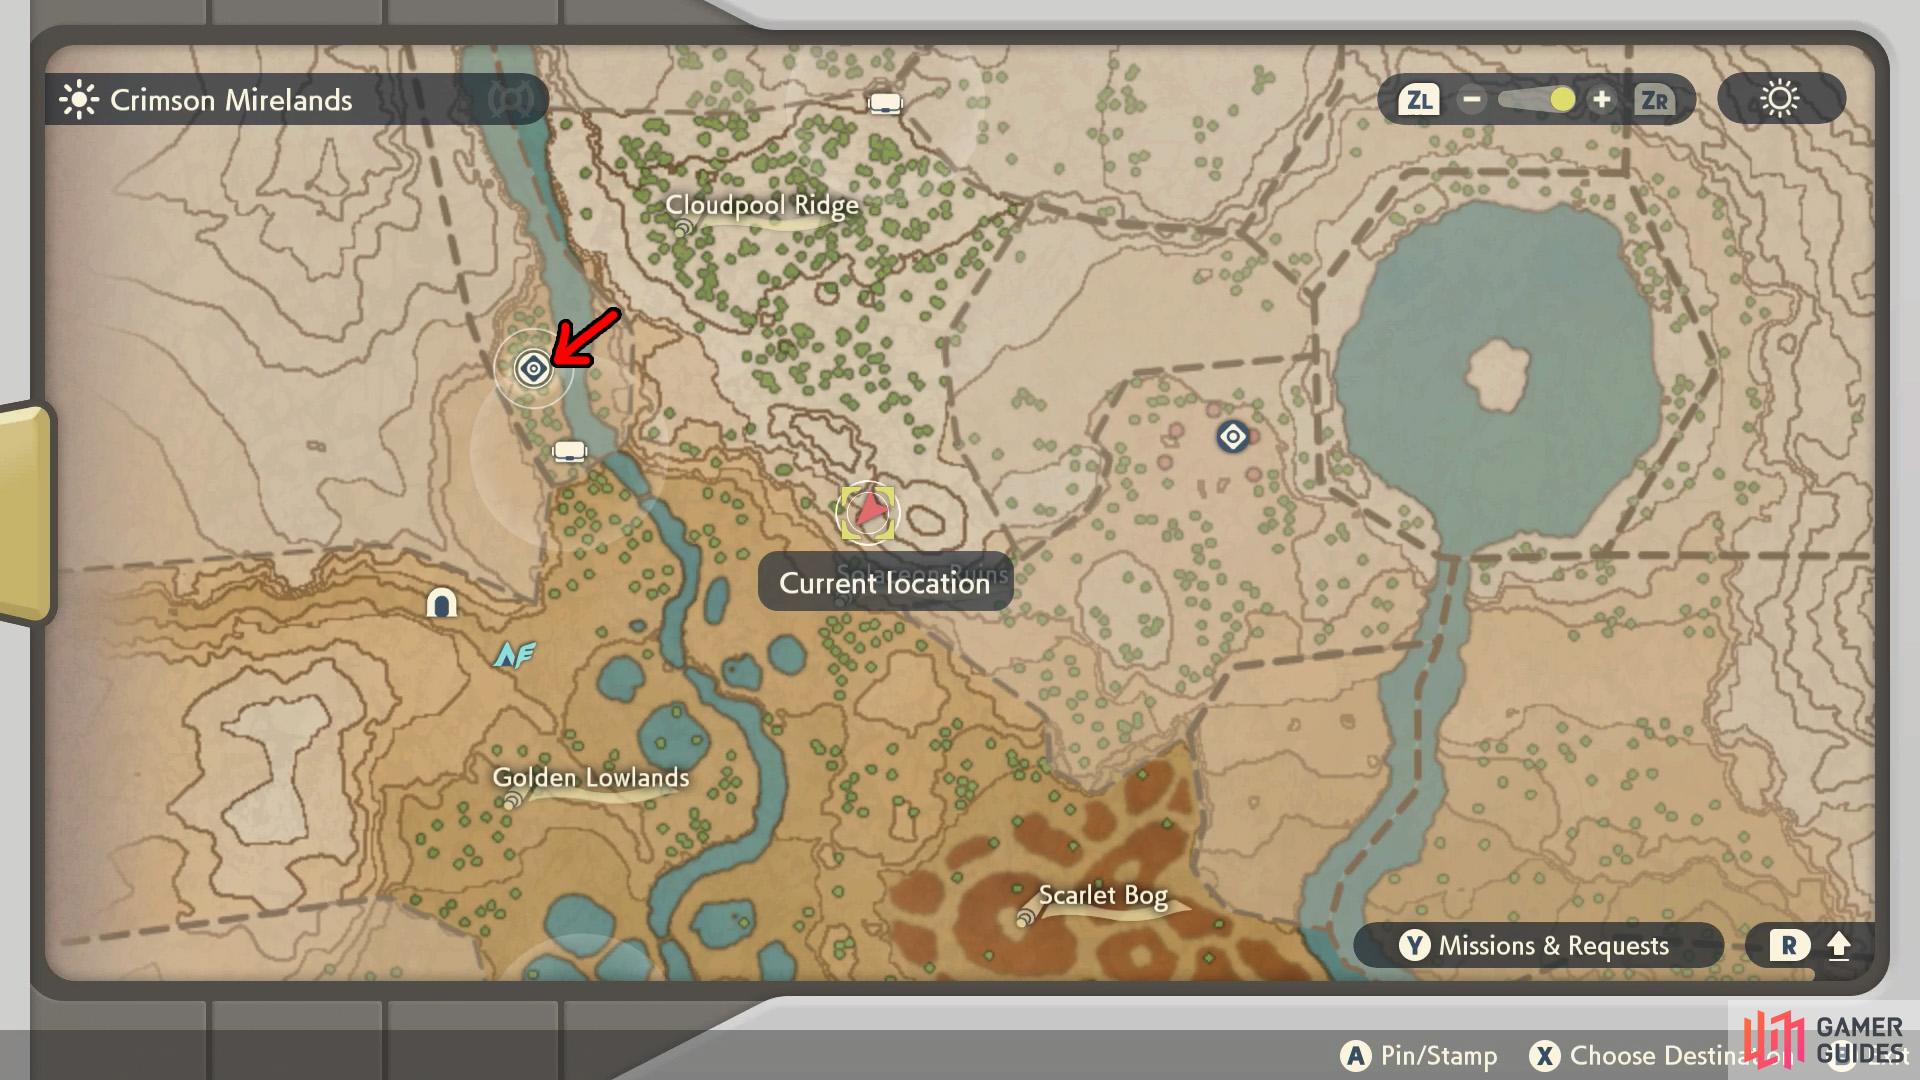
6. Head to the Sludge Mound
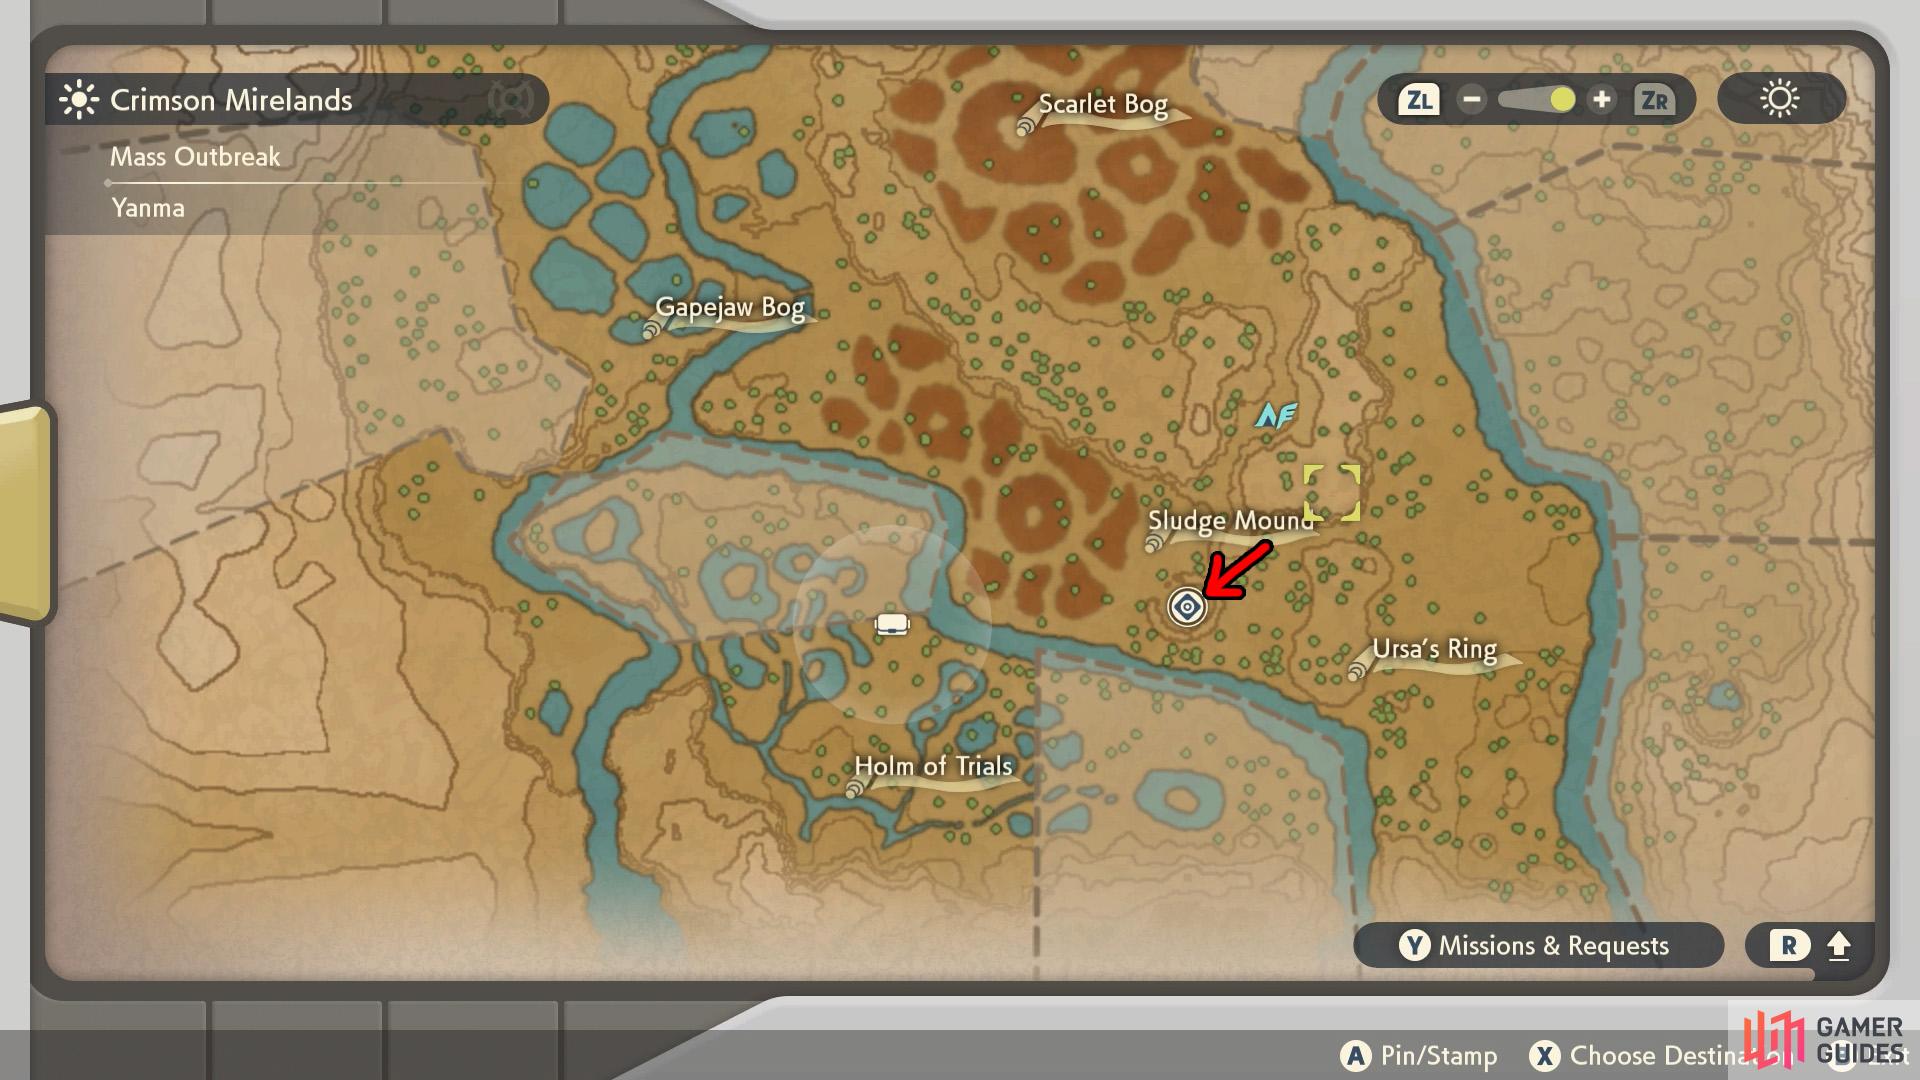
The Sludge Mound is located south from Solaceon Ruins.
This certainly looks like the next battlefield.
Now that Cabala is finally in a co-operative mood, we can finally return to the matter at hand: the frenzied Ursaluna. Cabala will go on ahead to the Sludge Mound, where Ursaluna resides. You can reach the Sludge Mound by traveling south, then south-east from the Solaceon Ruins. Be wary of an alpha  Tangrowth and
  Hippowdon along the way.
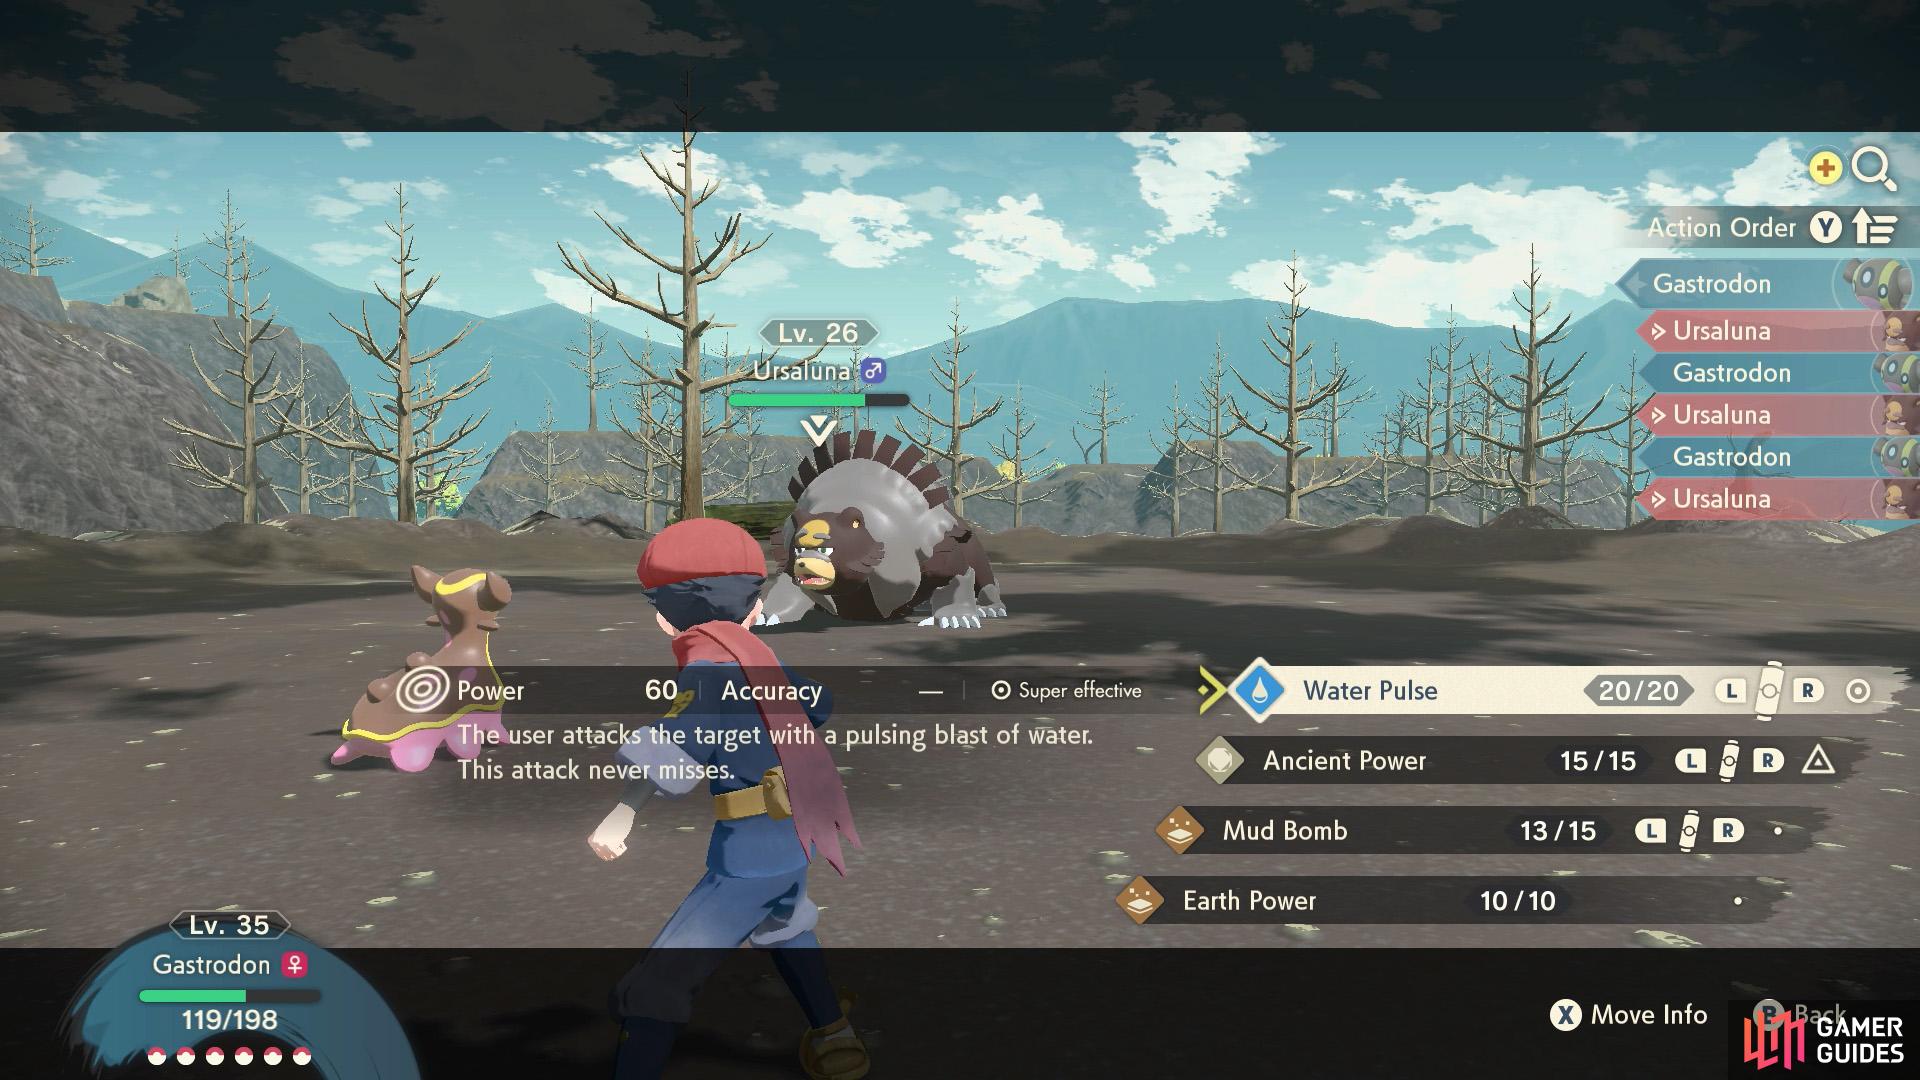
By the way, if you explored further ahead earlier and unlocked the Bogbound Camp, you can fast-travel there, then head a short distance south instead. In any case, Cabala will use her Celestica Flute to summon Ursaluna. Meawhile, it’ll be your task to deal with its rampage. Er, good luck?
Frenzied Pokémon(?)
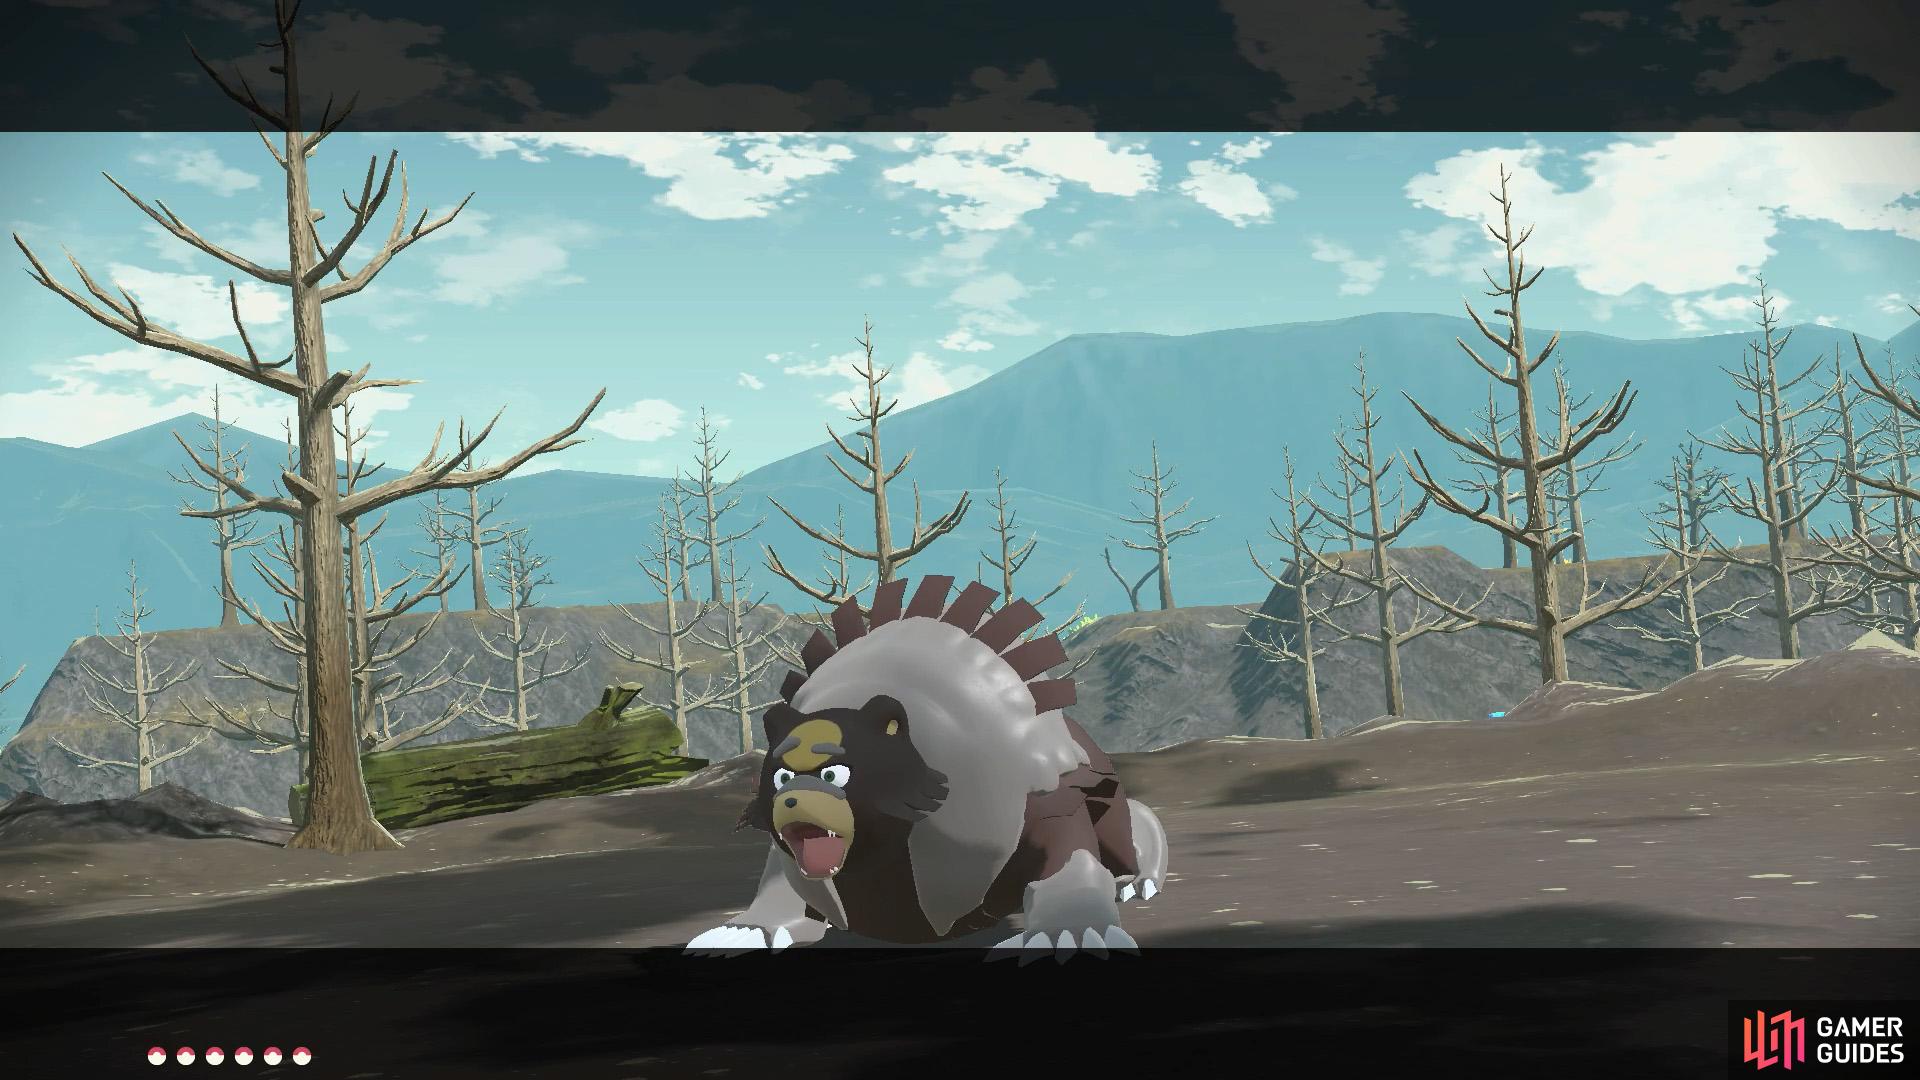
Ursaluna is a new evolution of Ursaring.
After playing in the mud for ages, it’s gained the Ground-type.
| Pokémon | Level | Type |
|---|---|---|
| Ursaluna | 26 |
Grass-types will have the easiest time here. Water-types should do well too. Flying-types are another valid option, since they’re immune to Ursaluna’s Ground moves. Easy peasy if you picked  Rowlet, who’s Grass and Flying!
After calming Ursaluna, you’ll be allowed to ride the grizzly bear.
7. Report to Commander Kamado

Kamado has another visitor, it seems.
How convenient that your new ride is the solution to this problem.
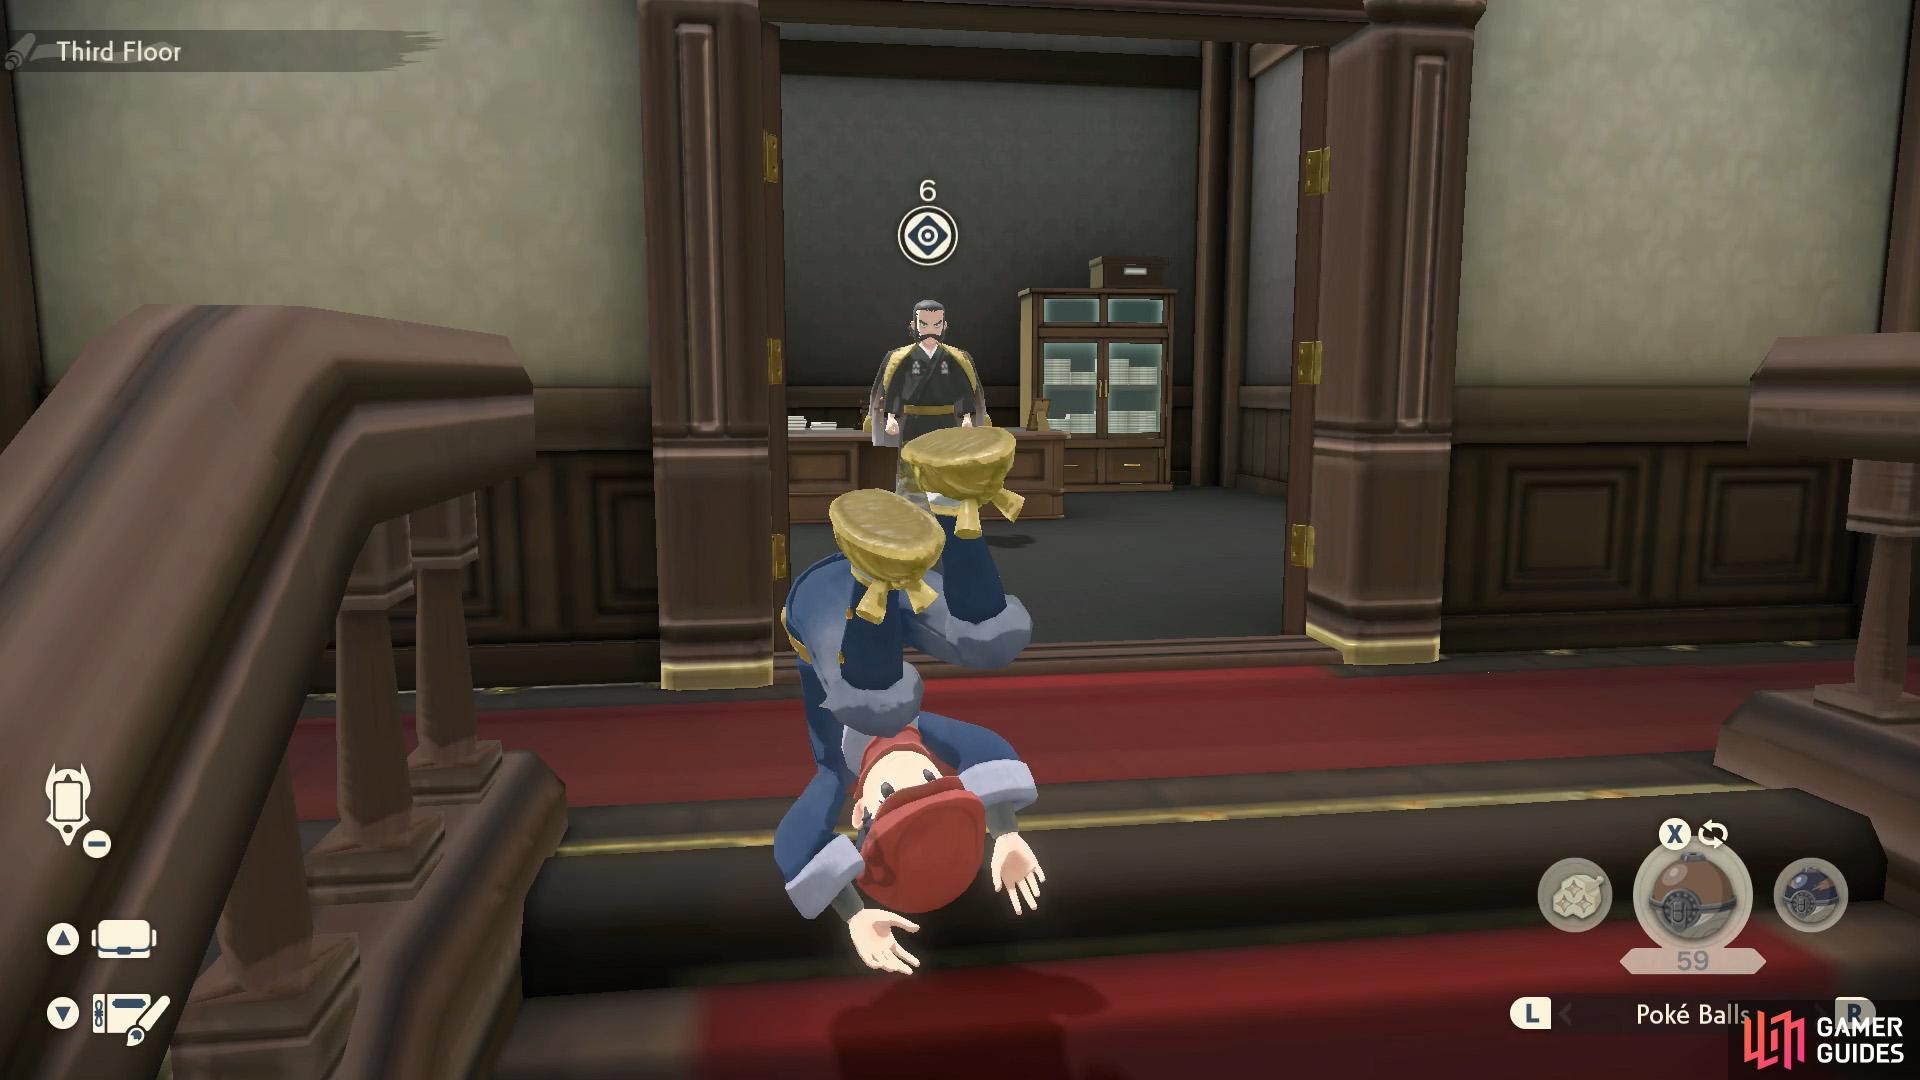
With your initial mission complete, leave the Crimson Mirelands whenever there’s a gap in your schedule. Then report your findings to Commander Kamado, who’s in his office on the third floor of Galaxy Hall. This time, Adaman from Diamond Clan will be visiting. It seems Ursaluna’s frenzy wasn’t the real problem…
8. Ride Ursaluna and Search for Arezu
Keep going in the direction where the blue radar reacts strongest.
Arezu is located north of Scarlet Bog.
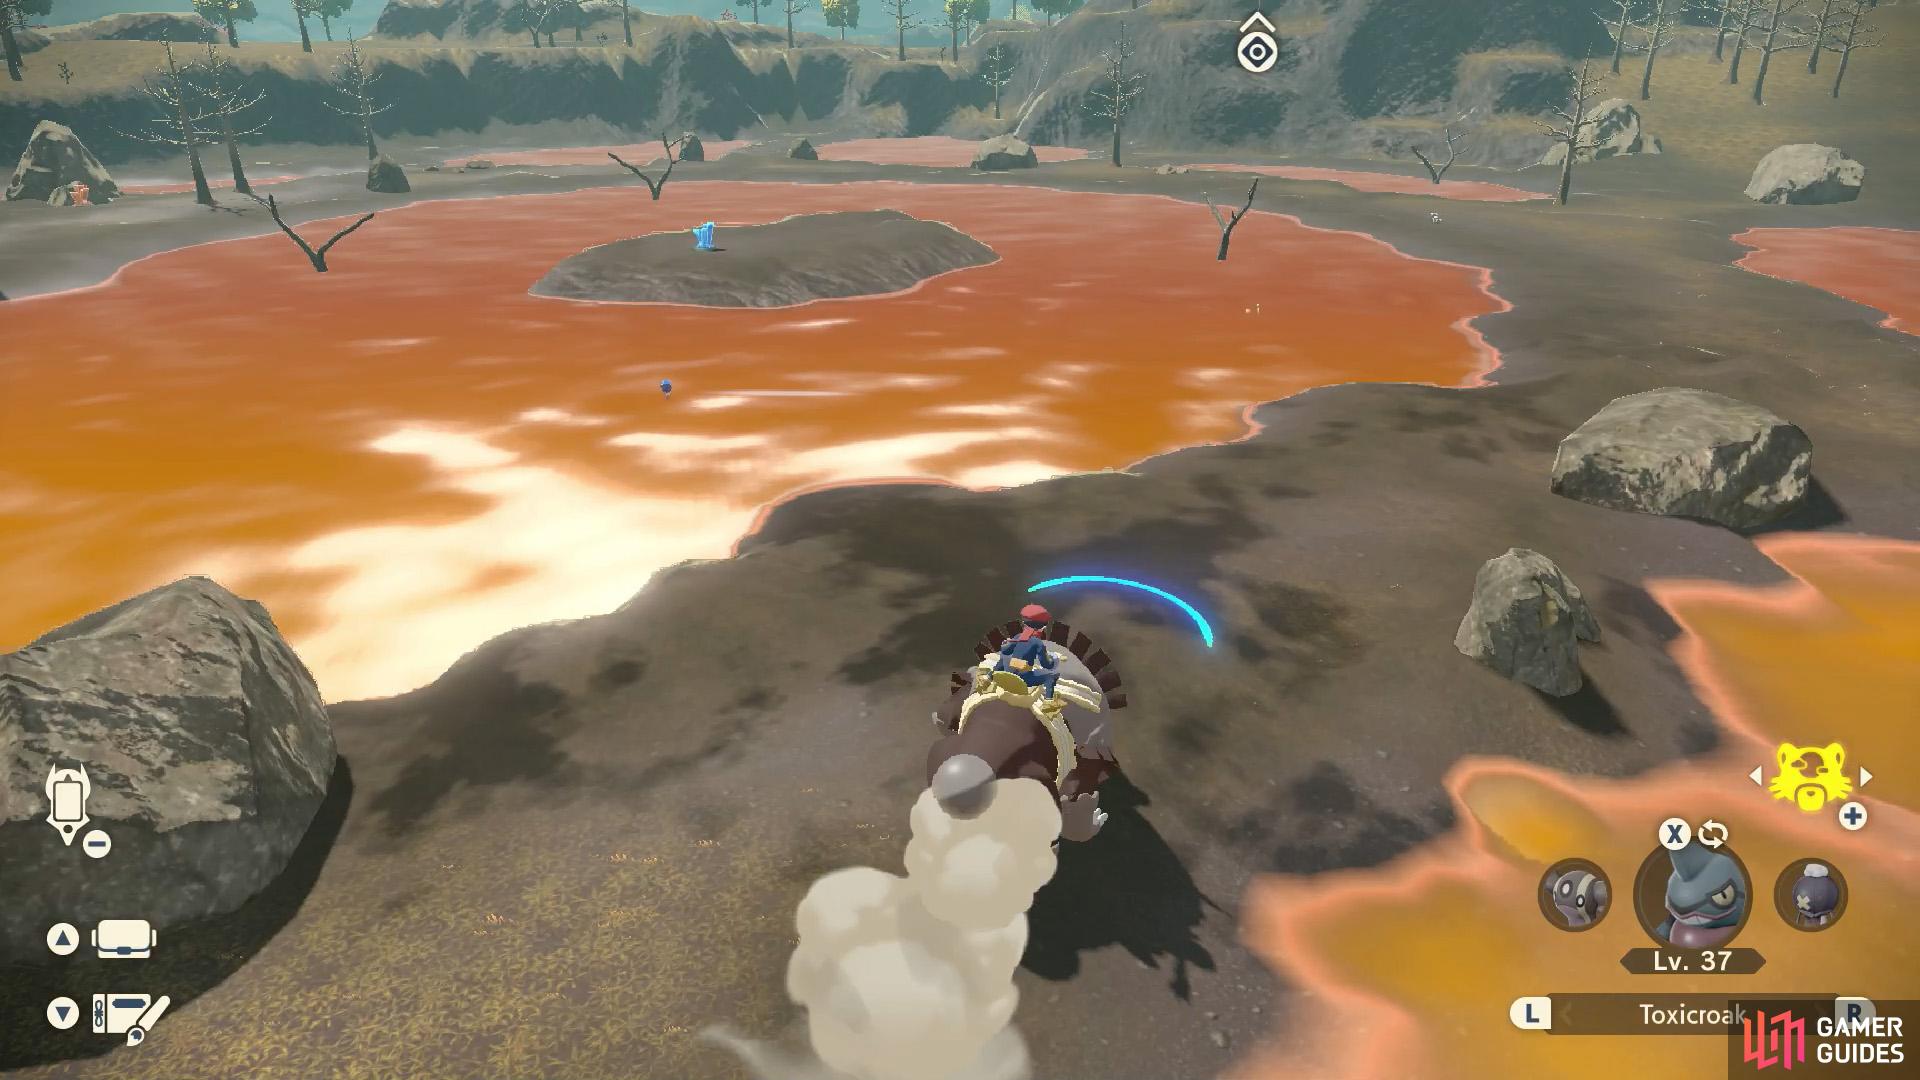
Depart for the Crimson Mirelands once more. If possible, enter via the Bogbound Camp. Regardless, when you arrive, you’ll be informed that Ursaluna can now pick up Arezu’s scent. This will be indicated by a blue radar in front of Ursaluna’s face. As it happens, the scent appears to originating north of the Sludge Mound.
If you arrived from the Bogbound Camp, you’ve got a headstart. Otherwise, you’ll need to make your way back to the Sludge Mound again. In any case, ride on Ursaluna through the Scarlet Bog, which is north-west from Bogbound Camp. Be mindful of an alpha  Skuntank near the center of the bog. Past the bog, you’ll find Arezu a short distance north.
9. Travel to the Brava Arena
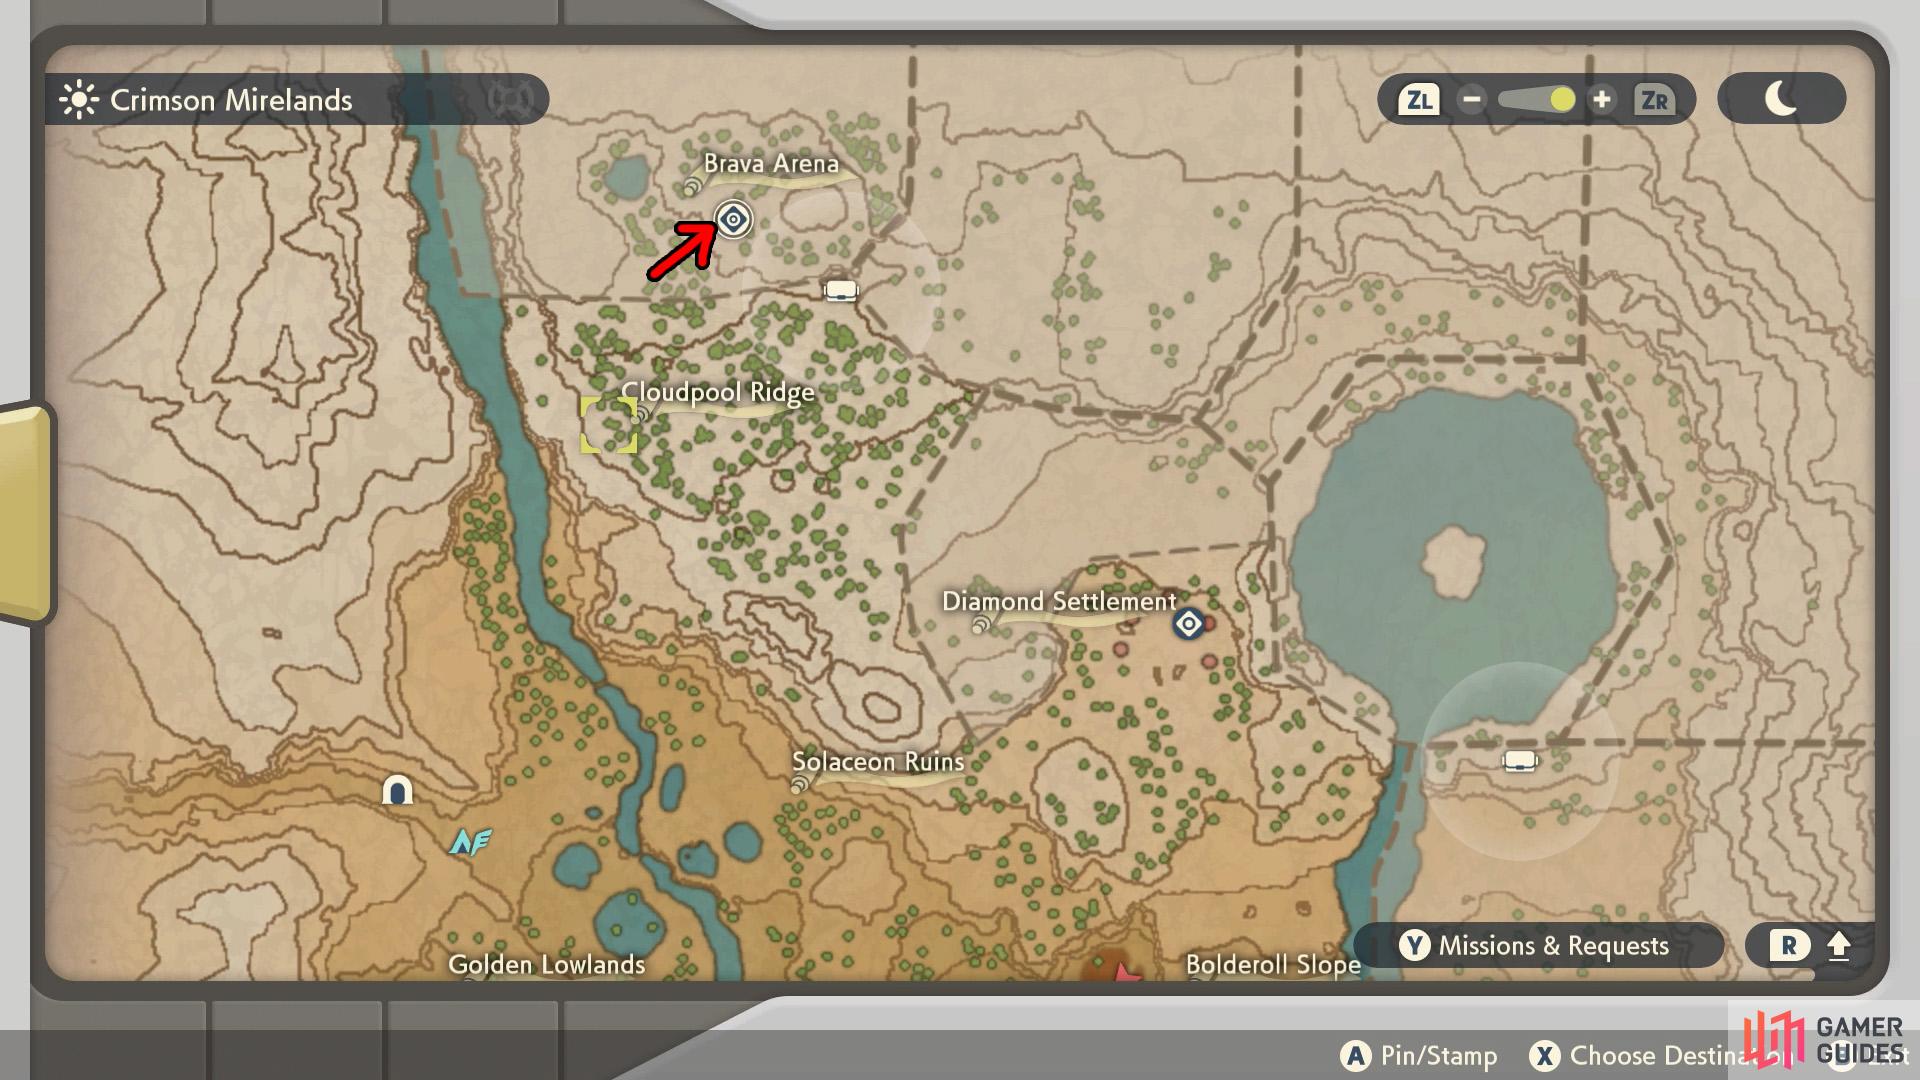
From Arezu’s position, there’s still a long way to Brava Arena.

Adaman will be patiently (impatiently?) waiting for your arrival.
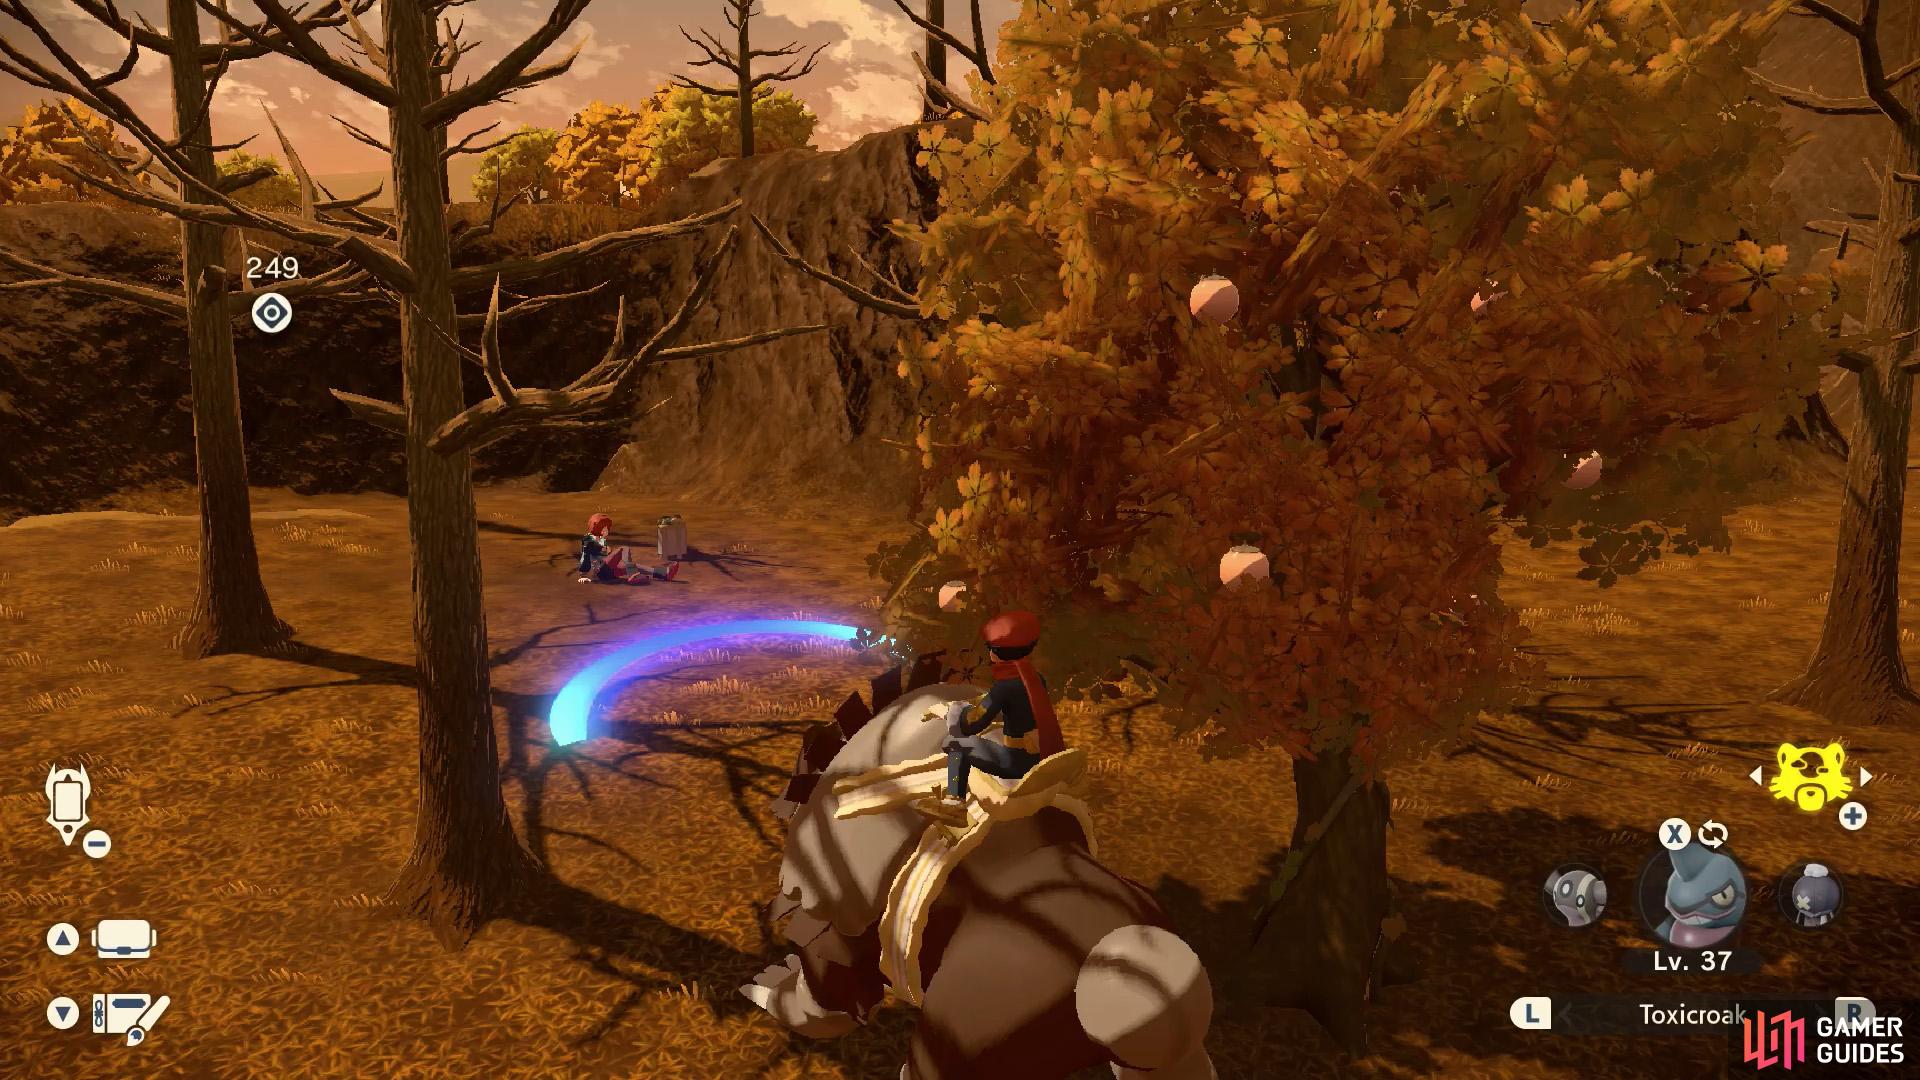
Adaman and Cabala will catch up to you and Arezu. After Adaman chews Arezu out, he’ll instruct you to visit the Brava Arena, further north. You might expect it’s just nearby, but actually there’s still a long ways to go. First, head east towards Bolderoll Slope. You’ll likely have to cut through the Scarlet Bog again. Ascend the slope towards the Diamond Settlement.
Take a moment to rest if necessary; the Diamond Settlement is a fast-travel spot, so you can leave and easily come back. Once you’re prepared, travel north-west through Diamond Heath and into Cloudpool Ridge. Finally, proceed north towards a staircase that leads to the Brava Arena. There, Adaman is waiting for you.
10. Battle Noble Lilligant
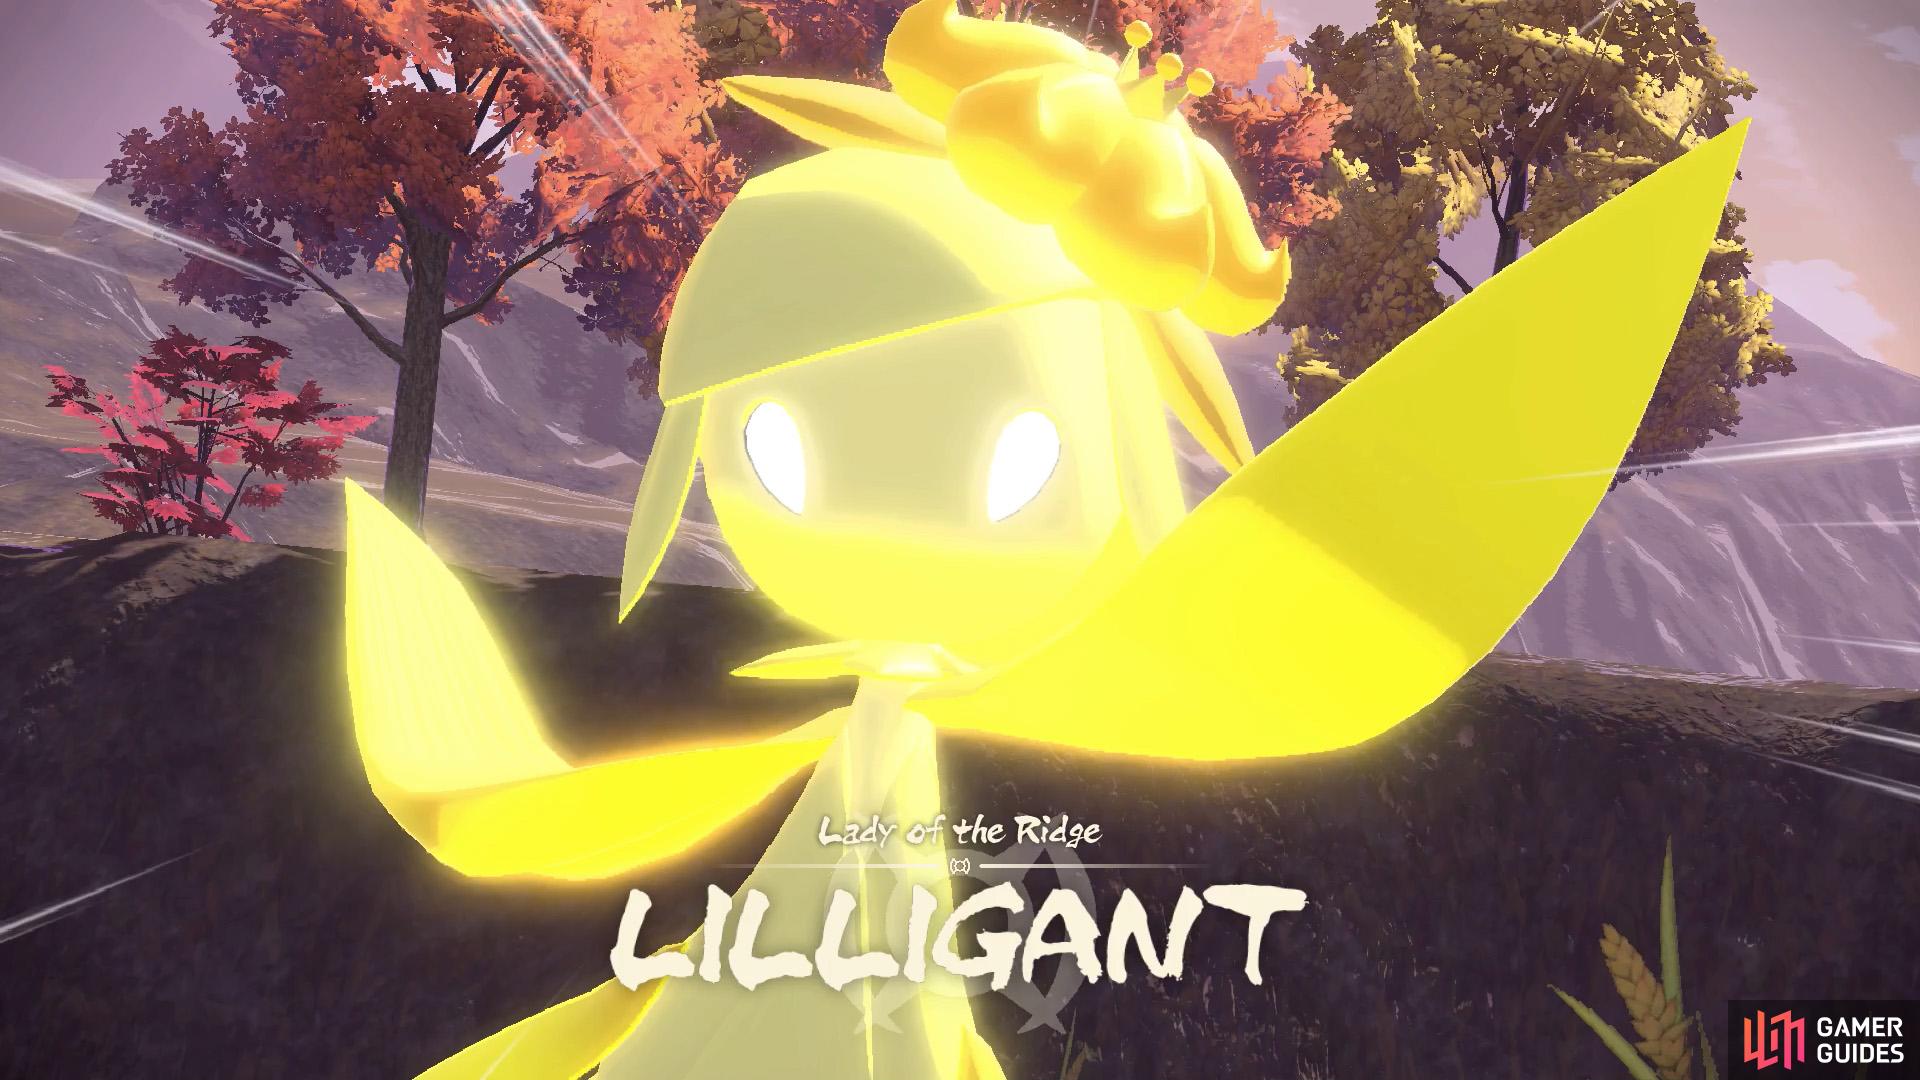
Lilligant is the second Noble you’ll face.
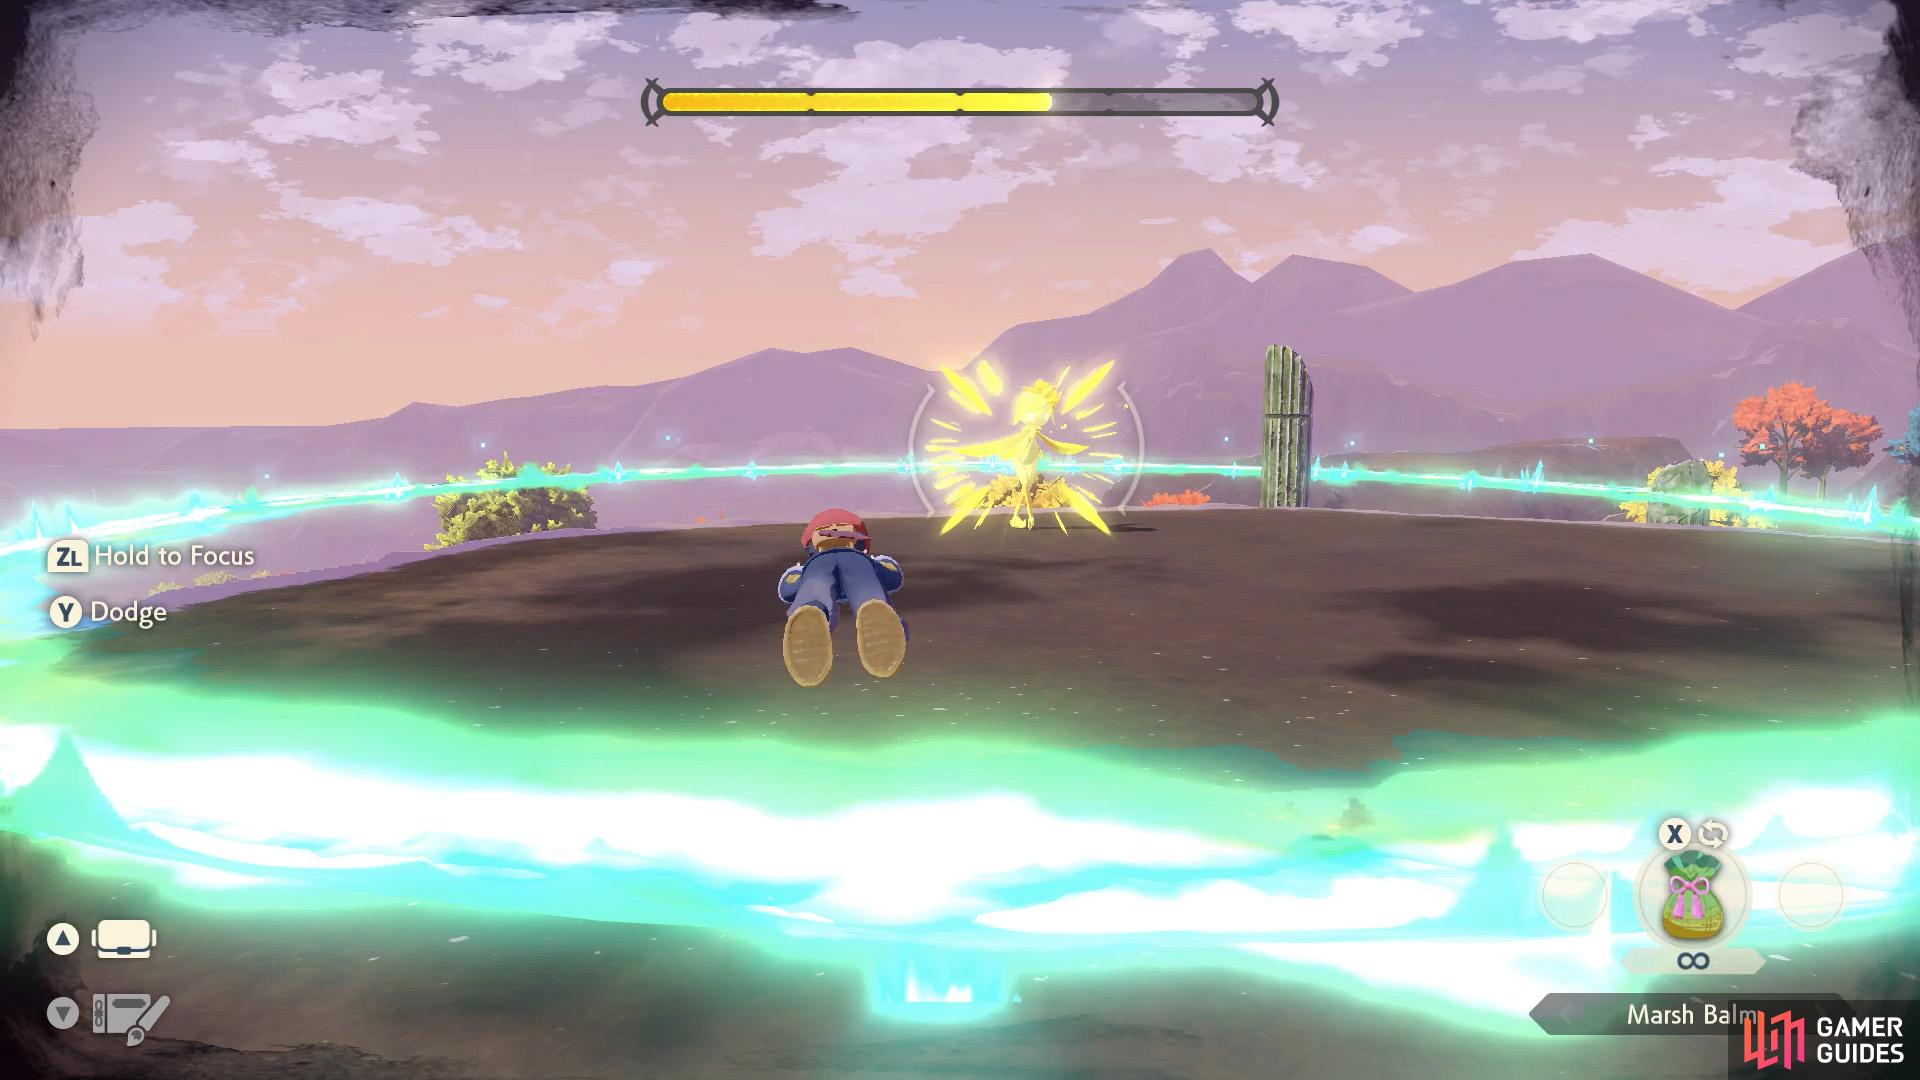
You must use the i-frames during dodging to avoid Lilligant’s attacks.
As you learned, Ursaluna’s frenzy was caused by the dust from this frenzied Noble. To guarantee peace in the mirelands, you’ll have to pull out all the stops to calm the Lady of the Ridge.
After  Lilligant regains her senses, she’ll give you the Meadow Plate.
11. Bring Good News to Commander Kamado
It’s important to make a grand entrance.

Well done on another successful mission!
If you’ve go no other plans, return to Jubilife Village. As you enter, Beni will remark on his small part in ensuring victory. Yeah, but who did most of the hard work, huh? Anyway, enter Galaxy Hall, directly ahead. Inside, walk/run/roll your way into Kamado’s office on the third floor (we chose to roll). Kamado will applaud your success and your mission will end.
Later, you’ll dine with your colleagues at the Wallflower. Akari/Rei will teach you another useful recipe, to make Scatter Bangs. Tired of annoying Paras chasing you down? Throw a bunch of these to scare ’em away.
No Comments