
This is a walkthrough for Stark Mountain, including what Pokémon you can encounter and items you can find.
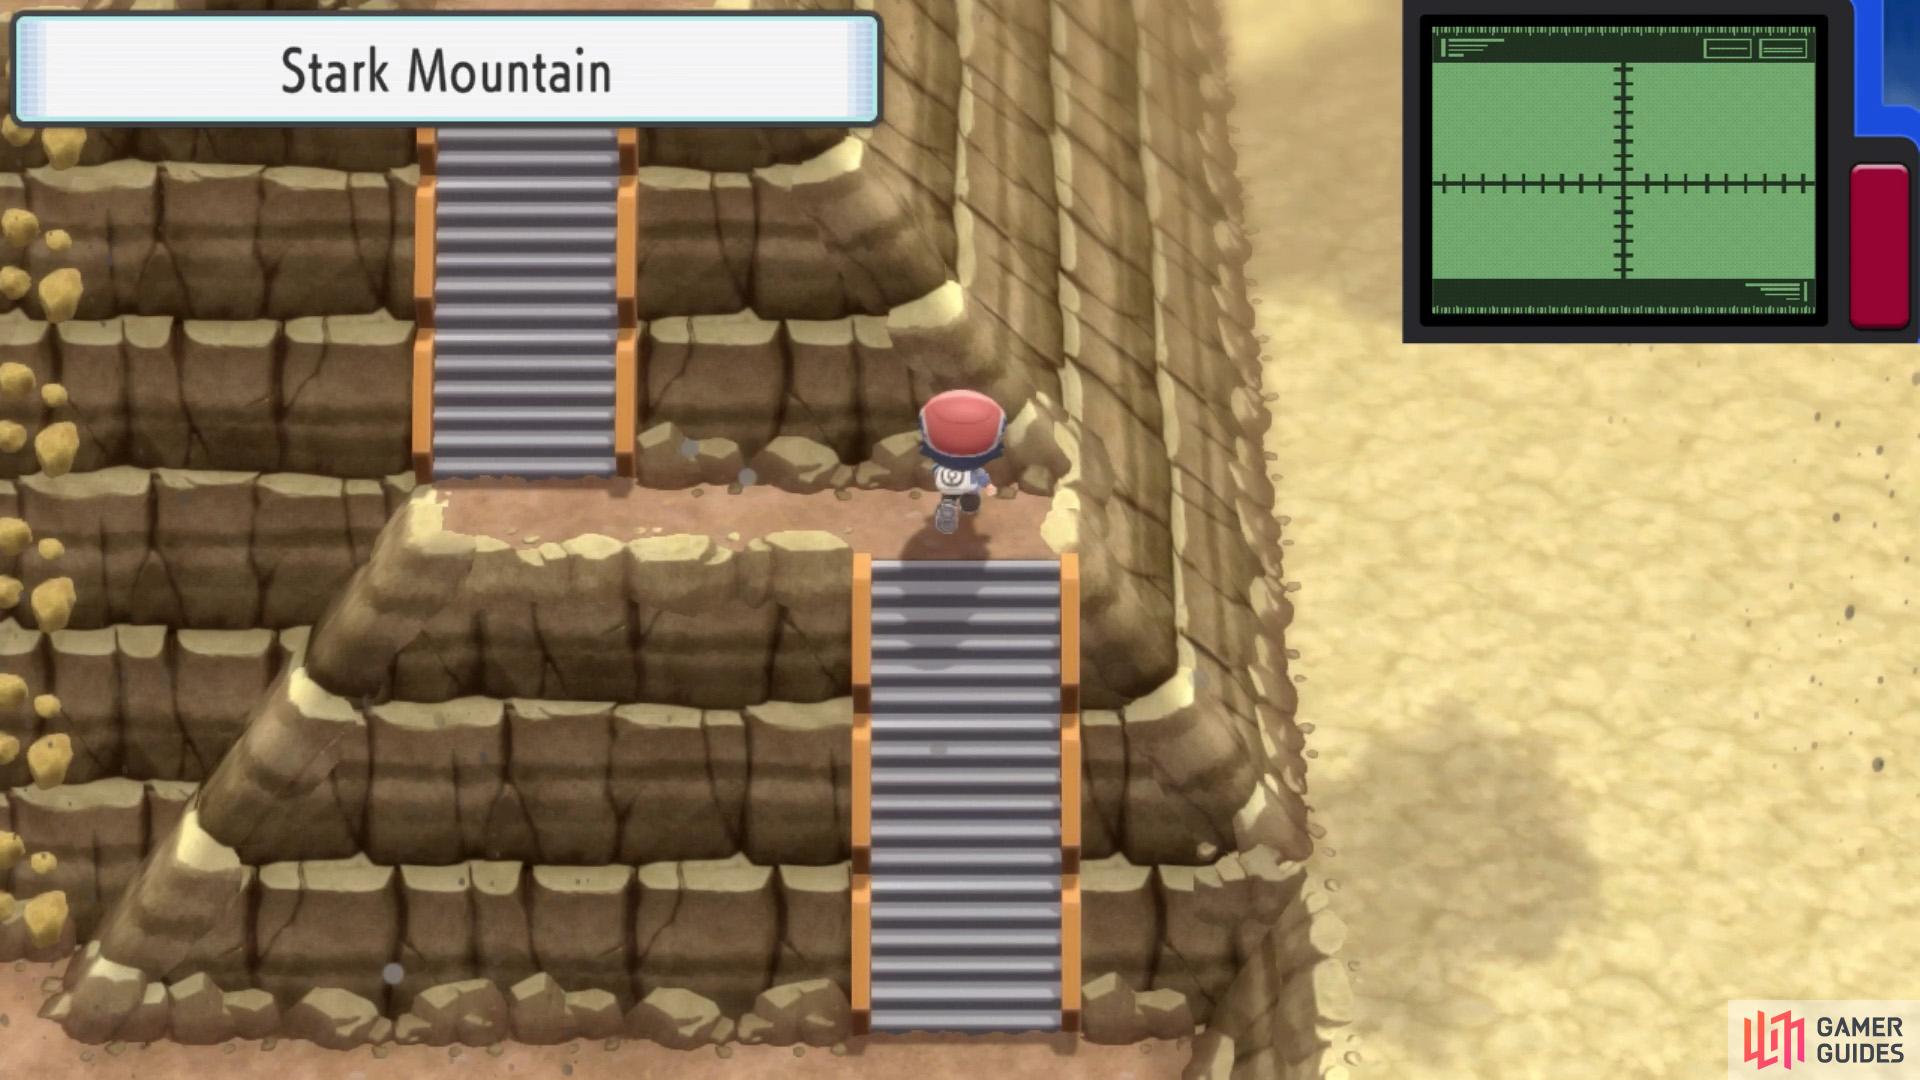
Stark Mountain.
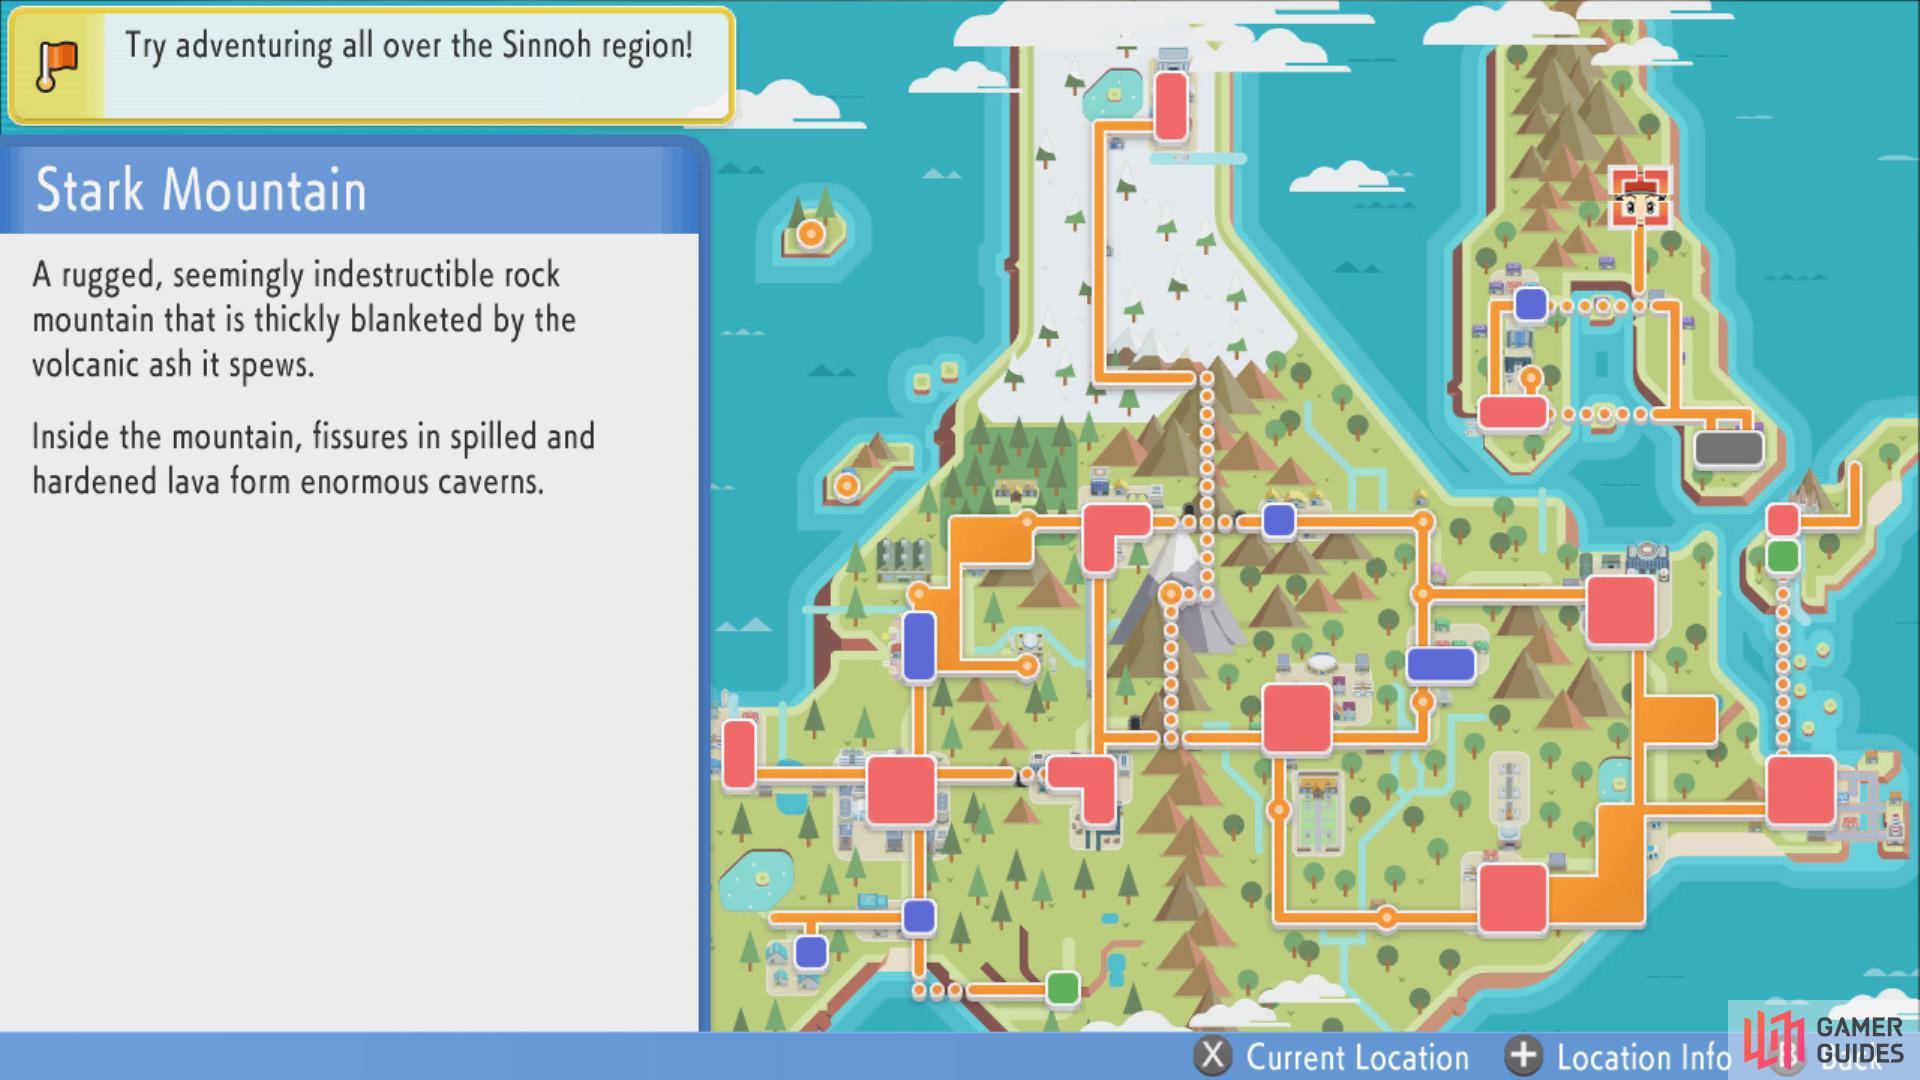
It’s a volcano located at the north end of the Battle Zone.
Stark Mountain is a postgame dungeon accessible by heading north from Route 227. In the deepest cavern, the Legendary Pokémon  Heatran resides.
Pokémon Trainer Buck (Ally)
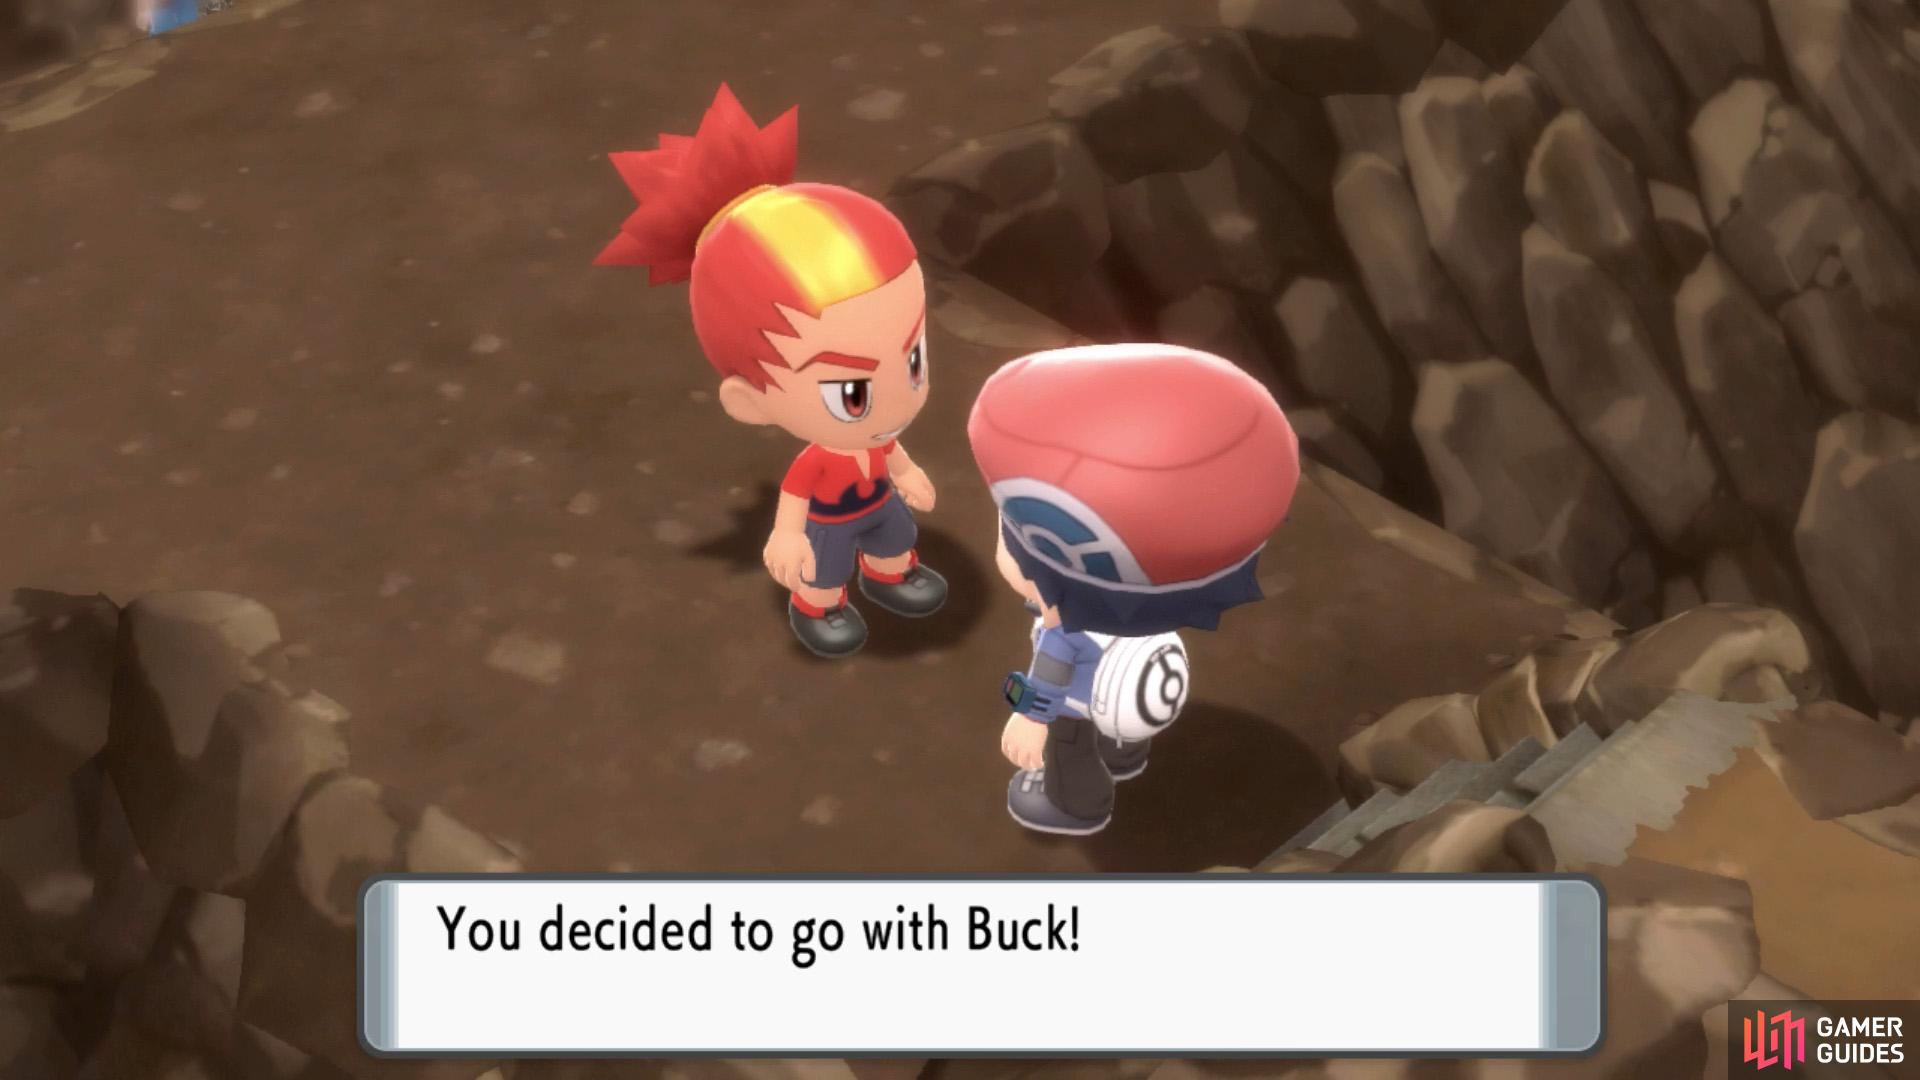
Well, he doesn’t really give you much choice…
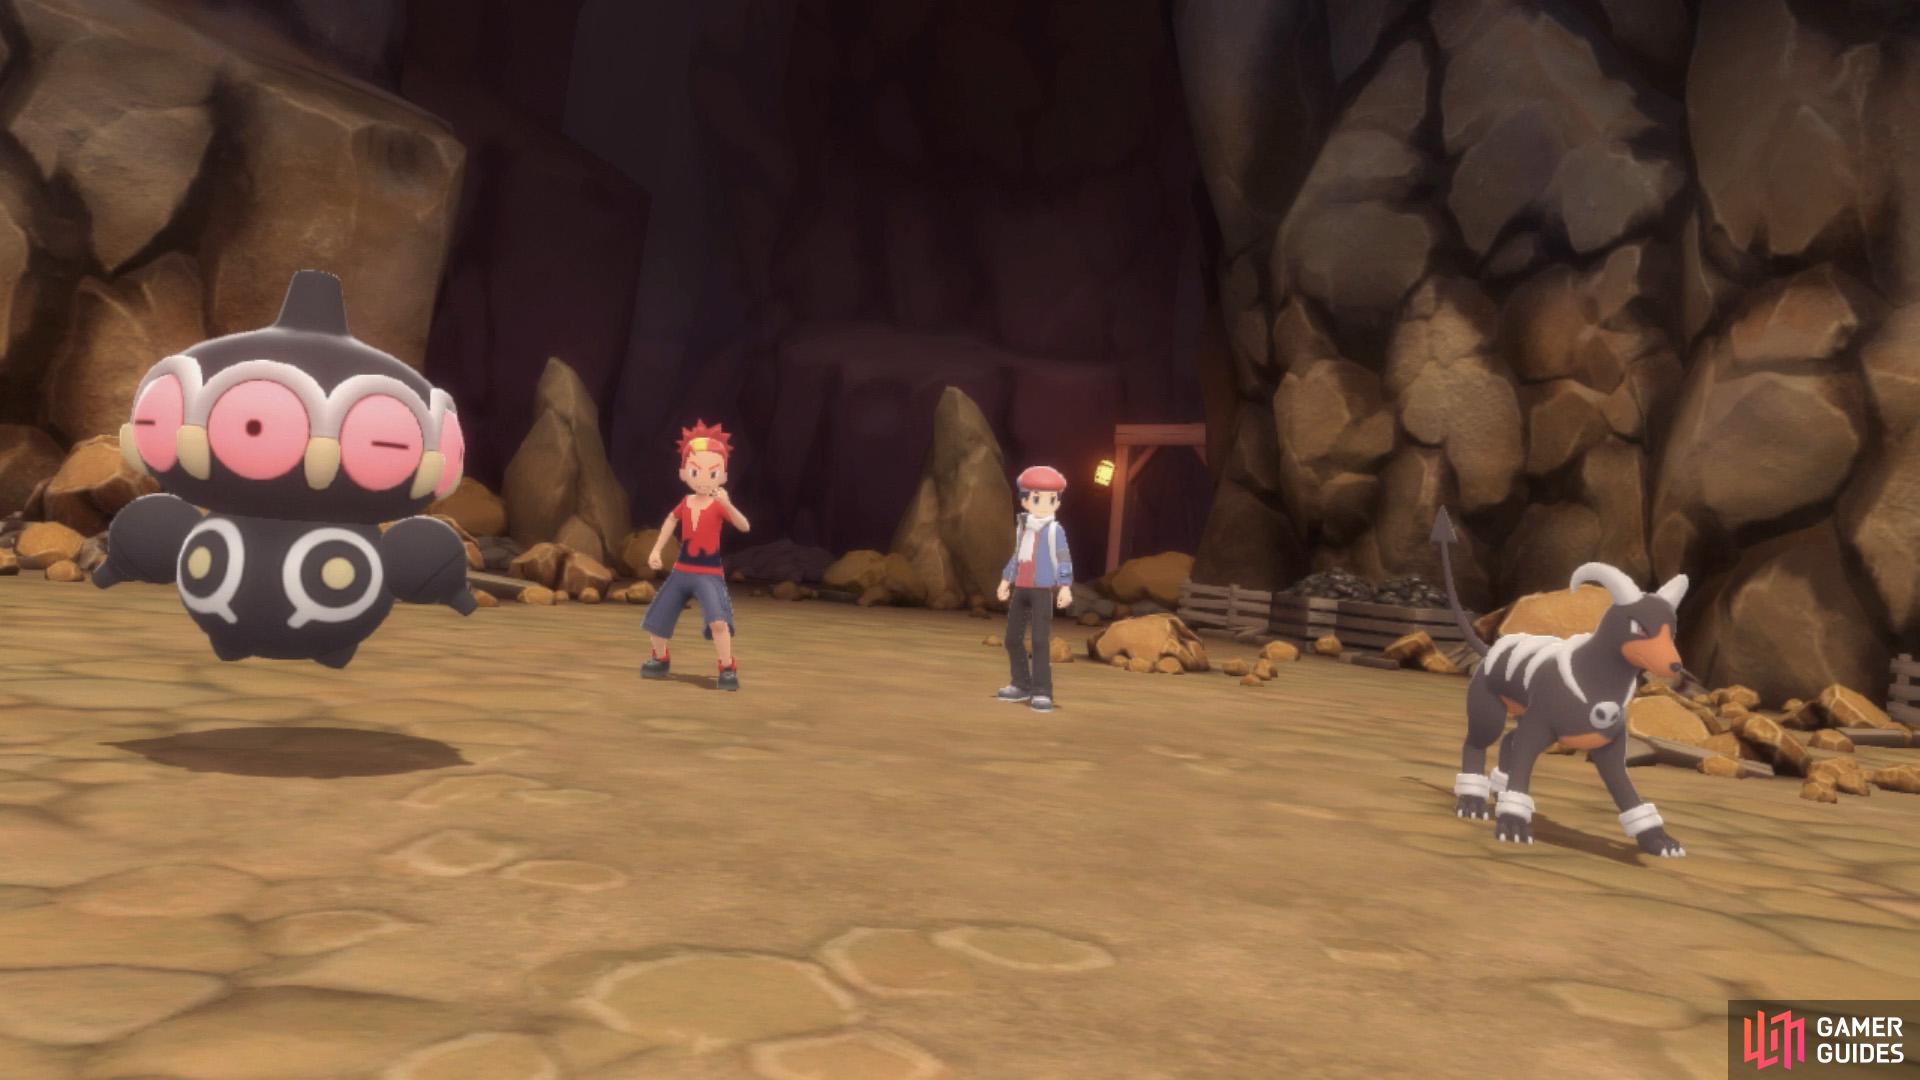
Buck assists with Claydol and free healing!
| Pokémon | Level | Type |
|---|---|---|
  Claydol Claydol |
58 |
When you enter the main area, Buck will join your entourage. While Buck is present, all wild Pokémon encounters will feature two Pokémon at once, with Buck assisting as Player 2. Likewise, he will assist as Player 2 during Double Battles with other trainers.
Just like previous allies, Buck will fully restore your party after every single fight. Which is useful since you’re pretty far from civilization right now. Buck will permanently leave when you reach the exit to the far north.
Stark Mountain - Exterior
Take a left first, before going up the stairs.
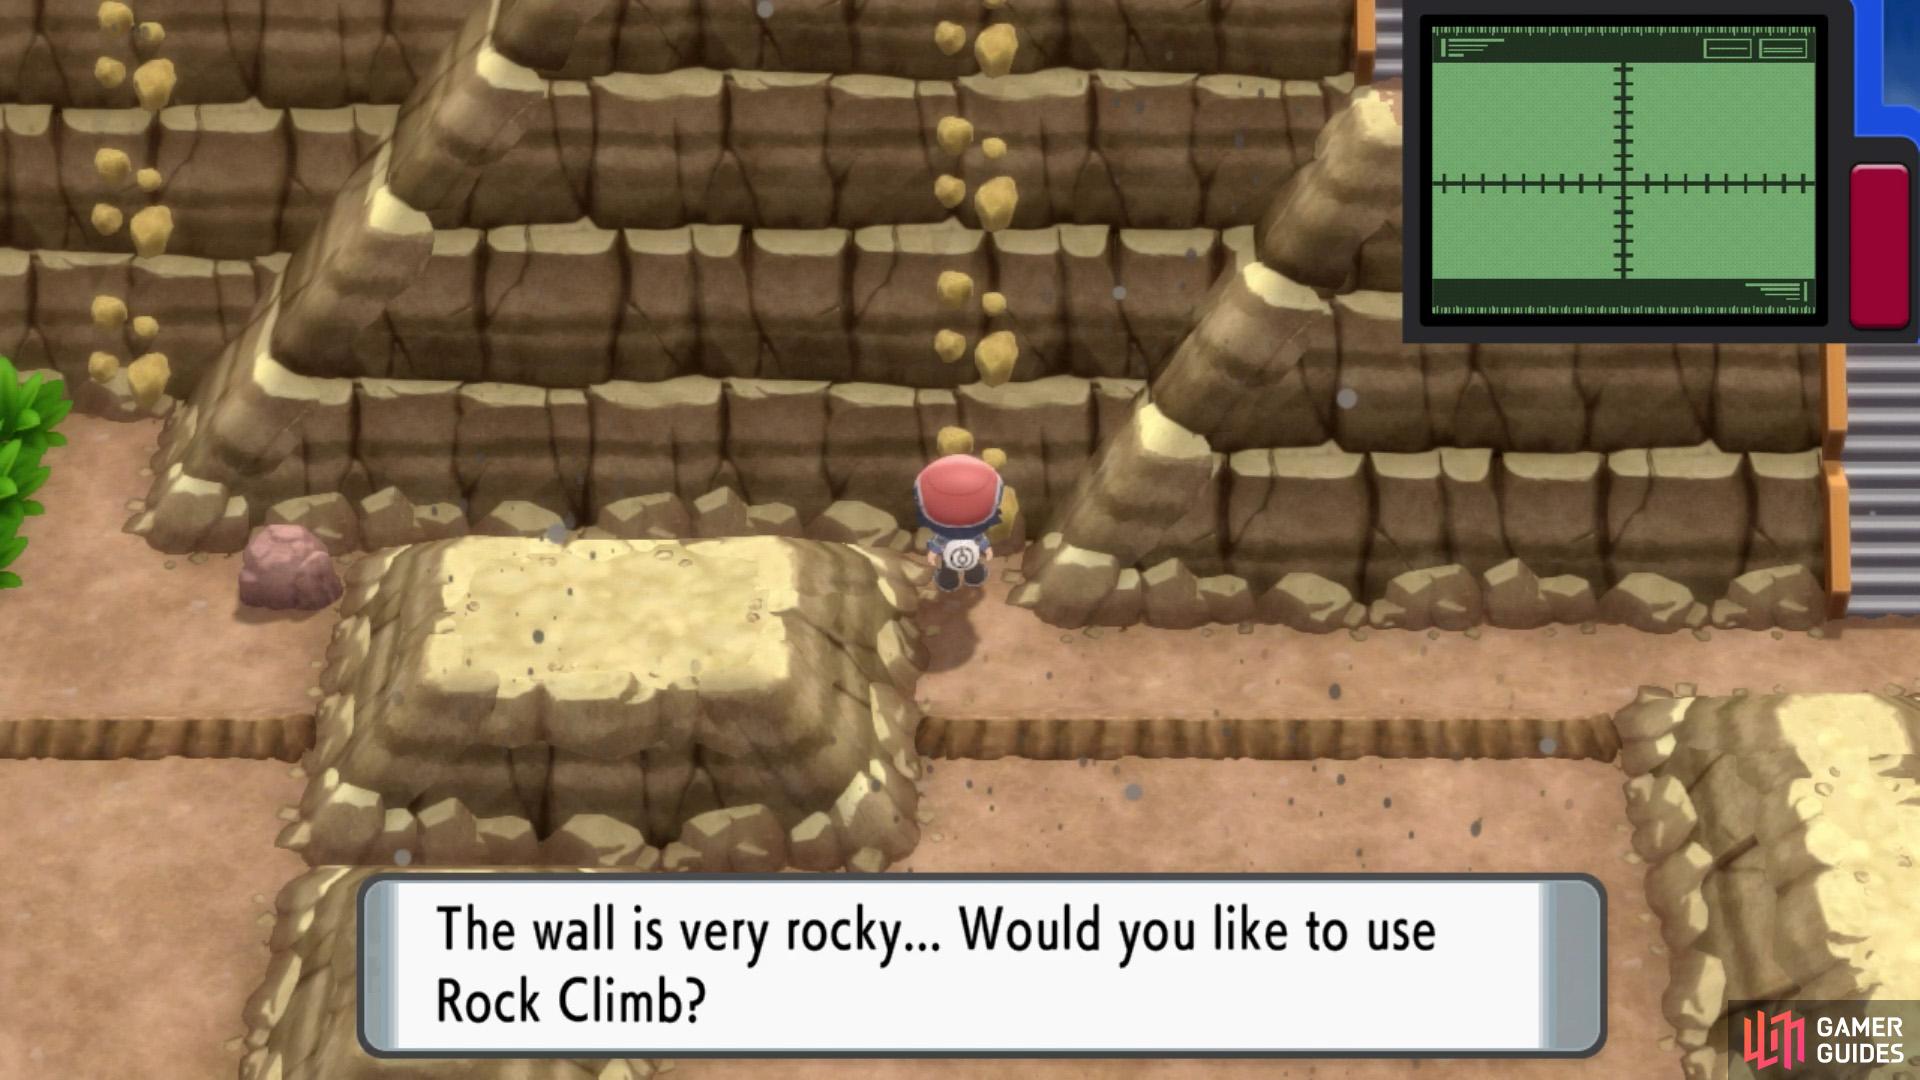
Afterwards, go up the stairs, towards the cave entrance.
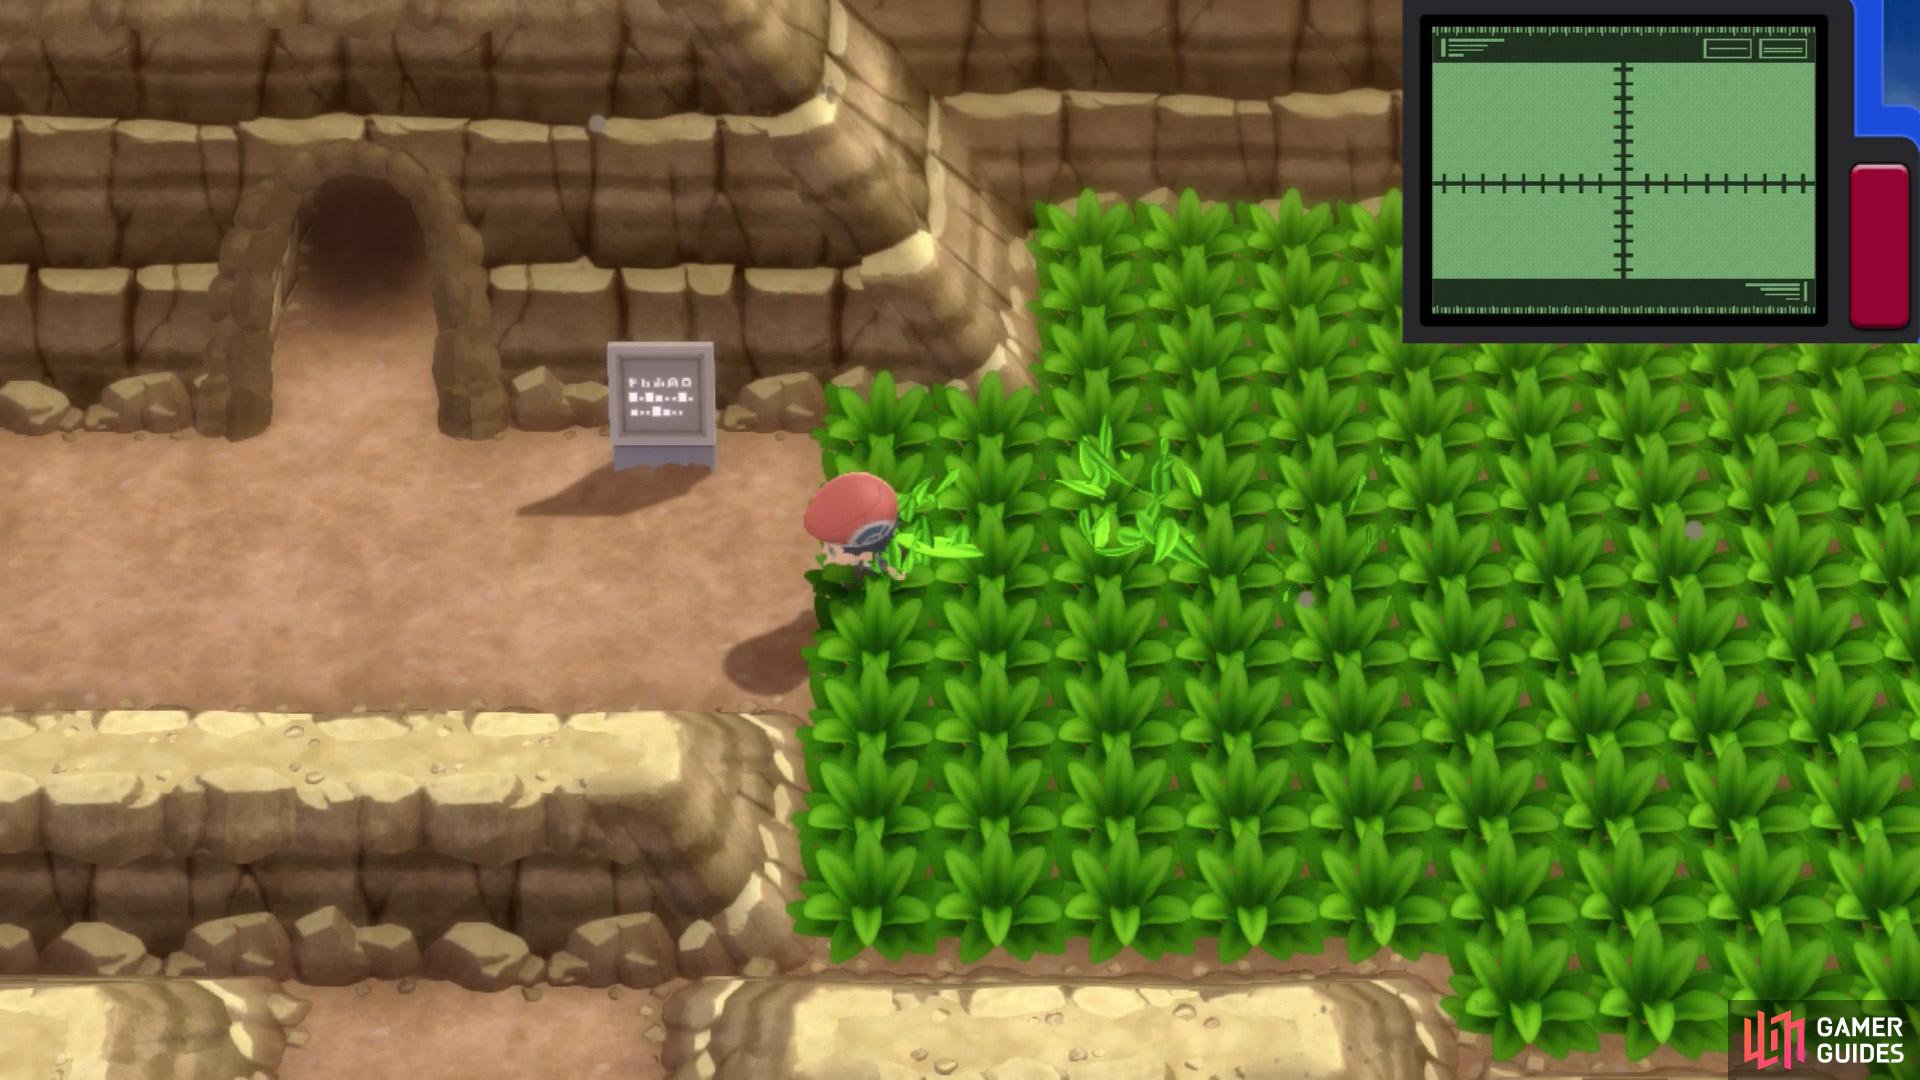
Upon arriving from Route 227, you’ll be near the south-east corner. Ahead, there are two flights of stairs, leading further up the mountain. For the time being, ignore the stairs and head left, along the ledge. Rock Climb up and fight past the Dragon Tamer. Next, Rock Climb down on his left. Go through the small patch of tall grass on the left.
Rock Climb up the next wall, then grab the Life Orb from the floor, before climbing back down. Head south back to Route 227 and hop over the ledge. Search the nearby rock for a hidden Protein. From here, make your way east back towards the start of Stark Mountain. Then ascend the two staircases. Up here, check the top-right corner of the grassy field for an Ether. Finally, head west and go inside the cave to Stark Mountain proper.
Wild Pokémon - Exterior
Same as Route 227, but  Spinda will not appear during Mass Outbreaks.
Item Locations (Exterior)
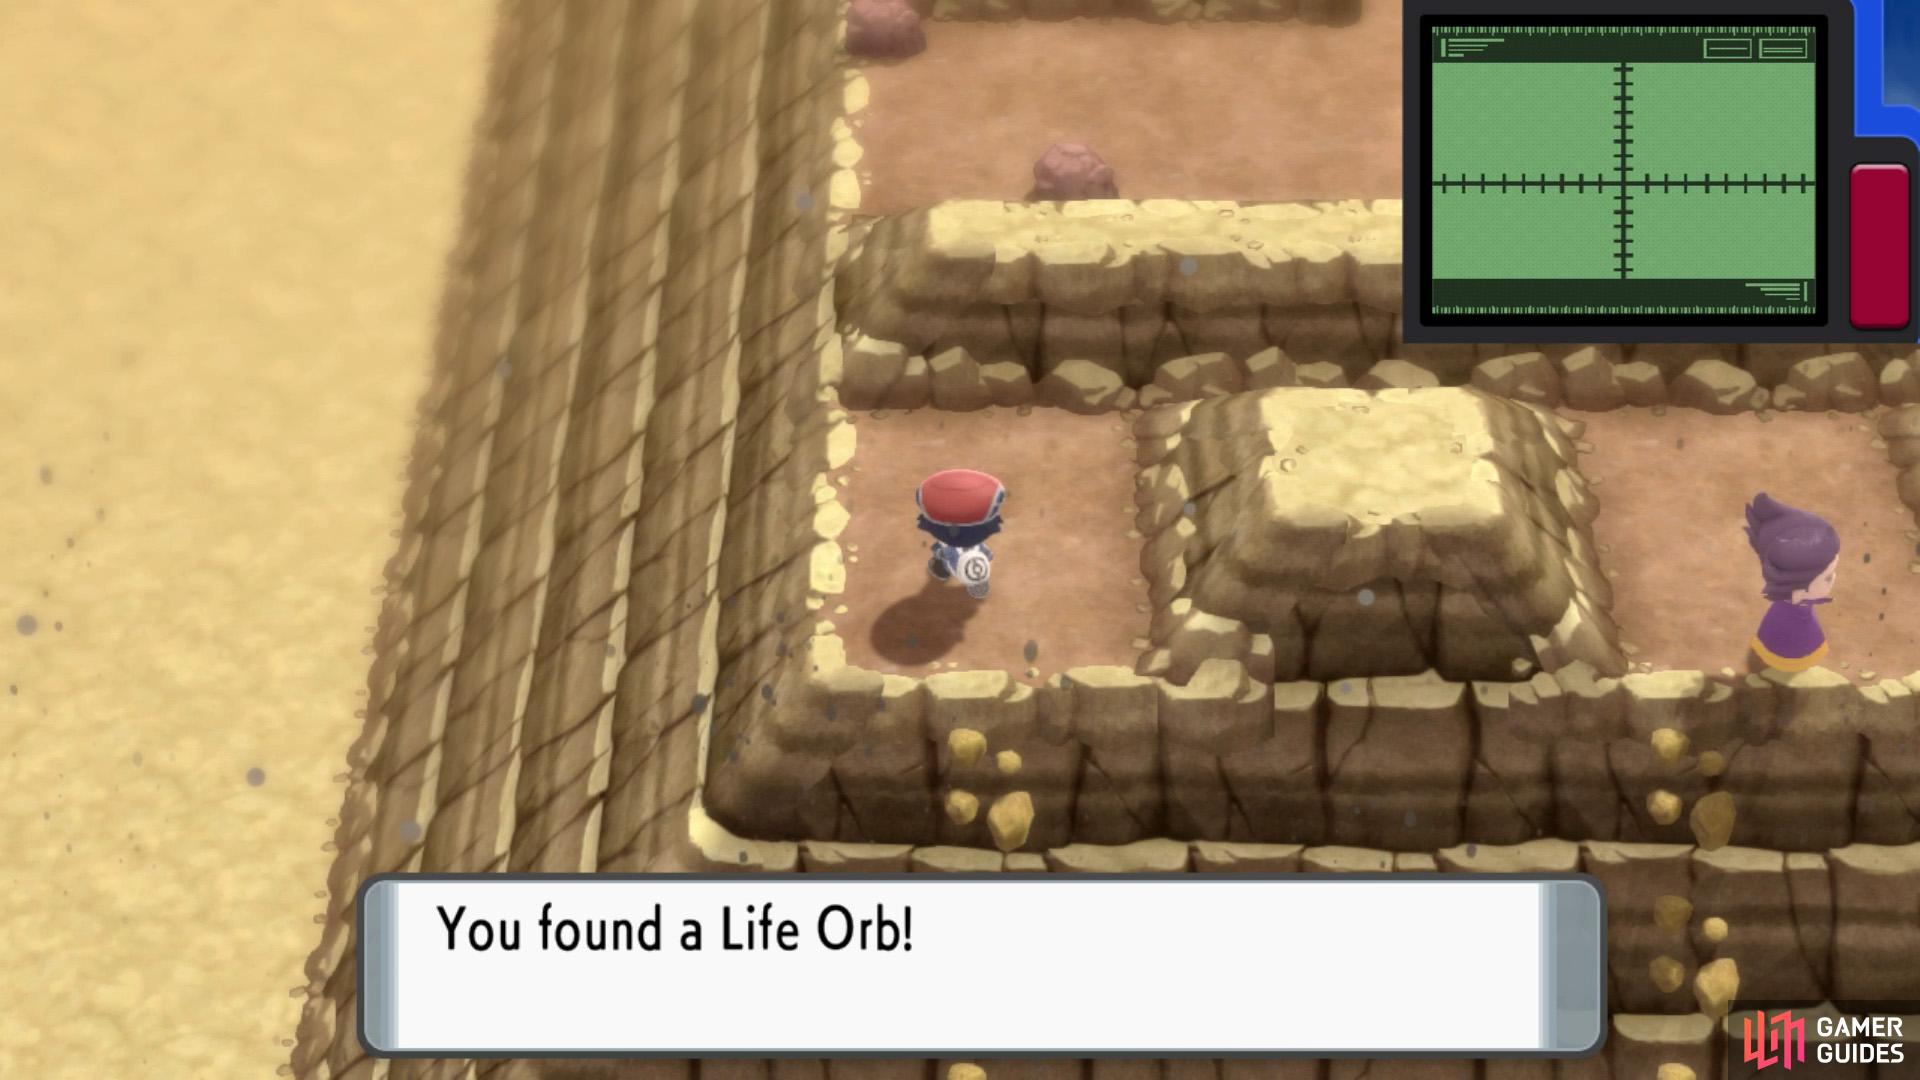
Life Orb.
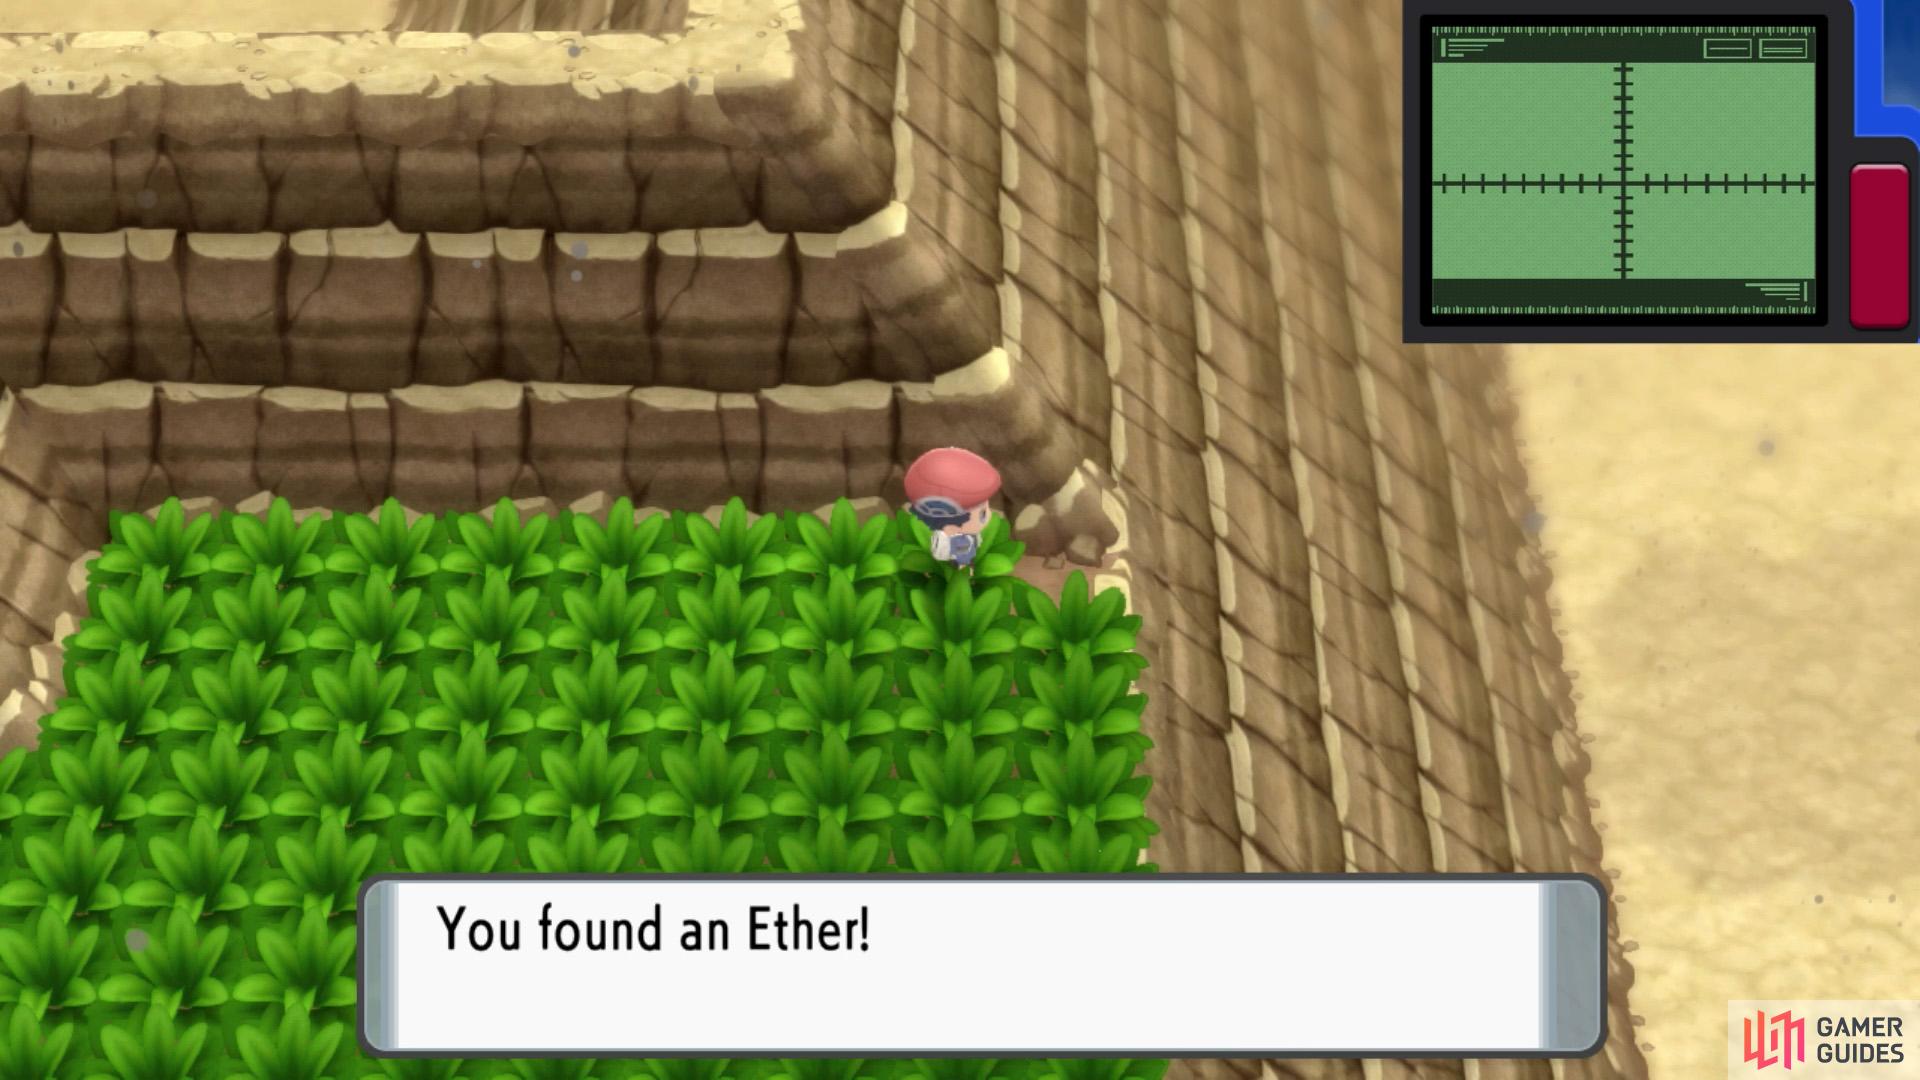
Ether.
| Item | Location |
|---|---|
| Ether | At the north-east corner, where the big grass field is. |
| Life Orb | Towards the west. Before going up the stairs near the start, head west and Rock Climb up and down along the wall three times. |
Dragon Tamer Darien
| Pokémon | Level | Type |
|---|---|---|
  Gyarados Gyarados |
60 |
Stark Mountain - Entrance
Map (Entrance)
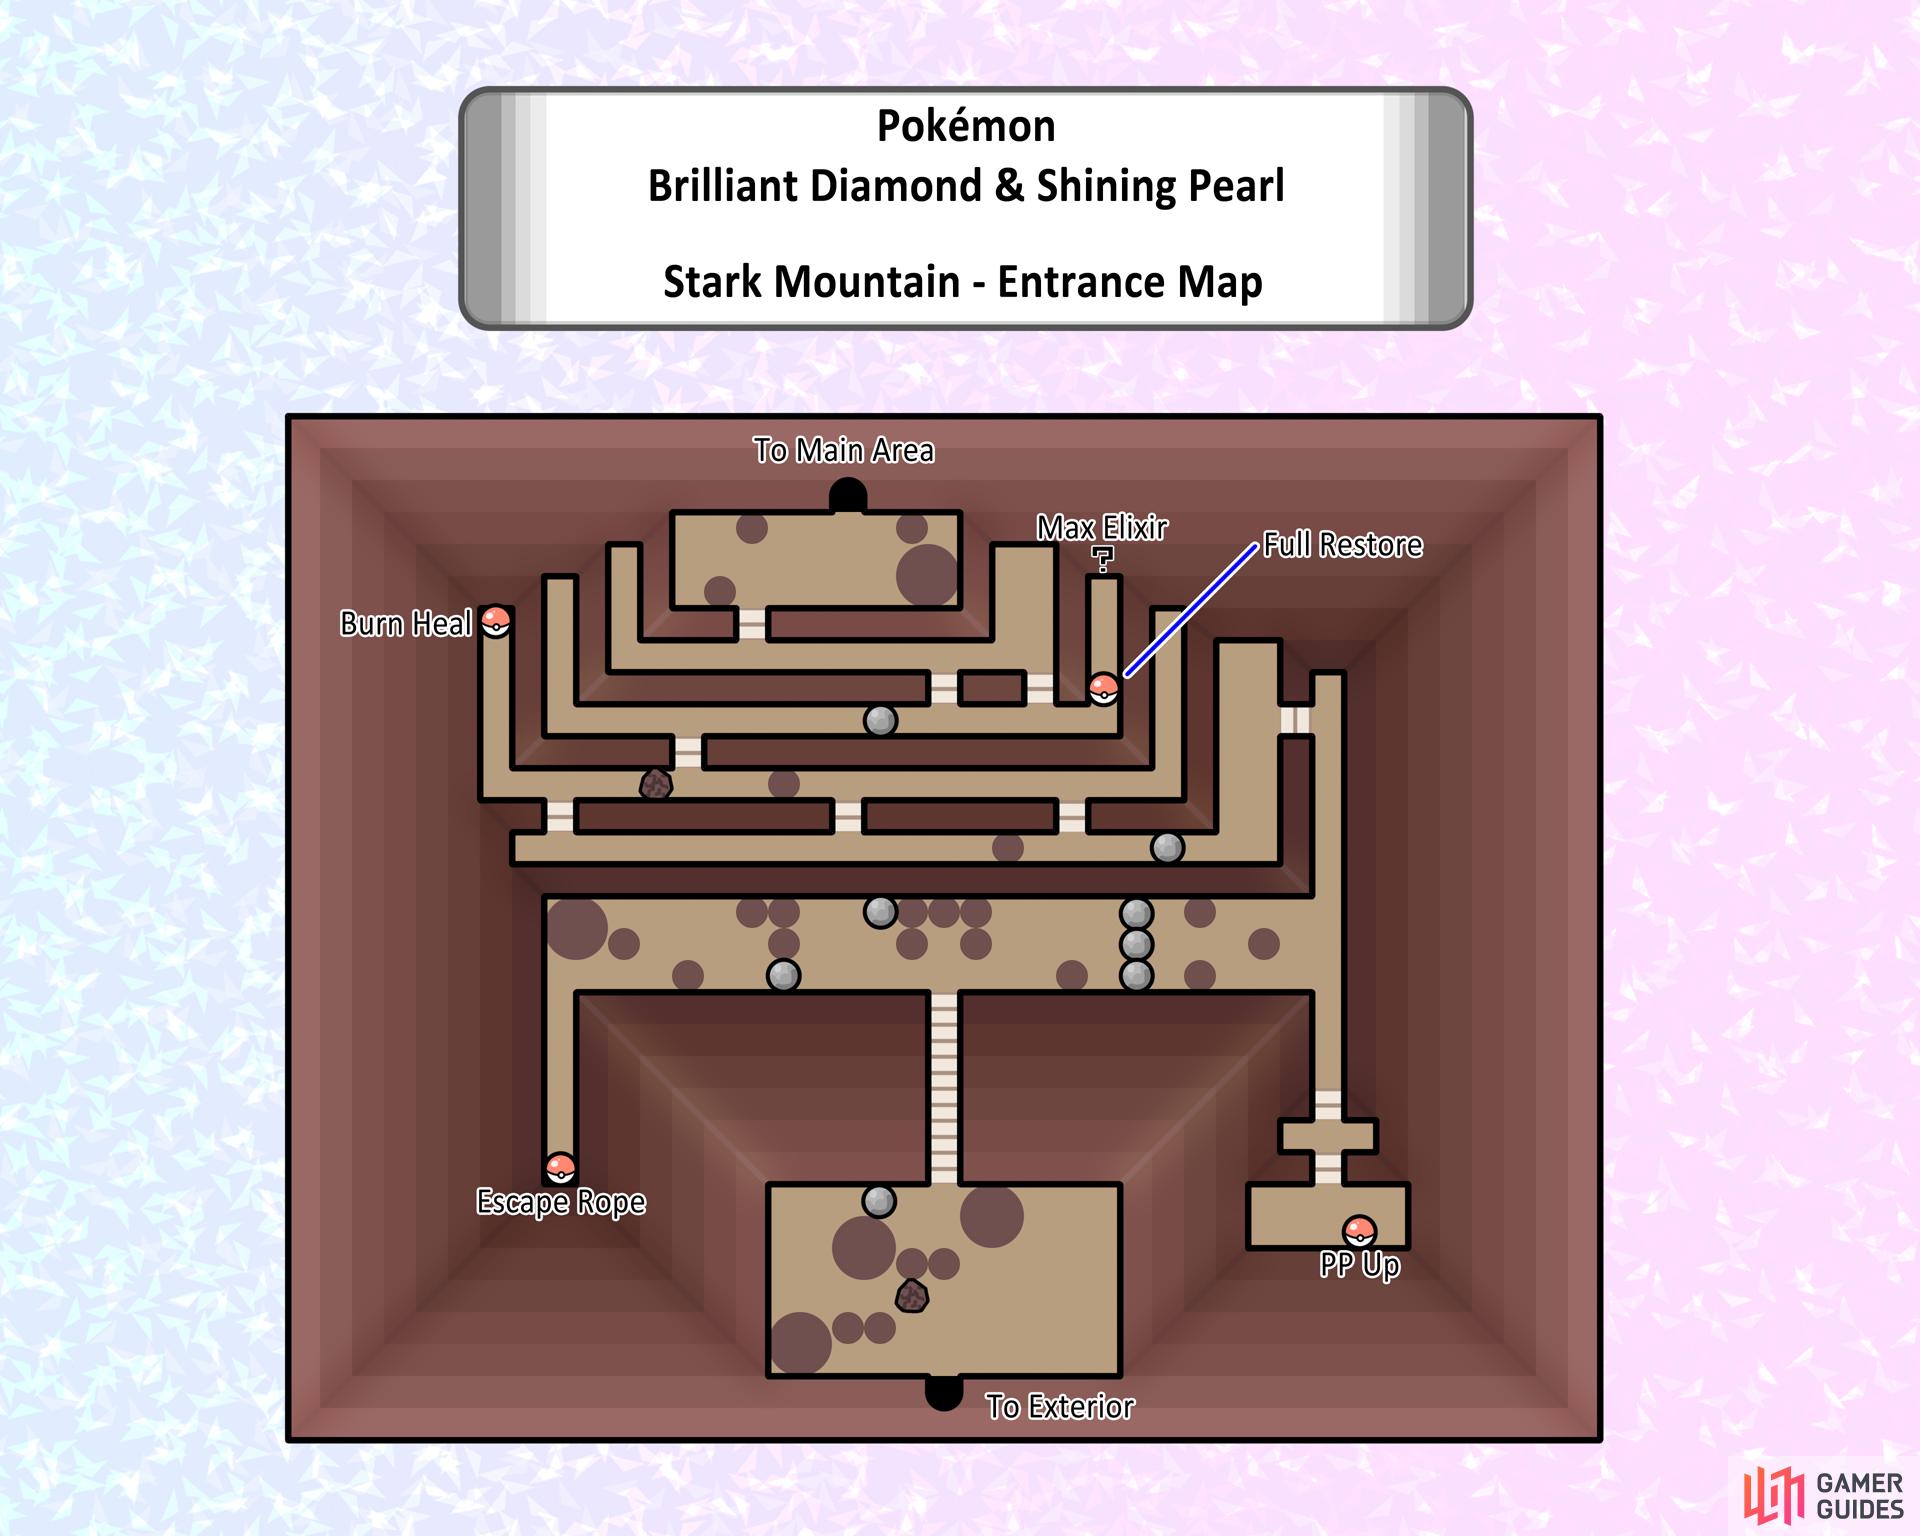
Map of the Entrance of Stark Mountain.
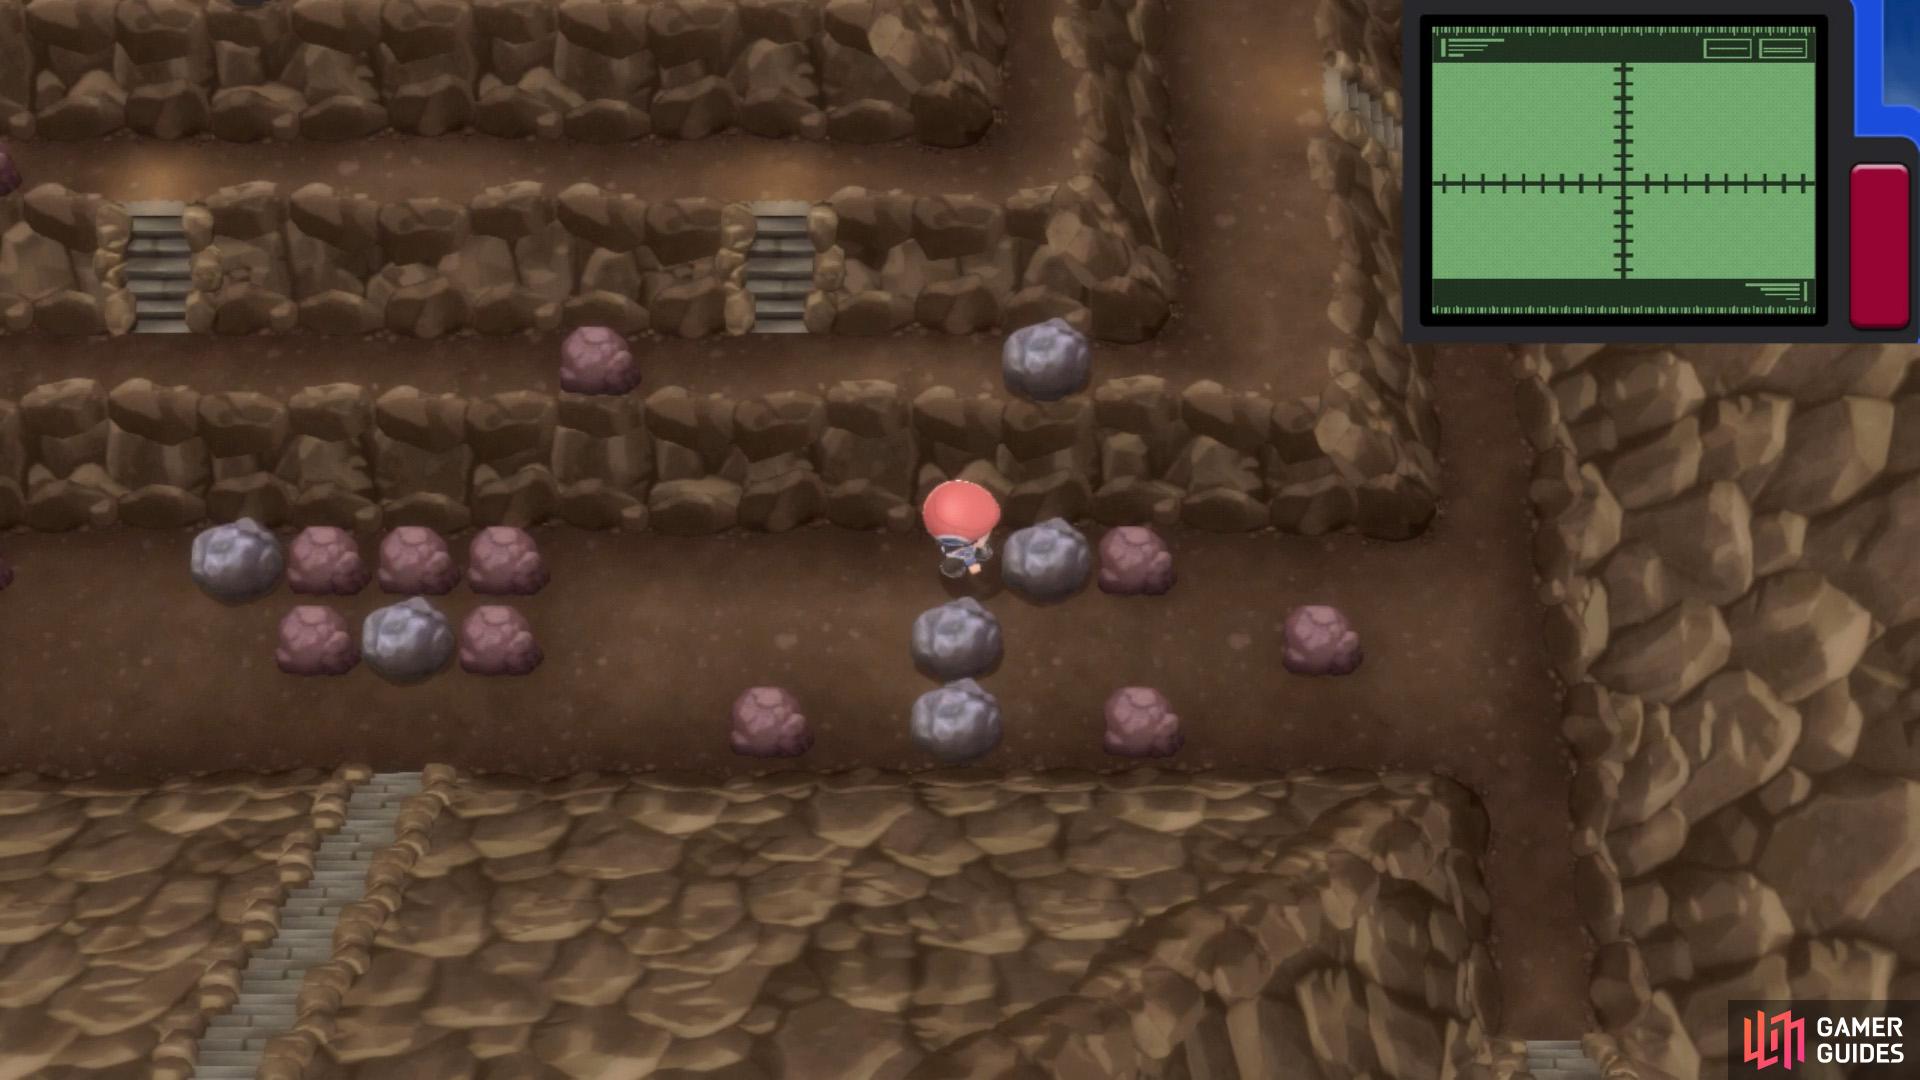
Inside Stark Mountain, you’ll be in what we’ll designate as the “entrance”. Rock Smash the cracked rock between the solid rocks. Go around use Strength to push the grey boulder right two spaces. It might seem like you can’t push it further. Stand below the boulder, then shove it north, all the way down the stairs, until it slots in a gap surrounded by other rocks.
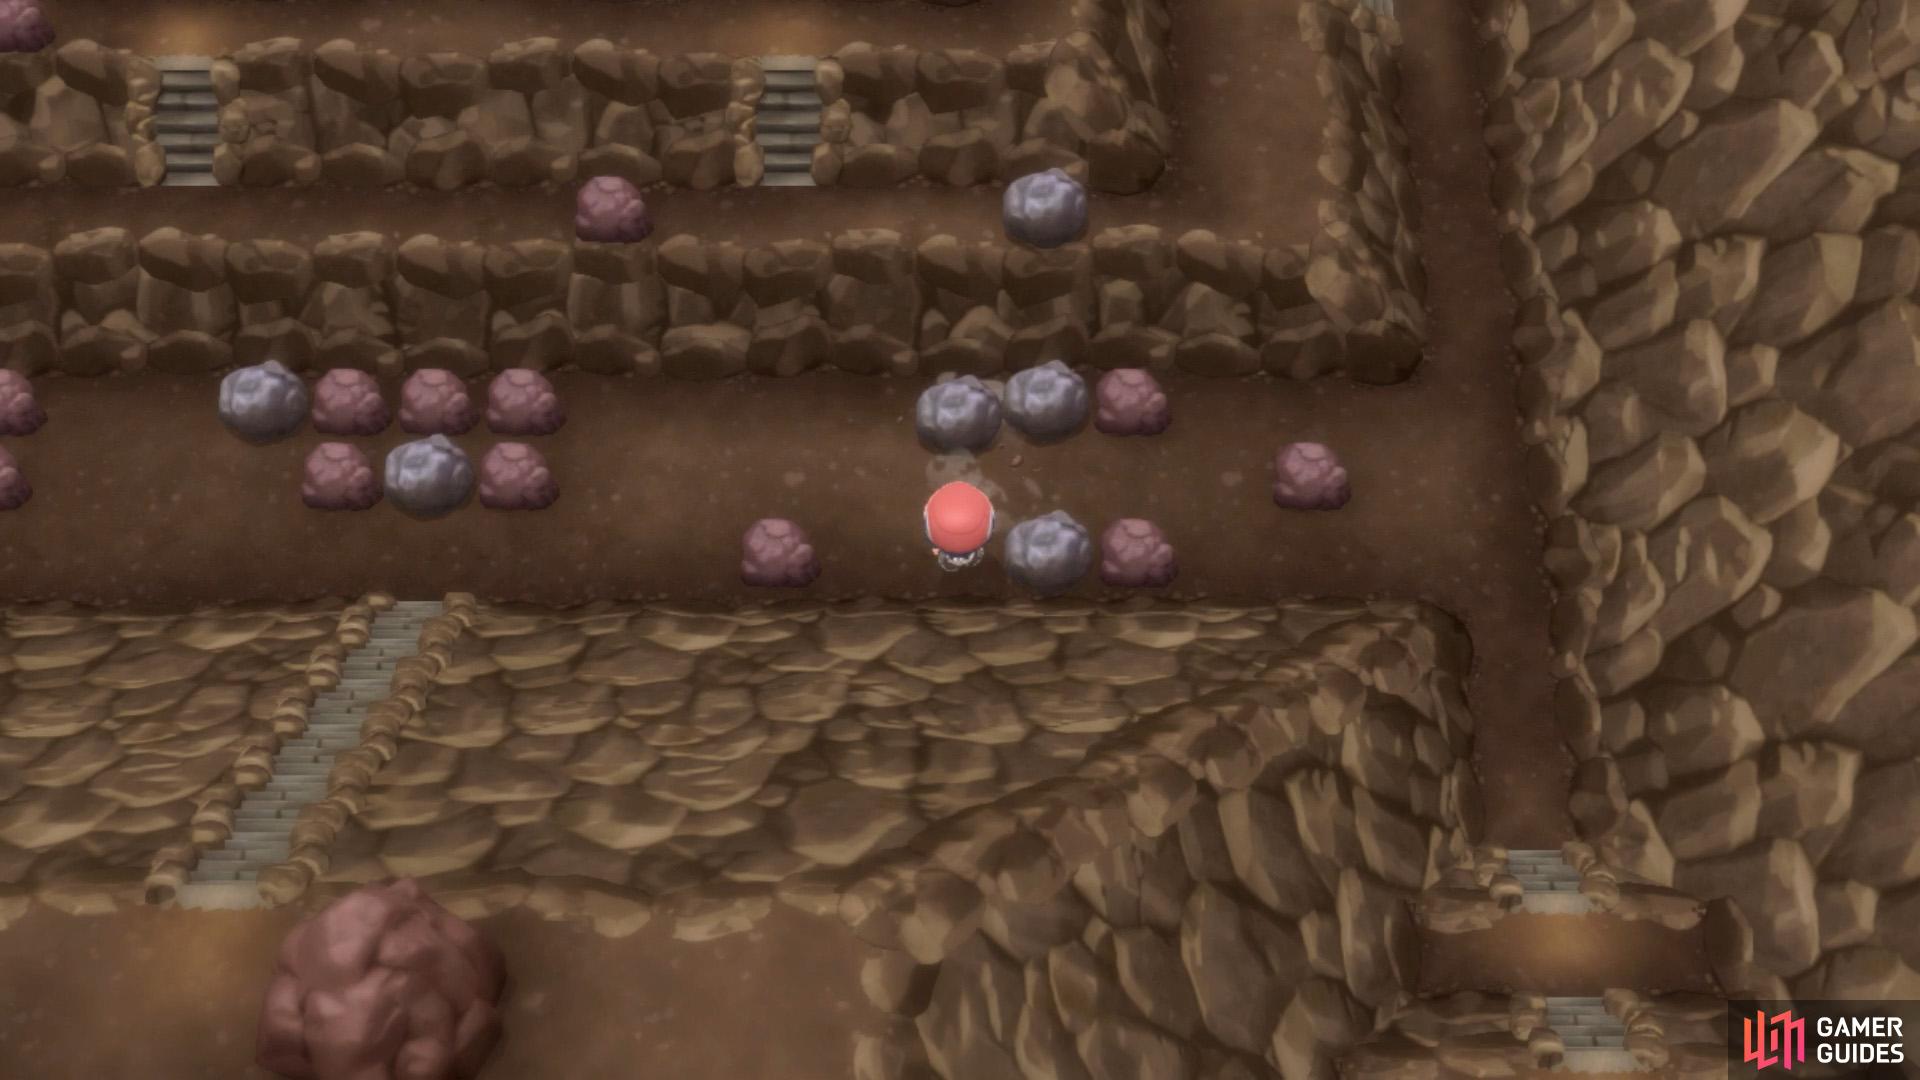
Next, shove the boulder directly opposite to the left, so you can go through. Follow the path to the end to nab an Escape Rope. Just in case you forgot to bring your own! Return towards the base of the stairs, then head right. Be very careful how you push the next three boulders. Shove the top and bottom boulders right; afterwards, shove the middle boulder up or down.
This is easy mode for Zelda veterans.
If you slip up, exit and re-enter this cave to reset the boulders.
Past the boulders, head south first to retrieve a PP Up from the corner. Moving on, make your way north to the opposite corner. Go up the stairs and shove the next boulder all the way left. Head up the next stairs and travel all the way west, down the next stairs and up the stairs after that. Take a left to find a Burn Heal in the far corner.
Moving on, go right from the top of the previous stairs and smash the cracked rock. Head up some more stairs, then proceed east. Shove the boulder 3 or so spaces right, but no more. Go up the stairs, then down the stairs on the right. Scoop up the Full Restore in plain sight and search the wall above it for a hidden Max Elixir.
Finally, take a left from the top of both stairs. You’ll reunite with your rival. Ignore him and enter the cave just ahead.
Wild Pokémon - Entrance
| Pokémon | Type | Encounter Rate |
|---|---|---|
  Camerupt Camerupt |
5% | |
  Geodude Geodude |
5% | |
  Golbat Golbat |
10% | |
  Graveler Graveler |
20% | |
  Machoke Machoke |
10% | |
  Magcargo Magcargo |
30% | |
  Onix Onix |
5% | |
  Slugma Slugma |
5% | |
  Weezing Weezing |
15% |
Item Locations (Entrance)
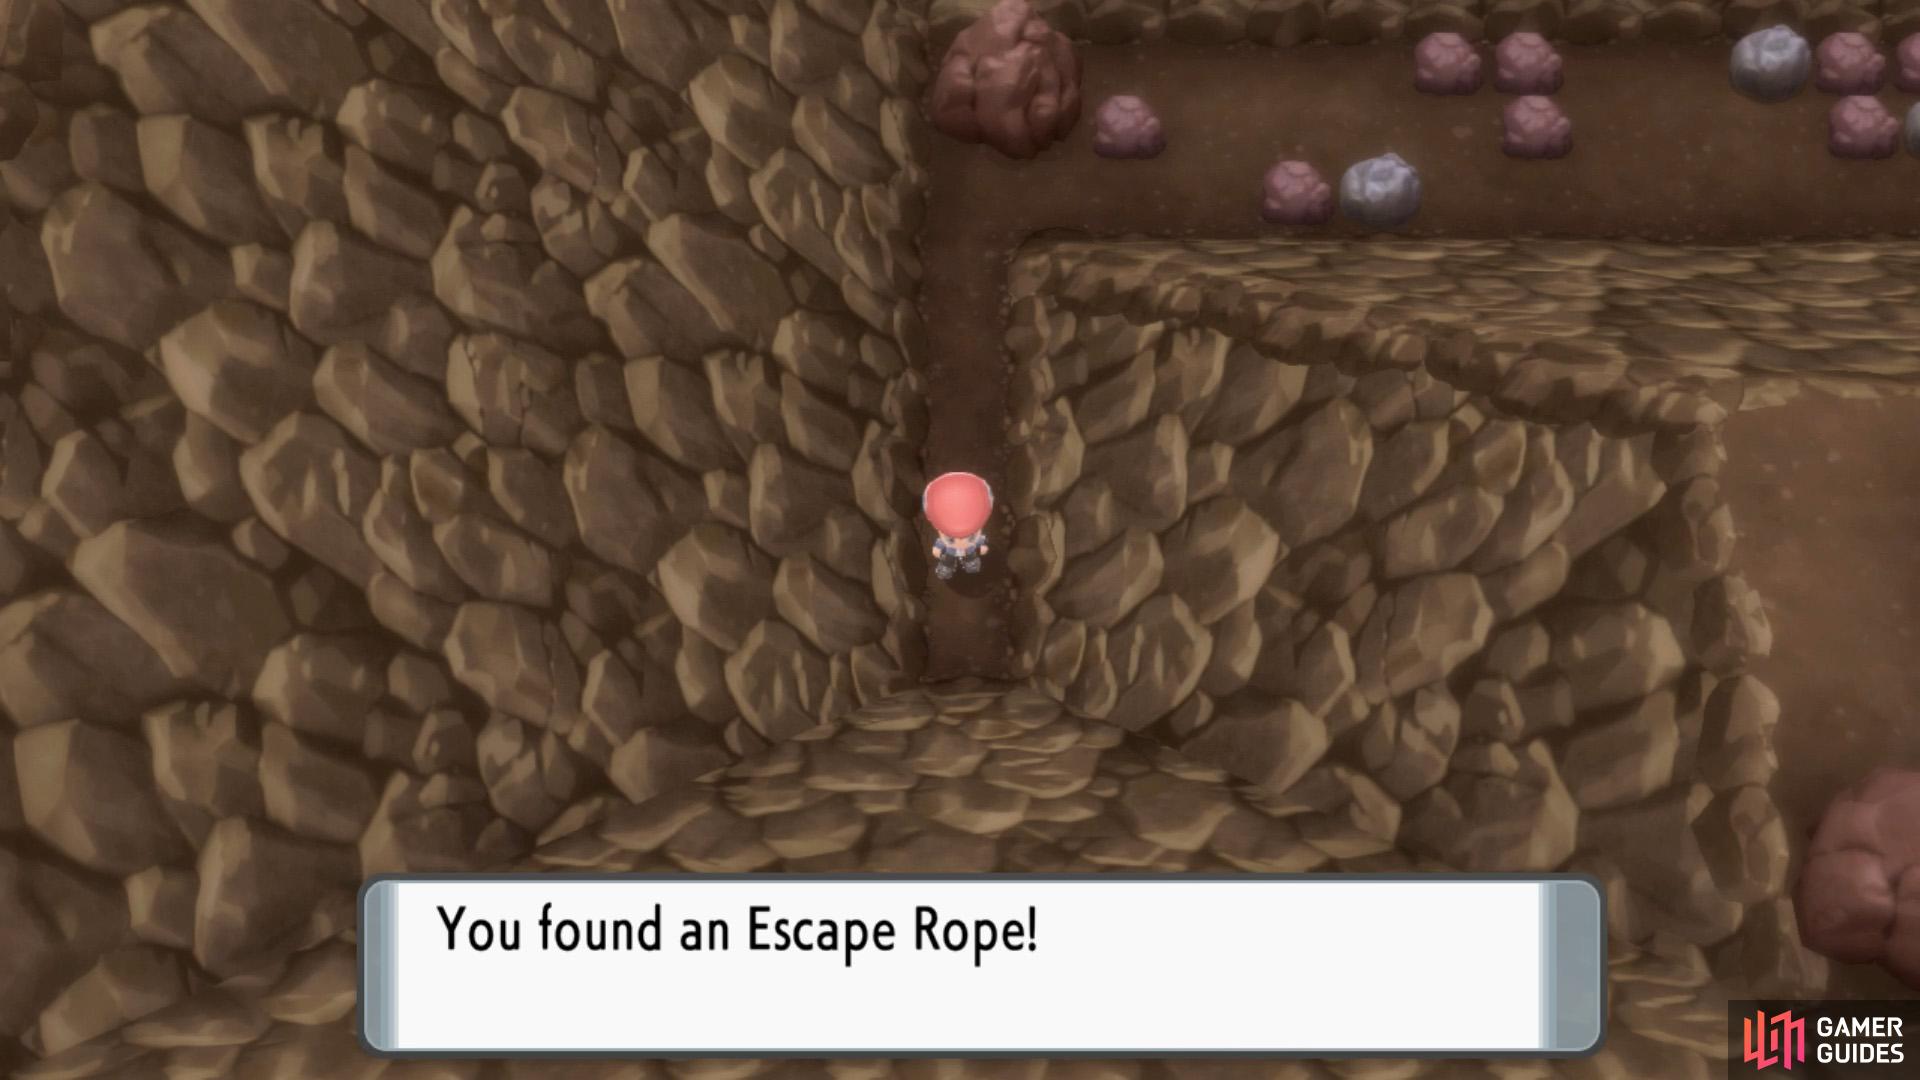
Escape Rope.
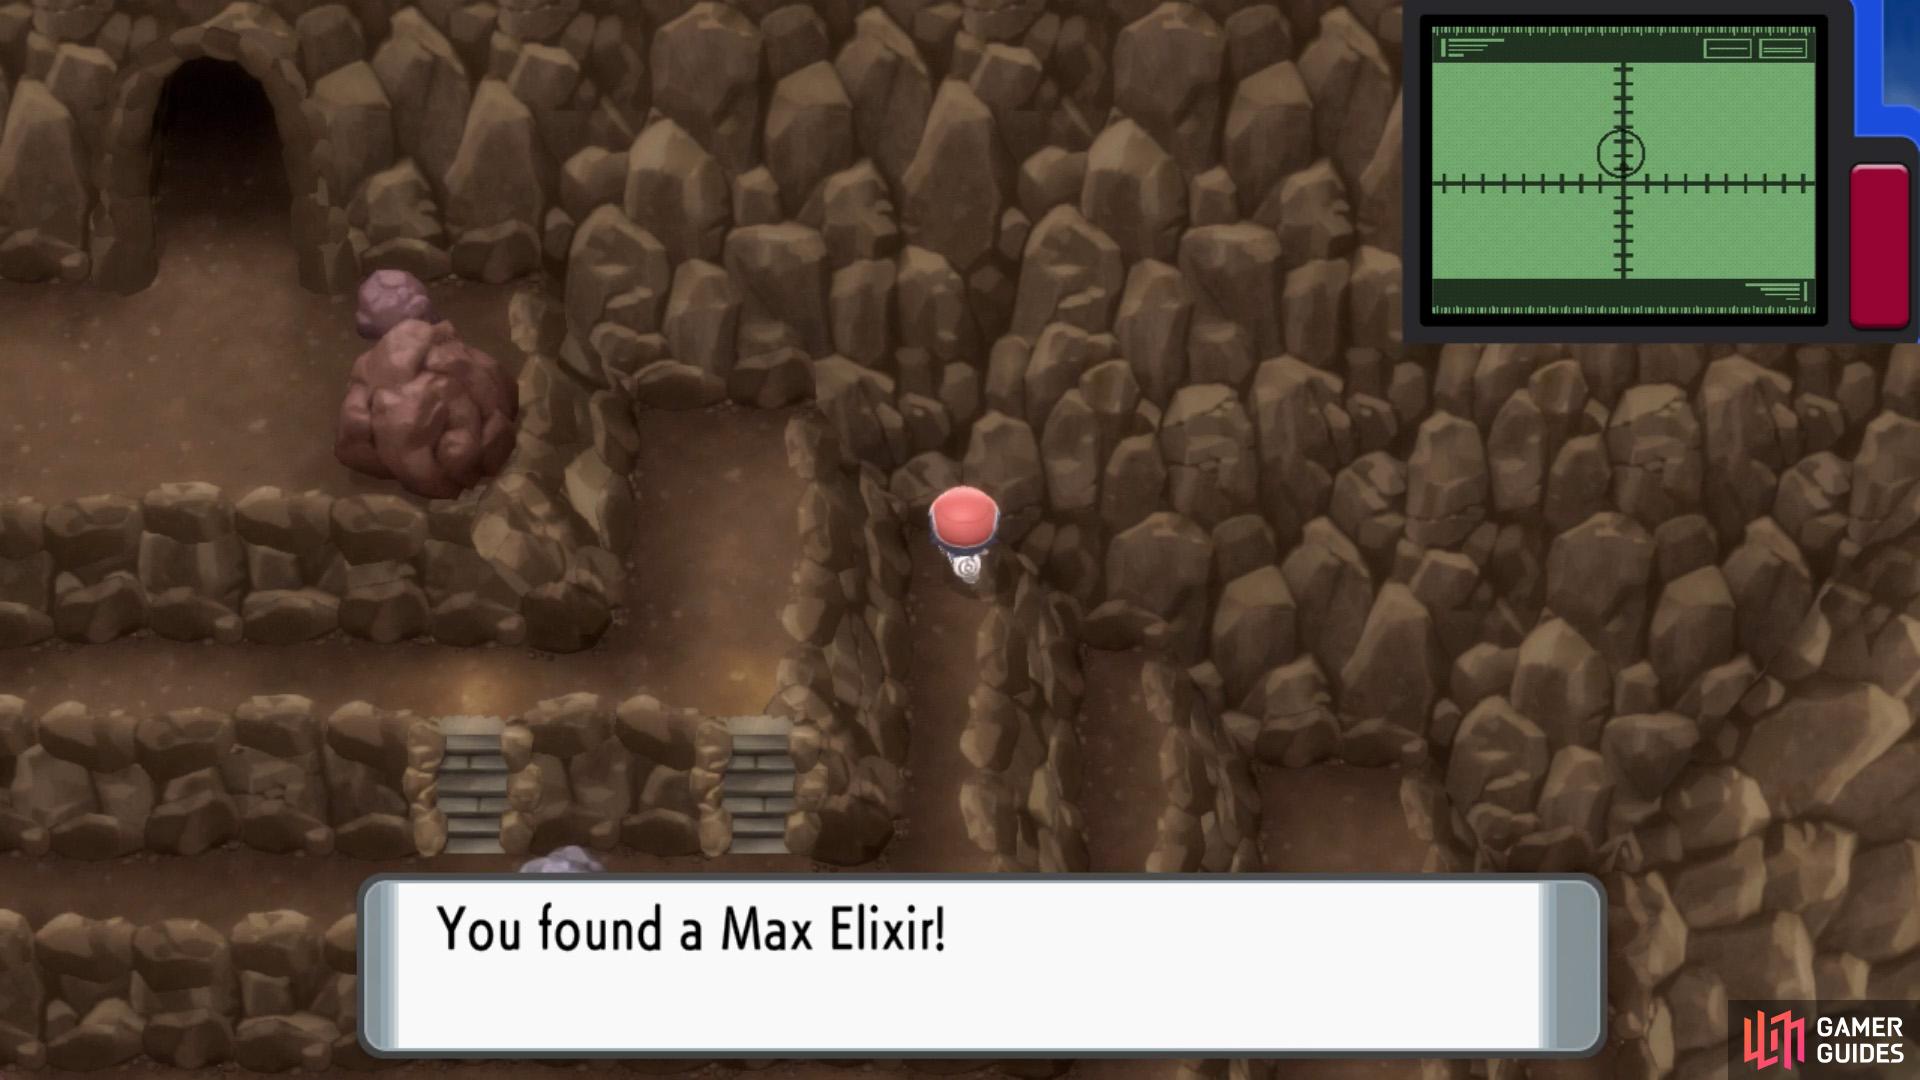
Hidden Max Elixir.
| Item | Location |
|---|---|
| Escape Rope | South-west corner. |
| PP Up | South-east corner. |
| Burn Heal | North-west corner. |
| Full Restore | Towards the north-east. Along the way to the exit, don’t push the last boulder all the way. Instead, leave a gap, then go around the two nearby stairs. |
| Max Elixir | Towards the north-east. Hidden in the wall above the Full Restore. |
Stark Mountain - Main Area
Map (Main Area)
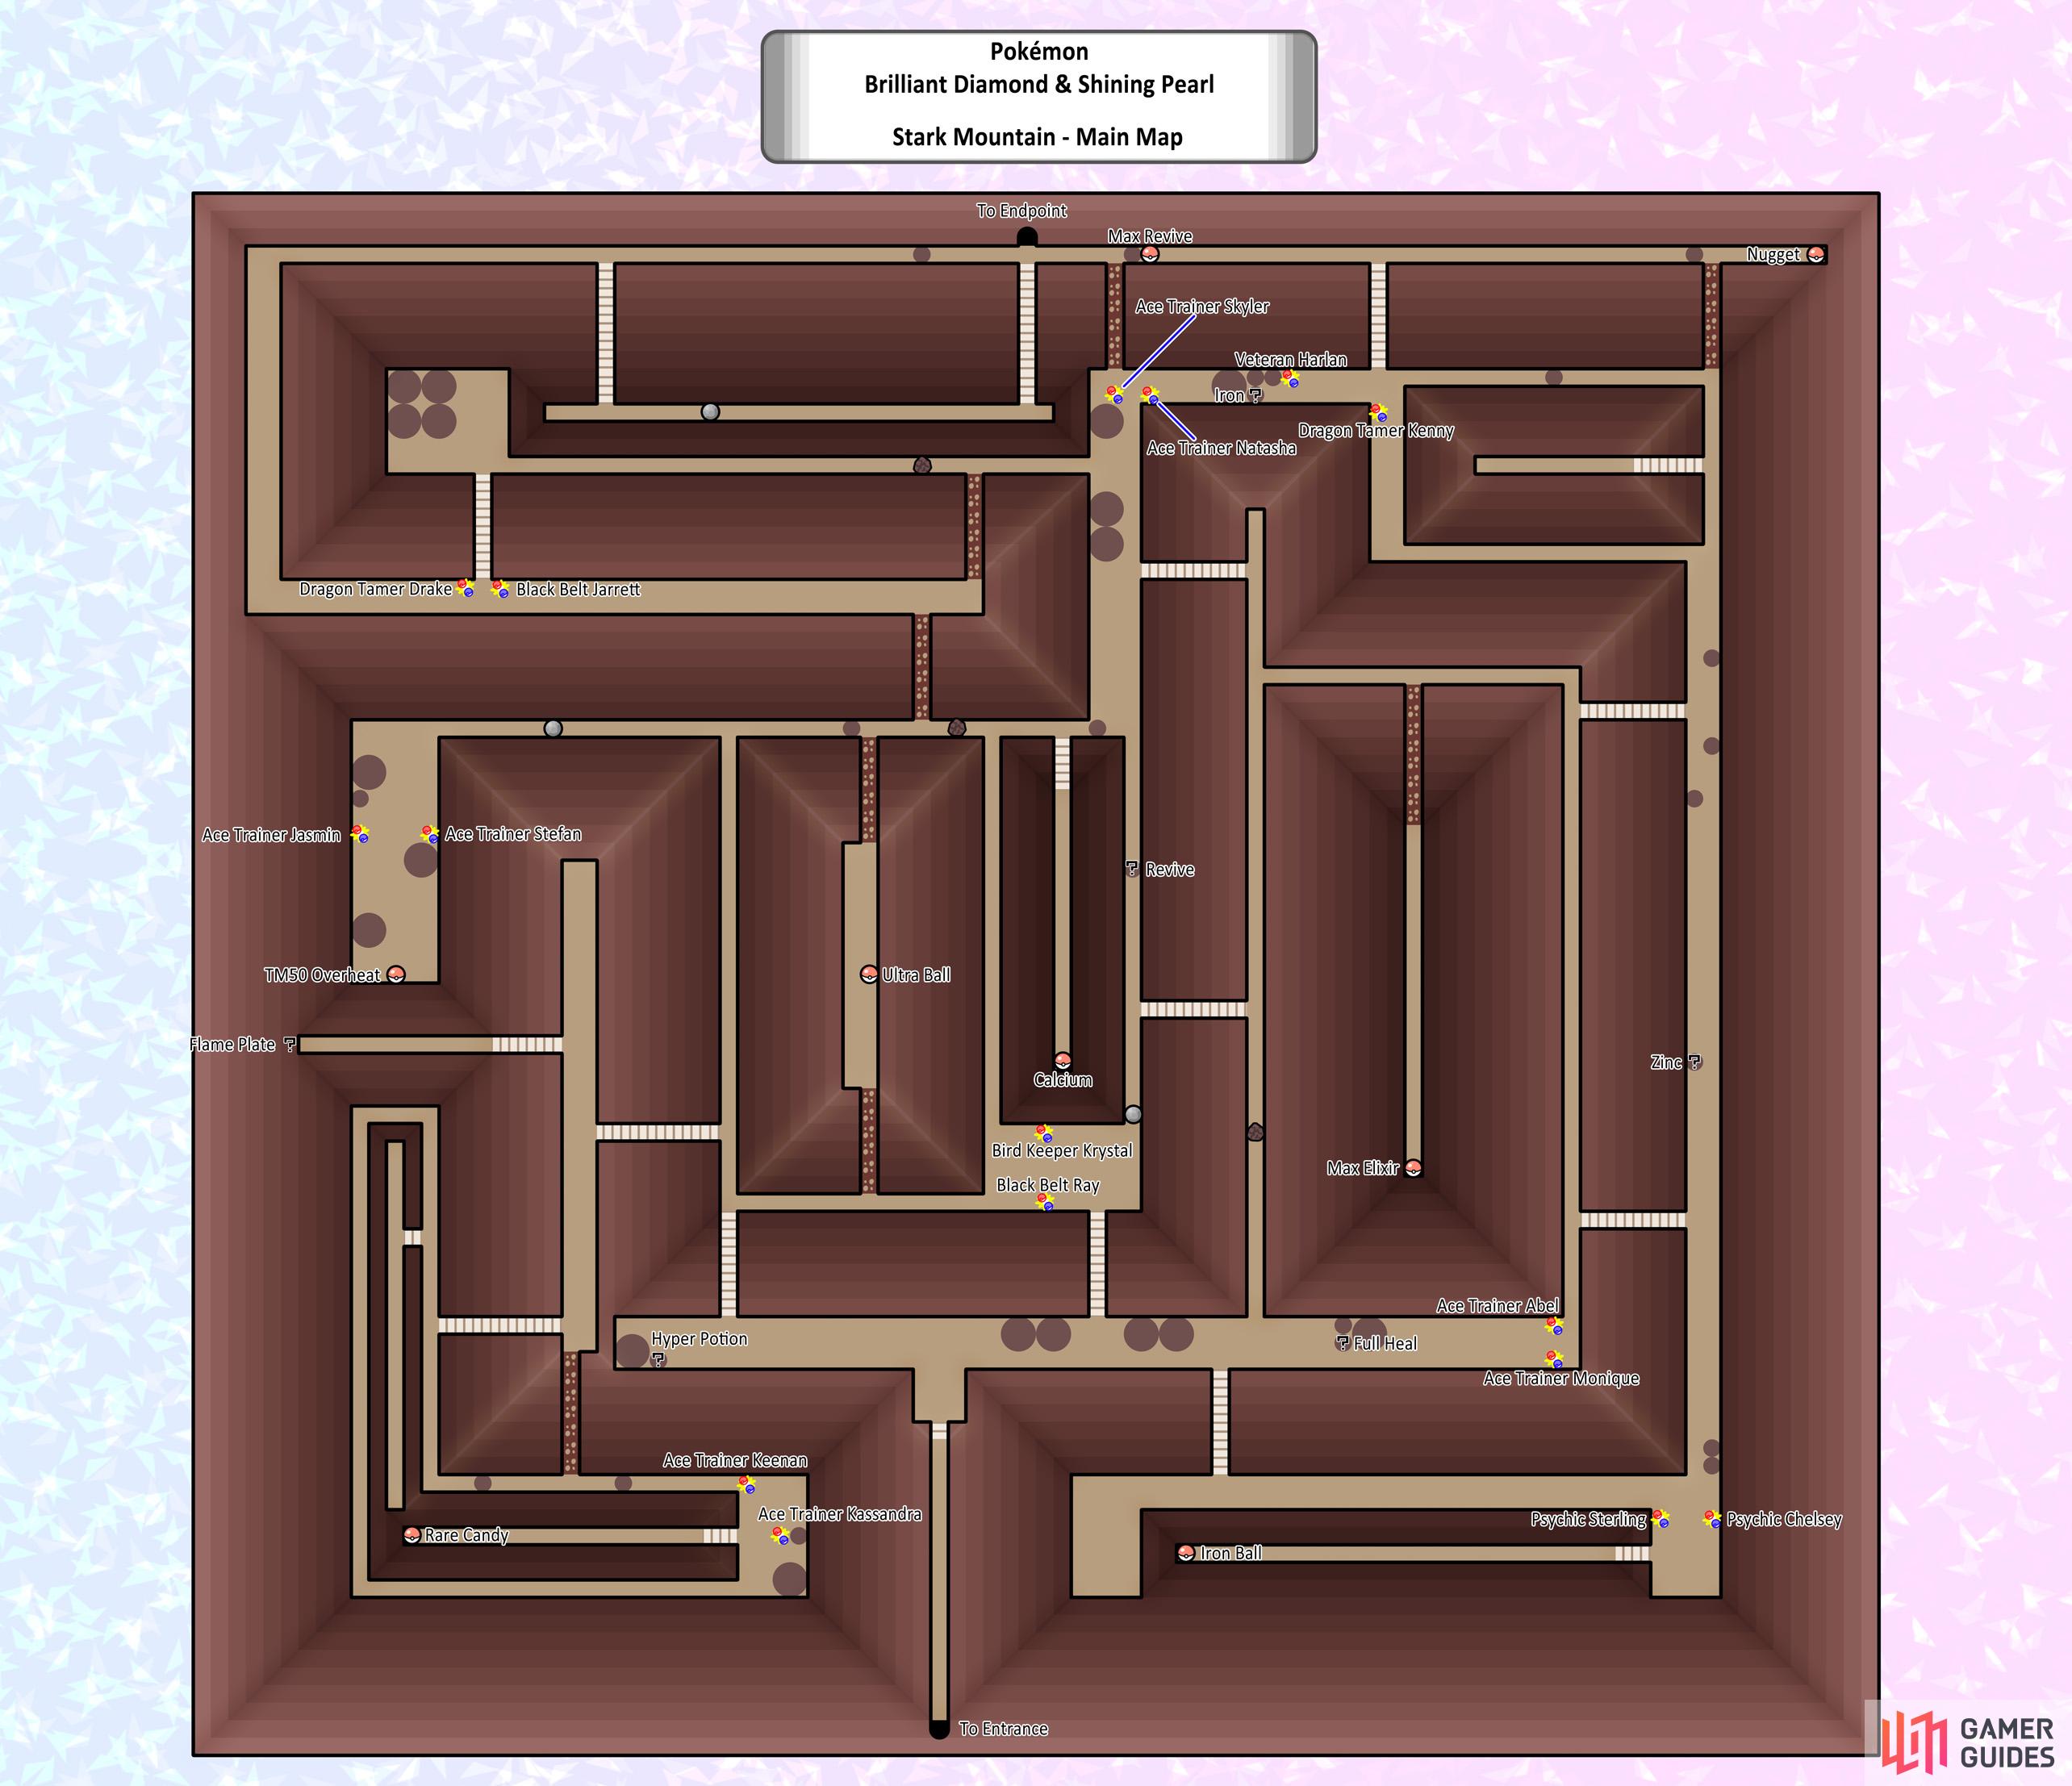
Map of the Main Area of Stark Mountain.
Next, you’ll arrive in the much larger main area. Head north towards the steps. Buck will offer to accompany you. This means the usual benefits, such as automatic healing after every fight. But it also means you cannot use Rock Climb while Buck’s with you. There are three items you can’t reach until you get rid of… er, we mean when Buck kindly leaves your party.
It’ll probably help to tackle this area in a systematic manner. From Buck’s position, head left. At the end, there’s a big rock and a small rock grouped together. Search the smaller rock for a Hyper Potion. Go down the stairs just ahead, then go up the nearby stairs on the left. Head downwards along this higher path. At the end, head down the stairs on the left.
In this section, go north and follow the path around, ignoring the small set of stairs. Further east, show off your skills against a pair of Ace Trainers. Once the dust’s settled, go down the nearby steps and grab the Rare Candy towards the west. Now retrace your steps until you’re at the point you just went up the stairs on the left.
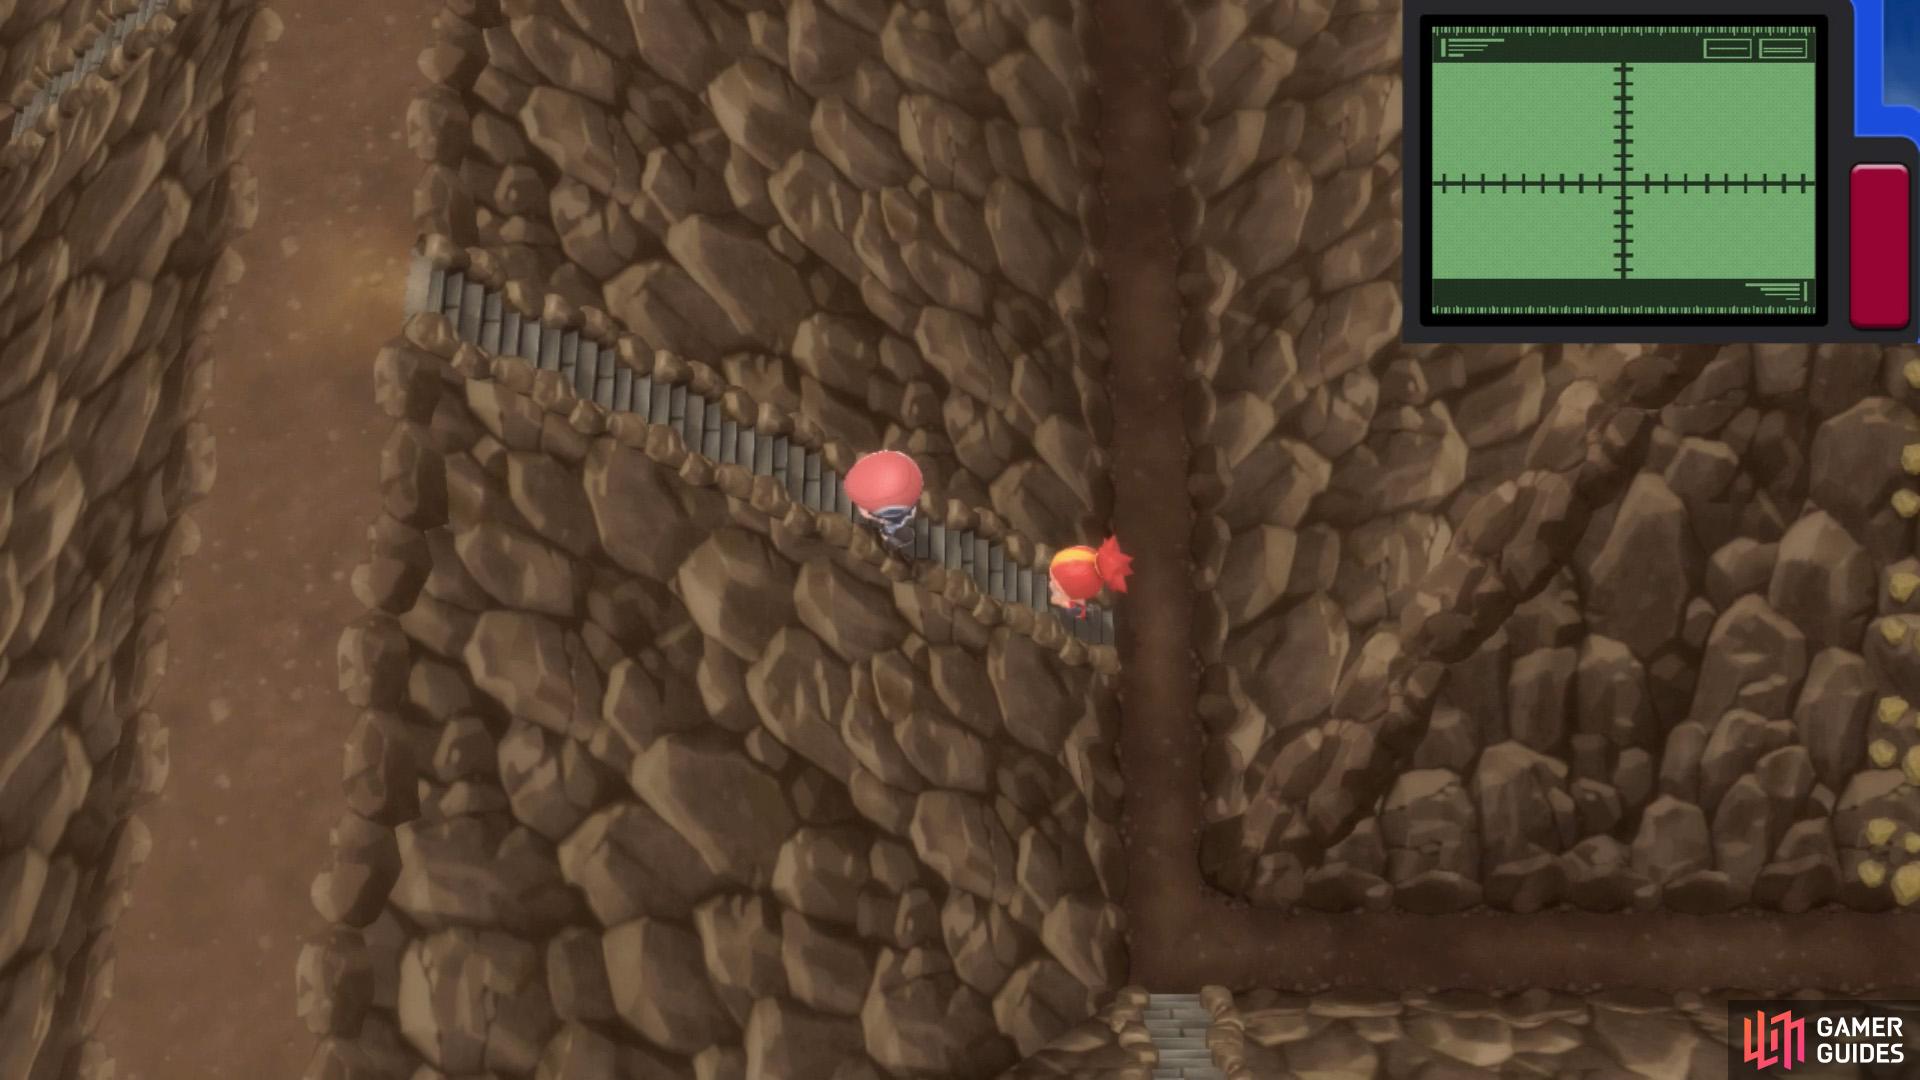
Let’s check out the south-west corner first.
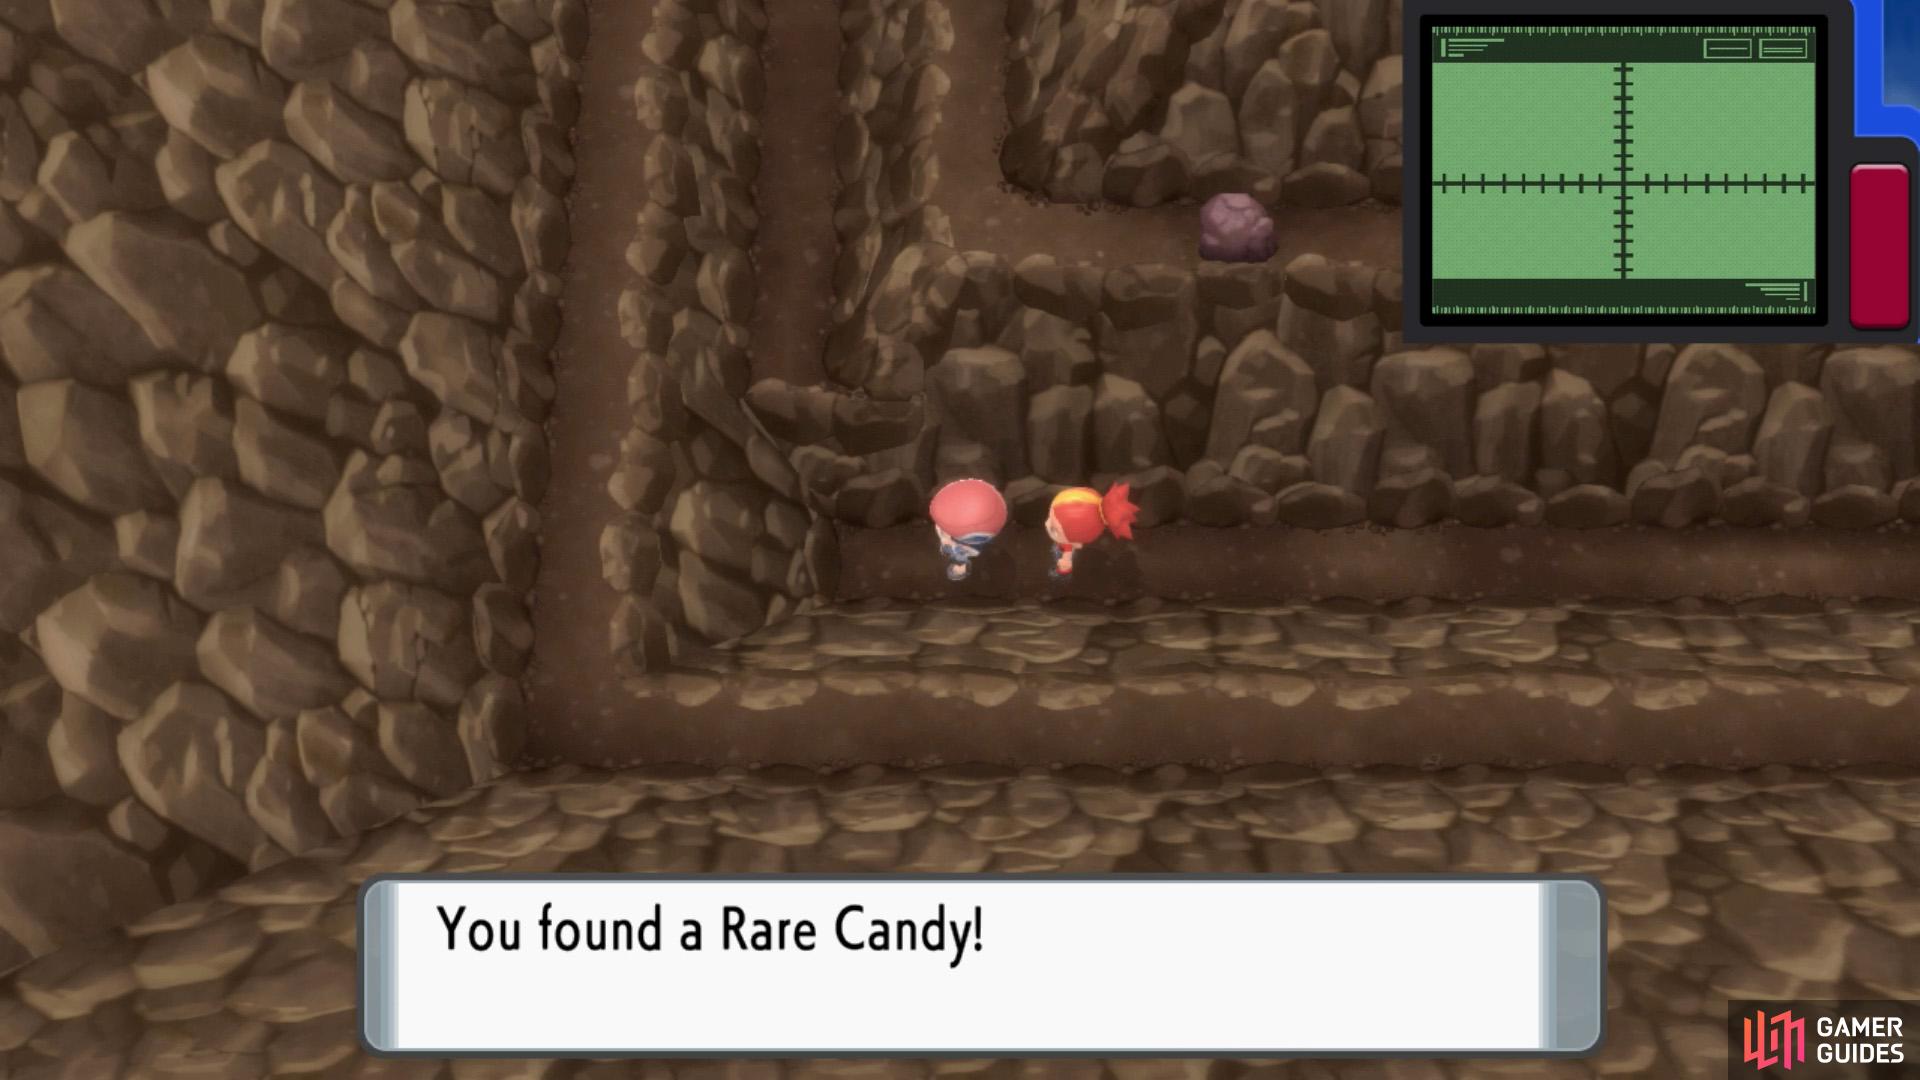
You can grab a Rare Candy here.
This time, head a short distance north. Go down the stairs towards a seemingly dead end. Search the wall at the end for a hidden Flame Plate. From here, return up the stairs, head south again and go down the right-hand side stairs back to the lower ground level. Now head all the way north, along the narrow path. At the T-junction, take a left. Use Strength to shove the boulder left, to create a gap.
You’ll arrive in a small area guarded by two Ace Trainers. Beat them up good and pick up TM50 Overheat below them. Backtrack to the T-junction and go all the way south, until you’re at the base of the stairs from earlier. Now head east, while on the lower ground level. You’ll soon bump into a Bird Keeper and Black Belt pair. To the Bird Keeper’s left, follow the narrow path up.
When you reach the nearby cracked rock, take a right and go down the stairs. Follow the path south to claim a bottle of Calcium. Head back around, towards the Bird Keeper. Go up the stairs to their right. Up here, if you headed east from Buck’s initial spot, you’ll have arrived here. Anyway, travel east from a bit. Ignore the stairs leading down and the narrow path leading up.
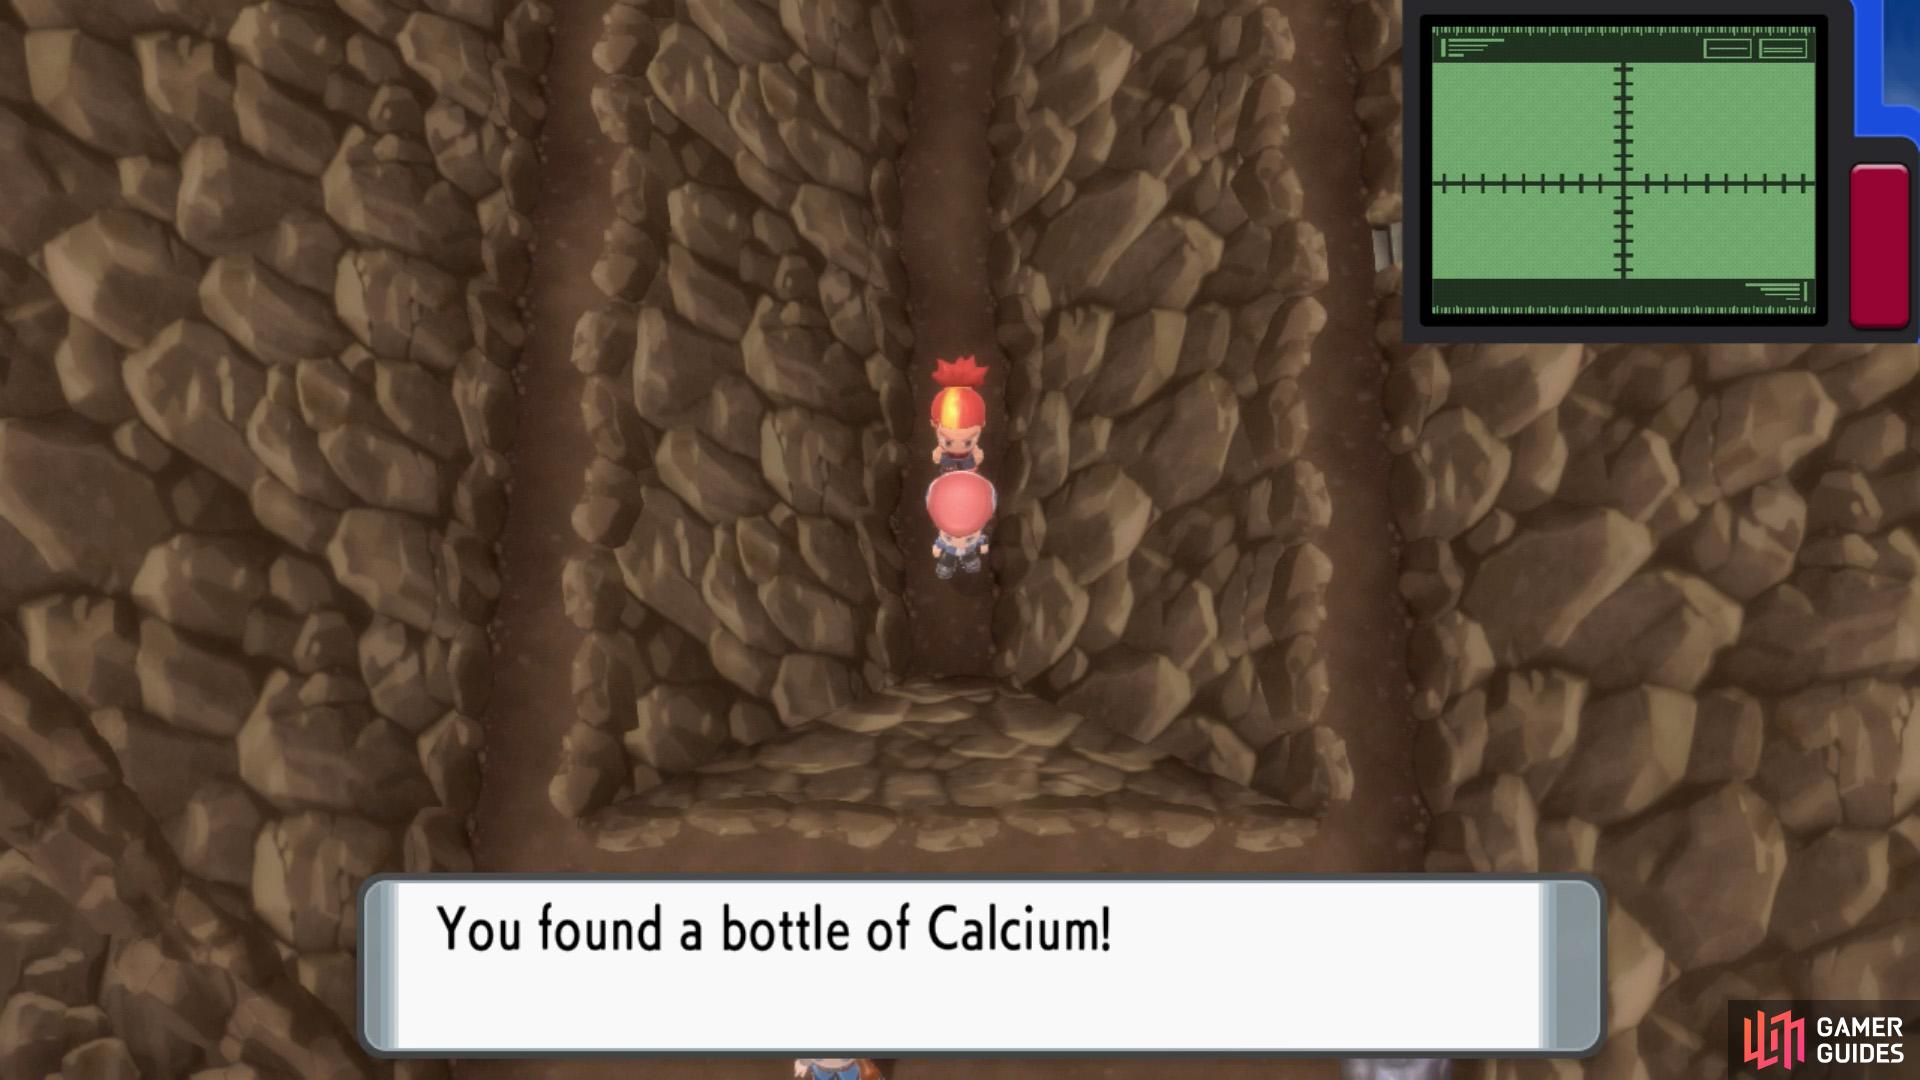
A nutritious bottle of Calcium near the center.
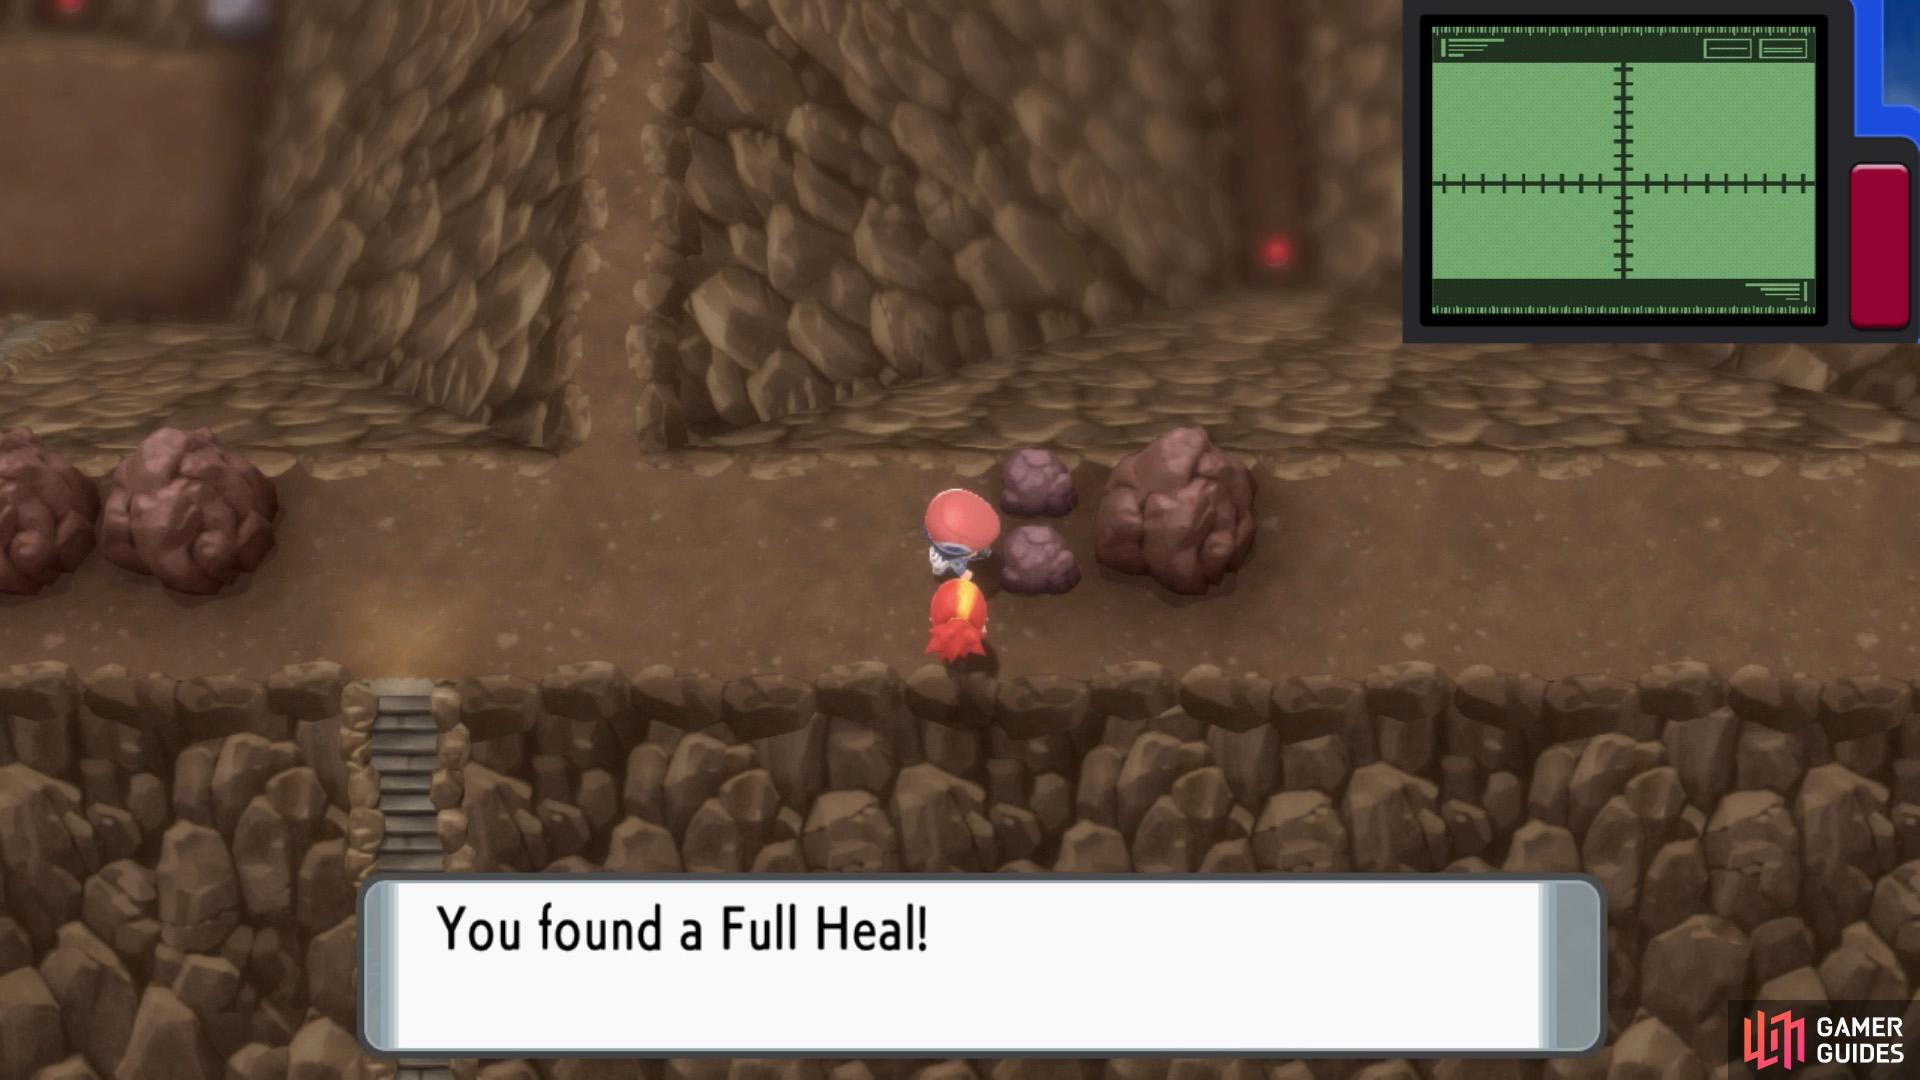
A hidden Full Heal west from Ace Trainers Abel and Monique.
Look for two small rocks next to a bigger rock. Search the bottom smaller rock for a Full Heal. If you want, continue east to fight two more Ace Trainers. Either way, go backwards a little and head down the stairs leading down. Back on the lower ground level, proceed east. Near the corner, challenge the pair of Psychics here. Afterwards, descend the nearby stairs and grab the Iron Ball at the end.
Return towards the Psychic pair and head north along the easternmost passage. Ignore the stairs on the left for now. After a short while, search the single small rock along the left for a hidden Zinc. Carry on north for a bit longer. There will be another staircase on the left with some small rocks nearby. Ignore the stairs and continue north for a short distance.
When the opportunity arises, take a left, then keep going north. Soon, there’s a Dragon Tamer and Veteran pair. To save time, speak to the Dragon Tamer directly to trigger a solo battle. Once he throws in the towel, go around and towards the left. Search the small rocks near the Veteran for a hidden Iron. If you step in-between the two trainers naturally, they will block the way to the Iron.
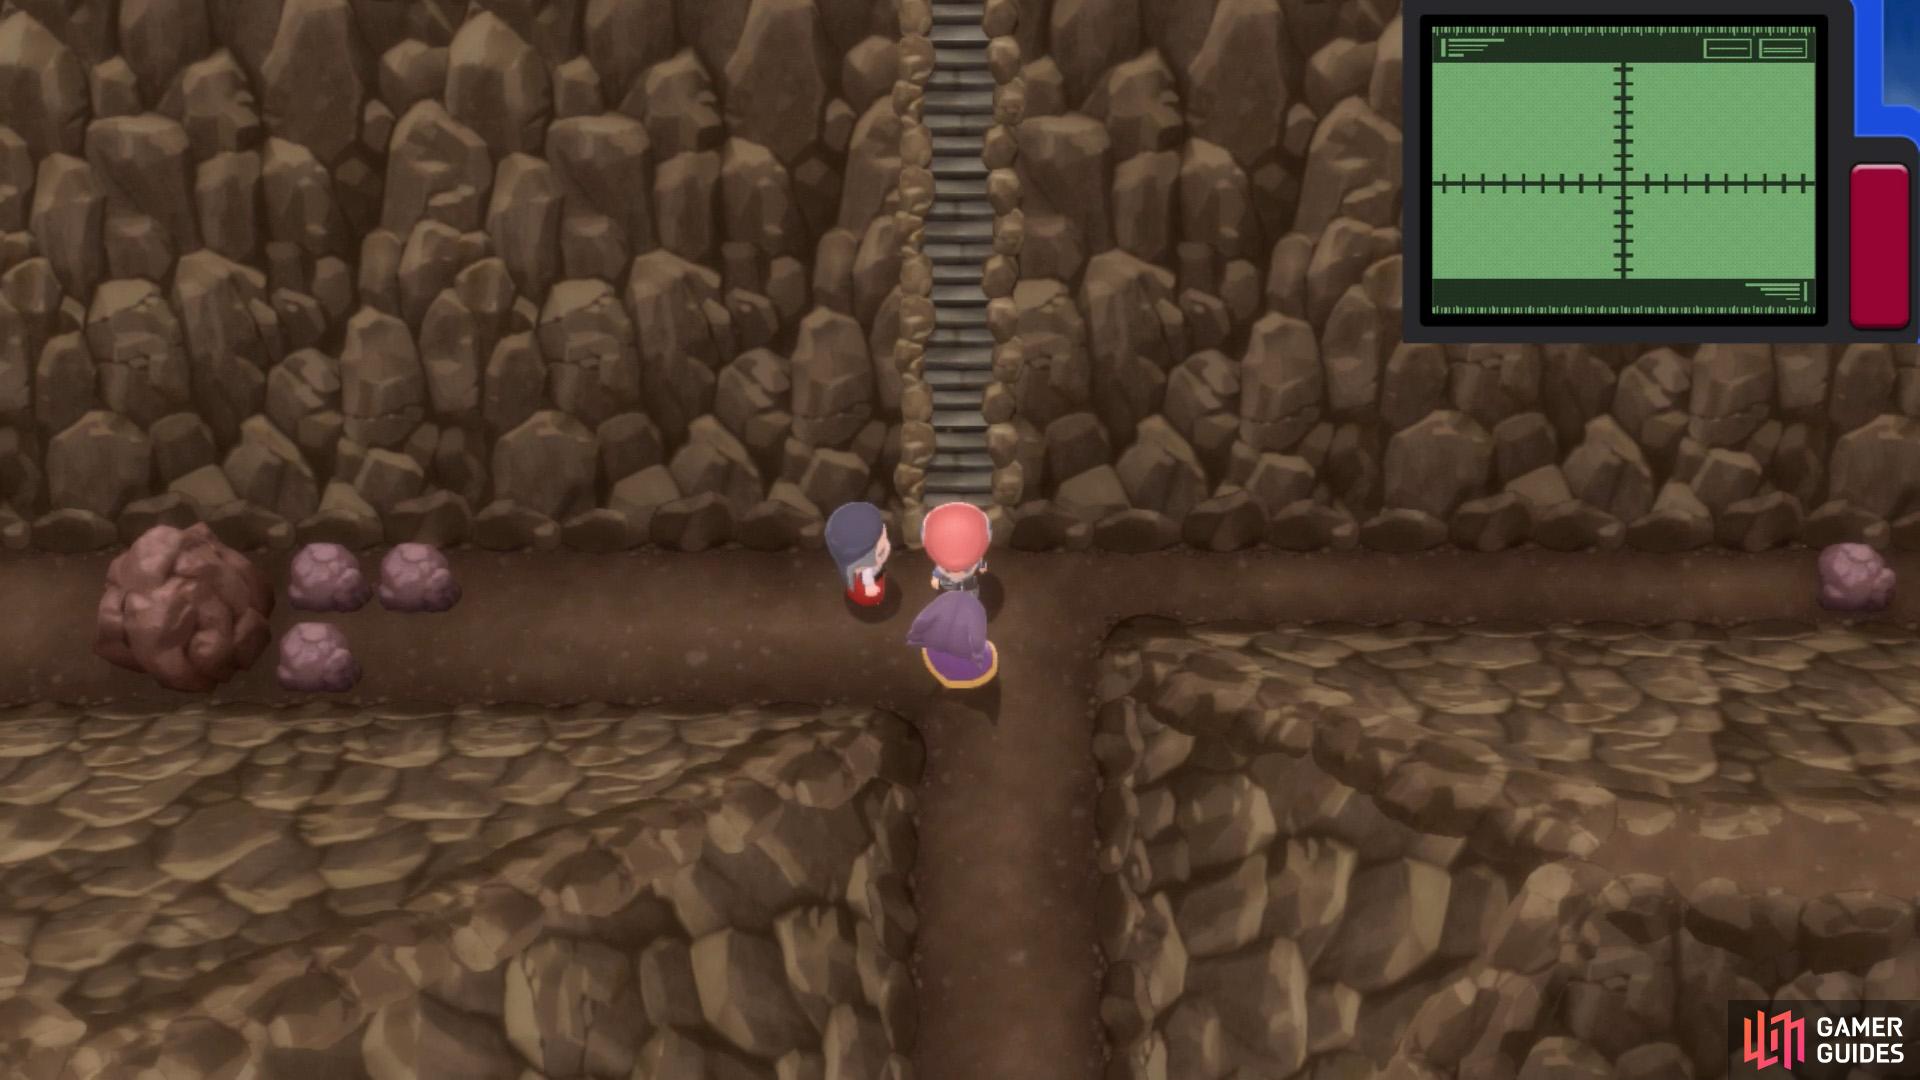
If you fight both trainers at once, they’ll block you for heading west…
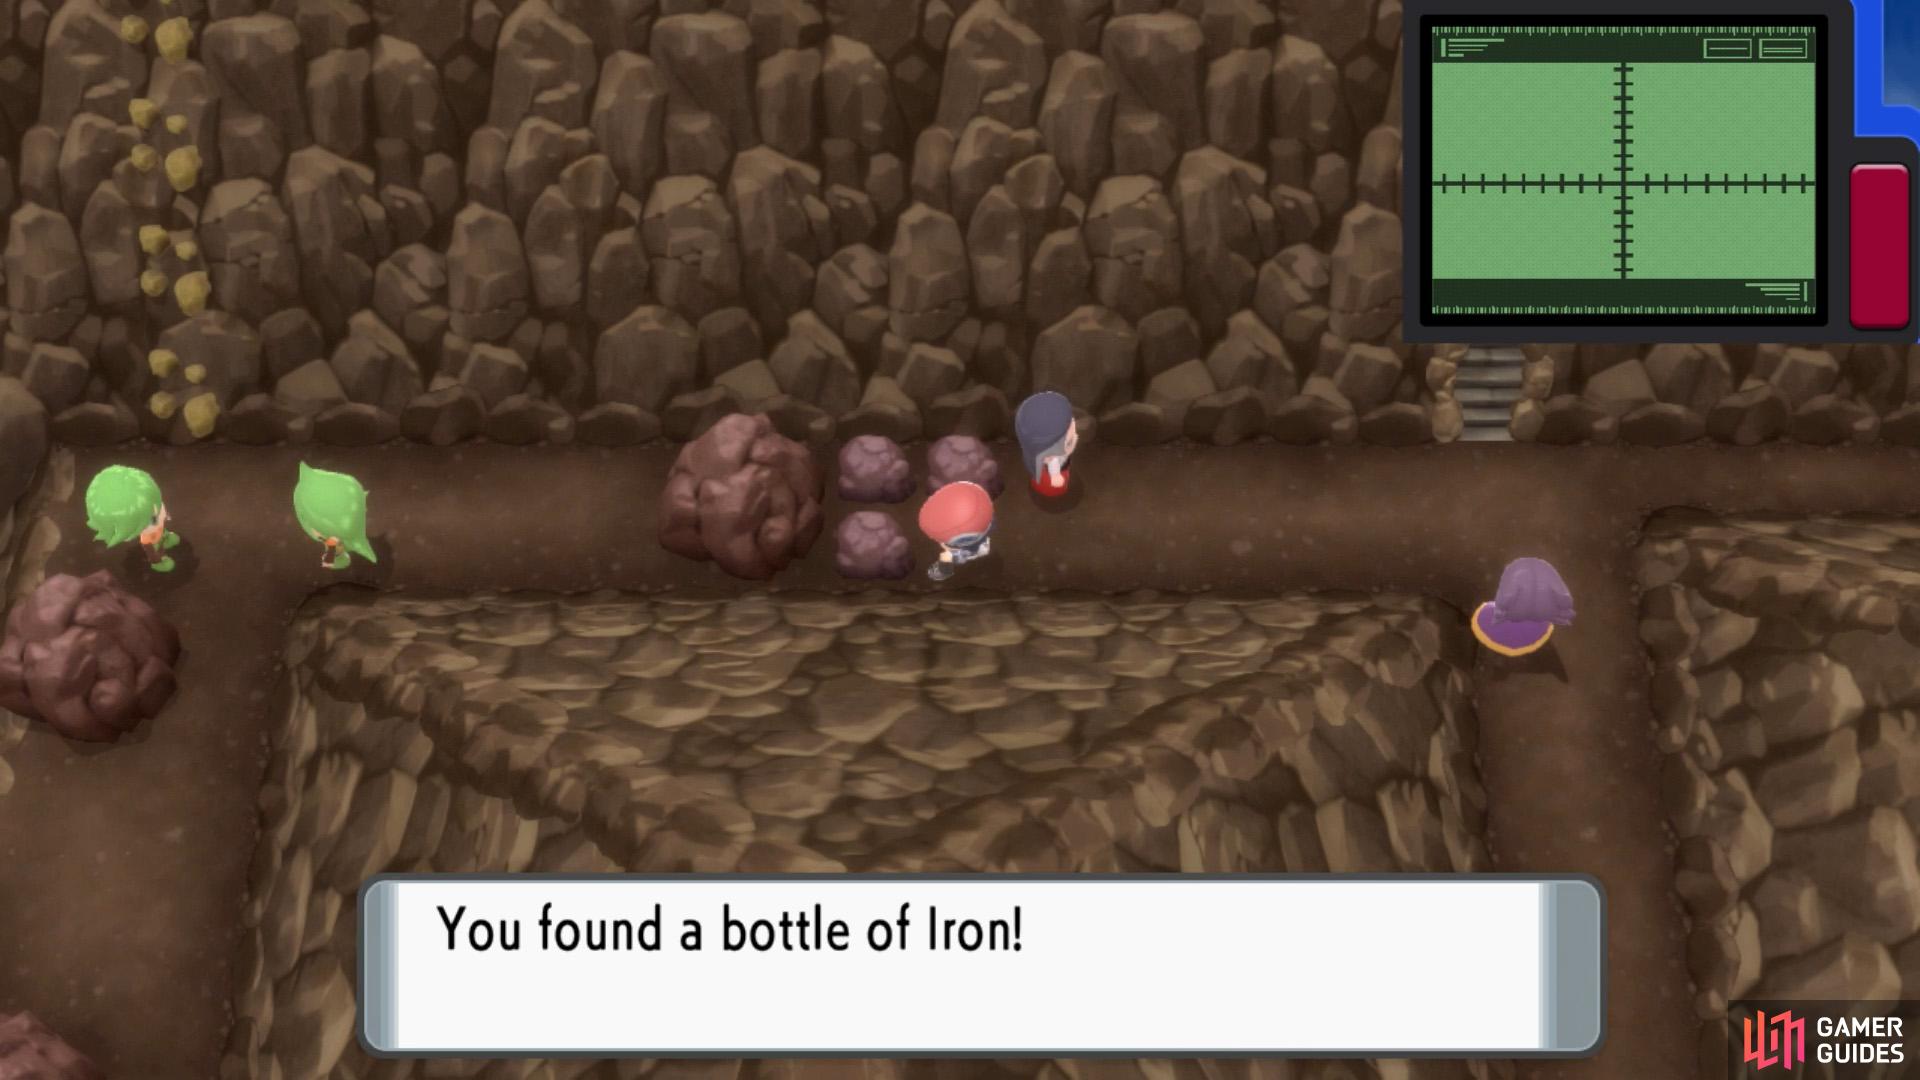
Should that happen, you’ve no choice but to exit and re-enter to reset their positions.
In any case, go up the stairs north from the Dragon Tamer. At the top, take a left to become acquainted with a Max Revive. Also, the exit’s to the left, but you can’t reach it from here. Now retrace your steps until you’re back at the stairs going left, with three small rocks nearby. Of course, you should go up those stairs now. Back on higher ground, head west, then north and west down the next stairs.
Back on lower ground, go all the way south. You’ll be stopped by a small rock. Search this obstacle for a hidden Revive. Once you’re happy, go the opposite direction: north. If you want, take out the pair of Ace Trainers up ahead. Either way, head west below the Ace Trainers. Smash the cracked rock and carry on west. Near the end, go up the stairs towards the south.
Up on higher ground again, fight your way past the Dragon Tamer and Black Belt. When you’re free to go, head left, then follow the path around until you reach stairs leading south. Descend the stairs and travel east. Using the power of friendship (or Strength, rather), shove the boulder all the way right. Finally, go up the stairs leading north, which will take you to the exit.
Buck will then leave your party. Seeya!
Wild Pokémon - Main Area
Same as the Entrance, but higher Level.
Item Locations (Main Area)
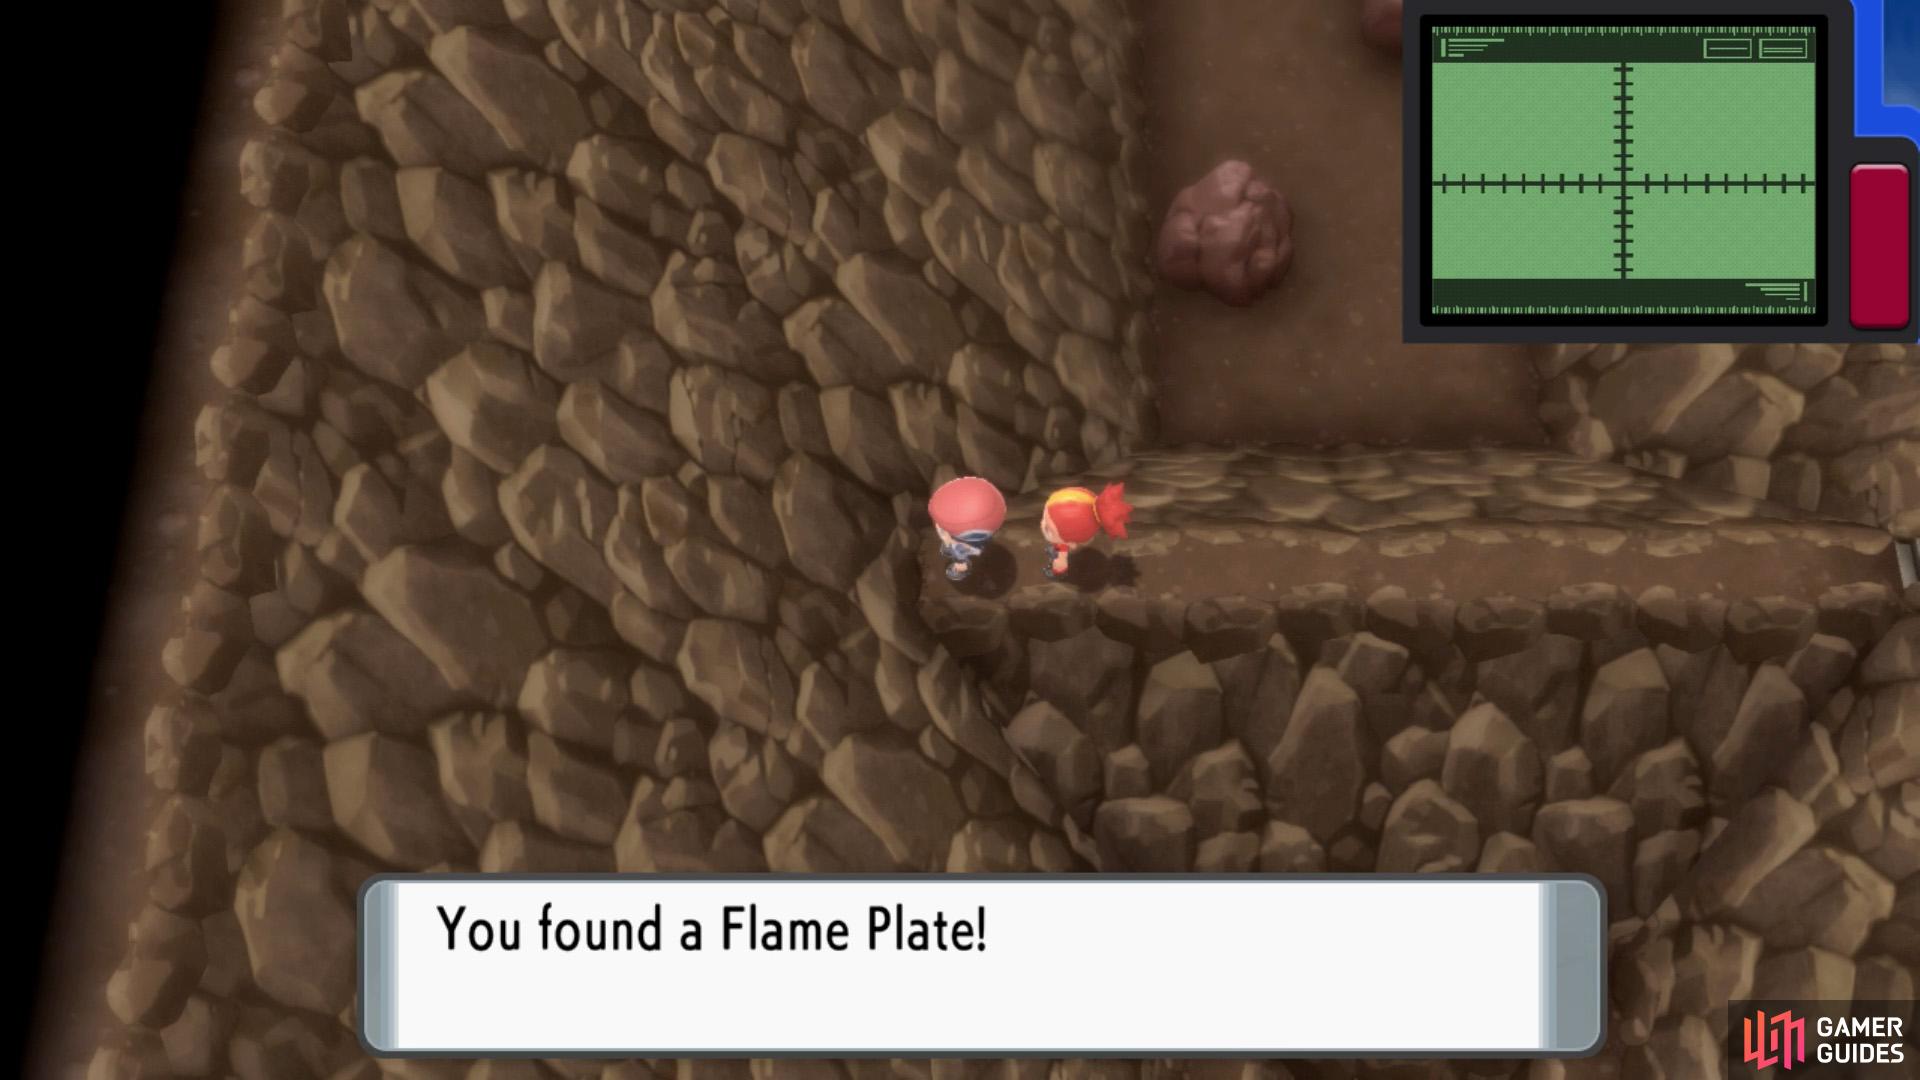
Hidden Flame Plate.

TM50 Overheat.
| Item | Location |
|---|---|
| Hyper Potion | Towards the south-west. After going north from the entrance, head west and search the small rock at the end, near the big rock. |
| Rare Candy | Near south-west corner. At the end of the pit west from Ace Trainers Keenan and Kassandra. |
| Flame Plate | Towards the west. Hidden in the wall at the end of the horizontal path south from Ace Trainers Jasmin and Stefan. |
| TM50 Overheat | Towards the west. Past Ace Trainers Jasmin and Stefan. |
| Ultra Ball | West from the center. Atop a hill accessible via Rock Climb only. |
| Calcium | Near the center. At the end of the pit north from Bird Keeper Krystal. |
| Revive | Near the center. Hidden in the rock along the east side of the central pit, where the Calcium is. |
| Max Revive | Towards the far north. East from the exit. Accessible by taking the stairs near Veteran Harlan and Dragon Tamer Kenny. |
| Iron | Towards the north. Hidden in a small rock near Veteran Harlan. To avoid being blocked by the trainers, speak to Dragon Tamer Kenny to initiate a battle yourself. |
| Nugget | North-east corner. Requires Rock Climb. |
| Zinc | Towards the east. Hidden in a rock around halfway up the lower ground path. |
| Max Elixir | South-east from the center. At the end of the pit east from the center. Accessible via Rock Climb only. |
| Full Heal | Near the south-east. Hidden in a small rock west from Ace Trainers Abel and Monique. South from the Max Elixir pit. |
| Iron Ball | Towards the south-east. At the end of the pit near Psychics Sterling and Chelsey. |
Ace Trainer Keenan


Ace Trainer Kassandra


Ace Trainer Stefan


Ace Trainer Jasmin
| Pokémon | Level | Type |
|---|---|---|
  Drapion Drapion |
59 |
Bird Keeper Krystal


Black Belt Ray


Dragon Tamer Drake


Black Belt Jarrett
| Pokémon | Level | Type |
|---|---|---|
  Machamp Machamp |
59 |
Ace Trainer Skyler


Ace Trainer Natasha


Veteran Harlan


Dragon Tamer Kenny


Ace Trainer Abel
| Pokémon | Level | Type |
|---|---|---|
  Aerodactyl Aerodactyl |
59 |
Ace Trainer Monique
| Pokémon | Level | Type |
|---|---|---|
  Kangaskhan Kangaskhan |
57 | |
  Ursaring Ursaring |
57 |
Psychic Chelsey


Psychic Sterling


Stark Mountain - Endpoint
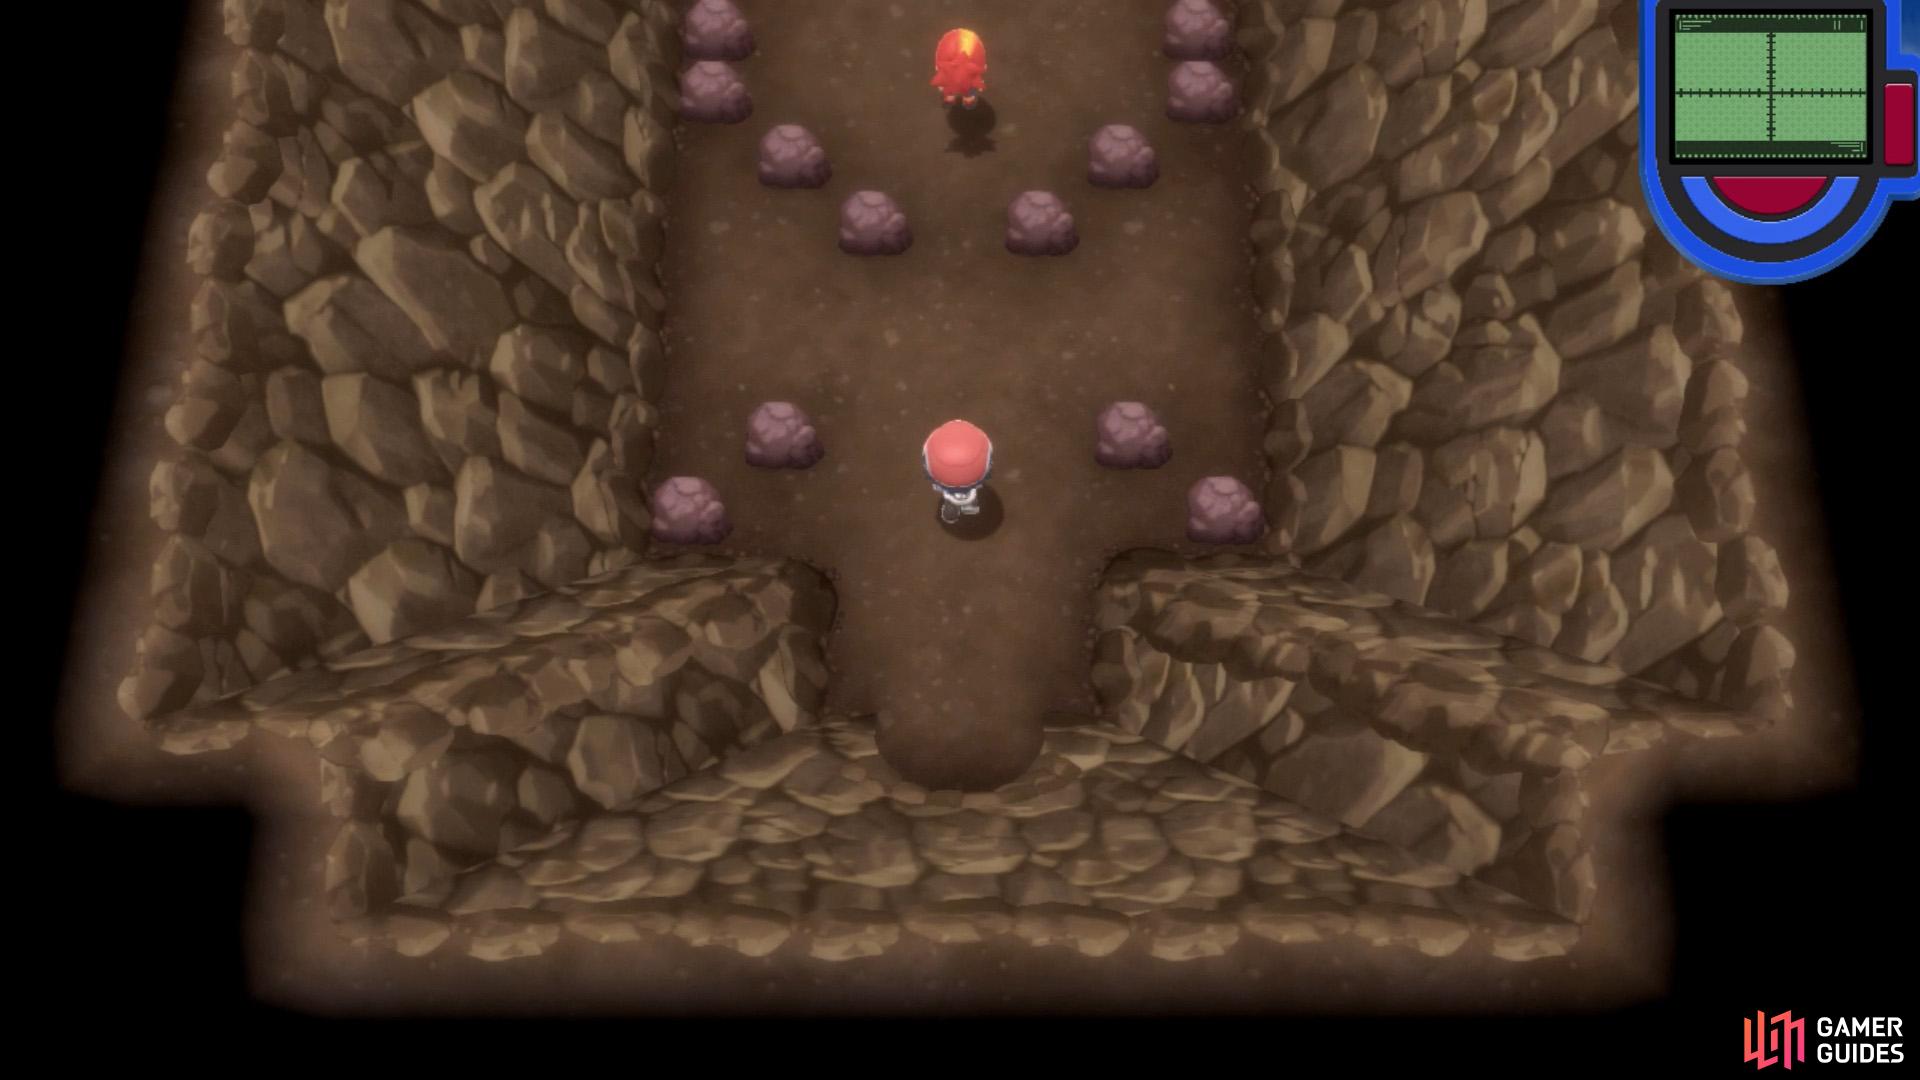
There’s nothing here, except Buck.
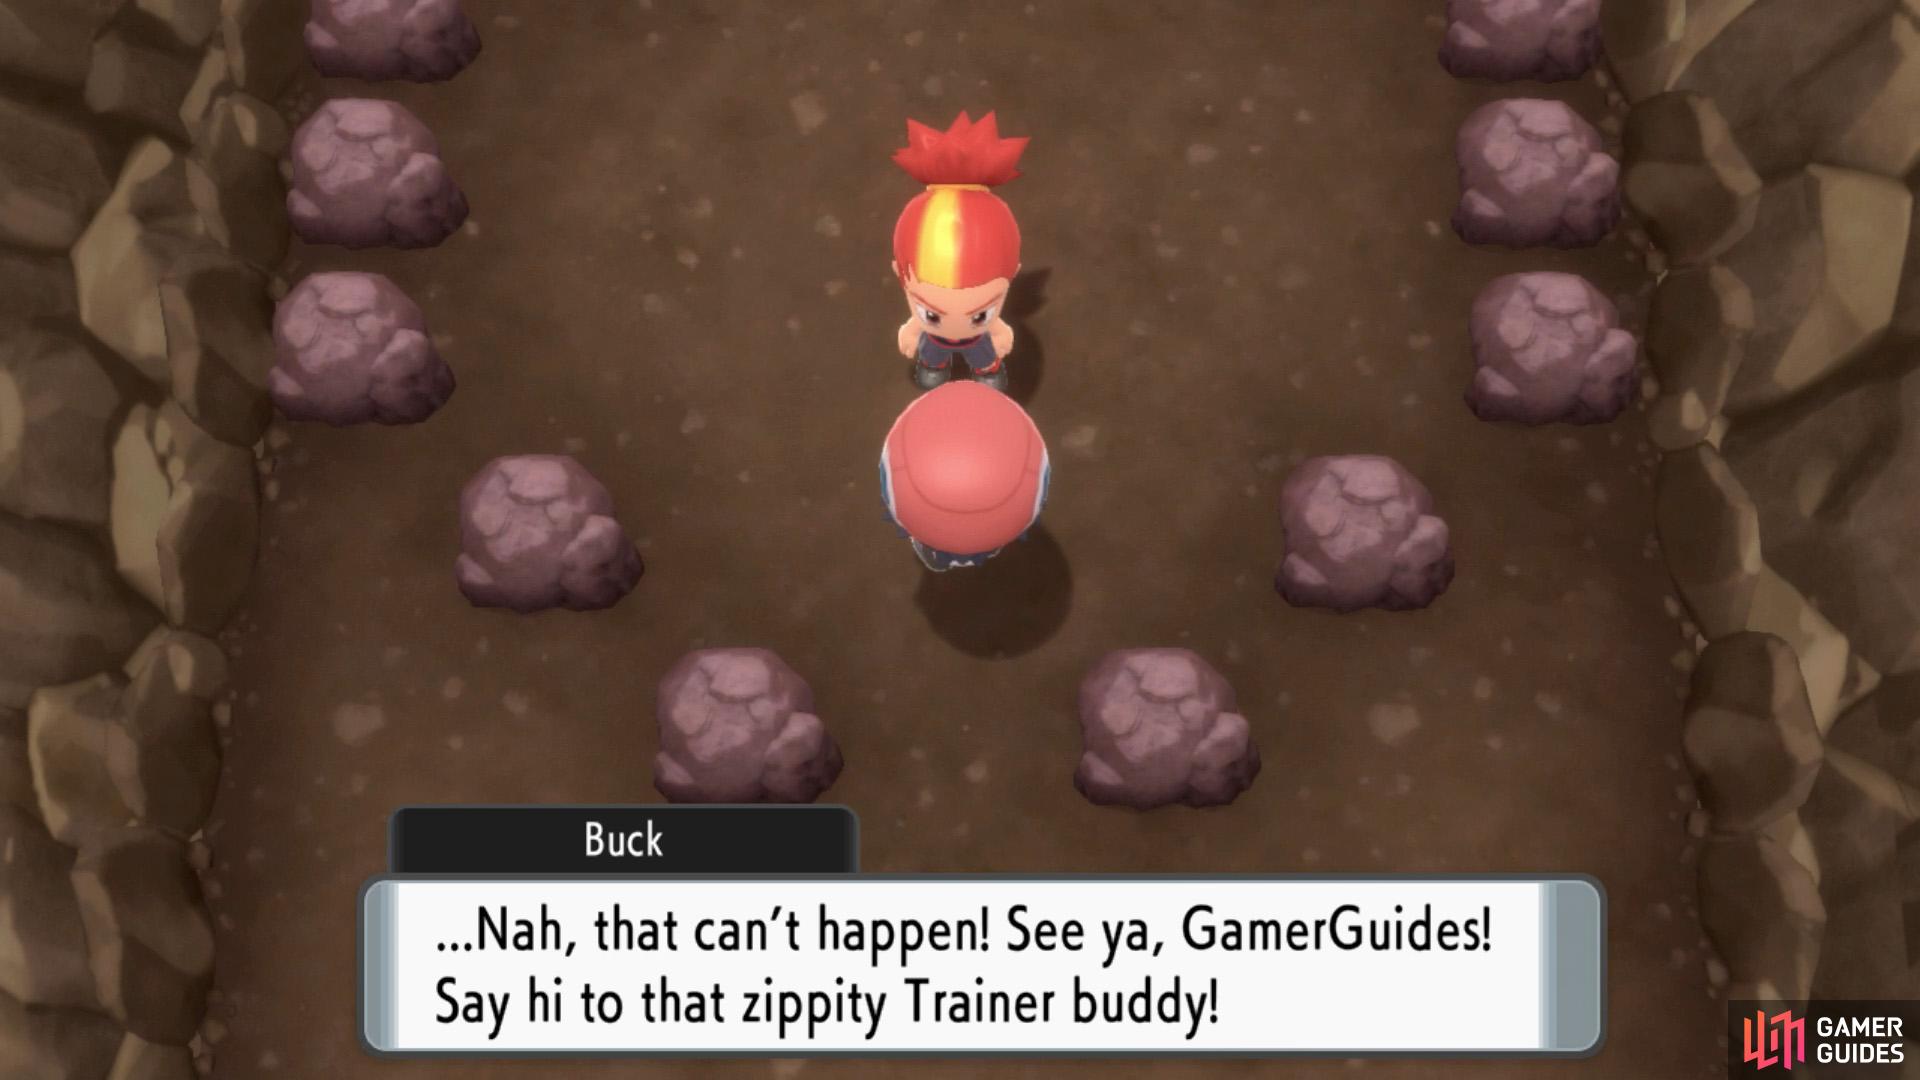
Speak to Buck and he’ll go back home. The story’s not quite over though.
The cave at the end of the main area will lead to the deepest cavern, where… there’s absolutely nothing. For now, at least.
Speak to Buck and he’ll discover a Magma Stone, which he’ll keep for himself. He’ll then disappear. You should disappear too, or maybe return to the main area to grab those three items that require Rock Climb.
Wild Pokémon - Interact
| Pokémon | Type | Encounter Rate |
|---|---|---|
 Heatran Heatran |
100% |
No Comments