
This is a walkthrough for Iron Island, including what Pokémon you can encounter and items you can find.
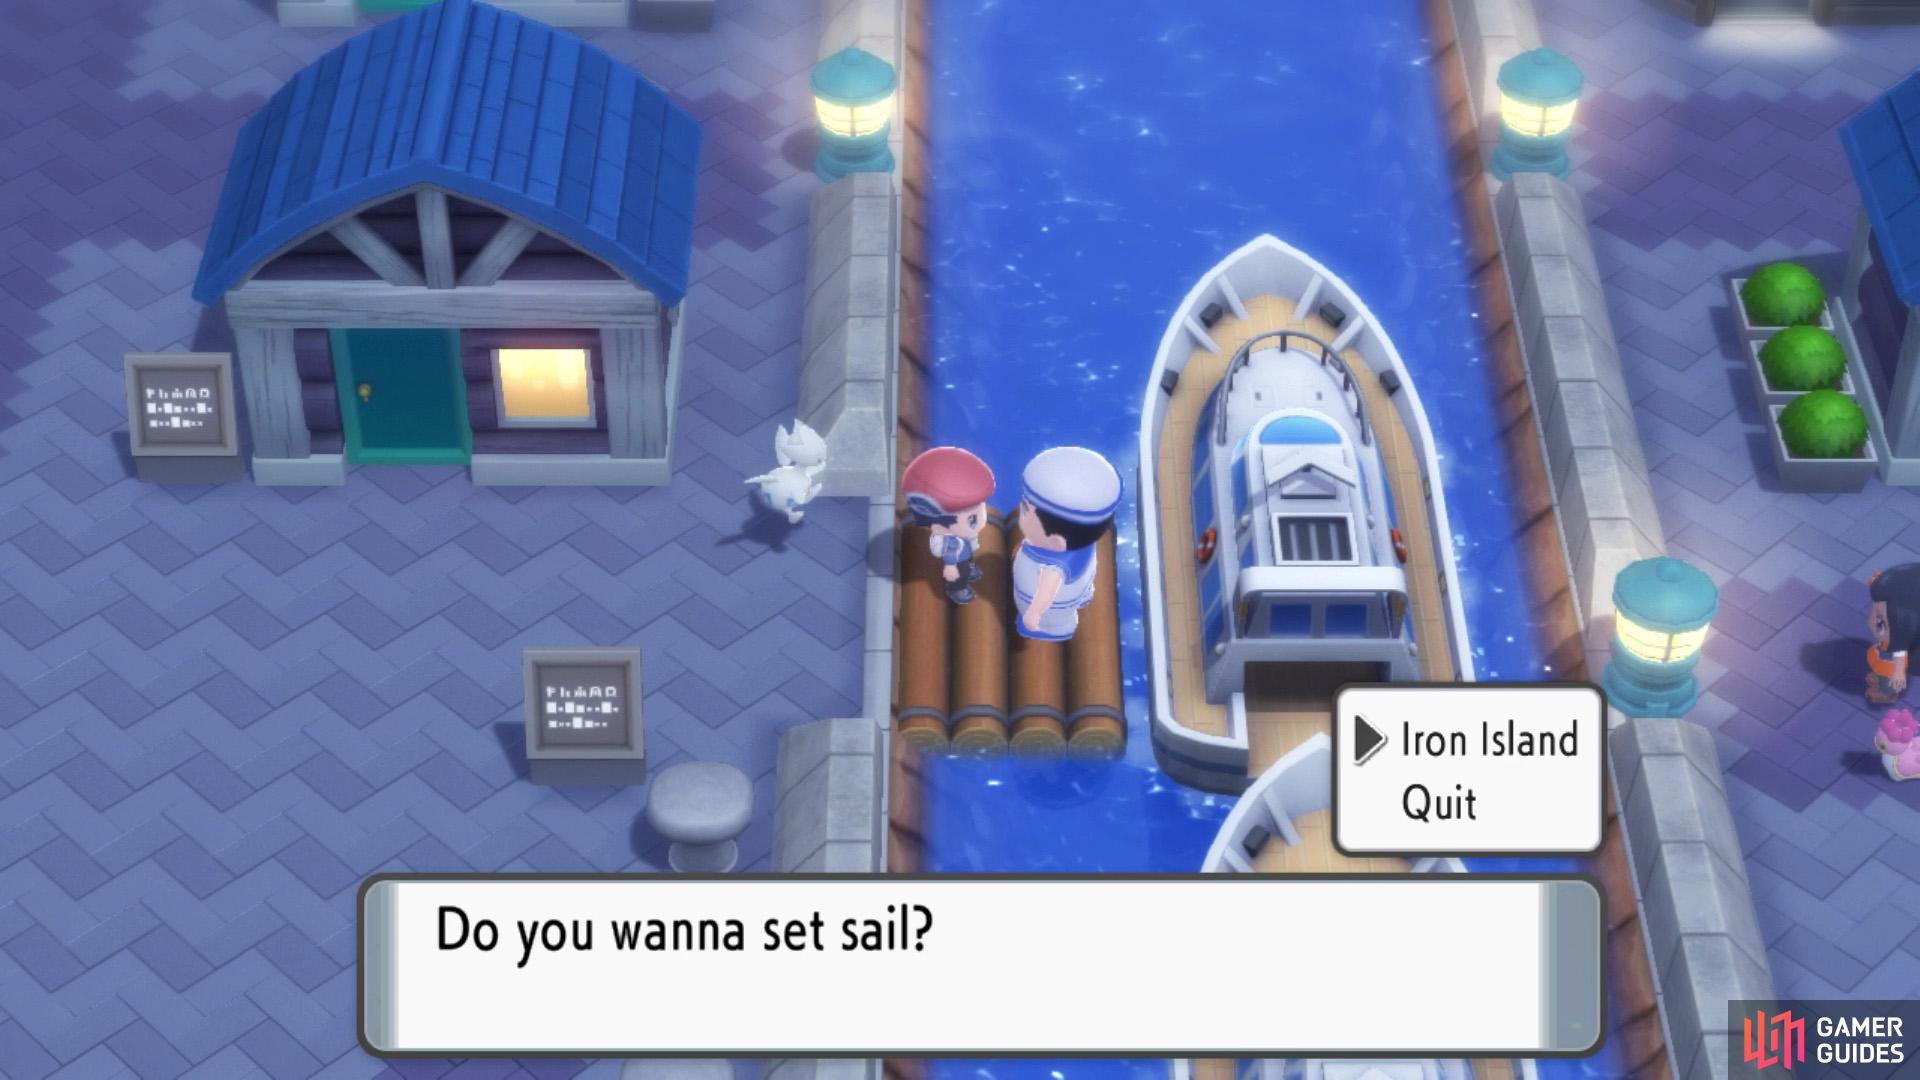
Speak to this sailor to hitch a ride to Iron Island.
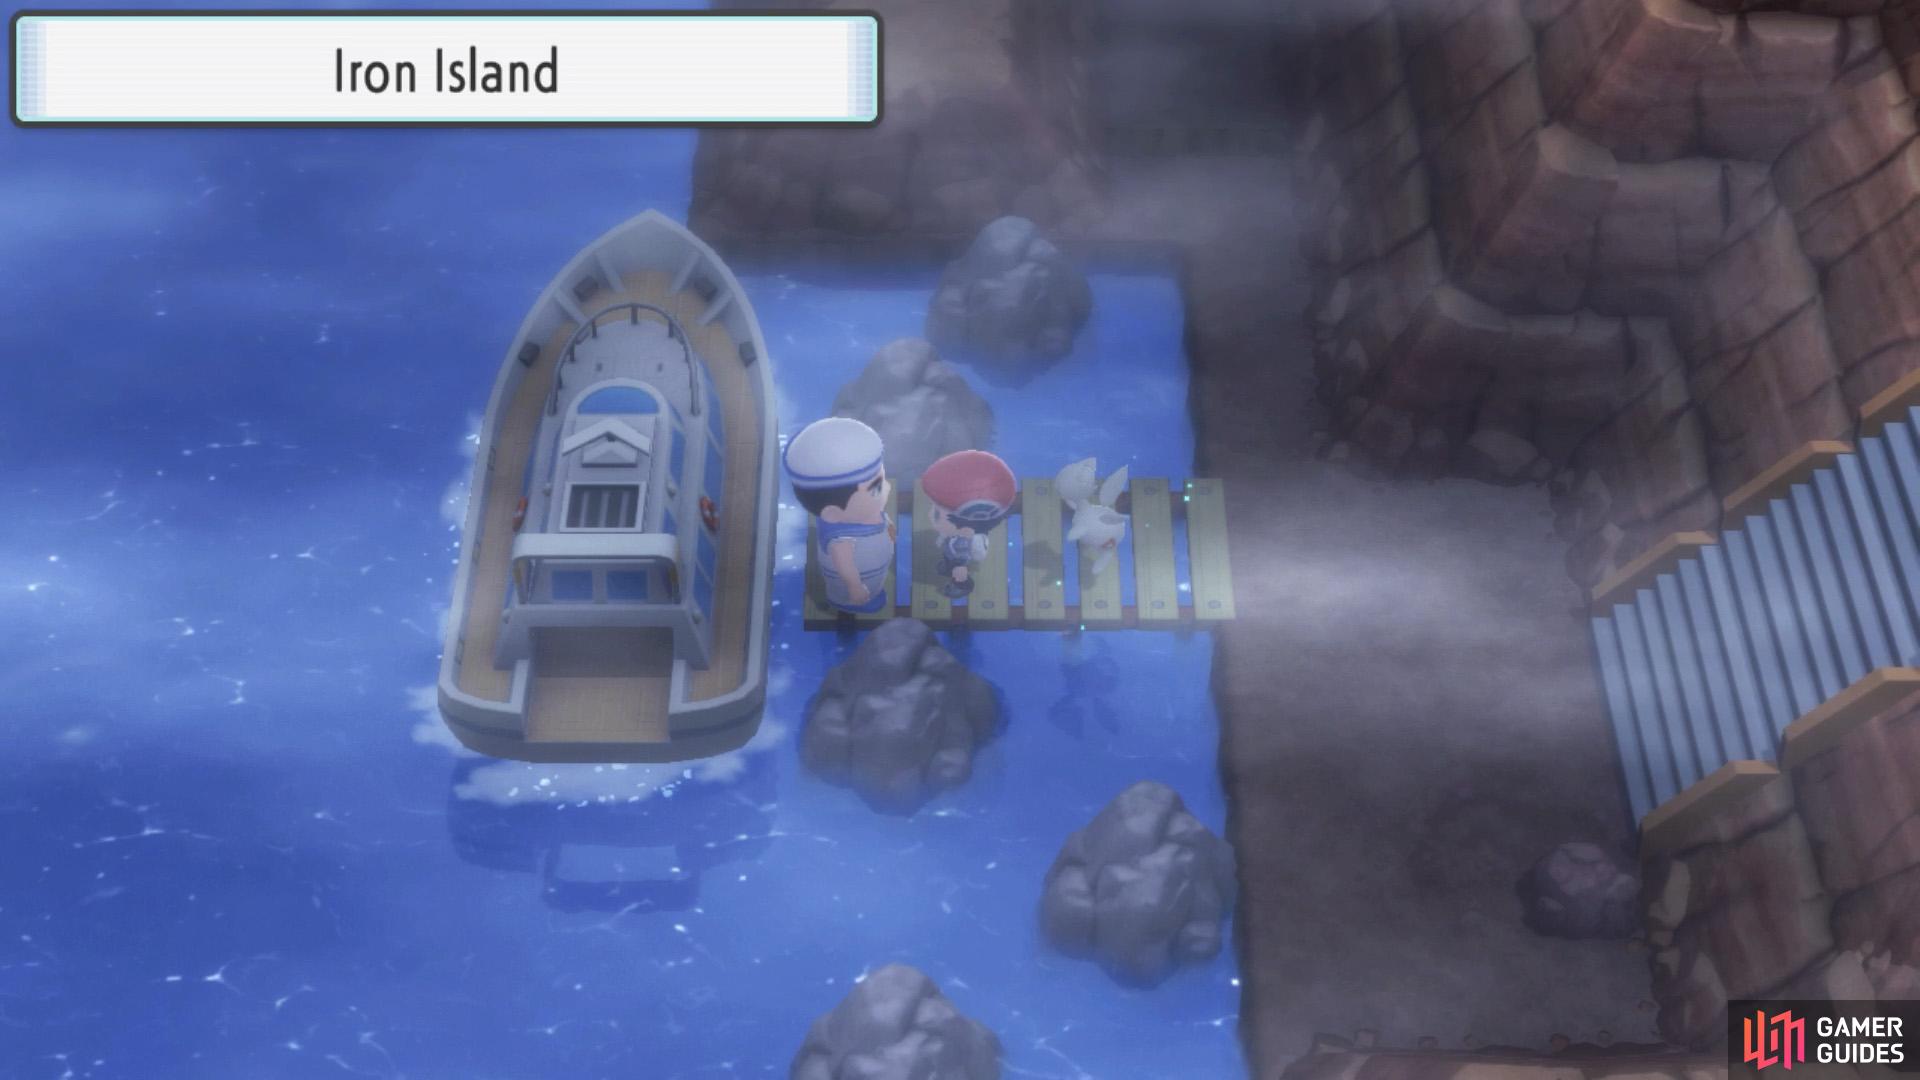
When you’re finished here, you can use the ferry to return or Fly.
Iron Island is a small island situated off the Sinnoh mainland, accessible by taking a ferry from the west side of Canalave City. You’re not required to visit here, but it’s worth your time for the additional training–and also to bag yourself a rare  Riolu.
Pokémon Trainer Riley (Ally)
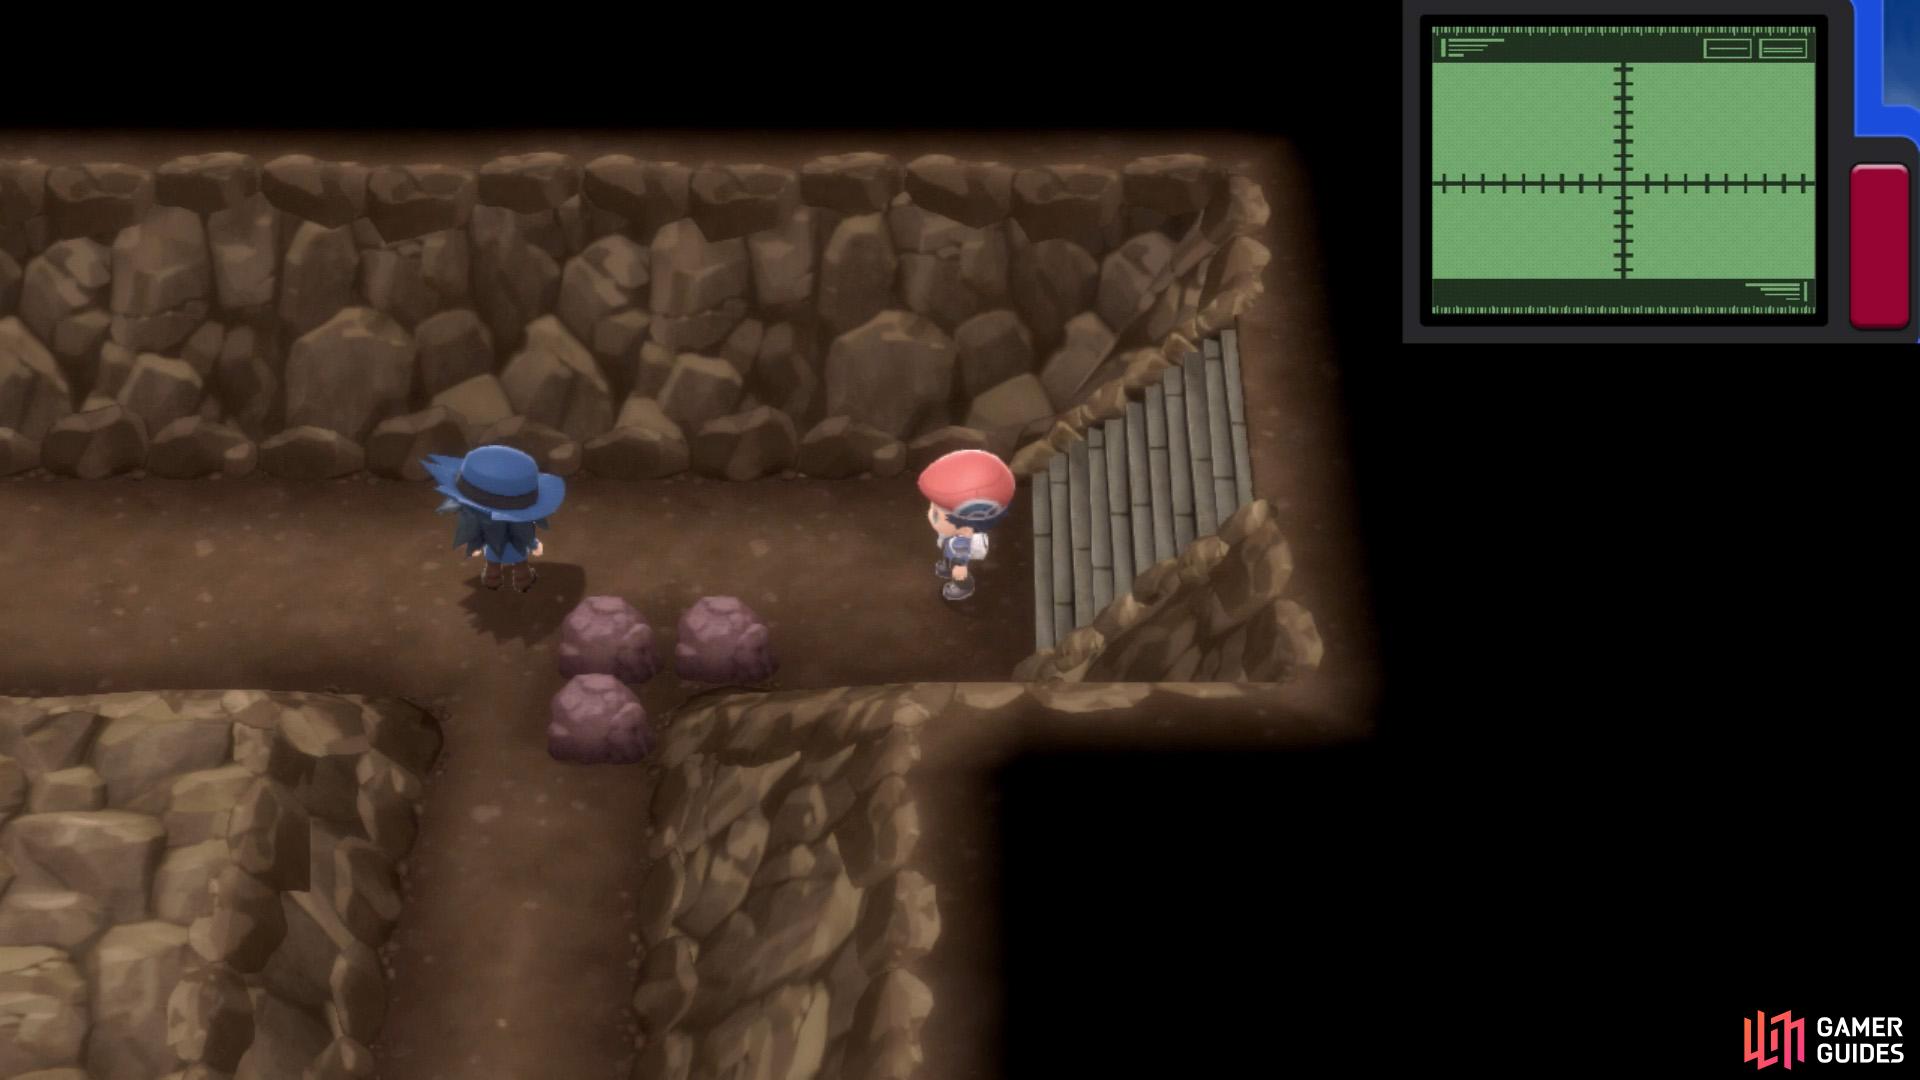
Riley is waiting near the start of B2F West.
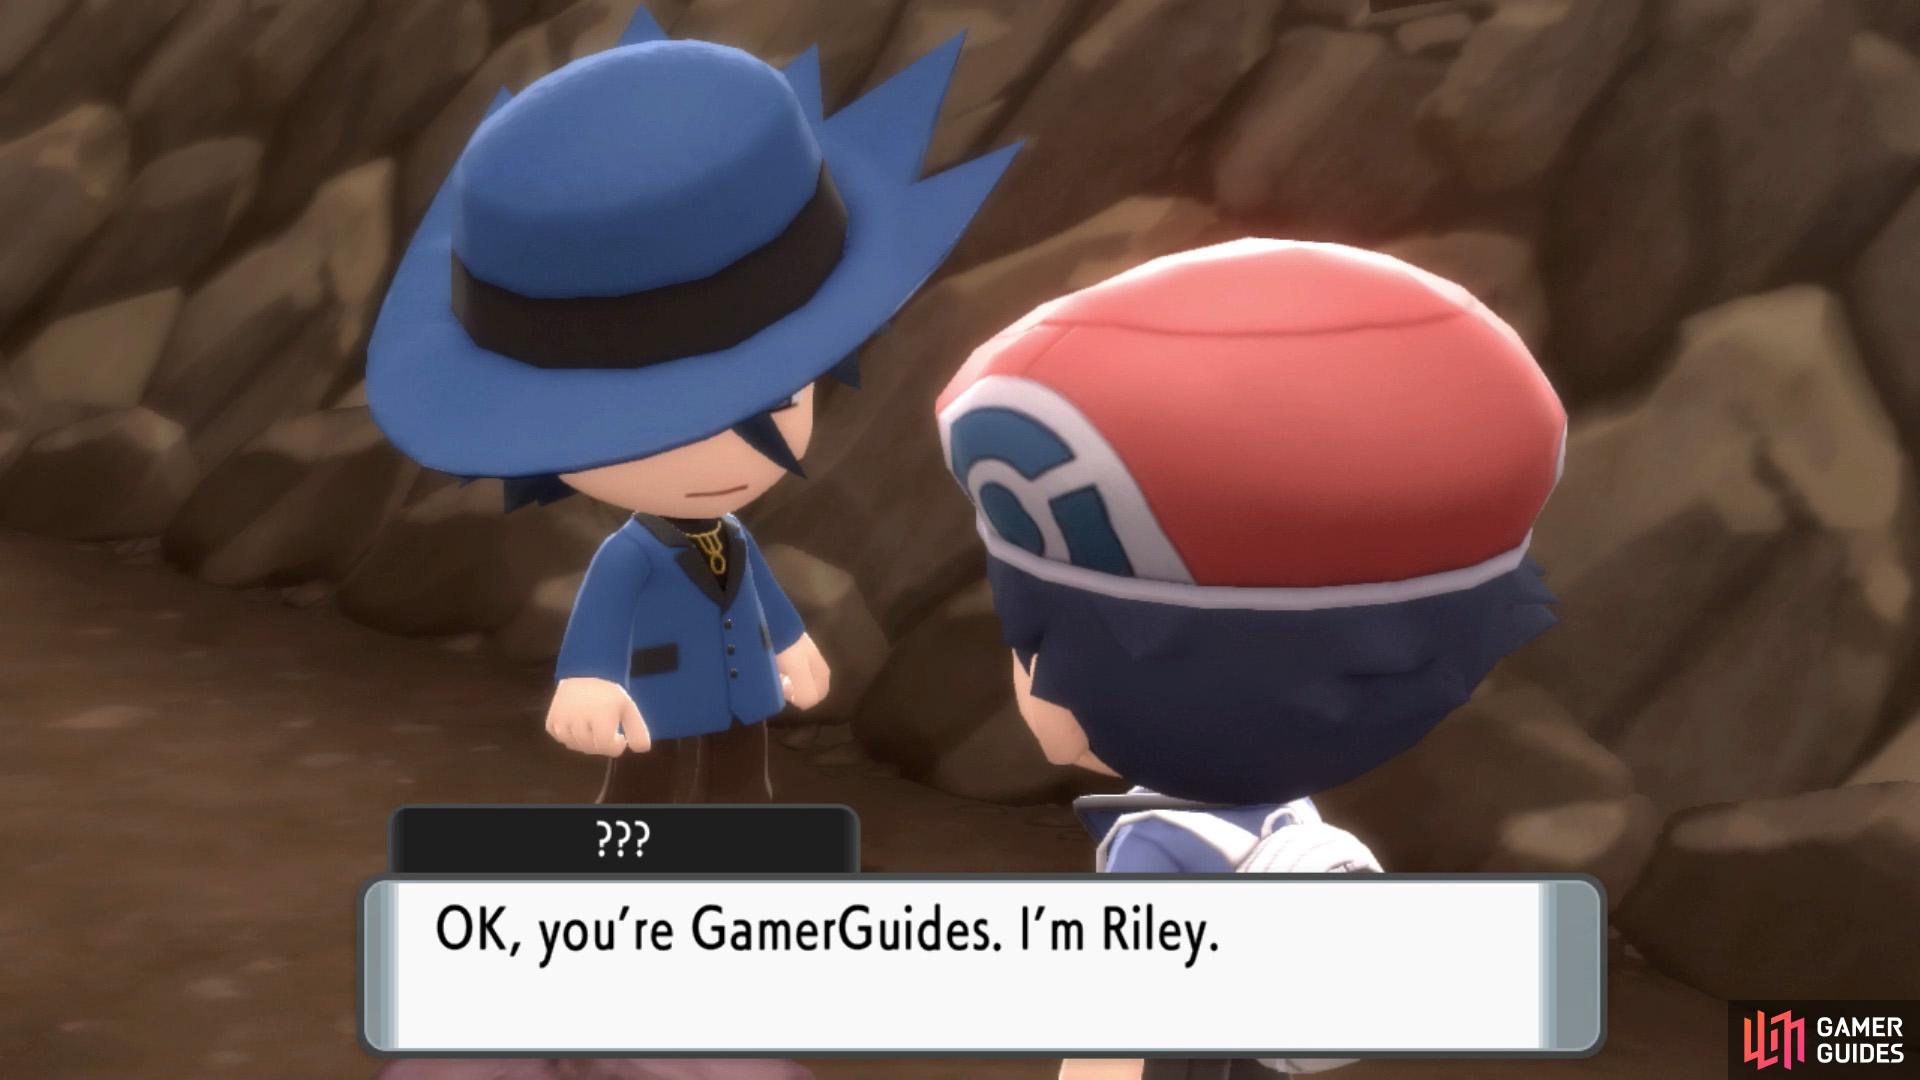
He’ll be super useful with his Lucario and free healing.
| Pokémon | Level | Type |
|---|---|---|
  Lucario Lucario |
34 |
When you step foot in B2F (West), the mysterious Riley will offer to join your cause. While Riley is present, all wild Pokémon encounters will feature two Pokémon at once, with Riley assisting as Player 2. Likewise, Riley will assist as Player 2 during Double Battles with other trainers.
Similar to previous allies, Riley will fully restore your party after every single fight. Which should come in handy since it’s a long way back to the surface! Riley will permanently leave when you reach the elevator at the far south.
What’s Inside Riley’s Egg?

As thanks, Riley will give you a Pokémon Egg.
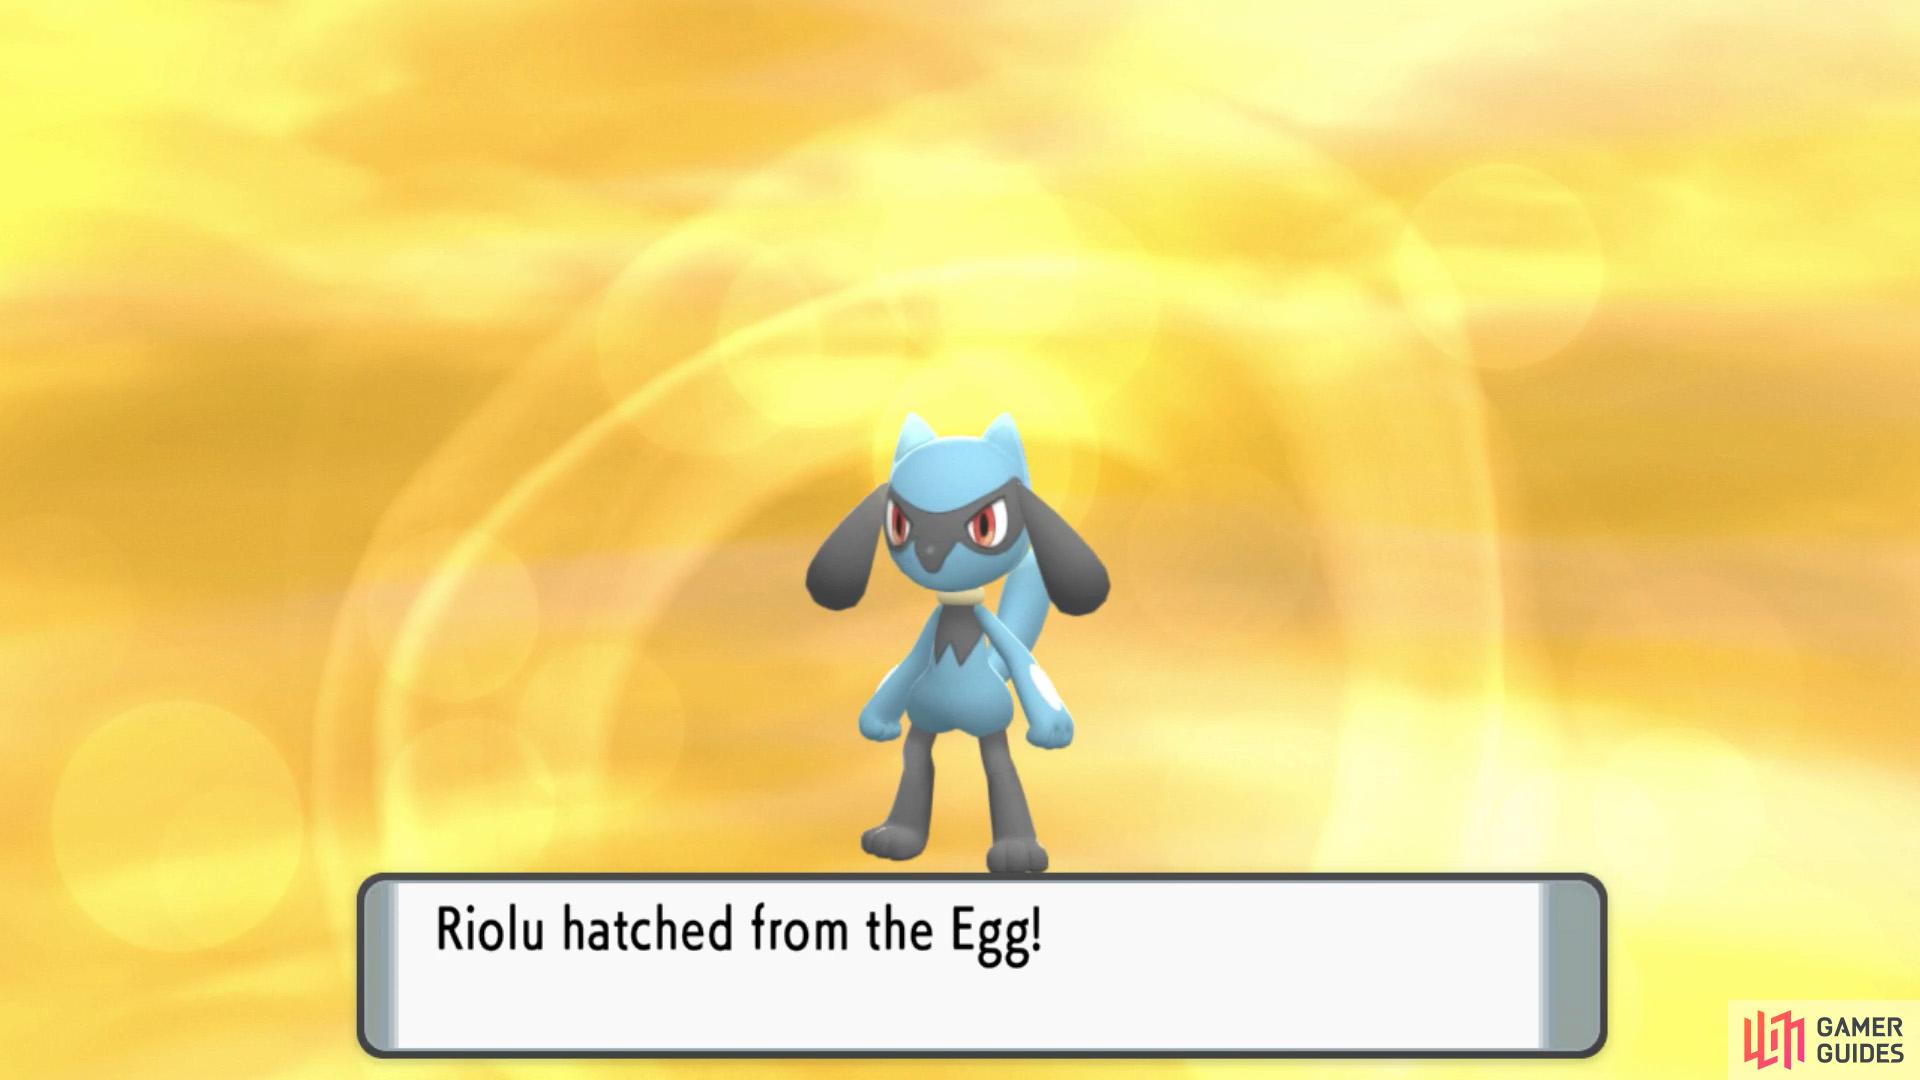
Keep the egg in your party and it’ll hatch into a Riolu.
As a farewell gift, Riley will give you a Pokémon Egg before leaving. If you keep this egg in your party, it’ll eventually hatch into a Level 1 Riolu, which you can train and evolve into your own Lucario. How thoughtful of him!
Iron Island Full Map
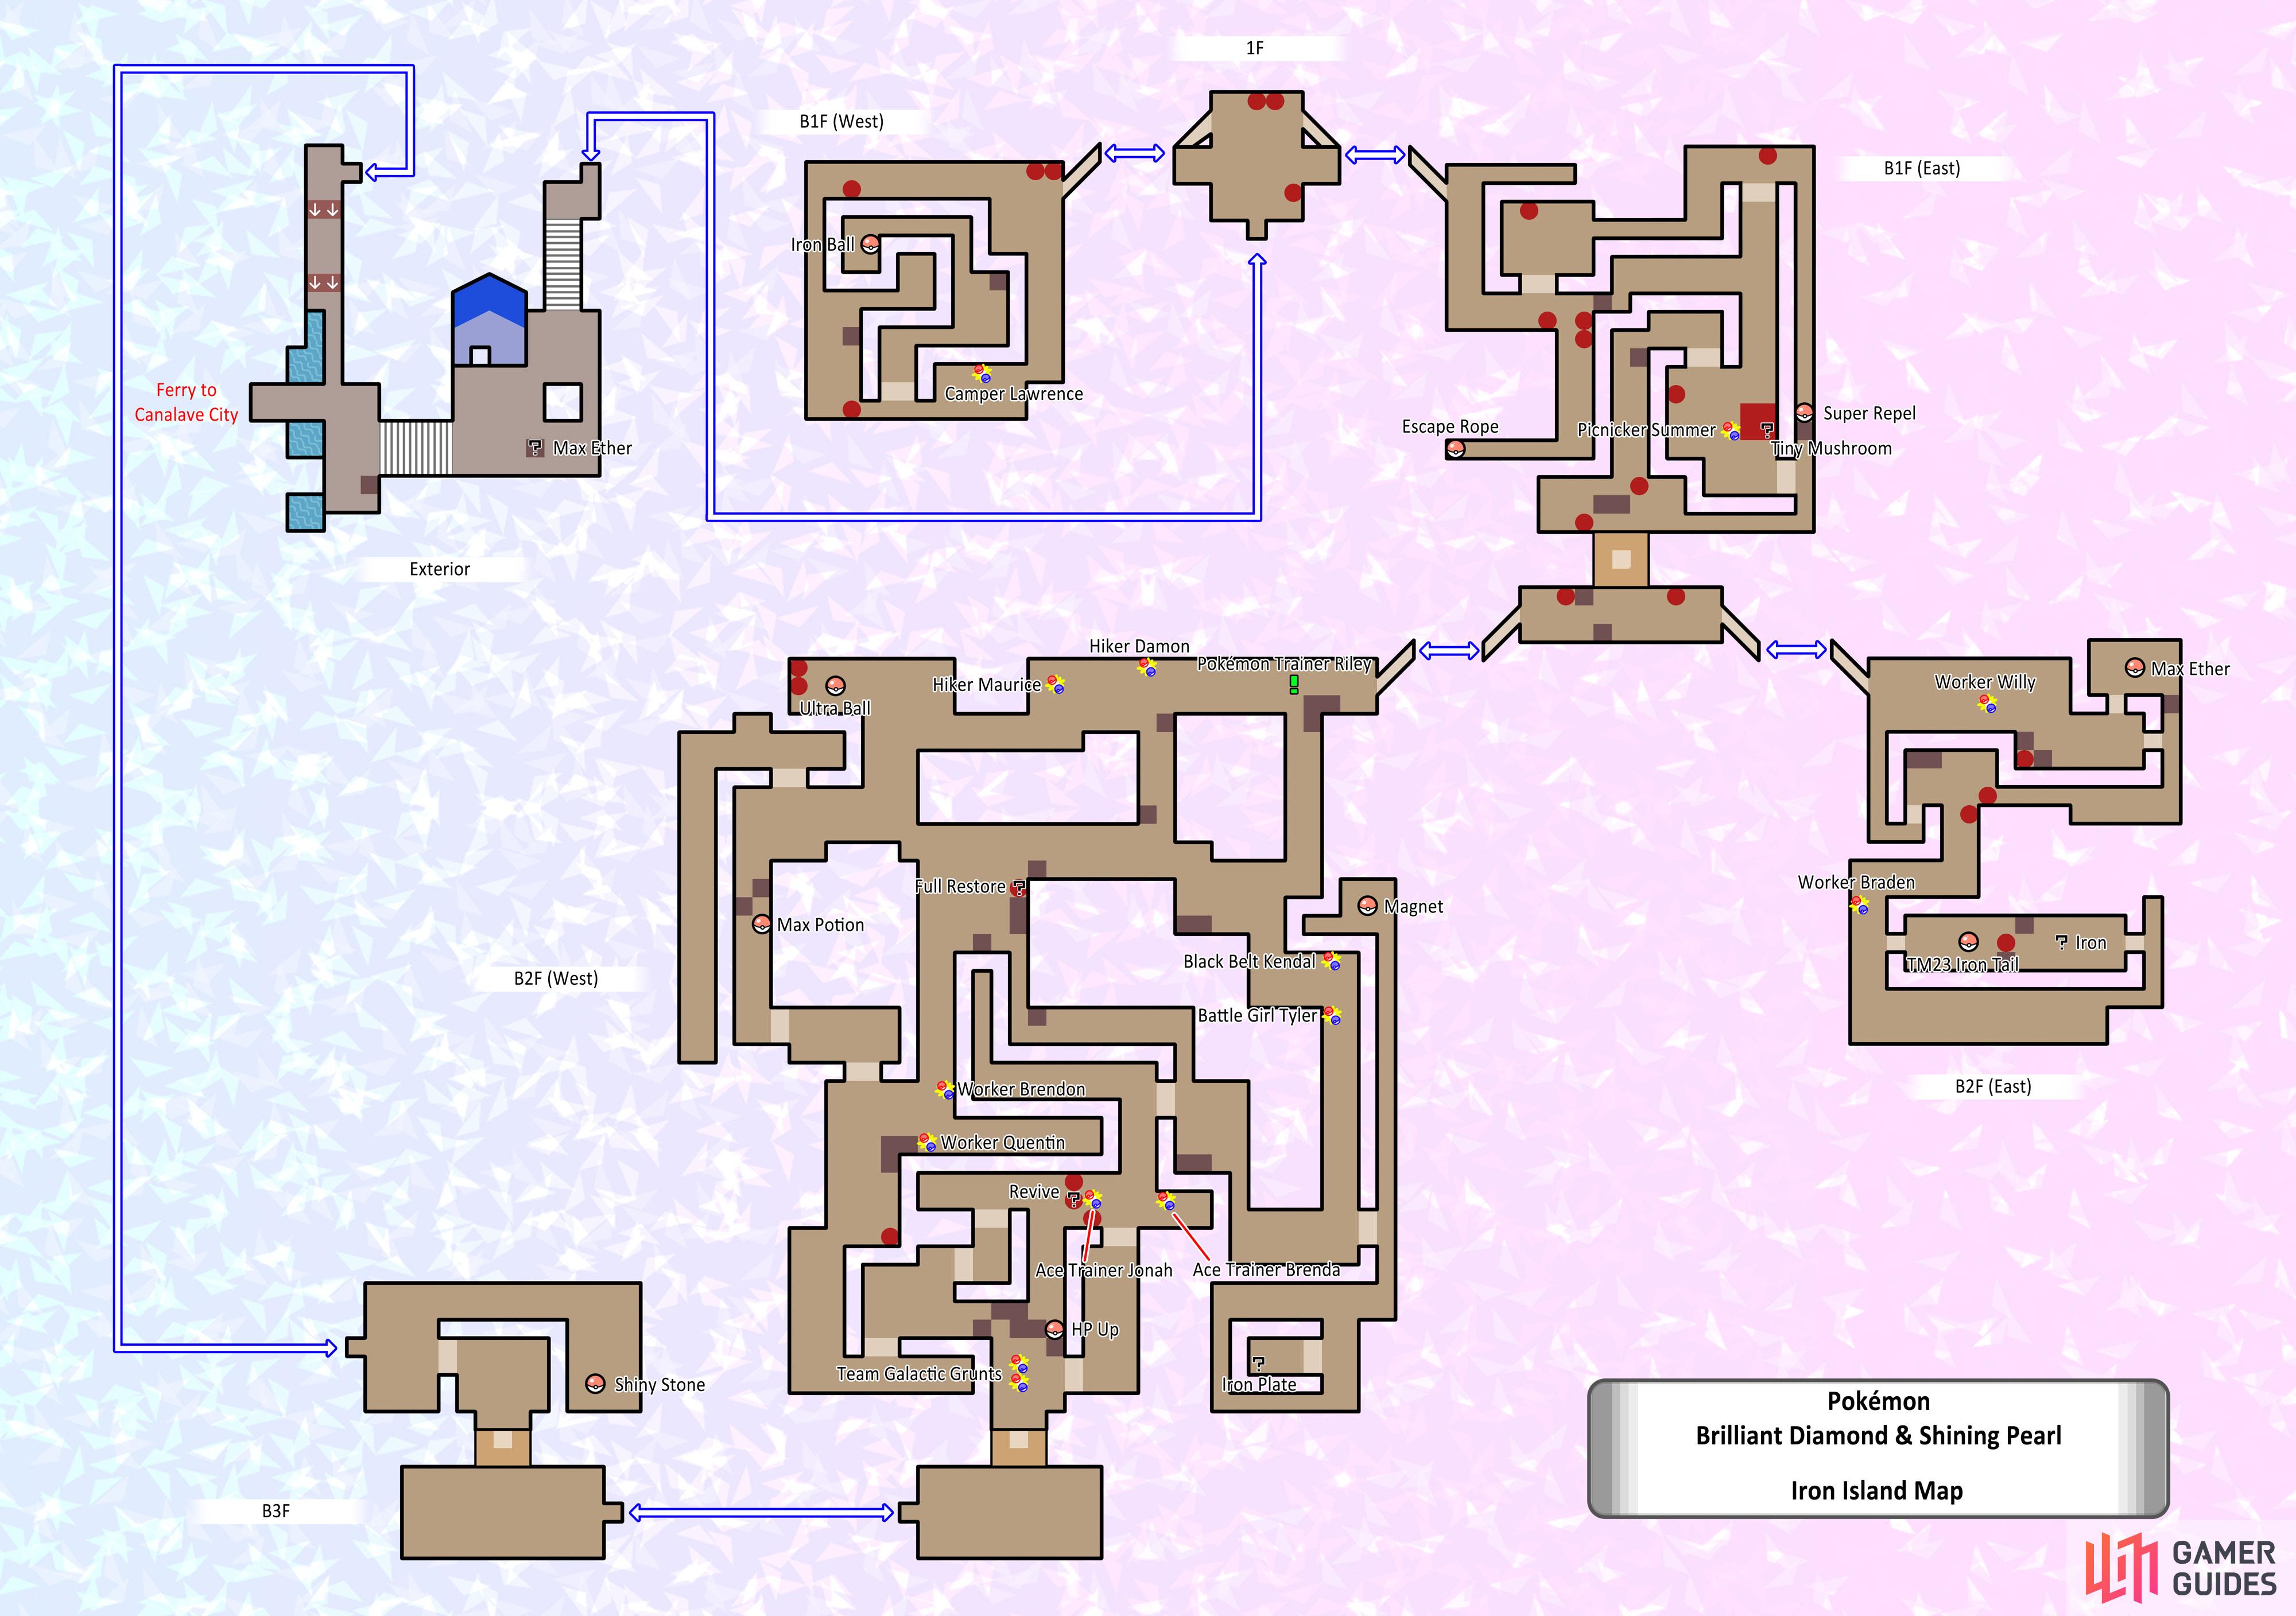
Full map of Iron Island. Because we love you.
Exterior
Map (Exterior)
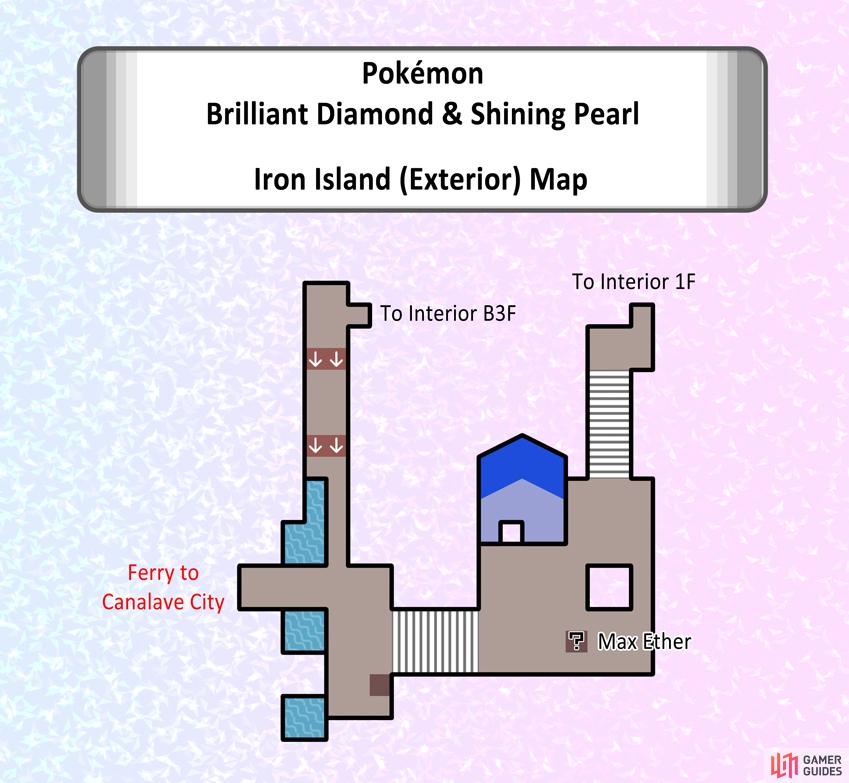
Map of Iron Island’s exterior.
When you arrive on Iron Island, the land itself is fairly small. Towards the north of the pier is a series of ledges going the other way. On the right are stairs leading up.
Here, there’s a house nearby with nothing notable instead. Search the lone rock near the house for a hidden Max Ether. Then go up the stairs next to the house, towards the cave.
Wild Pokémon - Surfing
| Pokémon | Type | Encounter Rate |
|---|---|---|
  Pelipper Pelipper |
5% | |
  Tentacool Tentacool |
60% | |
  Tentacruel Tentacruel |
5% | |
  Wingull Wingull |
30% |
Wild Pokémon - Fishing
| Pokémon | Type | Encounter Rate |
|---|---|---|
  Finneon Finneon |
35% (Good Rod) | |
  Gyarados Gyarados |
60% (Super Rod) | |
  Lumineon Lumineon |
35% (Super Rod) | |
  Magikarp Magikarp |
100% (Old Rod), 65% (Good Rod) | |
  Qwilfish Qwilfish |
5% (Super Rod) |
Item Locations (Exterior)
| Item | Location |
|---|---|
| Max Ether | Hidden at the small rock below the house. |
| Metal Coat | From Byron inside the house, after obtaining the National Pokédex. |
Interior 1F
Map (1F)
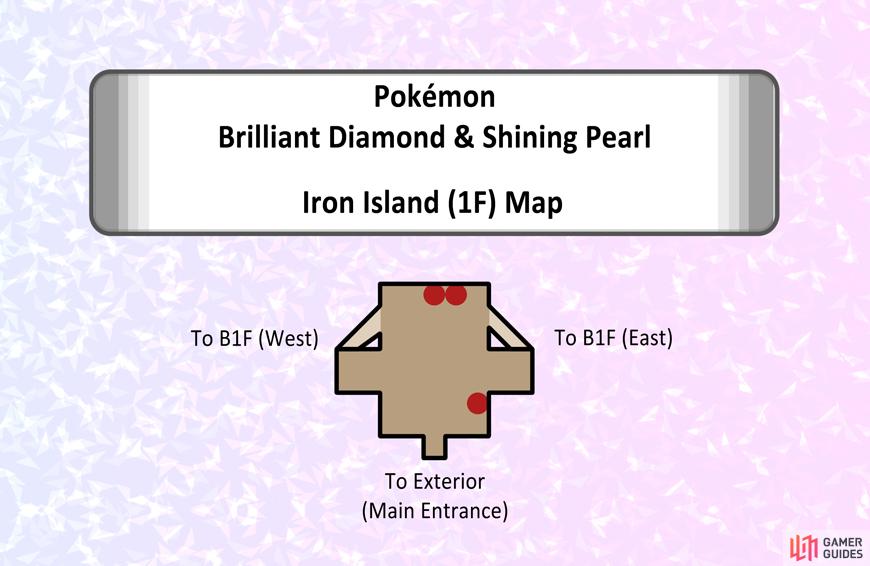
Map of Iron Island (1F).
Inside the cave, you’ll be in an enclosed space with a few red barrels nearby. To the left and right are stairs going down. Go down the stairs on the left first, towards B1F (West).
Wild Pokémon - Ground


Interior B1F (West)
Map (B1F West)
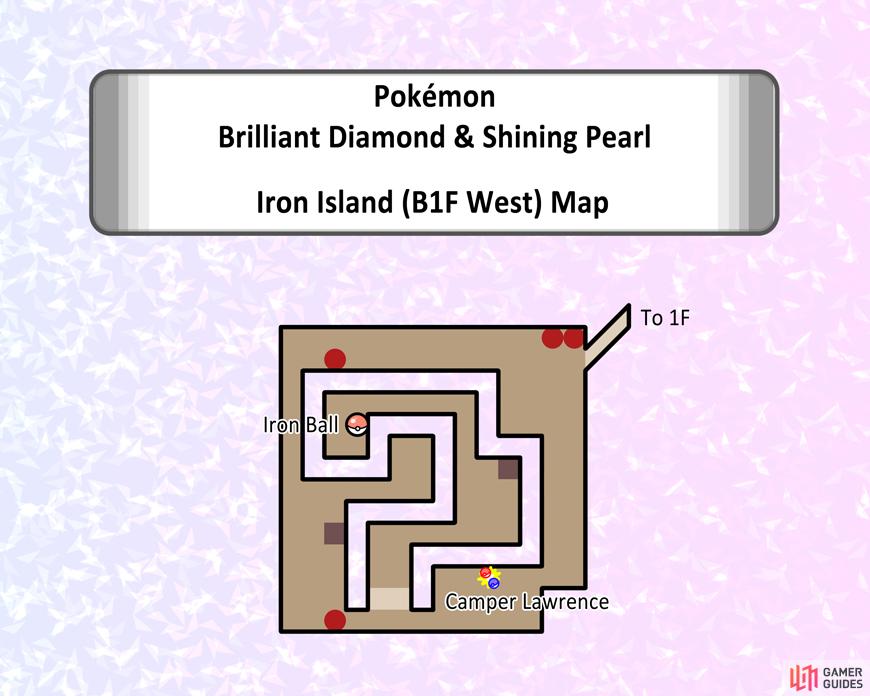
Map of Iron Island (B1F West).
After going down the left-hand side stairs, you’ll reach a medium-size square room. Head south and confront the Camper so you can get past. Go up the steps to the left and follow the raised path to reach an Iron Ball. That’s all.
Backtrack to the previous floor and take the right-hand side stairs to (B1F East).
Wild Pokémon - Ground
Item Locations (B1F West)
| Item | Location |
|---|---|
| Iron Ball | At the end of the raised path in the center. |
Camper Lawrence


Interior B1F (East)
Map (B1F East)
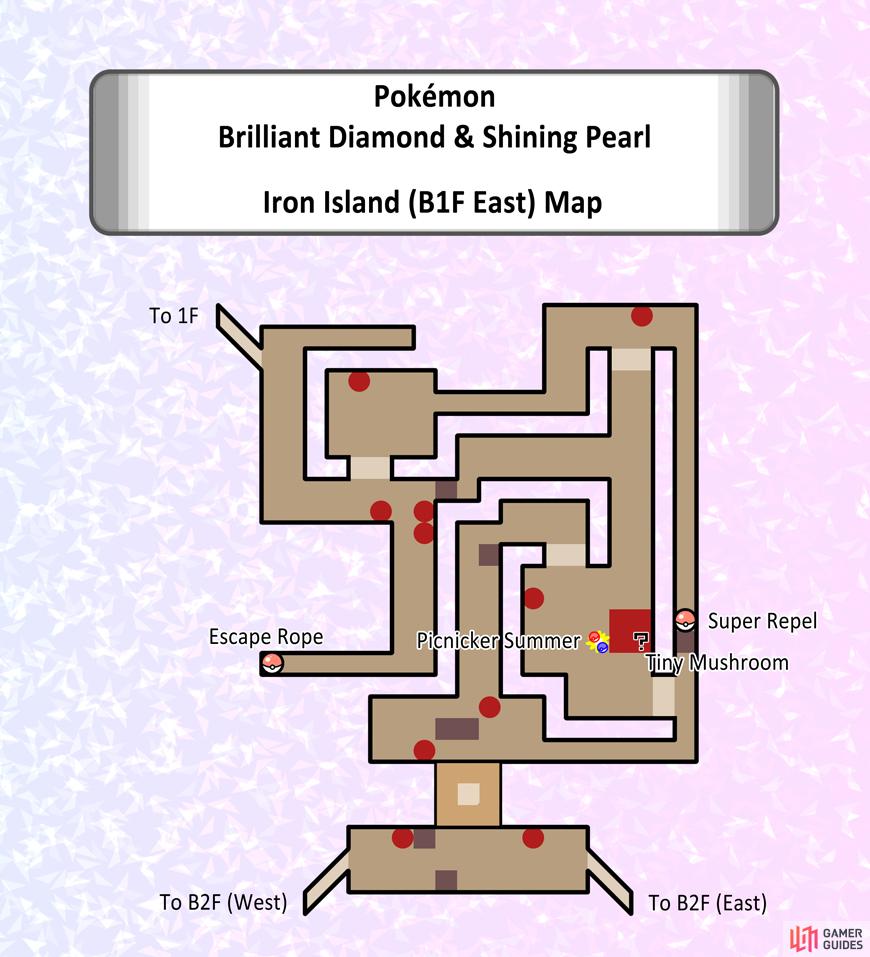
Map of Iron Island (B1F East).
This area is slightly more complex, but not by much. To start with, head south and follow the path to the end, past the red barrels and ignoring the steps for now. Pick up the Escape Rope, then go back and head up the steps. Follow the raised path east.
When you reach the north-east corner, ignore the steps for now and follow the narrow path south. Grab the Super Repel at the end, then go back and head down the steps. Go straight down towards the red, metal beams. Go around the Picnicker and search the bottom of the beams for a hidden Tiny Mushroom.
Next, go up the steps on the right and follow the path around to find an elevator that’ll take you downward. Here, there’s another pair of stairs on the left and right. Go down the stairs on the right first, to reach B2F (East).
Wild Pokémon - Ground
(Same as B1F West.)
Item Locations (B1F East)
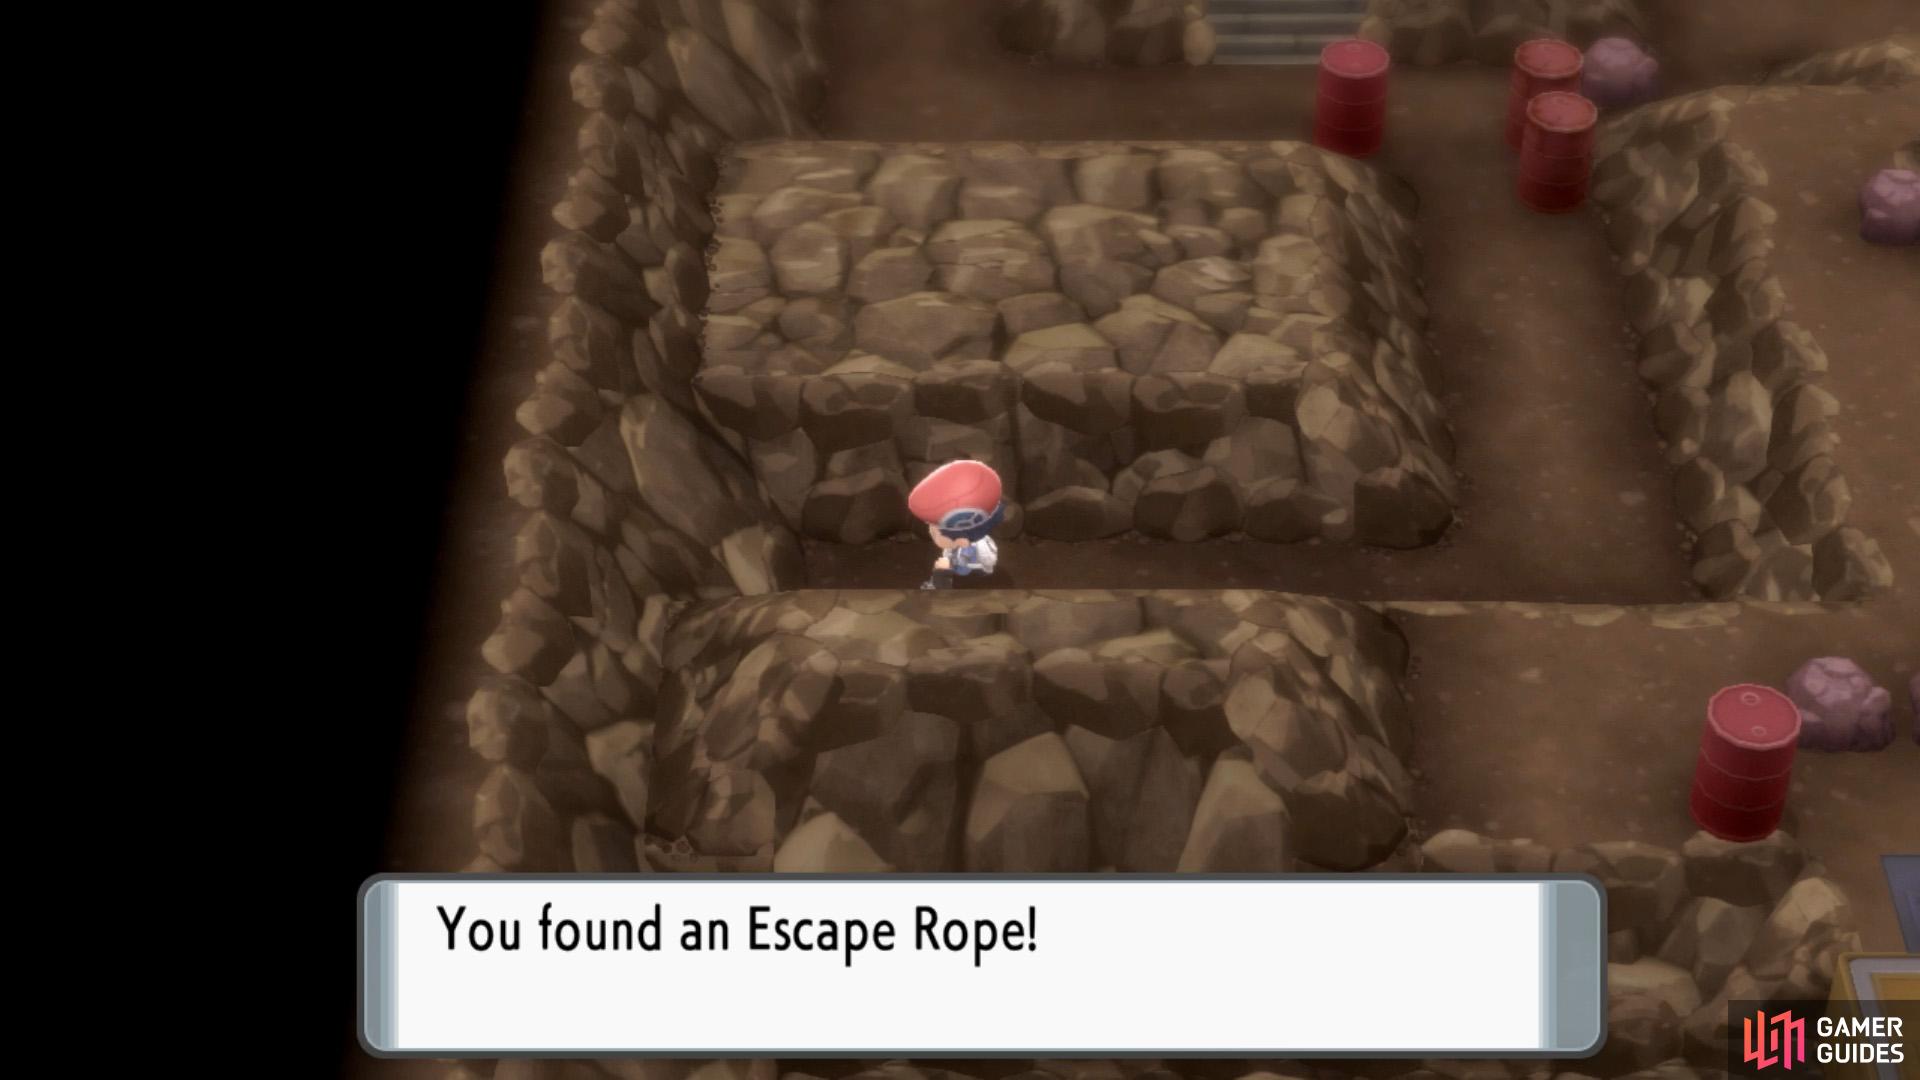
Use this to quickly return to the entrance in an emergency.
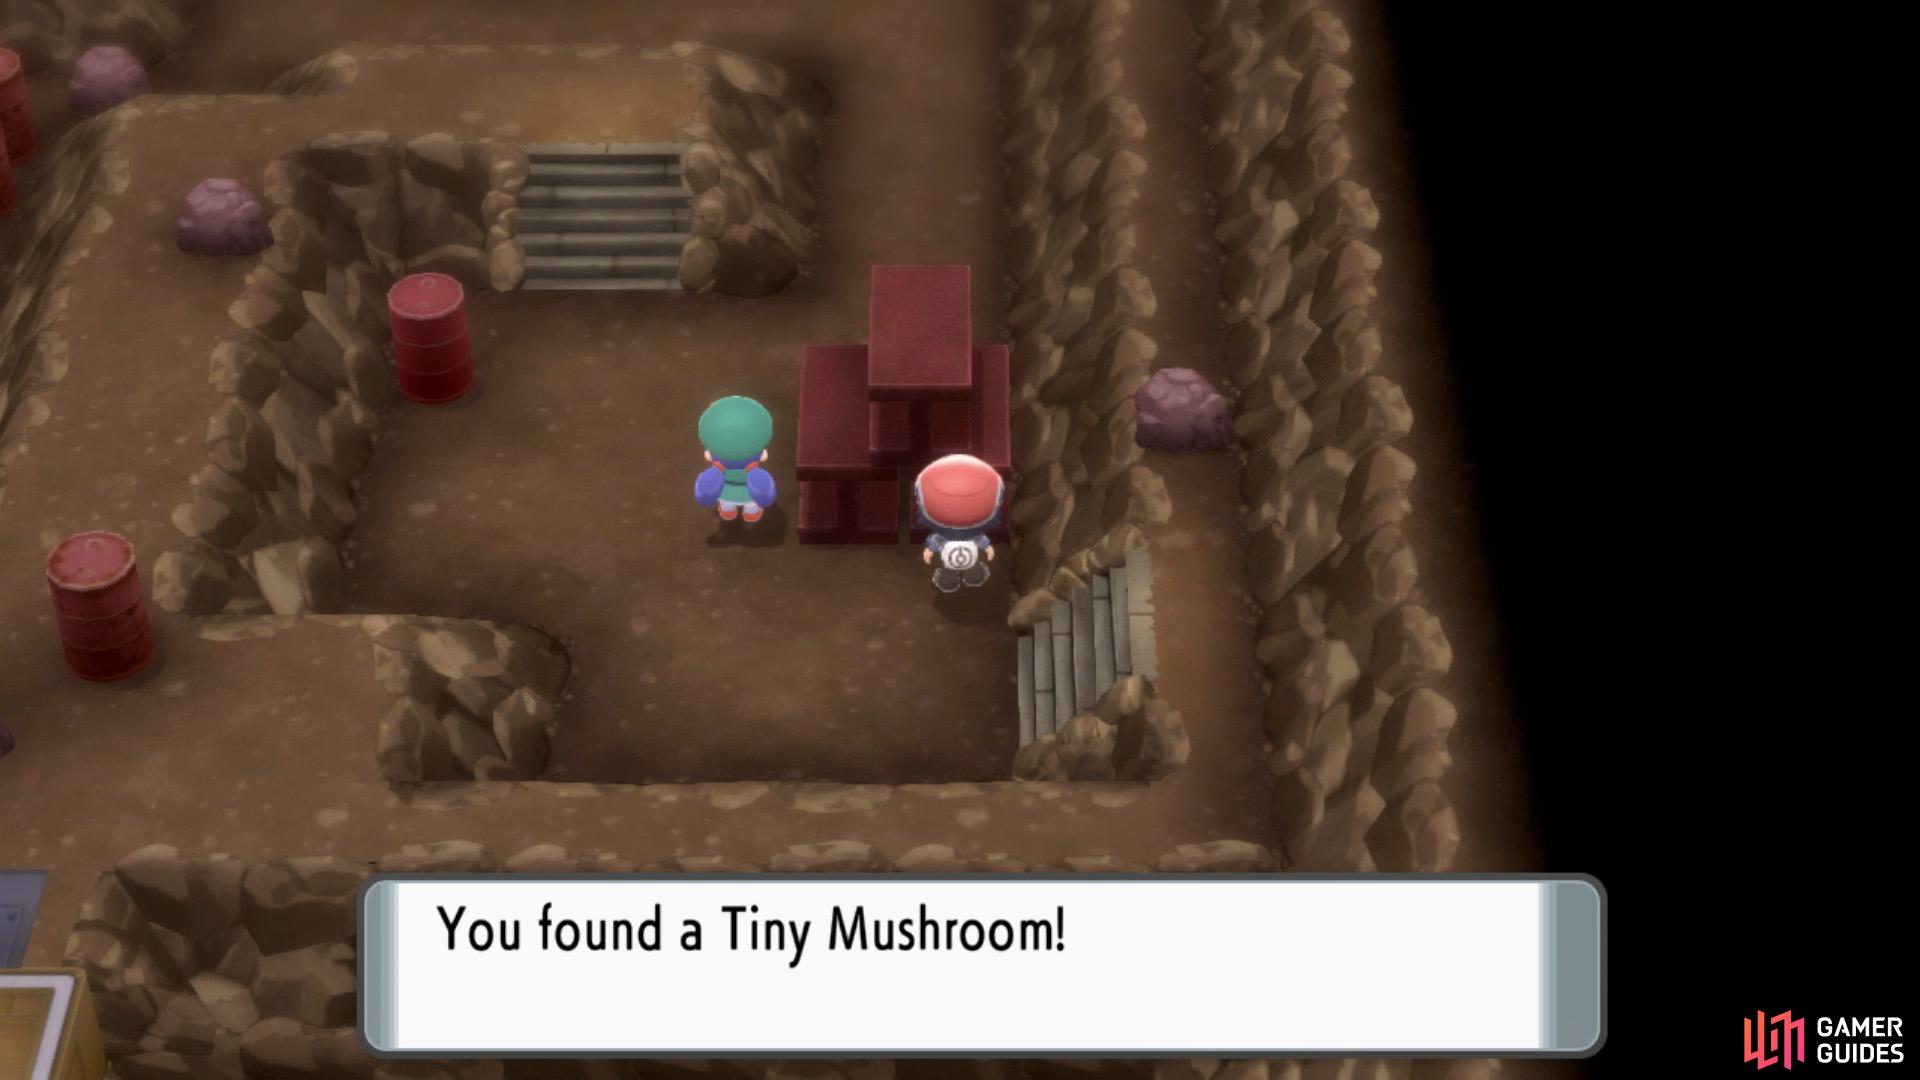
Hidden Tiny Mushroom.
| Item | Location |
|---|---|
| Near south-west corner; at end of path south from the entrance. | |
 Super Repel Super Repel |
Above the small rock east of Picnicker Summer. Accessible from the north-east steps. |
| Hidden at the base of the metal beams next to Picnicker Summer. |
Picnicker Summer


Interior B2F (East)
Map (B2F East)
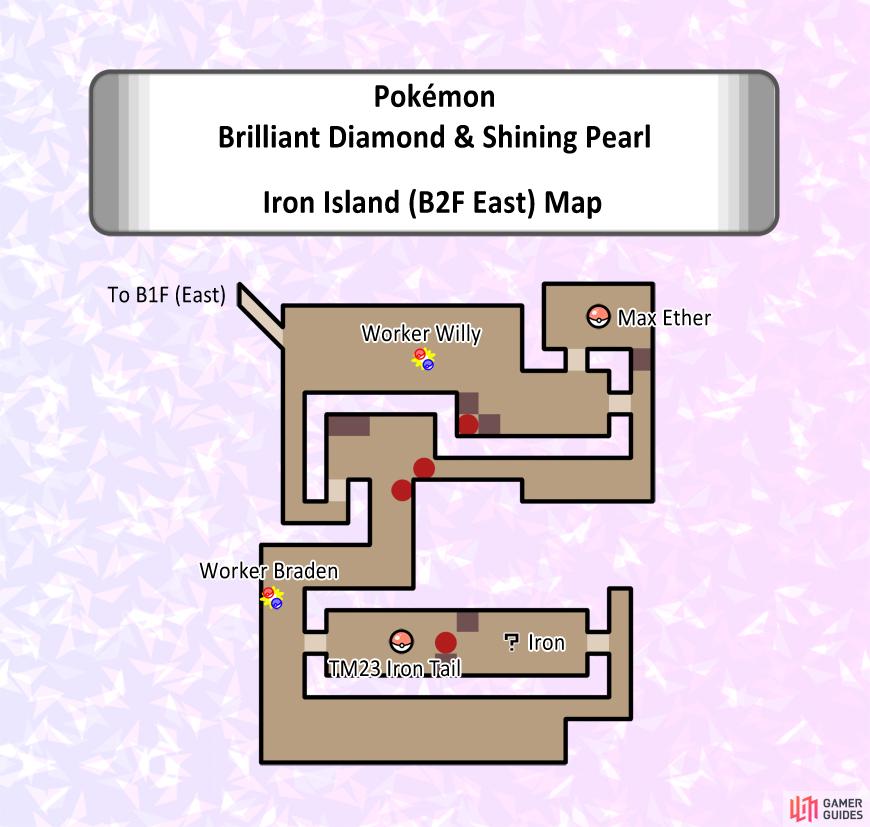
Map of Iron Island (B2F East).
First, make your way east, past a Worker running side to side. Go up the steps and retrieve the Max Ether from the corner. Go back towards the entrance, then head straight down, along the narrow path. After going up the steps, continue heading south along the raised ground. Watch out for another Worker at the second corner.
On the right, there are steps leading to an elongated pit. Go down and grab TM23 Iron Tail near the red barrel in the center. Afterwards, return to the raised ground and follow it all the way around to the other side of the pit. Head down the steps here and carefully search the ground for a hidden Iron.
There’s nothing more to do here, so retrace your steps until you’re back at the previous floor, then go down the stairs on the opposite side.
Wild Pokémon - Ground
Item Locations (B2F East)
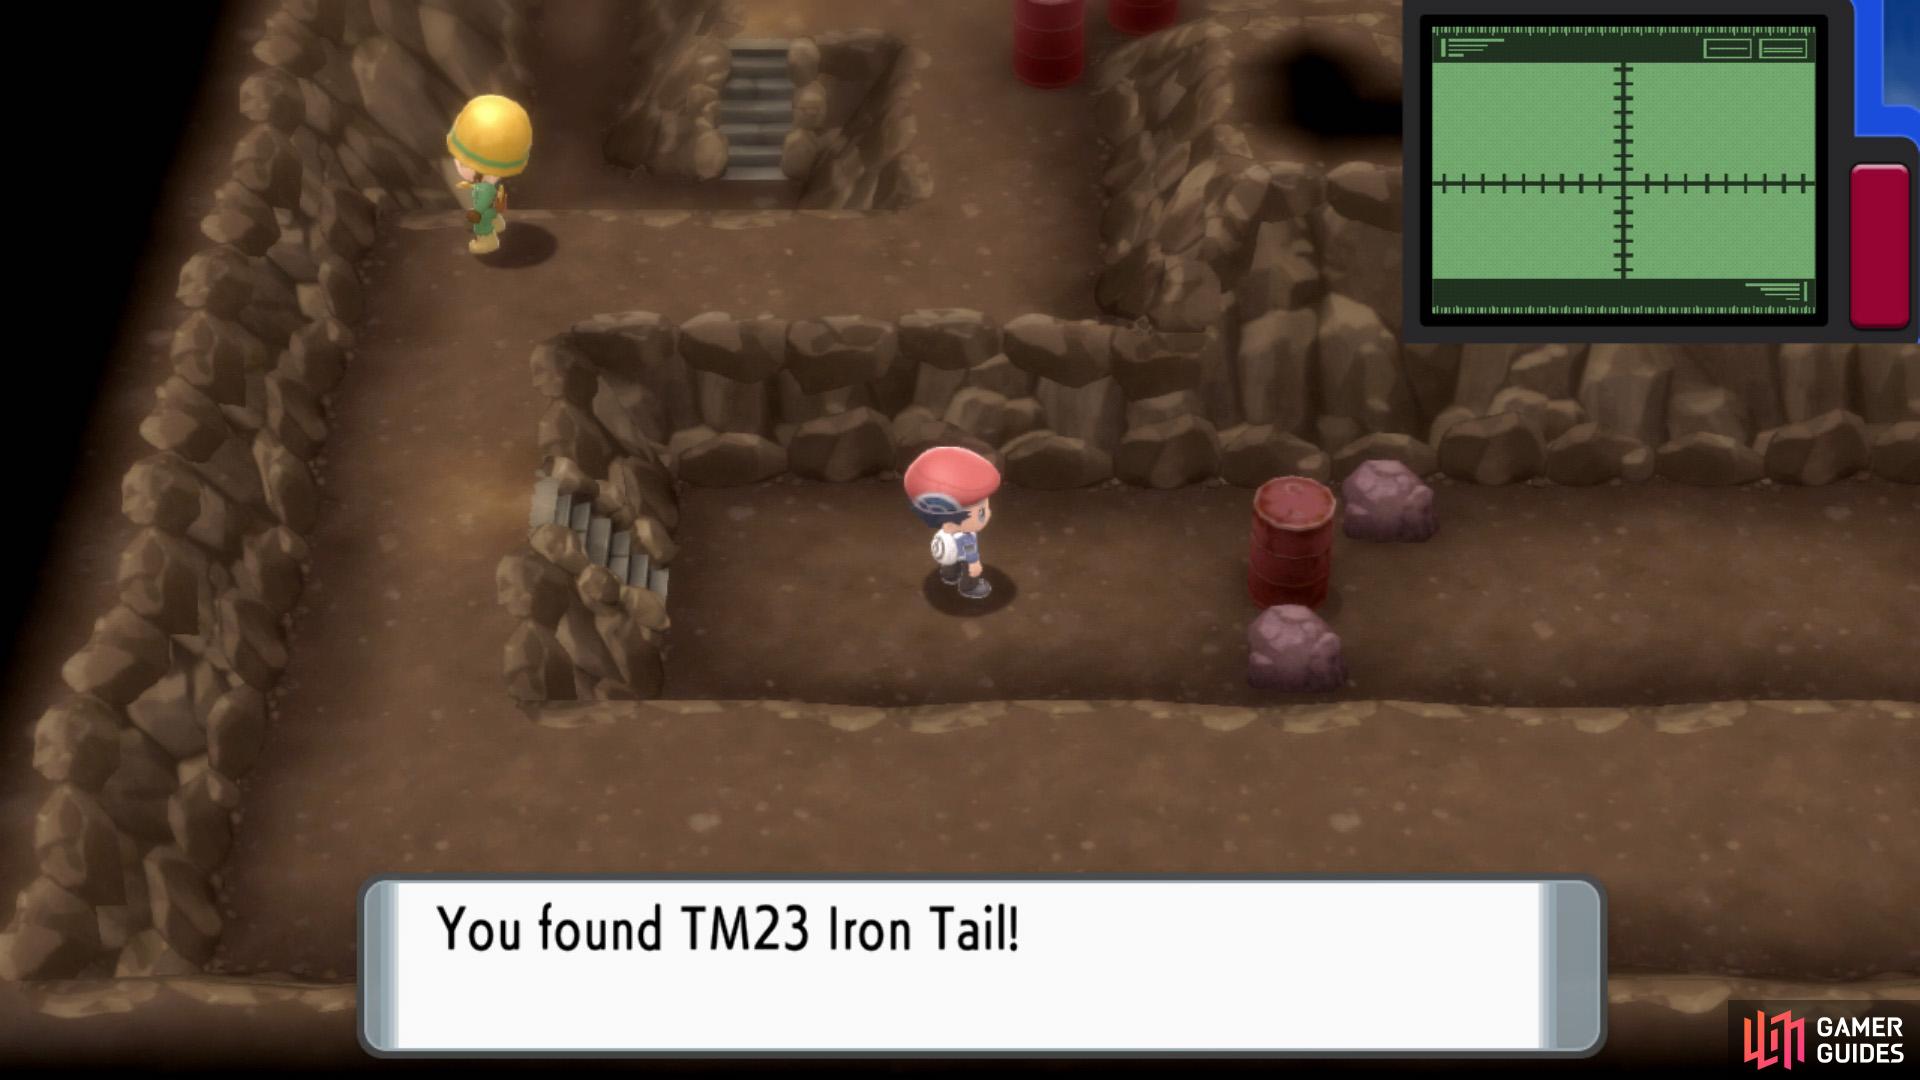
TM23 Iron Tail.
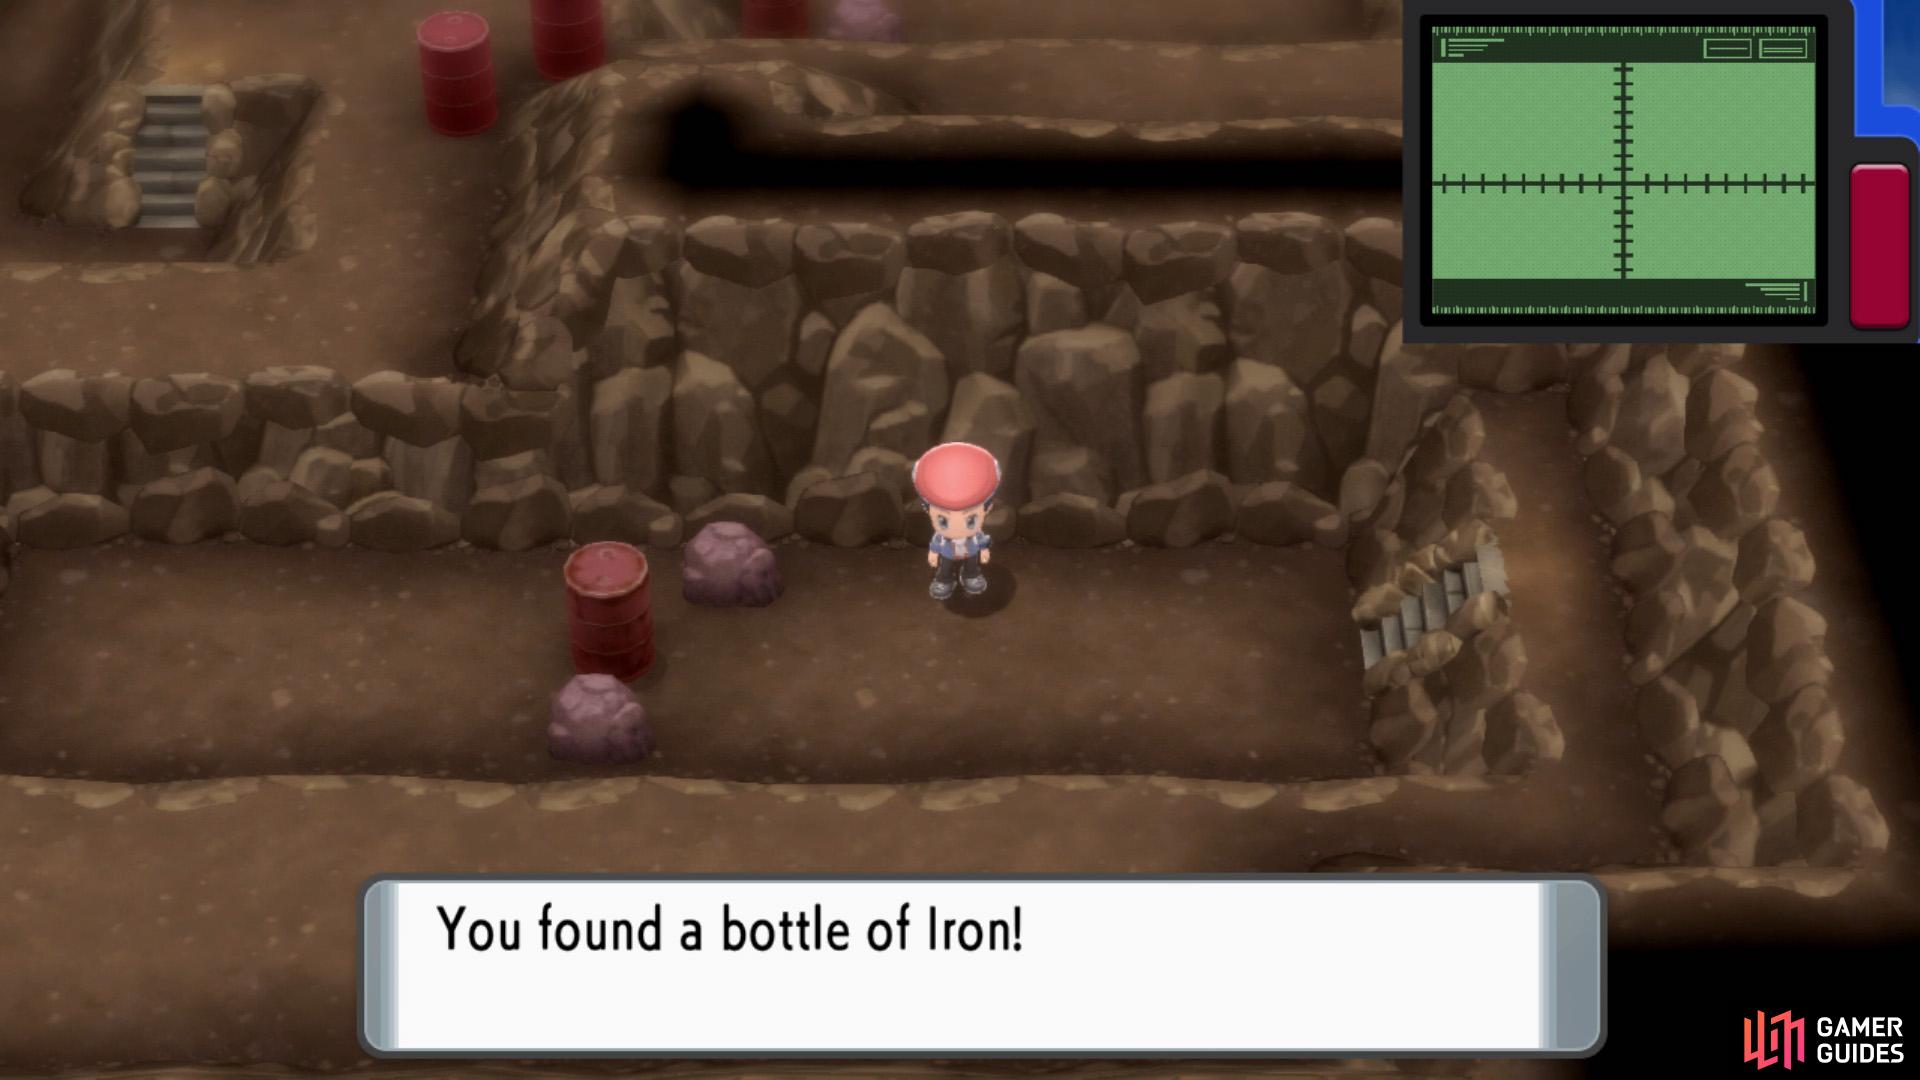
Hidden Iron.
| Item | Location |
|---|---|
| Max Ether | North-east corner. |
| TM23 Iron Tail | Near south-west corner. At the left side of the southern pit. |
| Iron | Hidden at the right side of the southern pit. |
Worker Willy
Worker Braden
| Pokémon | Level | Type |
|---|---|---|
  Graveler Graveler |
33 |
Interior B2F (West)
Map (B2F West)
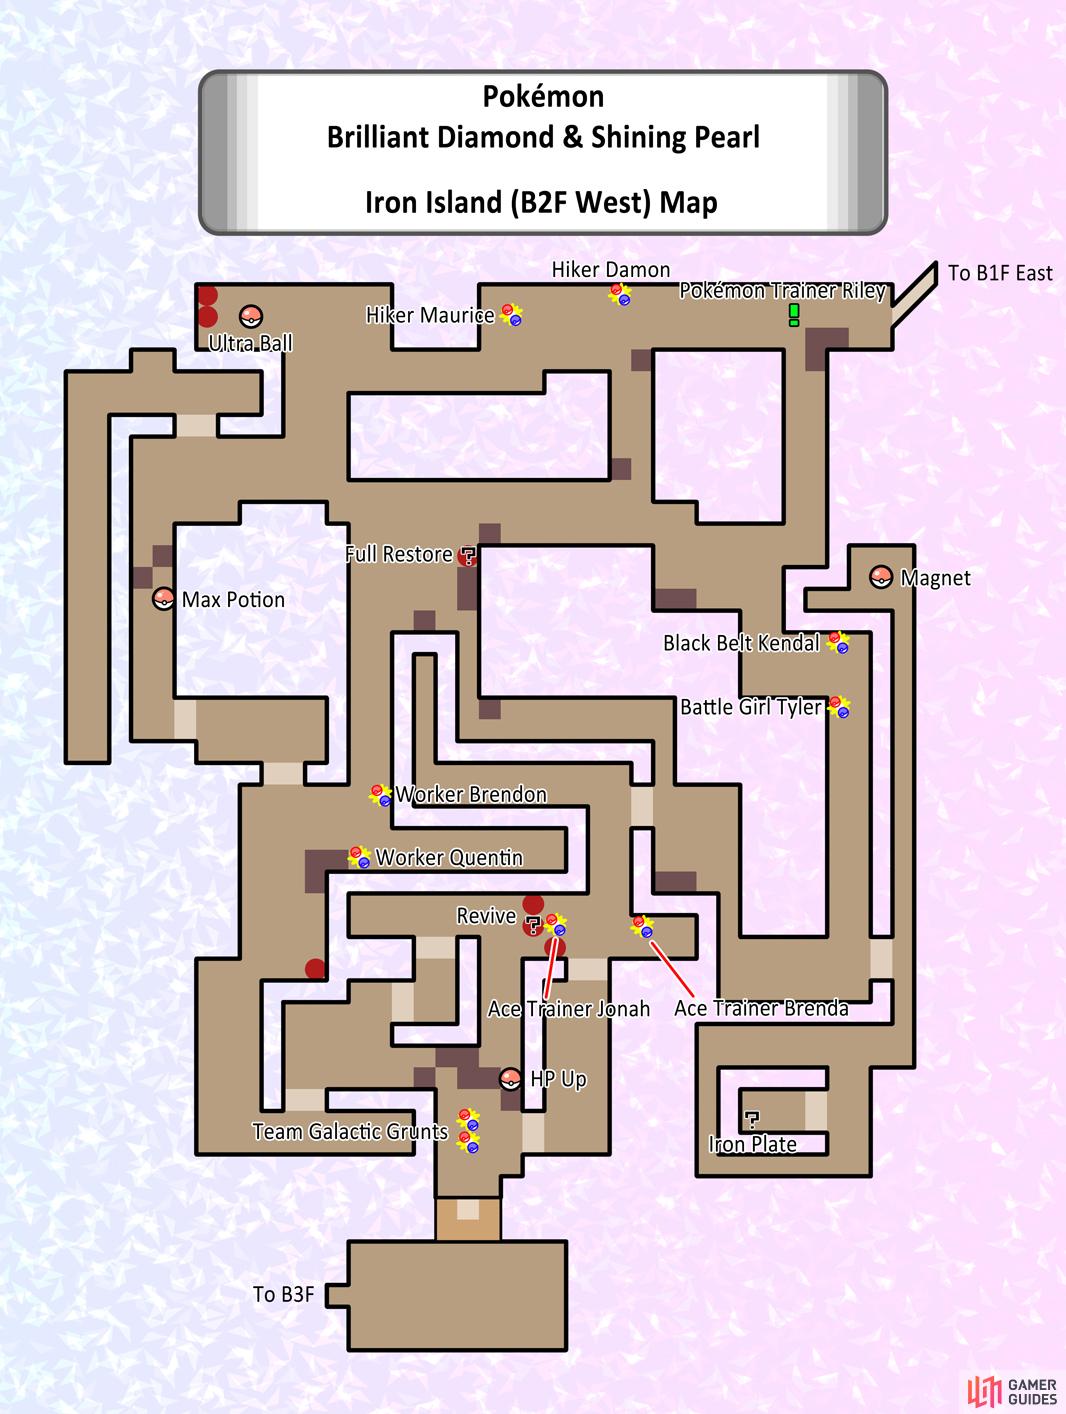
Map of Iron Island (B2F West).
This is the most complex area–and essentially the final area. When you enter, you’ll bump into Riley, who’ll assist you during battle and provide free healing. First, head all the way west. You’ll have to fight a pair of Hikers. If you want to avoid them, head south first before going west. Further west, grab the Ultra Ball near the two red barrels.
Next, head south, then south-east. Around here, there’s a single red barrel near some rocks. Search the barrel for a hidden Full Restore. Continue south, along the left-hand side. Soon, you’ll encounter a pair of Workers. Go up the steps to their left and follow the path to the end for a Max Potion.
Moving on, head south from the steps to the left of the Workers. Near the far corner, there are steps leading up to raised ground. Go that way, stopping when you reach a line of three barrels with Ace Trainers on the other side. Search the middle barrel for a hidden Revive. Then proceed south and scoop up the HP Up above the rocks.
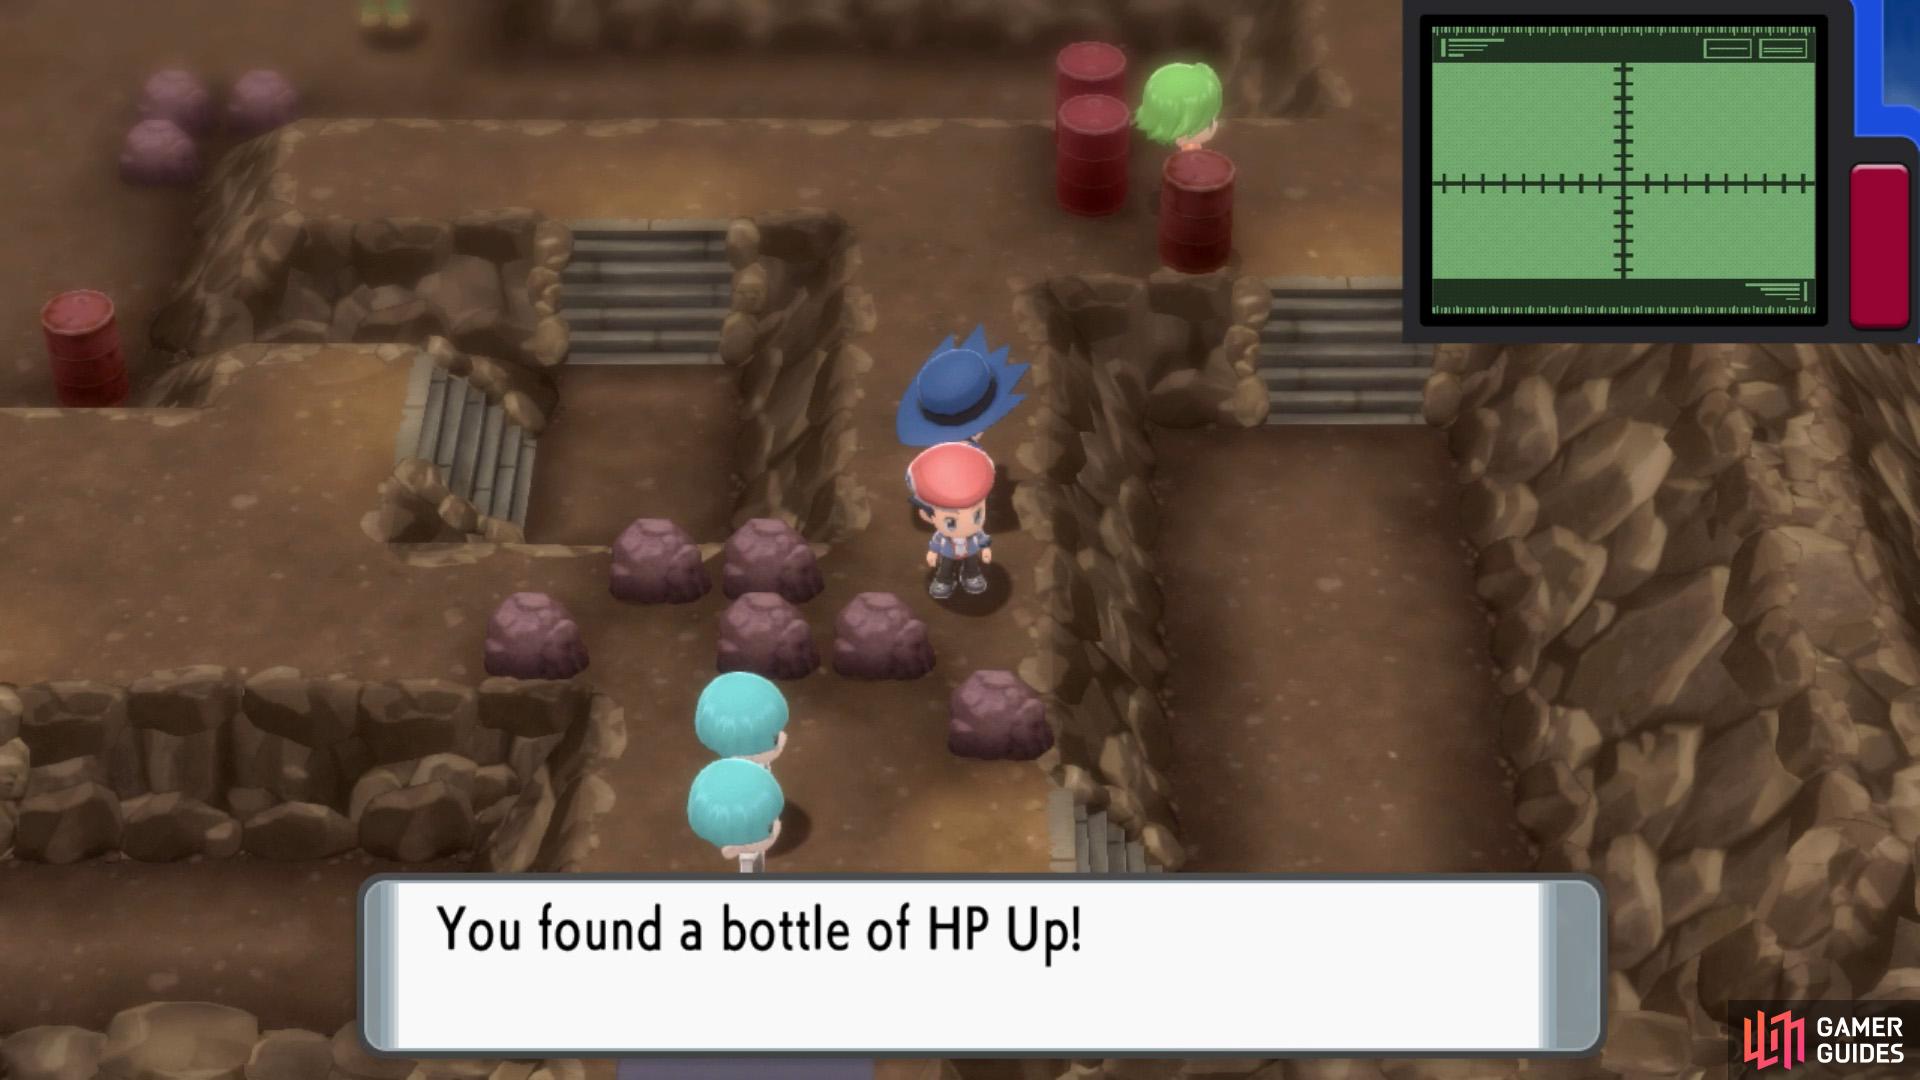
HP Up located towards the south.
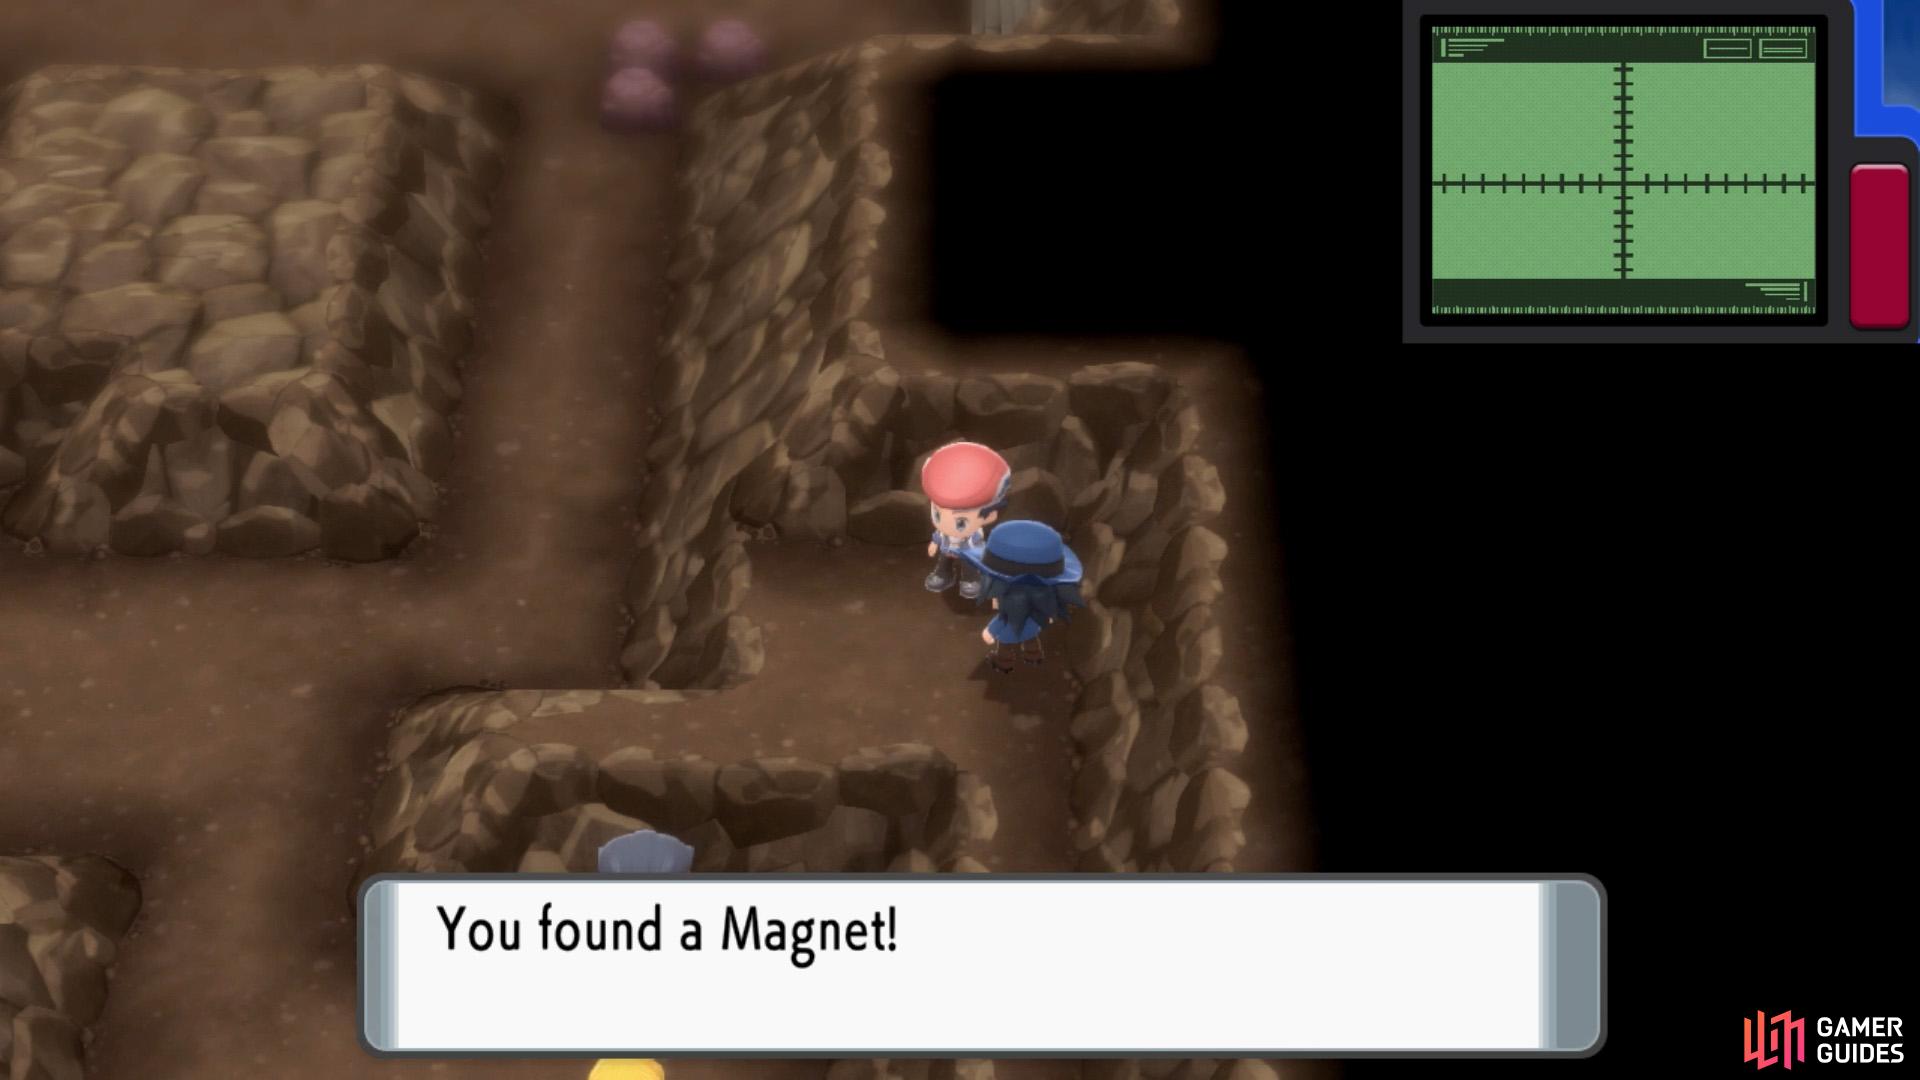
Magnet near the east side, below the entrance.
Now backtrack to the lone red barrel with the hidden item. If you want to fight, head east, then south. This will take you towards a Black Belt and Battle Girl. Otherwise, go south along the right-hand side, then east. Keep going until you reach steps on the right, near the far south-east corner.
Walk up the steps and follow the narrow path north. At the end, there’s a Magnet up for grabs. Then go back and head south from the top of the steps. Go down to the small pit and search around to find a hidden Iron Plate. Go down the steps back to ground level. Then head west, north and west up the steps on the left.
Towards the south, you’ll need to fight your way past a pair of Ace Trainers. Further south, you’ll reach the troublemakers causing problems for Riley: Galactic Grunts. After disposing of them, Riley will reward you with a Pokémon Egg that will hatch into Riolu, before leaving you.
From here, you should take the elevator below. Then exit to the left.
Wild Pokémon - Ground


Item Locations (B2F West)

Hidden Full Restore.
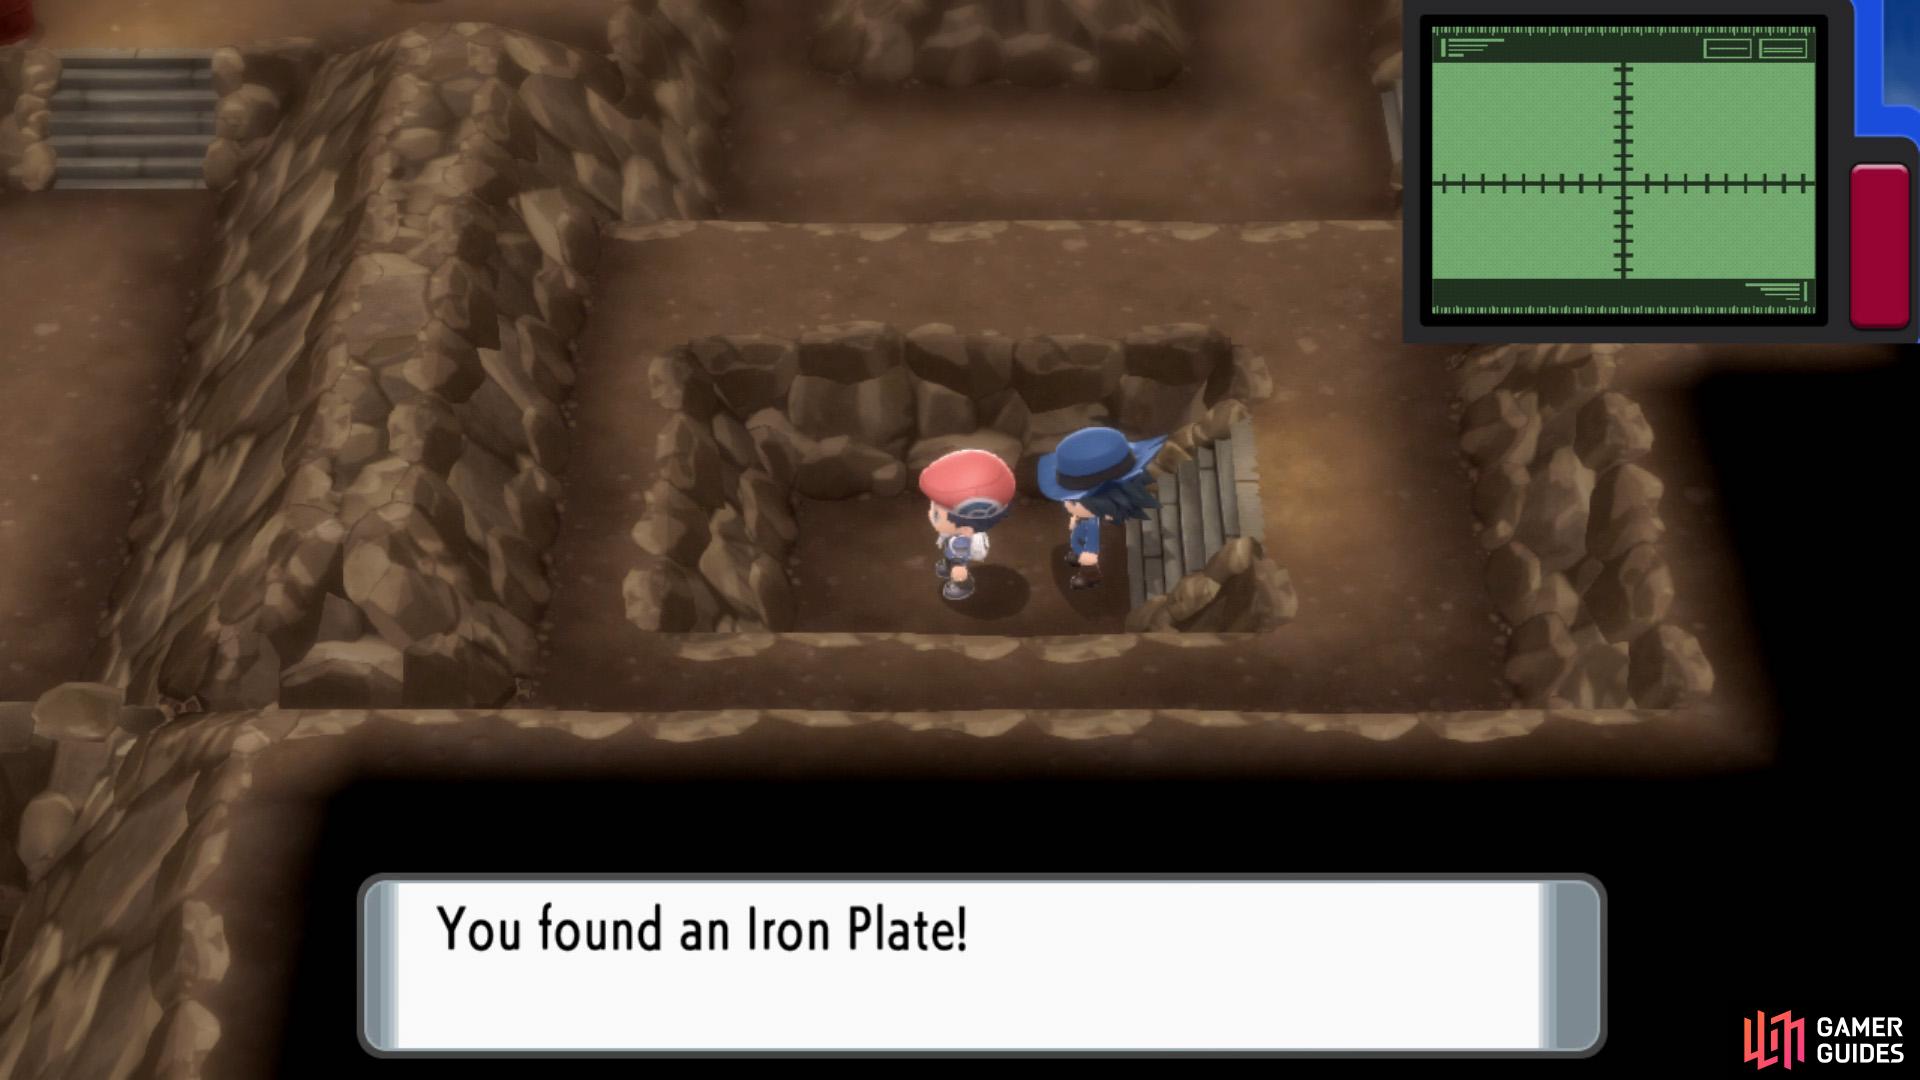
Hidden Iron Plate.
| Item | Location |
|---|---|
| Ultra Ball | North-west corner, near two steel barrels. |
| Full Restore | North from the center. Hidden in a lone barrel. |
| Max Potion | Along west side. Head south-west from the barrel with the hidden Full Restore, then follow the steps up, then left. |
| Magnet | On raised land north-east from the Black Belt and Battle Girl. Accessible from the steps further south. |
| Iron Plate | South-east corner, hidden in the small pit. |
| Revive | South from the center. Hidden in the red barrel left of Ace Trainer Jonah. You can approach from the left side or force Jonah to walk right, to leave a gap for you. |
| HP Up | Towards the south, north of the Galactic Grunts, on the other side of the rocks. Go around from the south-west corner. |
Hiker Maurice


Hiker Damon
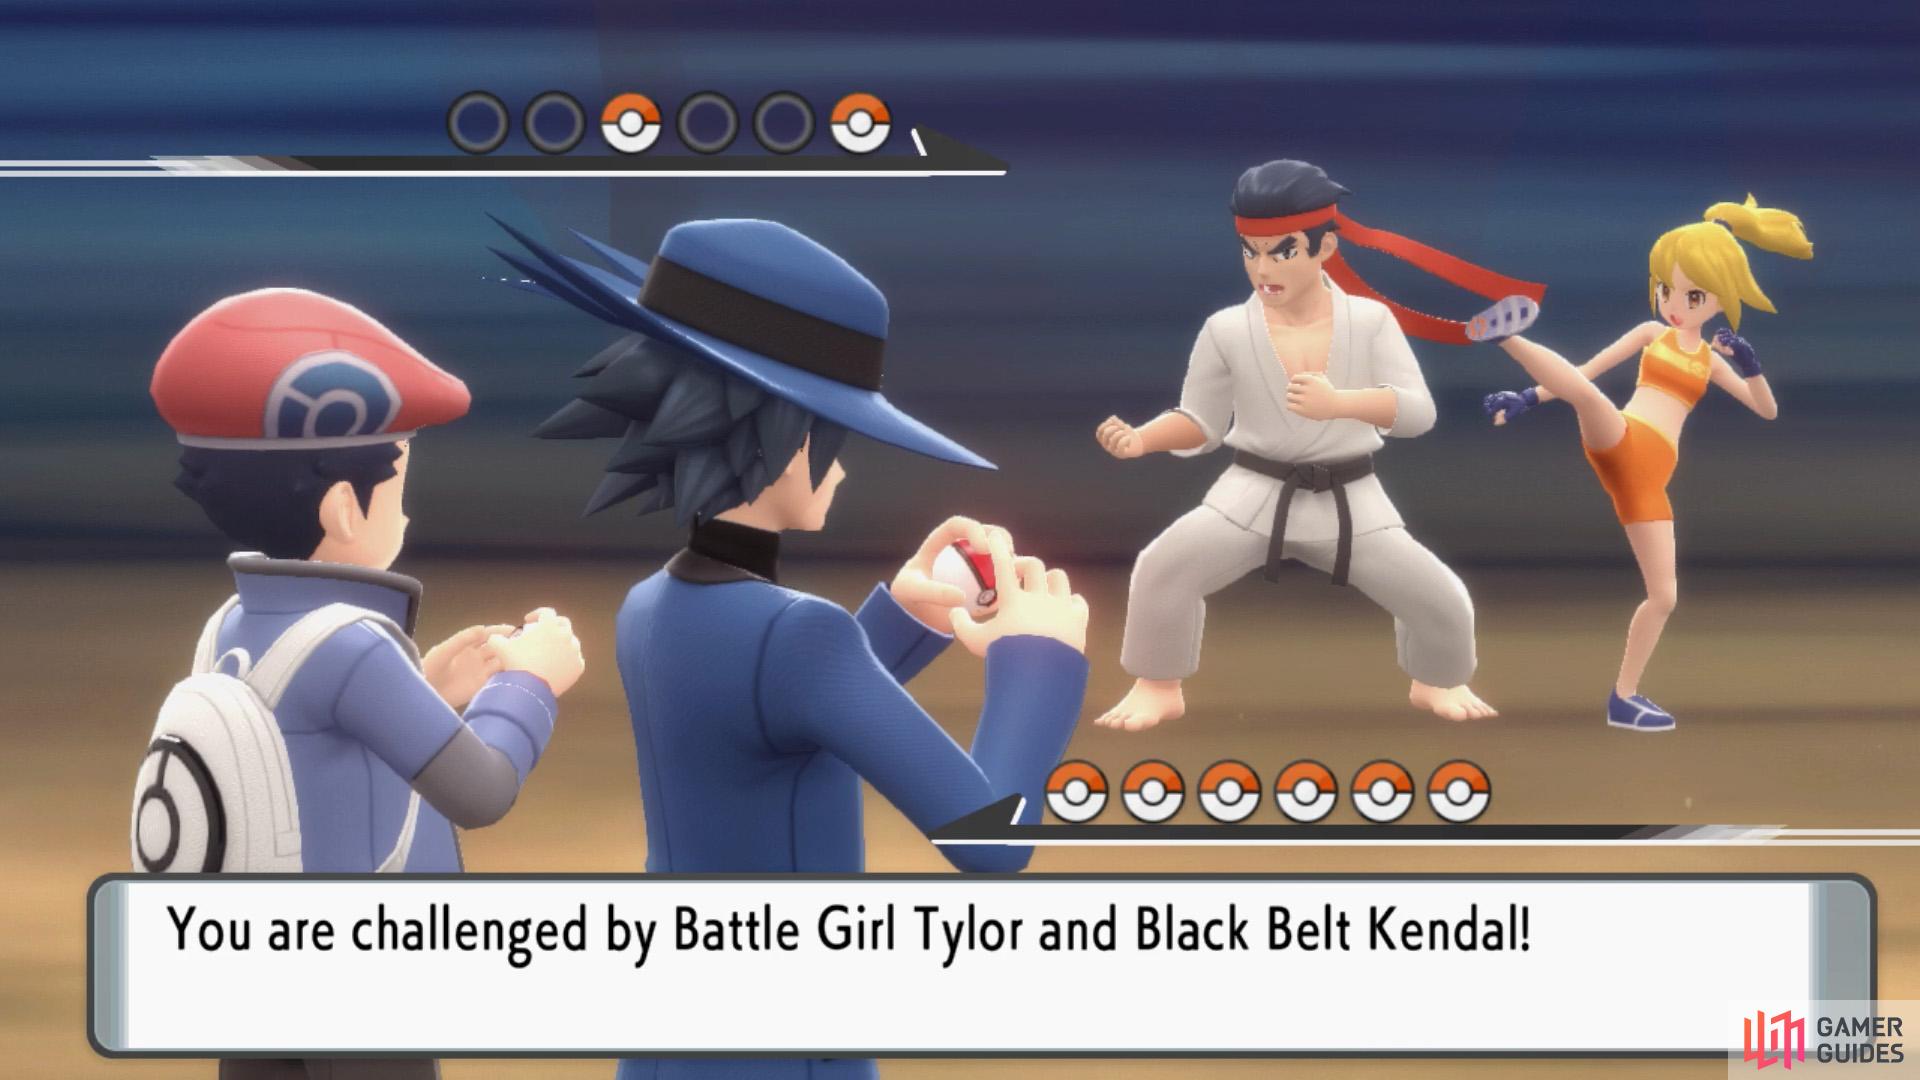
Battle Girl Tylor and Black Belt Kendal.
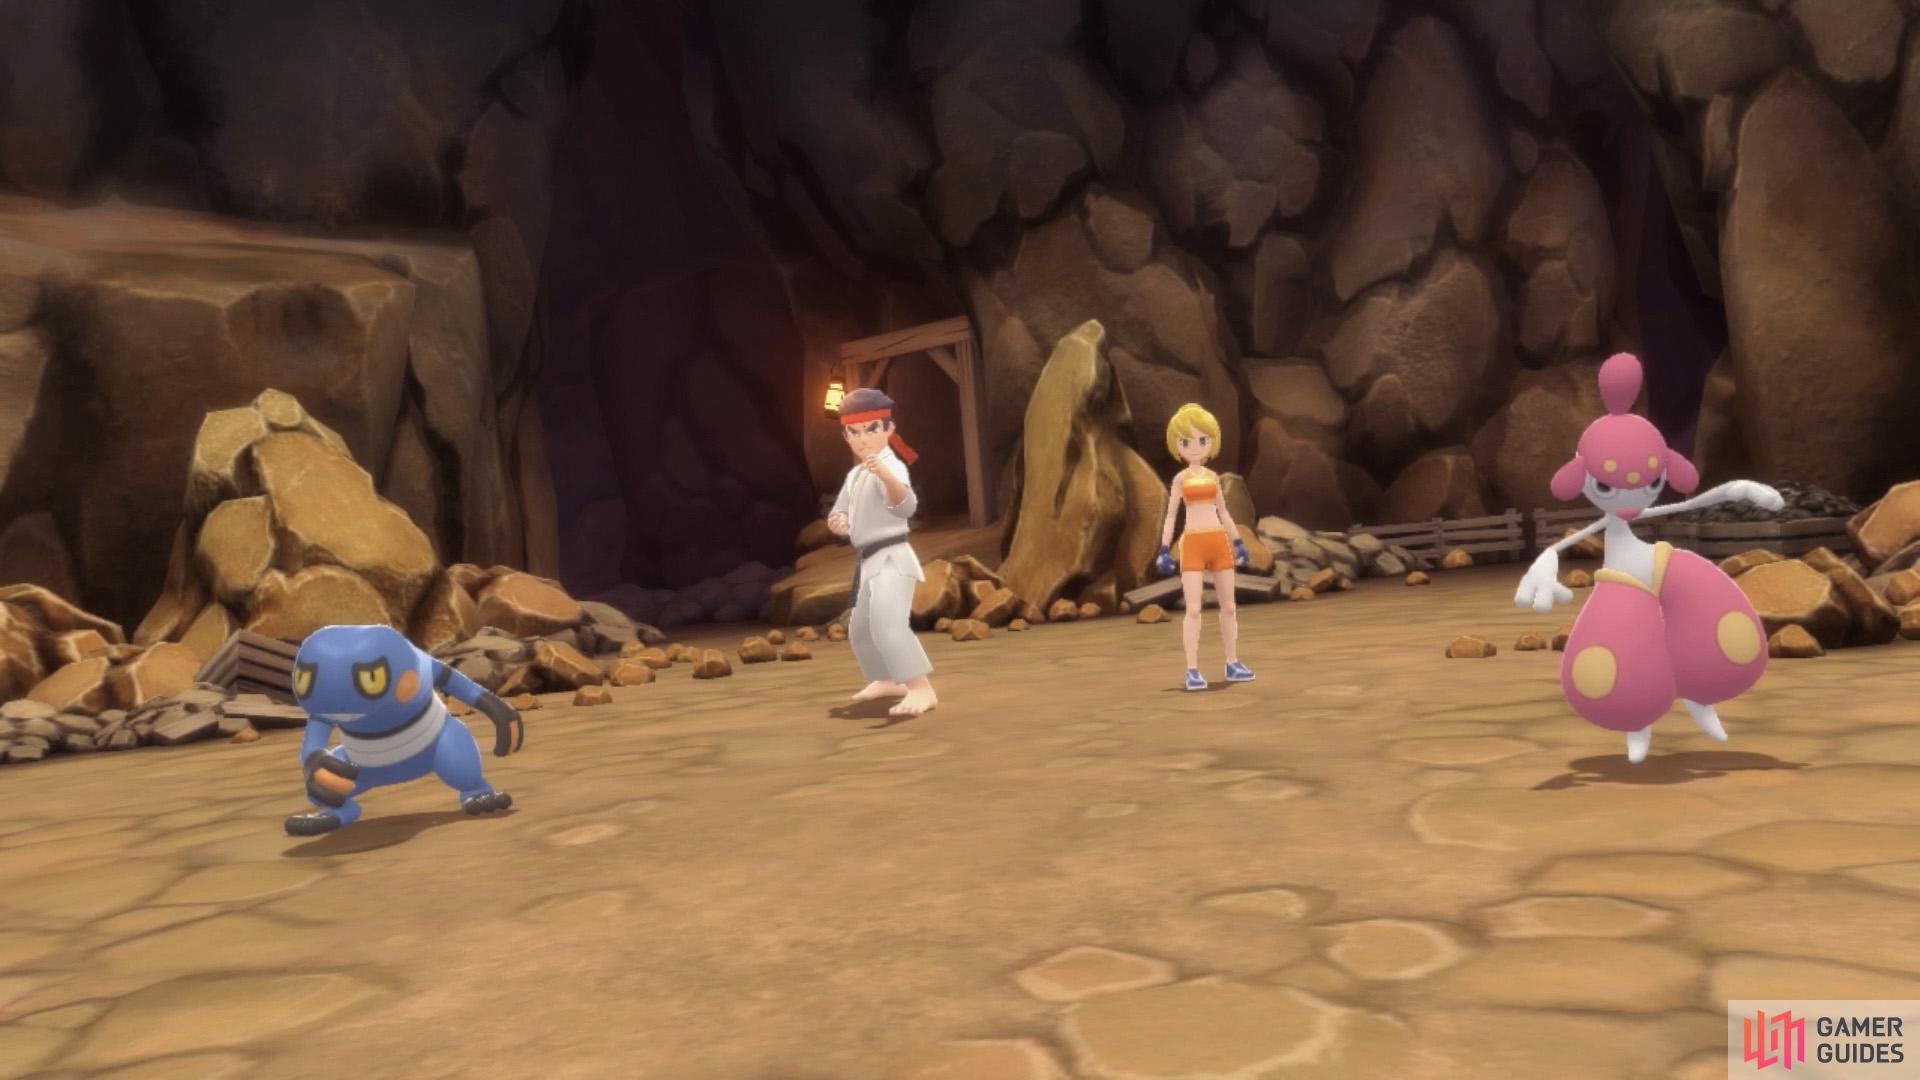
These fighting enthusiasts will send out Medicham and Croagunk.
Battle Girl Tylor
| Pokémon | Level | Type |
|---|---|---|
  Medicham Medicham |
34 |
Black Belt Kendal
| Pokémon | Level | Type |
|---|---|---|
  Croagunk Croagunk |
35 |
Worker Quentin
Worker Brendon
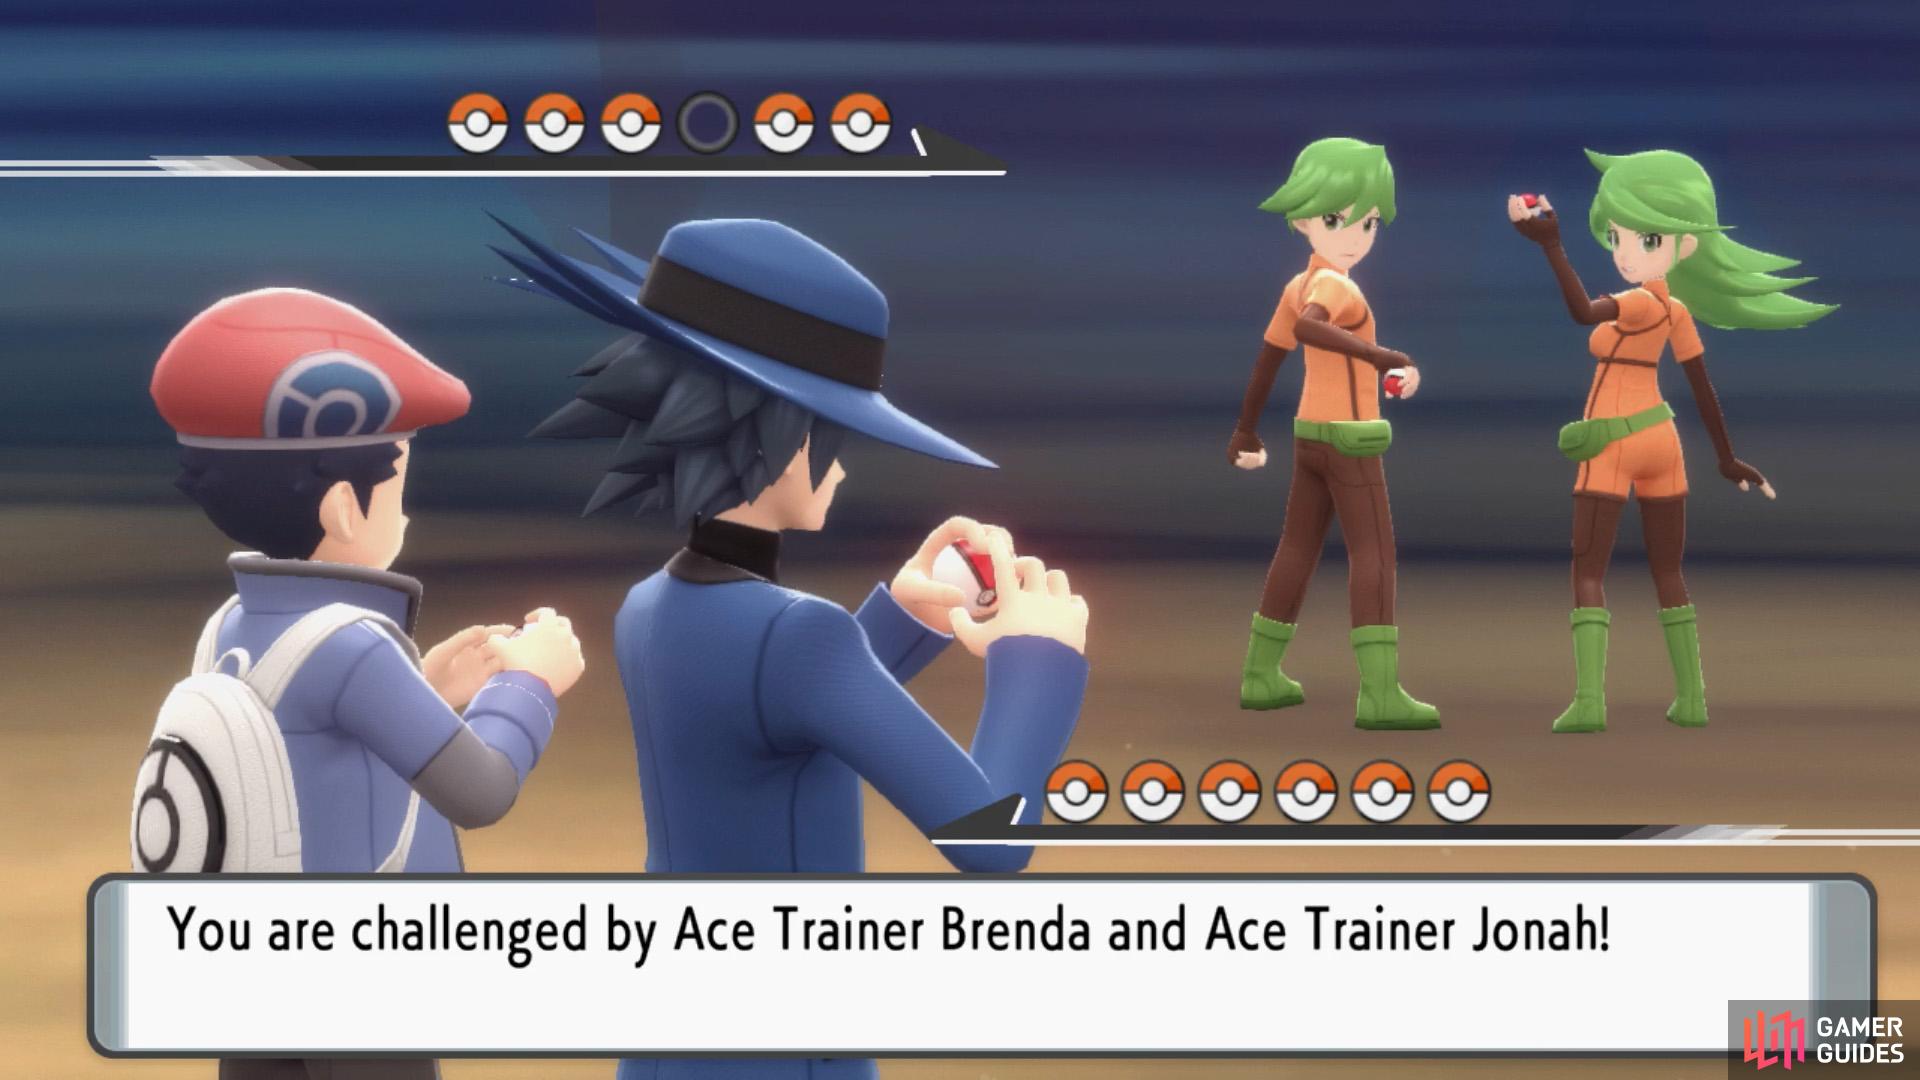
Ace Trainers Brenda and Jonah.
These elite trainers lead with Pelipper and Ponyta.
Ace Trainer Brenda


Ace Trainer Jonah


Team Galactic Grunt A
Team Galactic Grunt B


Interior B3F
Map (B3F)
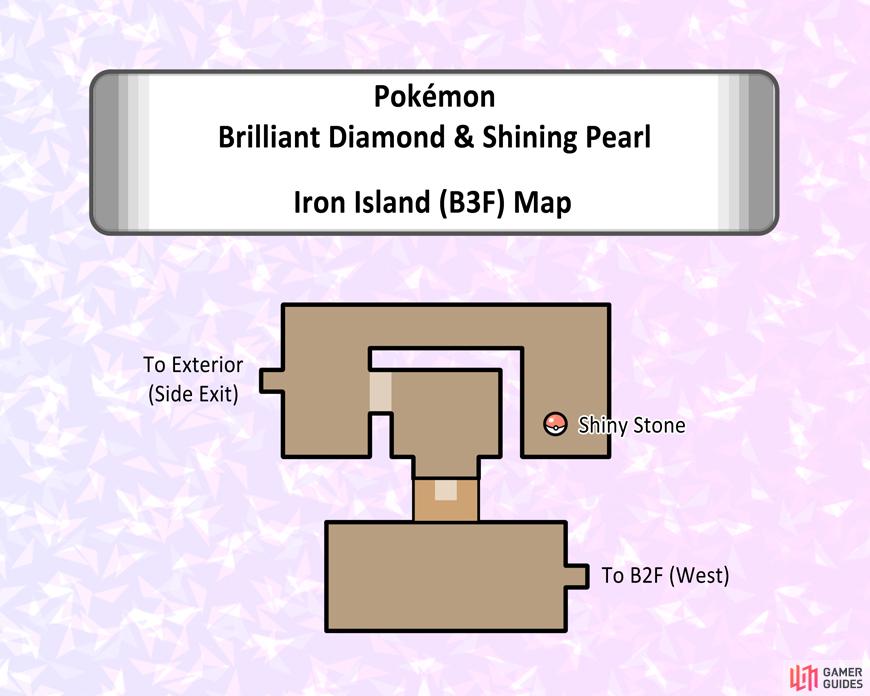
Map of Iron Island (B3F).
This is the exit area. Ride the nearby elevator up, then go around towards the right side to pick up the Shiny Stone. Finally, once you’re ready to leave, exit to the left. You’ll be back outside, at the top of the ledges. At that point, you can hop down and use the ferry to go home. Or use HM Fly.
Wild Pokémon - Ground
(Same as B2F West.)
Item Locations (B3F)
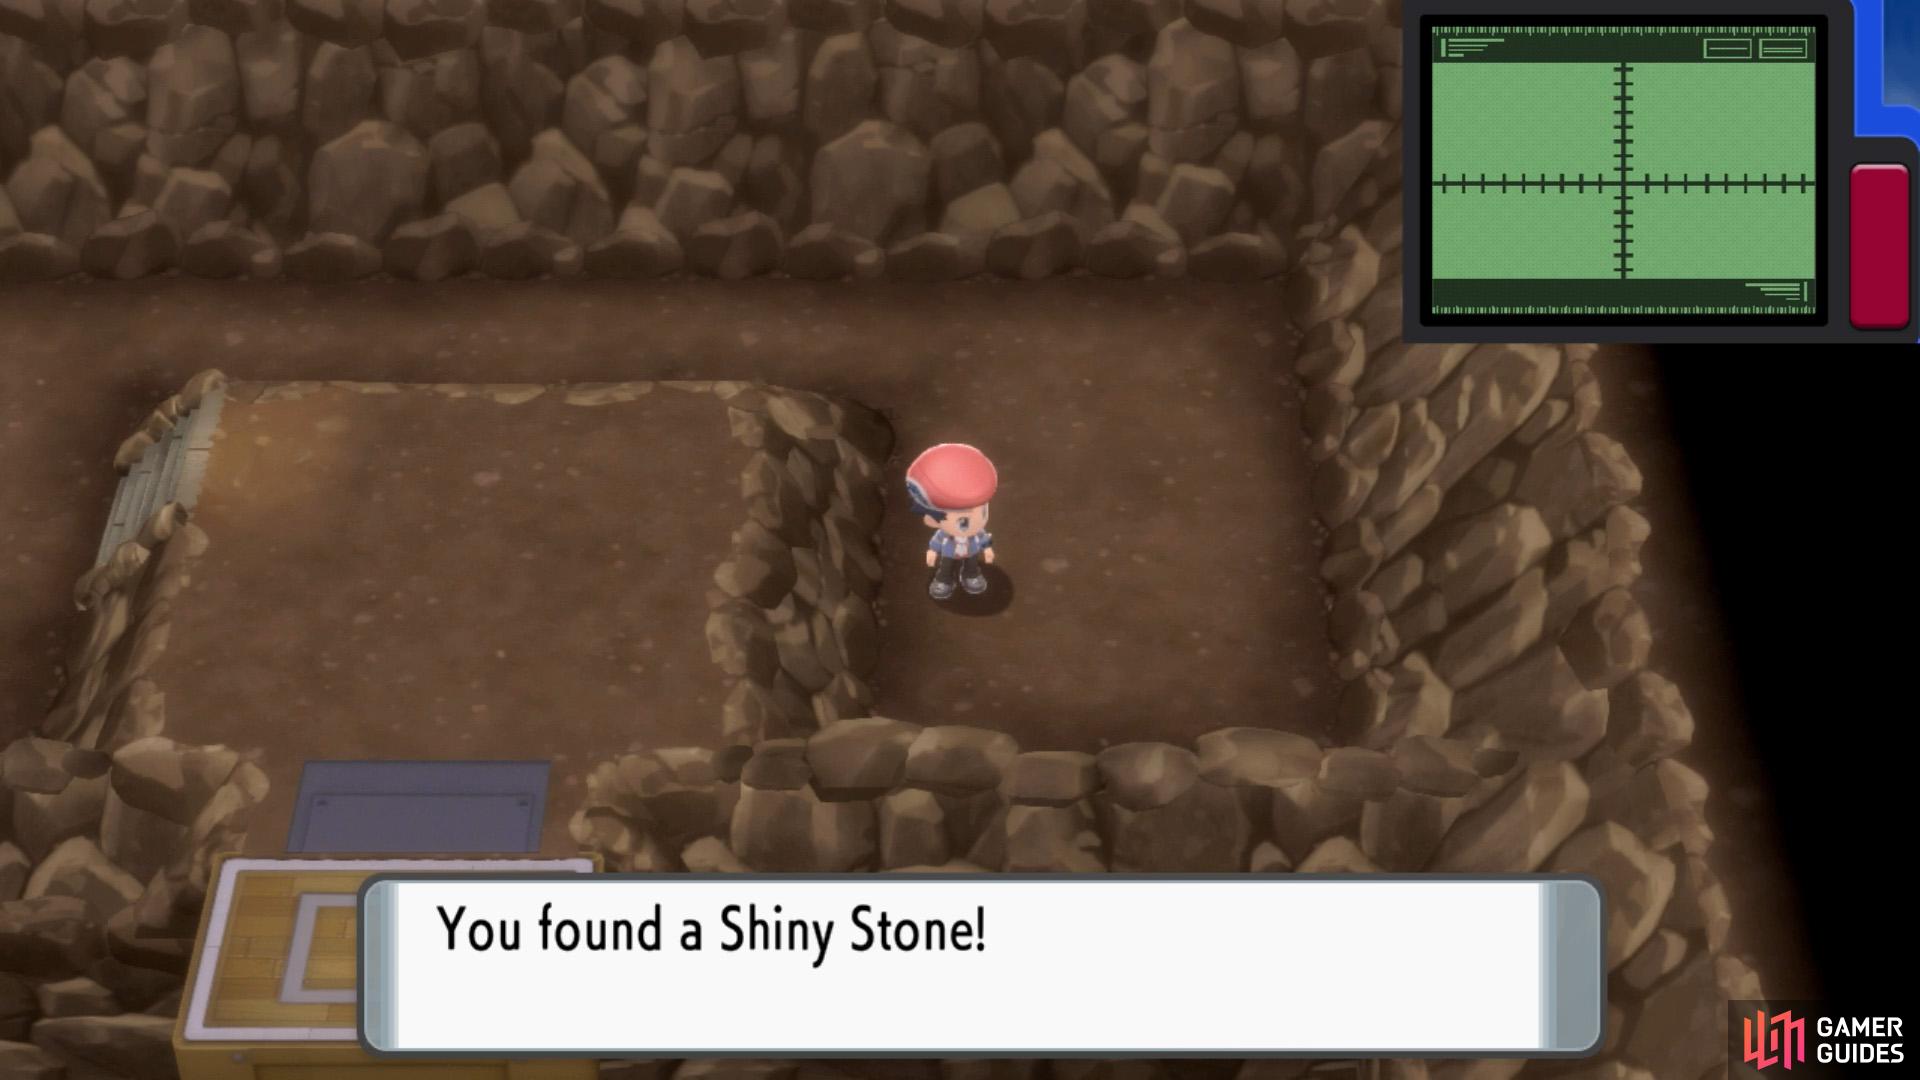
There aren’t many Shiny Stones to be found.
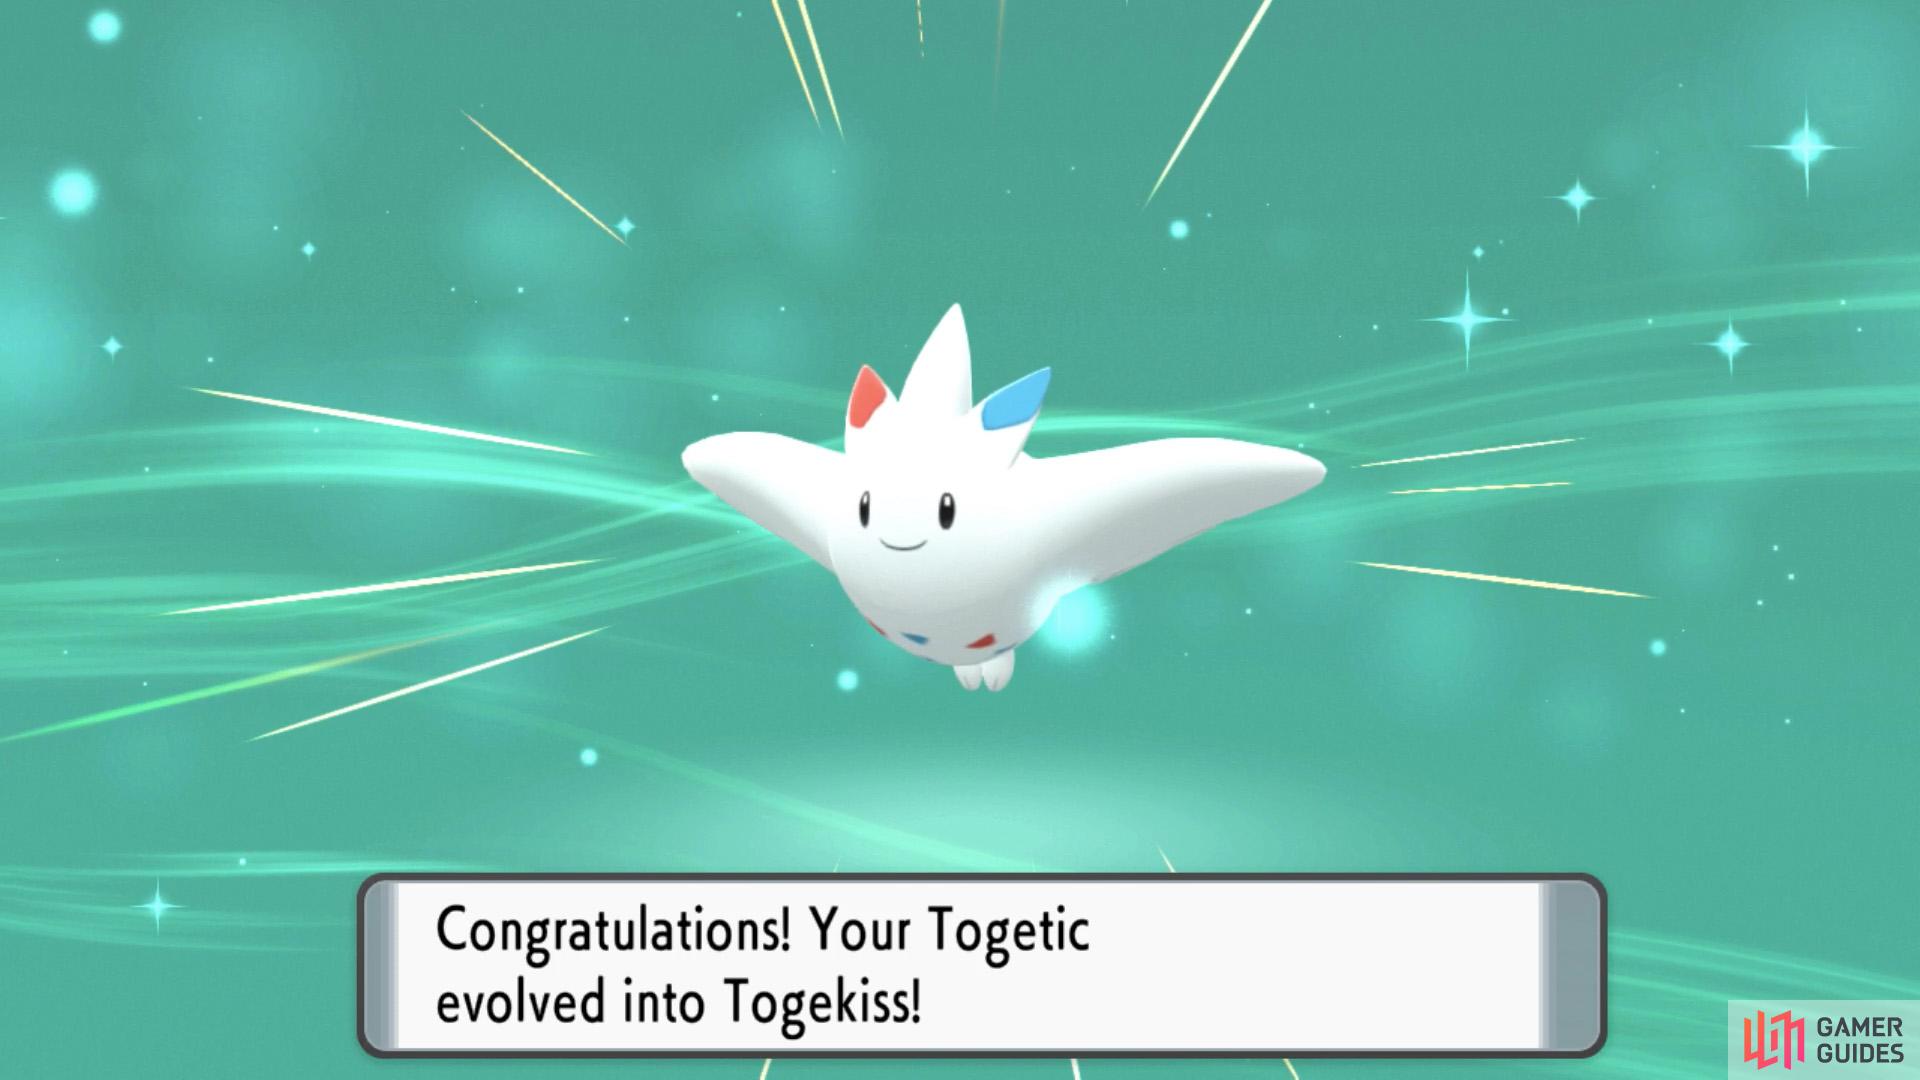
You can use it to evolve the likes of Togetic.
| Item | Location |
|---|---|
| Shiny Stone | Opposite side of the exit. |
No Comments