
This is a walkthrough for the Galactic HQ, including what trainers you can battle and items you can find.
After bailing out your rival at Lake Acuity, it’s time to infiltate Team Galactic’s HQ at Veilstone City and stop their nefarious plans!
Map
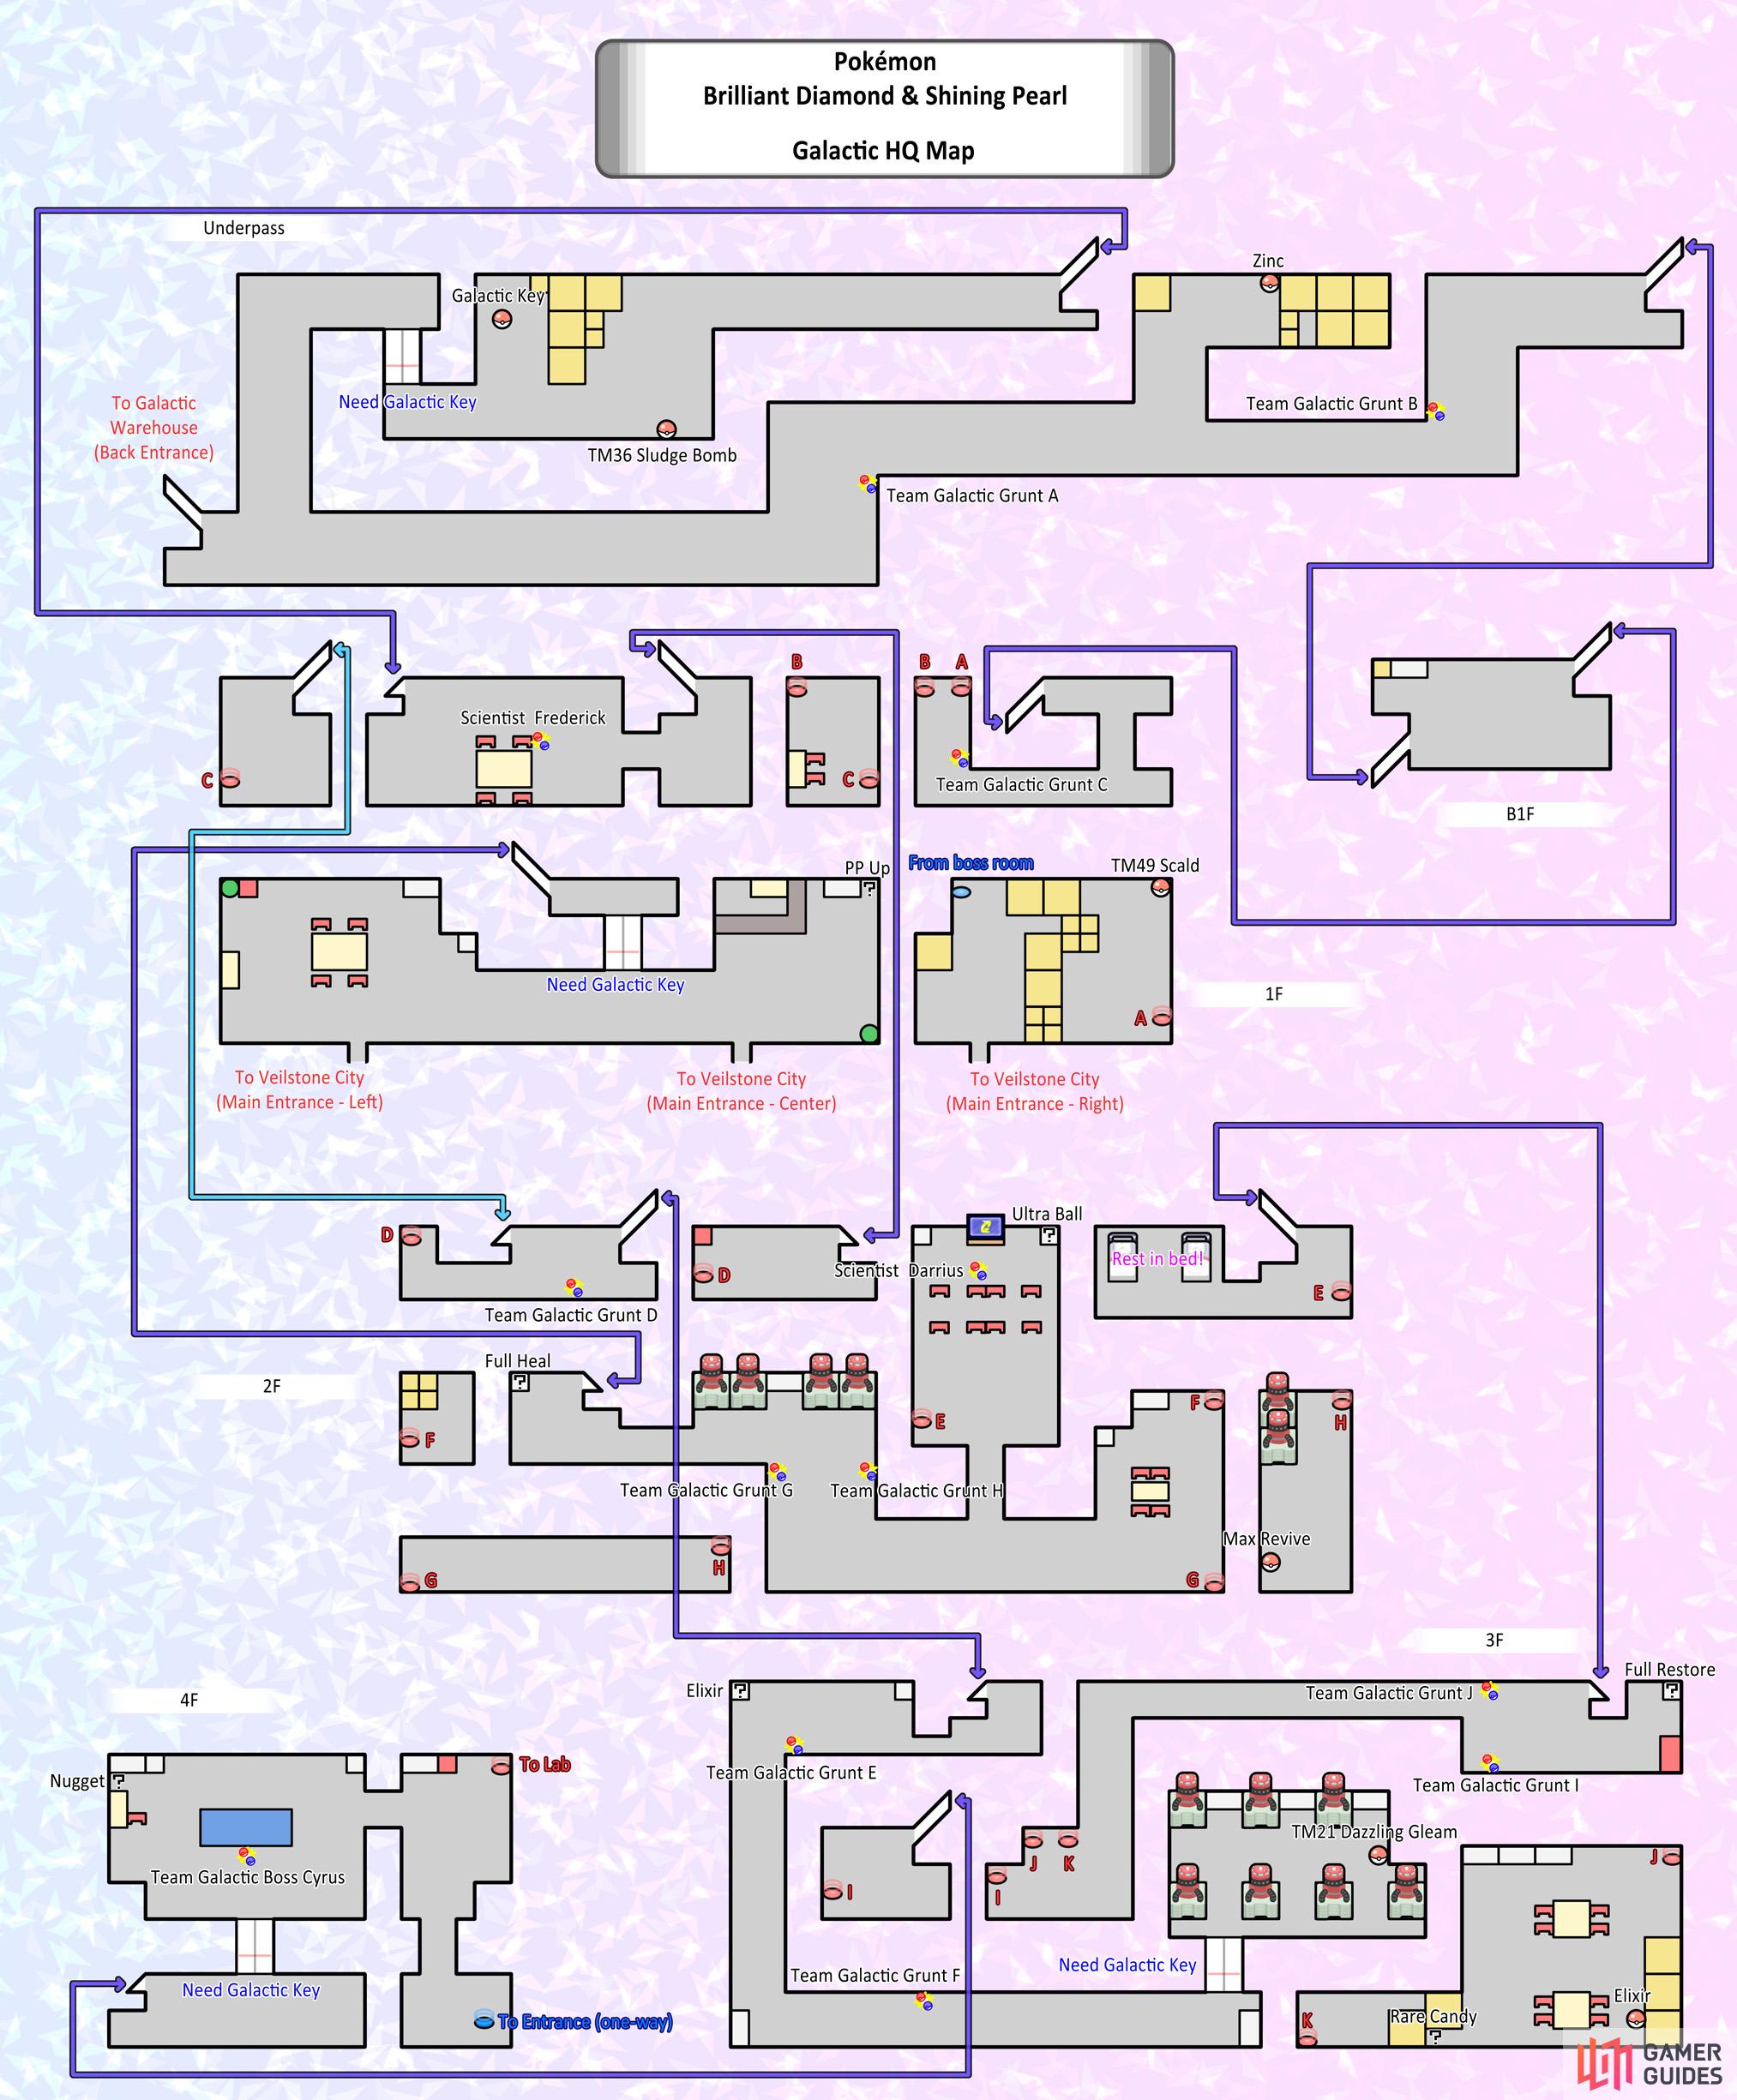
Full map of the Galactic HQ. You’ll probably need it!
How to Enter the Galactic HQ
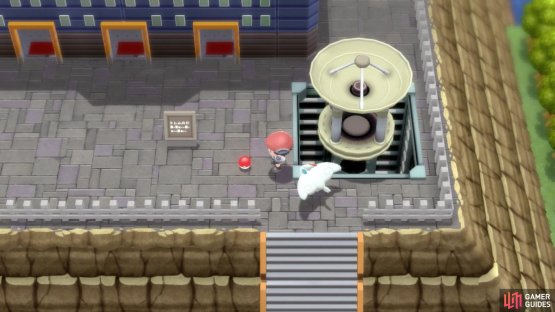
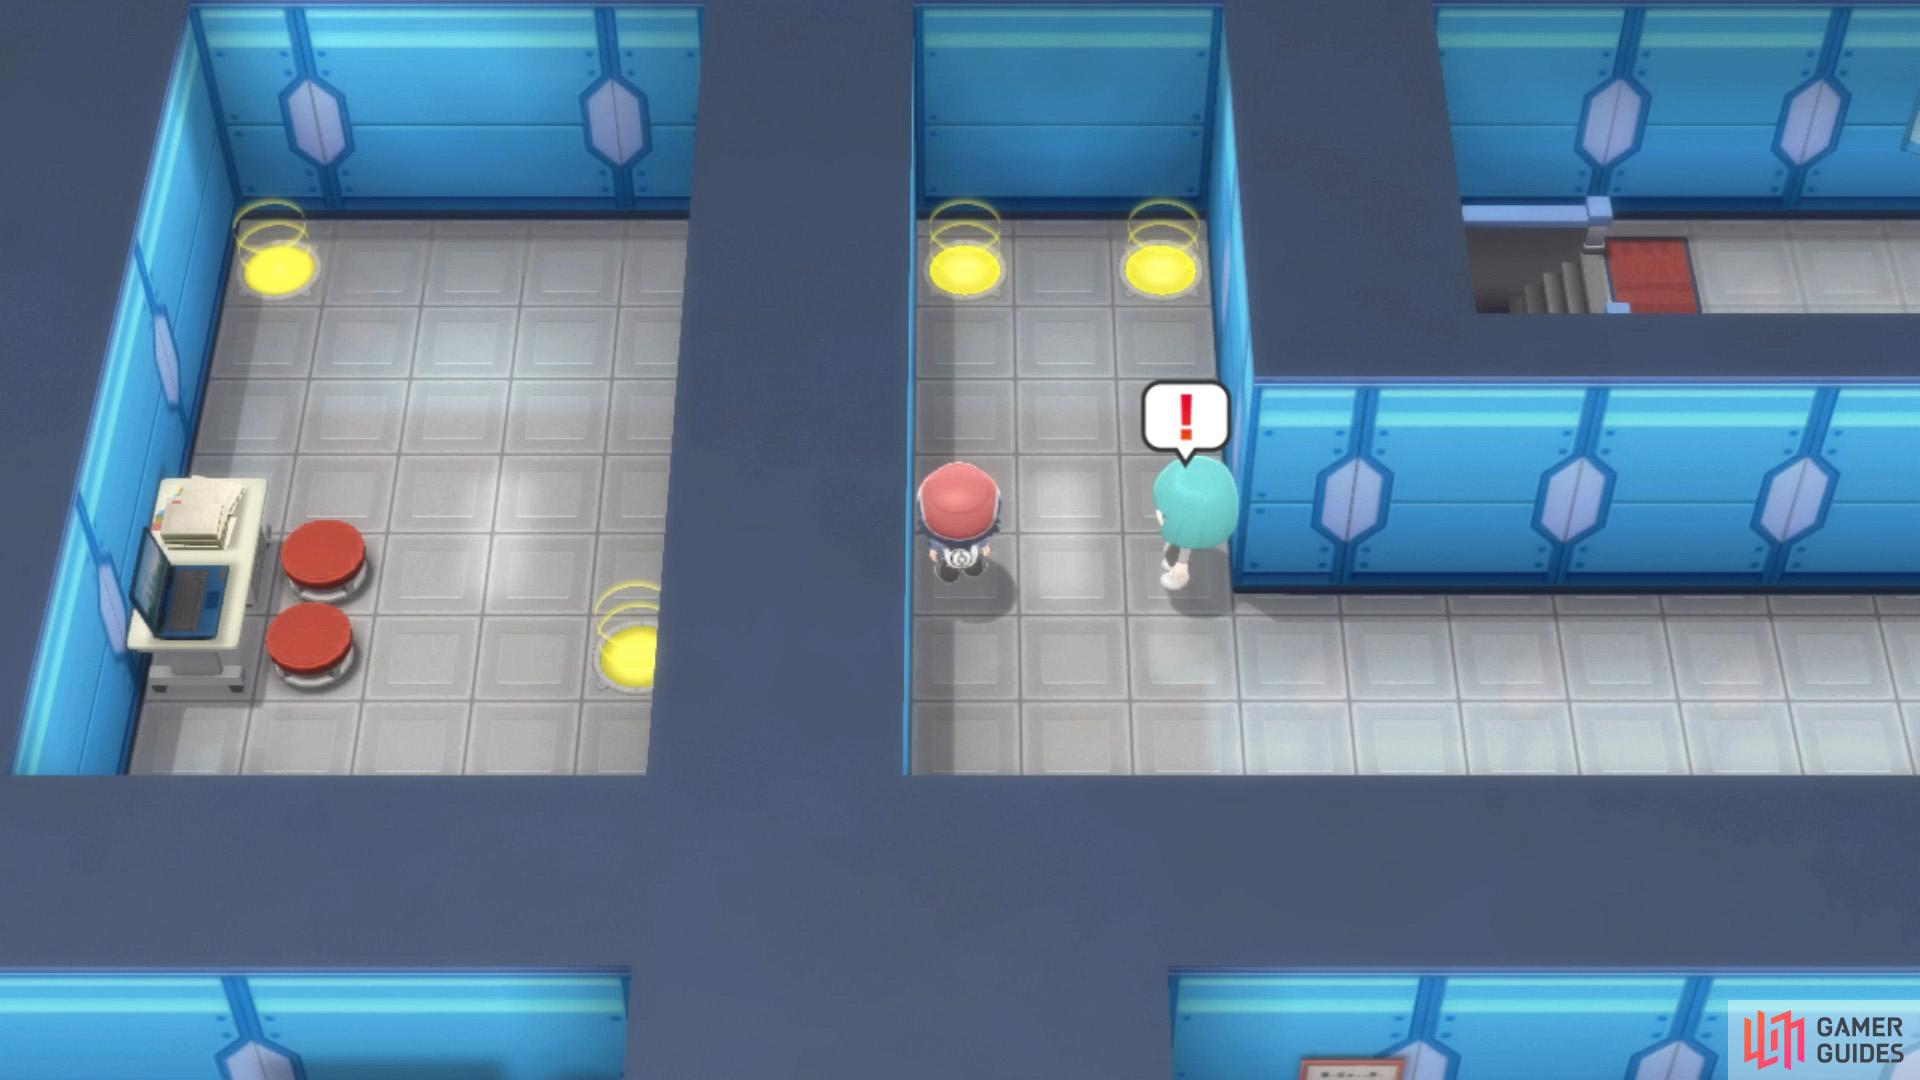
(1 of 2) Pick up the Storage Key from the Grunt who runs off.

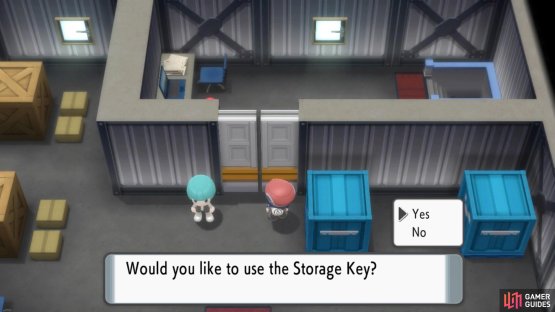
Pick up the Storage Key from the Grunt who runs off. (left), Use the key to unlock the door at the nearby Galactic Warehouse. (right)
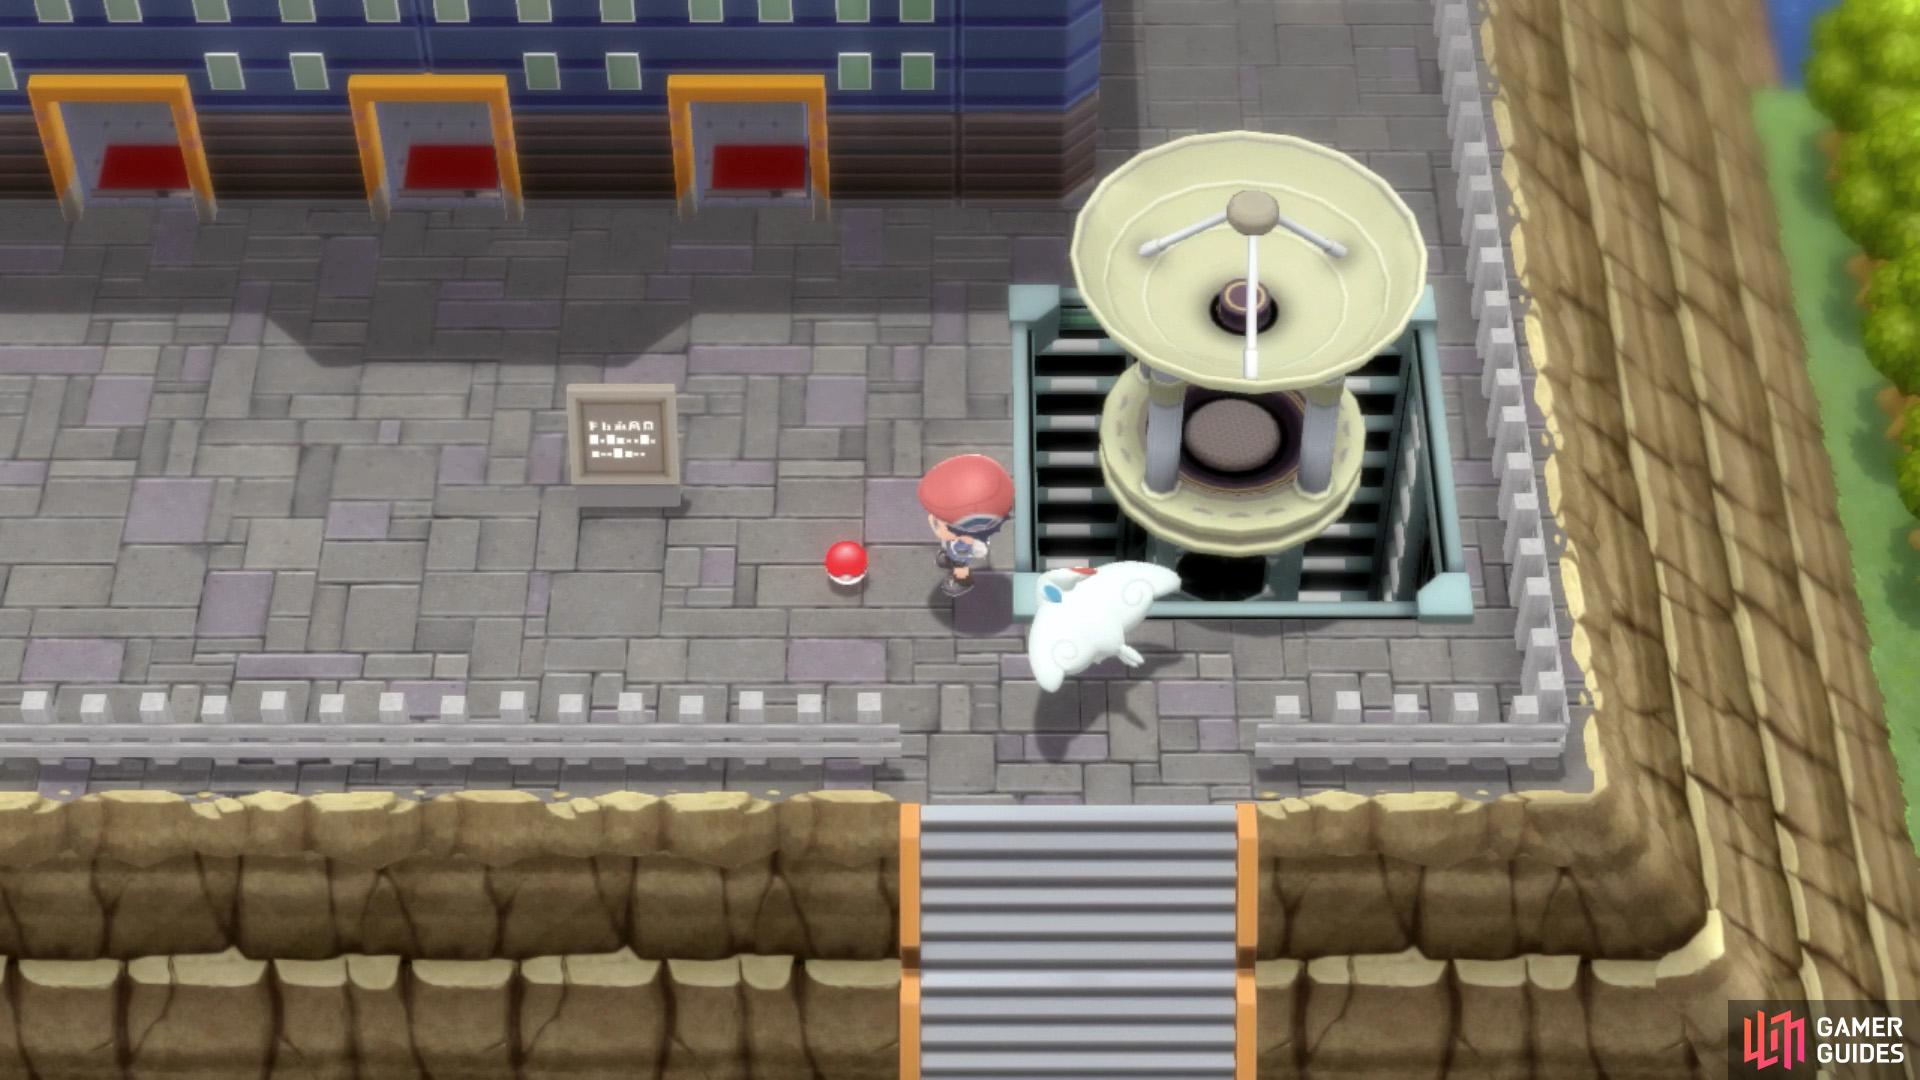
First things first, you need to find a way to get into the actual HQ. Head towards the front of the Galactic HQ in Veilstone City, but don’t go inside the reception. Speak to the Galactic Grunt who’s standing at the entrance, next to the right-hand side radio dish.
He’ll panic and run off, but not before dropping the Storage Key. Pick up the dropped key. If you were standing below the Grunt, you might not see the key at first, since your character’s blocking the view.
With the Storage Key in hand, go around to the Galactic Warehouse near the north-west corner of the city. It’s where you went to help Lucas/Dawn after completing the gym here. Use the key in front of the locked door inside the warehouse and hey presto, you’re in!
How to Obtain the Galactic Key


(1 of 2) Be prepared for lots of Galactic Grunt fights!
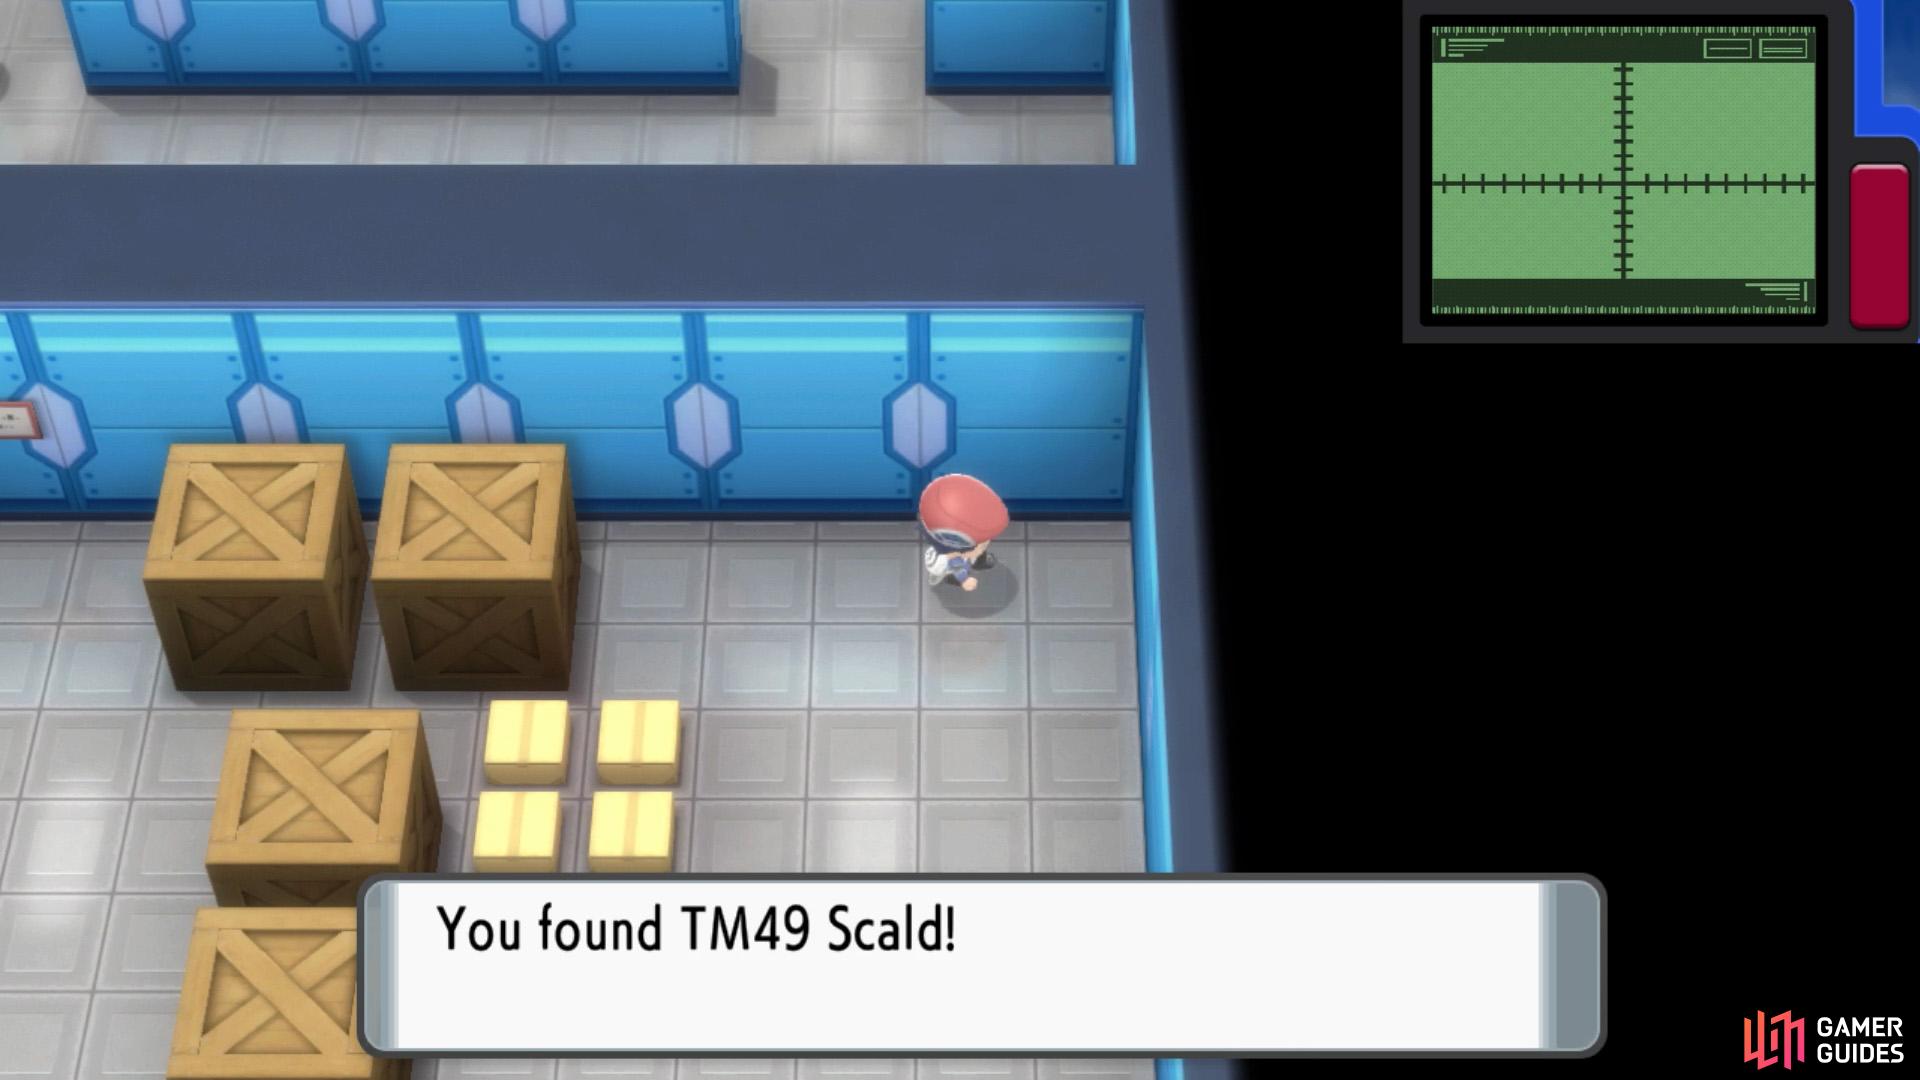
Be prepared for lots of Galactic Grunt fights! (left), Scald is a strong Water-type move that can leave a Burn. (right)
Coming from the Galactic Warehouse, you’ll emerge in the underpass that connects to the main Galactic HQ building. Head all the way east, beating up or avoiding any Grunts along the way. Climb up the stairs to reach a small room, then proceed up the next set of stairs.
You’ll arrive at the north-east corner of 1F. Go around and hop in the right-hand side teleporter to retrieve TM49 Scald. Go back and jump in the left-hand side teleporter. In this small room, head for the next teleporter in the opposite corner. Then climb up the next set of stairs.
Now you’re at the north-west corner of 2F. Go around and enter the teleporter on the left. Then go down the stairs just ahead. Next, make your way west towards the next set of stairs. You’ll pass by a table with a battle-hungry Scientist nearby.
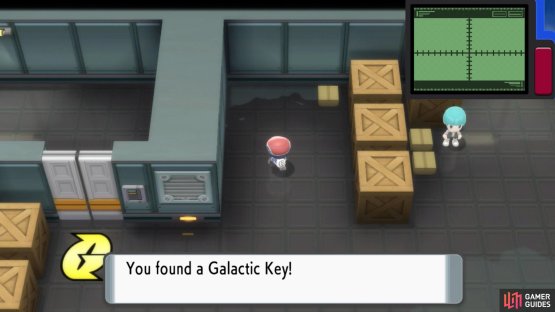
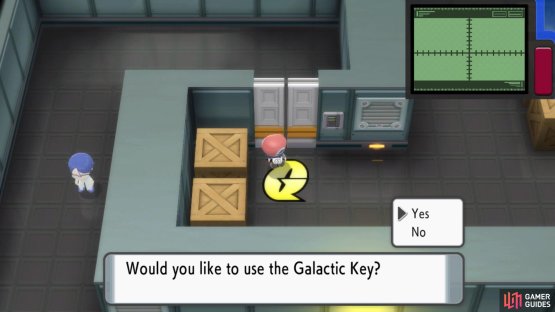
(1 of 2) The Galactic Key lets you unlock the special doors found here.
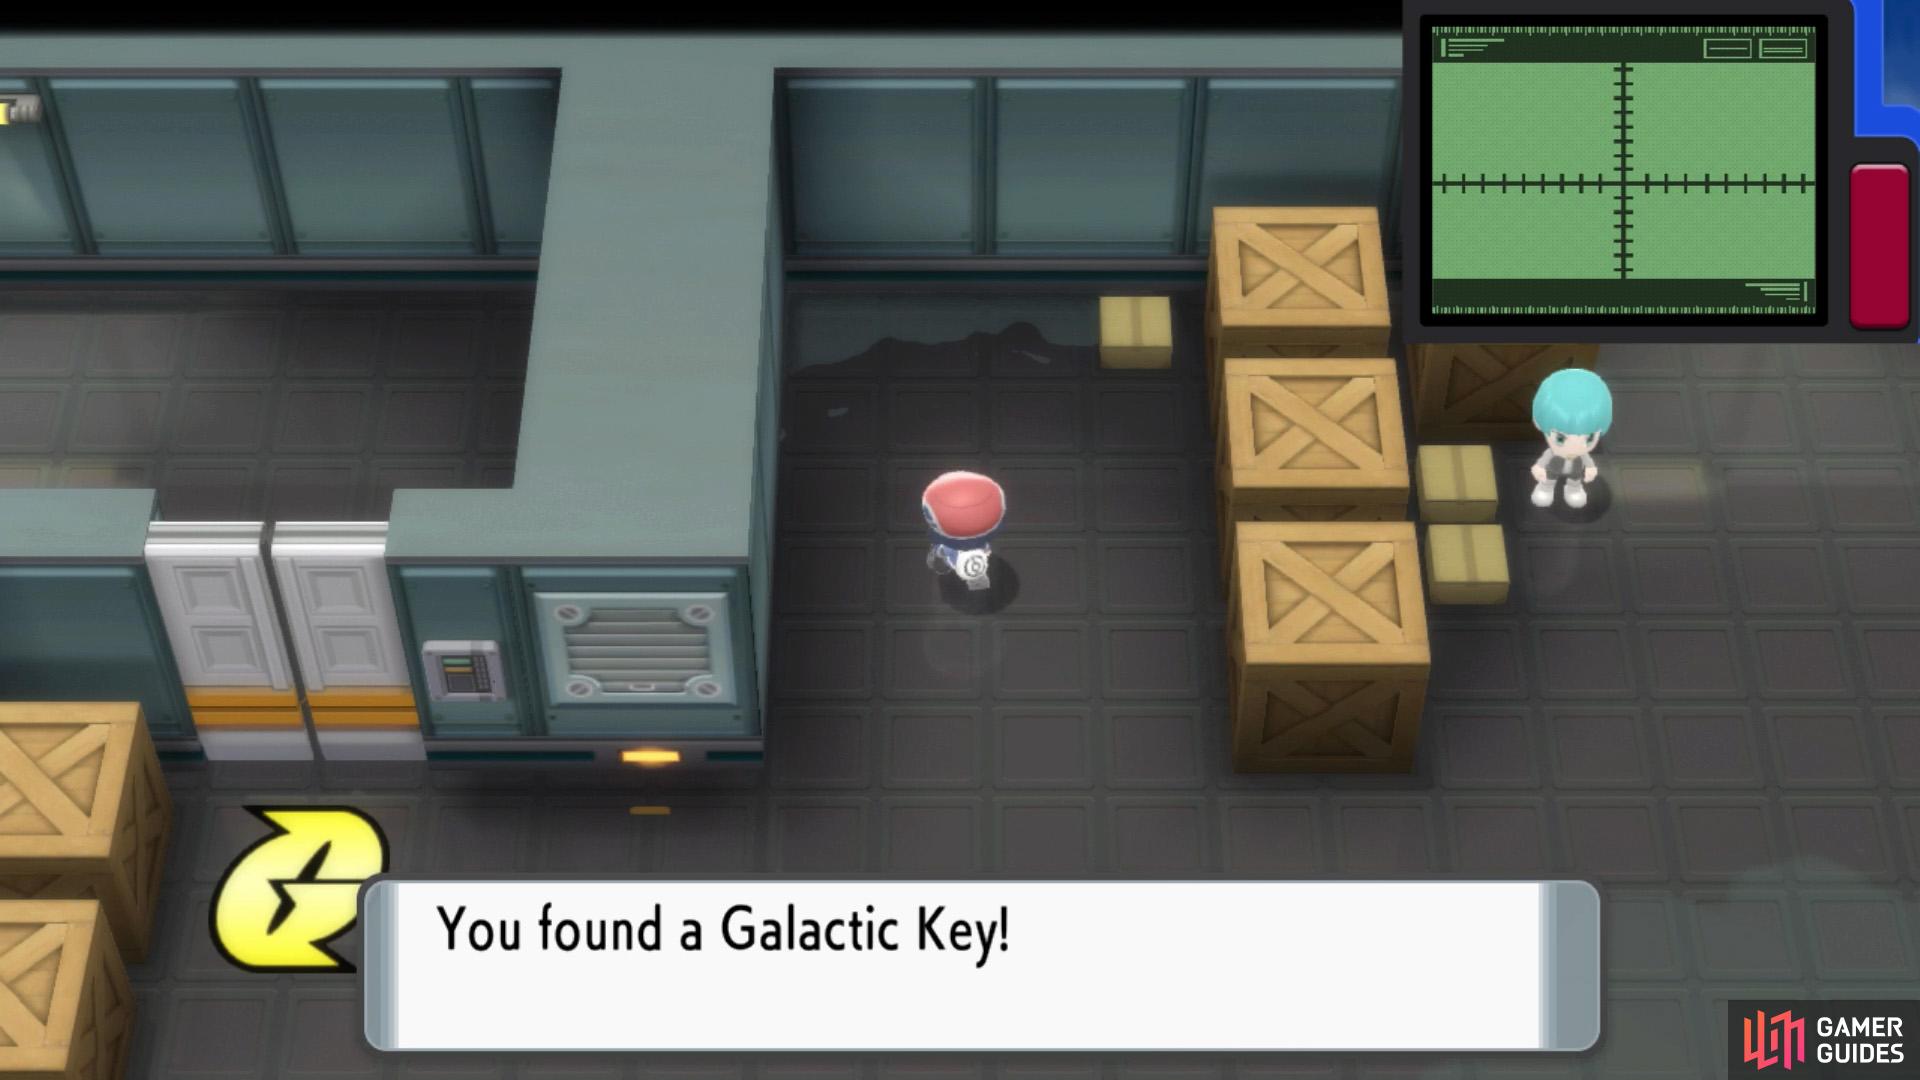

The Galactic Key lets you unlock the special doors found here. (left), Such as this door, which you can use to quickly escape back to Veilstone City. (right)
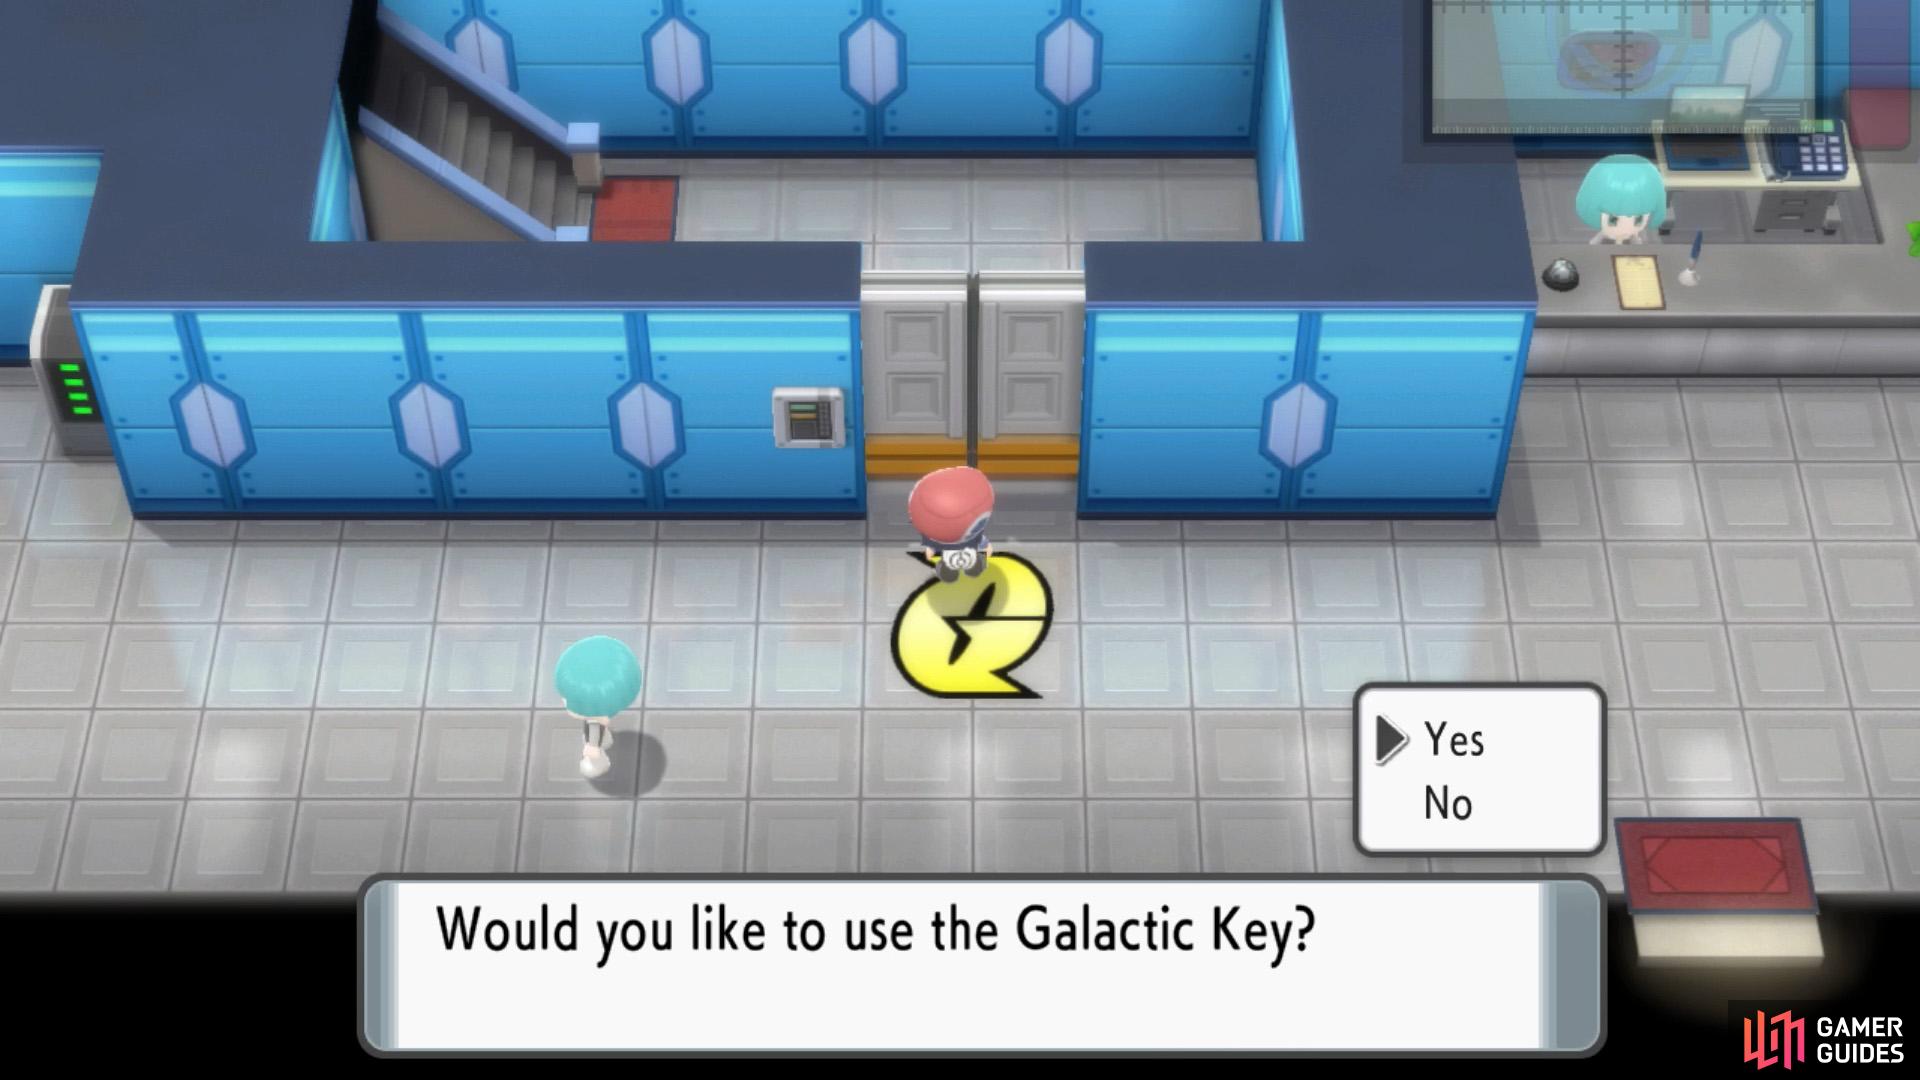
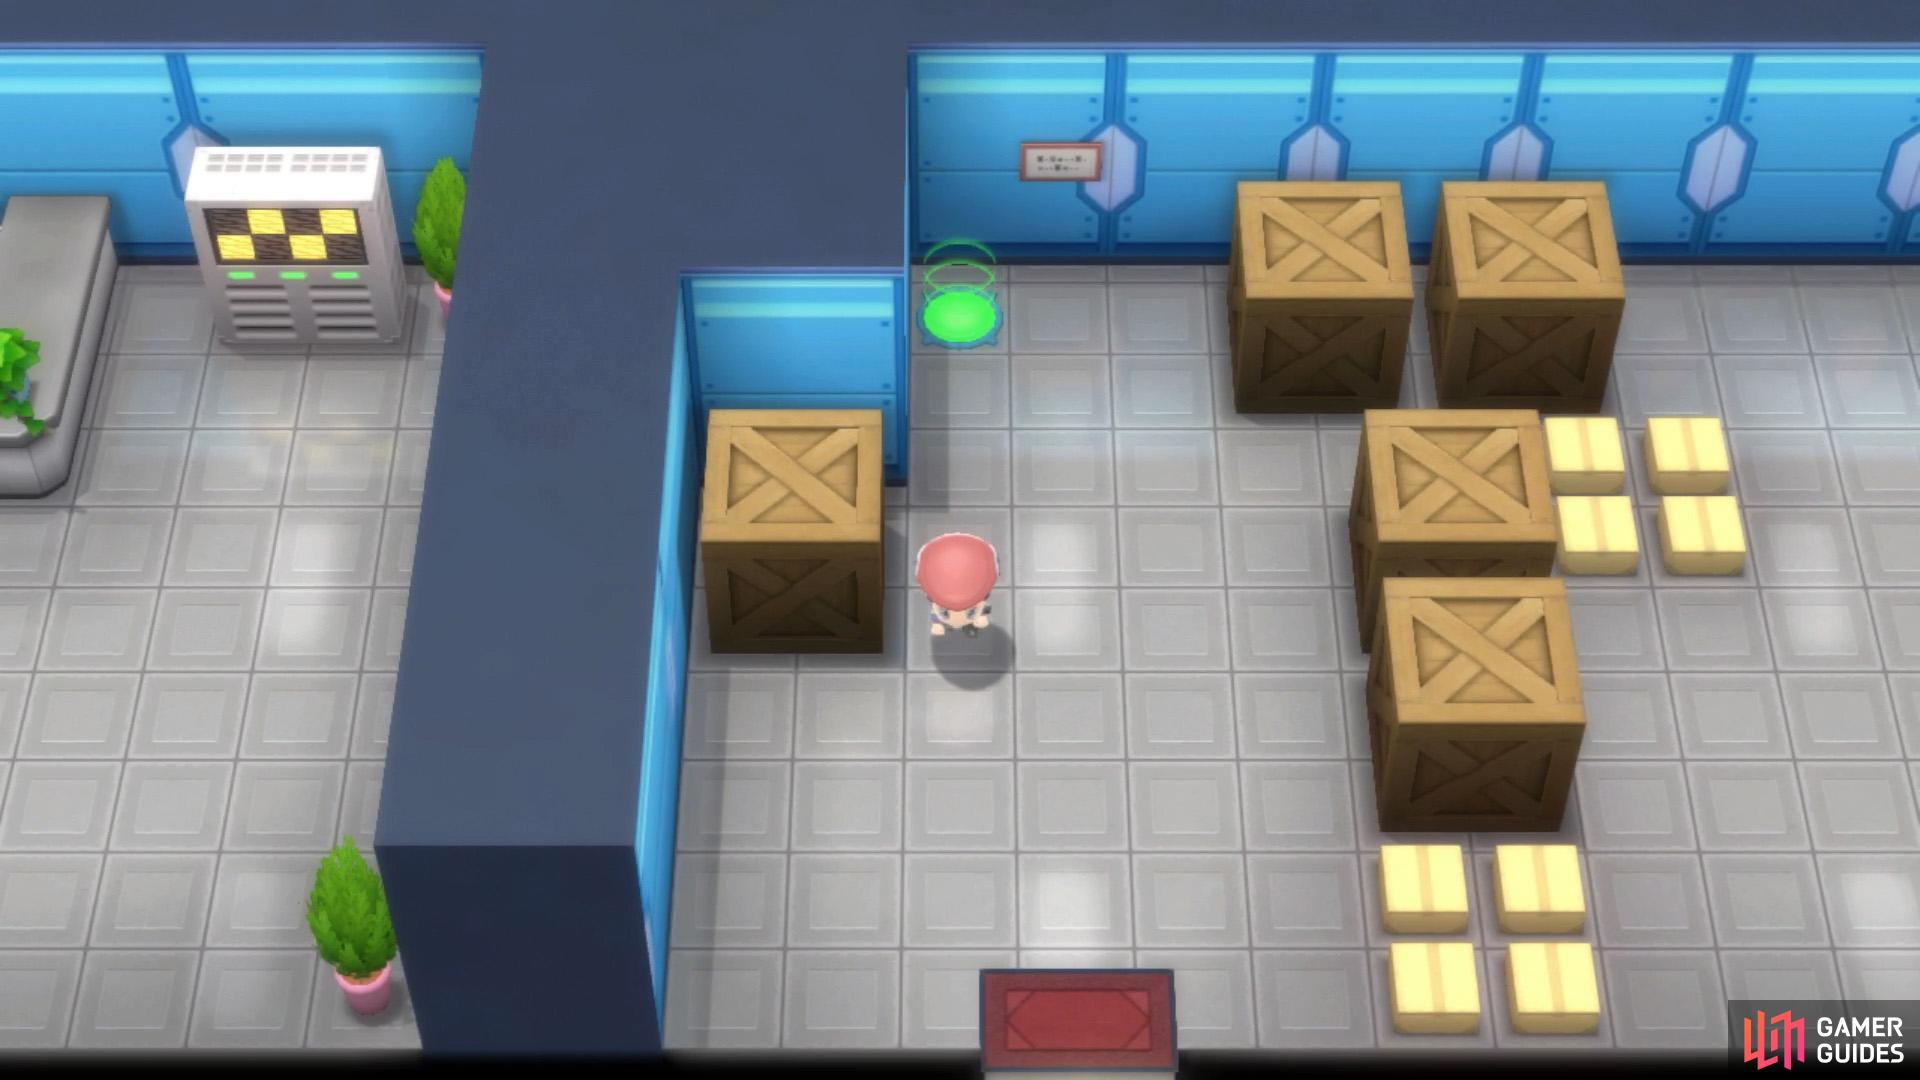
Downstairs, you’ll be back at the underpass, towards the north. Run west along the corridor, towards the crates and boxes. There’s a Grunt around here, but he’s not itching for a fight. Below, near the puddle, is TM36 Sludge Bomb. Towards the left is the coveted Galactic Key!
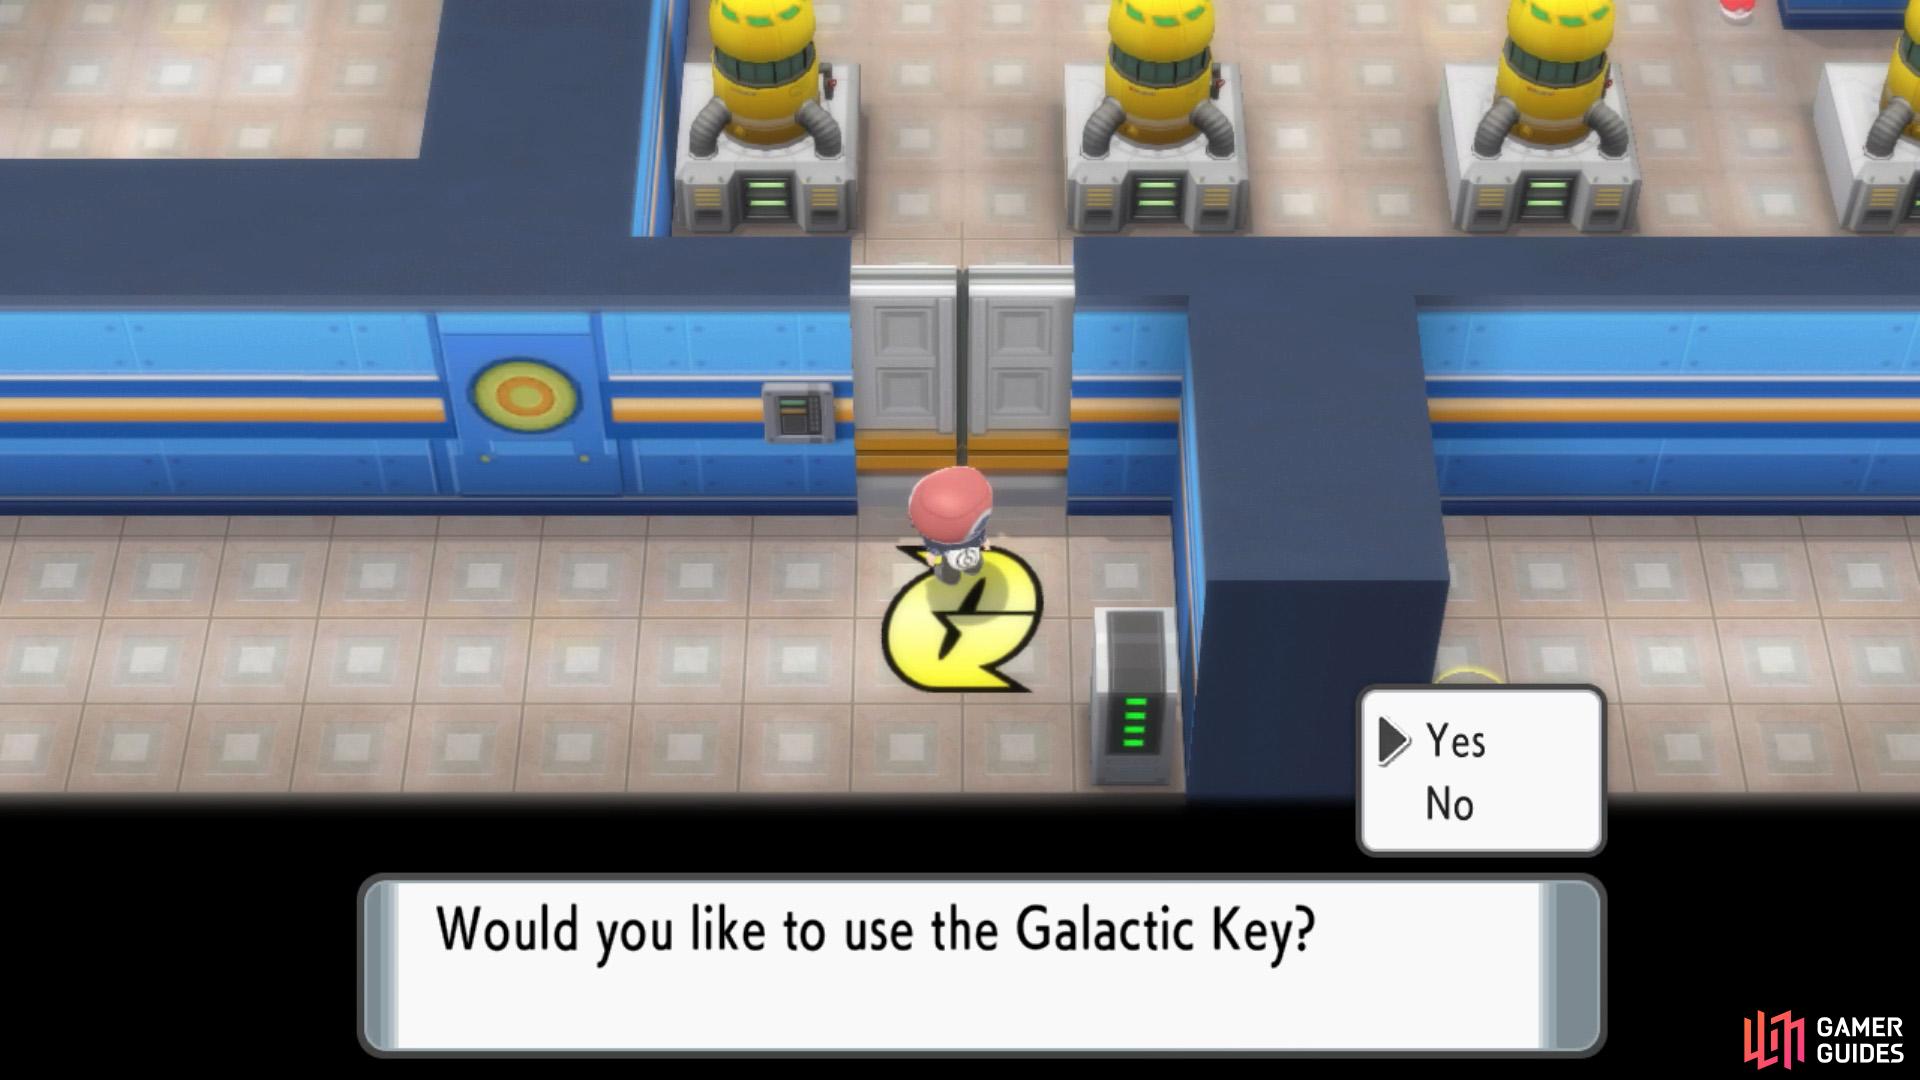
When you’re ready to leave, use the Galactic Key to open the locked door on the left, then return to Veilstone City. From here, you can visit the Pokémon Center and Poké Mart if necessary.
How to Obtain TM21 Dazzling Gleam


(1 of 2) Before leaving the HQ, look for this machinery room.

Before leaving the HQ, look for this machinery room. (left), Dazzling Gleam is a solid Fairy-type move that hits both opponents in Double Battles. (right)
From where you picked up the Galactic Key, if you have time, there’s a quick detour you can make. Make your way east, back to 1F. Run past the Scientist and ascend the stairs to 2F. Then jump back in the teleporter to return to the north-west corner of 2F.
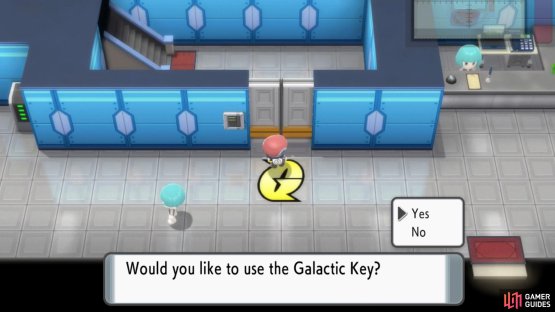
Now go up the stairs on the right to 3F. Head for the north-west corner and inspect the weird machine for a hidden Elixir. Afterwards, follow the corridor south, then all the way east to another locked door. Slide the Galactic Key to open the door and grab the TM21 Dazzling Gleam inside the machinery room.
How to Reach Galactic Boss Cyrus
(1 of 2) Now it’s time to infiltrate by going through the front door!
Now it’s time to infiltrate by going through the front door! (left), Head for this teleporter in the kitchen first. (right)
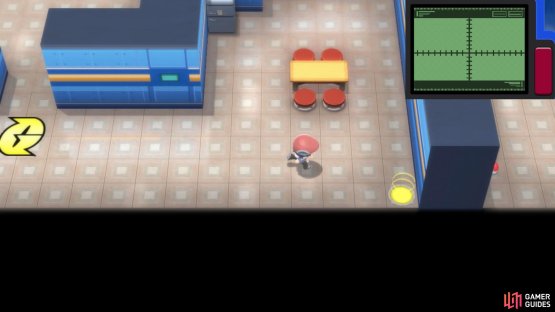
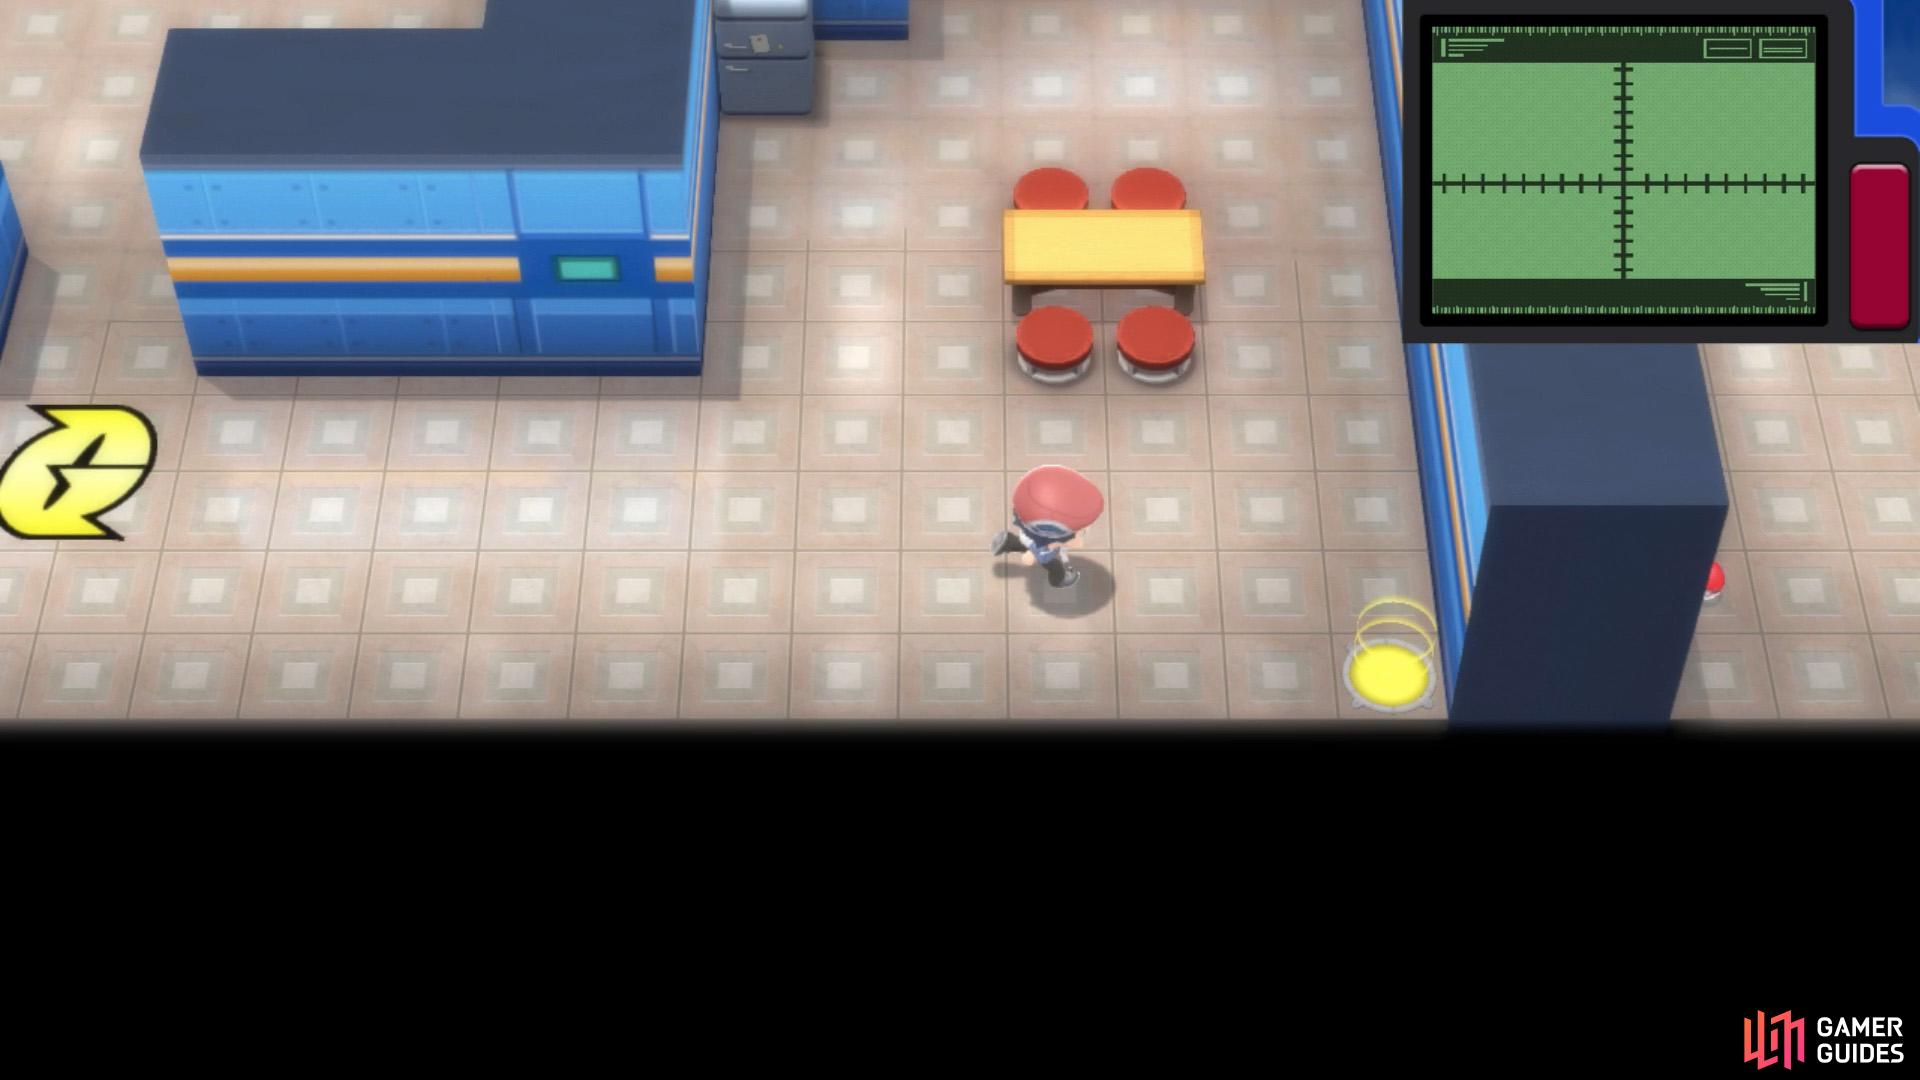
Once you’ve got the Galactic Key, walk through the main entrance of the Galactic HQ building, preferably via the middle door. Go over to the north-east corner of the reception and inspect the potted plant for a hidden PP Up. Then unlock the door to the left of the desk and go up the stairs.
You’ll be near the center of 2F. Search the machine near the corner for a hidden Full Heal. Then proceed all the way east towards the kitchen. Jump in the bottom-right teleporter, then run along the corridor to the next teleporter. Pick up the Max Revive down below, then return to the kitchen.
Next, go back a bit, towards the west. Head up into the TV room and search the top-right corner for a hidden Ultra Ball. After that, go inside the teleporter in the TV room. In this next area, inspect the beds on the left if you need to heal your Pokémon, then continue up the stairs.

(1 of 2) Borrow the beds if you need to rest.


Borrow the beds if you need to rest. (left), The left-most teleporter leads to Cyrus. (right)
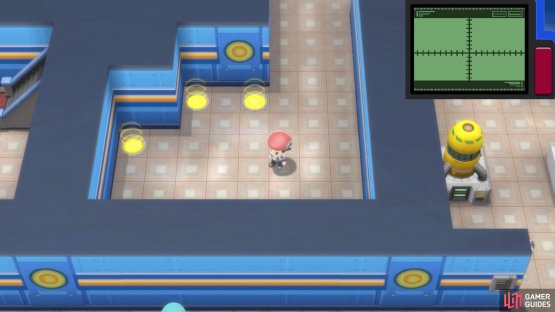
You’ll be at the north-east corner of 3F. Go around and search the machine in the top-right corner for a hidden Full Restore. Then follow the corridor west, then south towards three teleporters clustered together. Use the middle teleporter first. You’ll be in a room with two tables. Grab the Elixir below and search the boxes to the left for a hidden Rare Candy.
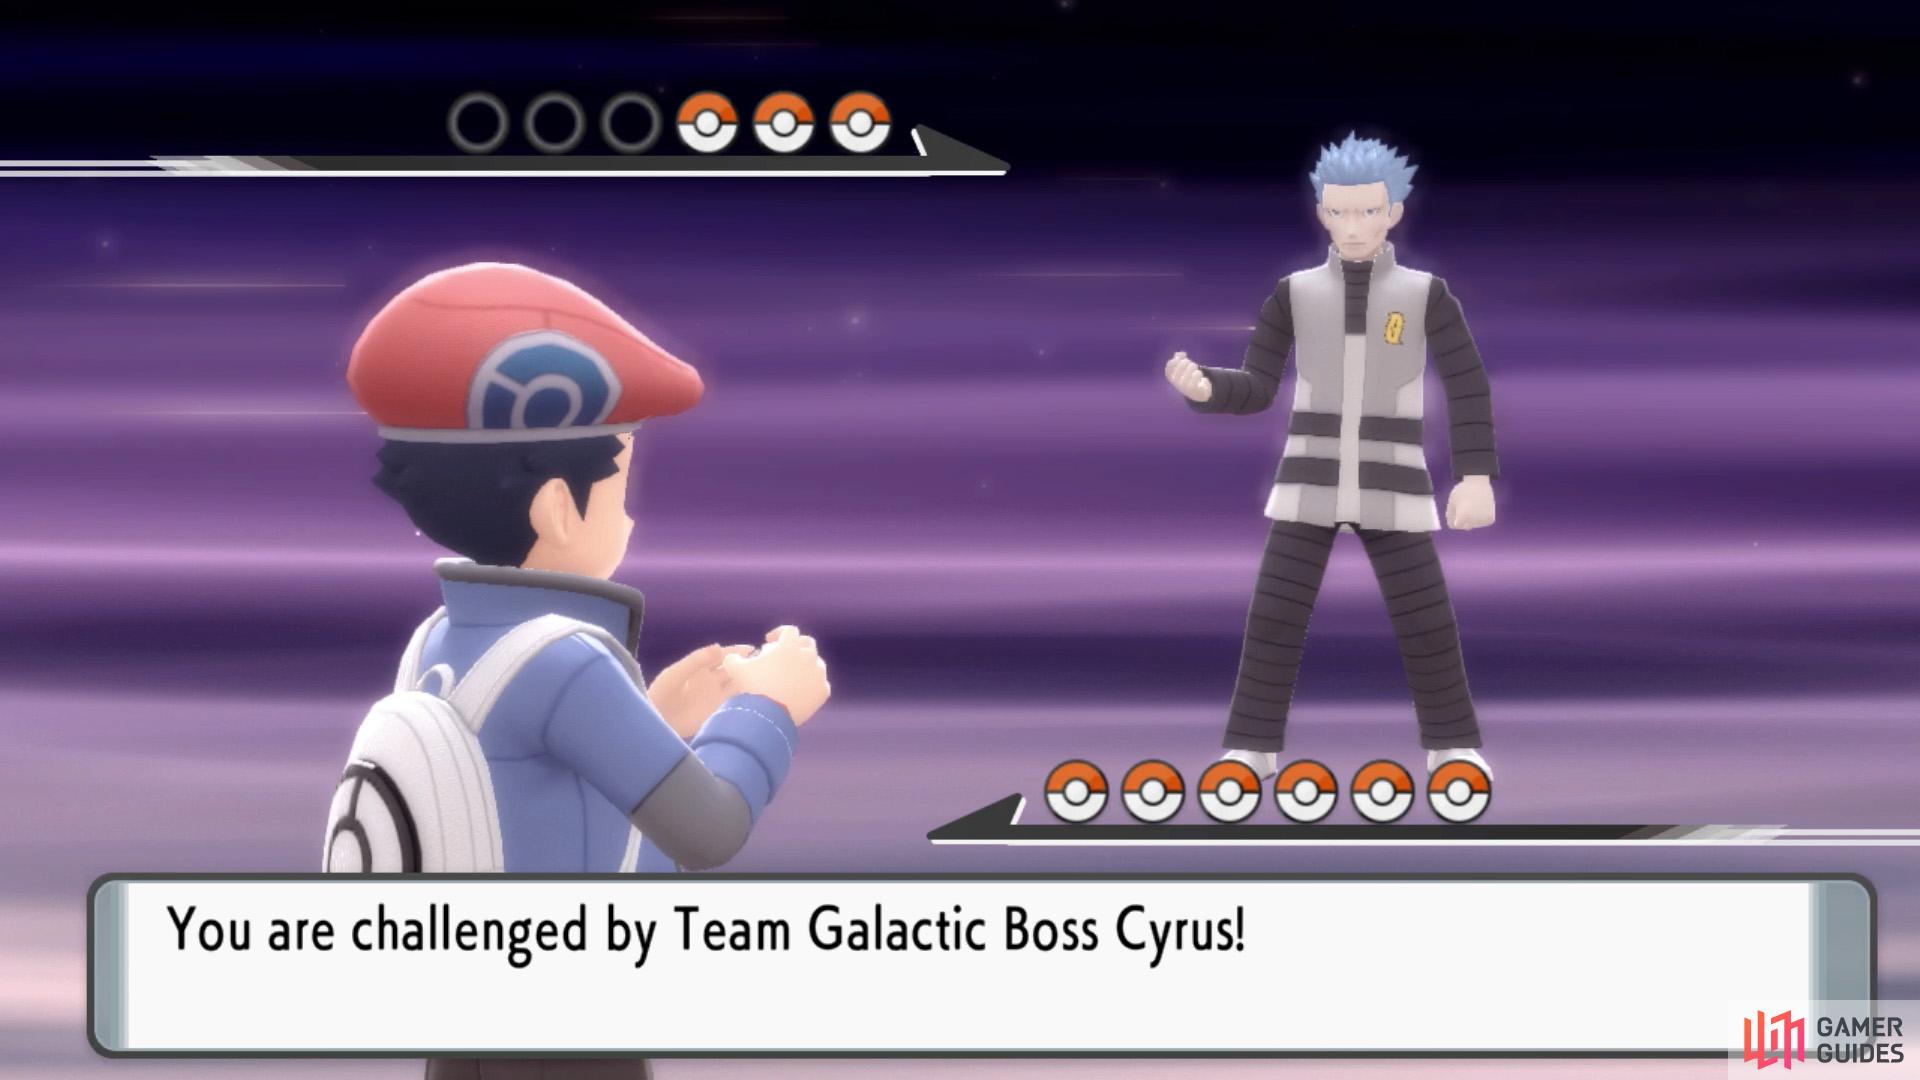
Return to the three teleporters and use the left teleporter. Then go up the nearby stairs. Finally, you’ll arrive at 4F, where there’s another locked door that you can open with the Galactic Key. Beyond is the head honcho of Team Galactic himself!
Team Galactic Boss Cyrus


(1 of 2) Team Galactic Boss Cyrus.
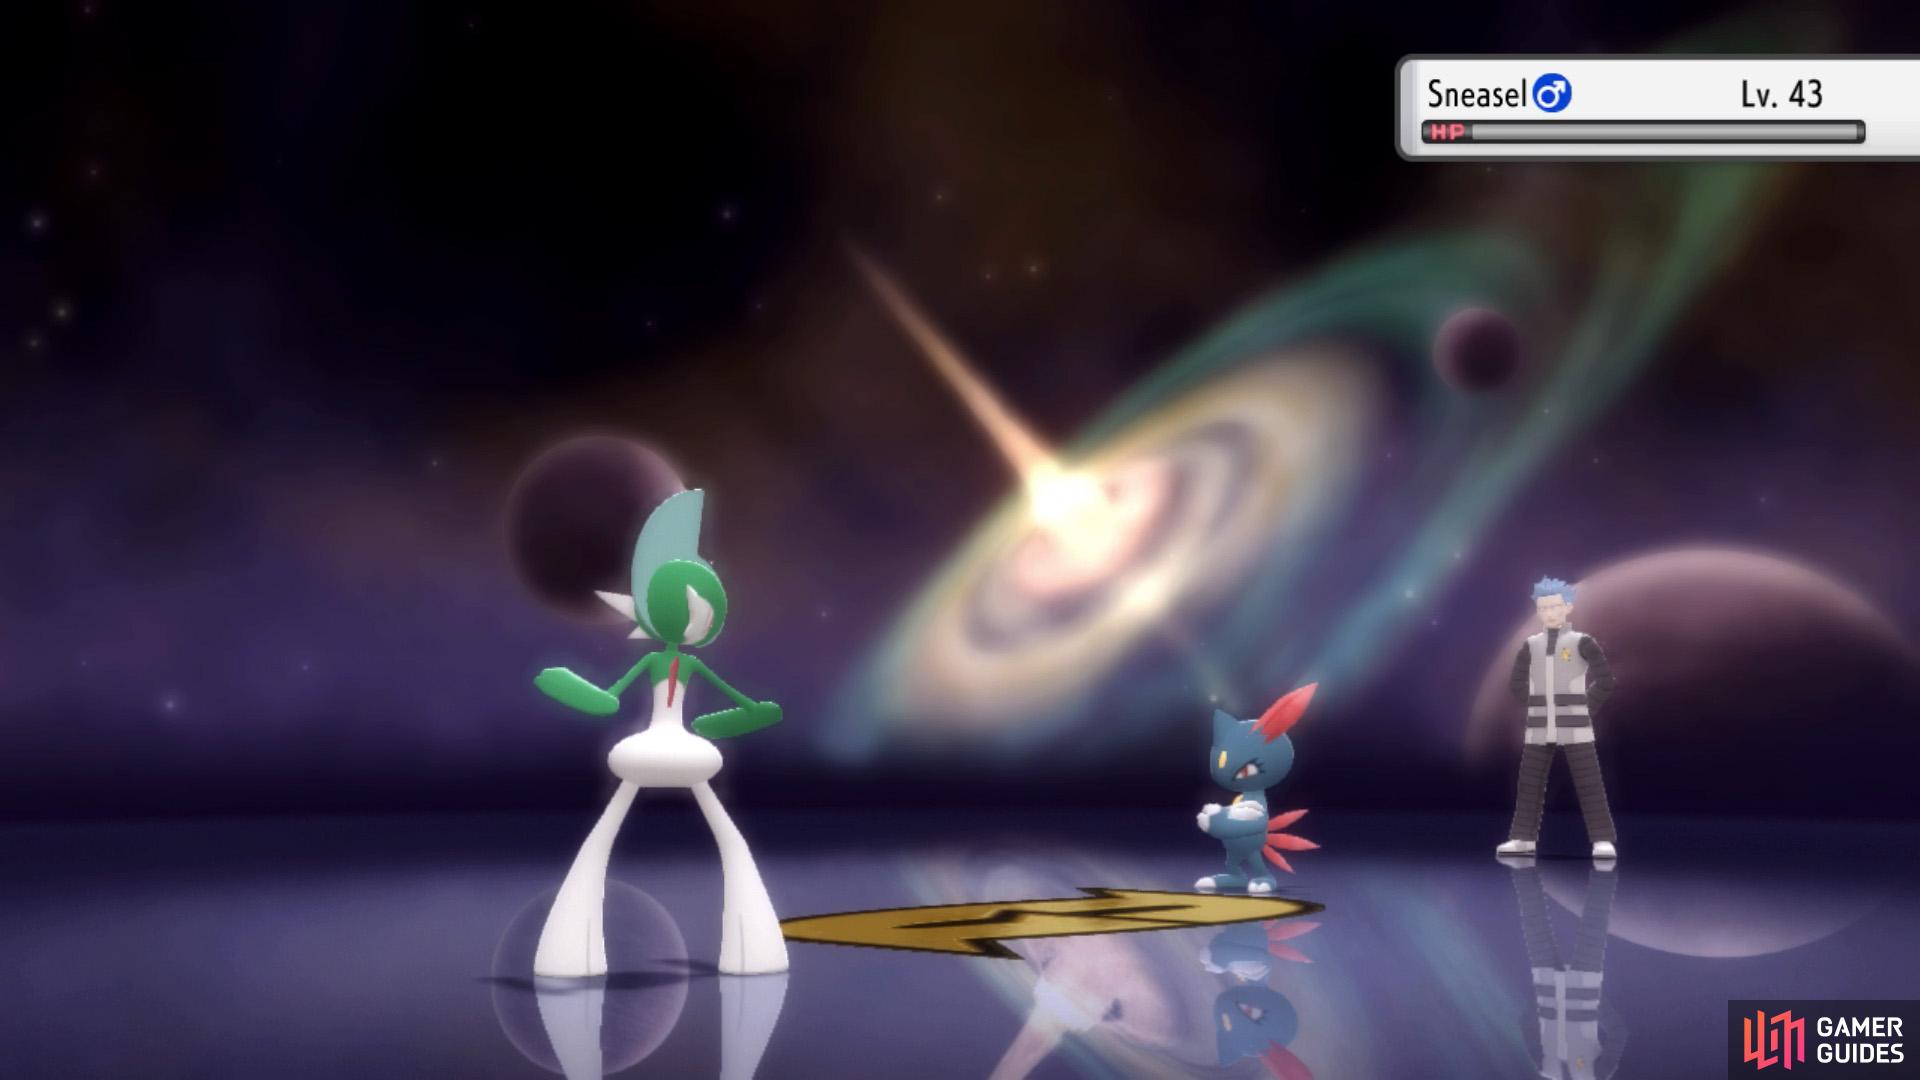
Team Galactic Boss Cyrus. (left), Sneasel should be no match against your fully evolved creatures! (right)


We suggest leading with an Electric or Ice-type Pokémon, since Cyrus’s first two Pokémon are weak to those.
 Murkrow can use Taunt to stop you from using status moves. Besides that, it’s rather one note.
  Golbat is more threatening and can use Screech to greatly lower your Defense, to make its next attack(s) hurt more.
 Sneasel is Cyrus’s trump card, although it’s a pushover right now. Fighting-types are ideal, as they do quadruple damage. Otherwise, go with Fire, Steel or Fairy-types if possible. Note that it has a Sitrus Berry, which restores HP when low.
Towards the Secret Lab
After Cyrus is defeated, he’ll give you a super-rare Master Ball before leaving. Search the top-left corner of his room, above the small desk, for a hidden Nugget. Then head over to the teleporter in the north-east corner. This will take you to Team Galactic’s secret laboratory, where another boss fight awaits at the end.
Commander Saturn
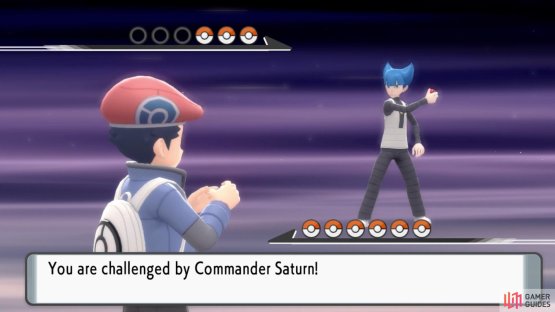

(1 of 2) Commander Saturn.
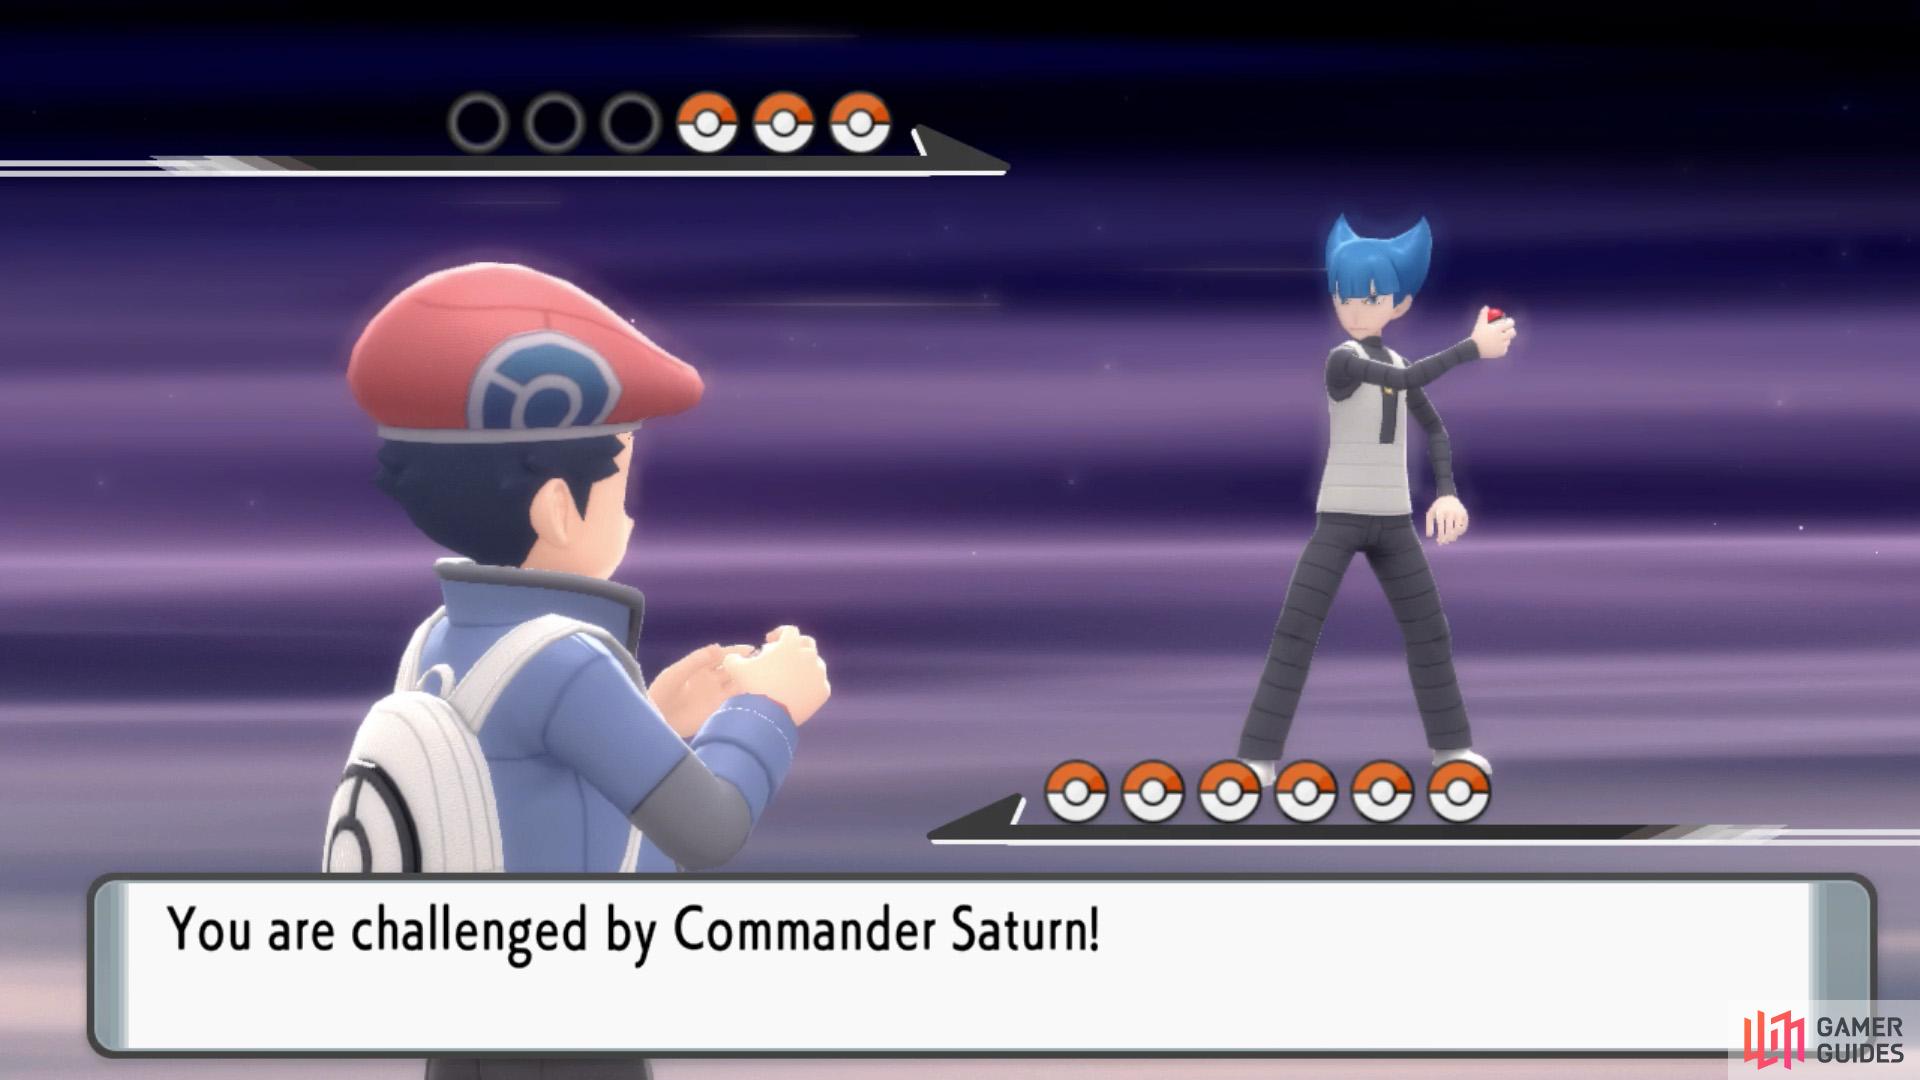
Commander Saturn. (left), Toxicroak hates Psychic moves. (right)


Saturn is a slight downgrade compared to Cyrus, although his last Pokémon is tougher.
 Kadabra is a box of tricks, able to use Reflect to weaken physical moves and Rain Dance to cause rain for 8 turns with its Damp Rock. Plus it can use Psychic for hefty damage. Dark-types are ideal. Otherwise go with Ghost or Bug.
 Bronzor probably won’t be scoring any KOs, although he can be annoying with Confuse Ray. For best results, use Fire, Dark or Ghost moves. Even though they’re super-effective, don’t use Ground moves since it has Levitate.
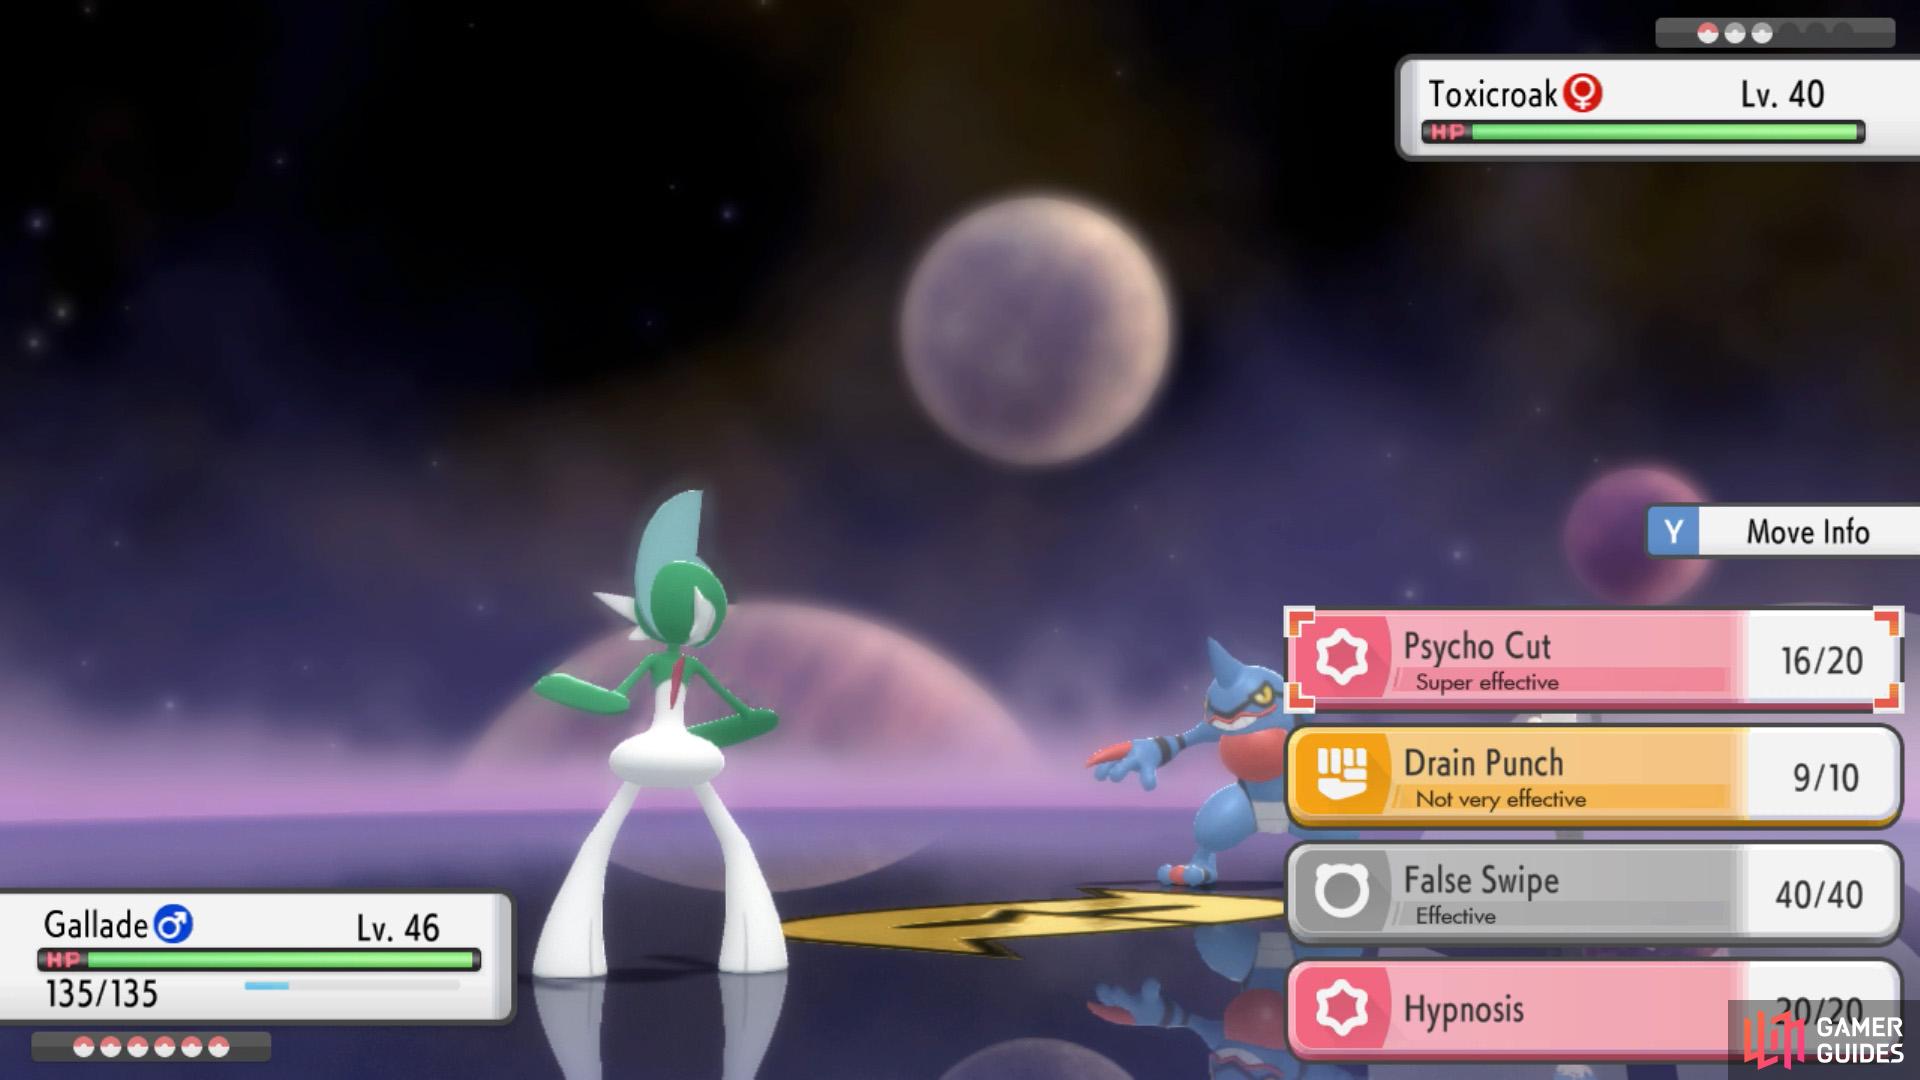
Saturn’s  Toxicroak is a worthy opponent. It can use Brick Break to deal damage and remove Reflect/Light Screen etc., Mud-Slap to lower accuracy and Thief to annoy Psychic-types. It can also use Toxic. Despite that, Psychic-types are recommended for their 4x damage. You could also use Flying or Ground-types. Avoid Water moves because of its Dry Skin.
Exiting the Galactic HQ


(1 of 2) Note that this is a one-way panel.

Note that this is a one-way panel. (left), You’ll be sent back to 1F, near the right-hand side entrance. (right)
To finish off the job, press the button next to Saturn to release the lake trio from their prisons. Now return to Cyrus’s room and head for the south-east corner, which was previously blocked. Use the green-colored teleporter to return to the entrance. From here, your next task is to travel to the Spear Pillar via Mt. Coronet.
Item Locations
| Item | Location |
|---|---|
| Zinc | Underpass: Next to crates just before the easternmost stairs. |
| TM49 Scald | 1F: South-east corner, accessible via north-east corner, right-hand side teleporter. |
| TM36 Sludge Bomb | Underpass: North corridor, south-east from the crates. Follow the 2F north-west teleporter. |
| Galactic Key | Underpass: Far end of the north corridor. Follow the 2F north-west teleporter. |
| Elixir | 3F: North-west corner, hidden in the small machine. Go up the stairs from the north-west corner of 2F. |
| TM21 Dazzling Gleam | 3F: Inside the machinery room, by using the Galactic Key. Go up the stairs from the north-west corner of 2F. |
| PP Up | 1F: Reception area. Hidden in the potted plant in the top-right corner. |
| Full Heal | 2F: Hidden in the small machine near the stairs from the reception. |
| Ultra Ball | 2F: TV room, hidden in the small machine in the top-right corner. |
| Max Revive | 2F: South-east corner. Use the bottom-right teleporter in the 2F kitchen. |
| Full Restore | 3F: North-east corner, hidden in the small machine. Use the teleporter from the 2F TV room. |
| Elixir | 3F: South-east corner. Use the middle of the 3 teleporters in the middle of 3F. |
| Rare Candy | 3F: South-east room, hidden among the crates. Use the middle of the 3 teleporters in the middle of 3F. |
| Master Ball | 4F: From Cyrus after defeating him. |
| Nugget | 4F: Hidden near the top-left corner of Cyrus’s room. |
Trainer Battles
Team Galactic Grunt (A)
| Pokémon | Level | Type |
|---|---|---|
 Golbat Golbat |
37 |
Team Galactic Grunt (B)


Team Galactic Grunt (C)
| Pokémon | Level | Type |
|---|---|---|
  Glameow Glameow |
37 |
Scientist Fredrick
Team Galactic Grunt (D)


Team Galactic Grunt (E)
| Pokémon | Level | Type |
|---|---|---|
  Stunky Stunky |
37 |
Team Galactic Grunt (F)
Team Galactic Grunt (G)
Team Galactic Grunt (H)


Scientist Darrius
| Pokémon | Level | Type |
|---|---|---|
 Kadabra Kadabra |
37 |


No Comments