

You came here near the start of the game, but times have changed.
Wild Pokémon - Overworld
| Pokémon | Type | Encounter Rate |
|---|---|---|
 Stunfisk Stunfisk |
Ground/Steel | Fixed |
 Weezing Weezing |
Poison/Fairy | 50% |
 Munna Munna |
Psychic | 30% |
 Orbeetle Orbeetle |
Bug/Psychic | 15% |
 Corviknight Corviknight |
Flying/Steel | 5% |
Wild Pokémon - Random Encounters
| Pokémon | Type | Encounter Rate |
|---|---|---|
| Weezing |
Poison/Fairy | 30% |
| Munna |
Psychic | 25% |
| Corviknight |
Flying/Steel | 20% |
| Orbeetle |
Bug/Psychic | 15% |
 Butterfree Butterfree |
Bug/Flying | 5% |
| Stunfisk |
Ground/Steel | 5% |
Wild Pokémon - Random Encounters


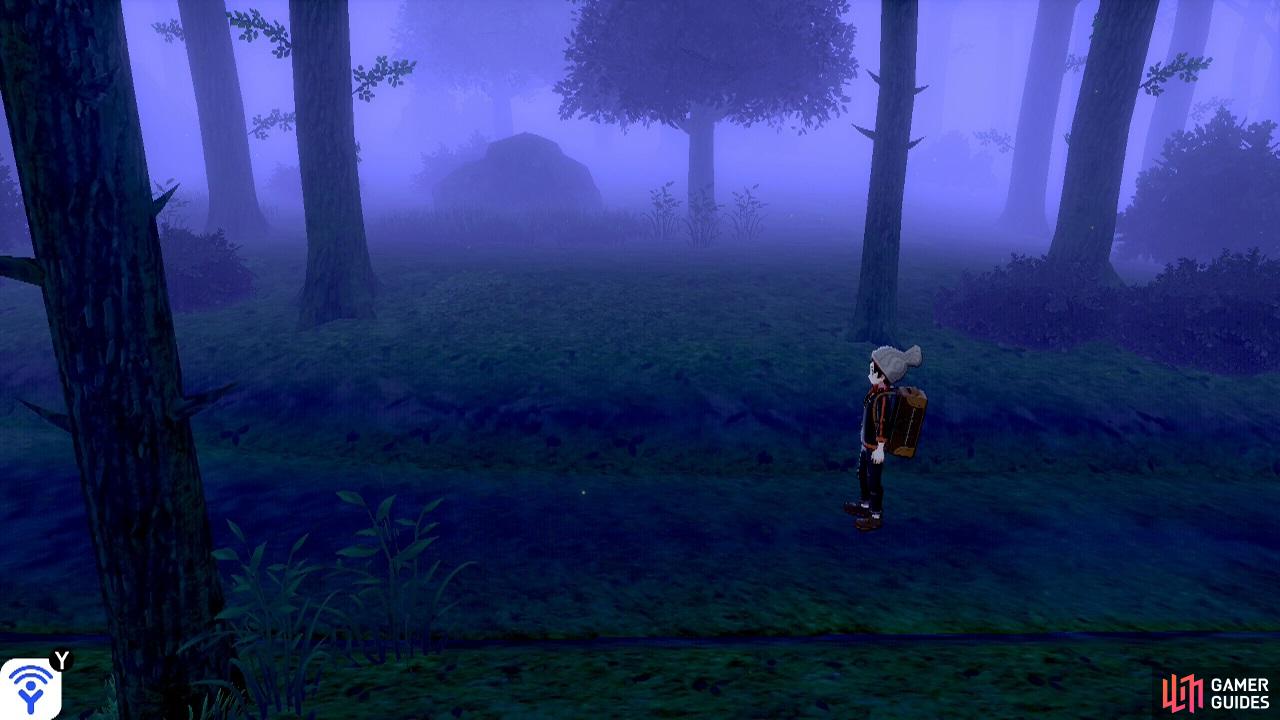
From the entrance, head directly west like last time. There will be some low Level wild Pokémon, which will probably run away in fright. When you reach the corner, head north in the direction of the fog. Eventually, at the end of the narrow path, you’ll reach the area where you blacked out. Keep going north, then take a left turn.
This is where things start getting interesting, as you start to encounter wild Pokémon closer to your Level. Make your way west through the tall grass. Soon, there will be a fork in the path towards the north. Search the floor in-between the two paths to find a hidden Full Restore. Next, follow the right-hand side path. You’ll arrive at another fork.
At this second fork, follow the left-hand side path first. This will take you to a dead end, with a Misty Seed on the ground. Go back and then follow the right-hand side path. You’ll arrive at a stream with a nearby fishing spot. Get on your  Rotom Bike and enter the water, then travel south. On the right, there’s a place where you can return to land. Grab the Life Orb below the tall grass.
Retrace your steps until you’re back at the initial fork, then follow the left-hand side path. Soon, the path will branch off towards the west and the north. Actually, these two paths will intersect. But you want to follow the path towards the west. After going under the fallen tree trunk, there’s a Mental Herb on the ground to the right.
Towards the east, you’ll reach the point the paths intersect; heading south will take you through the path you didn’t go through. Go north instead. The path will branch yet again. Follow the path on the right. You’ll have to walk across a fallen tree to cross the stream from before. On the other side, head south-east to retrieve TM86 Phantom Force, which you probably saw earlier.
Now go back and follow the other path on the left. Soon, the path will appear to branch again, but the path on the right quickly reveals itself to be a dead end with an item capsule up for grabs. Go towards this dead end, but be mindful of a Galarian Stunfisk poking through the ground by the entrance. Scoop up the Smoke Ball, then follow the path on the left.
You’ll run into Hop standing in front of a bridge. The Legendary Pokémon will appear again or so it seems. Afterwards, Hop will run off to chase them. You should go too. Cross over the bridge and cautiously make your way north. If you want to get rid of some stress, there’s a fishing spot on the left. Anyway, keep going and you’ll reach the exit.
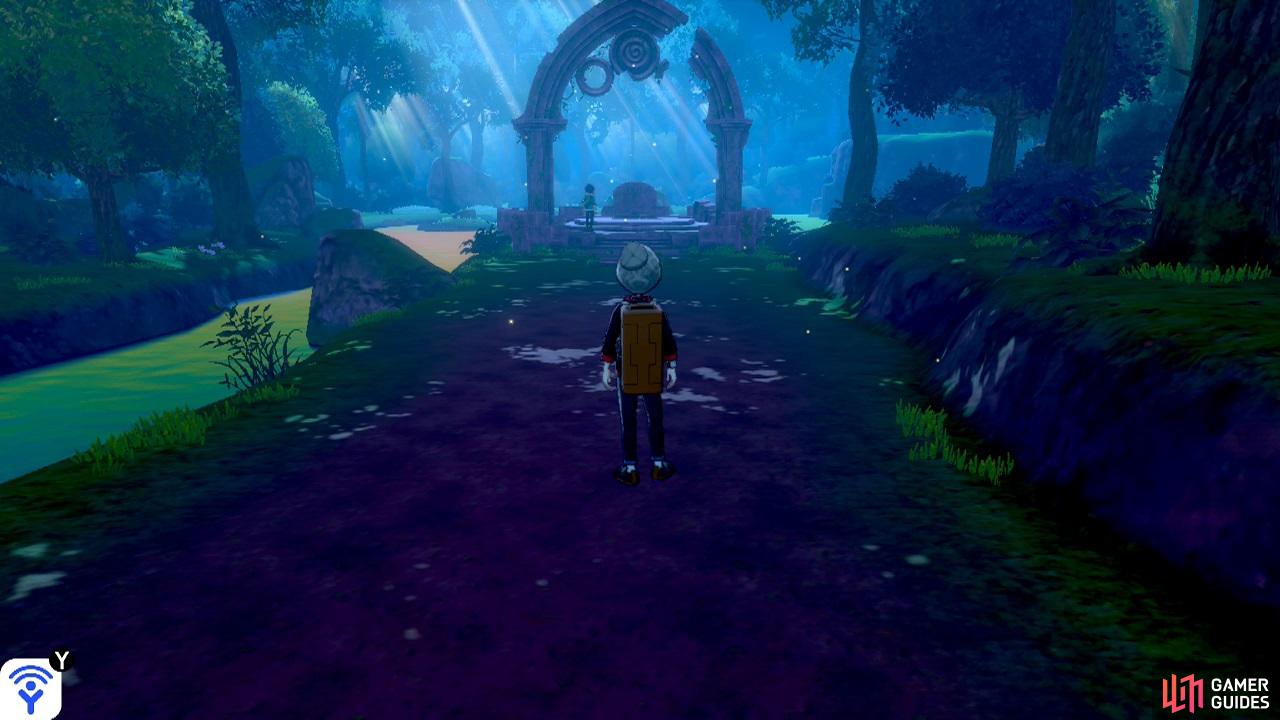
Isn’t this where they hid the Master Sword?
The area you arrive in is the endpoint of the forest. Run over to where Hop is waiting. He’ll draw your attention to the weapons on the altar. Approach the weapons and you’ll obtain the Rusted Sword in Sword or the Rusted Shield in Shield. Meanwhile, Hop will take the other weapon. Well, you got what you came here for. Kind of.
Next, speak to Hop and he’ll call a flying taxi to take you straight to Hammerlocke. Alternatively, you can go there yourself, in your own time. If you need to quickly leave the forest, you should use the Escape Rope that Sonia gave to you way back (you can’t call a flying taxi yourself, strangely).
No Comments