This is the first Gym in the Galar Region you’ll be tackling!
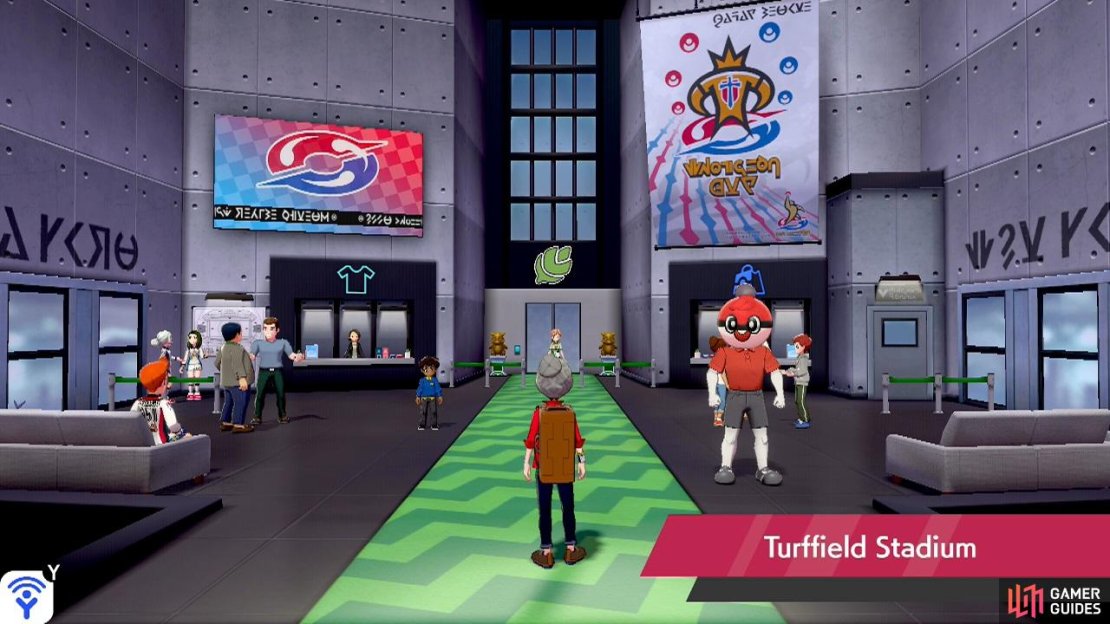
In case you missed all the obvious signs, the trainers here primarily use Grass-type Pokémon. When you enter, speak to the Ball Guy on the right. You’ll receive a Friend Ball. Keep this for an extra-special Pokémon because it’s extremely rare. If you reckon you’re up for it, speak to the Gym staff in the center to begin the Gym mission.
Today, you get to be a shepherd!
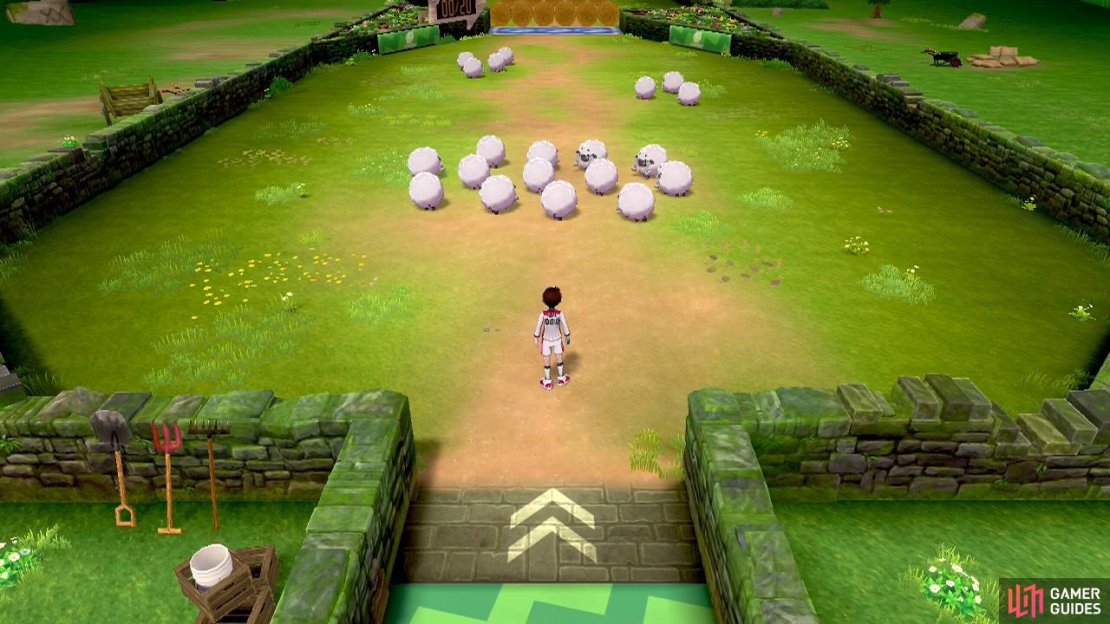
The Gym mission here is a rather unique one: you’ll play the role of shepherd, as you try to herd a bunch  Wooloo towards a goal line. There are 20 Wooloo in the Gym and all 20 must go past the goal line. Wooloo will try to move away from you. So bear that in mind as you move. Also, they will run away from any
  Yamper that they see.
In front of you, there will be 13 Wooloo all huddled up. Above these, there are 3 more Wooloo on the right, then 4 more Wooloo on the left. The goal line is directly north and there are no obstructions in the way, so it should be an easy task. What you can do is approach the first bunch of Wooloo from their bottom-left corner. So walk a bit left from the entrance, before going up.
The Wooloo should roll away towards the north-east, where the next 4 Wooloo are. Once these groups have combined, move yourself more to the right so that the Wooloo turn towards the north-west. That way, they’ll combine with the final group. After that, move yourself more to the left. If done correctly, all 20 Wooloo should roll comfortably through the goal line.
If there are any stragglers, go back and collect them. There’s no time limit and the Wooloo won’t move if you aren’t nearby, so there’s no need to rush. In the second area, there’s a Yamper running around in a wide ellipse. It will scare the Wooloo and make them roll towards the left. Wait until the Yamper is far away, then drive the Wooloo north into the next goal area.
Before you can continue, there’s a trainer standing between the two areas.
Gym Trainer Samuel
| Pokémon | Level | Type |
|---|---|---|
 Gossifleur Gossifleur |
16 | Grass |
A pure Grass-type that can be found on Route 3. We shouldn’t need to tell you what Pokémon to send out!
In the third area, there are two hedges along the center, going from top to bottom, creating three paths. A Yamper will be running clock-wise around the left-hand side hedges. Meanwhile, there’s a Gym trainer waiting between the right-hand side hedges and the wall. Essentially, you have to choose between risking an encounter with Yamper or fighting the trainer.
If taking the Yamper route, you’ll want to go along the left-most path. Start pushing the Wooloo up this path as Yamper is halfway along its northbound path. That way, you’ll be traveling up while Yamper is going down the middle path. Or you could just fight the trainer for the glory!
Gym Trainer Mark
 Budew and
  Oddish are both Grass and Poison-types. That means they’re weak to Fire, Ice, Flying and Psychic.
The fourth and final area is slightly more complicated-looking. In the very center, there are two small rows of hedges, like an “equal” sign. On the left and right side are a singular line of hedges, both patrolled by a Yamper running anti-clockwise. Above all of these hedges is a Gym trainer looking left and right. If you want to avoid everything, you’ve got to be smart.
The ideal route is via the path furthest to the right. You want to use the same logic to avoid the Yamper like last time. Wait till the Yamper is halfway along the path on the left of the hedge, then squeeze those Wooloo through the path on the right. If you reasonably close to the right, you’ll also avoid the gaze of the Gym trainer. Win-win!
Gym Trainer Leah
There’s nothing here that should tax your brain.  Bounsweet is a pure Grass-type and we already went through the weaknesses of Grass and Poison-types for the previous trainer.
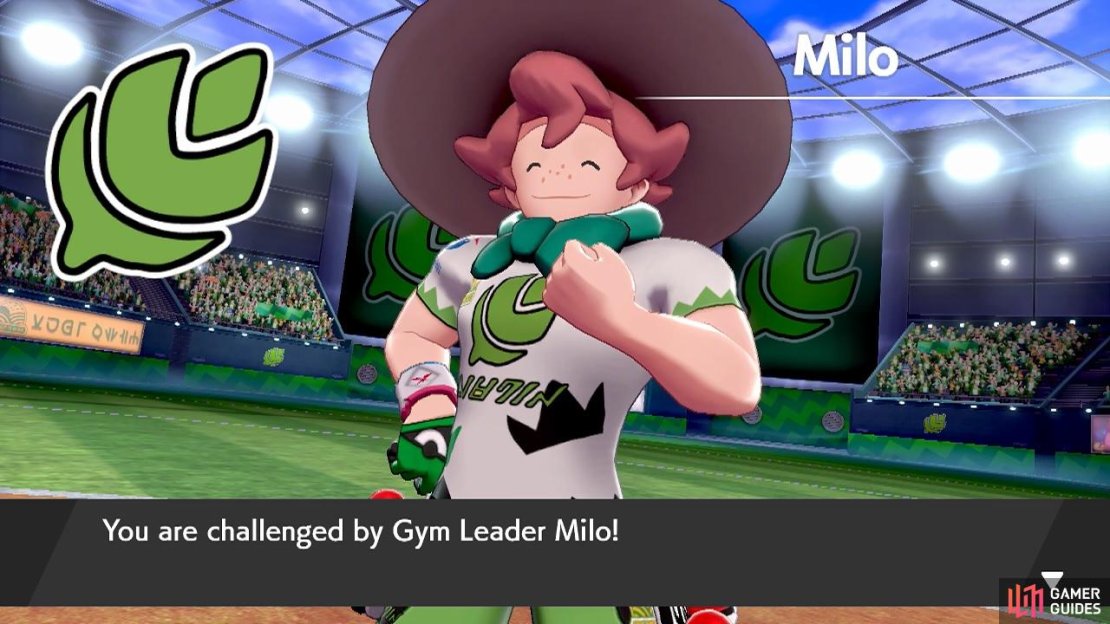
Bring all of the Wooloo to the fourth goal area and the path ahead will open. Keep going north, up the stairs to the exit. You’ll be taken inside the stadium. When you’re ready, proceed through the entrance tunnel towards the stadium grounds. There, you’ll come face to face with Milo once again, but this time as opponents.
Gym Leader Milo
| Pokémon | Level | Type |
|---|---|---|
 Gossifleur Gossifleur |
19 | Grass |
 Eldegoss Eldegoss |
20 | Grass |
Milo starts off easy with  Gossifleur. If you’ve yet to encounter one, it’s a pure Grass-type. That means it’s weak to Fire, Flying, Ice, Bug and Poison. His second and final Pokémon is
  Eldegoss, which is an evolved Gossifleur. It has stronger stats, but is still a pure Grass-type. So countering it should be easy. That said, be careful as Milo will Dynamax it ASAP.
A Dynamaxed opponent is pretty scary, so we recommend Dynaxming your own Pokémon during the turn Milo sends out Eldegoss. In fact, if you’re confident you can beat Gossifleur and Dynamxed Eldegoss within 3 turns, you could Dynamax as soon as the battle begins.
Mow down Milo’s Grass-types and you’ll receive the Grass Badge from him. Afterwards, he’ll also give you TM10 Magical Leaf and a replica Grass Uniform. From here, your next destination is Hulbury, where the 2nd Gym–the Water Gym–is located.
As soon as you can, exit the Gym, then head east from the Pokémon Center to get to Route 5.



No Comments