Updated Title Publisher
Updated Title
Published Title Score Editor's Choice Publisher
Published Title Publisher
Table of Contents
Expand All

Let’s crack open this crate… or not!

As well as the common monsters you find all over the lands, there are a particularly nasty variant: boss monsters. These monsters can be identified by a crown symbol next to their name and they are often tougher than regular monsters.

Succeed in felling one though and a big crate will usually appear in their place. Stop ! Don’t attack the crate!

This crate is a Bounty , a box loaded with goodies, and only a Bounty Clerk can reveal its contents, not you. Bounty Clerks can be found in a Guild Office, amongst other places, and if you show them a Bounty, they will reward you with Dosh and the item found inside.

It’s not just monsters that drop a Bounty either; special trees, rocks or fish can also produce a Bounty.

Transporting Bounties

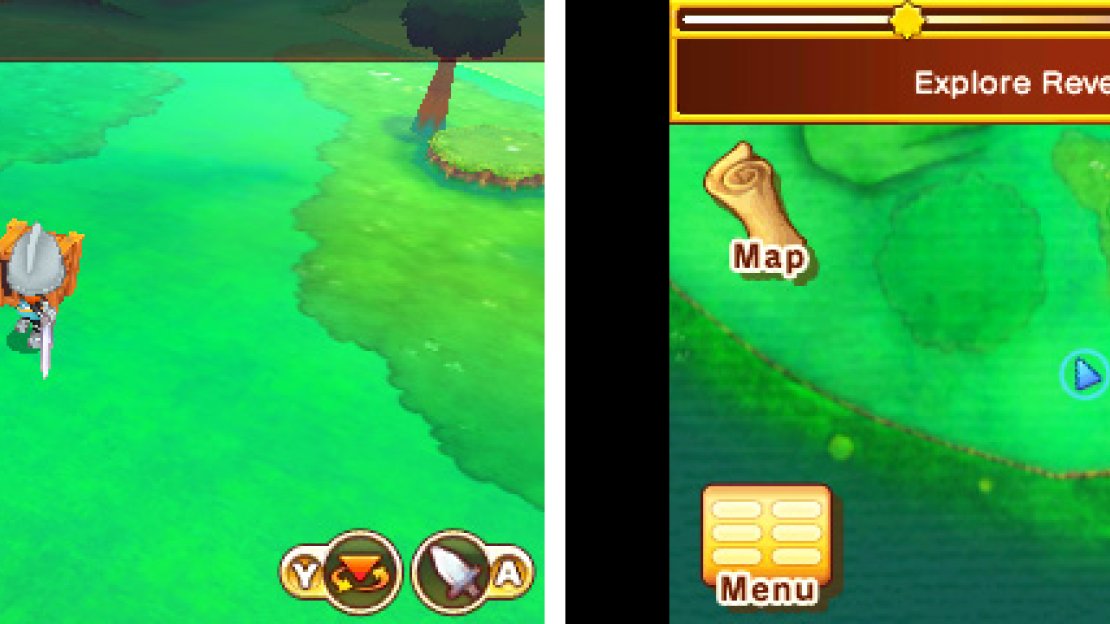
So how do you get the Bounty to the clerk? First, put away your weapon with the B button, then press the A button when next to the Bounty. Ta-da! The Bounty will magically follow you as you move (don’t ask how it works).

Note that you cannot run with the Bounty, nor can you use the Map to Quick Travel. You can however still speak to NPCs that grant Quick Travel, such as the ever-helpful Guide Paladins.

Another important thing: enemies can attack the Bounty, so be careful as you travel to the Bounty Clerk. If necessary, you can press the B button to drop the Bounty, before clearing the road.

Up to three Bounties can appear at one time and you can drag up to three Bounties behind you. Should a fourth Bounty appear, the oldest Bounty will disappear, so bear that in mind. Unwanted Bounty can always be liberally smashed to pieces…
No Comments
No Upvotes
User profile pic

Comment submission error:

The comment must be at least 1 character in length.

Guide Information
  • Publisher
    Nintendo
  • Platforms,
    3DS
  • Genre
    RPG, Social simulation
  • Guide Release
    8 September 2014
  • Last Updated
    7 December 2020
  • Guide Author
    Vincent Lau

Share this free guide:

How to enjoy life in Reveria to the fullest with our jam-packed walkthrough, which covers the main story from your first day in town to the eventual saving the world. Plus comprehensive guides for each of the twelve Lifes, taking you from Novice rank all the way up to the fabled Legend rank! Better say “goodbye” to real life for a while…

Version 1.1 includes:

  • Explanations of all the game features so you don’t start the game on the wrong foot.
  • Every Life, from Paladin to Alchemist, covered from beginning to retirement.
  • Full list of Challenges–no more running around like a headless chicken!
  • Hundreds of high-quality screenshots to improve your reading experience.
  • The lowdown on all the facets of in-game connectivity, such as StreetPass and DLC.
  • All the mysterious activities you can get up to after surviving the story.
  • Passwords to get all the rare and exclusive items.
  • Complete walkthrough of the Origin Island DLC.
  • All the help you need for collecting (and spending) the elusive Lunares Coins.
  • Detailed maps and tips for all the tricky Ancient Tower trials.
  • In-depth strategies for all the God-in-Training and God challenges.
  • Advanced tips: recommended gear, additional materials, god materials and more.

Get a Gamer Guides Premium account:

Quick sign up

Already have an account?

Quick log in

Forgot?

Don’t have an account?

Gamer Guides Premium


Get access to this feature and a lot more by upgrading to a premium account.

Find out more

Already subscribed?