Go to the Dark Sultans Fortress
He sounds enthusiastic now, but what about yesterday?
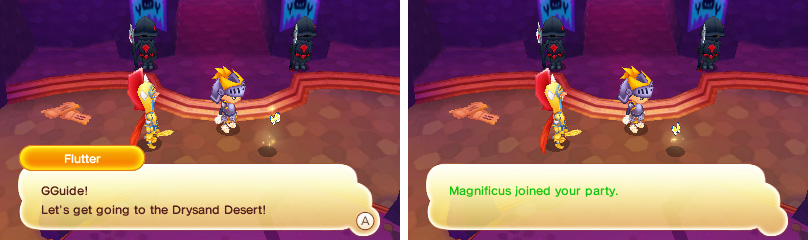
Rise and shine! You’ve got a Dark Sultan to visit. Exit the inn and begin heading north to the Dark Sultan’s Fortress .
Before you reach the Bridge, Magnificus will come sprinting forth with news that the Dark Sultan has already left for Drysand Desert.
Go to the Drysand Desert
With Magnificus behind you, make your way south back to the Al Maajik Outskirts, then head south-east into Drysand Desert .
Along the way, you may want to check the shops if your supplies are running low. You won’t have to do much fighting during the story, but we’d be very surprised if there wasn’t one or two forced battles ahead.
Search for Daemon in the Drysand Desert
Whew, the desert sure is large… and hot. Let’s not spend more time here than we need to: follow the red arrow east.
Halfway across the desert, you’ll bump into Odin and a pair of Maajiknights guarding a magic circle.
Follow Odin
Pfft, Magnificus dumps you again just when things start getting heated. Nevermind him; inspect the magic circle to teleport deep within the Ancient Ruins .
Hurry to Daemon
Now that’s what we call a real knight! Have you seen Odin’s combat stats? Here’s a hint : he would make a great addition to your battle party, when the dust settles anyway.
But right now, Daemon is somewhere north, in the deepest depths of the ruins.
Smash the Doom Stone!
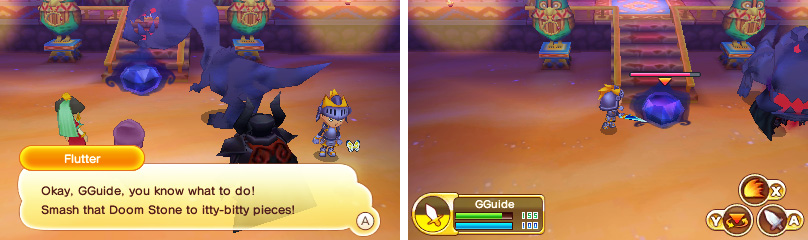
You can try attacking the Shadowsaurus if you want to see how pitiful your damage is.
Quite the perilous situation we’re in right now… Luckily, both Odin and Daemon are full prepared to pull their weight.
The Shadowsaurus is much more dangerous than the other shadowy monsters you’ve faced and you’ll be very lucky to do more than 0 damage to it.
Best you just let Odin and Daemon distract the big dino while you go round and give the Doom Stone a good wallop.
Follow Daemon
Having brought the Lord of the Dead to its senses, Daemon can safely continue with his trial. Let’s head north into the Treasure Chamber to see how he gets along.
Help Convey Daemons Wish
Daemon’s final test is to convey his wish to his father’s statue, but this one will require your help.
Before you do anything though, feel free to head to the back and loot the two treasure chests. They don’t contain anything too important, but you know what they say about leaving no stone unturned.
When you’re ready, draw your weapon and give the old statue what for…
Go to the Al Maajik Outskirts
Well that was… surprising. In any case, it looks like your job is almost complete.
Exit to the south to return to the Fortress Hall, then run all the way south to the Al Maajik Outskirts , where you first met Magnificus.
Report to King Erik
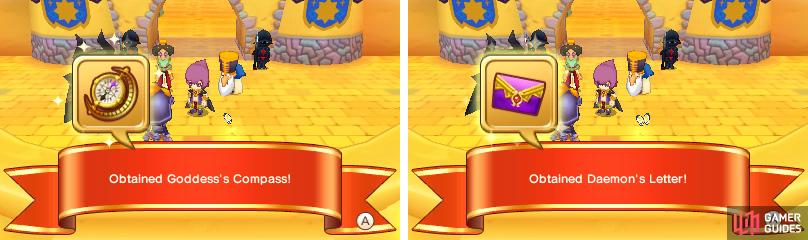
You “fought” the Dark Sultan and lived to tell the tale!
Daemon’s way ahead of you and gives you the Goddess’s Compass , plus a letter for King Erik.
Nice going! Now you can return to the Castele Castle Royal Court to tell King Erik the good news. As before, just open the Map and select your home or the Guild Office to get back to Castele in a jiffy.
Your work won’t go unrewarded as the King bestows 10,000 Dosh upon your person.
Report back to Pam
Before you can call it a day, you have to let Pam know everything . As you might expect, she’s waiting outside her home in Castele Square.
No Comments