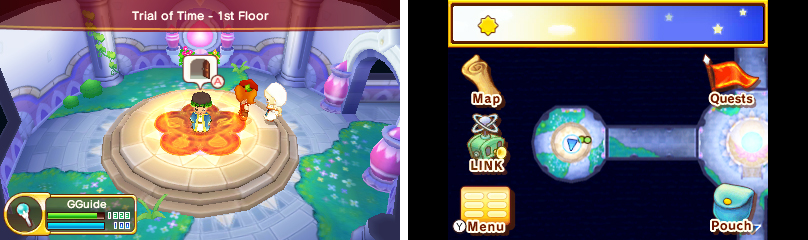
1st Floor

The first floor should look a bit familiar–it’s the first floor you visited during the Origin Island story. However, don’t get too comfortable as the monsters and the path you must take are notably different.
From the entrance, head north to find a room with two Banana Kings and a Bowtaur. These, you’ll have encountered before on Levitania and Origin Island, but–like all the Ancient Tower monsters–they have much more HP and do more damage.
Previously, you headed west, but since that way is now blocked, this time you should head east. In the next room, you must defeat the Bowtaur to open the door to the north. If you continue east, you can find a room with a Berserk Giant and treasure chest.
Heading north, meanwhile, with pit you against another two Bowtaurs. Further on, to the west, is a large room that you ought to recognise, divided by multiple bridges over rivers, with a giant fountain in the centre.
Here, you’ll have to fight your way (or run past) a couple of stronger Marinetaurs and more unruly Banana Kings. In particular, be careful towards the south of this room, where there are three monsters in a tight space.
In the next room are two more Marinetaurs. From here, heading south will lead towards another room with a Berserk Giant and a chest–great for adventurous treasure-hunters. Meanwhile, going north will take you towards the boss chamber.
To open the door to the next warp circle, you must defeat the Grand Marinetaur –basically a giant Marinetaur. This guy is also accompanied by two lesser Marinetaurs, who you should promptly dispose of first to make the battle easier.
For its attacks, the Grand Marinetaur spends most of its time shooting a torrent of water forward with its bow–an attack that is easily avoided if you keep moving.
Keep an eye out for the Marinetaur pausing to flex its legs, as afterwards it will charge forward an impressive distance. Like before, if you keep moving you shouldn’t get hit, but sometimes it can catch you off-guard, especially if it’s off-screen.
On occasions, the Marinetaur may charge up power and then launch three arrows in a medium arc. This move is harder to avoid due to its range, but can be interrupted if you inflict Stun as a Hunter.
2nd Floor
The outdoor floors are always the most straightforward.
On this floor, you have to make your way through a handful of weak Leafysauruses.
To reach the other side, you must slay the Leafysaurus head honcho–the Antiquesaurus . Honestly, this dino isn’t much of a threat, although the narrow arena won’t do you many favours.
Its attacks include a headbutt with little warning and a stomp, which is announced by a roar. On rare occasions, it will stomp furiously multiple times, which can cause a toll on your health if you get caught.
Try to take advantage of the Antiquesaurus’s slow movements; if you keep moving, it will do little more than slowly stampede towards you.
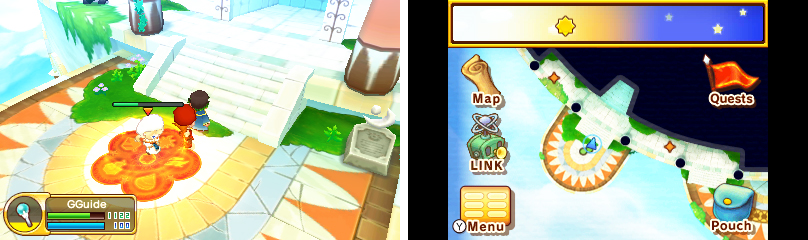
3rd Floor
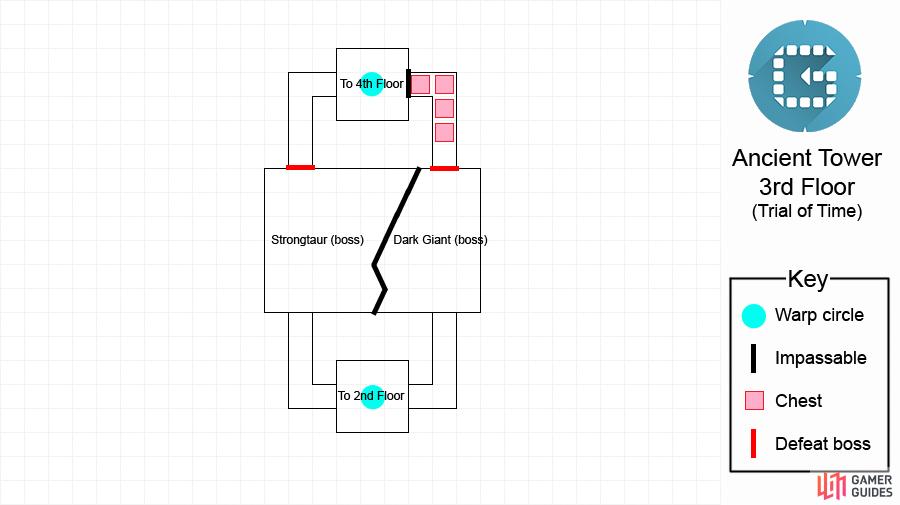
This floor is less of a maze and more of a choice between progression and treasures (or both!). Heading west will take you towards the Strongtaur boss and the door to the next warp circle.
Strongtaur isn’t particularly clever, but he does know how to rack up the damage. His default attack is a simple pound with his club forward; nothing fancy and nothing to really worry about.
Next, he may summon a whirlwind around himself, then thrust his club forward, creating another whirlwind with the impact. This attack is quite hard o avoid because of the whirlwind effect and its two-part nature.
Finally, the brute may jump and stomp on the ground three times, before getting his club stuck in the ground. Obviously, if you can avoid/survive the stomps, this is your cue to have your revenge.
East-goers can attempt to tackle a Dark Giant and open the door to a trove of treasure chests.
You already encountered Dark Giants before, at the top of the Ancient Tower during the Origin Island story, so you may be familiar with their moves already.
Its standard attack is a mega punch, where it quickly thrusts its rocky hand forward, creating a small explosion. As long as you don’t stand around clueless, you should do fine avoiding it most of the time.
Just when you’re feeling comfortable, the titan may stand still, then rotate its massive arms in a wide circle, before creating a wide explosion around it. As soon as you see it start to spin, get out the way or use your shield if you’re a Paladin.
For its final attack, it will stand still, then put its hands forwards and blast a giant laser forward. This attack takes a while to complete, so assuming you didn’t get blasted by the laser, use this opening to mount a quick counter-attack.
4th Floor
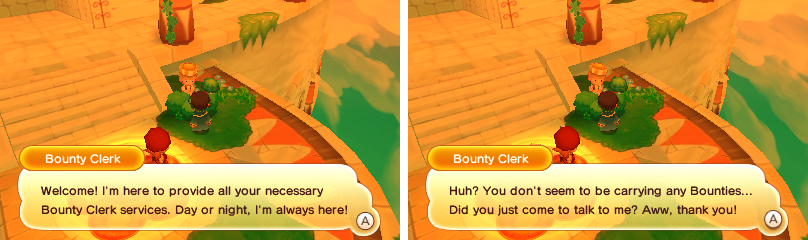
No bounties? You can still chat to the bounty clerks to liven up their day…
You’re about halfway there now!
At the start of this outdoor floor, you can speak to the make-shift bounty clerk to cash in any bounties you may have acquired. None of the bounties so far are that amazing, so don’t fret if you missed any along the way.
Midway through this floor, you can battle a souped up Desert Tyrant accompanied by some Greywing Pterosaurs. Note that you don’t need to defeat the Tyrant to advance, so only pick this battle if you’re feeling a bit violent.
Mercenaries will have likely slain the Tyrant before; either way, it’s not particularly fancy. Ranged attackers will have little trouble avoiding the Tyrant’s tail swipe, but they should be careful not to get blasted by its fire breath.
Conversely, melee attackers should be able to tank a few tail swipes and avoid the fire breath altogether. Just watch out for when the Tyrant chains its tail swipe and fire breath.
No Comments