
Information about the Base Camp in Fire Emblem Three Hopes, including what is the Base Camp, and an overview of the characters, activities, facilities and services that can be found at the Base Camp.
What is the Base Camp in Fire Emblem Three Hopes?
Once you reach Chapter 4 you’ll unlock the Base Camp, which will henceforth be the game’s hub area. Here you’ll find all the allied officers for your faction, most of whom will have new things to say each Chapter, along with a variety of NPCs who primarily exist to give you access to various activities and services. Simply put, the Base Camp is where you’ll buy and sell resources, materials, weapons, upgrade weapons, train, level up, acquire new classes, and interact with and go on activities with your companions, among many other things.
You can access the War Map through various means from the Base Camp, and it’s on the War Map where you’ll engage in Main Quest battles, Side Quest battles, and where you’ll explore Surveying Spots, but to make use of the gains acquired on the War Map you’ll ultimatley need to return to the Base Camp.
All the major locations, NPCs, facilities, activities and services found in the Base Camp will be discussed briefly below.
(1 of 4) You can chat with various characters around the Base Camp, potentially earning Support Points.
Base Camp Activities and Services
-
Talking to Companions and NPCs: You can chat with various characters at the Base Camp, most notably your fellow comrades in arms, but also random NPCs. The former often have dialog options you can pick, which can reward you with Support Points, while the latter will mostly comment on current events. You can also give them Gifts and invite them on Expeditions by talking to them in the Base Camp.
-
Search for Documents: You can find Documents scattered around the Base Camp in most Chapters. These just contain lore, but who can neglect those glowing blue lights?
-
Change Your Appearance: Interact with your Journal in your Personal Quarters to change your appearance. You can change what Shez and other characters wear in the Battle Camp as well as in combat. Your choices are fairly limited - either your Academy or standard (War) outfit in the Base Camp, and your standard or Class attire during battle.
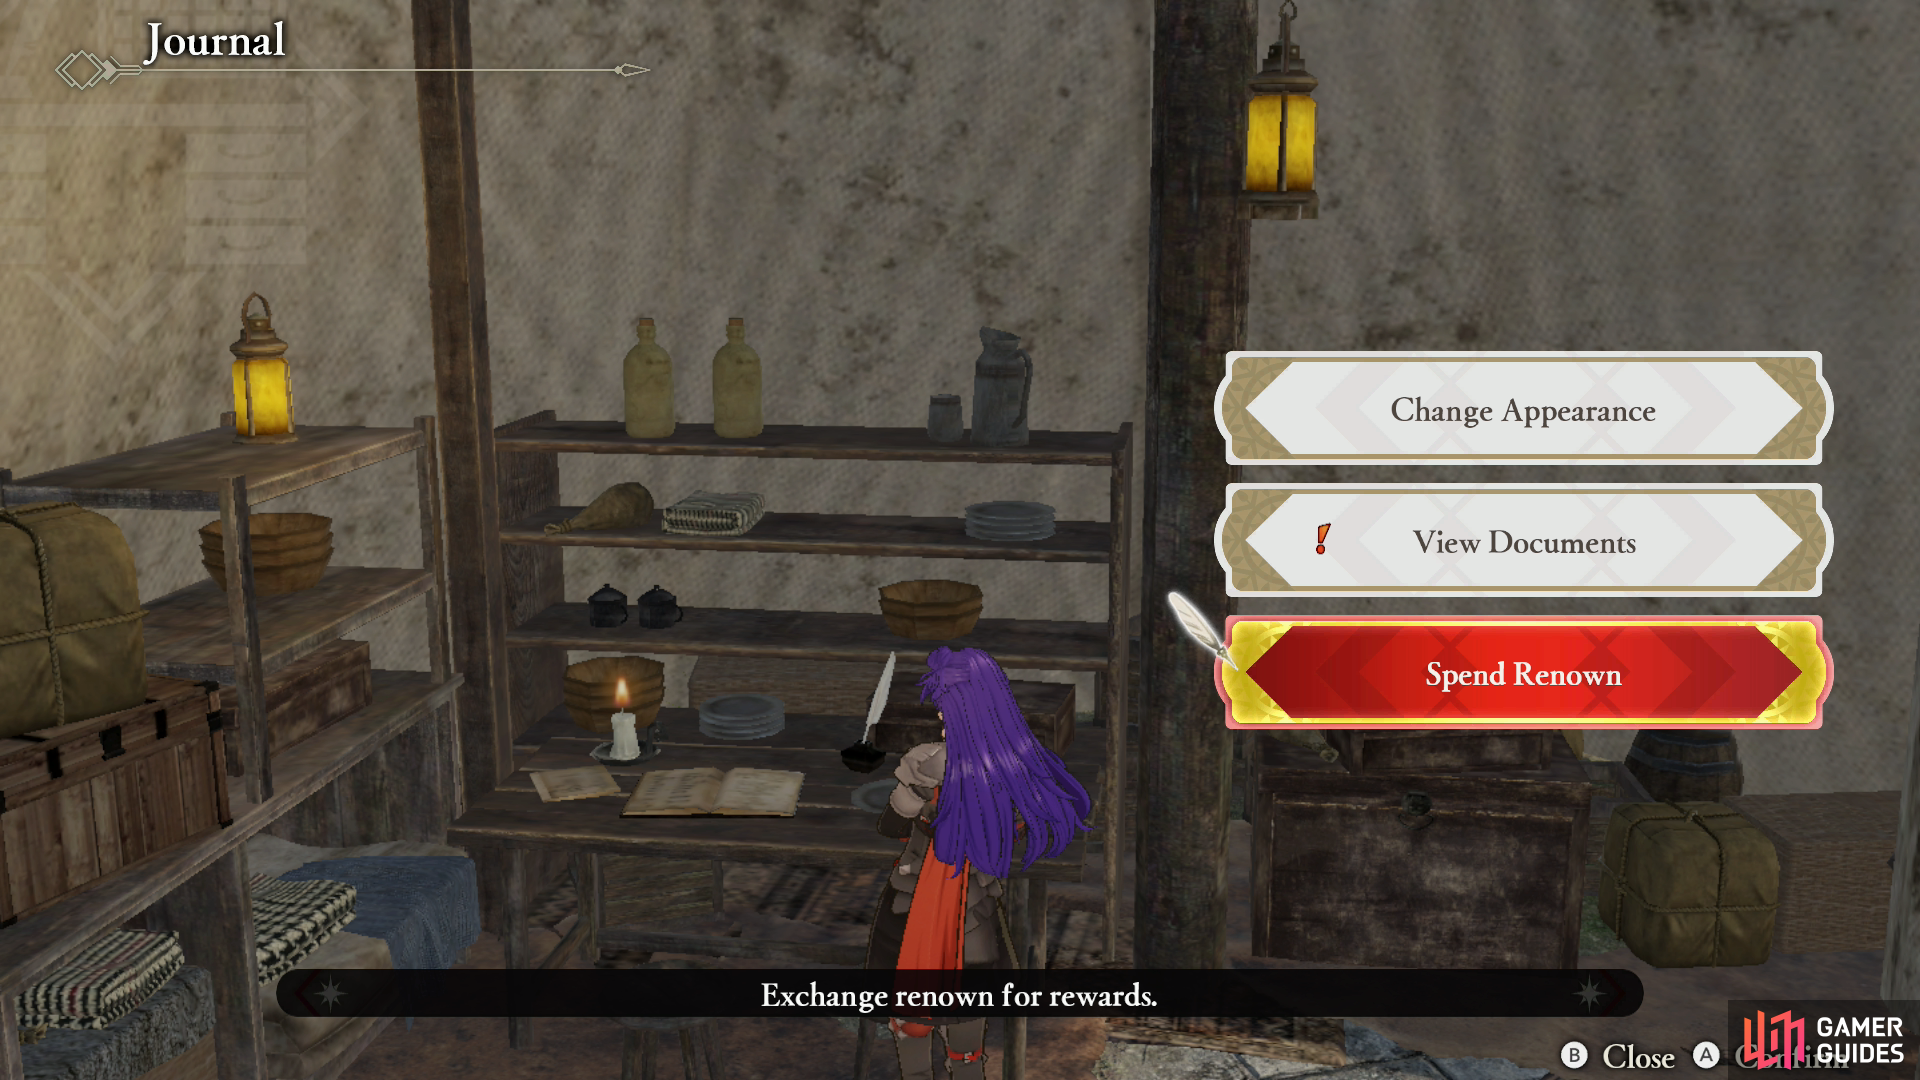
Examine the Journal in your Personal Quarters to spend Renown.
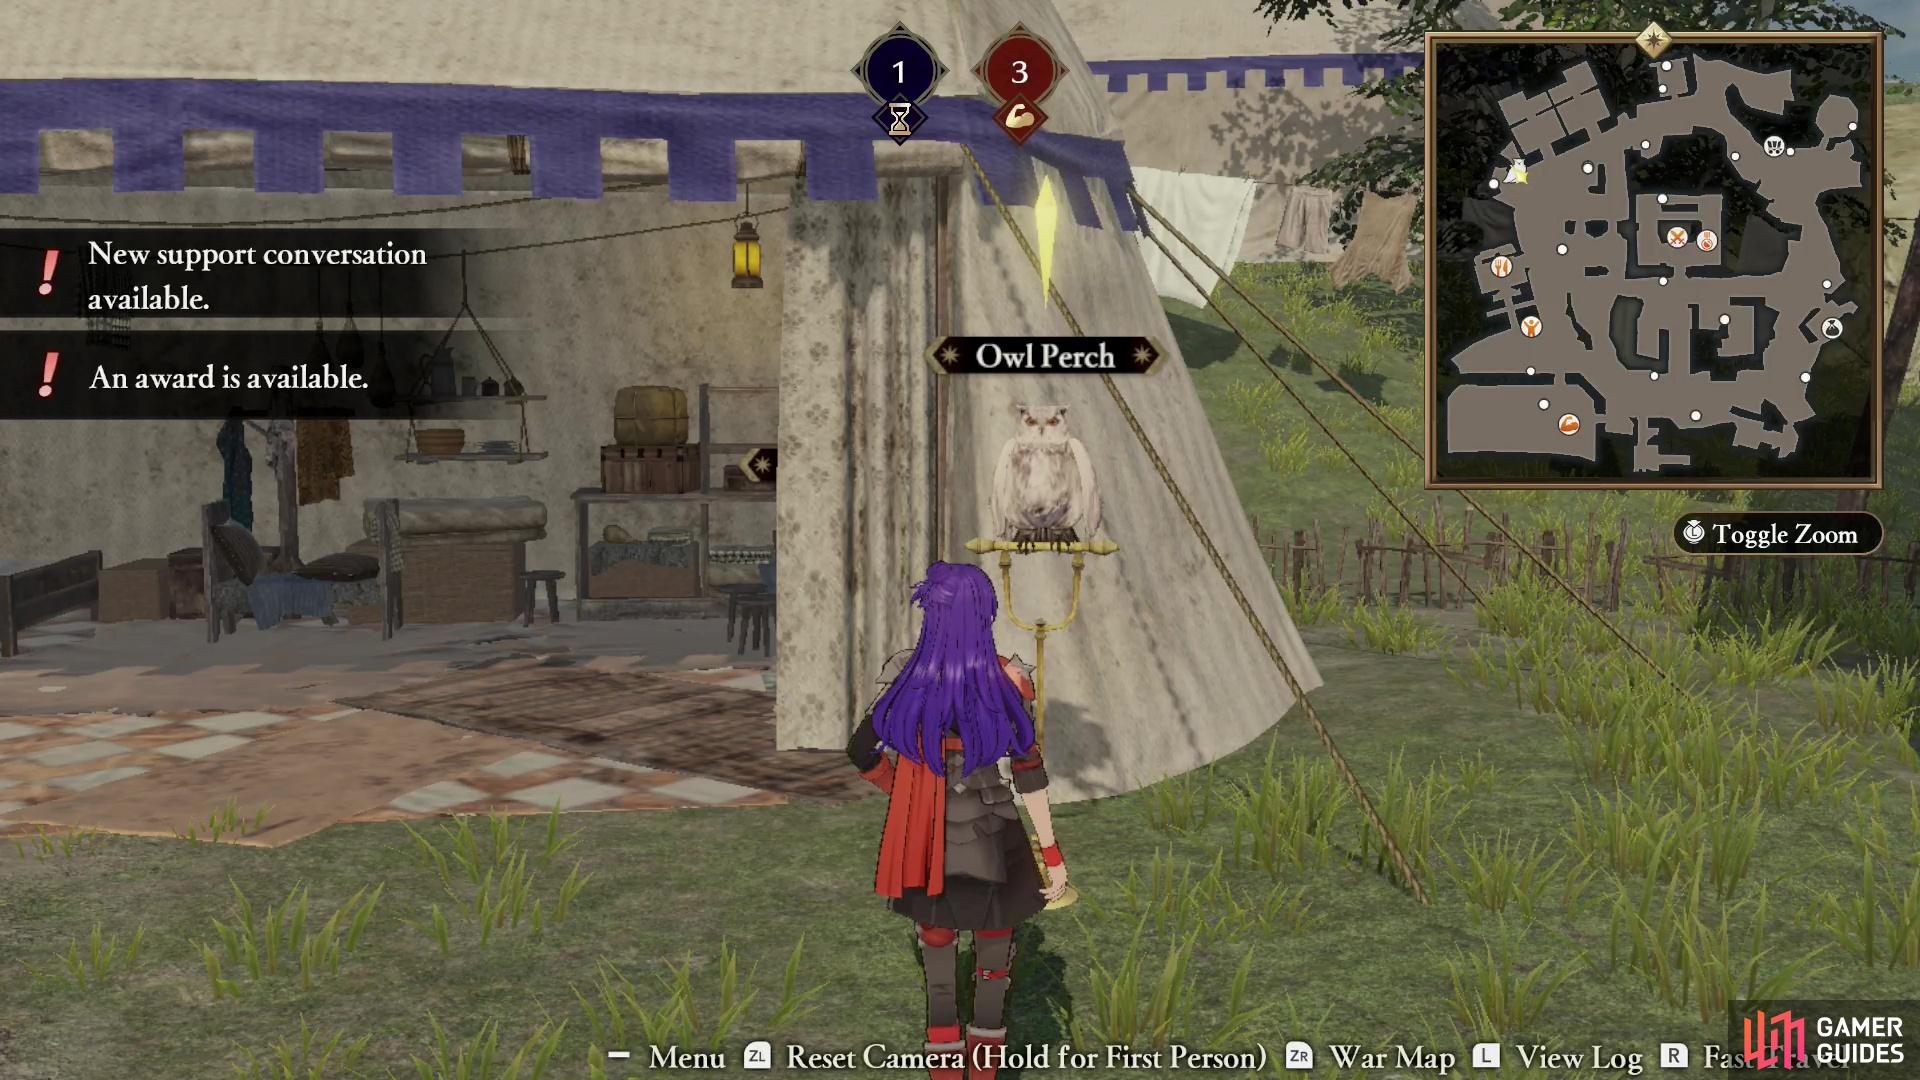
A Messenger Owl will appear on the Owl Perch after you clear enough battles, dropping Owl Feathers when it does.
-
Exchange Renown: You can expend Renown to purchase a variety of goods, including new characters and permanent stat boosting items.
-
Claim Owl Feathers: If you have the Owl Perch DLC, you can visit the Owl Perch near your Personal Quarters every couple of battles to claim a free Owl Feather Gift.
-
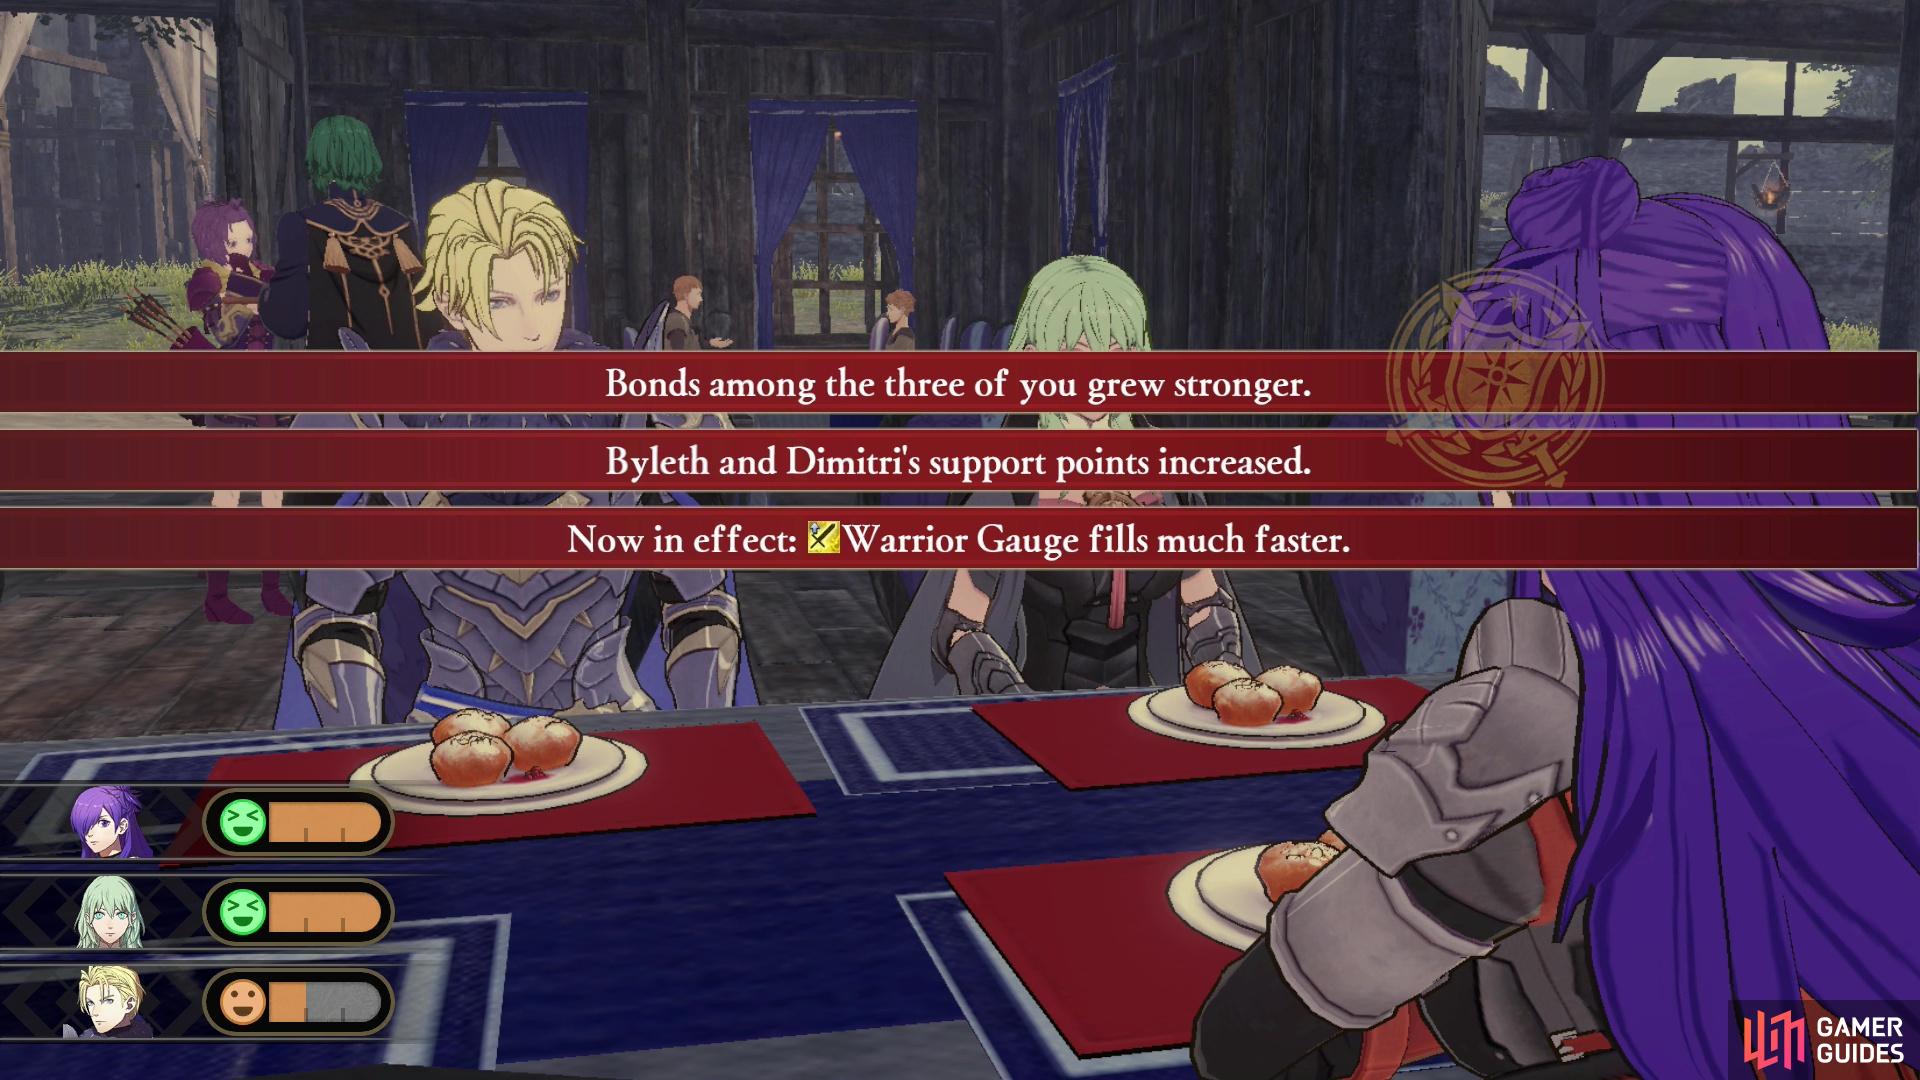
Cooking Meals: Talk to the Kitchen Master in the [Recreation Quarter] to cook meal. Shez and two companions can dine together, earning Morale, Support Points and whatever benefits the meal itself bestows.
-
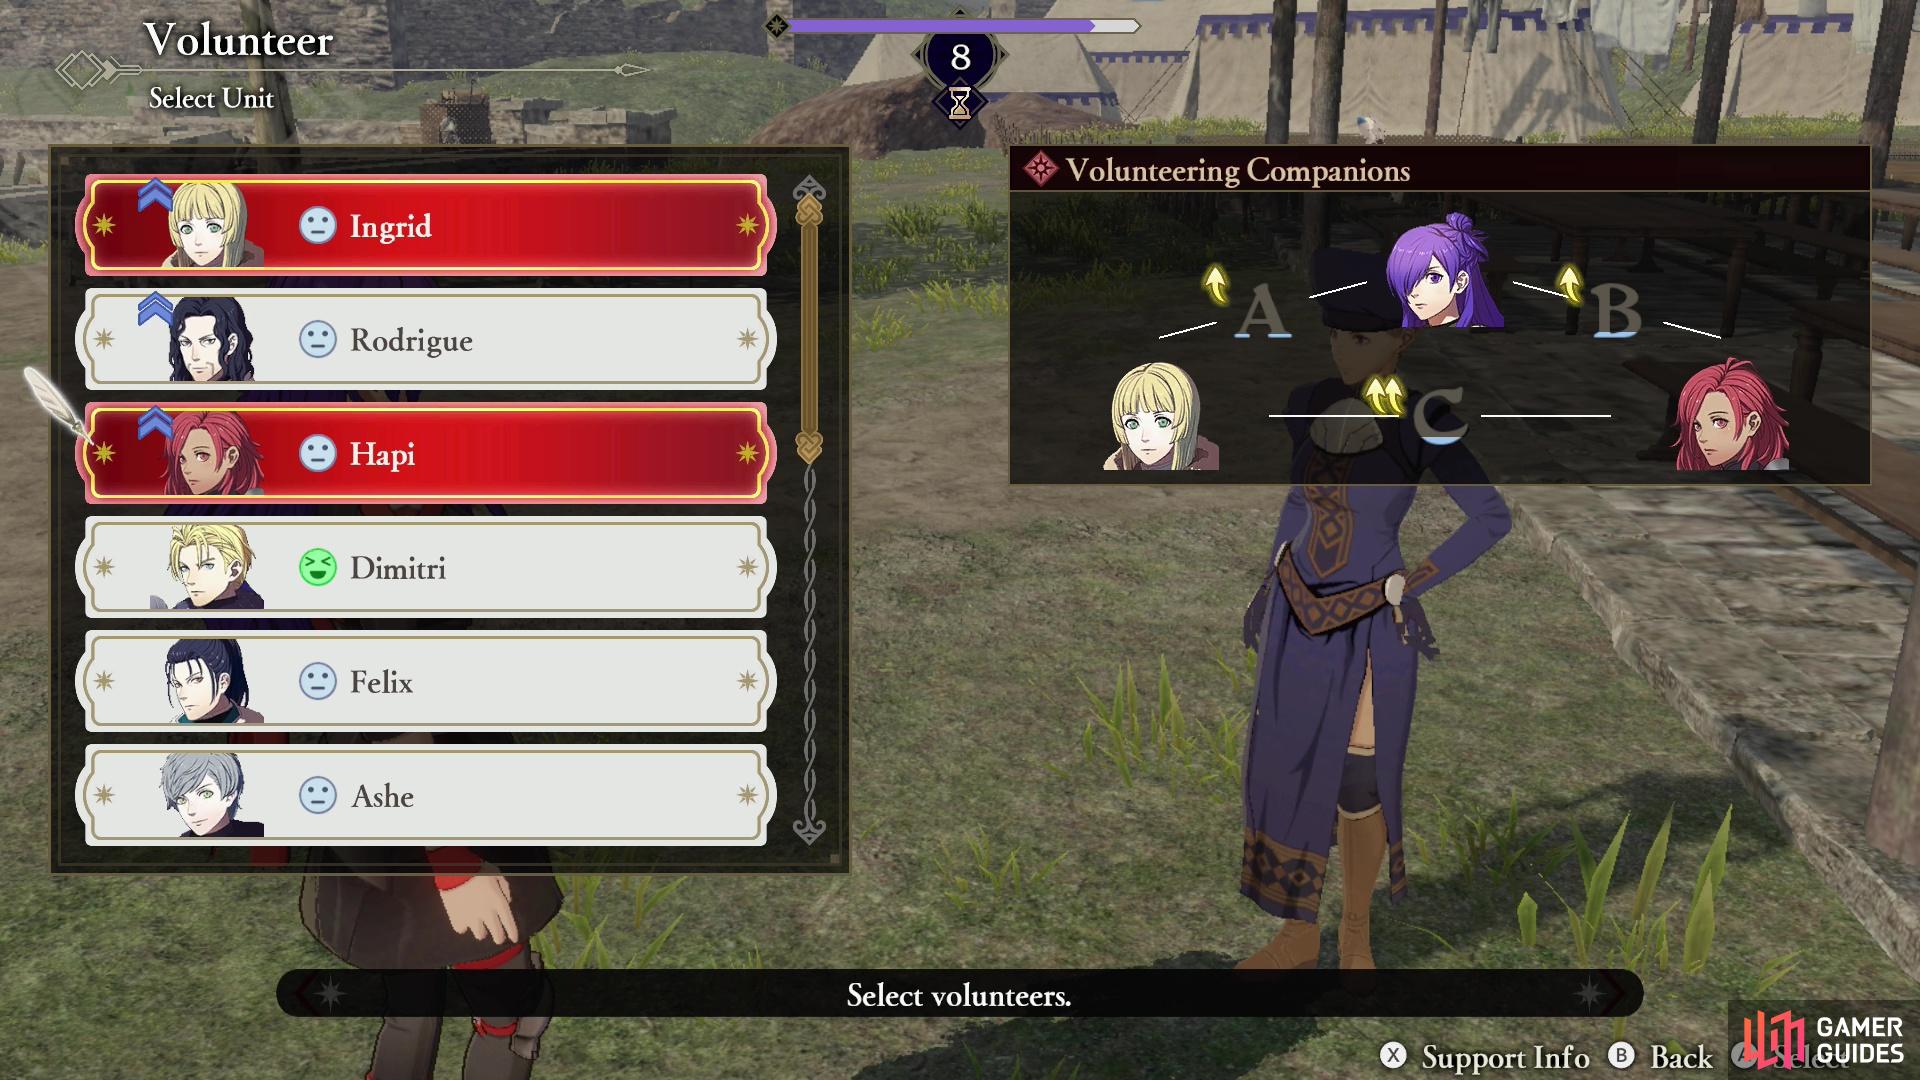
Volunteering for Chores: Talk to the Chore Master in the [Recreation Quarter] to volunteer for chores. Shez and two other characters can engage in drudgery, earning Morale, Support Points and Renown.
-
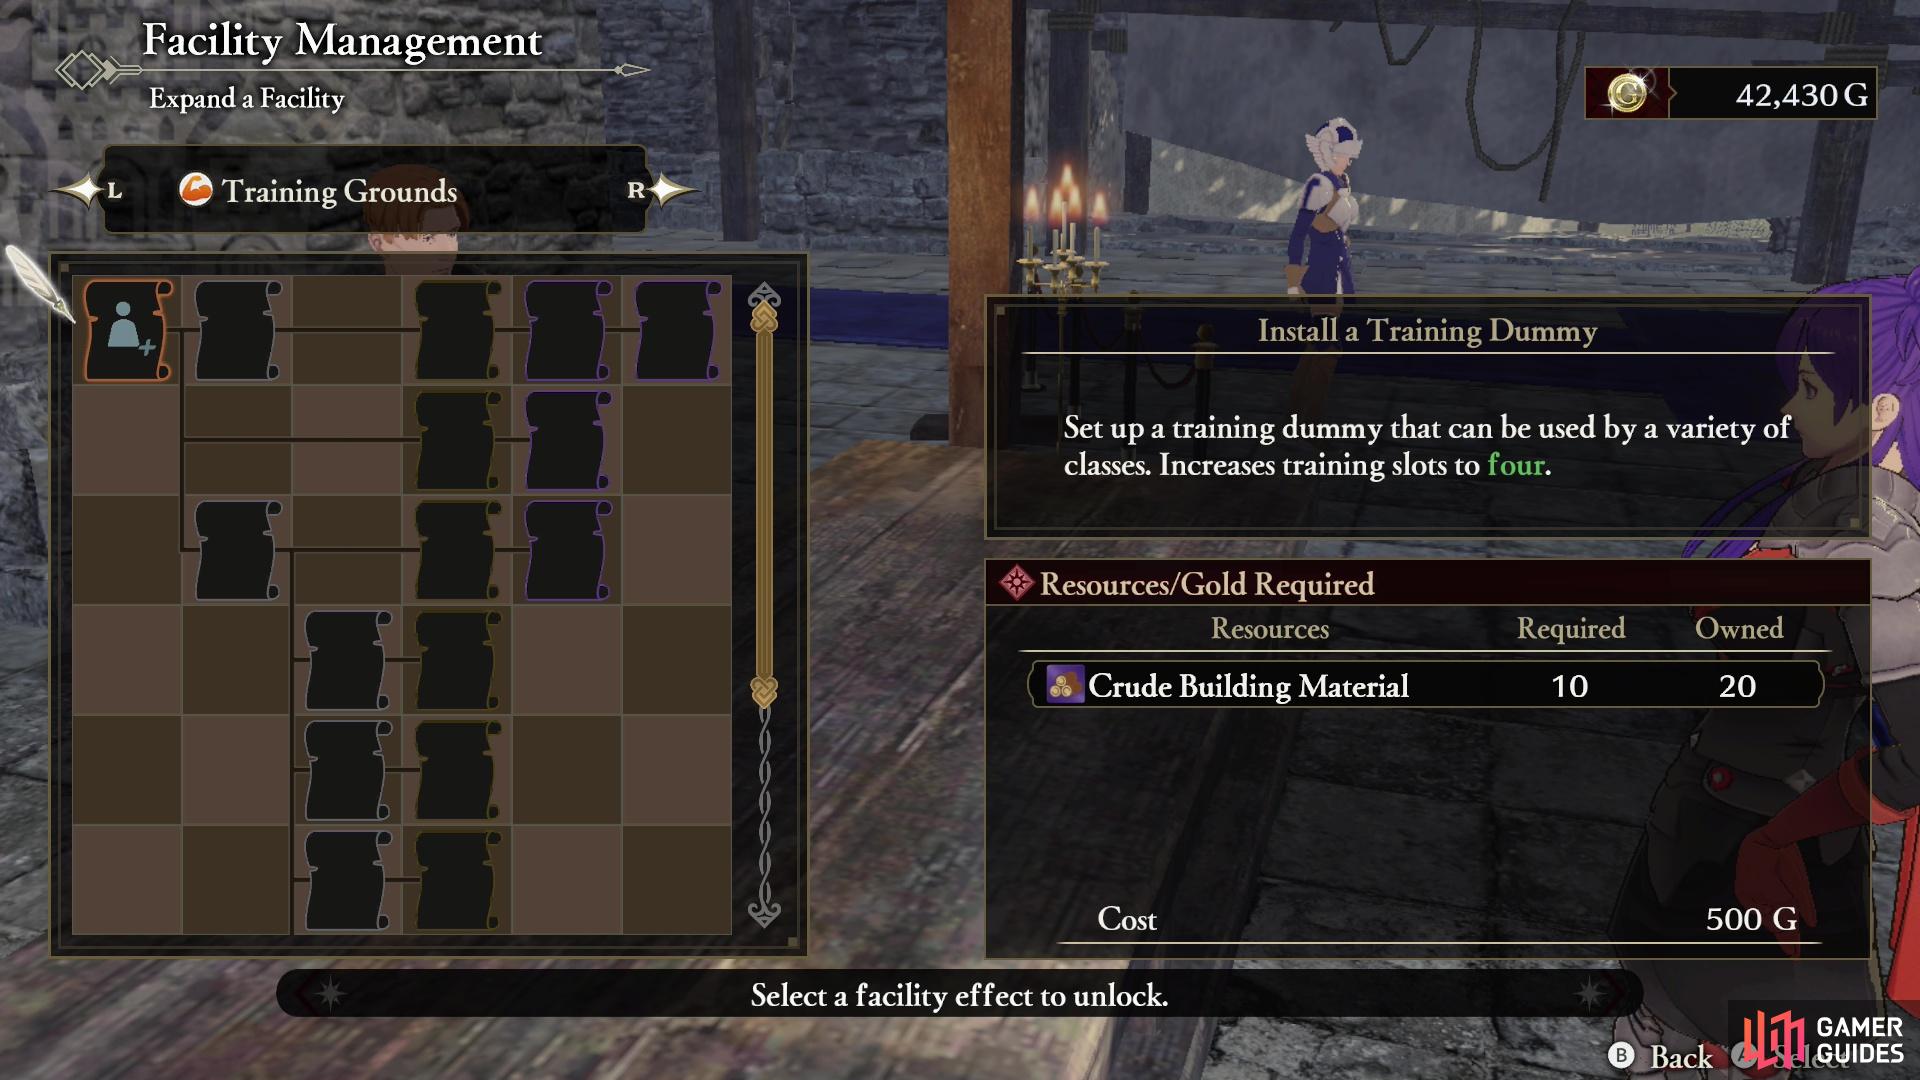
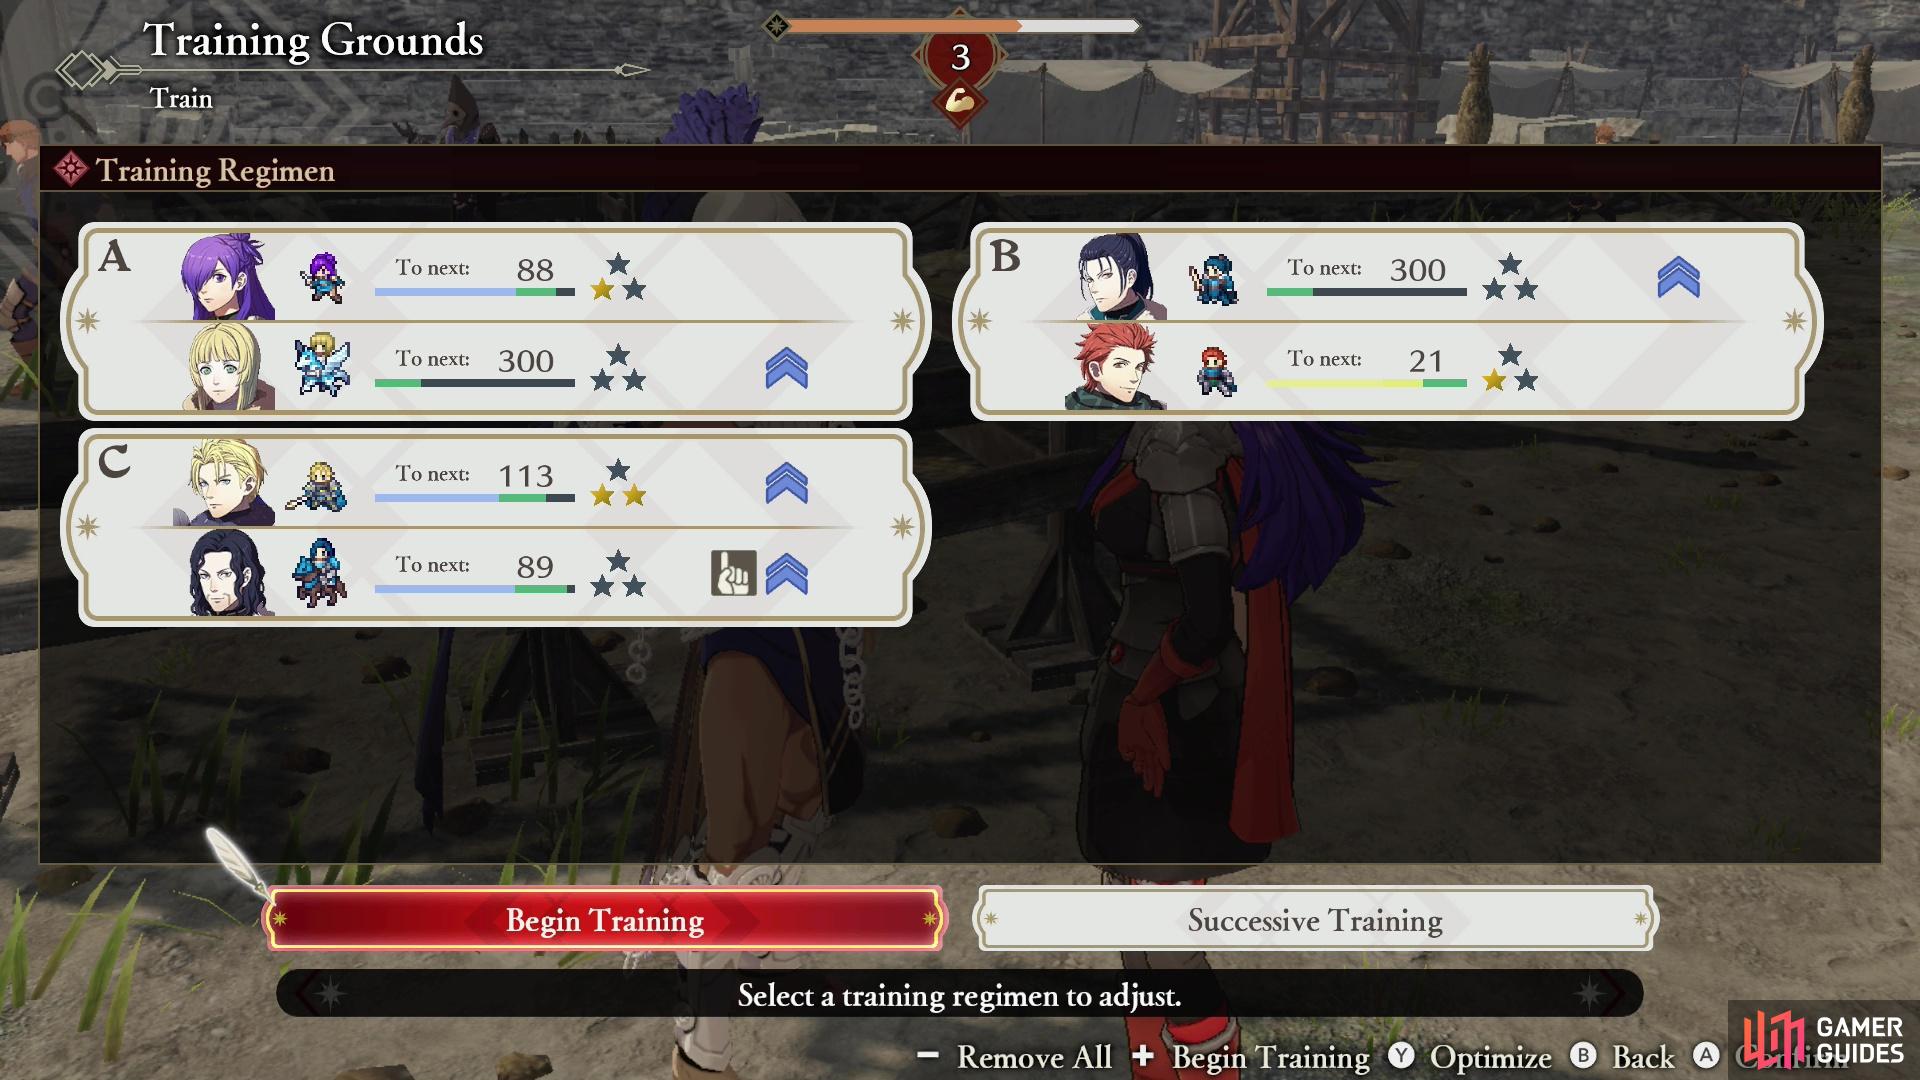
Training, Leveling Up and Unlocking Classes: The Training Master at the Training Grounds offers various services, including training (leveling up class ranks), leveling or resetting the levels of your characters, acquiring new classes and testing all your new moves out via mock battles.
-
Replaying Battles: Starting in Chapter 5 you’ll be able to find the Record Keeper in the Command Center, who will allow you to replay past Main Quest battles and Side Quest battles.
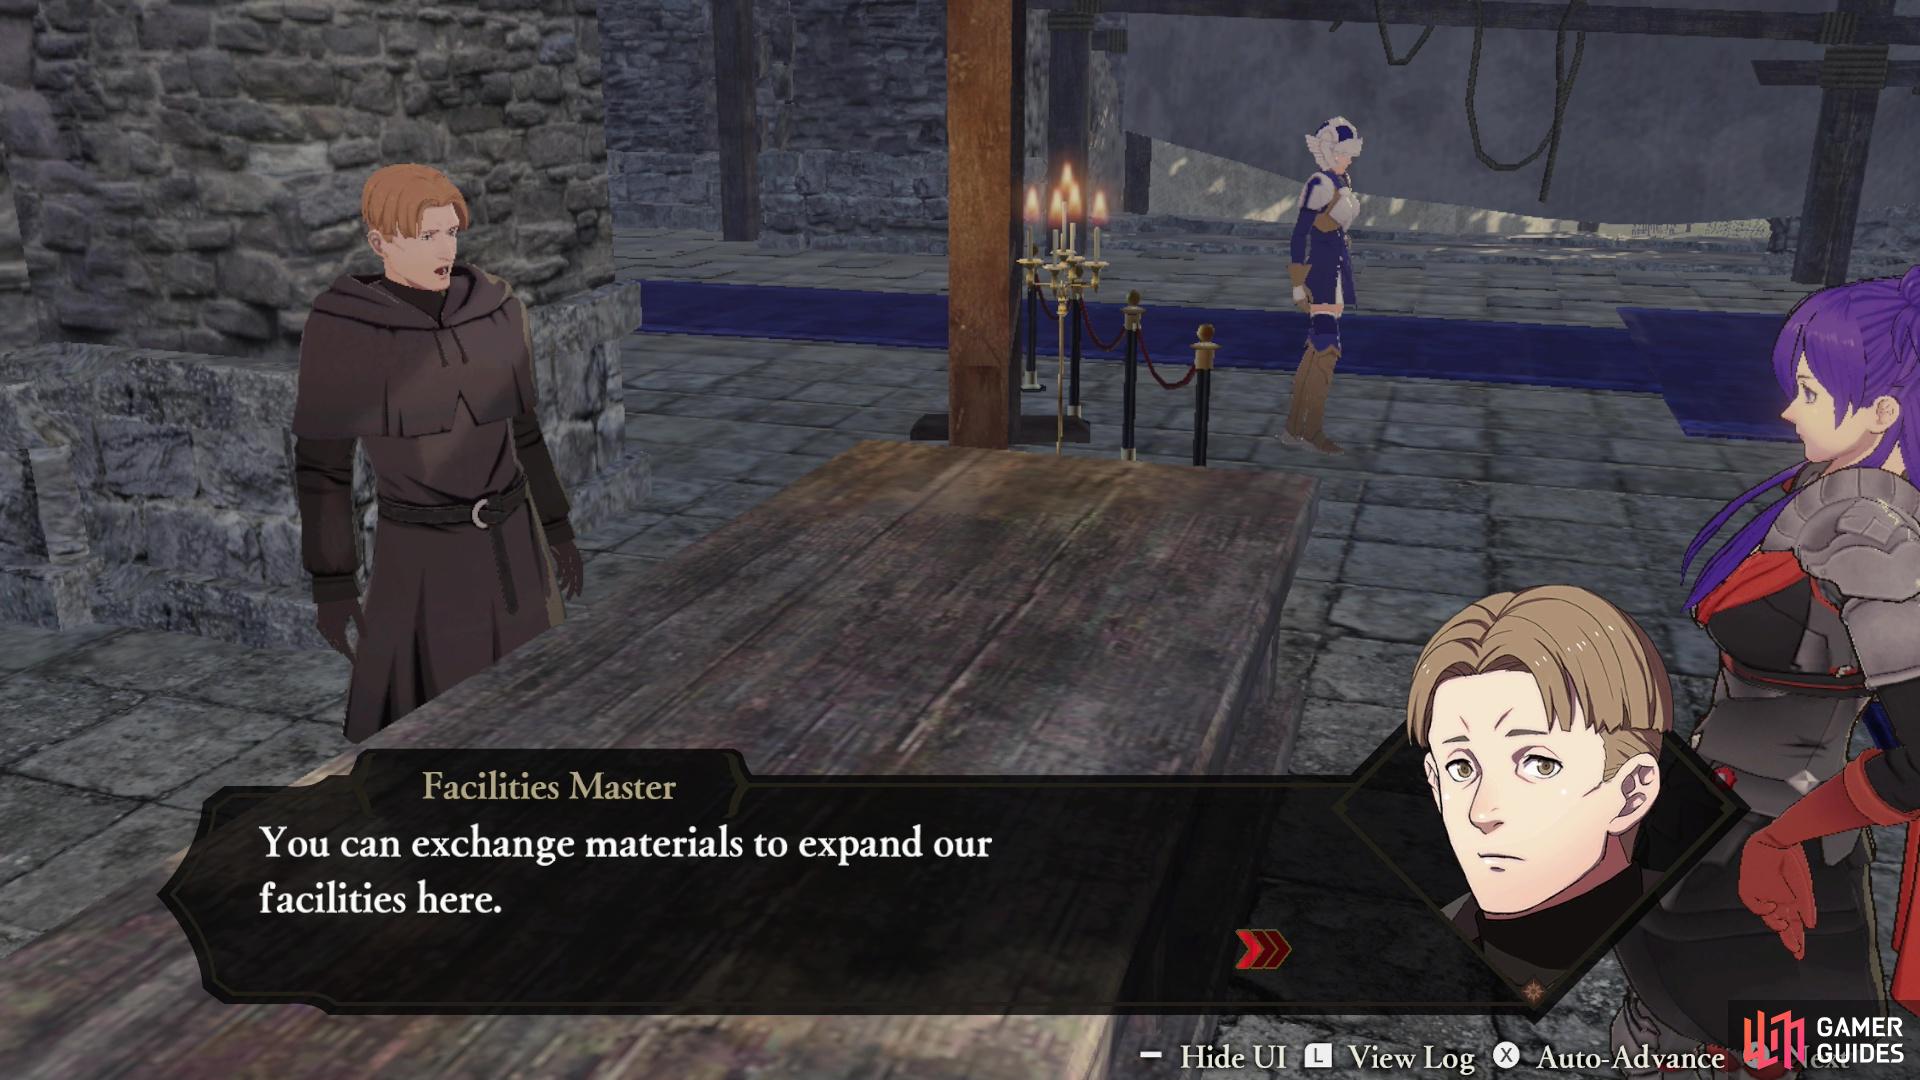
You’ll unlock the Facility Master during Chapter 4,
who will allow you to upgrade your facilities, providing a variety of bonuses.
-
Expanding Facilities: After clearing some Side Quest battles in Chapter 4 you’ll unlock the Facilities Master, who will set up shop in the Command Center. You can talk to him to upgrade the various facilities around the Base Camp. This will allow you to - depending on the upgrades you unlock - cook more dishes, promote to higher-tier classes, purchase more weapons and upgrade them more effectively, earn materials passively and trade for a variety of materials and ores, expand the wares sold by merchants, equip more abilities, use more recovery items every battle, break your stat caps and more. Expanding Facilities is a very important aspect of Fire Emblem Three Hopes.
-
Upgrading via the Tactics Academy: Starting in Chapter 6 you’ll find the Tactics Instructor in the Tactics Academy, where you’ll be able to unlock various boons for your characters, including more Warrior Gauges, upgrade a character’s three Unique Abilities (Action, Support and Tactical Abilities), unlock more and better recovery items, upgrade their [Crest], and increase the number of Abilities characters can equip at once. Later in the game you can also purchase an upgrade that breaks stat caps for your characters.
-
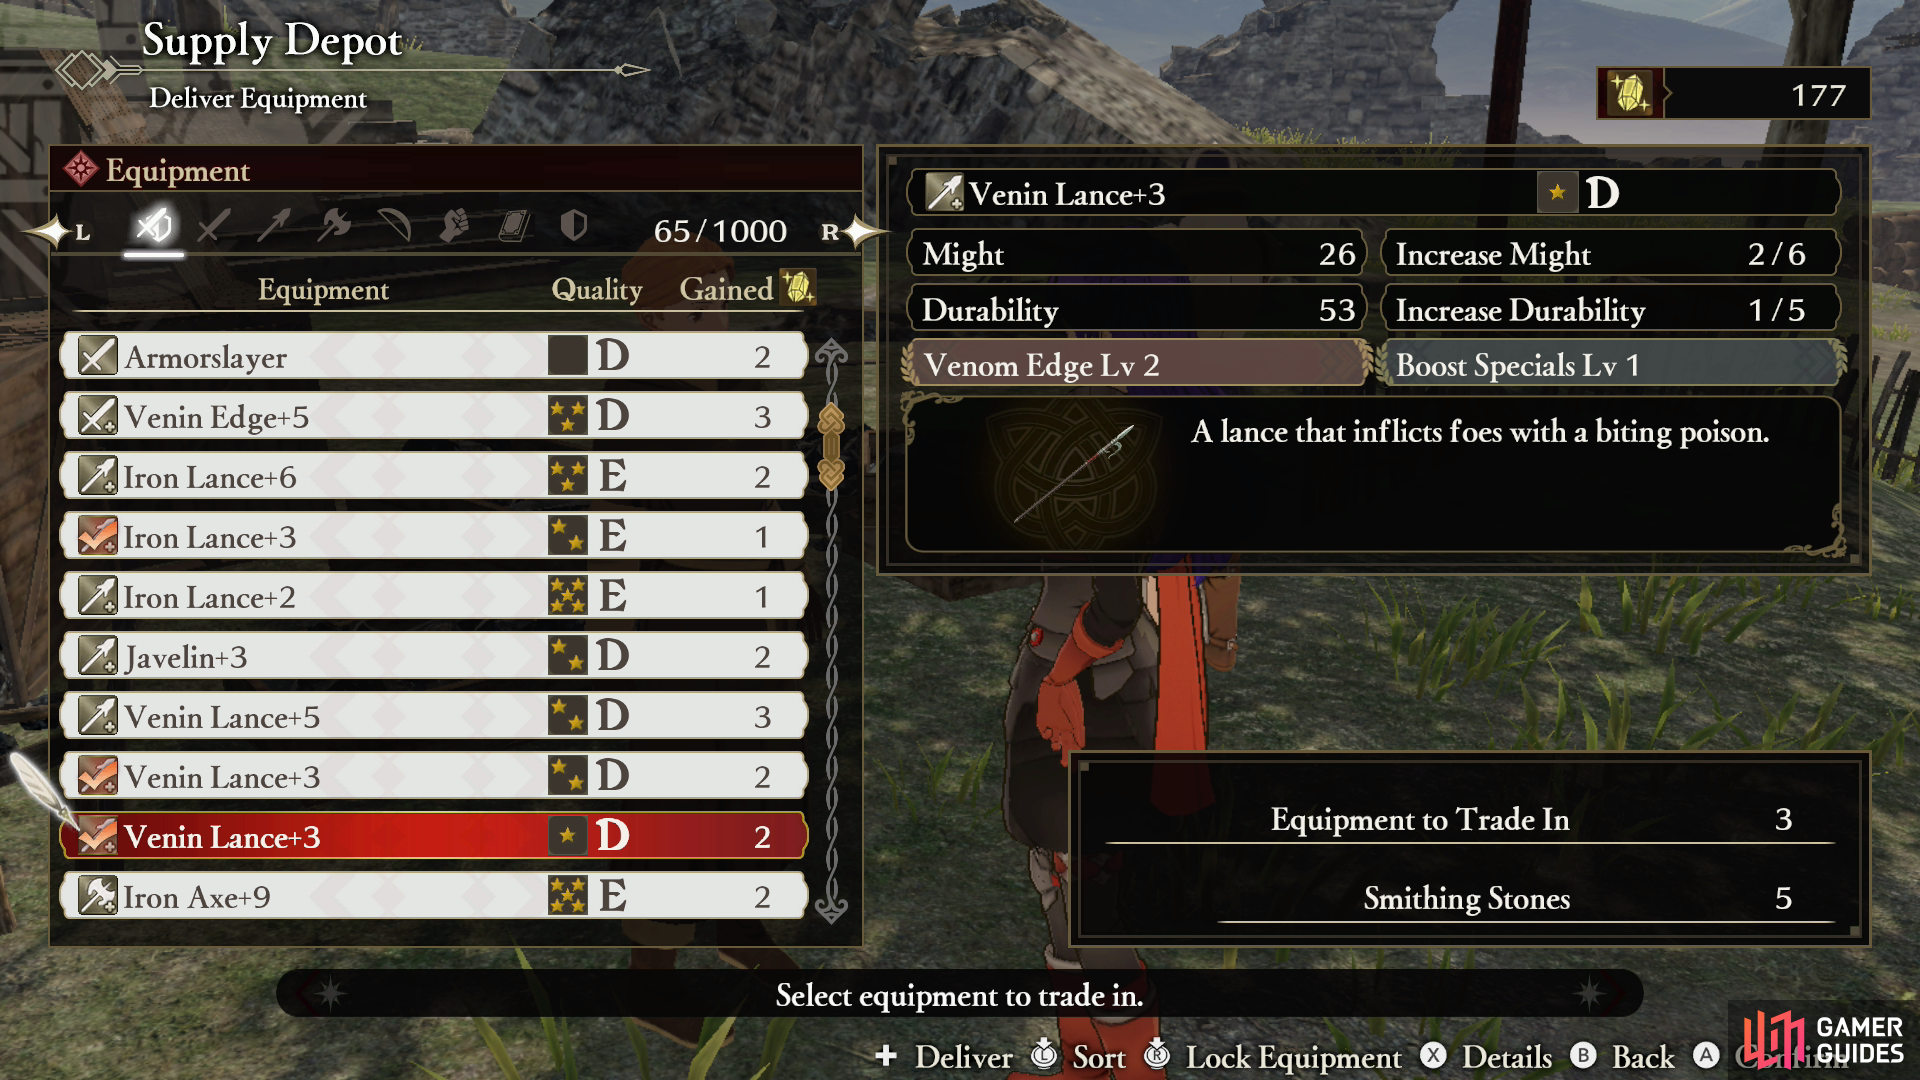
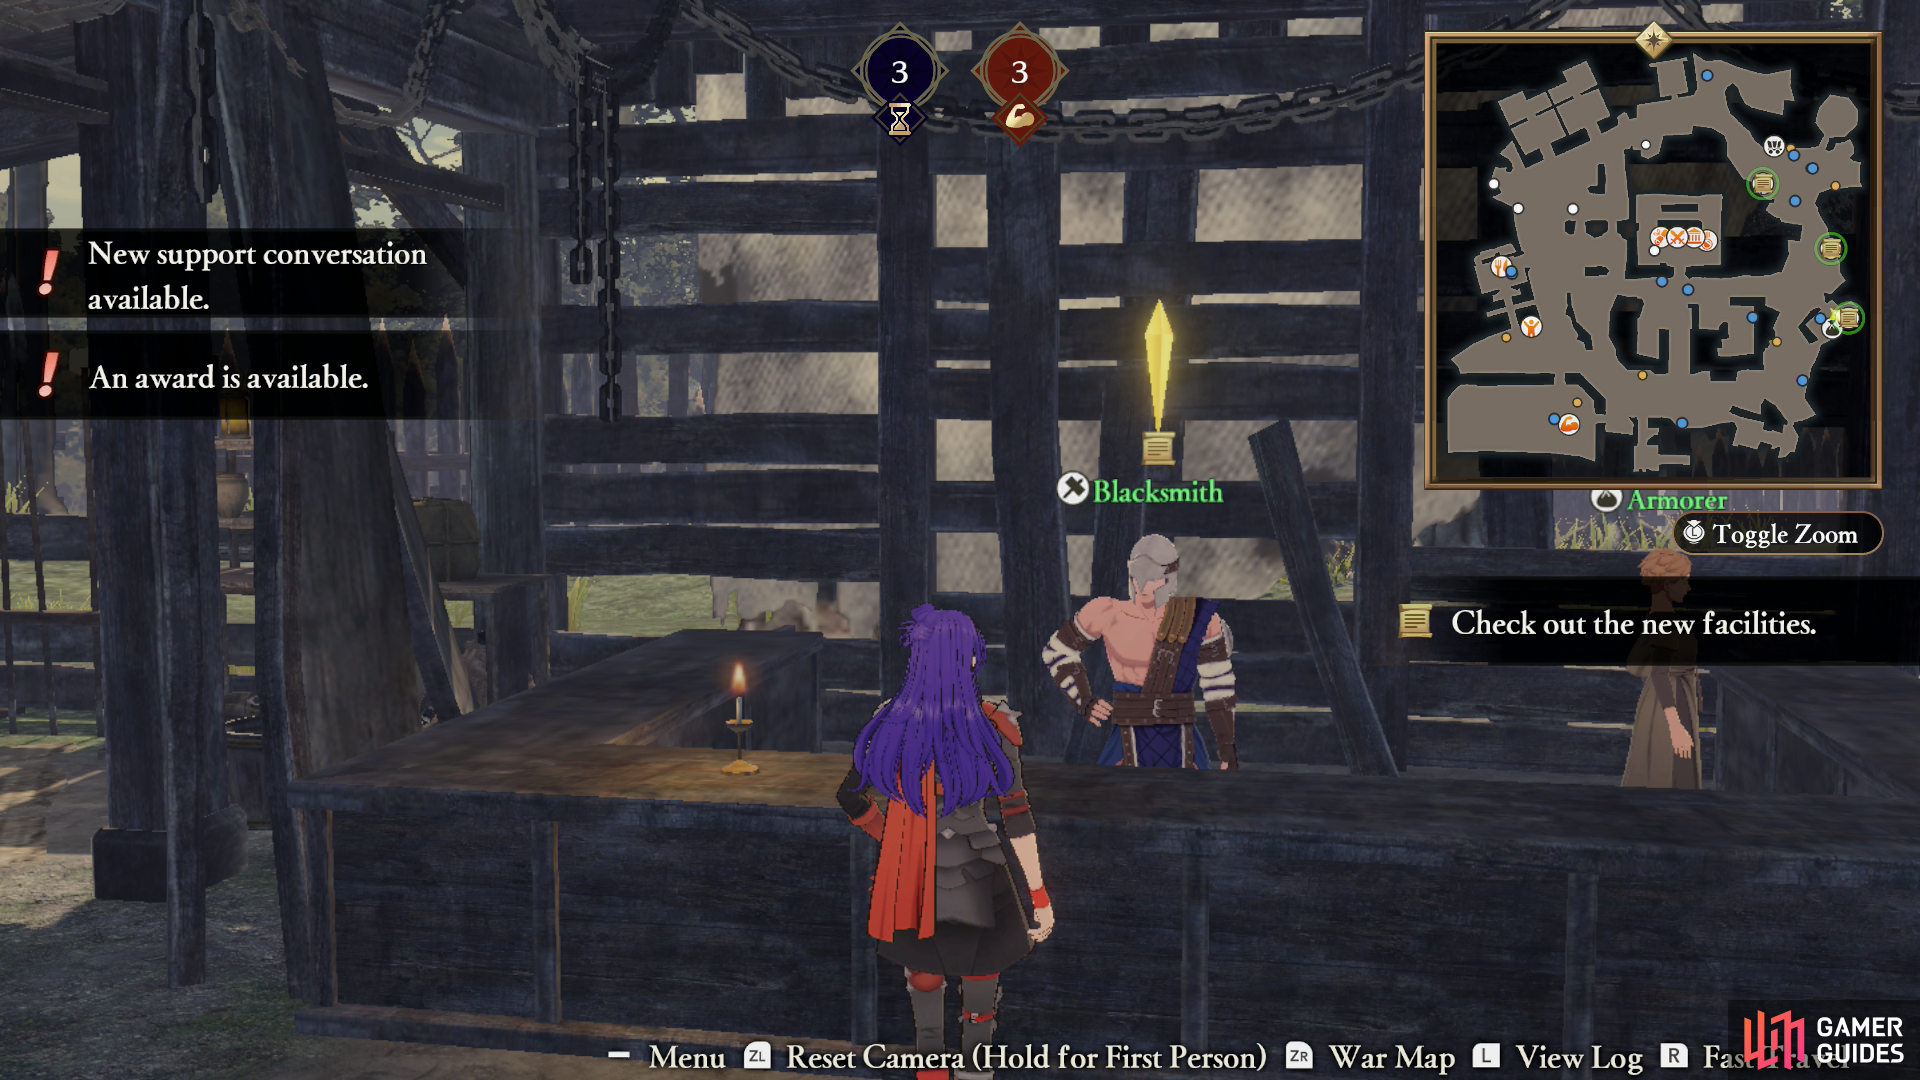
Buying and Upgrading Weapons: At the Blacksmith you’ll find the Armorer, who will sell you low-quality weapons that honestly aren’t worth the cost. Later on, starting in Chapter 5, you’ll find the Blacksmith (character) at the Blacksmith (location). Isn’t English fun? He does all the real work around here, namely he’ll Forge weapons (upgrade their Might and Durability), Repair weapons (identify them and make them usable), Reforge weapons (reset their upgrades or expand their upgrade potential) and Unleash the effects of [Hero Relics]. This is the guy you visit to make your weapons immensely more powerful.
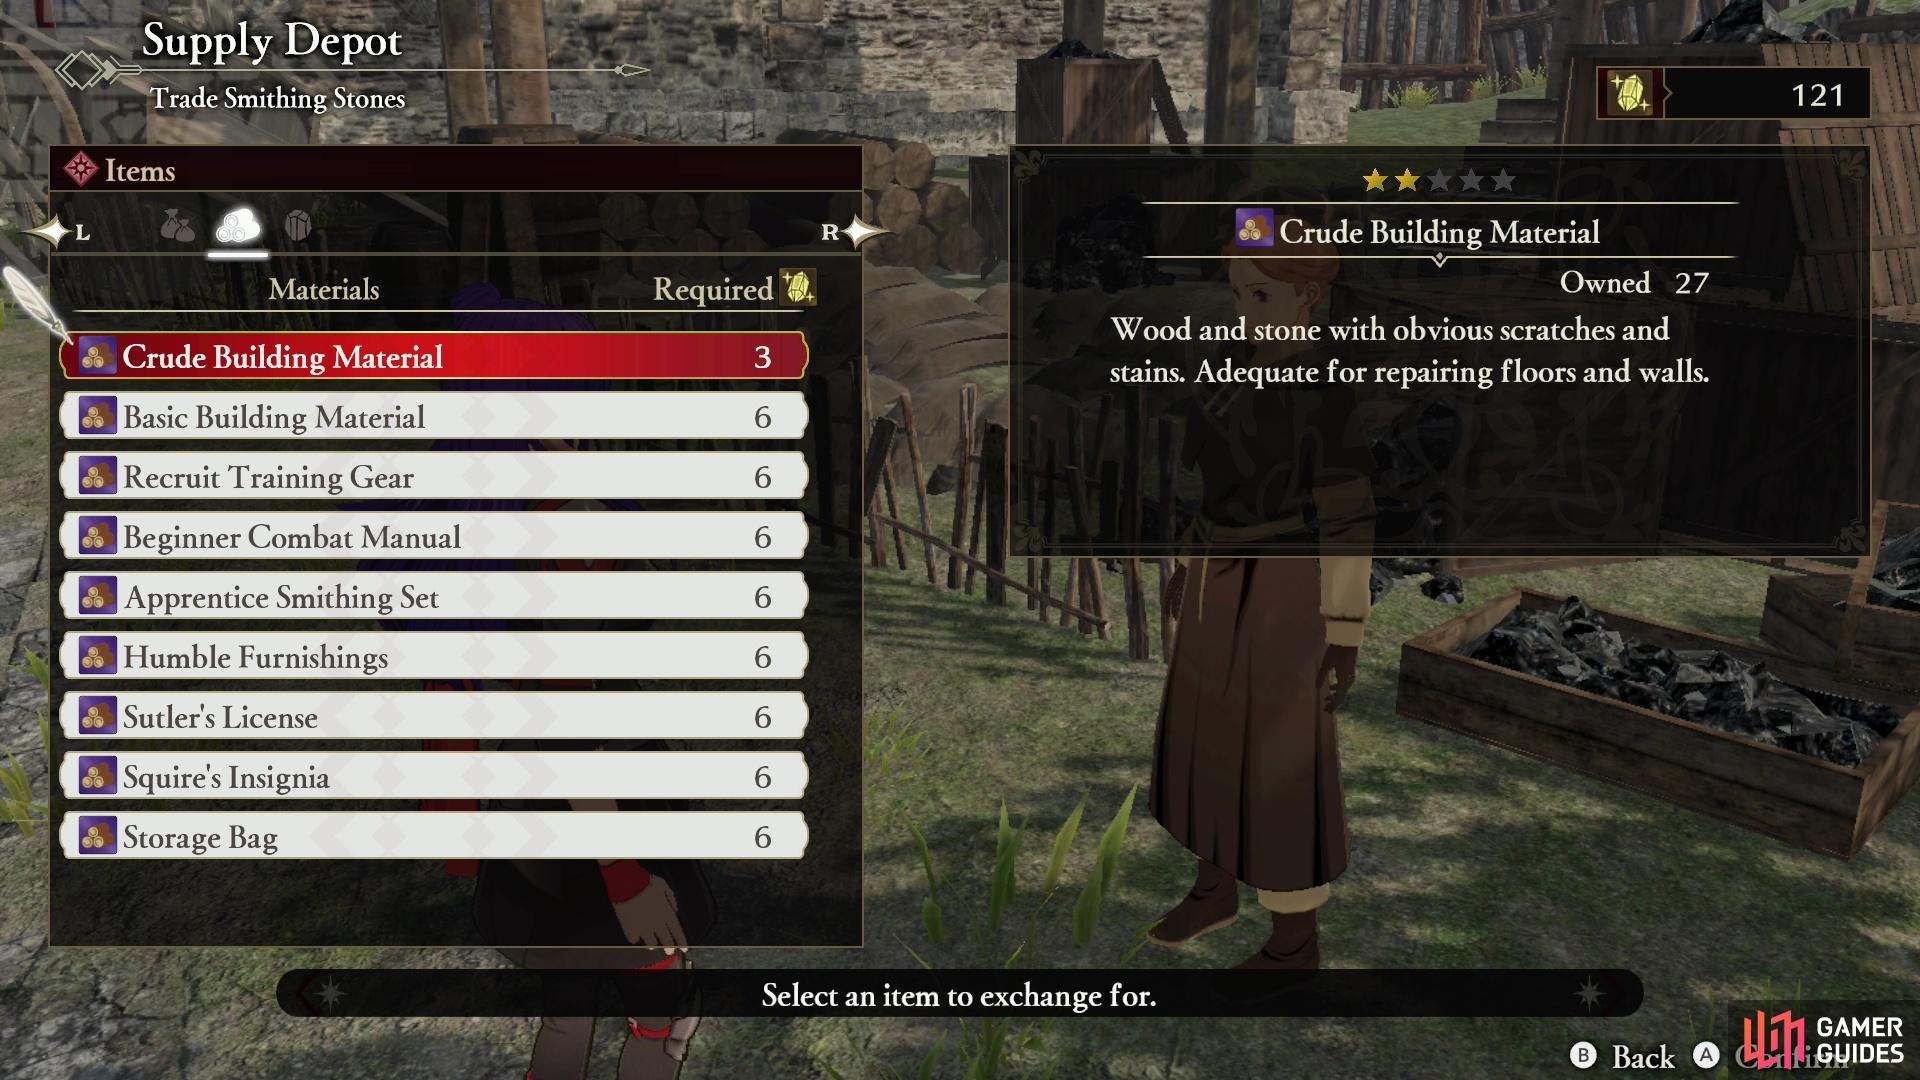
You can also trade Smithing Stones at the Supply Depot to obtain Materials,
as well as trading excess weapons and accessories for Smithing Stones.
-
Exchanging Smithing Stones: After conquering a few regions in Chapter 4 you’ll find the Supply Master east of the Command Center, north of the Blacksmith. She’ll trade ores and building materials for Smithing Stones, and you can also exchange equipment and resources for Smithing Stones.
-
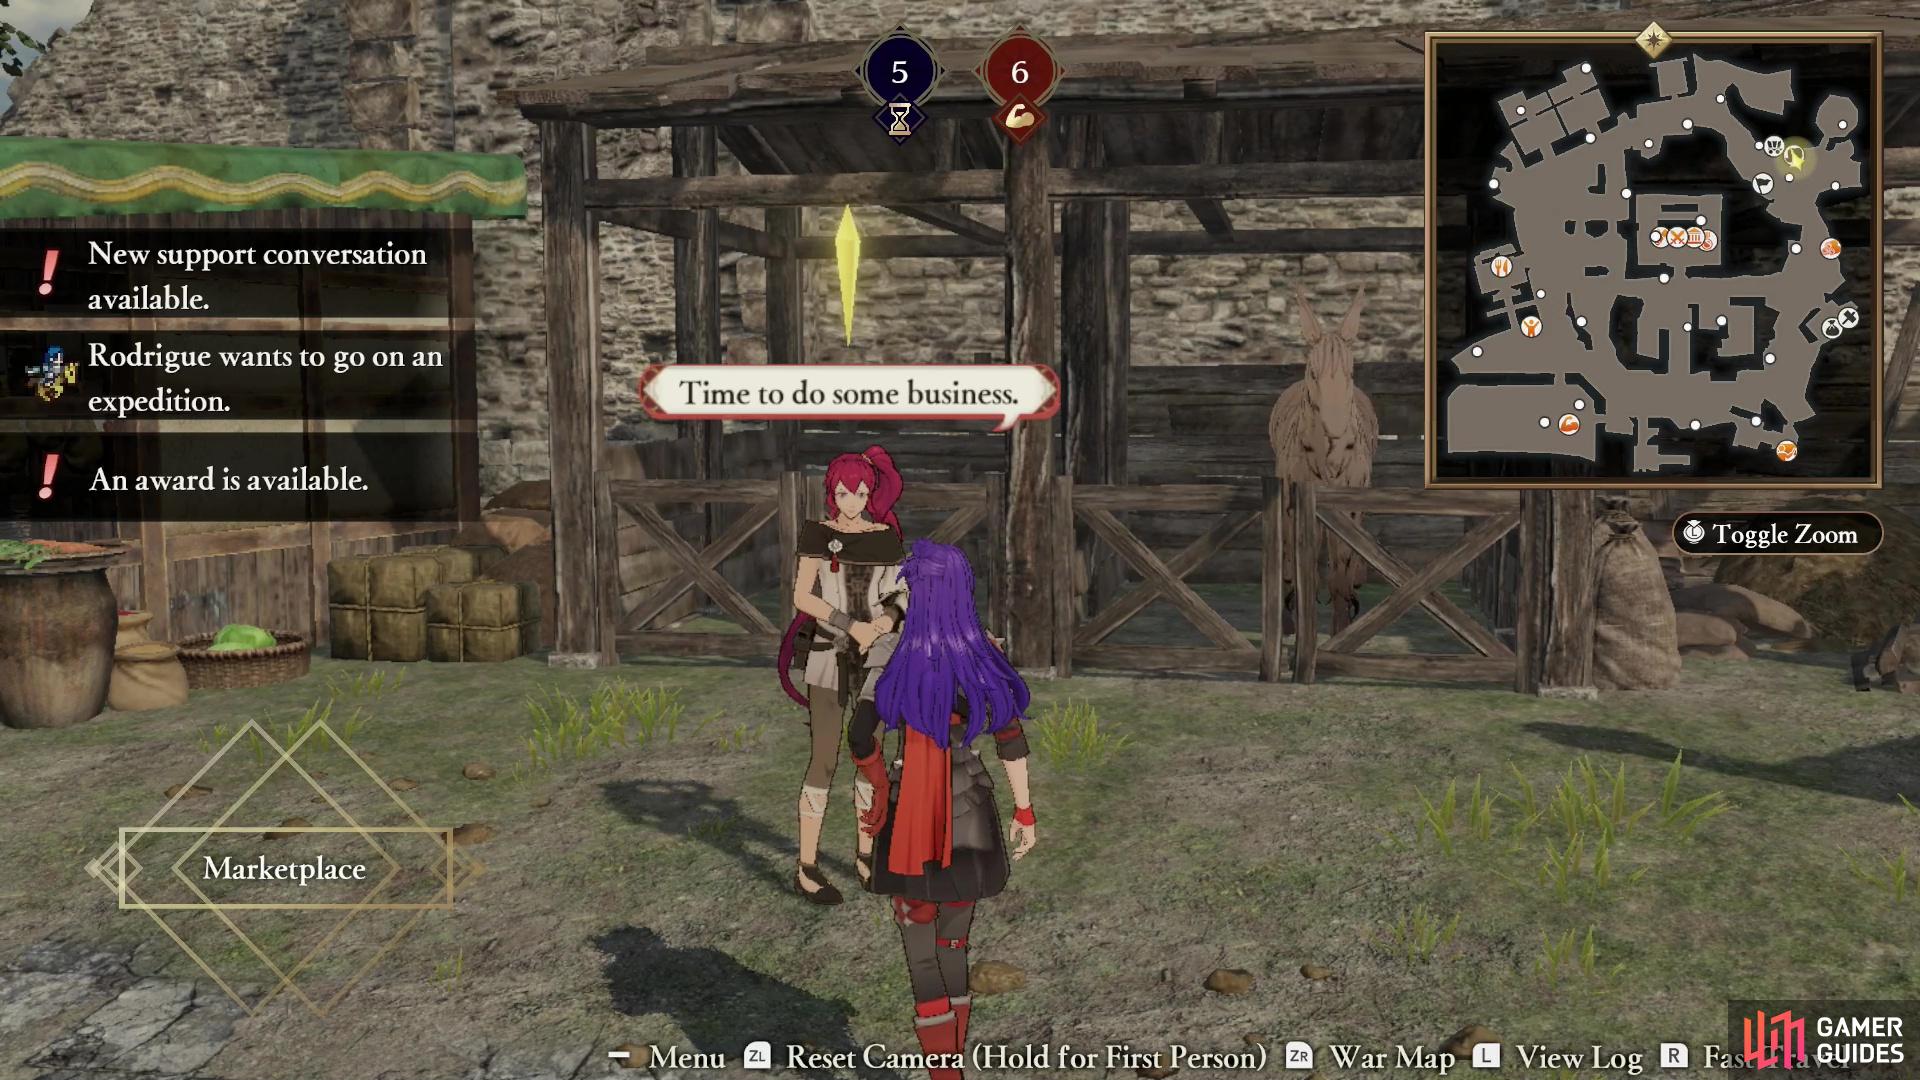
Shopping at the Marketplace: You’ll find the Item Shopkeeper at the [Marketplace], who will sell you Seals, Gifts and cooking ingredients. Starting in Chapter 5 you can find Anna on the War Map and lure her to your Base Camp, where she’ll set up shop not too far away from the Item Shopkeeper.
-
Hiring Battalions: Found in the Marketplace, this NPC will sell you the services of various Battalions. Upgrading the [Battalion Guild] will expand the variety of Battalions you can recruit.
Base Camp Locations
-
Personal Quarters: You’ll find Arval lurking around here. More interest is the Journal, which you can interact with to change your appearance, view acquired documents and spend Renown. If you have the Owl Perch DLC you’ll also find the Owl Perch near your Personal Quarters.
-
Central Plaza: As the name implies, the Central Plaza is in the middle of camp. Aside from some companions and random NPCs loitering around here, there’s not much going on at this location.
-
Command Center: Just north of the Central Plaza, this is where you’ll regularly find high-rankers in your faction. You’ll also find the Record Keeper, the Strategist (one way you can access the War Map), the Facilities Master and the Reward Master.
-
Common Area: Located along the northwestern corner of the Base Camp, between the Personal Quarters and the Command Center. Aside from random companions and other NPCs, there’s usually not too much to see up here.
Talk to the Kitchen Master to cook meals for your companions.
The Chore Master will allow you to volunteer fore chores.
-
Recreation Quarter: A multipurpose building along the western end of the Base Camp, you’ll find the Kitchen Master and the Chore Master here, who will allow you to cook meals and volunteer for chores, respectively.
-
Training Grounds: One of the Base Camp’s more useful facilities, talk to the Training Instructor here and you’ll be able to use the various services offered by the Training Grounds, including training (leveling up class ranks), leveling or resetting the levels of your characters, acquiring new classes and testing all your new moves out via mock battles.
-
Infirmary: A location that sounds more important than it actually is, you may find the odd document, NPC or companion here, but otherwise there’s little of interest to be found.
-
Tactics Academy: Starting in Chapter 6 you’ll unlock the Tactics Academy, prior to which this building has little to offer. Once unlocked you’ll find the Tactics Instructor here, and if you talk to him you’ll be able to unlock various boons for your characters, including more Warrior Gauges, upgrade a character’s three Unique Abilities (Action, Support and Tactical Abilities), unlock more and better recovery items, upgrade their [Crest], and increase the number of Abilities characters can equip at once. Later in the game you can also purchase an upgrade that breaks stat caps for your characters. Very good stuff.
-
Blacksmith: Consists of two NPCs, initially only the Armorer, who sells you junk weapons you’ll never have any use for, and later, in Chapter 5, the Blacksmith, who does all the real work around here. Namely he’ll Forge weapons (upgrade their Might and Durability), Repair weapons (identify them and make them usable), Reforge weapons (reset their upgrades or expand their upgrade potential) and Unleash the effects of [Hero Relics]. This is the guy you visit to make your weapons immensely more powerful.
-
Watchtower: North of the Blacksmith, northeast of the Command Center, this area itself isn’t interesting, but it is just north of the [Supply Master] and south of the Main Gate, which is another way to access the War Map.
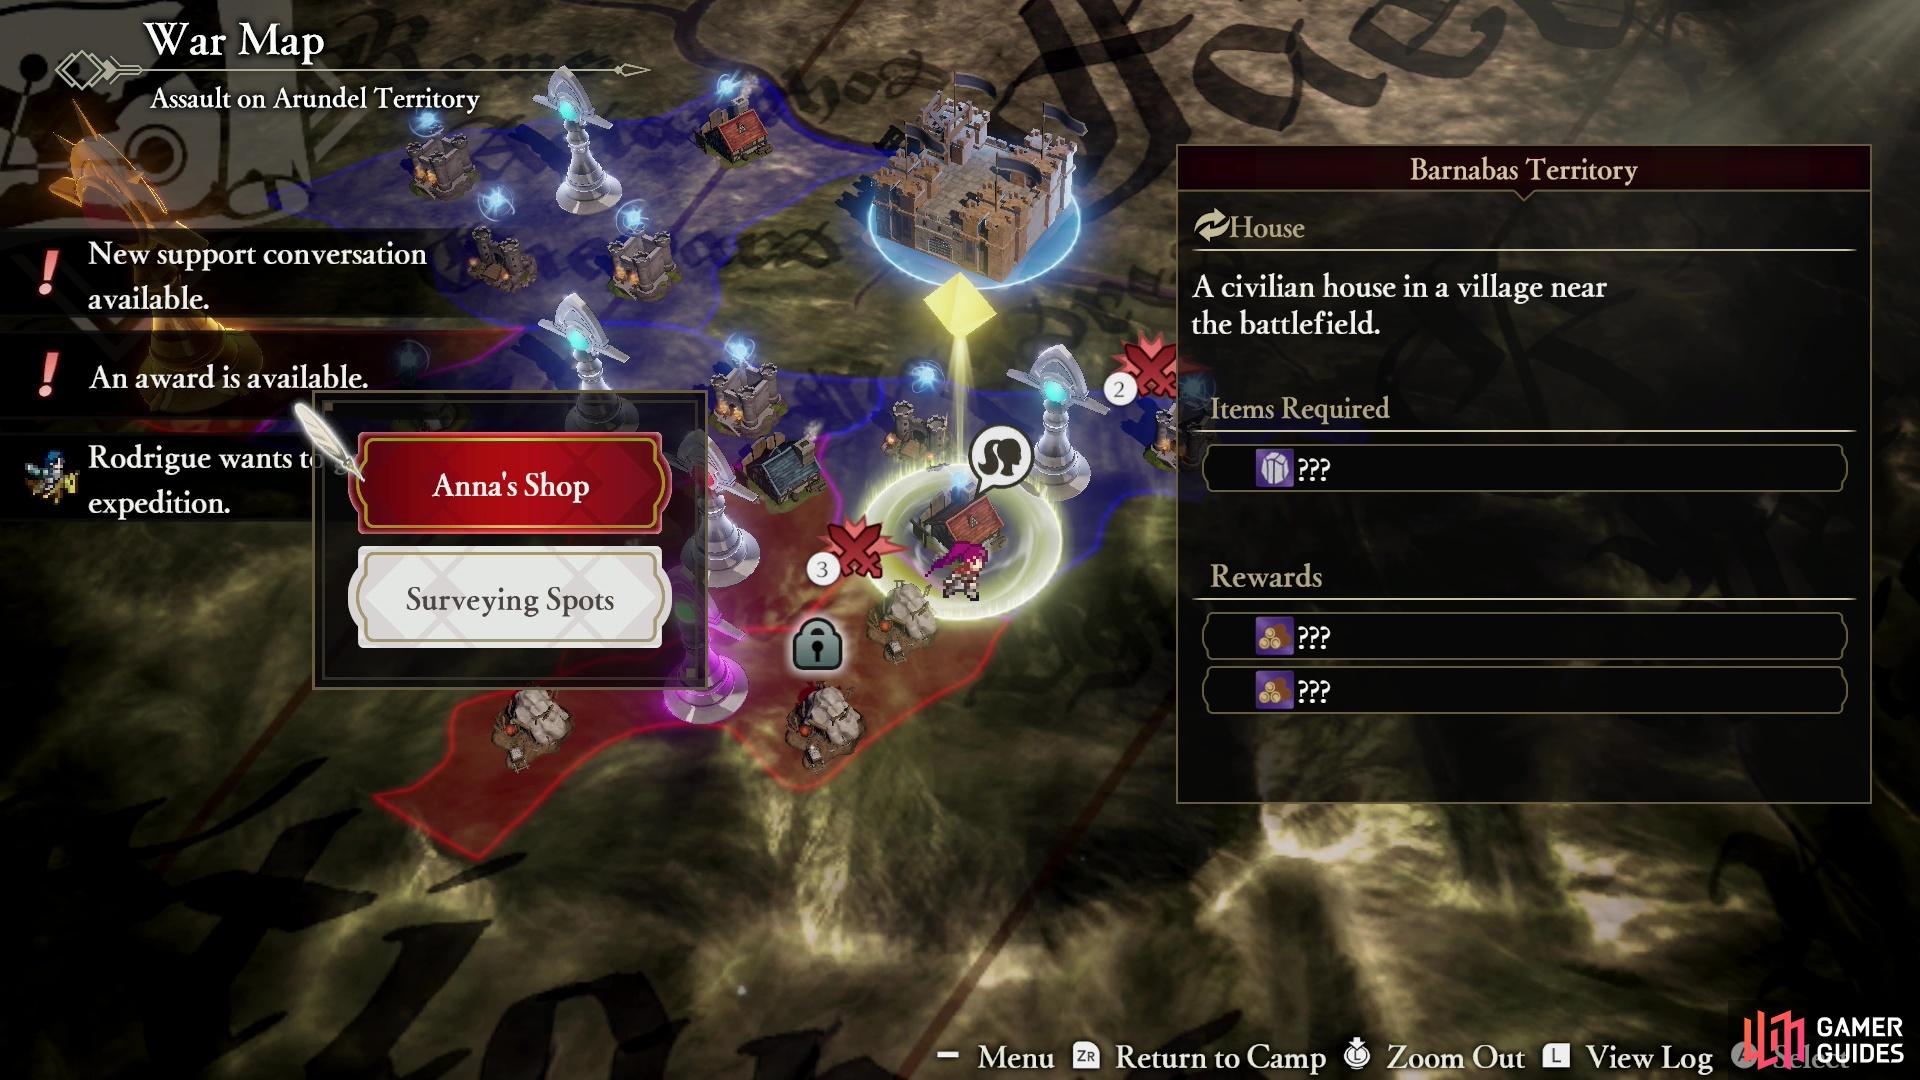
Look for a Surveying Spot with Anna’s icon running near it.
Find Anna on the War Map and she’ll head back to the Base Camp and open up her shop.
-
Marketplace: Pretty much what the name implies, you’ll find the Item Shopkeeper here (she’ll sell Seals, Gifts and cooking ingredients) as well as the Battalion Master (who sells Battalions. Starting in Chapter 5 you can find Anna on the War Map and lure her to your Base Camp, where she’ll set up shop not too far away from the Item Shopkeeper.
-
Chapel: Another profoundly uninteresting structure, you may find the odd NPC or companion here, but little else.

Unlock the Record Keeper in your Base Camp,
and you’ll be able to replay past battles any time you wish.
Base Camp Facilities
-
Strategist: Found in the Command Center, this NPC does little more than provide a shortcut to the War Map… which you can reach via the Main Gate, or by simply pressing
 at any time. Why does he exist, again?
 -
Record Keeper: Found in the Command Center, this NPC allows you to replay past Main Quest battles and Side Quest battles.
-
Facilities Master: Found in the Command Center, this NPC allows you to expand facilities. You can also just talk to the NPC that governs each facility to upgrade them, but it’s convenient to have them all in one place, too.
-
Rewards Master: Found in the Command Center, this NPC allows you to redeem Awards based on your achievements.
-
Training Instructor: Found on the Training Grounds, this NPC allows you to access the services offered at said facility, including training (leveling up class ranks), leveling or resetting the levels of your characters, acquiring new classes and testing all your new moves out via mock battles.
-
Tactics Instructor: Found in the Tactics Academy, this NPC allows you to access the services offered by that facility, namely unlocking various boons for your characters, like extra Warrior Gauges, upgrades for a character’s three Unique Abilities (Action, Support and Tactical Abilities), more and better recovery items, upgrades for their [Crest], and an increased number of Abilities characters can equip at once. Later in the game you can also purchase an upgrade that breaks stat caps for your characters.
-
Kitchen Master: Located in the Recreation Quarter, this NPC allows you to cook meals.
-
Chore Master: Located in the Recreation Quarter, this NPC allows you to volunteer.
The Blacksmith is unlocked in Chapter 5, and his services are essential to getting the most out of your weaponry.
-
Blacksmith: Found in the Blacksmith (isn’t English a weird language?) starting in Chapter 5, this NPC will Forge weapons (upgrade their Might and Durability), Repair weapons (identify them and make them usable), Reforge weapons (reset their upgrades or expand their upgrade potential) and Unleash the effects of [Hero Relics]. This is the guy you visit to make your weapons immensely more powerful.
-
Armorer: A useless NPC who takes up space in the Blacksmith, she’ll sell you weapons that are qualitatively worse than just about anything you’ll find during battle.
-
Item Shopkeeper: Found in the Marketplace, this NPC will sell you Seals, Gifts and cooking ingredients. She’ll restock at the beginning of each Chapter, and she may gain access to superior wares based on your main questline progression and the upgrades you’ve purchased.
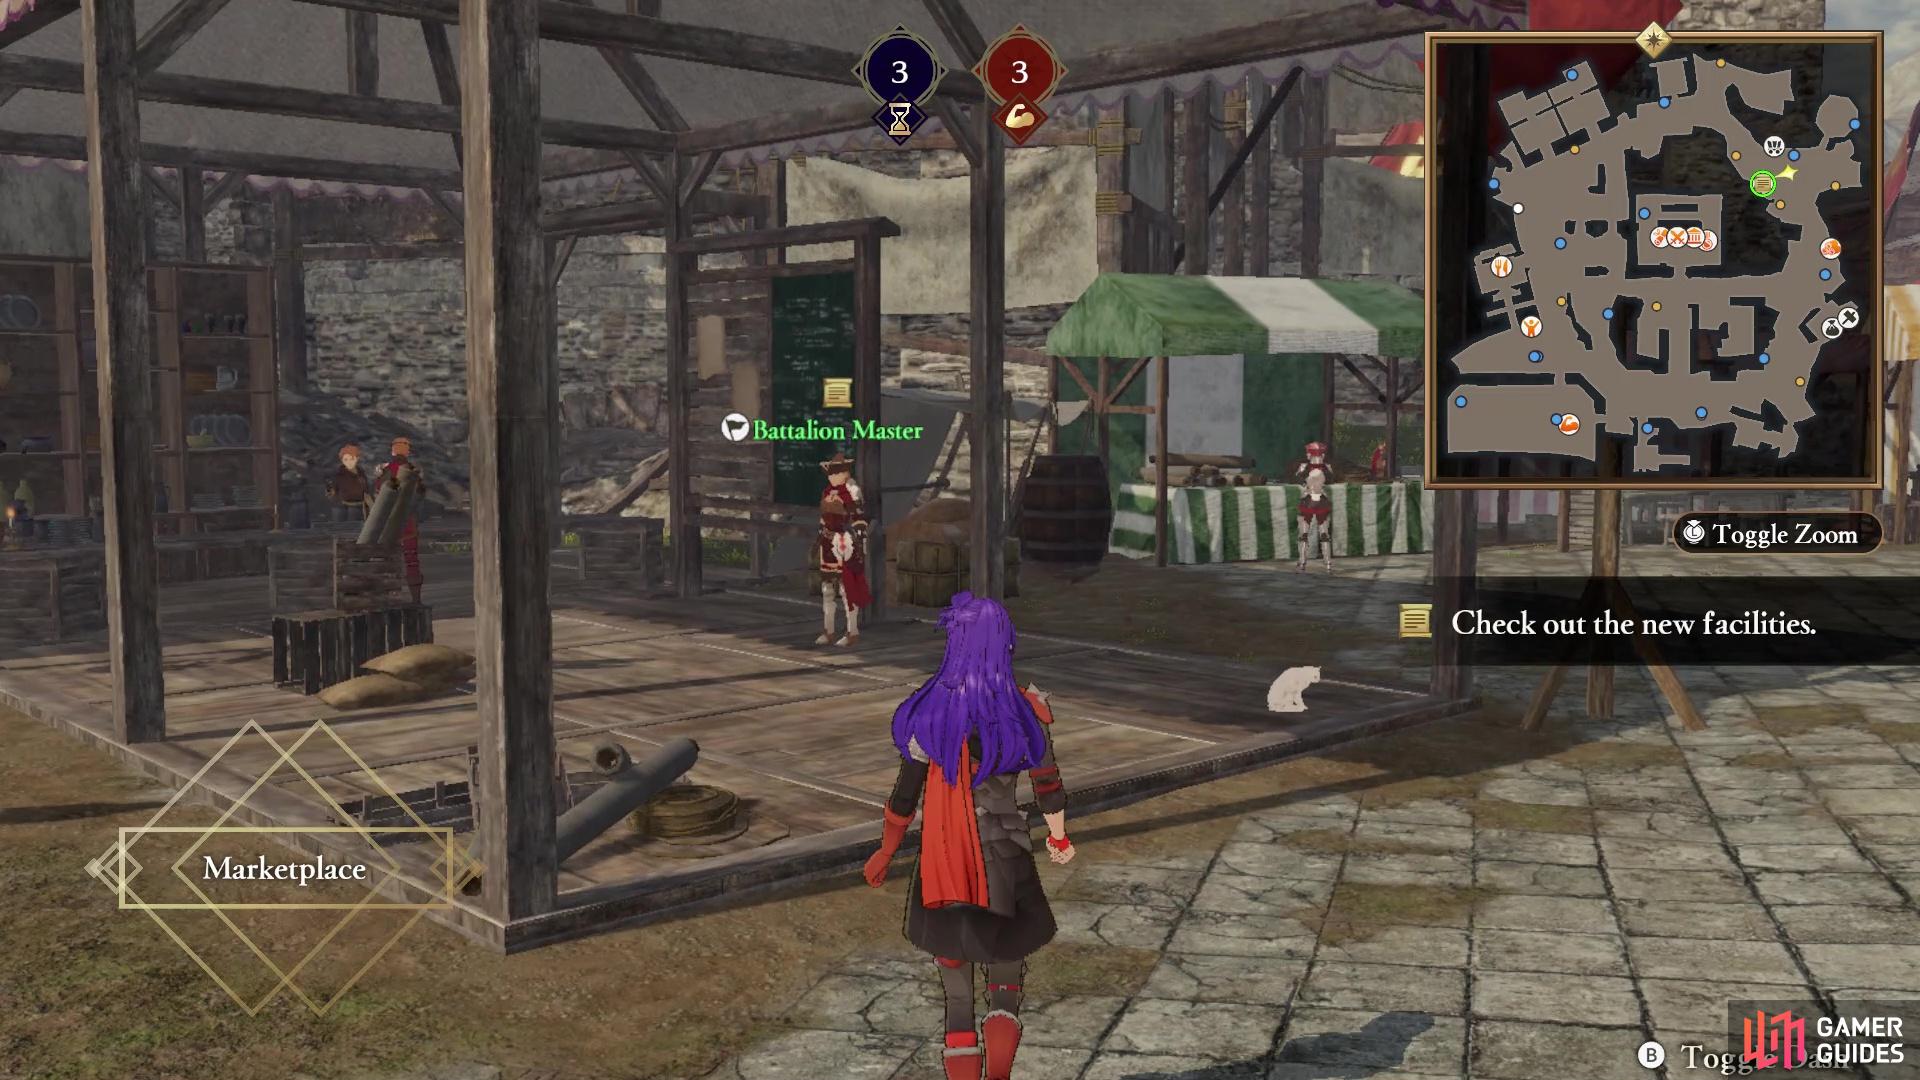
The Battalion Master will sell you the services of various Battalions.
-
Battalion Master: Found in the Marketplace, this NPC will sell you the services of various Battalions. Upgrading the [Battalion Guild] will expand the variety of Battalions you can recruit.
-
Supply Master: This NPC stands east of the Command Center, north of the Blacksmith. She’ll trade ores and building materials for Smithing Stones, and you can also exchange equipment and resources for Smithing Stones.
No Comments