
This is a guide for Chapter 4: To War! (Golden Wildfire) in Fire Emblem Warriors: Three Hopes, focusing on the camp preparations.
Fódlan is in a state of war.
The timeskip in Three Hopes is shorter than Three Houses.
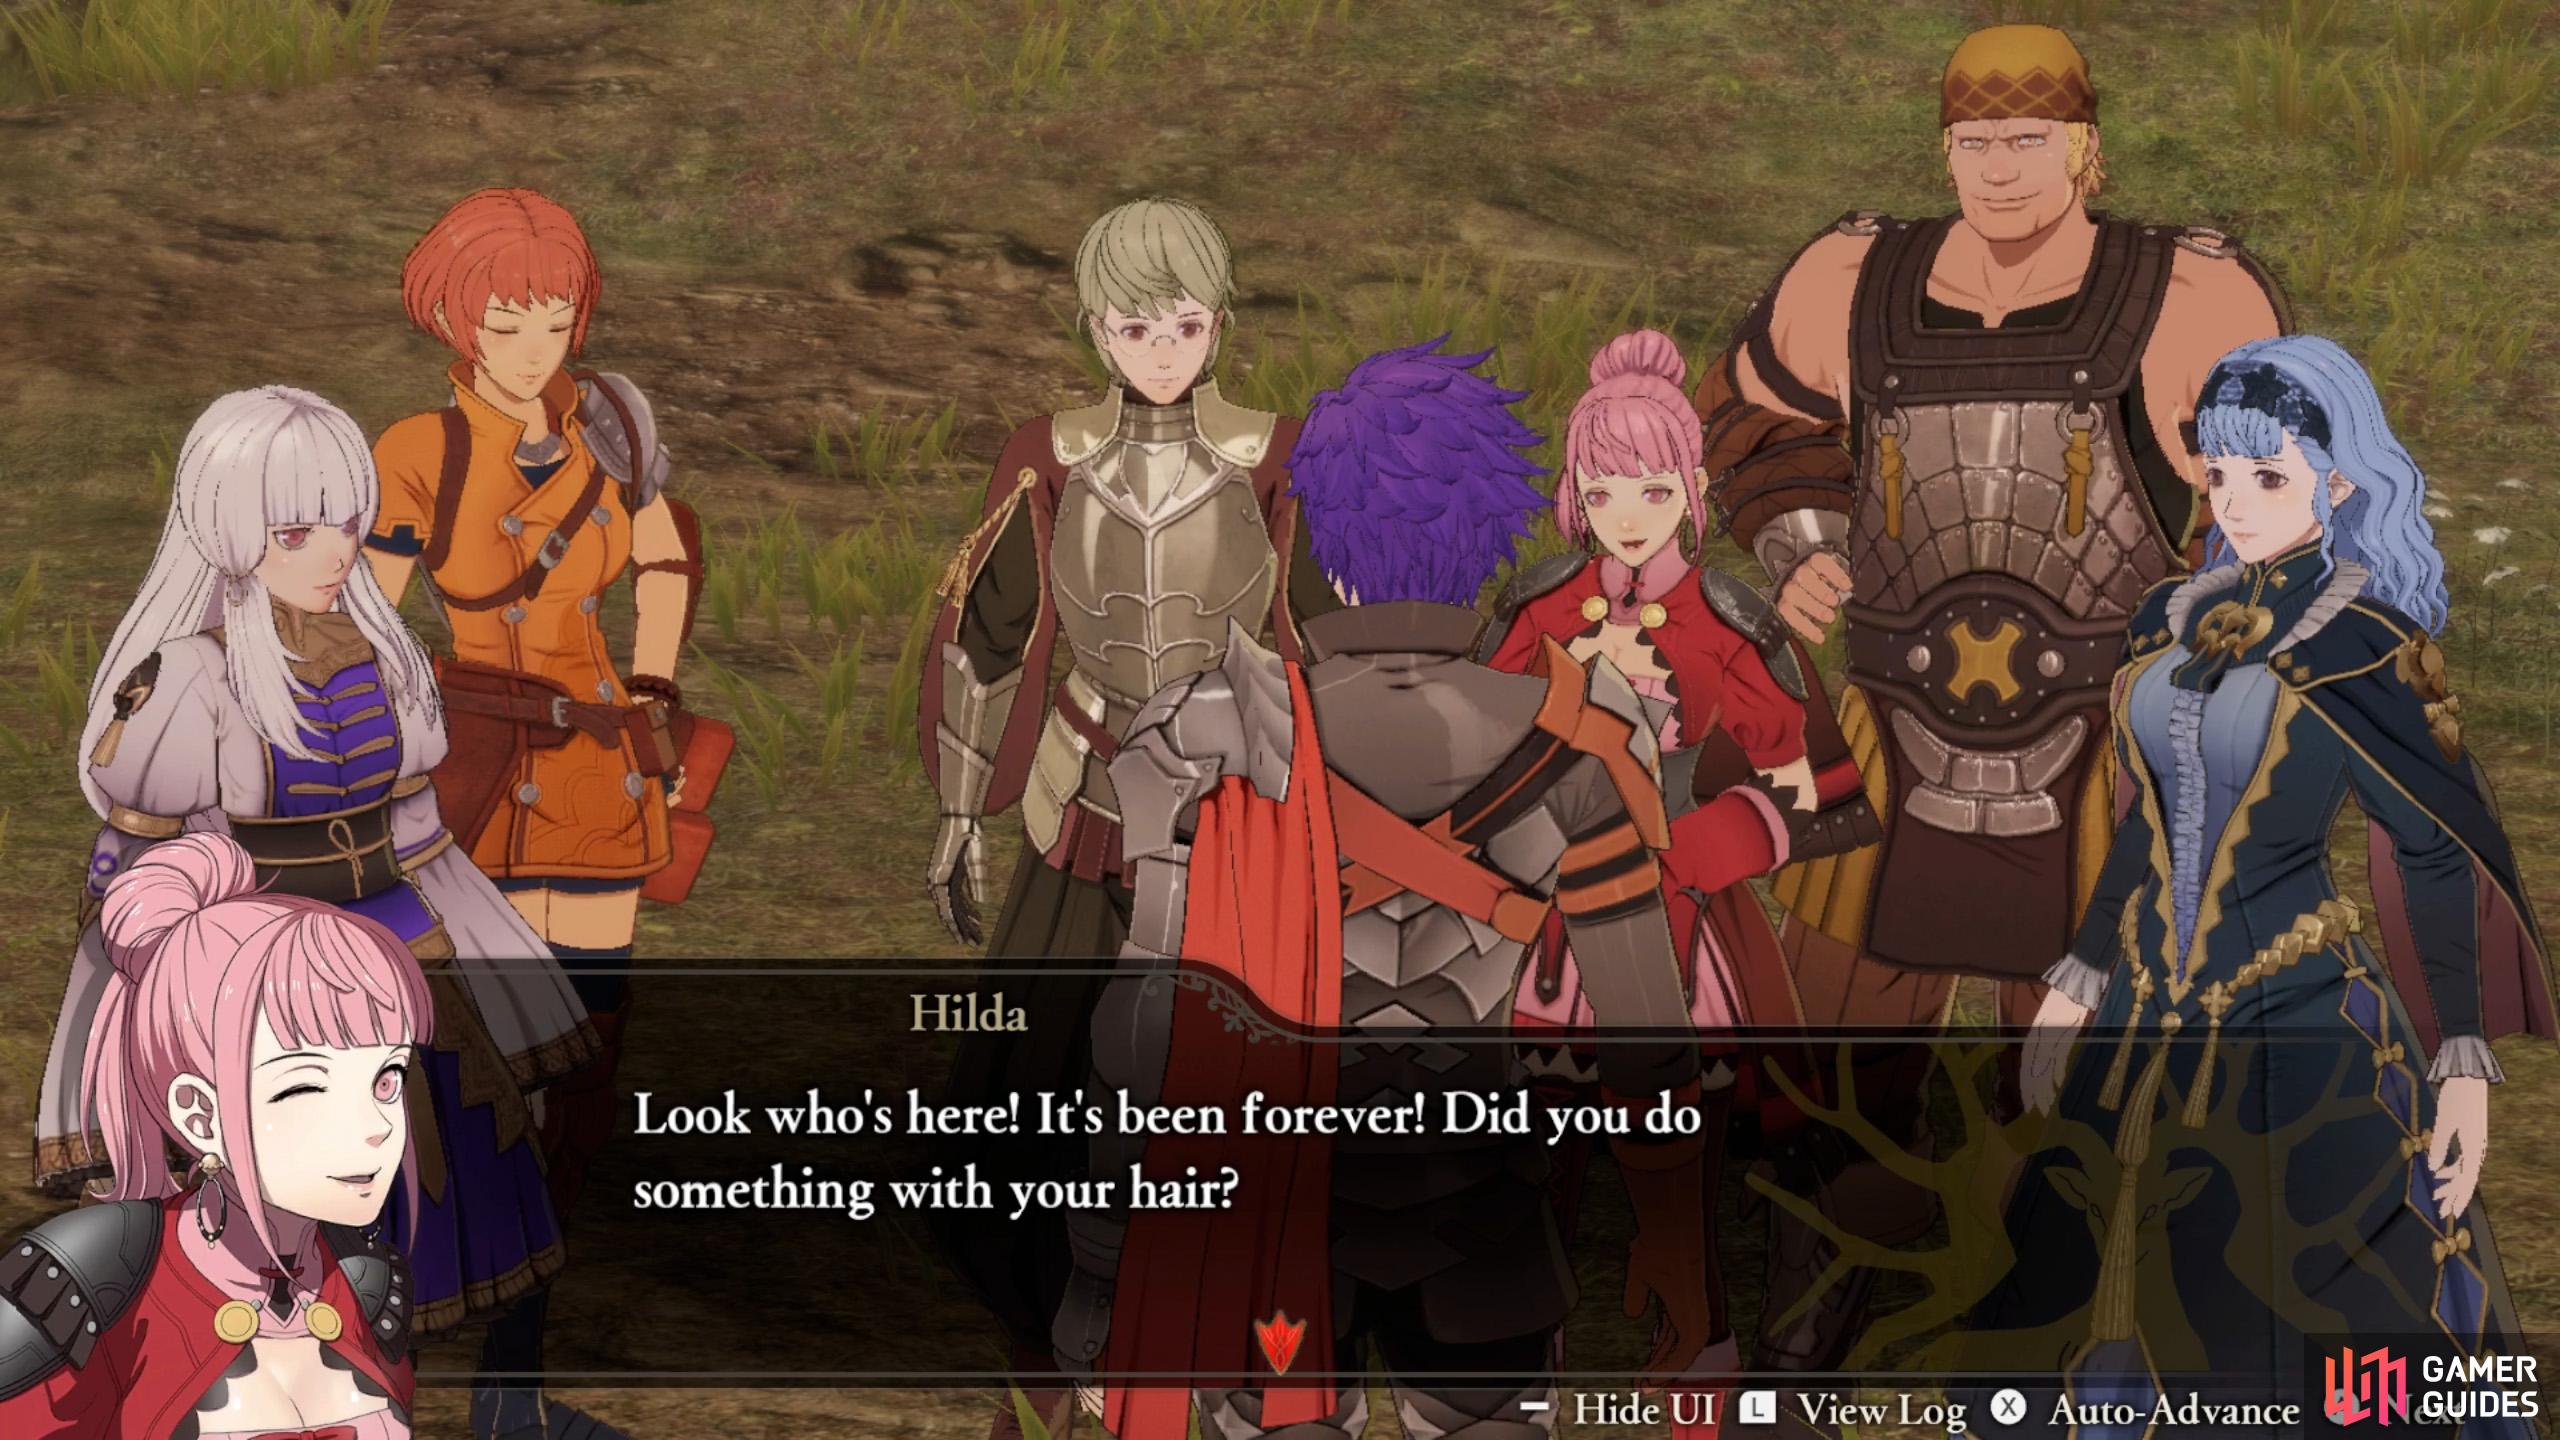
In the blink of the eye, 2 years have passed. Hey, everyone has new outfits and they’re rocking new hairdos. One thing hasn’t changed though: More battles await. In fact, things are only going to get hairier now that the continent’s been plunged into war.
To prepare for the battles ahead, you’ll now have access to a base camp. Here, you can roam around, chat to your comrades, stock up on equipment and do all sorts of preparations. Although you can ignore most of the camp activities, there are some that are very important, if you want to upgrade your characters.
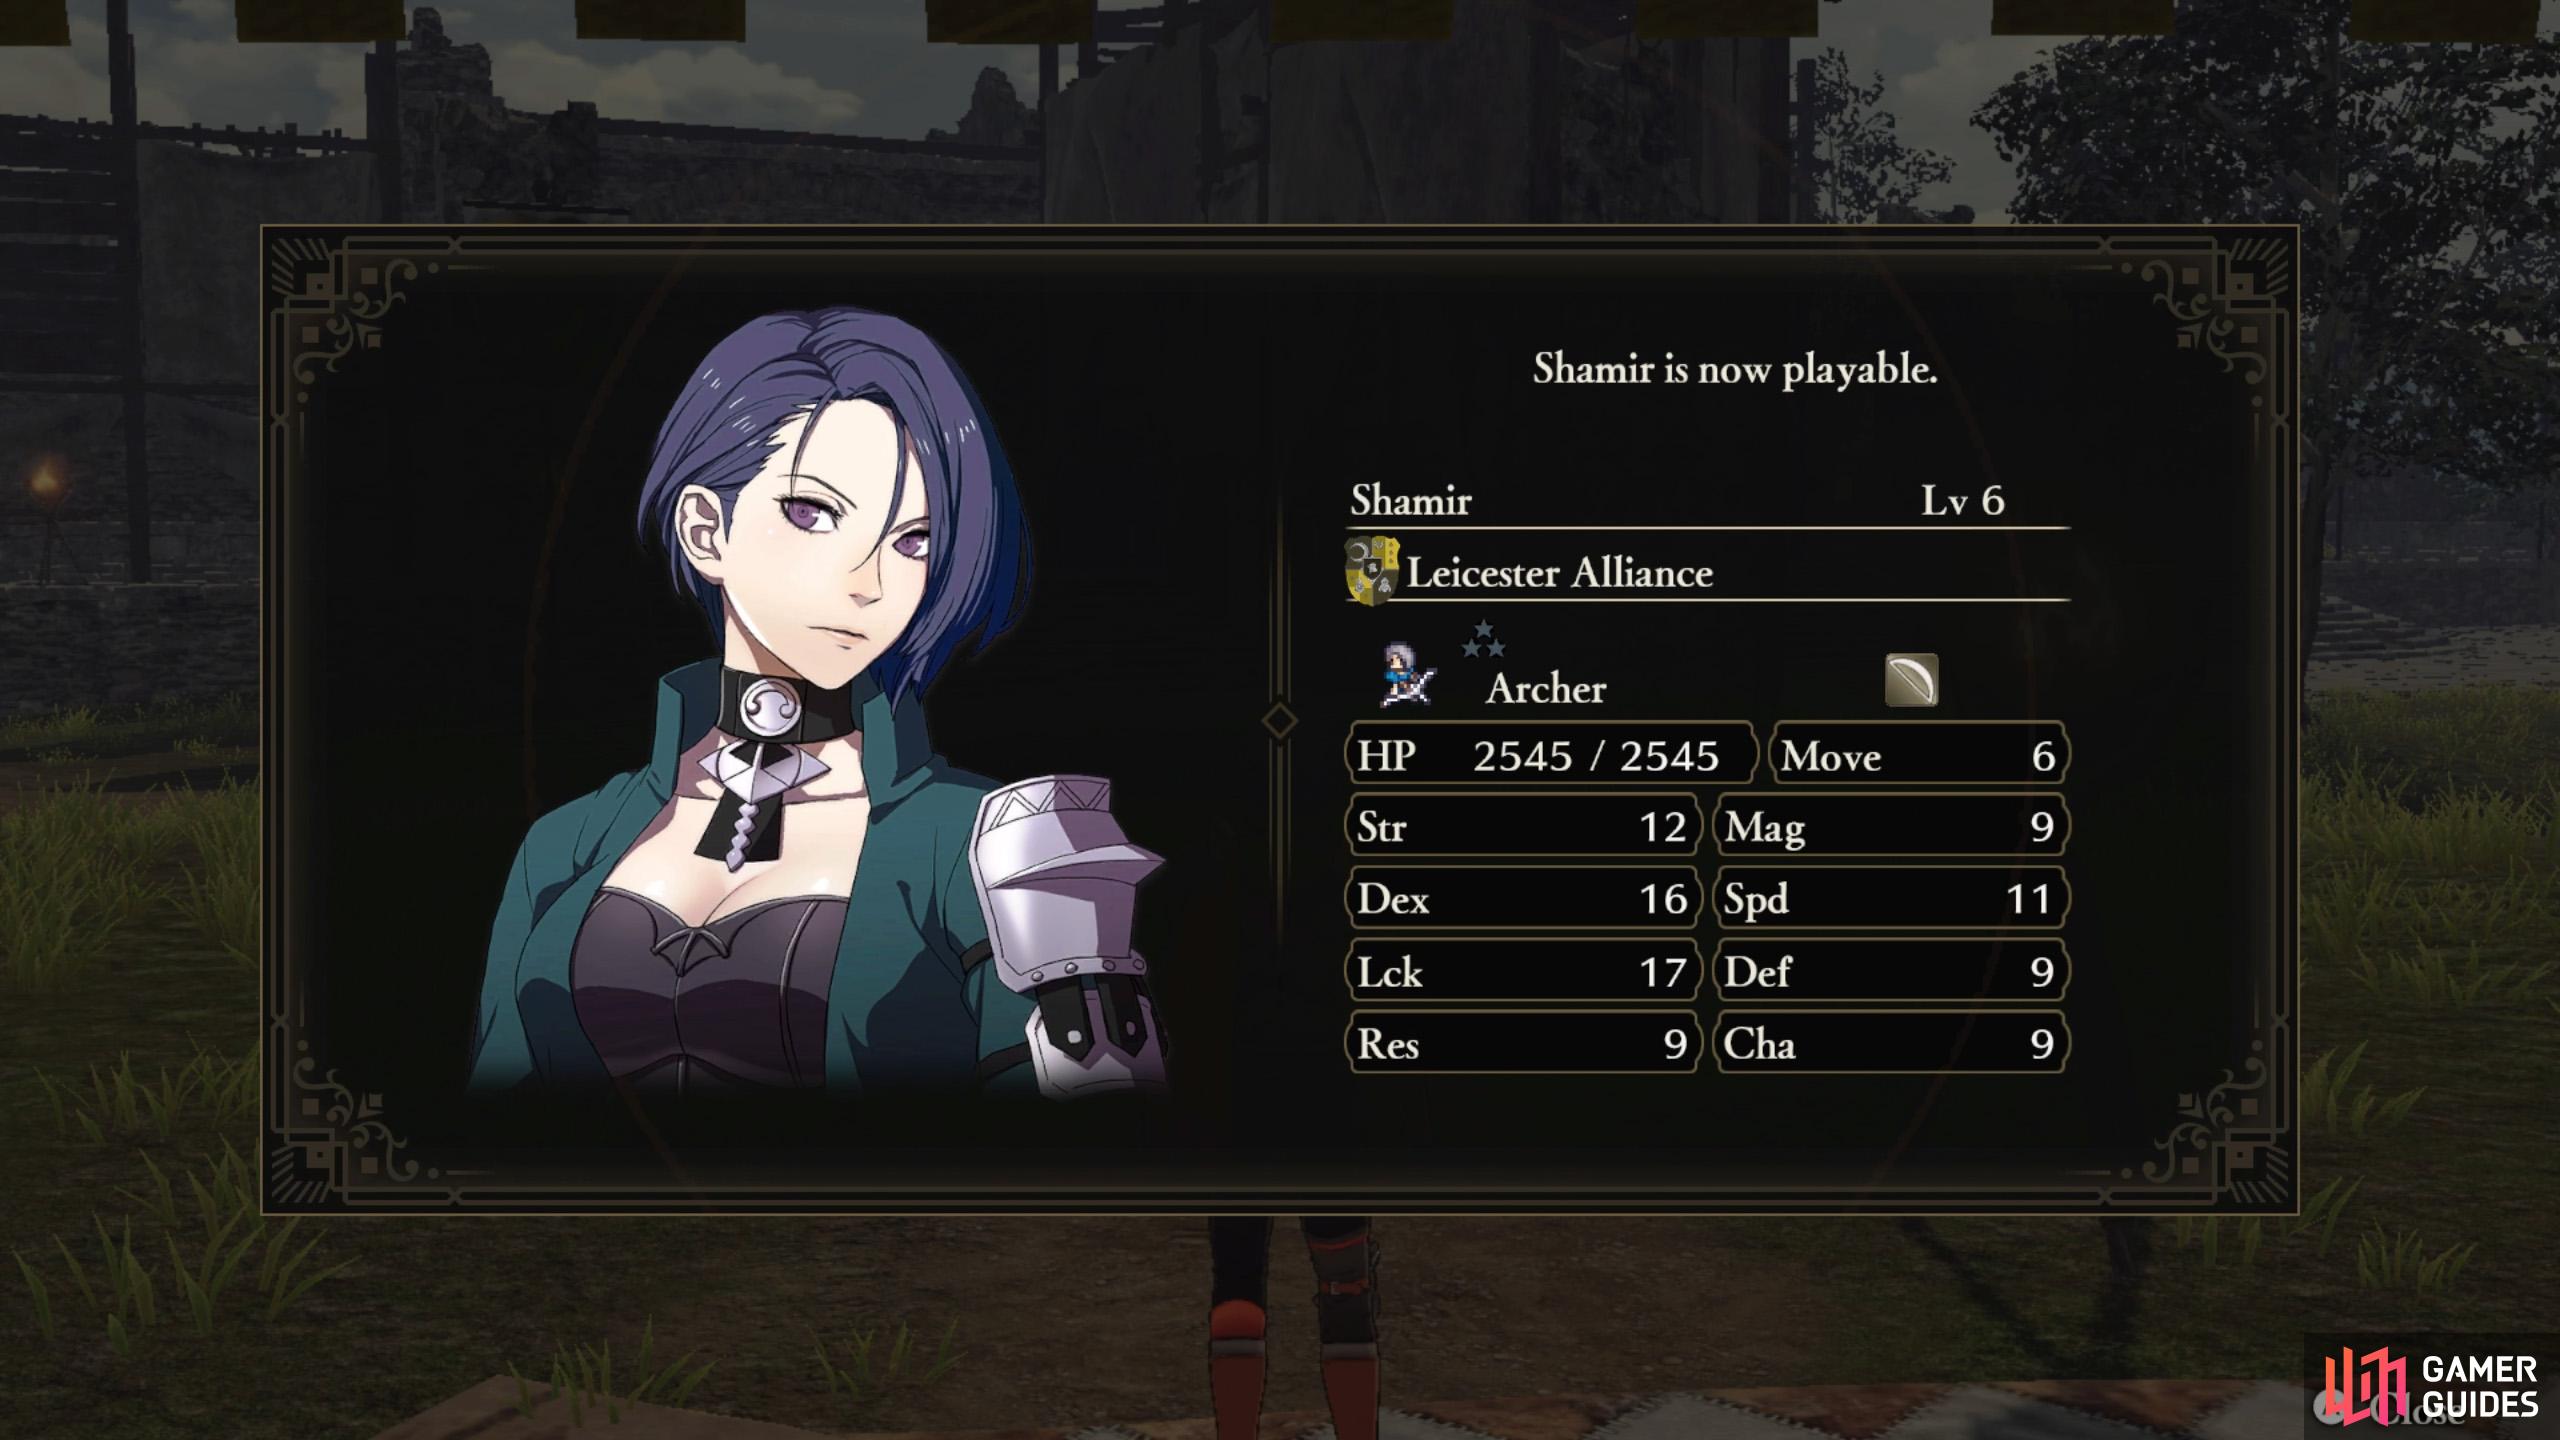
Shamir assisted you at the Locket, but she’ll formally join you now.
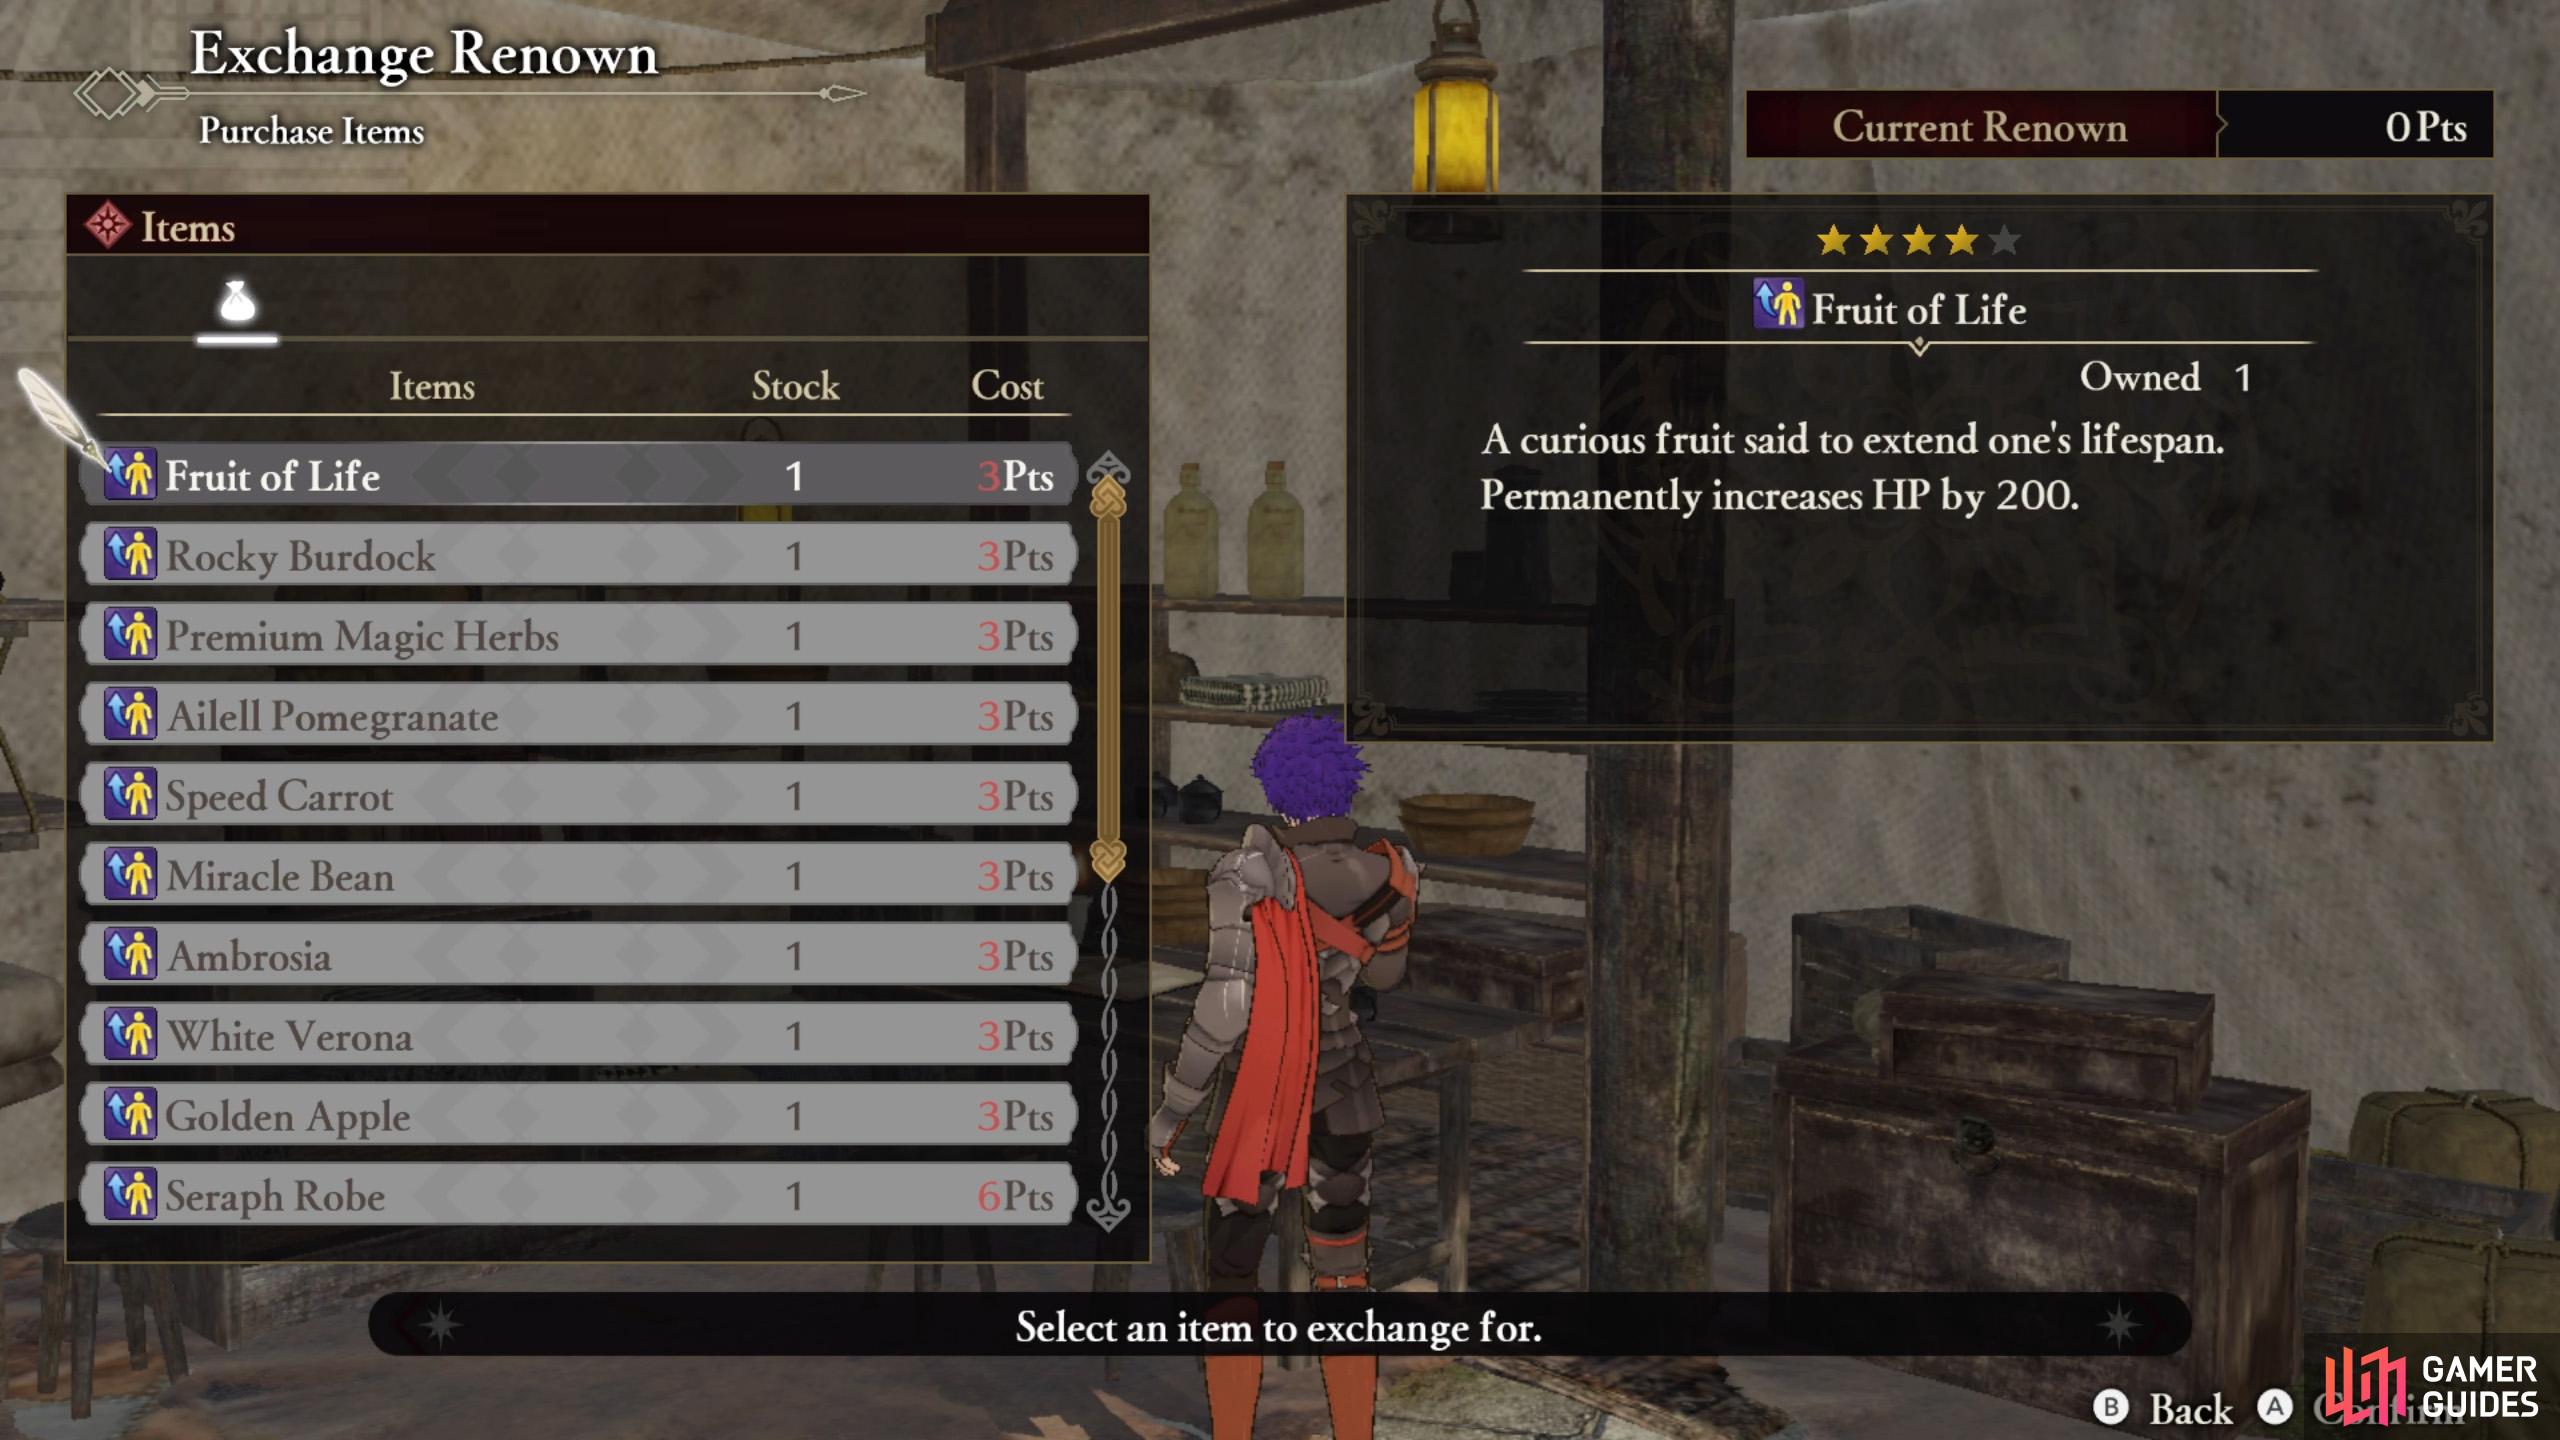
Although tempting, save your Renown for post-game bonuses.
Anyway, you’ll begin at your Personal Quarters. This is your little room… well, tent where you can say “hi” to Arval and check your Journal. From your Journal, you can set which outfits your characters will wear in battle/at the camp, peruse documents you’ve collected and spend Renown (currently limited to stat-boosting items).
Speak With Claude
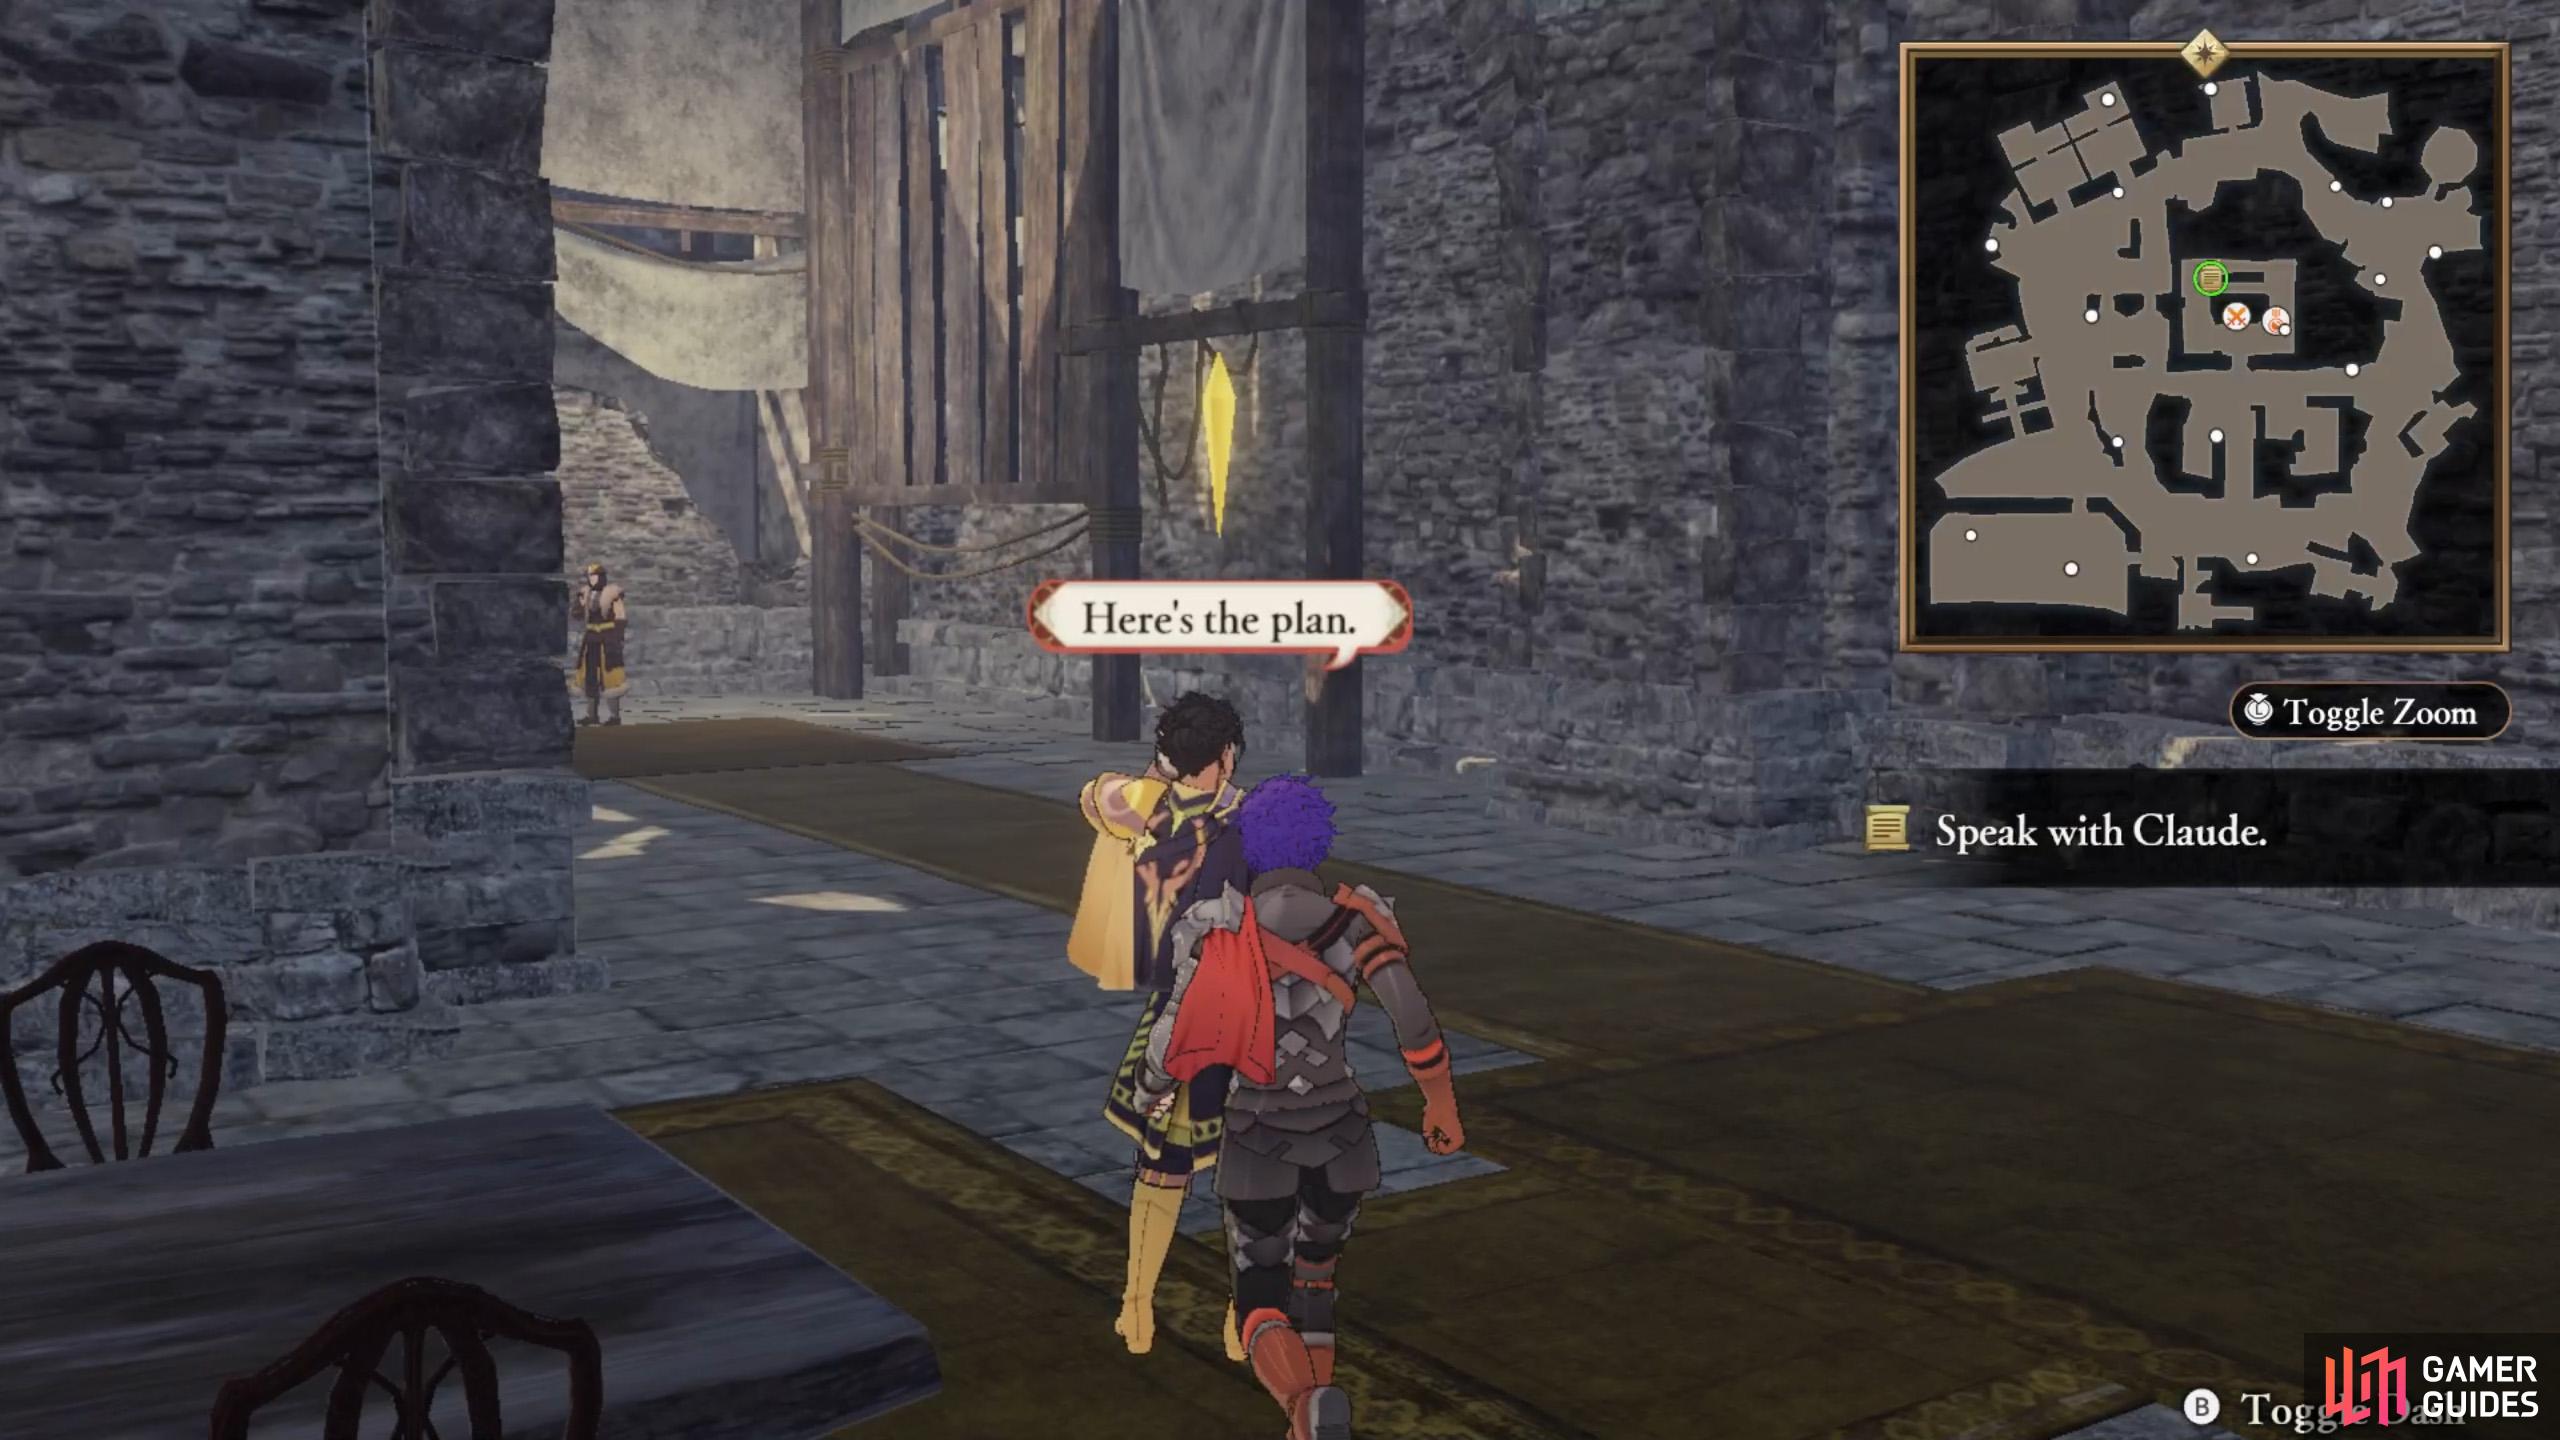
Shall we sneak up on Claude?
The Main Quest is marked by the obvious big, glowing chess piece on the map.
To begin with, go and visit Claude who’s at the back room of the central building. Feel free to strike up a conversation with your allies and random soldiers etc. while you’re here. Claude will introduce the War Map to you. We’ll come back to this later.
Check Out the Camp Facilities
Being the smart guy he is, Claude suggests visiting some of the camp facilities to familiarize yourself with them. There are 3 such facilities marked on the mini-map. As you begin to leave the central building, you can also fast-travel to any facility (or person or location) by pressing  .
.
Training Instructor
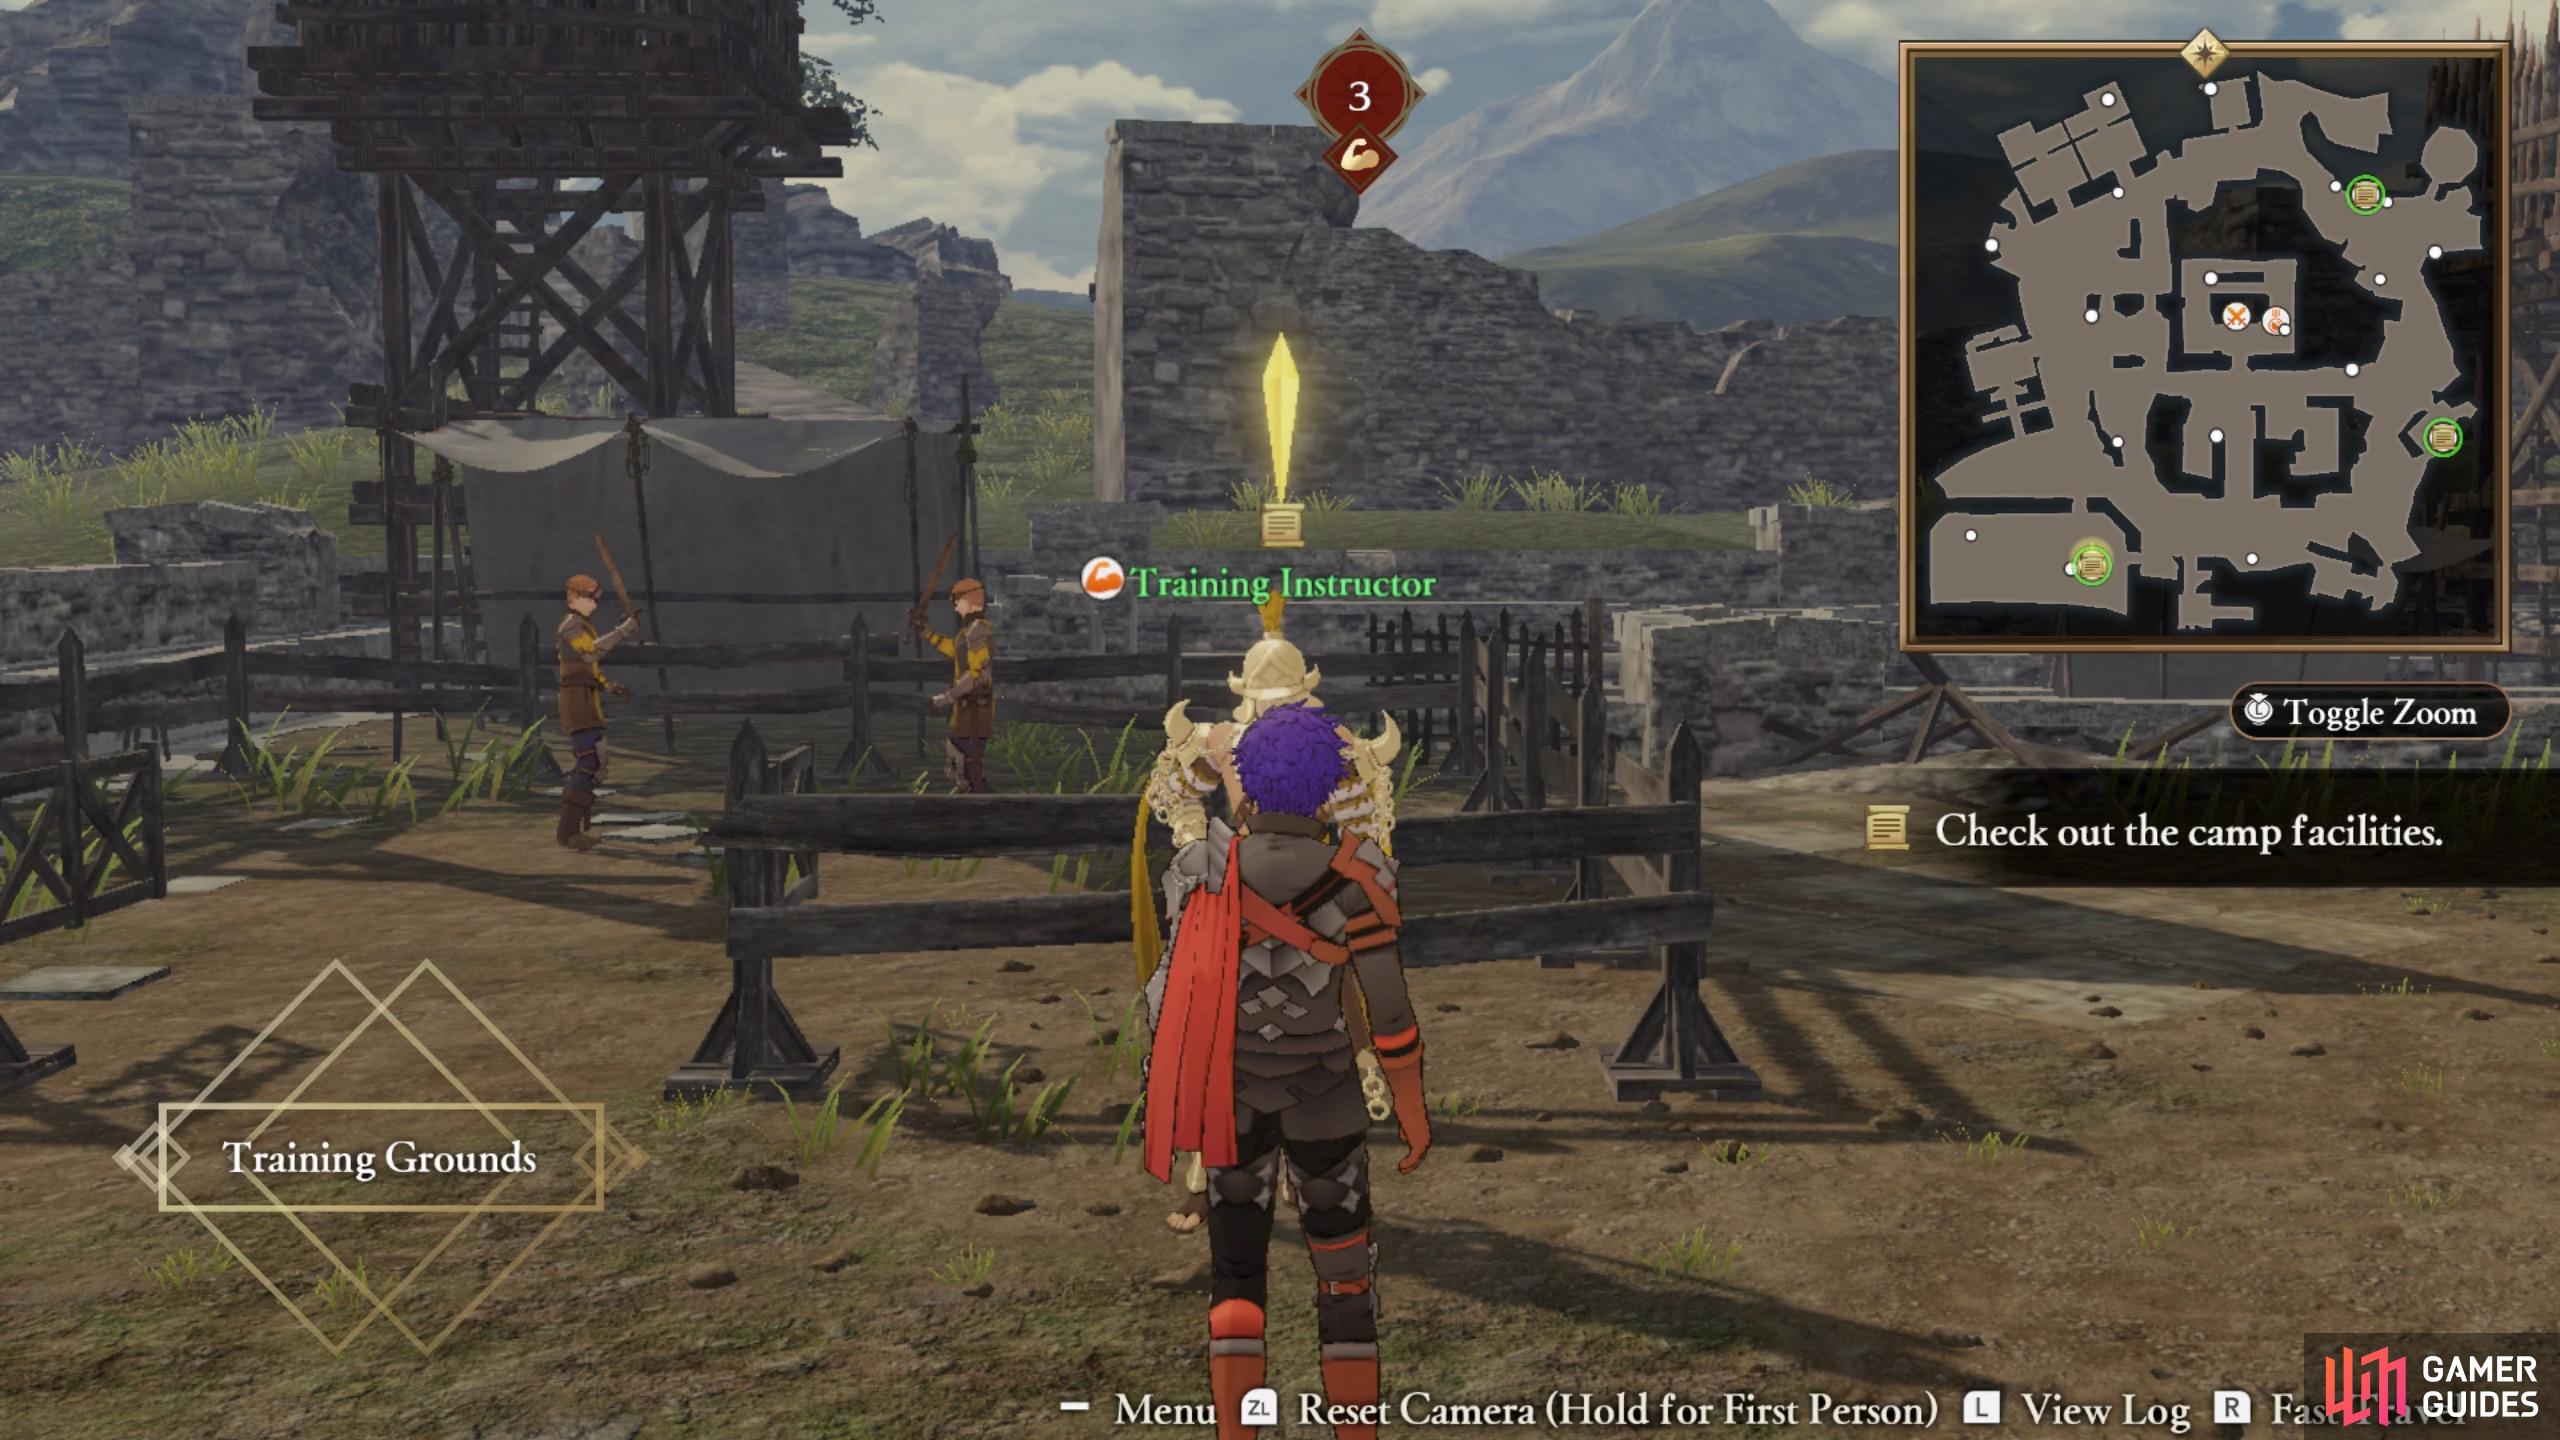
The Training Instructor is happy to help beef up your characters.
Come here if you want to Level Up characters fast.
We suggest checking out the Training Instructor towards the south-west. This guy will help you push your characters to their limits.
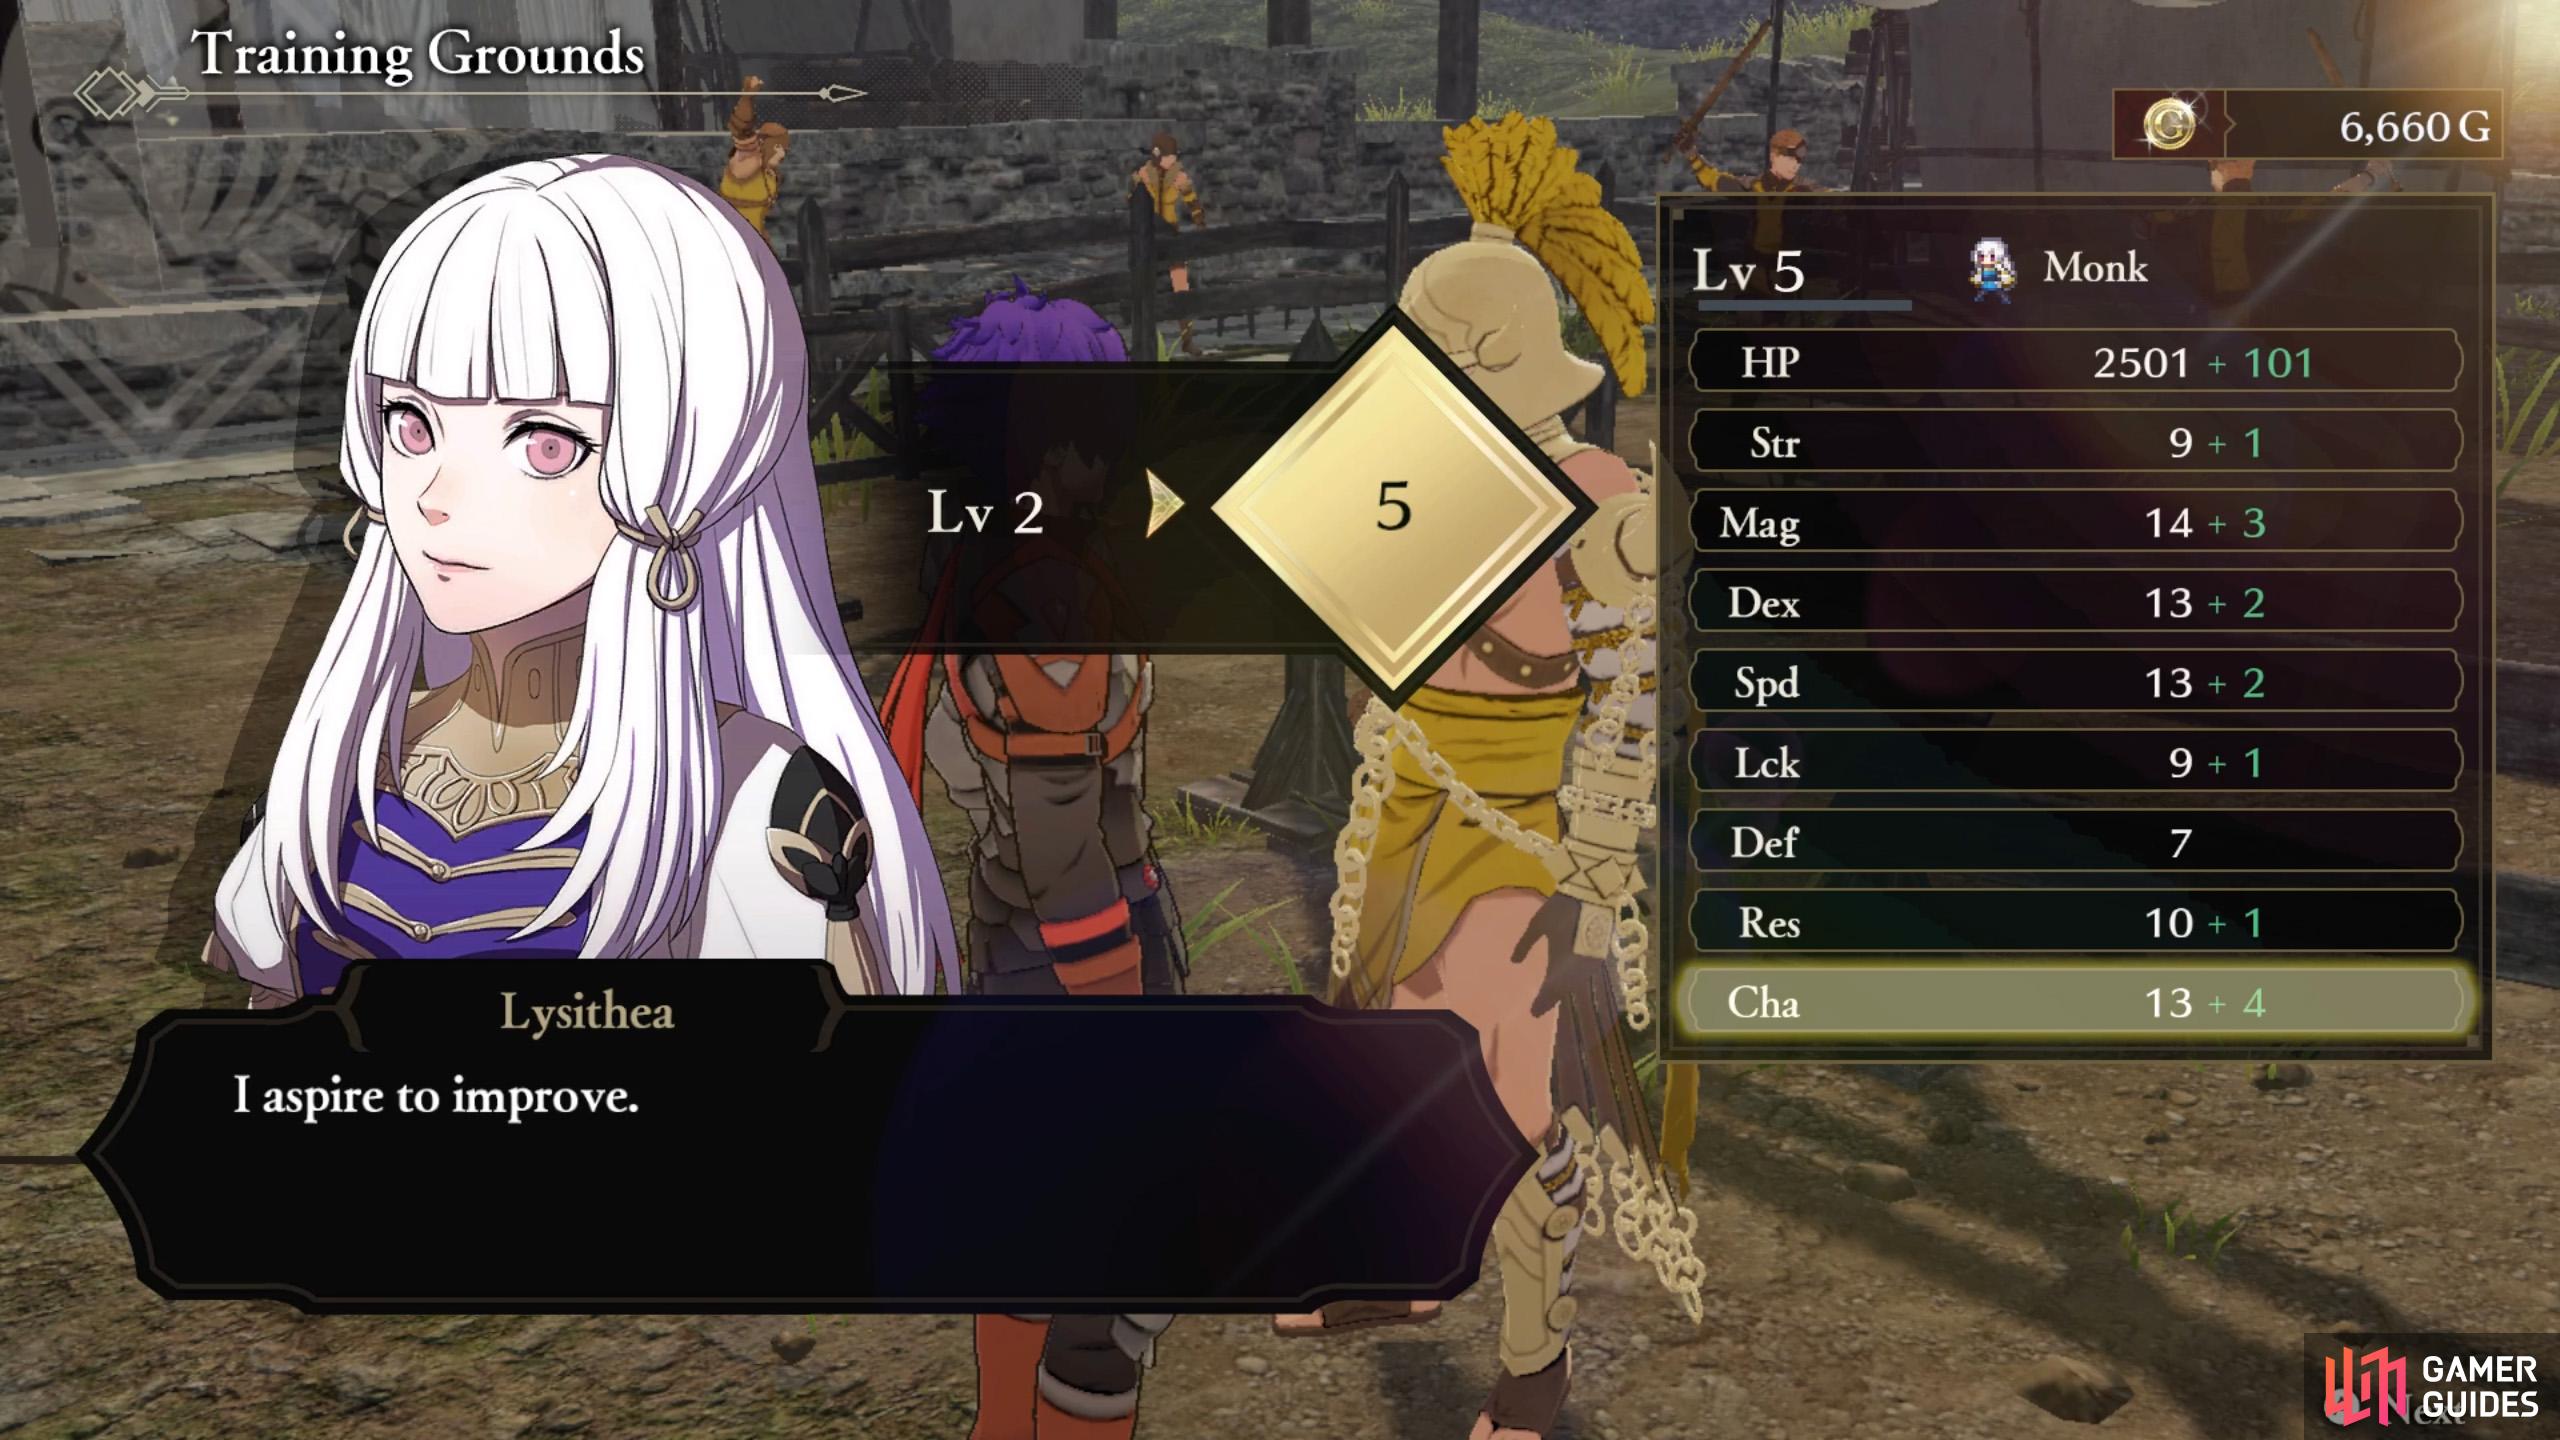
Train: Spend 1 Training Point to undertake a training session that raises everyone’s class levels. Useful for obtaining new classes and abilities. You can choose multiple pairs of characters and specify which class to train (doesn’t have to be their equipped one). This also raises support points within each pair.
Level Up/Reset: Spend Gold to Level Up characters–perfect if you’ve got stragglers. The highest Level party member determines the maximum Level you can increase to. Also, you can reset a character’s Level, so you can level them up again. This is because each class has slightly different growth, with higher tier classes having better growths.
Acquire Class: Use exam seals to obtain new classes for each character. To access higher tier classes, you need to master the corresponding lower tier class. Also, to unlock Advanced and Master classes, you need to expand this facility (not available right now).
Mock Battle: Choose this to initiate a non-dangerous practice fight with up to two controllable allies. A nice, safe way to learn your characters’ move sets, combos, etc.
Armorer
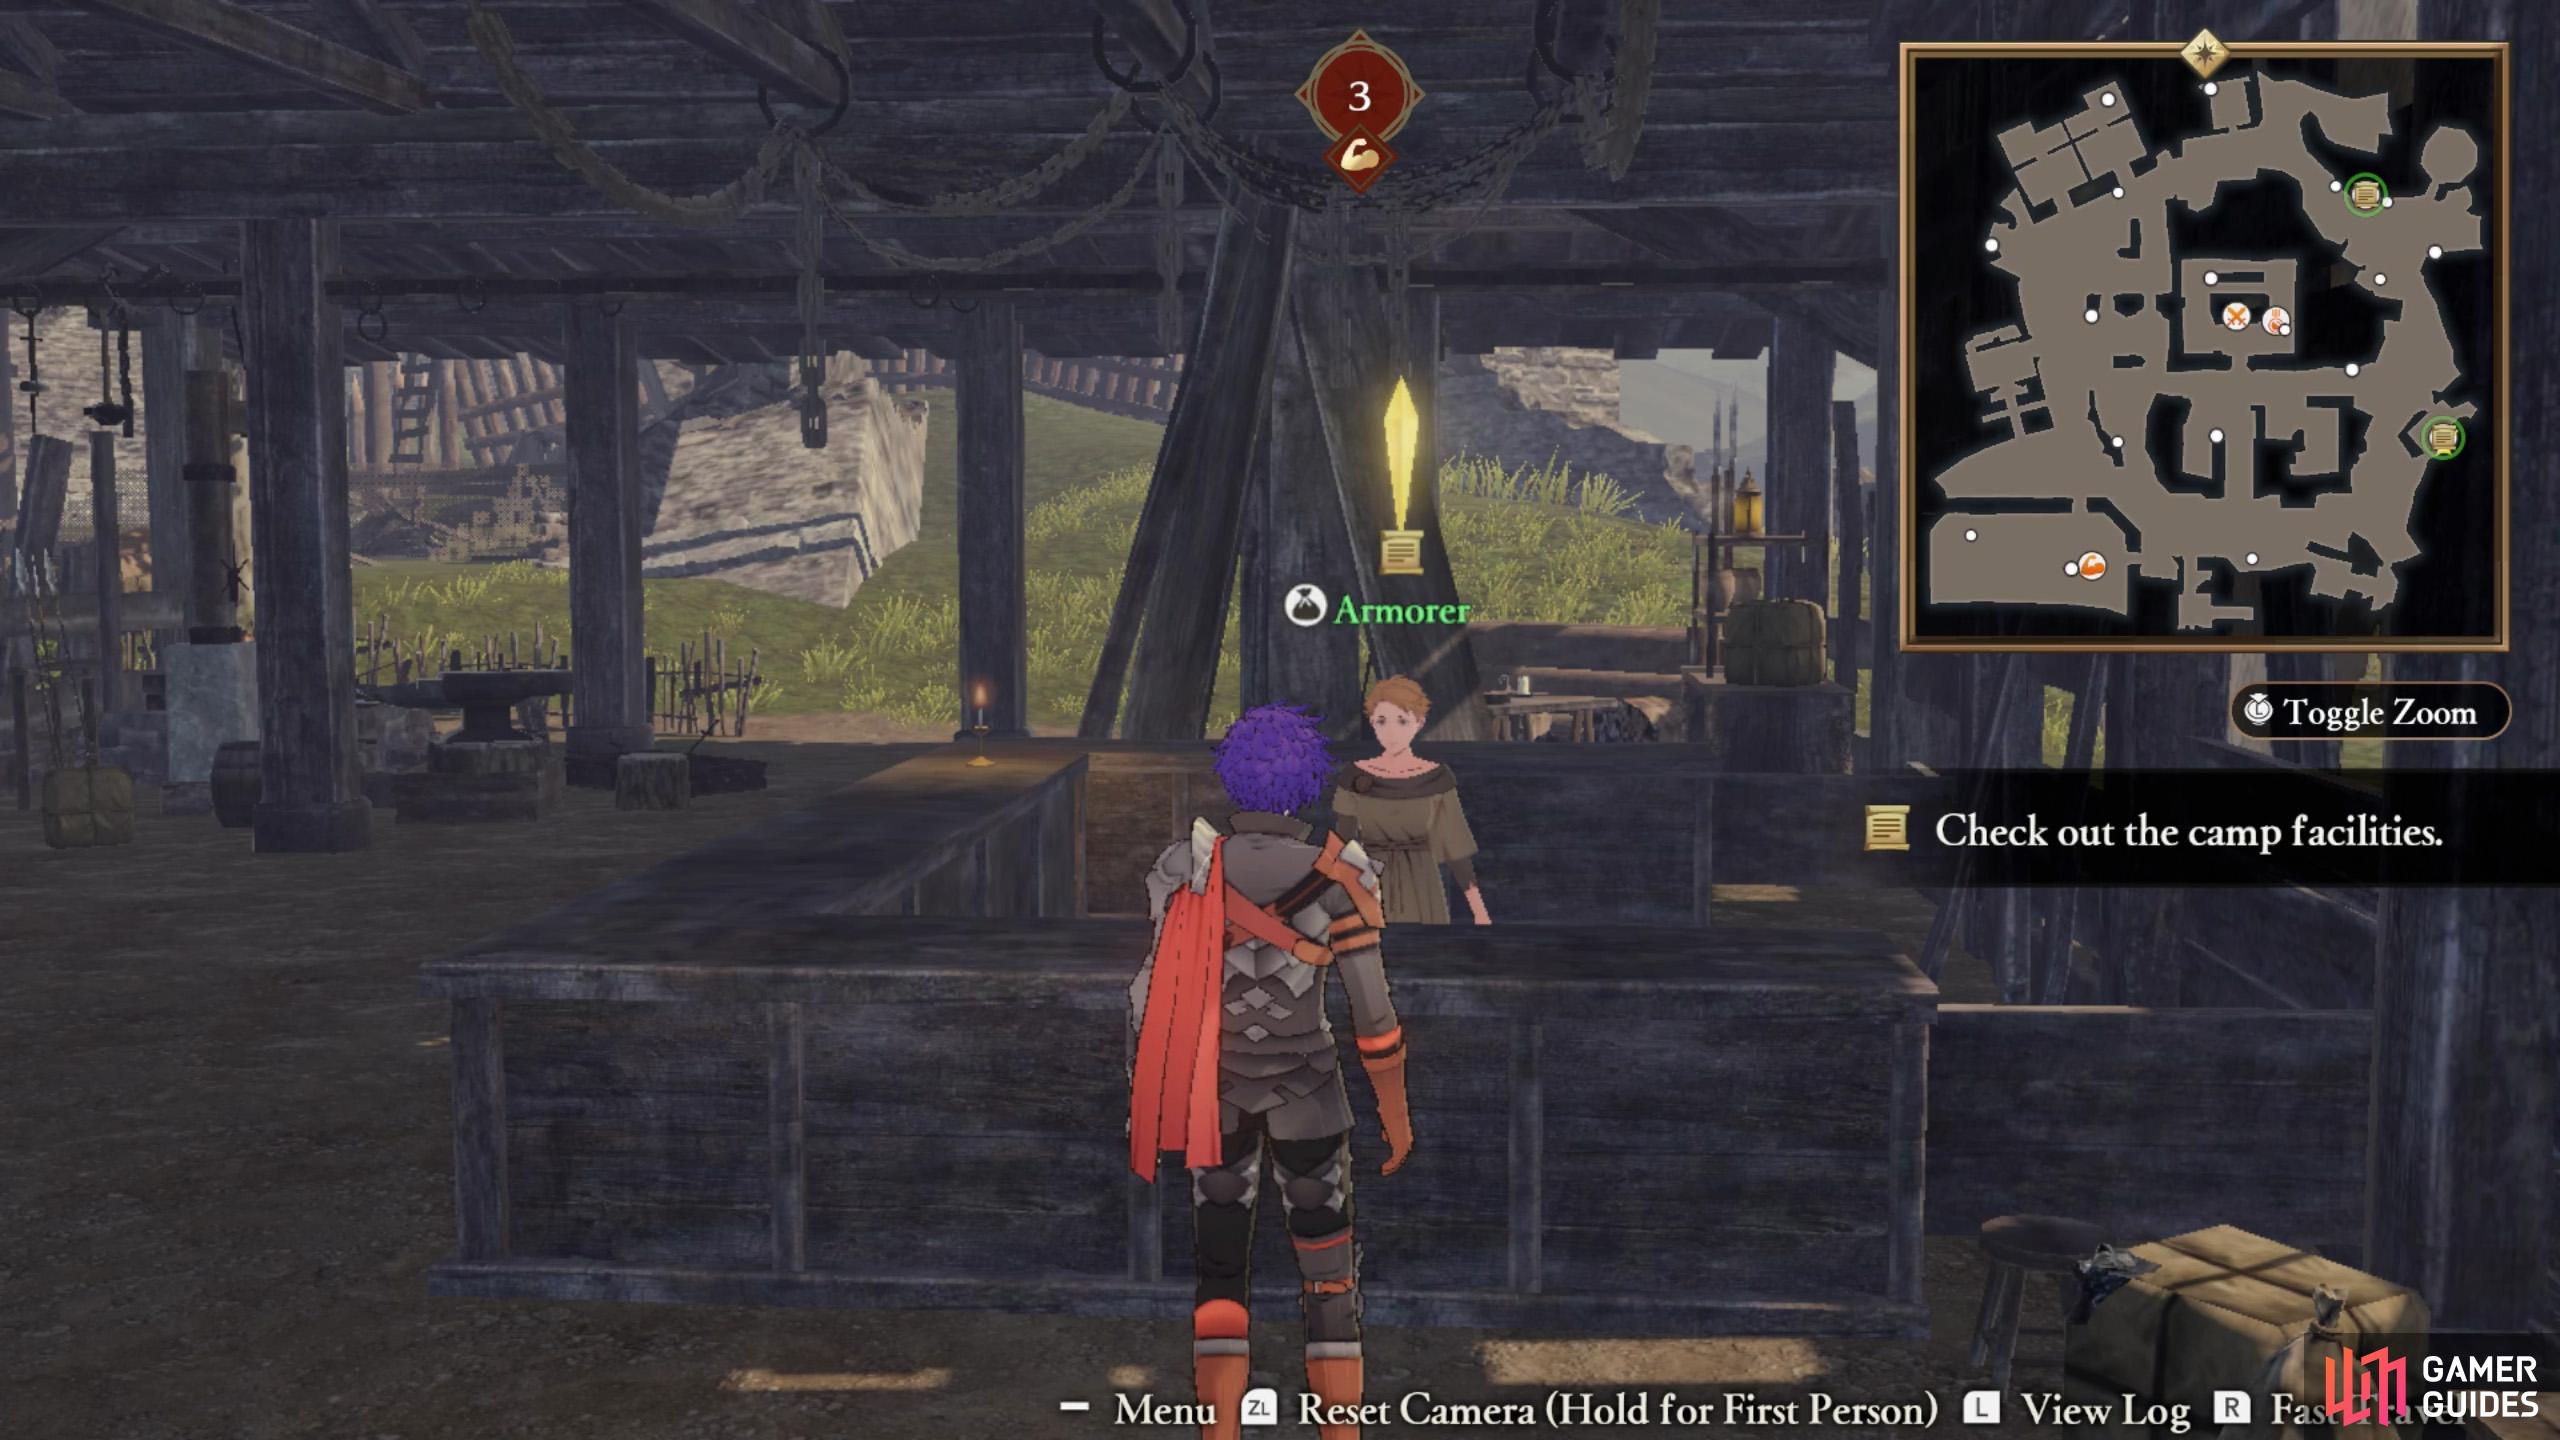
The Armorer is your gal for new equipment.
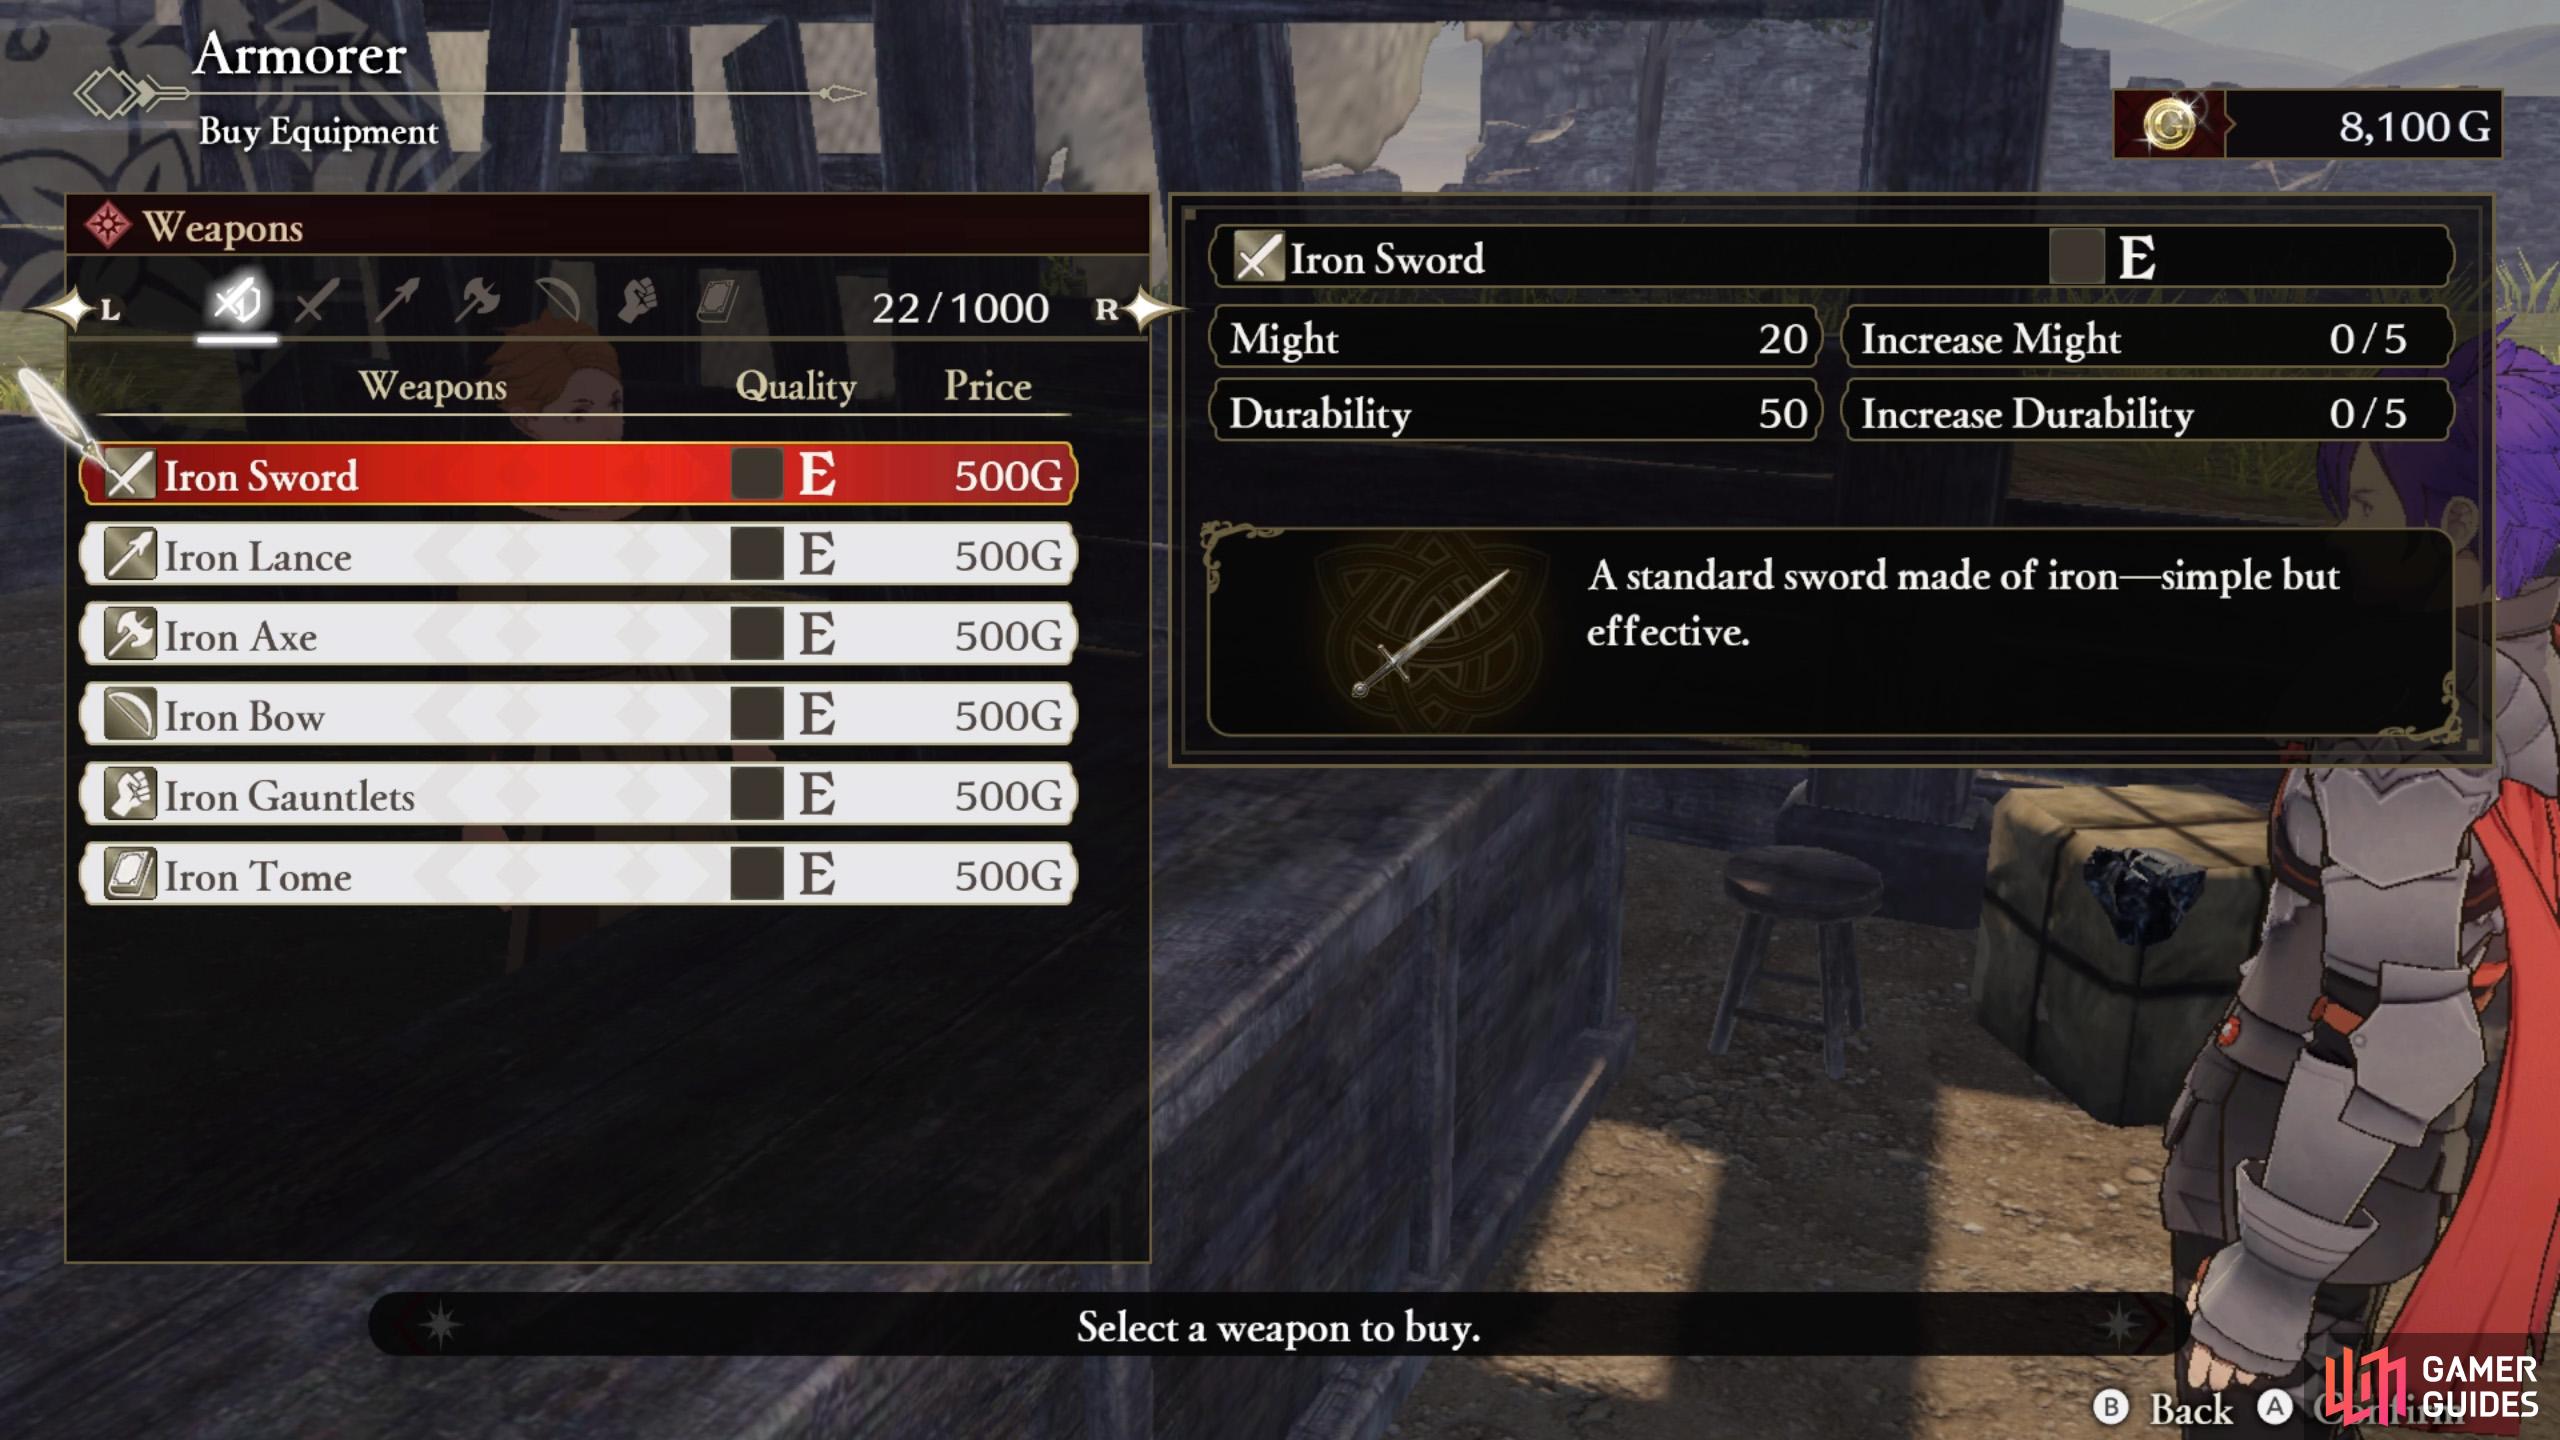
Although there isn’t much of interest right now.
If you’re seeking new gear, go and find this lady near the east side of the camp. You can purchase various weaponry, from swords to gauntlets. Remember that what weapons a character can equip depends on their class.
Item Shopkeeper
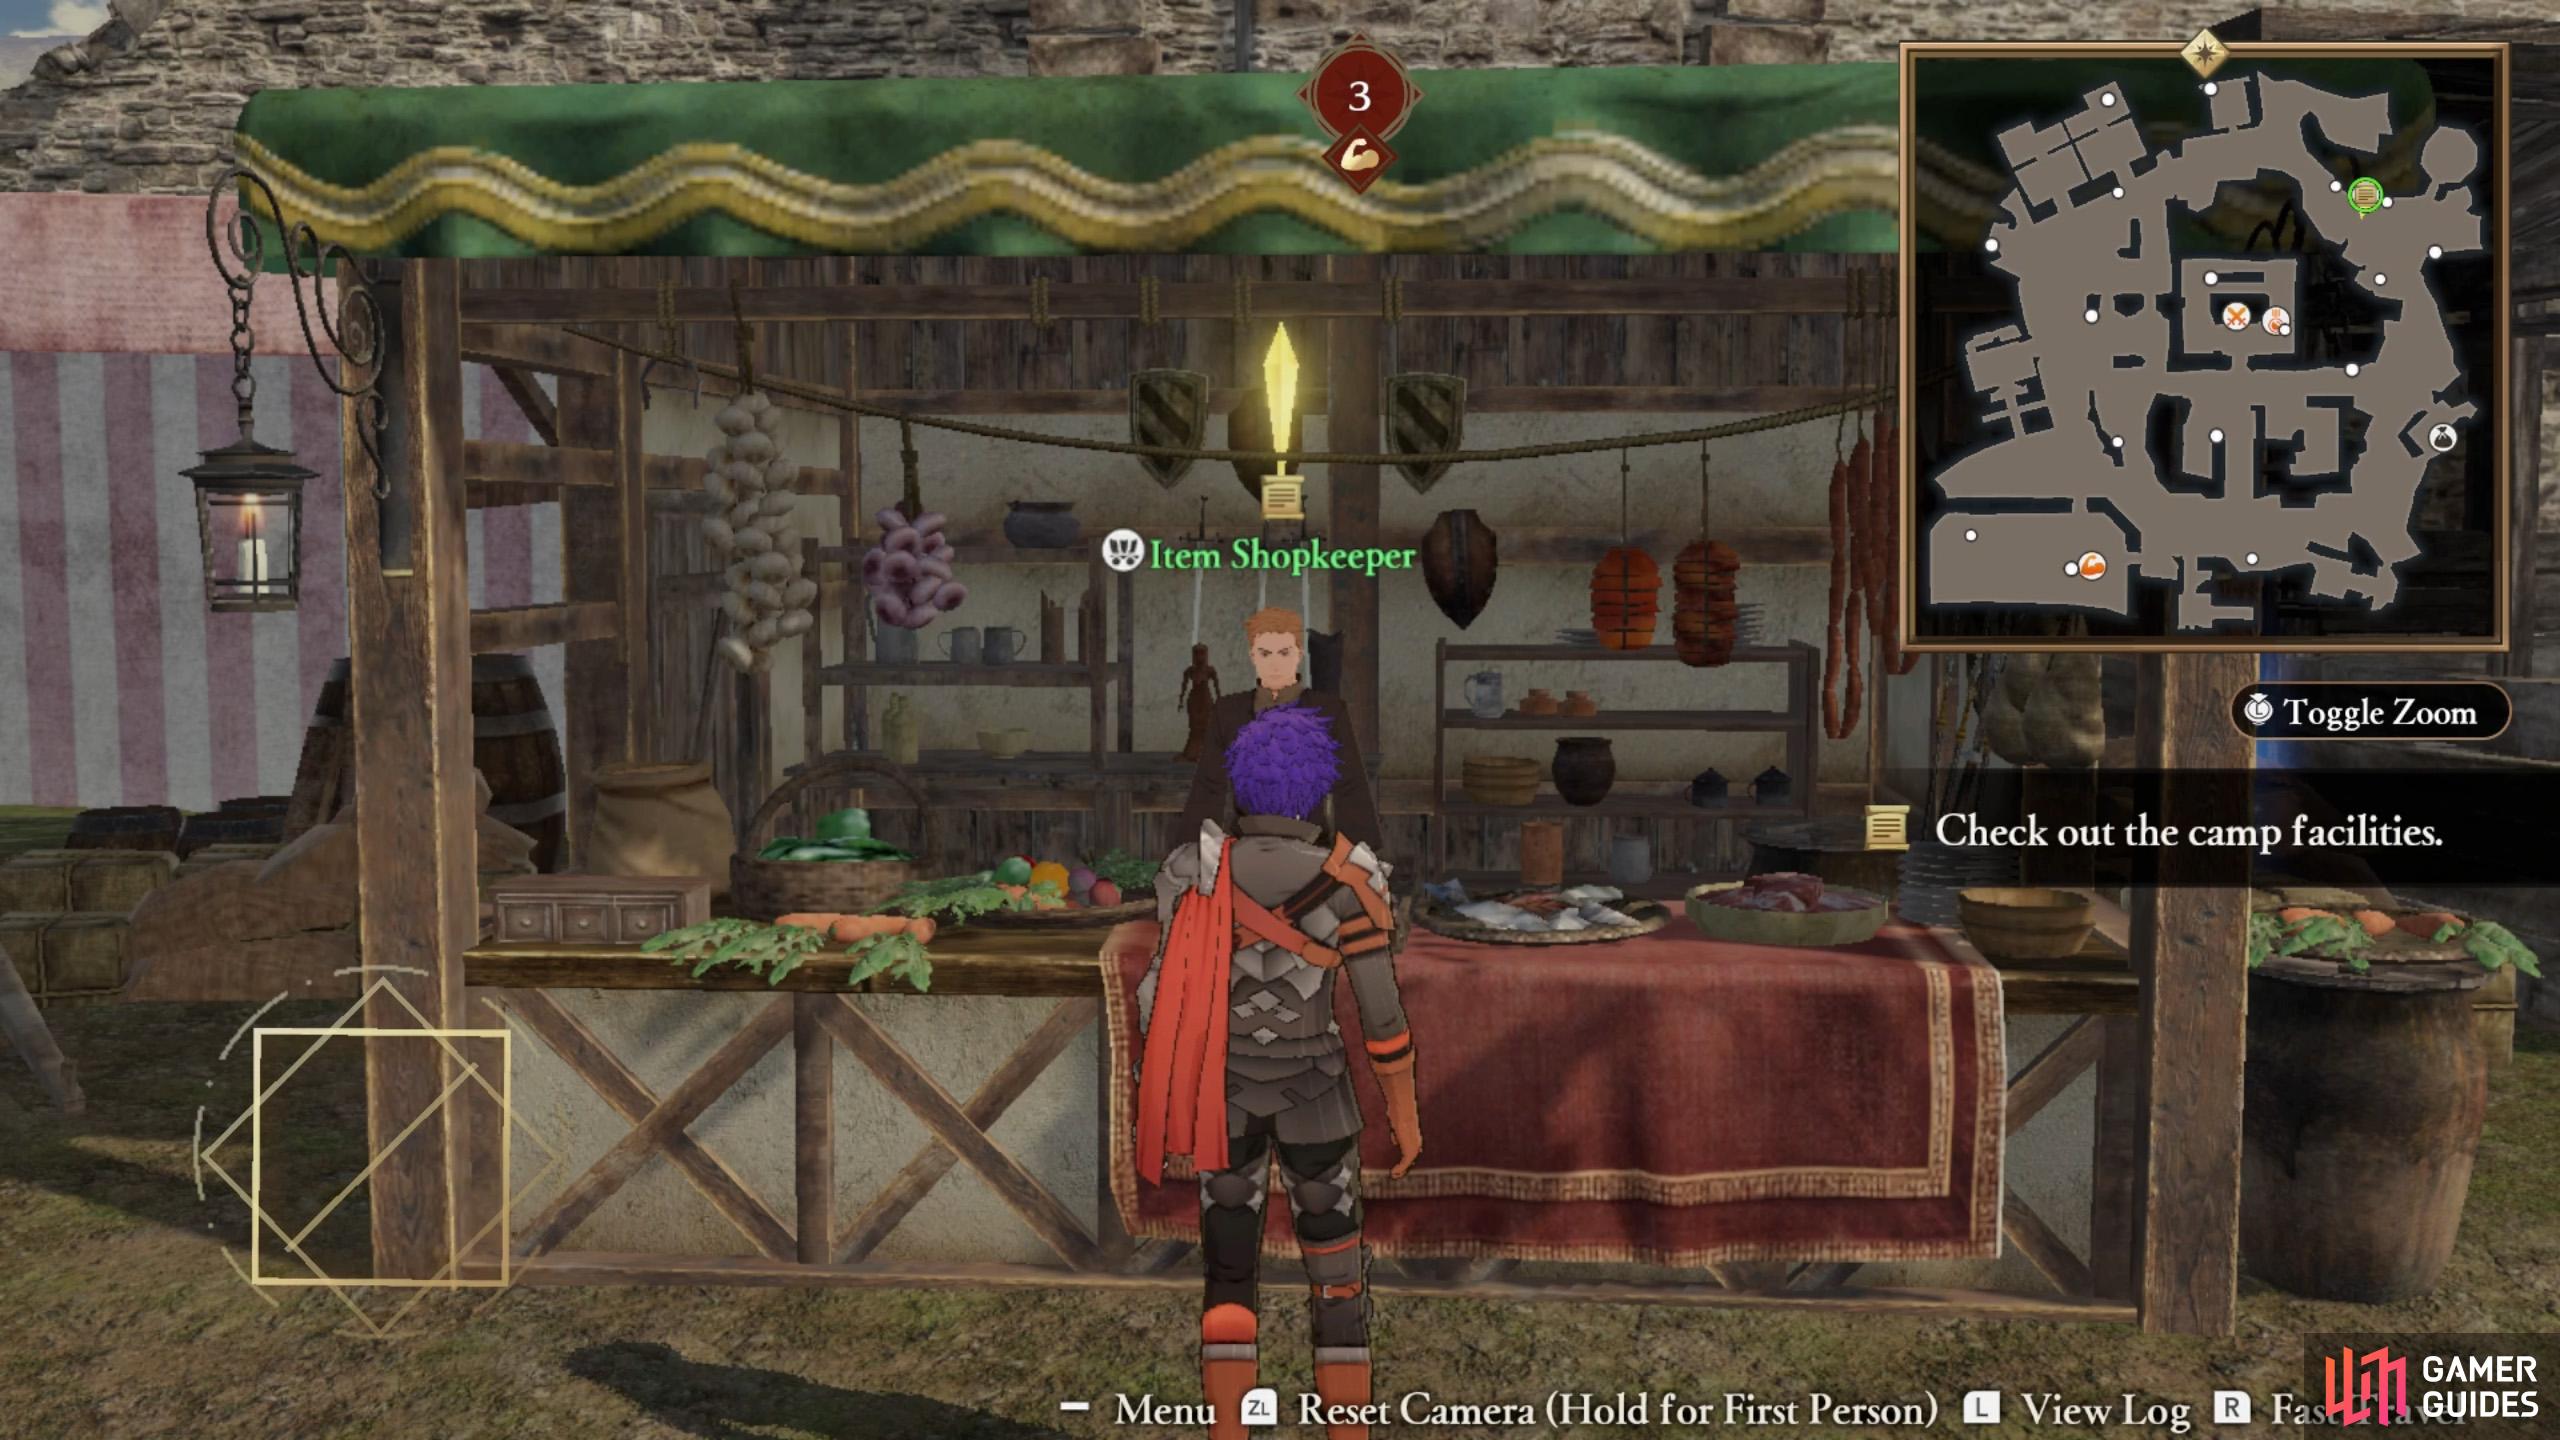
The Item Shopkeeper deals with, well, items.
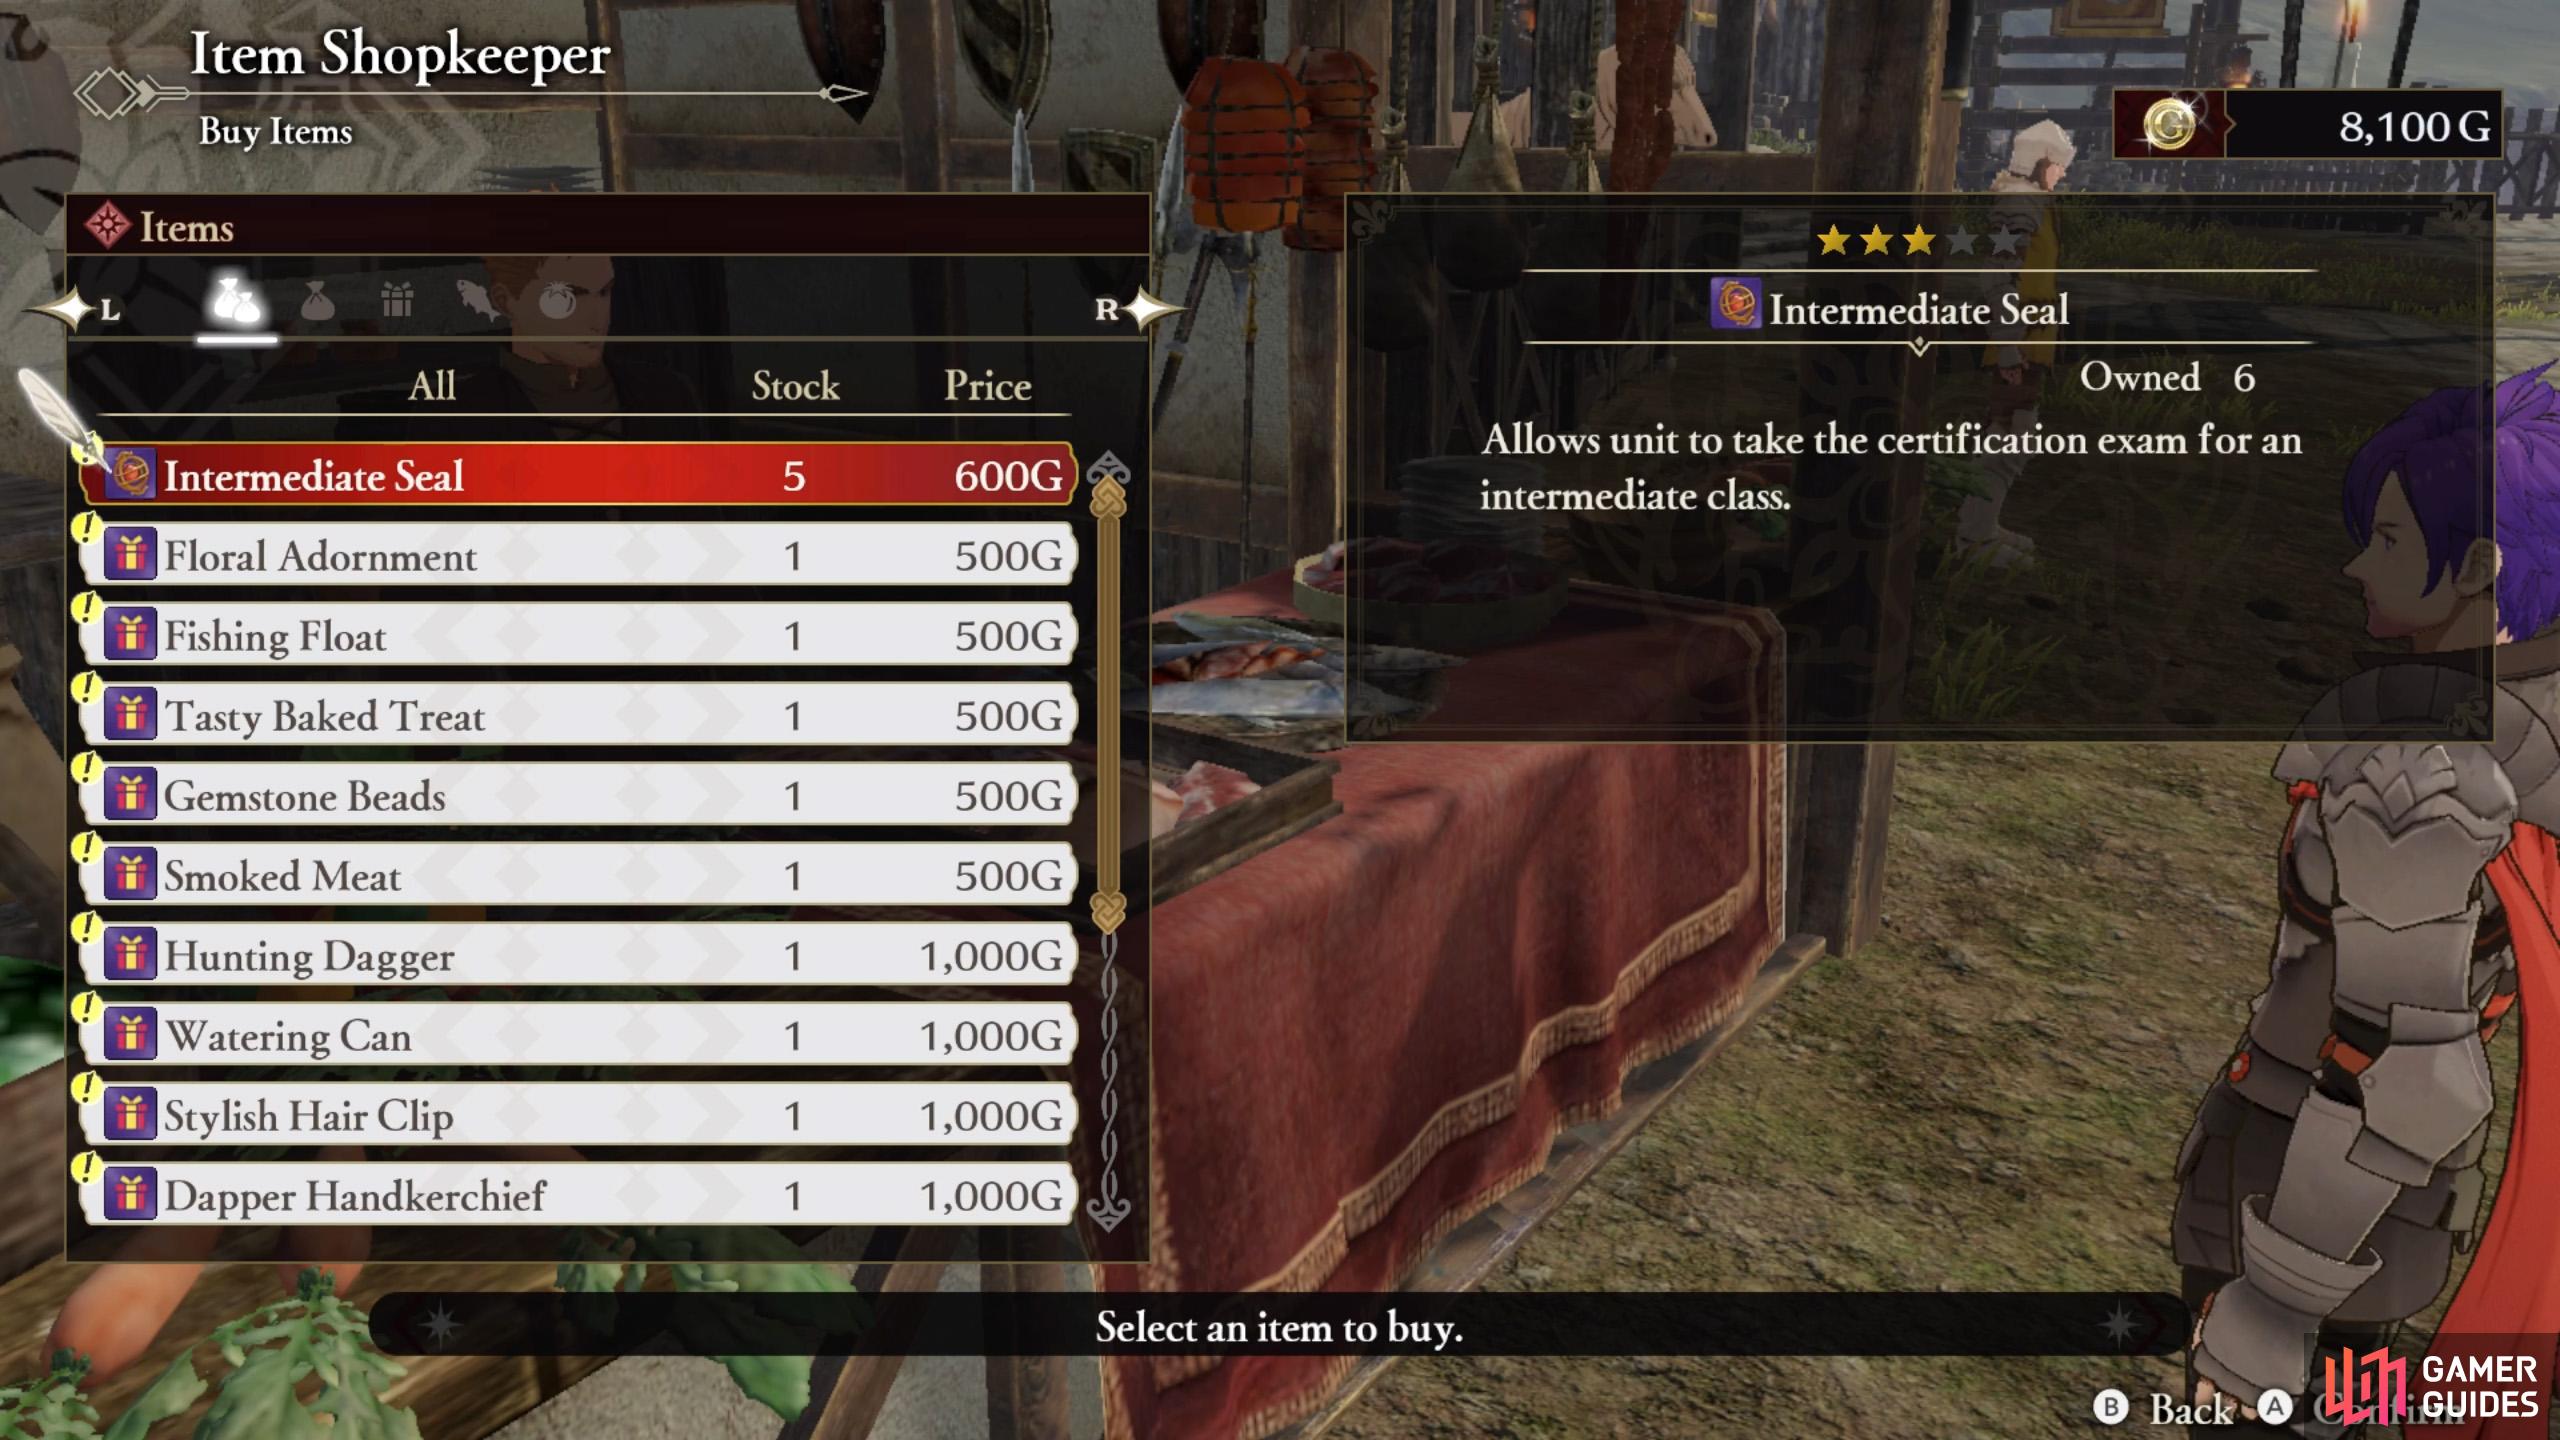
If you have spare cash, we suggest grabbing anything useful before they restock next chapter.
This bloke is peddling his wares towards the north-east corner of the camp. You can buy exam seals (required for changing class), gifts (give to characters to increase support points with them) and ingredients (used for cooking, obviously) from him.
Reward Master
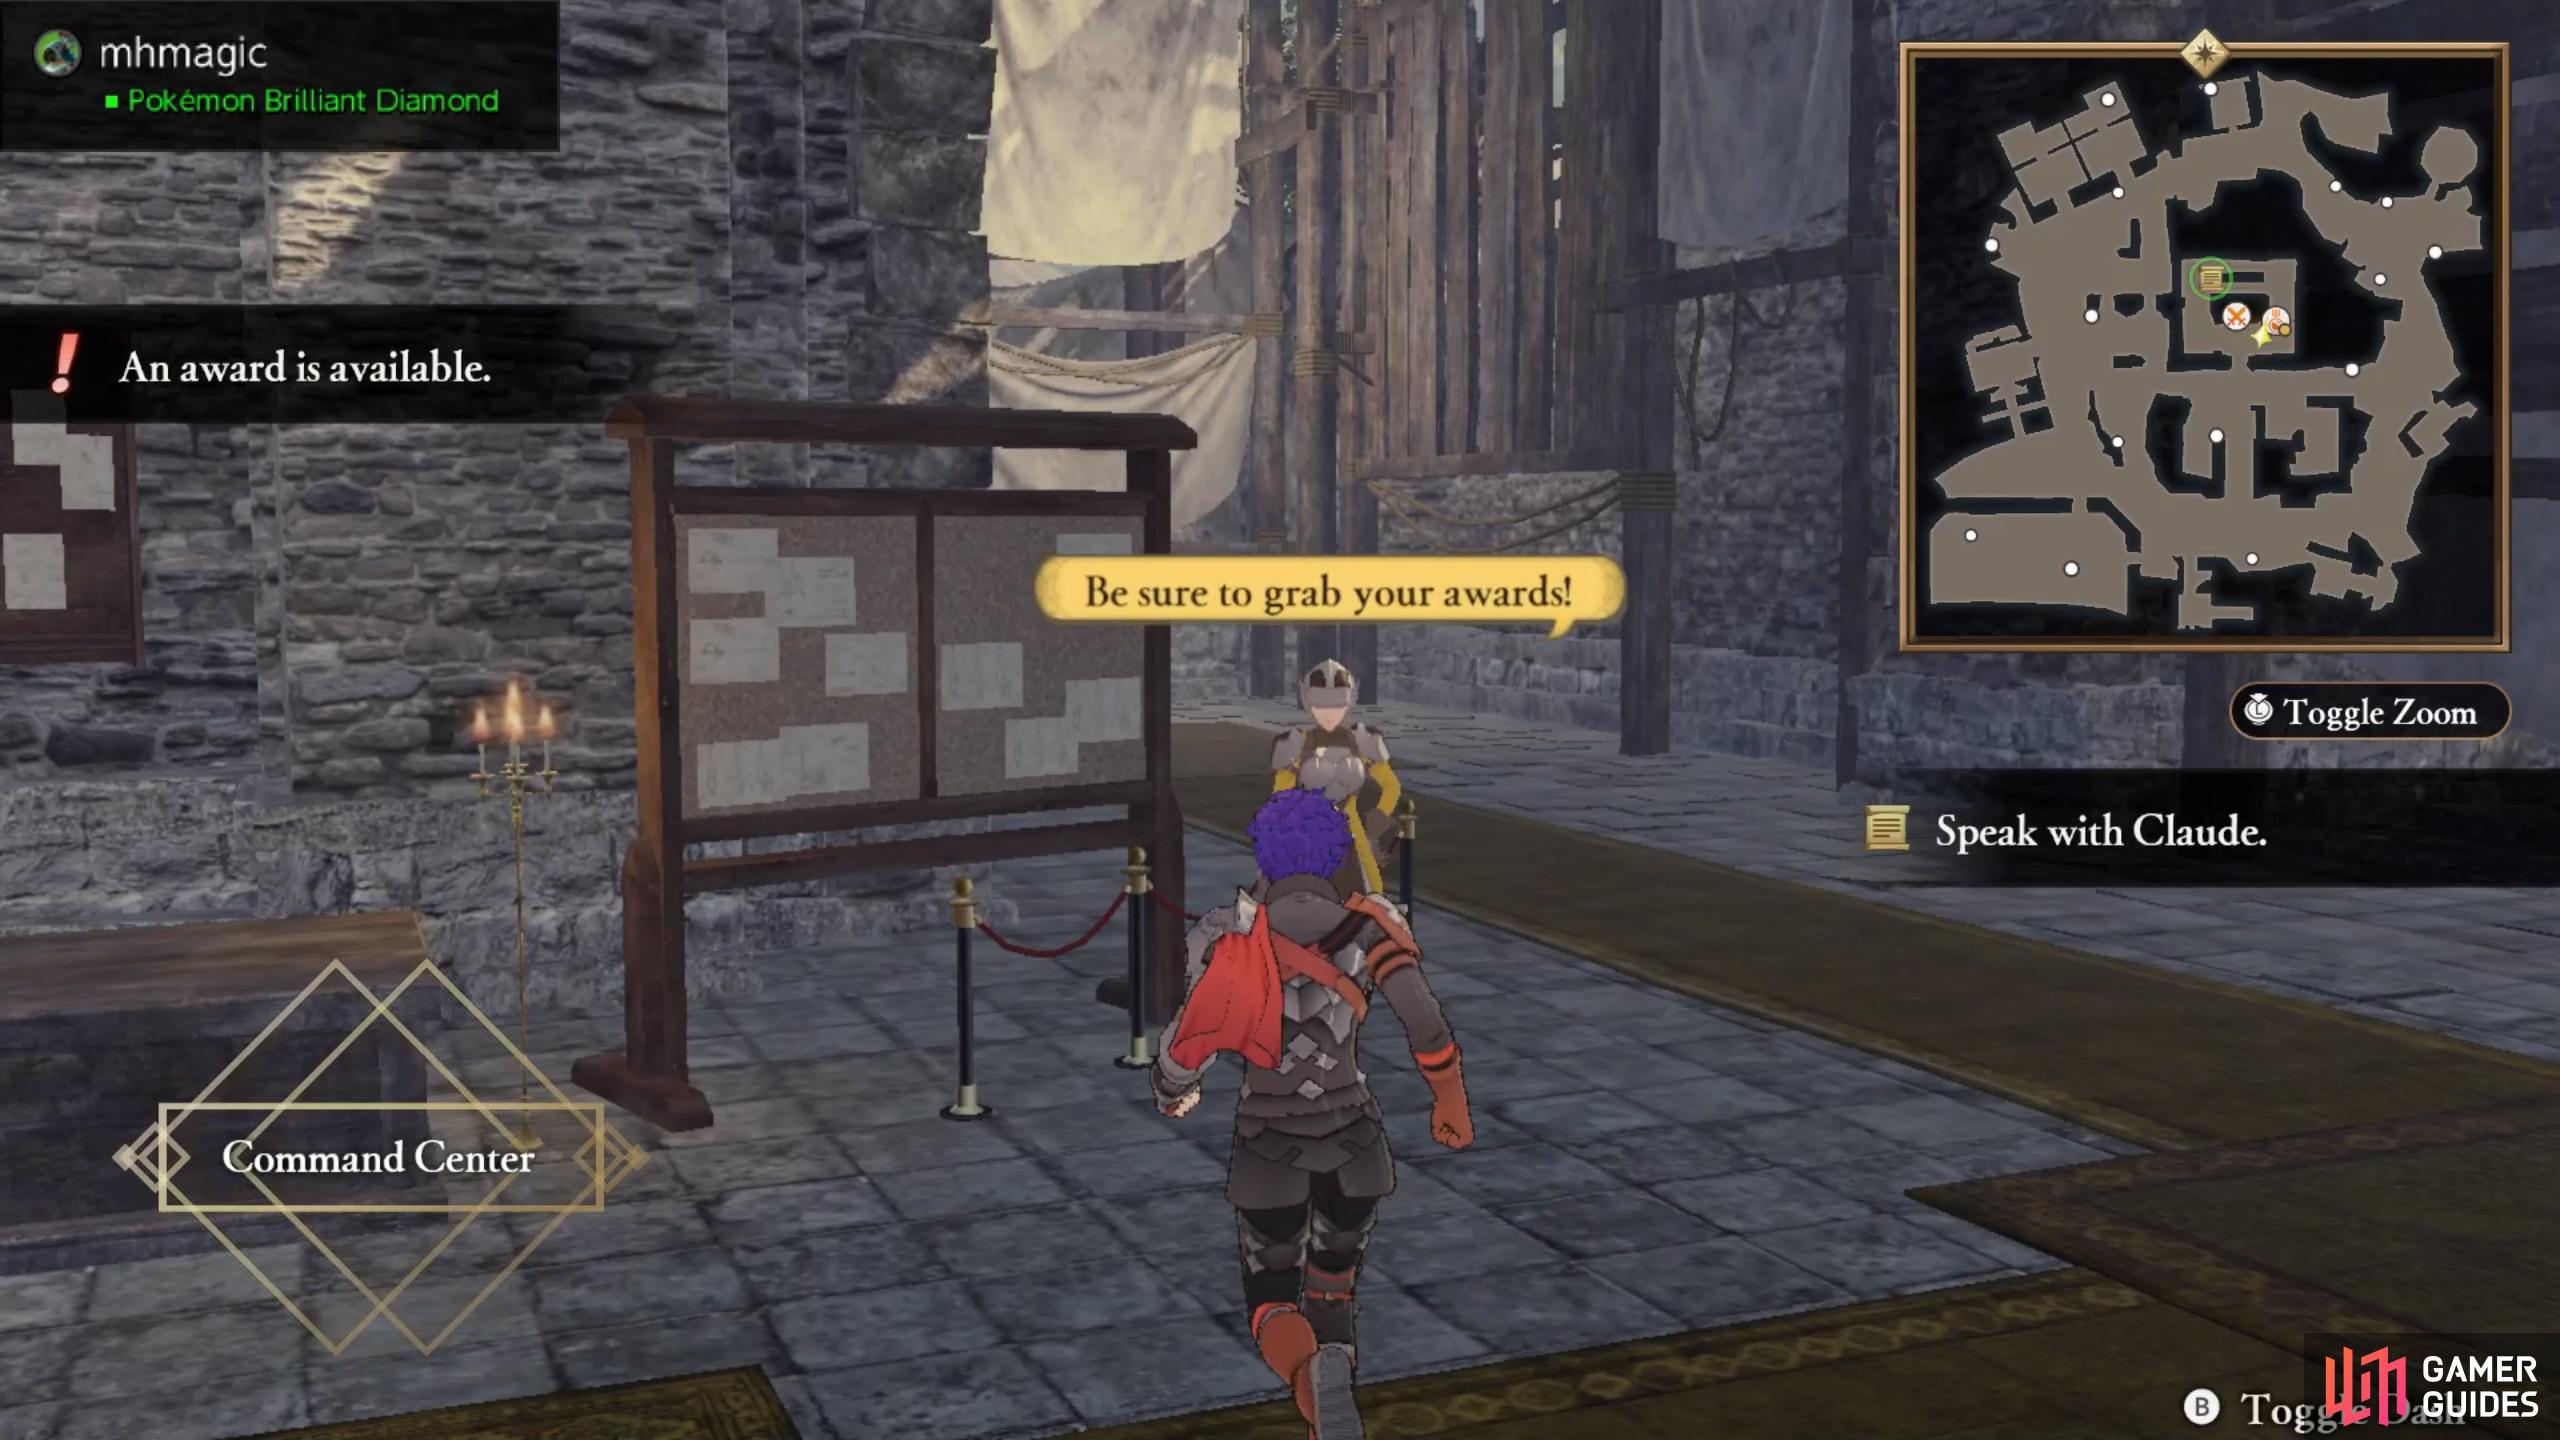
As you play the game, you’ll naturally unlock Achievements.
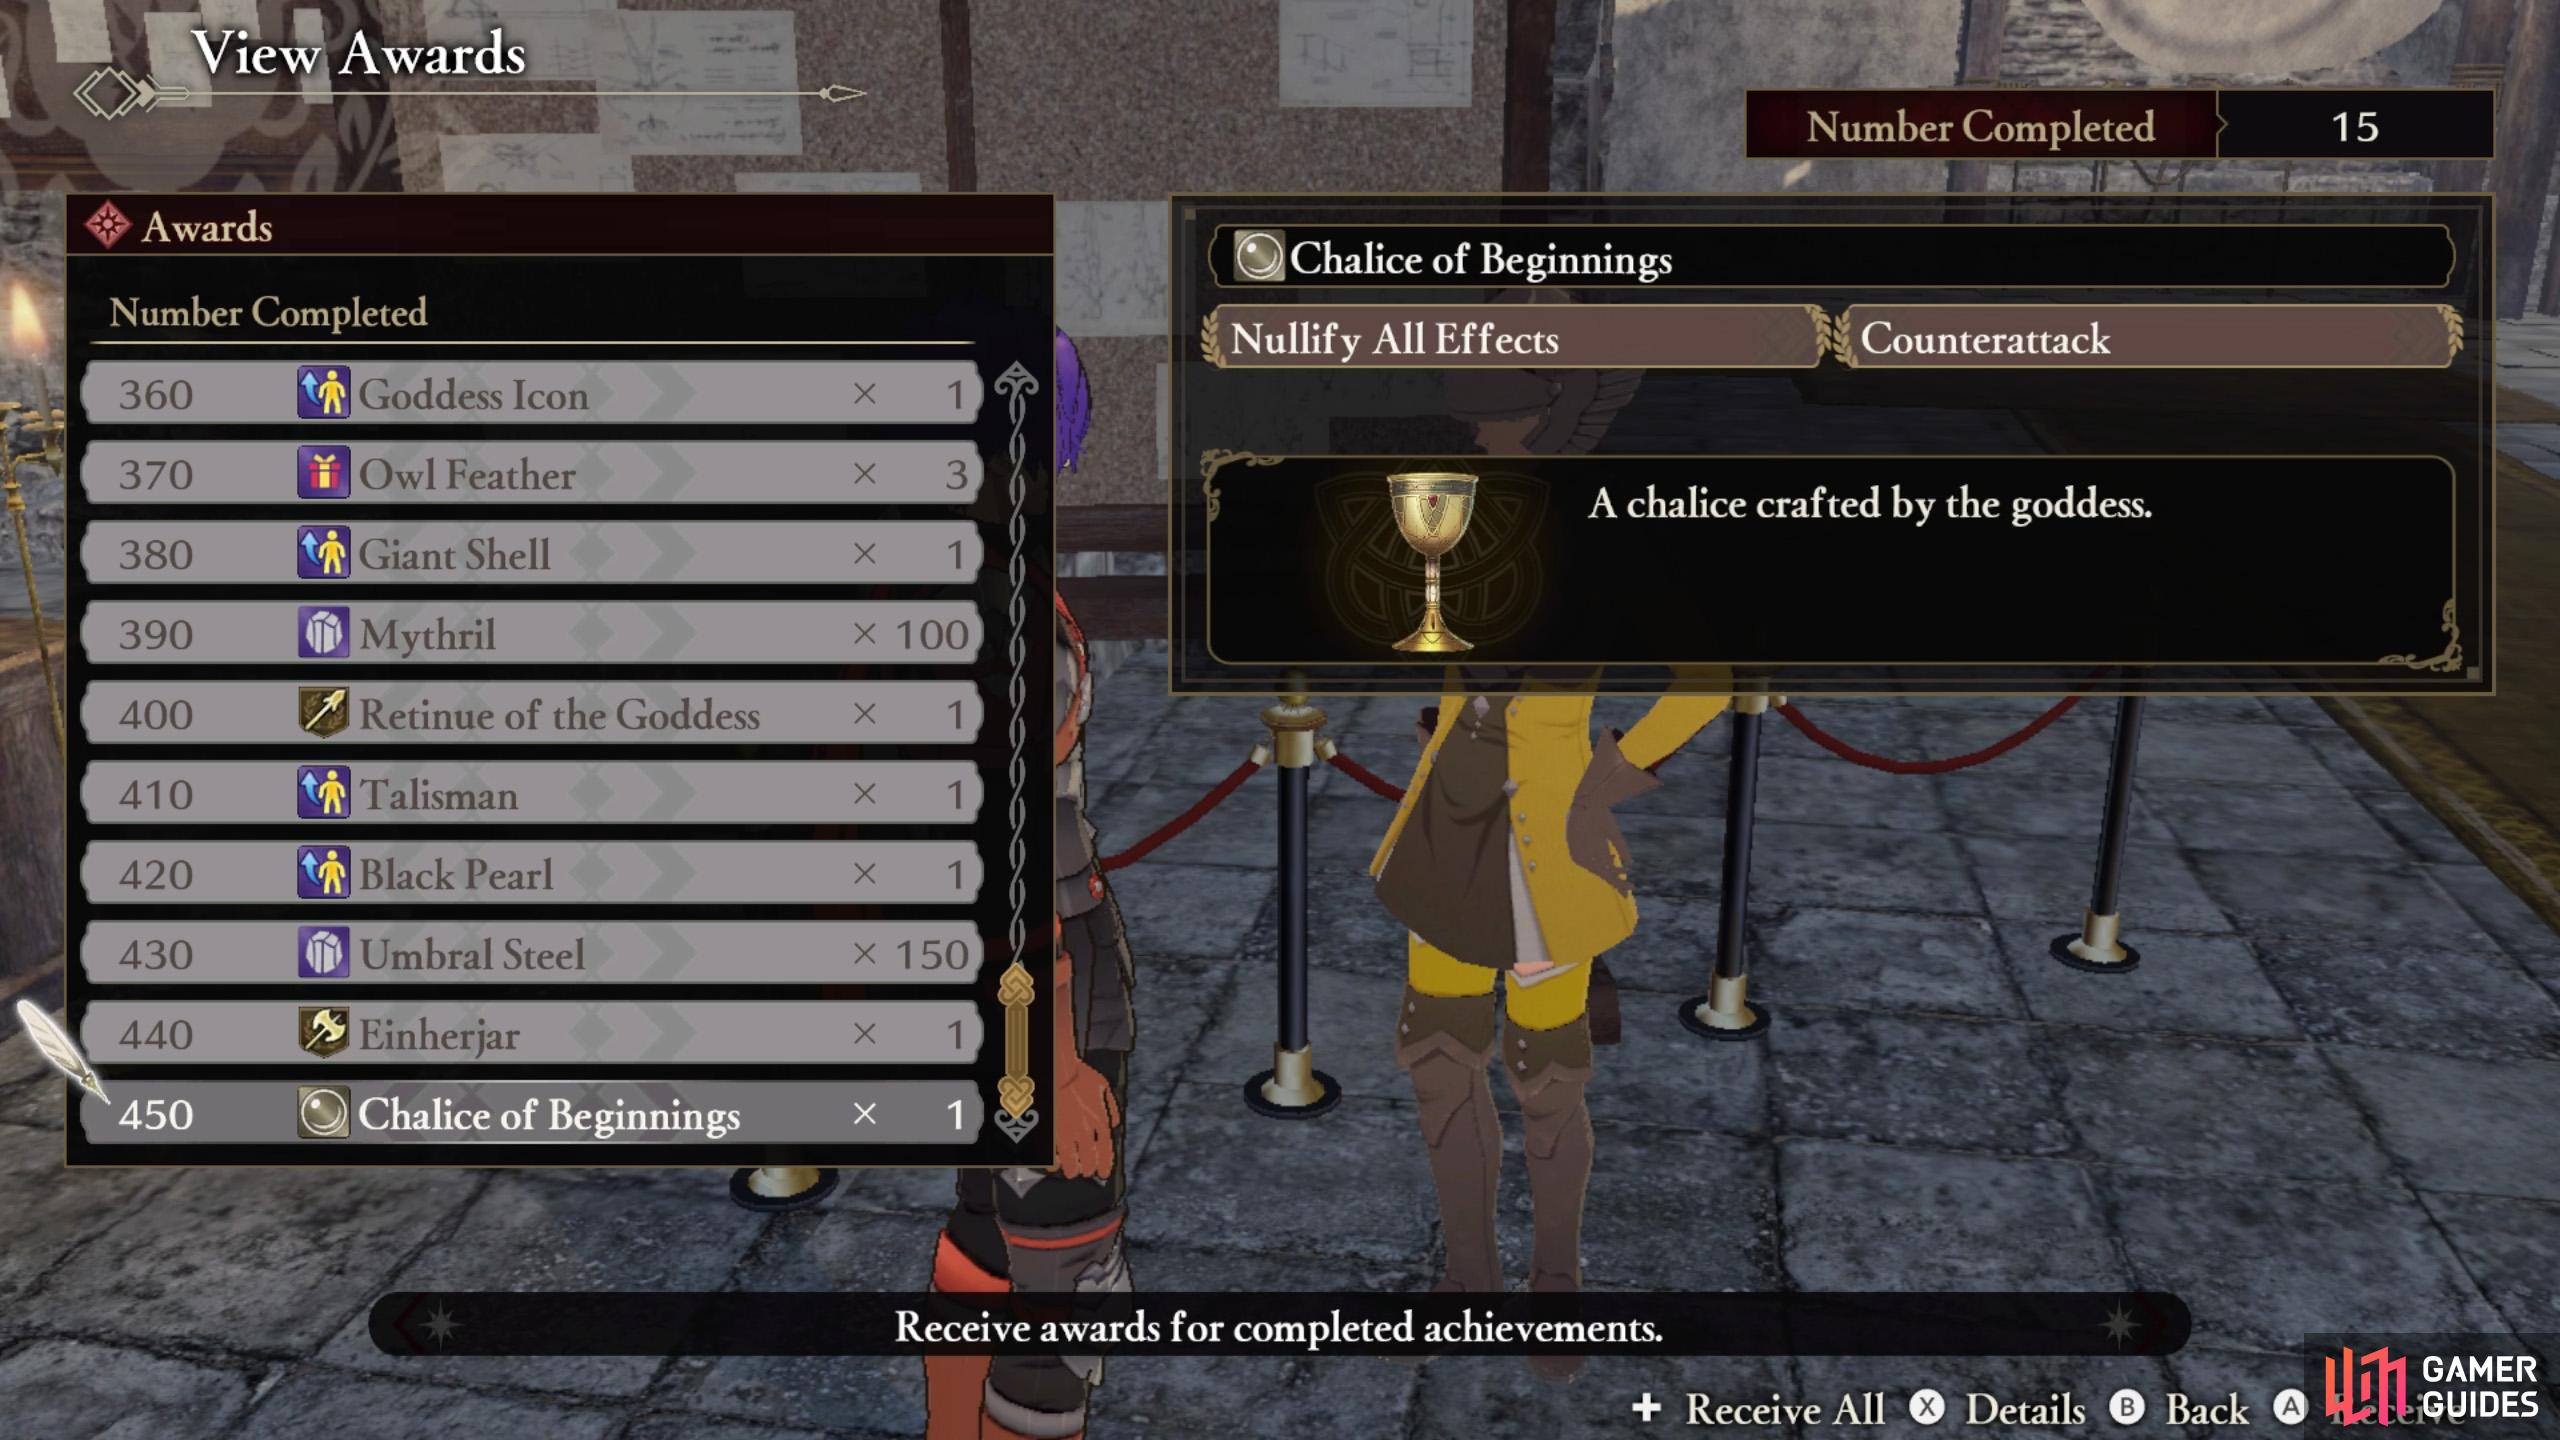
Depending on the number of completed Achievements, you can grab some cool gifts!
You don’t have to visit her to progress, but it’s worth pointing out all the same. You’ll find standing to the right of the front desk at the central building. As you obtain Achievements by playing the game, you can claim rewards after surpassing certain thresholds. These include exam seals, stat-boosters, battalions etc.
Speak With the Strategist
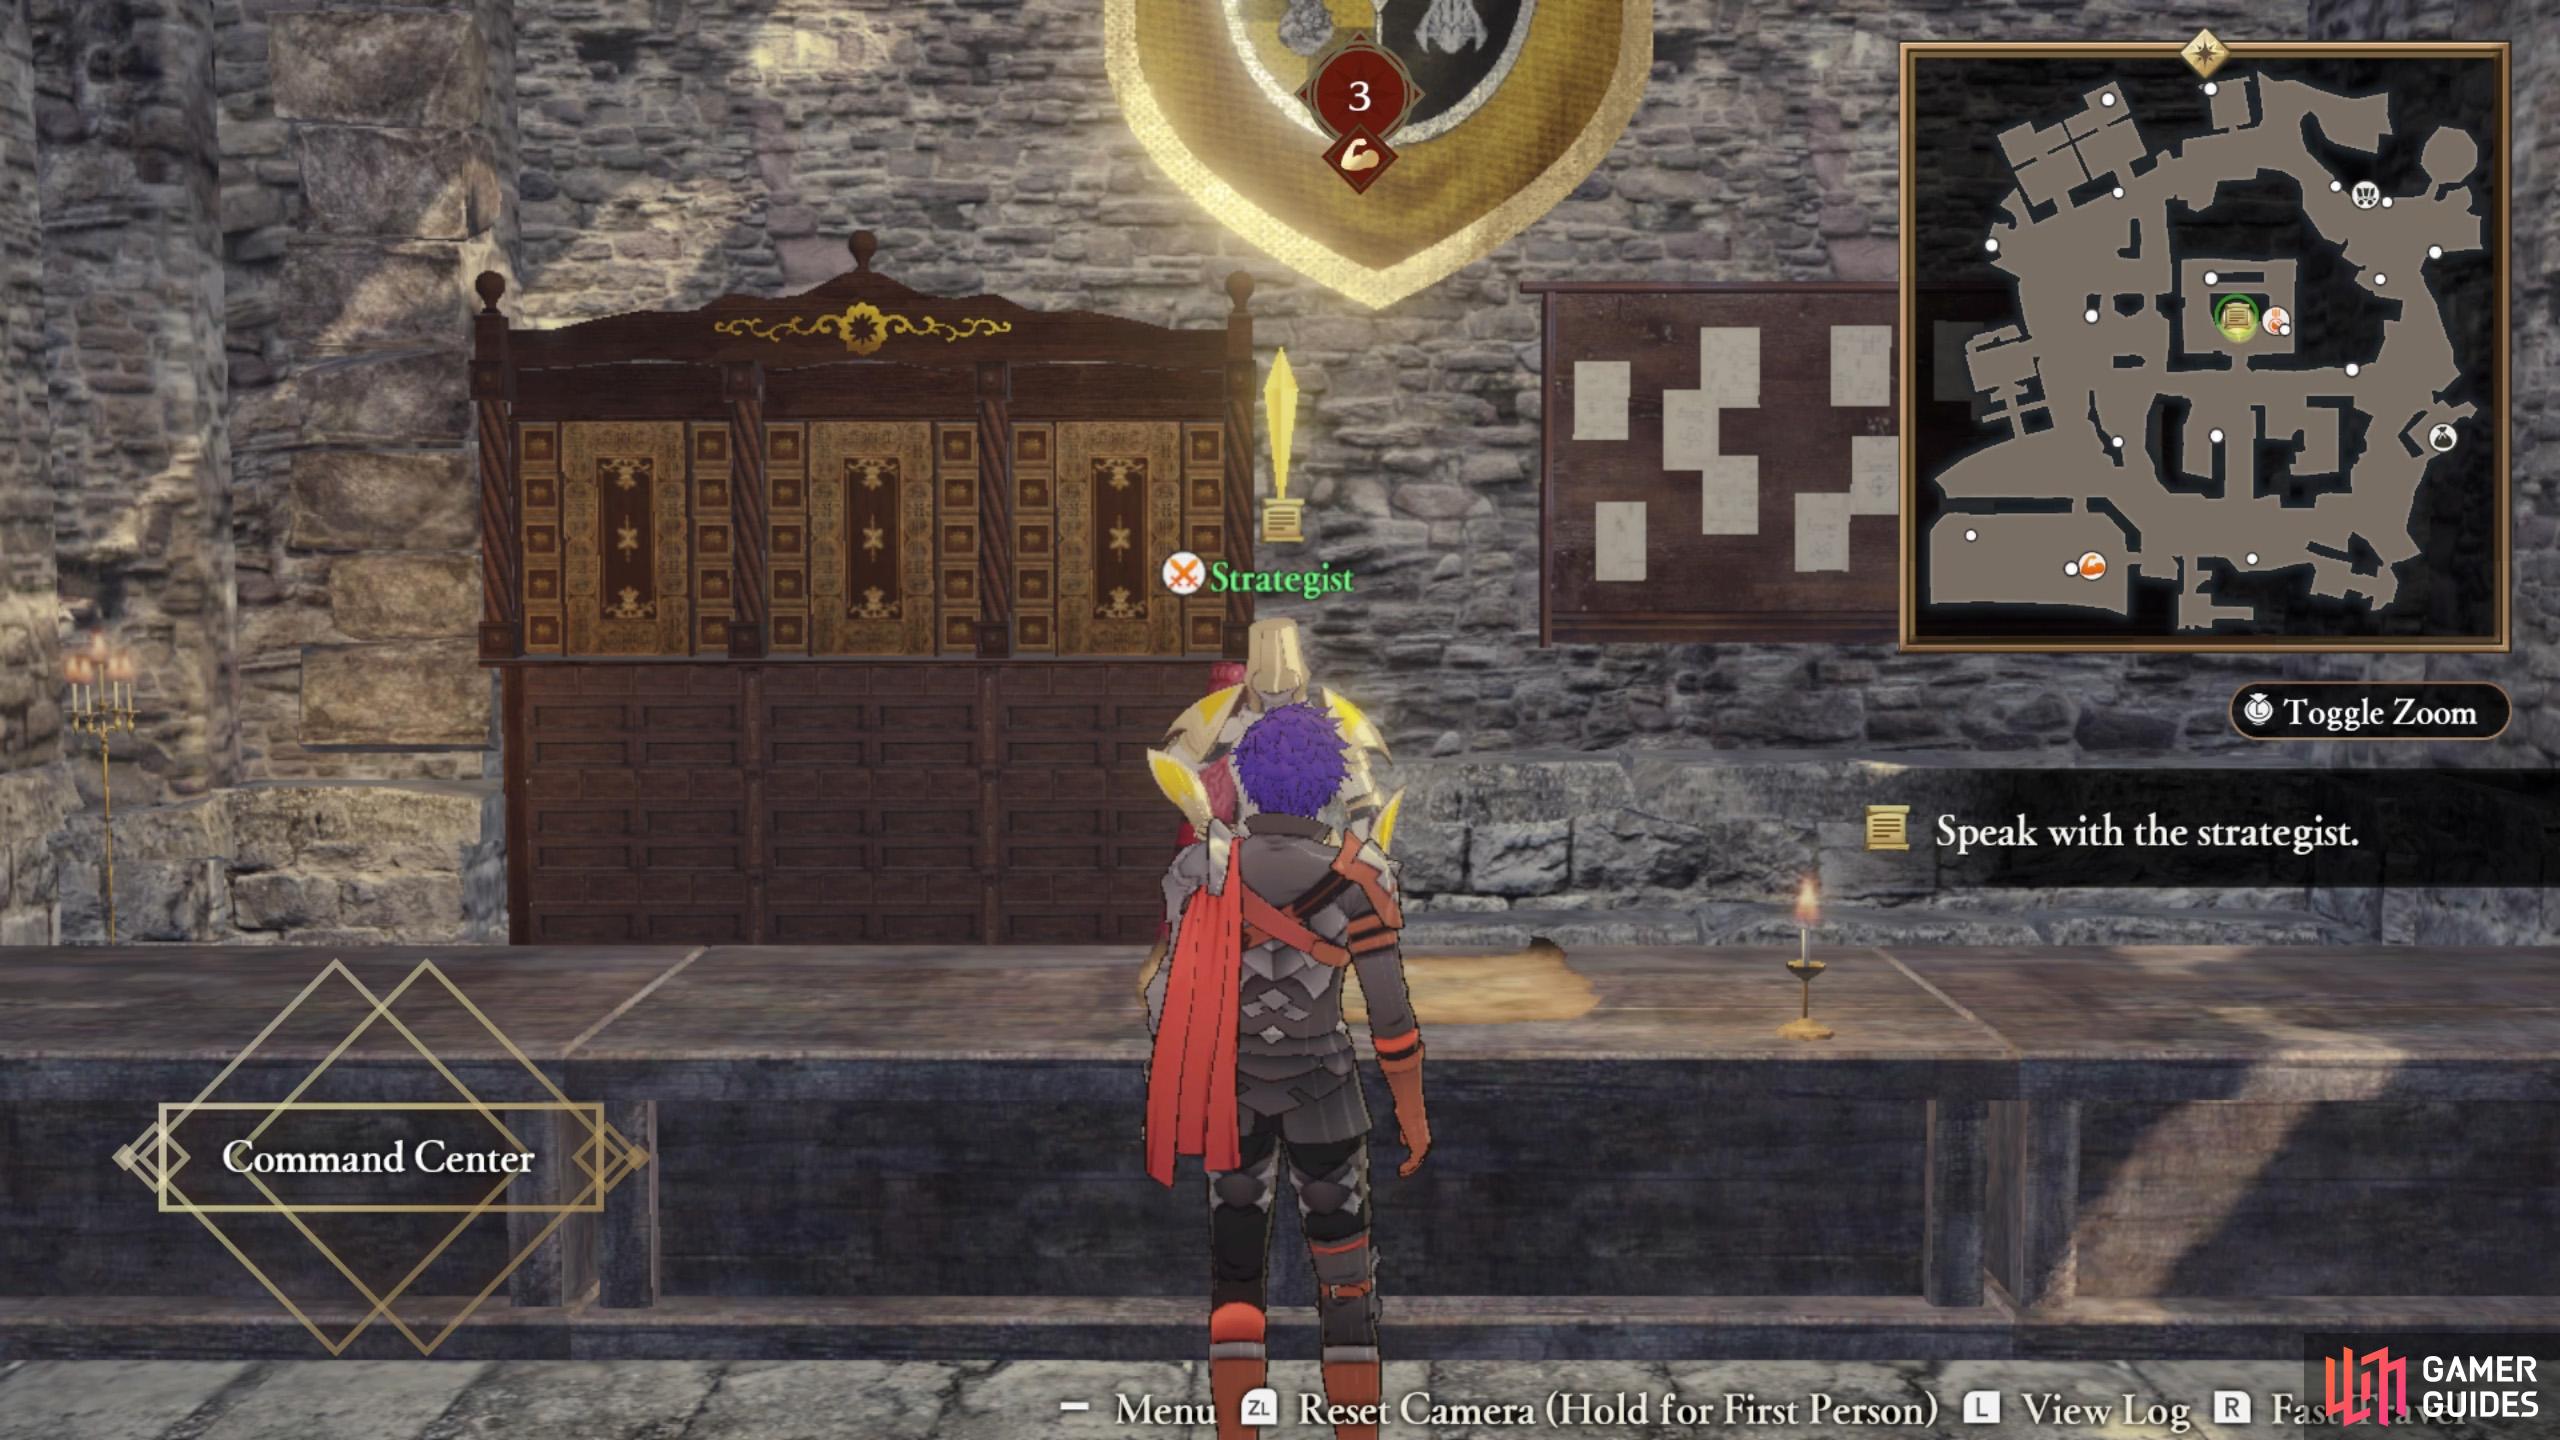
Check in with the Strategist to view the War Map.
Here, you can fight your way to the Main Quest.
Having checked out the three facilities marked on the mini-map, return to the central building and speak to the Strategist at the front desk. This will take you to the War Map. You can also open the War Map by pressing  while in the camp.
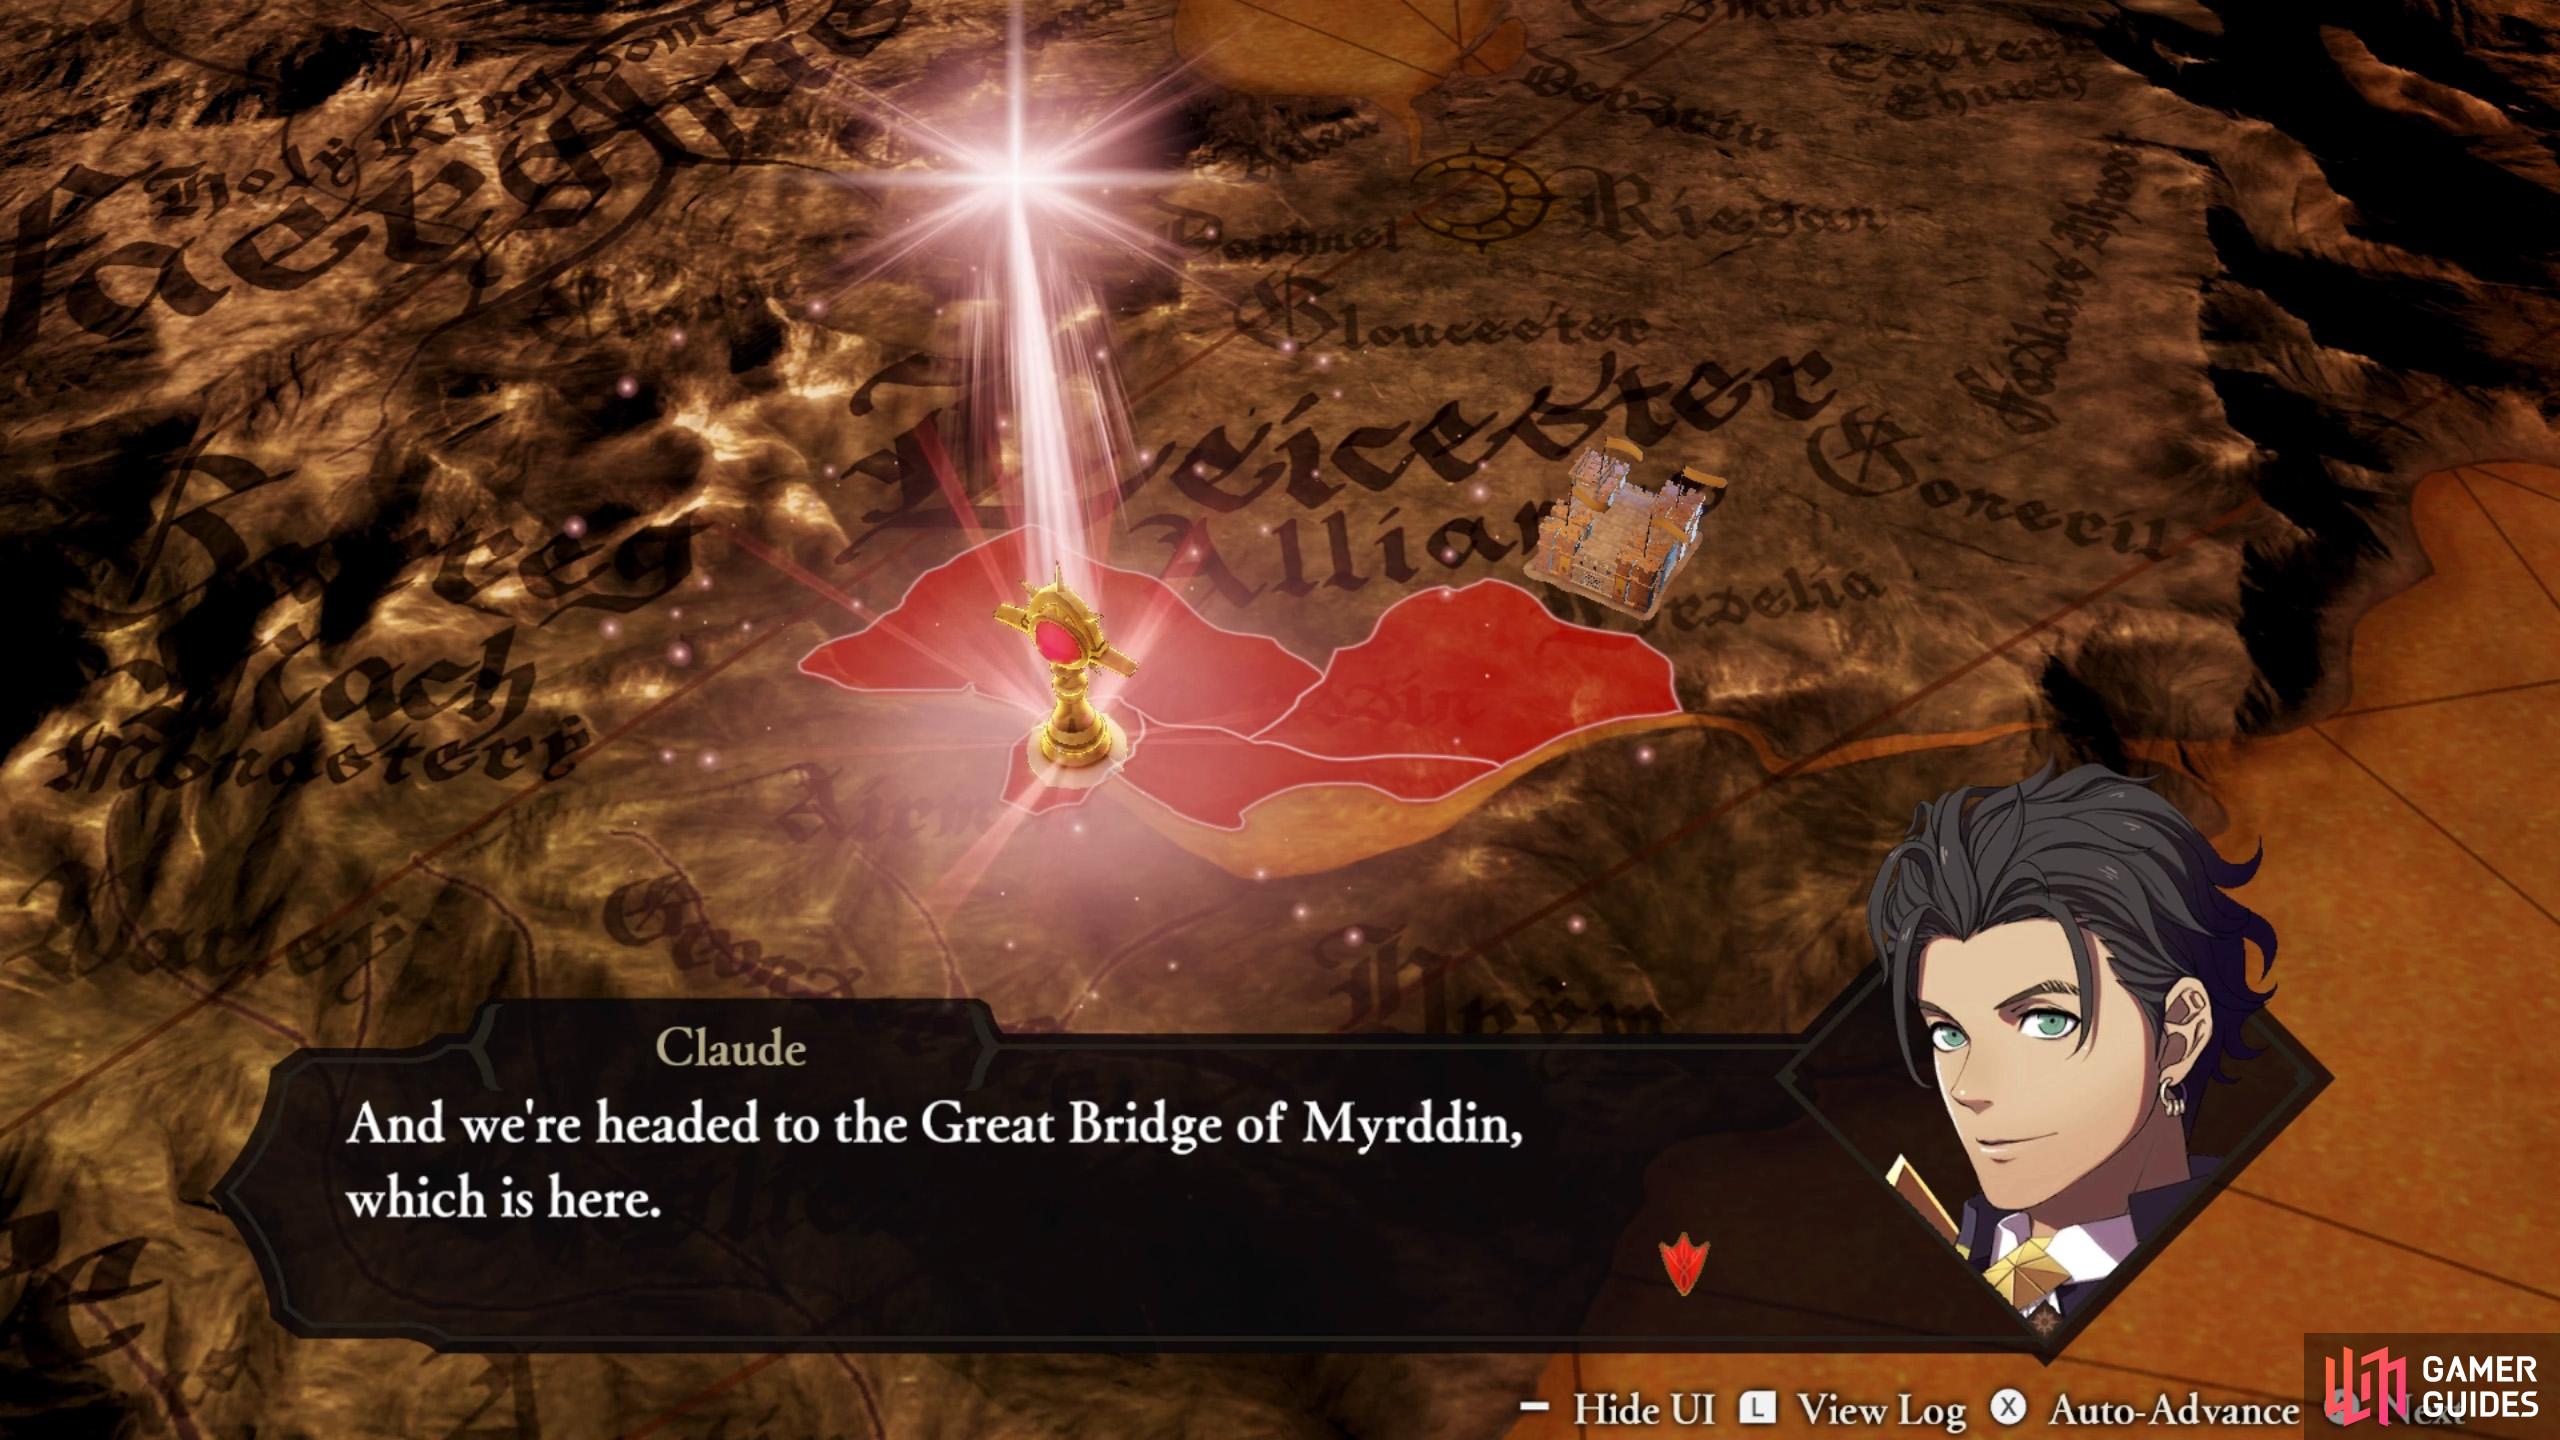
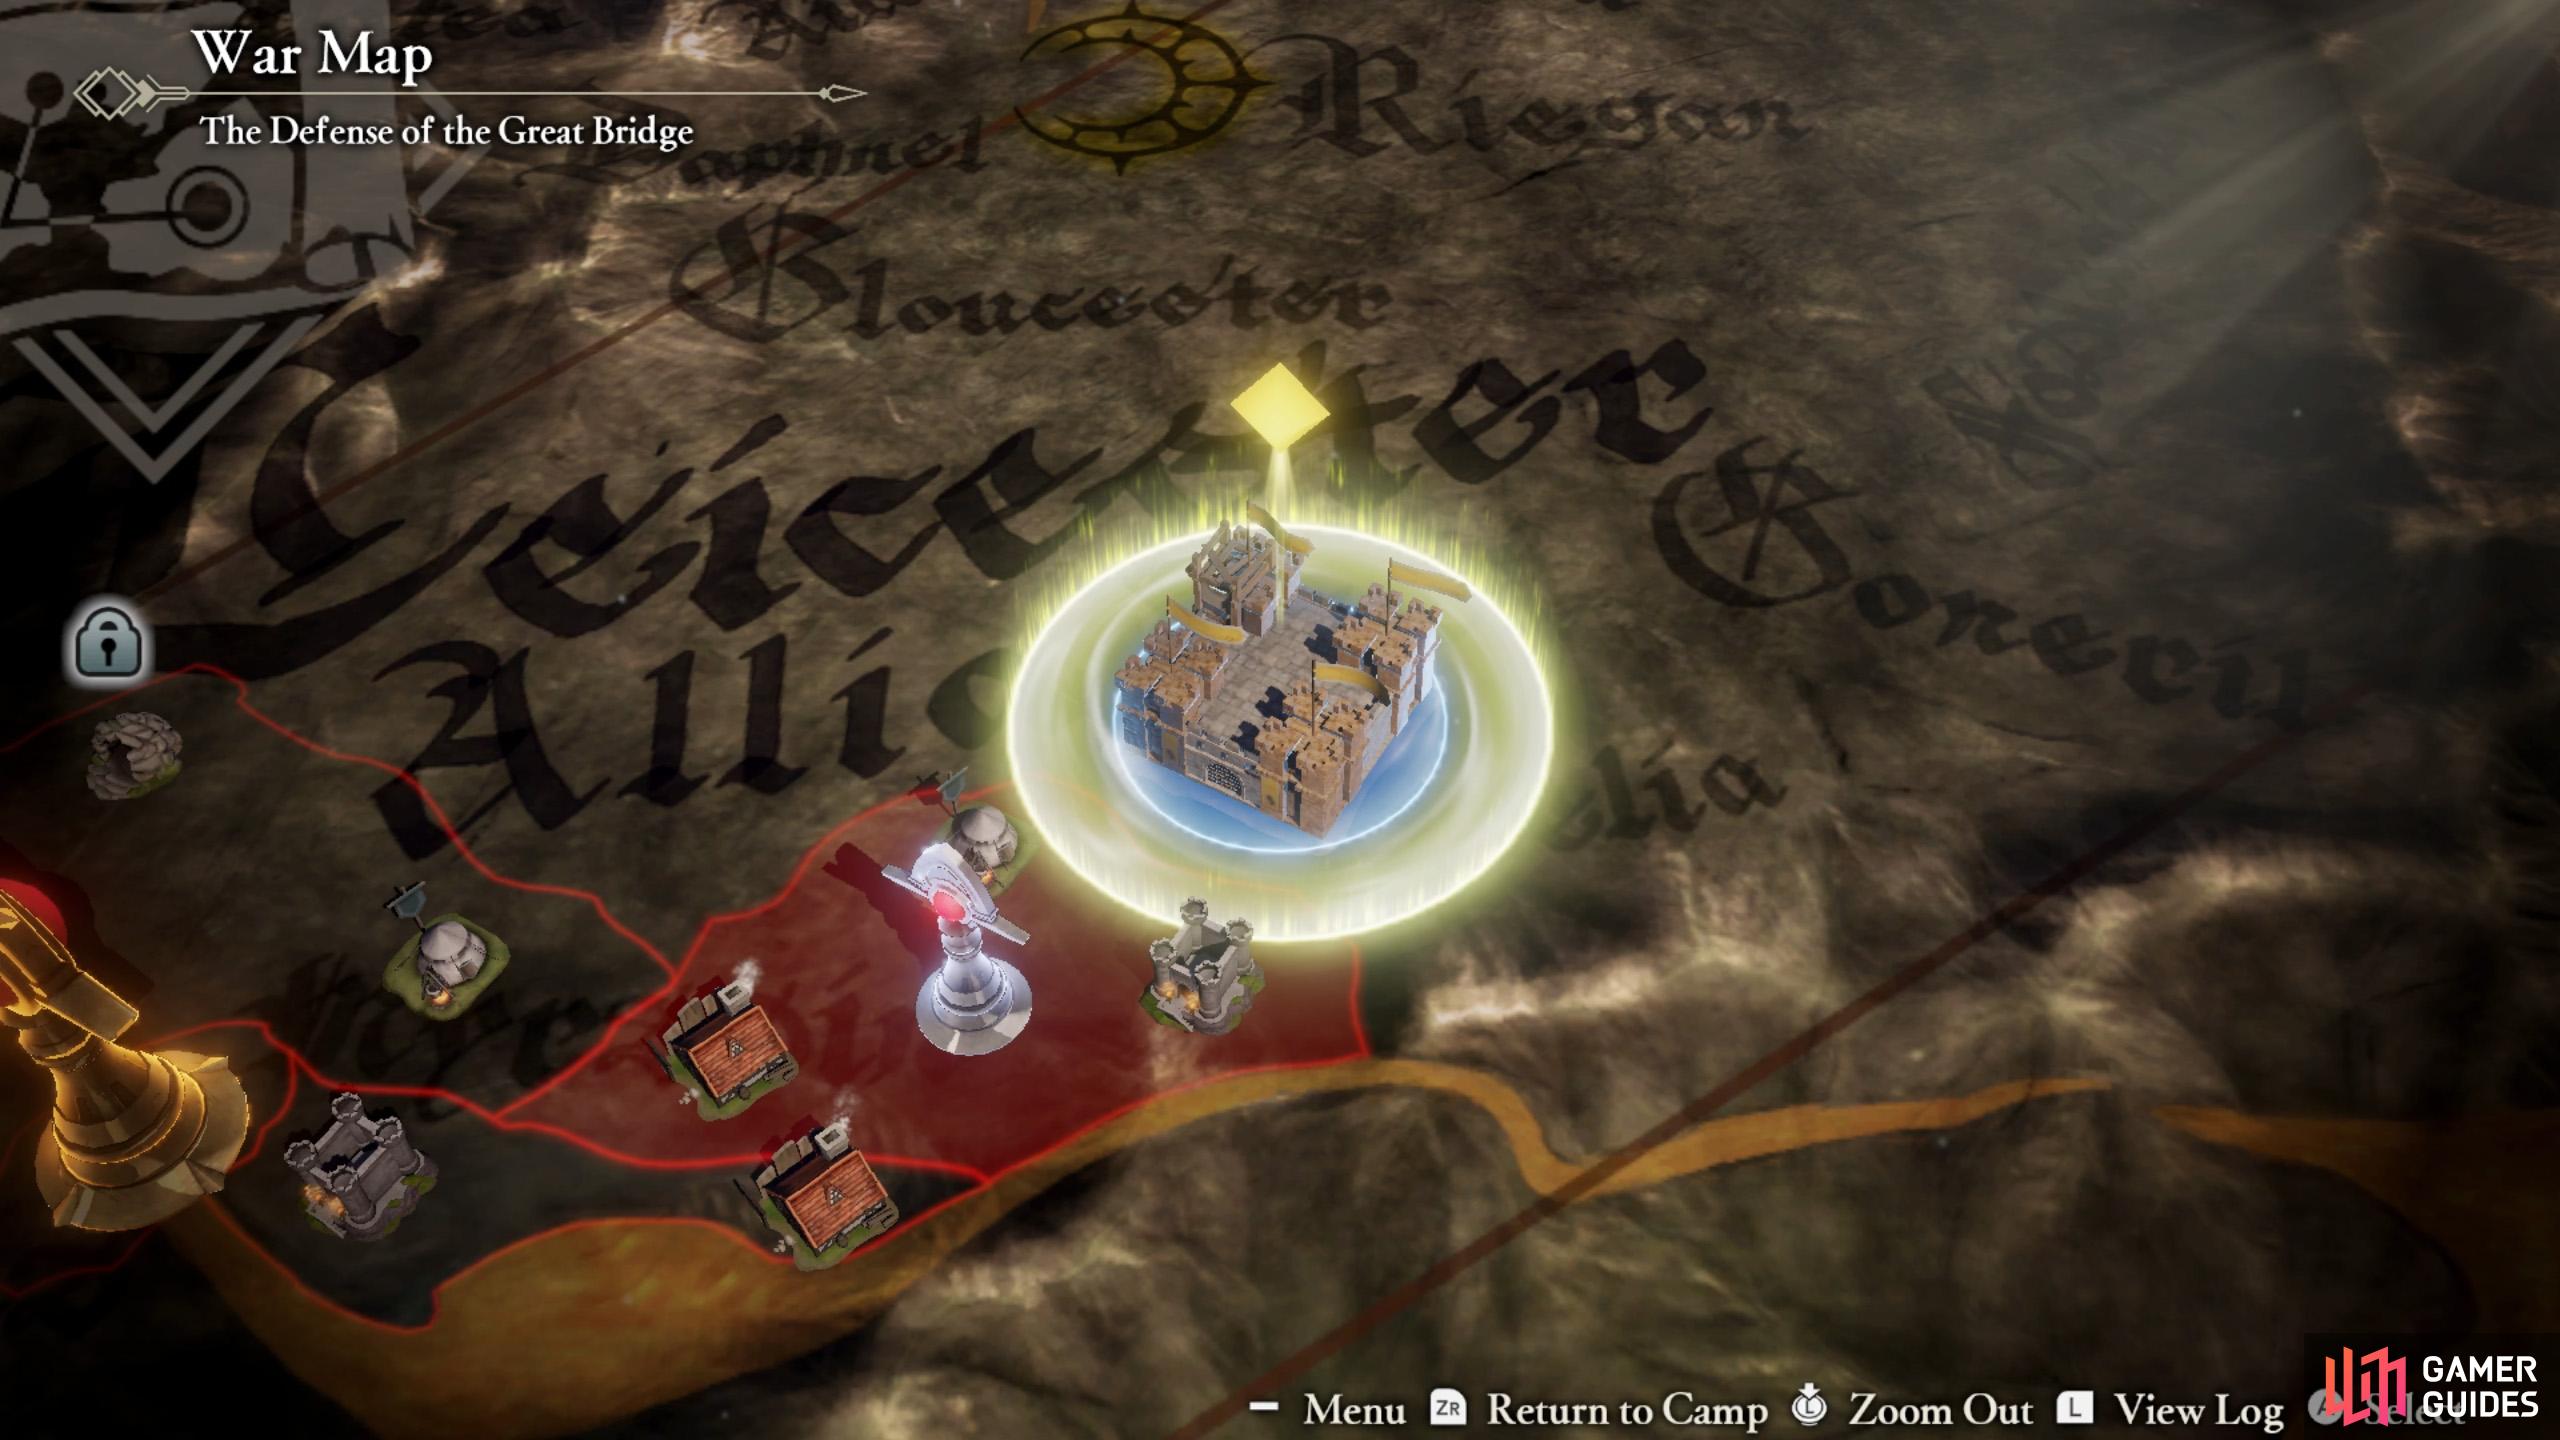
War Map
The War Map is basically the map/battle selection screen, with a twist. On one side of the map is your camp and on the other side is the location of the battlefield where the main quest is. In-between are various regions, currently occupied by the enemy.
In order to reach the main quest, you must take over regions by winning the side quest battles there. You can only fight in regions adjacent to your own. After taking over a region, you can also survey the locations within to obtain rewards such as items and resources.
With that said, let’s tackle the first side quest: “Eliminate the Bandits” in Western Ordelia Territory.
No Comments