
This is a guide for Chapter 11: Heroic Bloodlines in Fire Emblem Warriors: Three Hopes, this page focusing on the Mateus Territory.
The main quest for Chapter 11 of Scarlet Blaze
A quick reminder that this is the main quest for Chapter 11 of Scarlet Blaze, so make sure you have done everything else you wanted to do before starting this battle. That includes the side battles, spending all of your Activity/Training Points in the camp, and checking out all of the Surveying Spots. You will be unable to do these and get the rewards for them later. Note that you will be able to replay battles for S Ranks, so don’t worry too much about that right now.
Which Strategies to Choose for Brennius Territory
If you have captured all of the regions in this chapter, then you should have a total of 60 Strategy Resources to use. There’s a total of 70 Strategy Resources among all of the options here, meaning there will be a single Strategy left unused. Both Assign Armored Unit and Hire Mercenaries will put extra allied units on the field, so the enemies will have more to deal with there. You will definitely want the first two options on the list below, since those are the ones you got from Surveying Spots and they tend to be specialized for the battle. Relentless Formation will change the layout of your characters at the beginning of the map, spreading them out more to cover some more ground.
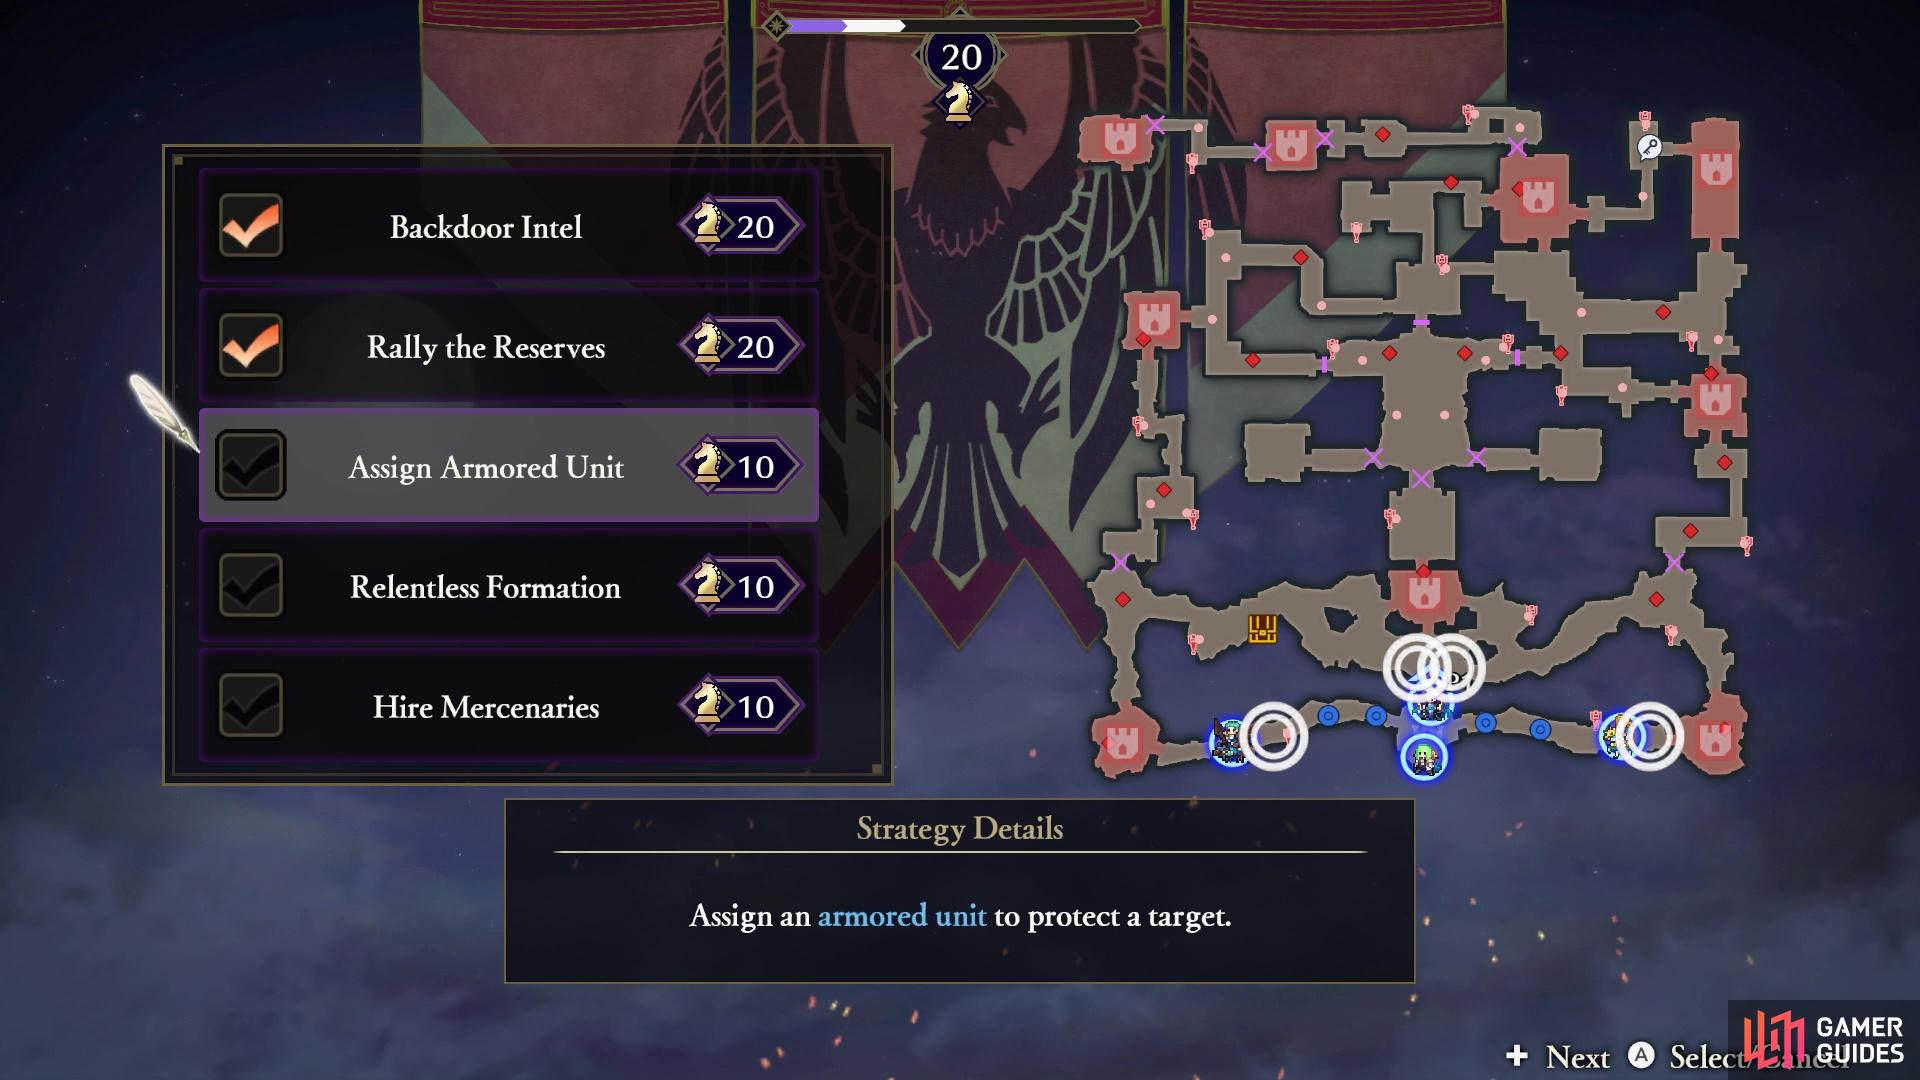
The top two Strategies are gotten from the Surveying Spots during the chapter
| Strategy | Cost | Strategy Details |
|---|---|---|
| Backdoor Intel | 20 | Open a backdoor into the fortress using previously acquired information. |
| Rally the Reserves | 20 | Summon reserves to stop the enemy messengers. |
| Assign Armored Unit | 10 | Assign an armored unit to protect a target. |
| Relentless Formation | 10 | Begin the battle in an offensive formation. |
| Hire Mercenaries | 10 | Summon mercenaries to engage the enemy forc4es. Reinforcements will deploy periodically. |
How to S Rank Brennius Territory
| Completion Time | Enemies Defeated | Damage Taken |
|---|---|---|
| 12:00 | 1200 | 40% |
This is definitely a challenging S Rank, solely because the time limit is a lot lower than other main quests up to this point. You will need to make proper use out of issuing orders to your allies here, since you are pressed for time. Focus solely on doing nothing but the main missions, only stopping to potentially defend your one stronghold that results in a game over. It might actually be a good idea to not choose the Backdoor Intel Strategy during a S Rank run, since you need to not only defeat one enemy unit, but another, in order to get to Baron Dominic.
Mission 1: Seize the Strongholds around the Castle
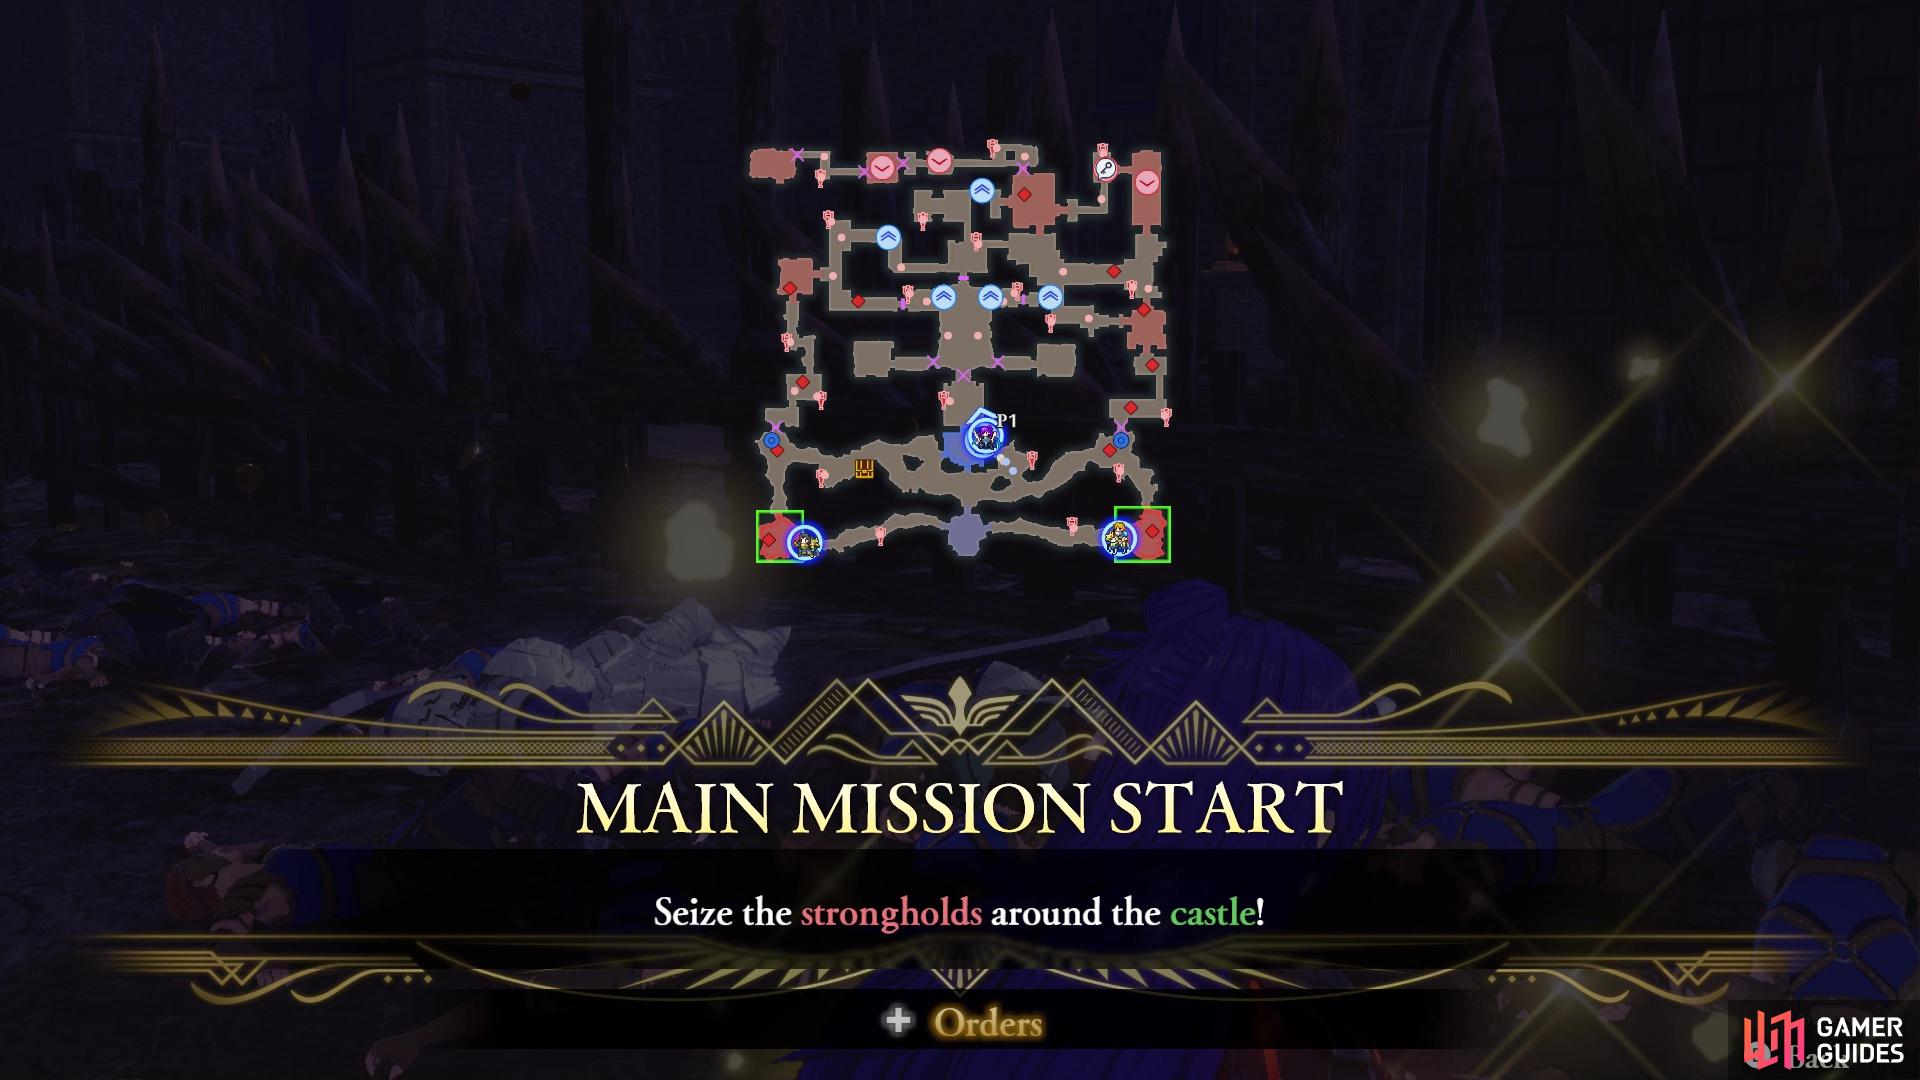
Your first mission is to capture three strongholds near the start
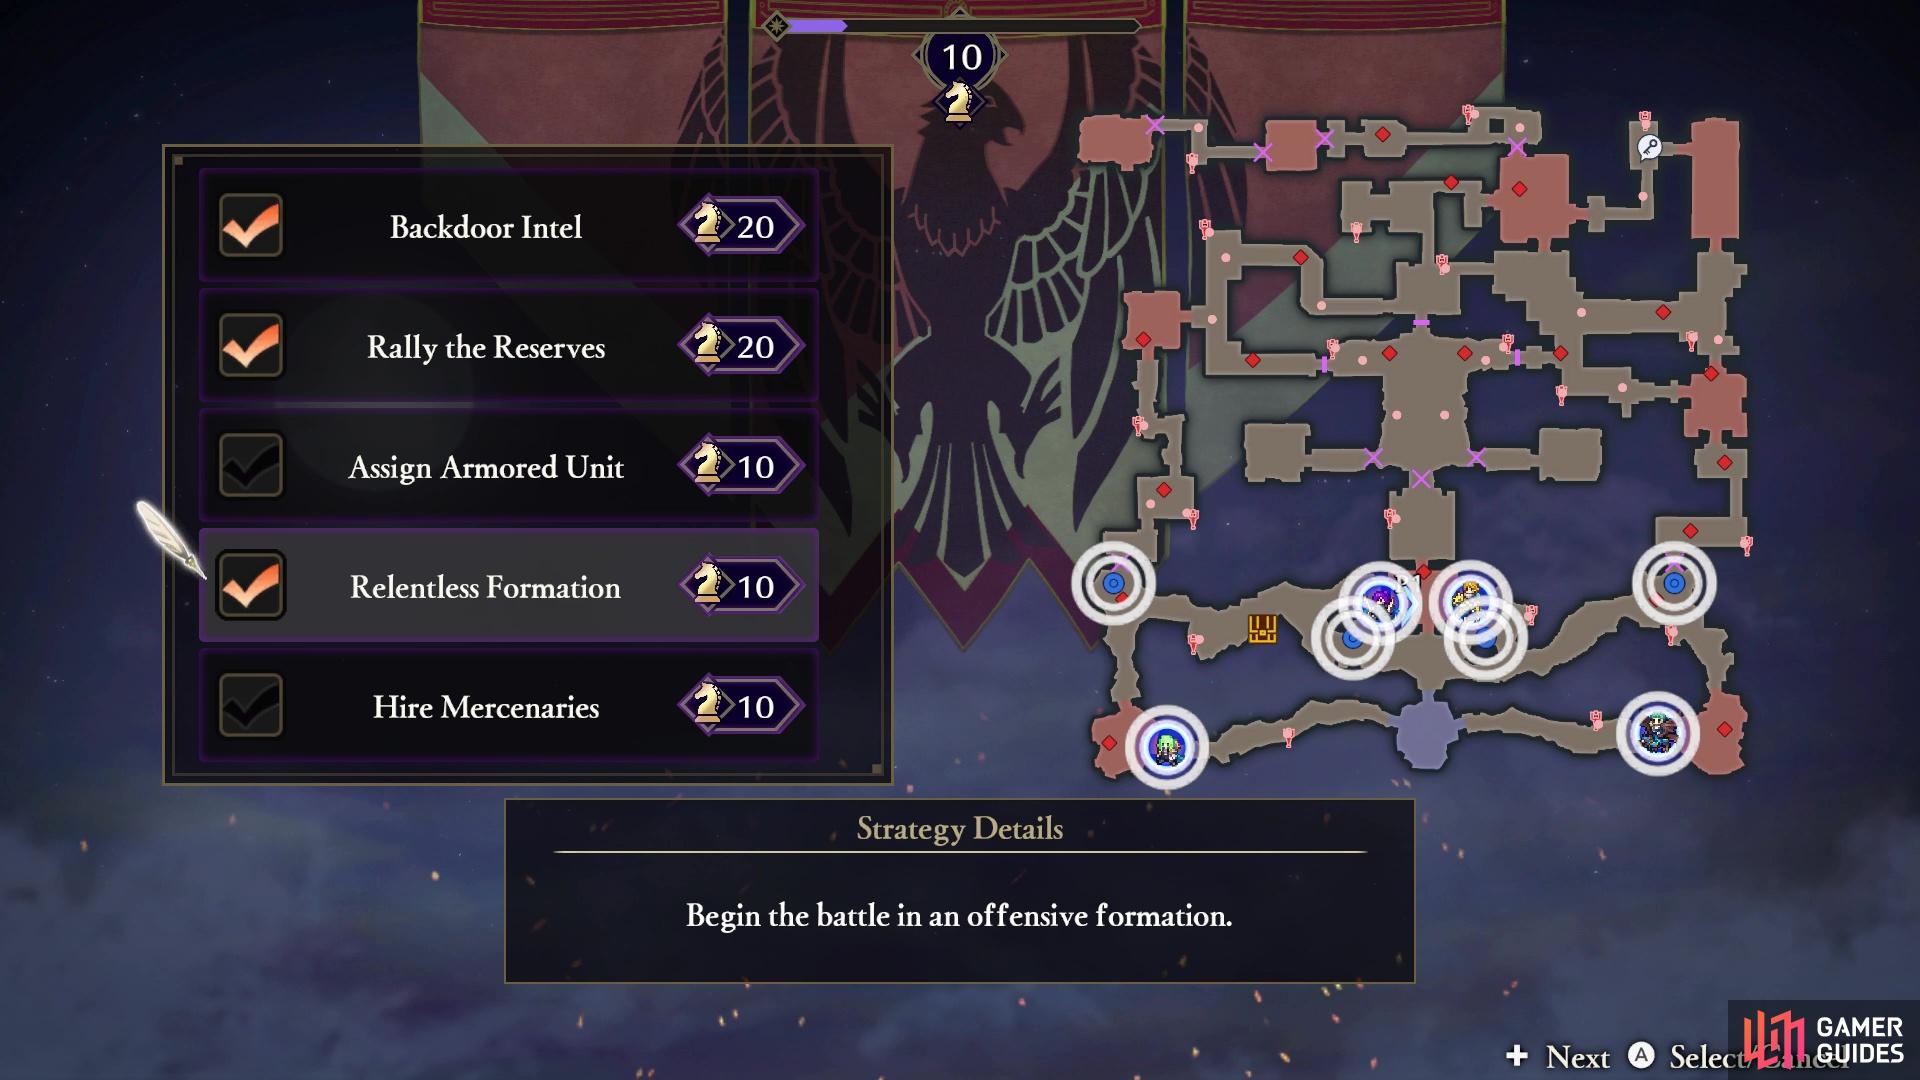
Choosing the formation Strategy will put you right next to those strongholds
The first mission you will be given is to take out the three strongholds on the southern side of the map. Two will be in the bottom corners, while the third is towards the middle, a little north of the bottom. If you chose the Relentless Formation Strategy, then you should have your characters positioned right outside of the three strongholds. If not, then you will need to do a little travelling to get to the middle one. Upon capturing all three strongholds, the main gate will open up, meaning you can head inside the castle.
Mission 2: Defeat Gustave
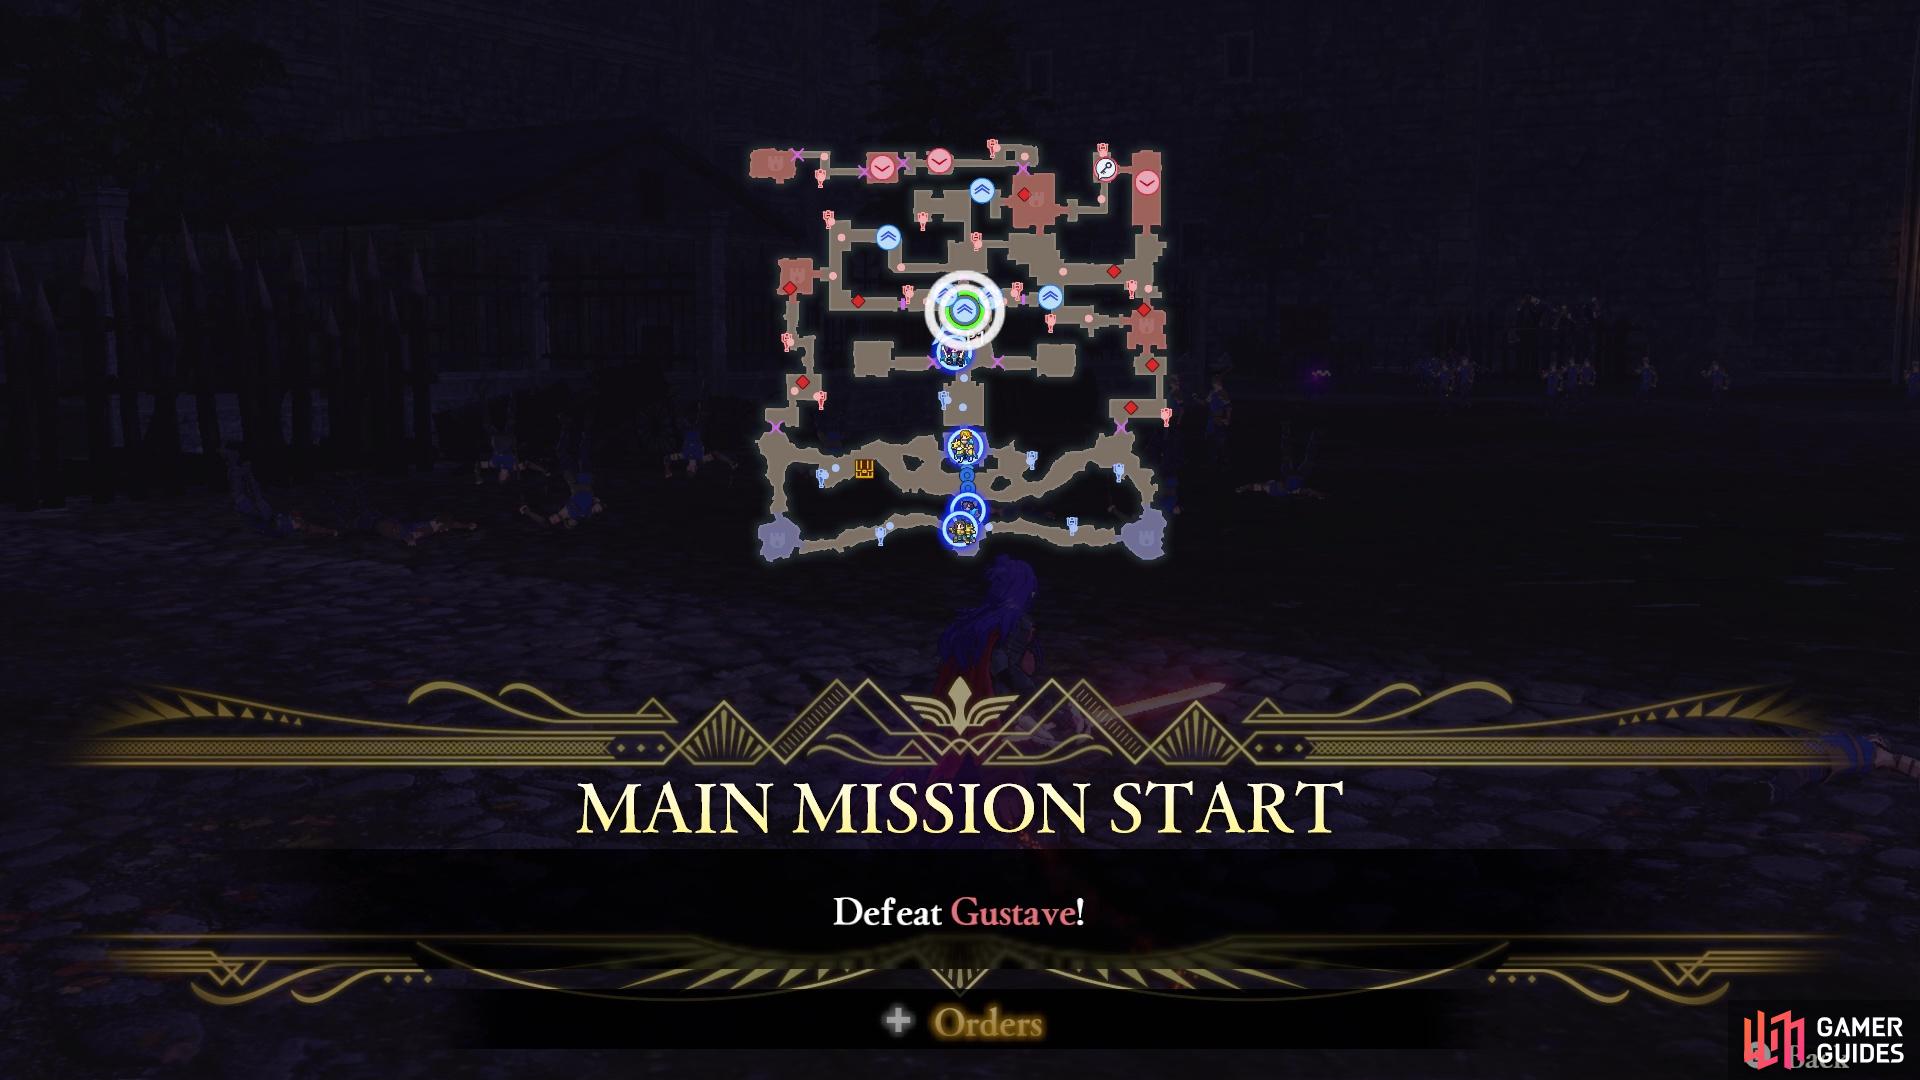
Gustave will appear as soon as you enter the castle’s grounds
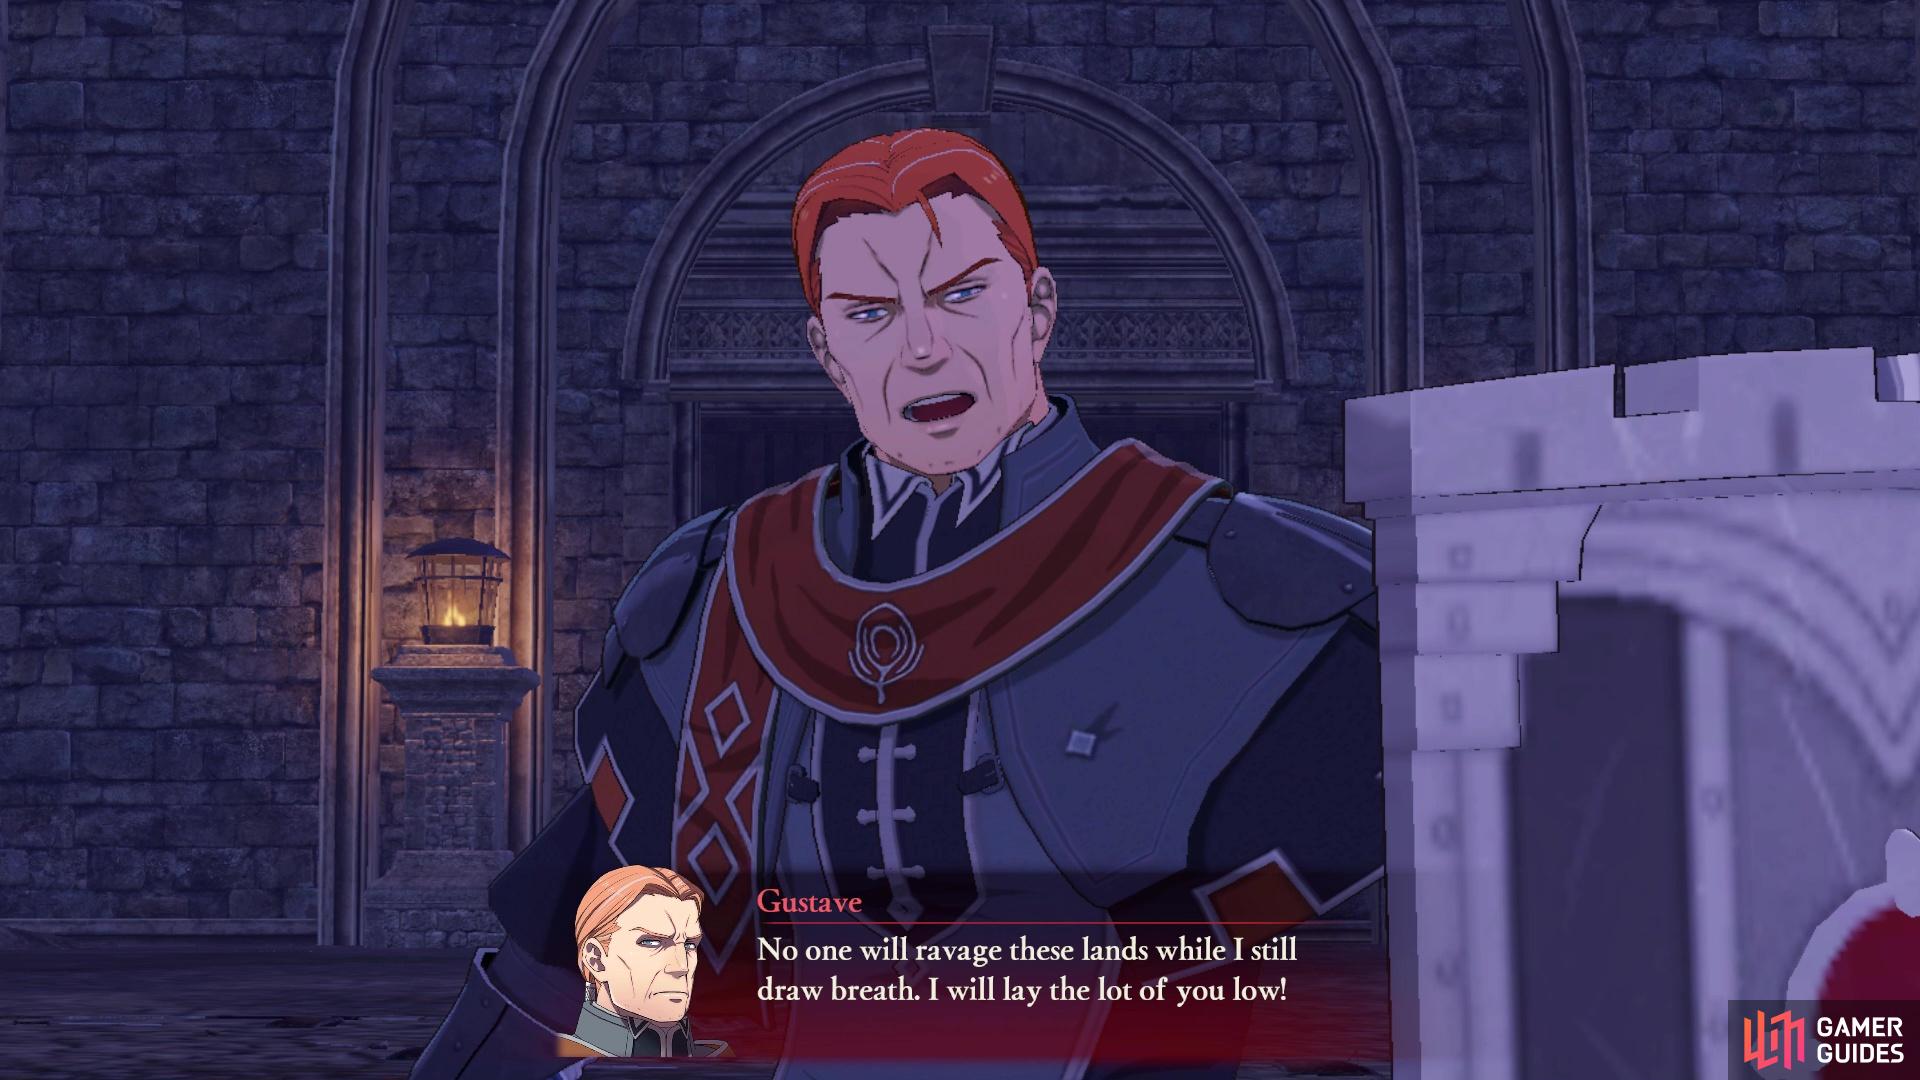
He will be equipped with an axe and shield
As soon as you step foot inside the castle, where the green X mark is shown, Gustave will appear to stop you from advancing any more. There might be a Fortress Knight in the vicinity of Gustave, but you really should have much of a problem with him at all. He is an Armored Knight and will be wielding an axe, so having someone like Byleth or Shez handle him will be ideal.
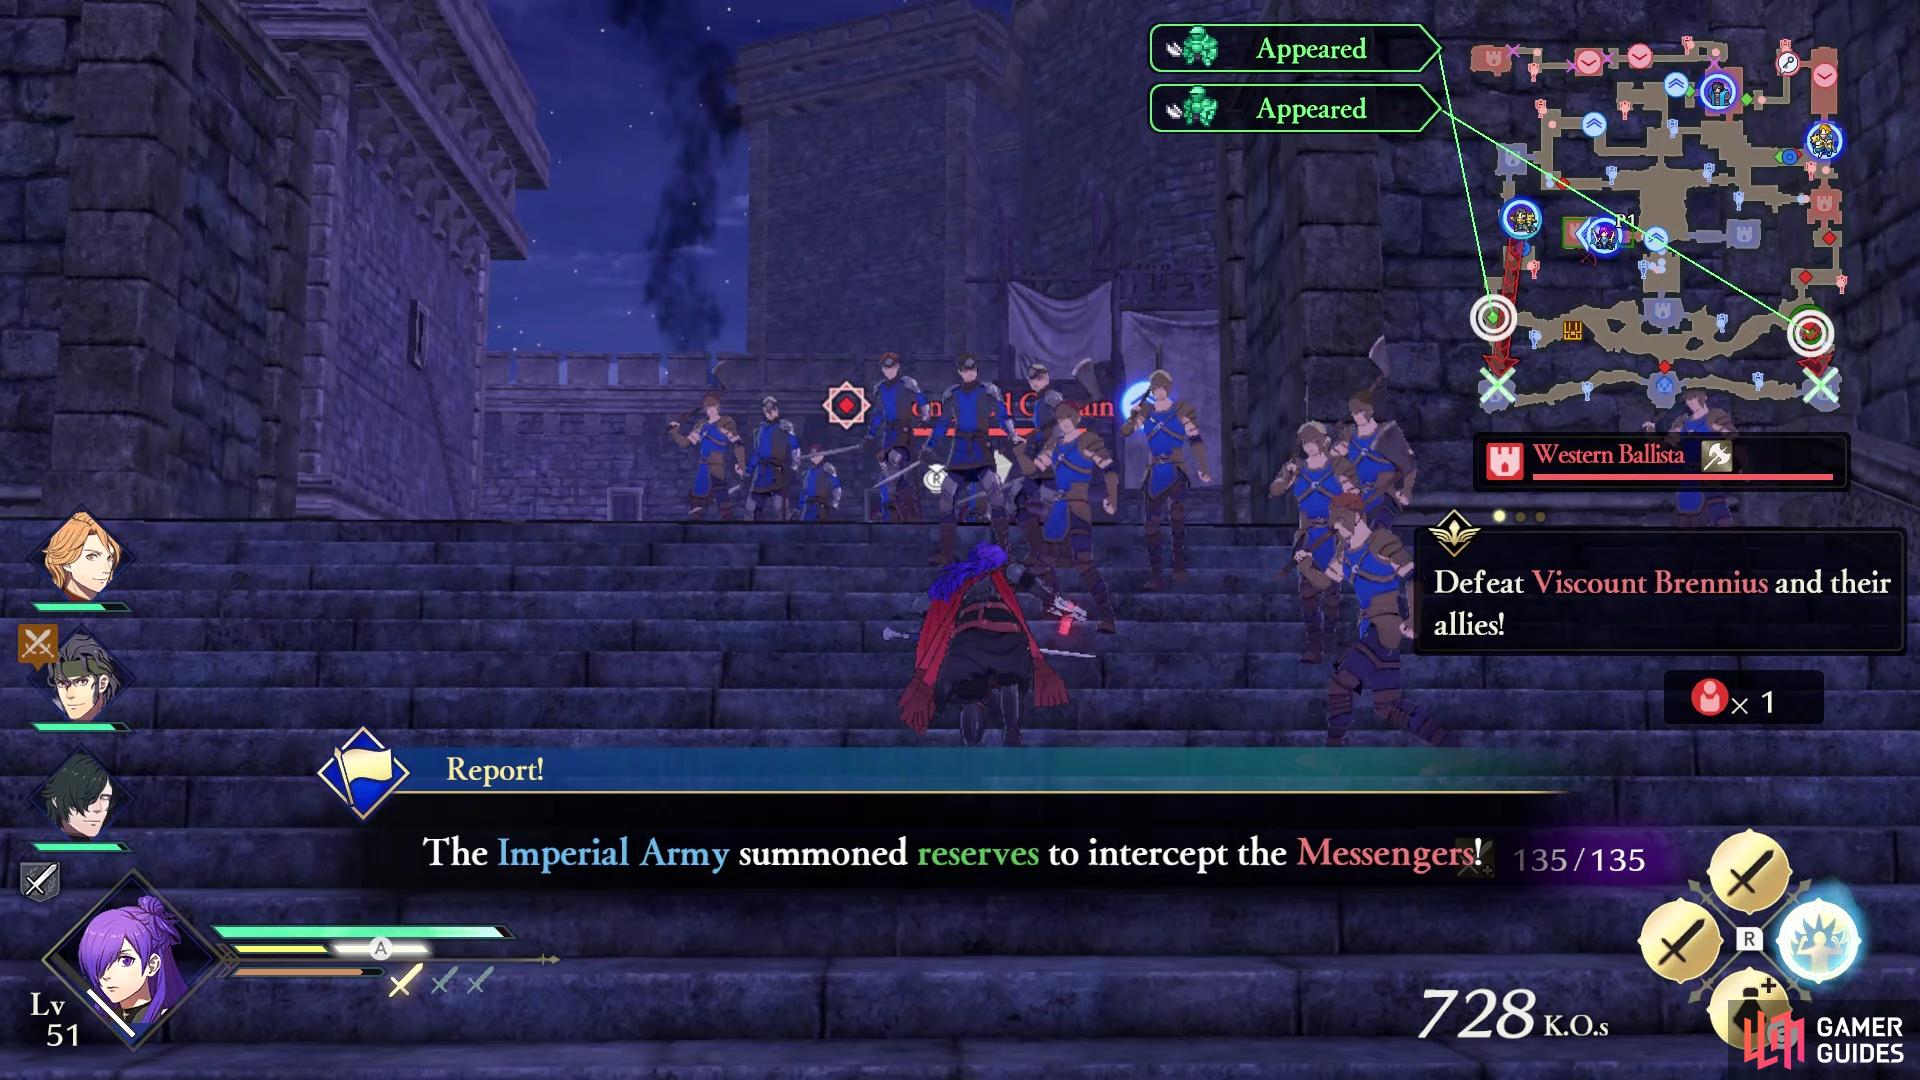
Mission 3: Defeat Viscount Brennius and Allies
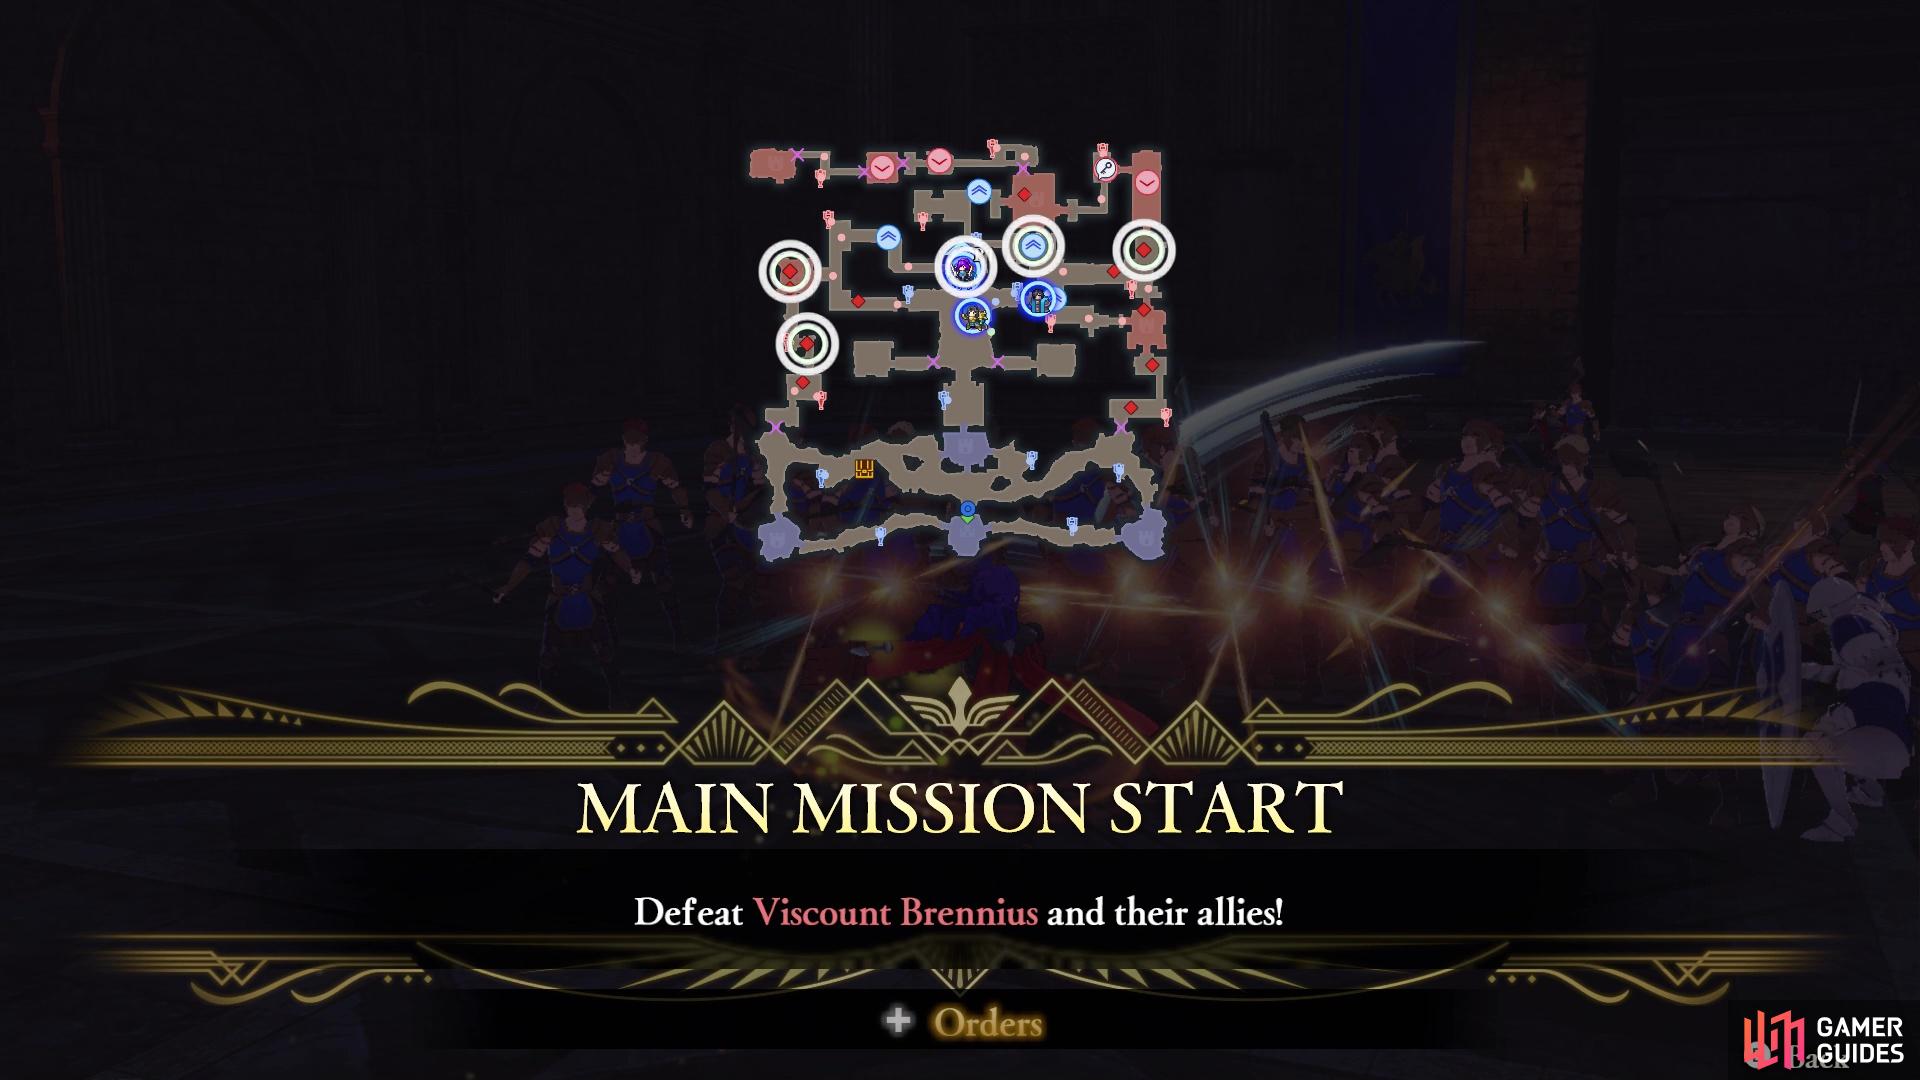
Viscount Brennius and his allies will appear after Gustave goes down
Use your orders to send allies after most of them
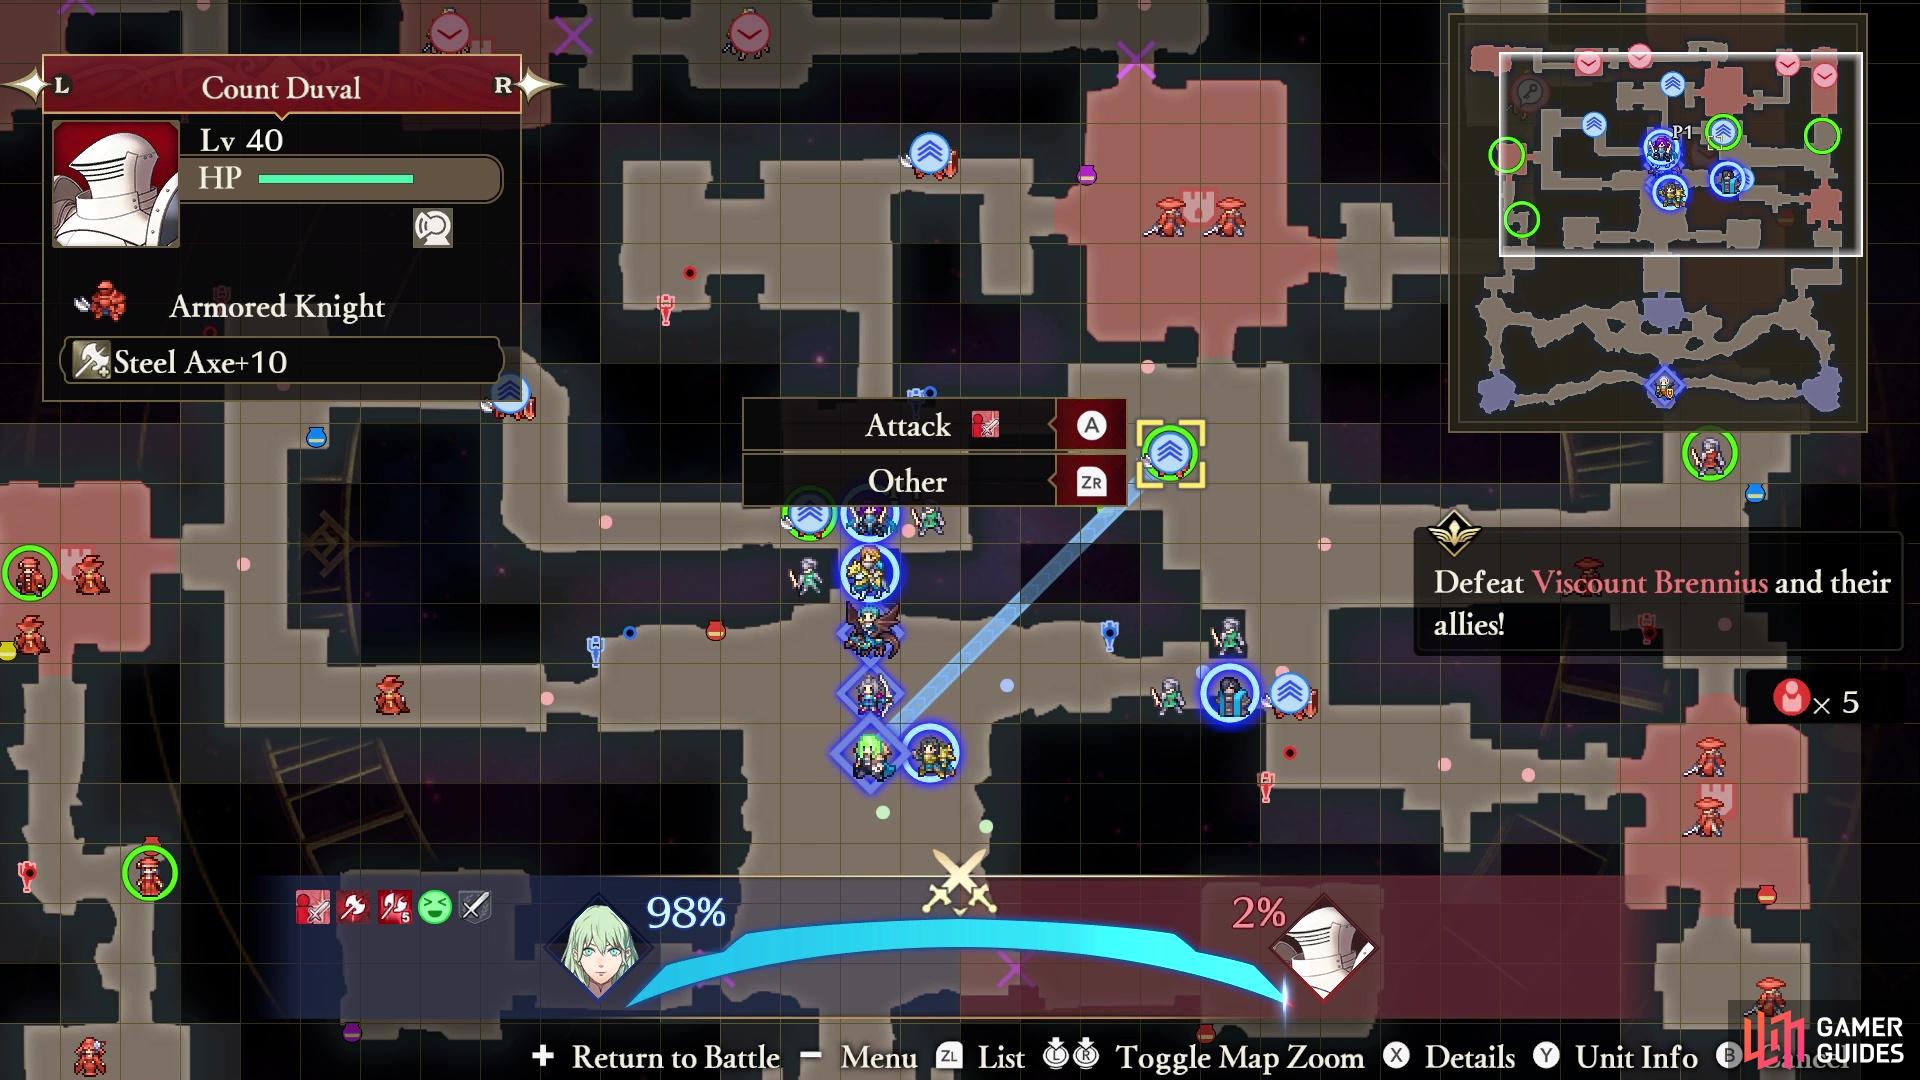
Defeating Gustave will open the stronghold gates in that area, and shortly after they do, Viscount Brennius will appear, along with some more enemy units. There will be a total of five units to defeat here, two towards the center (Armored Knights with axes), one in the east (Mercenary with sword), and two in the west (Mage with tomes). None of them are going to be pretty challenging to bring down, so issue orders to your allies, sending those that are strong against them.
Note that some other enemy units will begin marching towards your central base in the south. If this stronghold falls, then you will get a game over and have to restart the battle. It’s a good idea to send someone there to defend it, just in case you don’t catch all of the enemies moving towards it. Note that if you receive any message that this stronghold is in trouble, immediately go down there to help out.
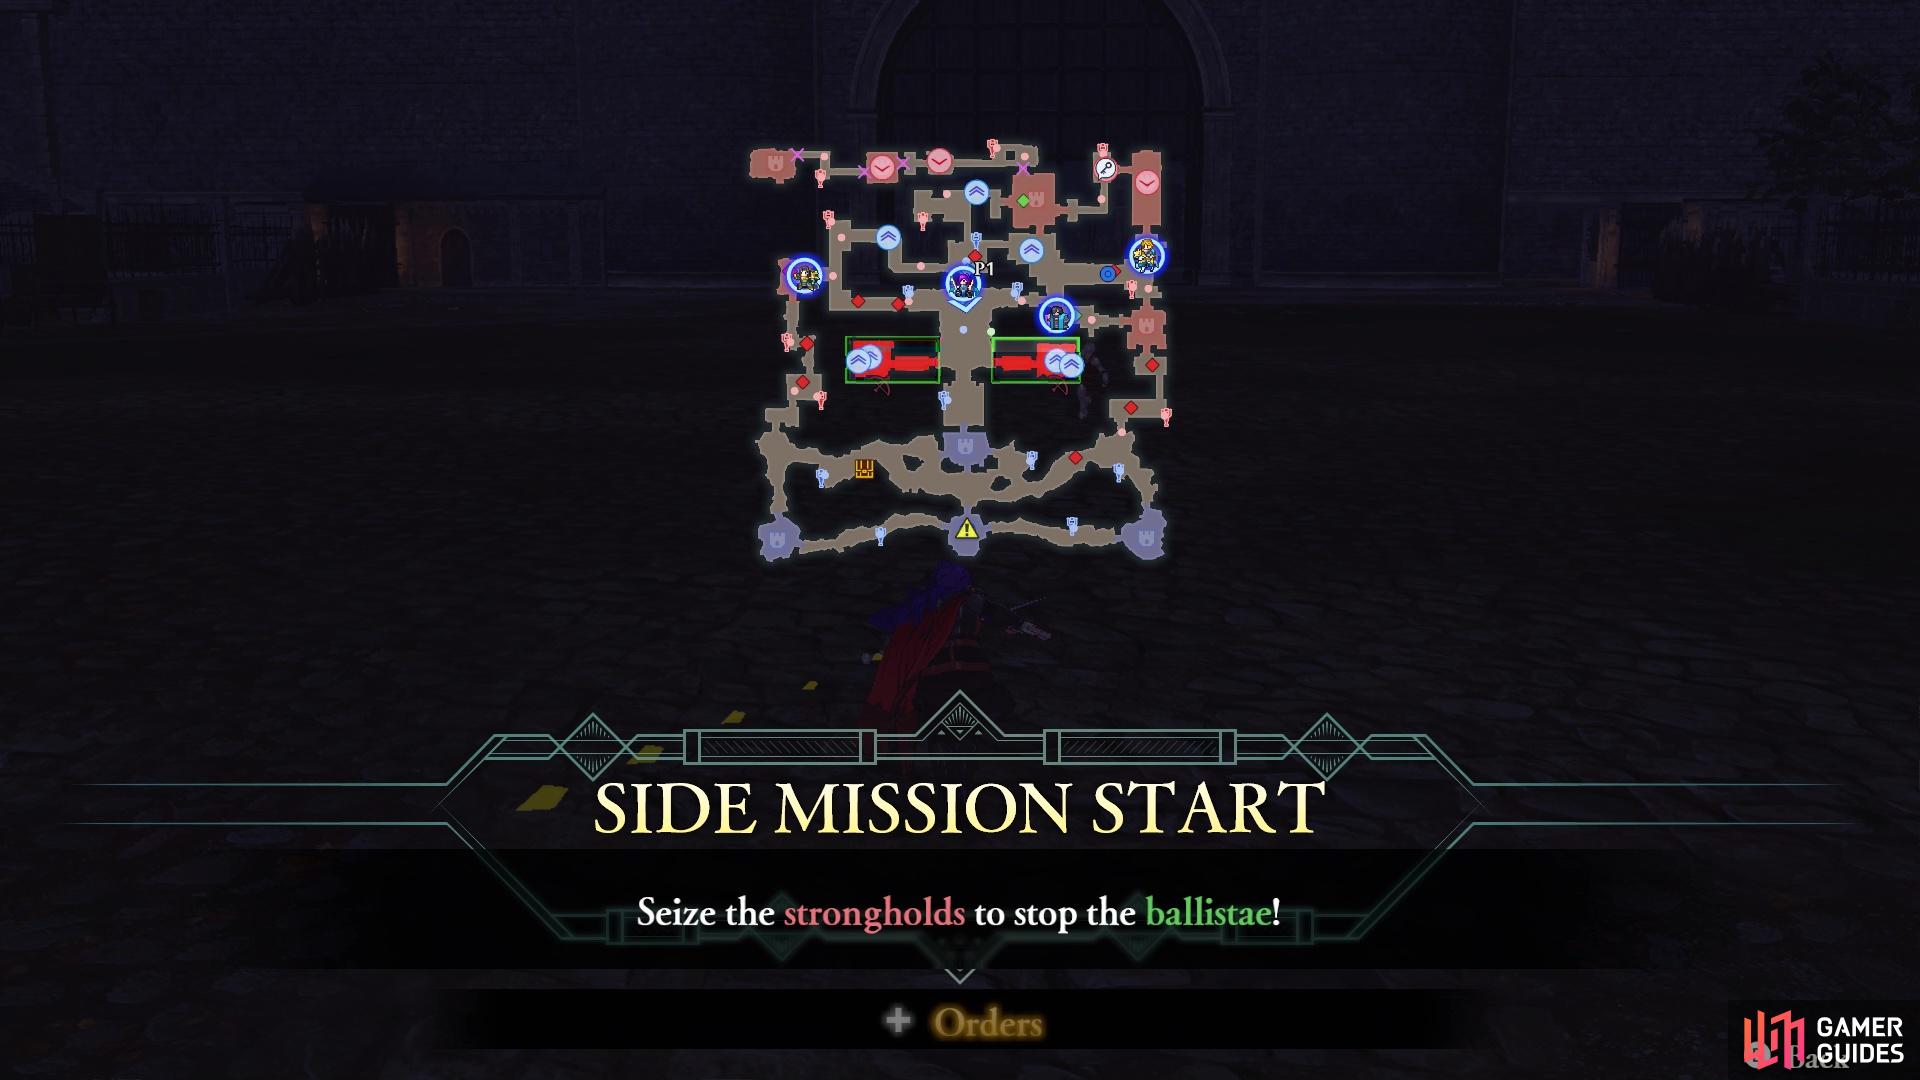
Side Mission: Seize the Strongholds to Stop the Ballistae
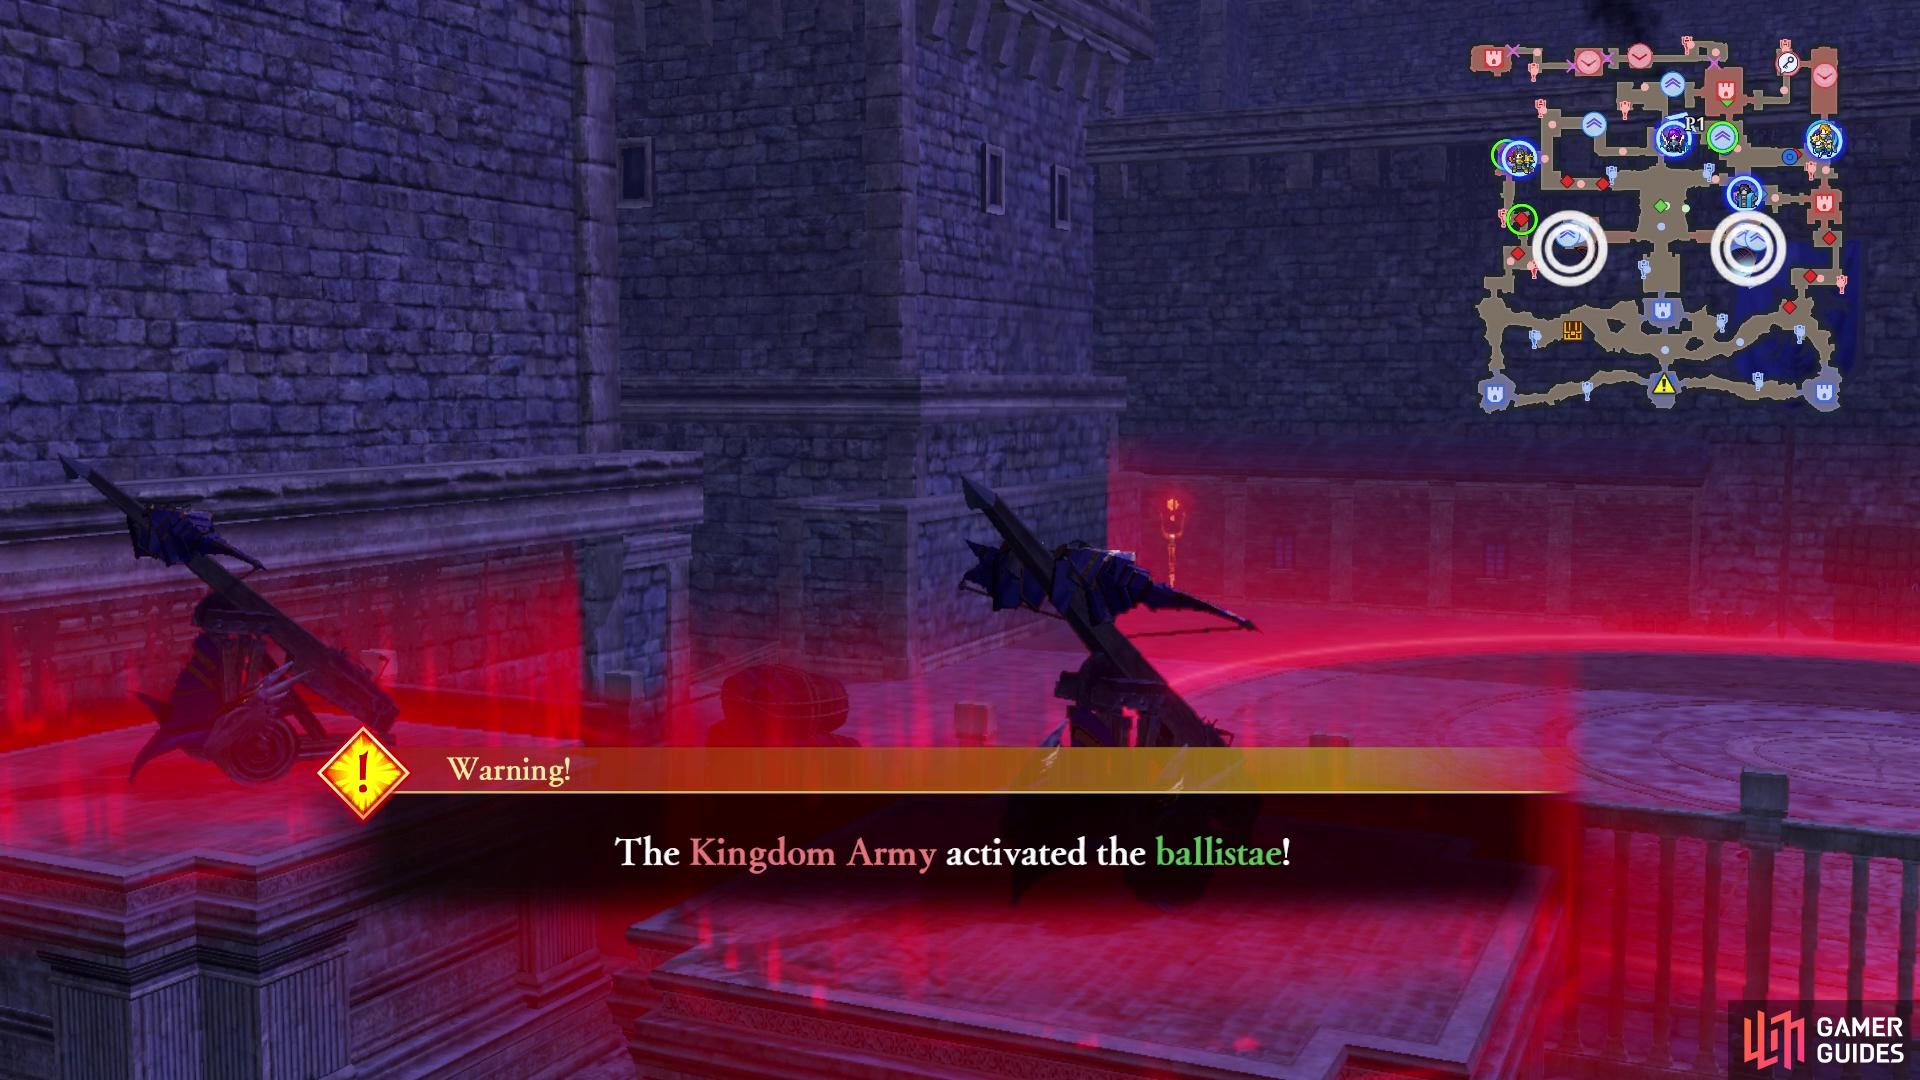
The Kingdom will activate some ballistae while you’re fighting the Viscount
They are located off to the side by where you entered the castle
At around the same time, the Kingdom will begin firing some ballistae on your troops. These ballistae will be situated in two strongholds off to the side of the central area where Gustave was located. Each of the strongholds will have its usual Captain inside, as well as a Fortress Knight. Sword-users will have an easier time in taking over these strongholds to stop the ballistae.
Side Mission: Defeat the Messengers to Stop the Reinforcements
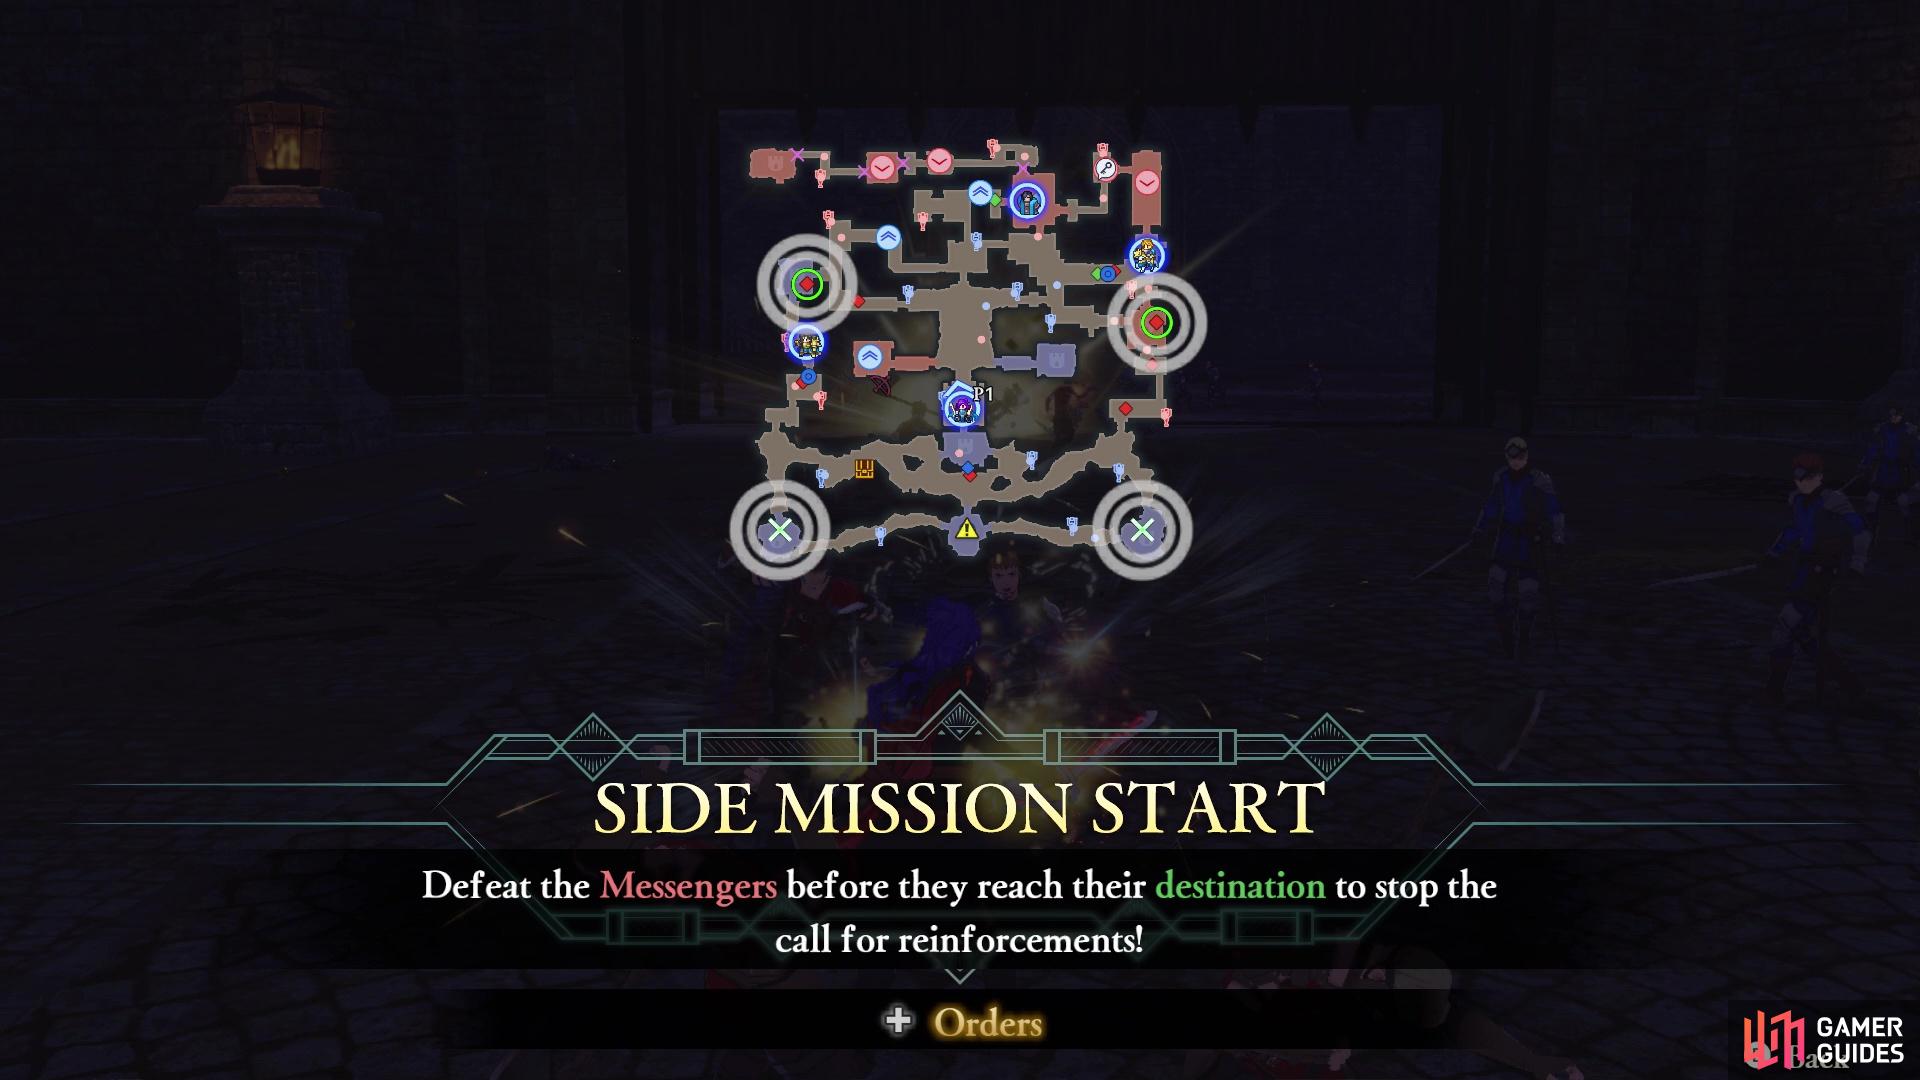
Messengers will appear to try and call for reinforcements
The Rally the Reserves strategy can be used to slow down the Messengers
Not too long after you are asked to stop the ballistae, some Messengers will appear along the eastern and western edges of the map. They will be trying to make their way to the bottom corner strongholds, and should this happen, some enemy reinforcements will be called into the battle. Naturally, you want to stop the reinforcements, so you will need to hurry along to stop the Messengers. If you have the Rally the Reserves Strategy, then you can trigger it here to slow down the Messengers, while you have other allied units catch up to strike them down.
Mission 4: Defeat Gustave
Once you have taken out Viscount Brennius and his allies, Baron Dominic will finally appear towards the northwest corner of the map. Of course, things won’t be that easy, as Gustave will rear his face again, and you will need to bring him down once more. However, there is a trick up your army’s sleeve…
Mission 5: Use the Secret Passage/Defeat Annette/Defeat Gustave
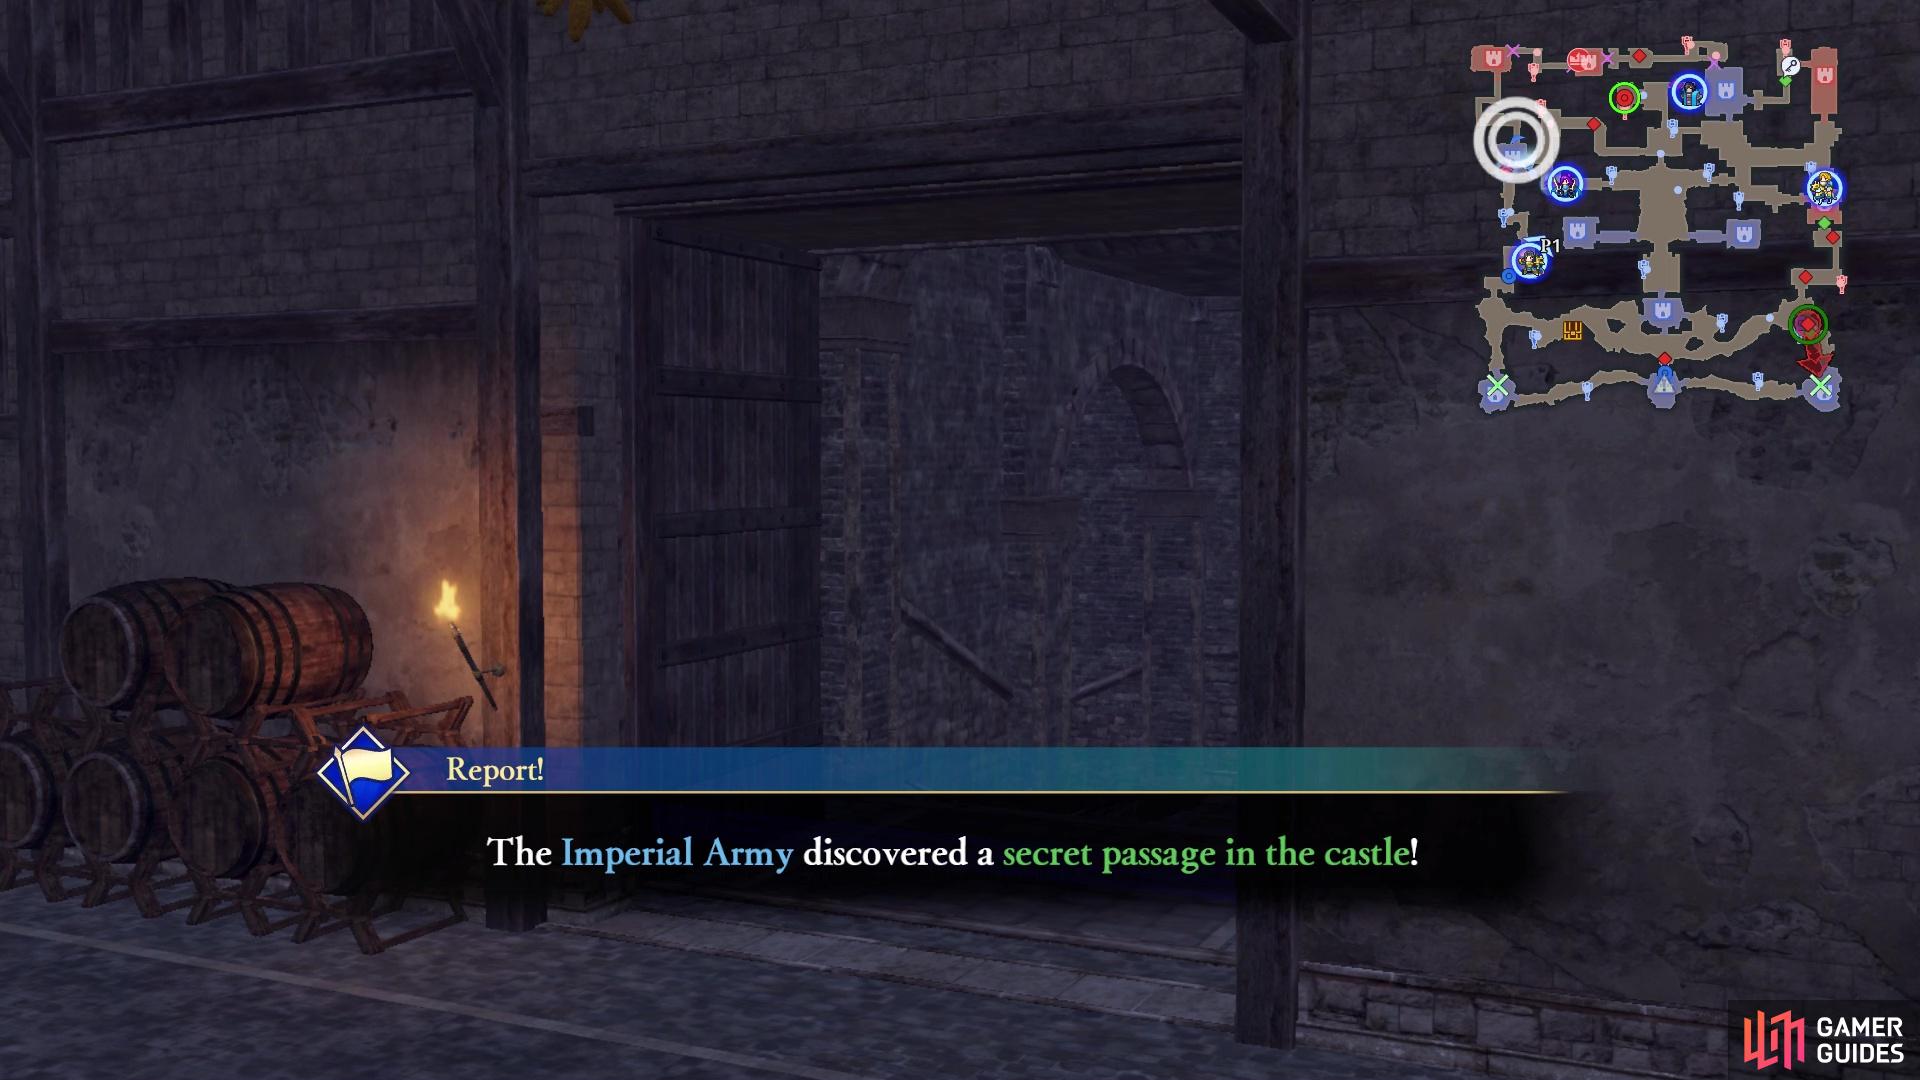
The Backdoor Intel Strategy can be used to get to the top left corner of the map
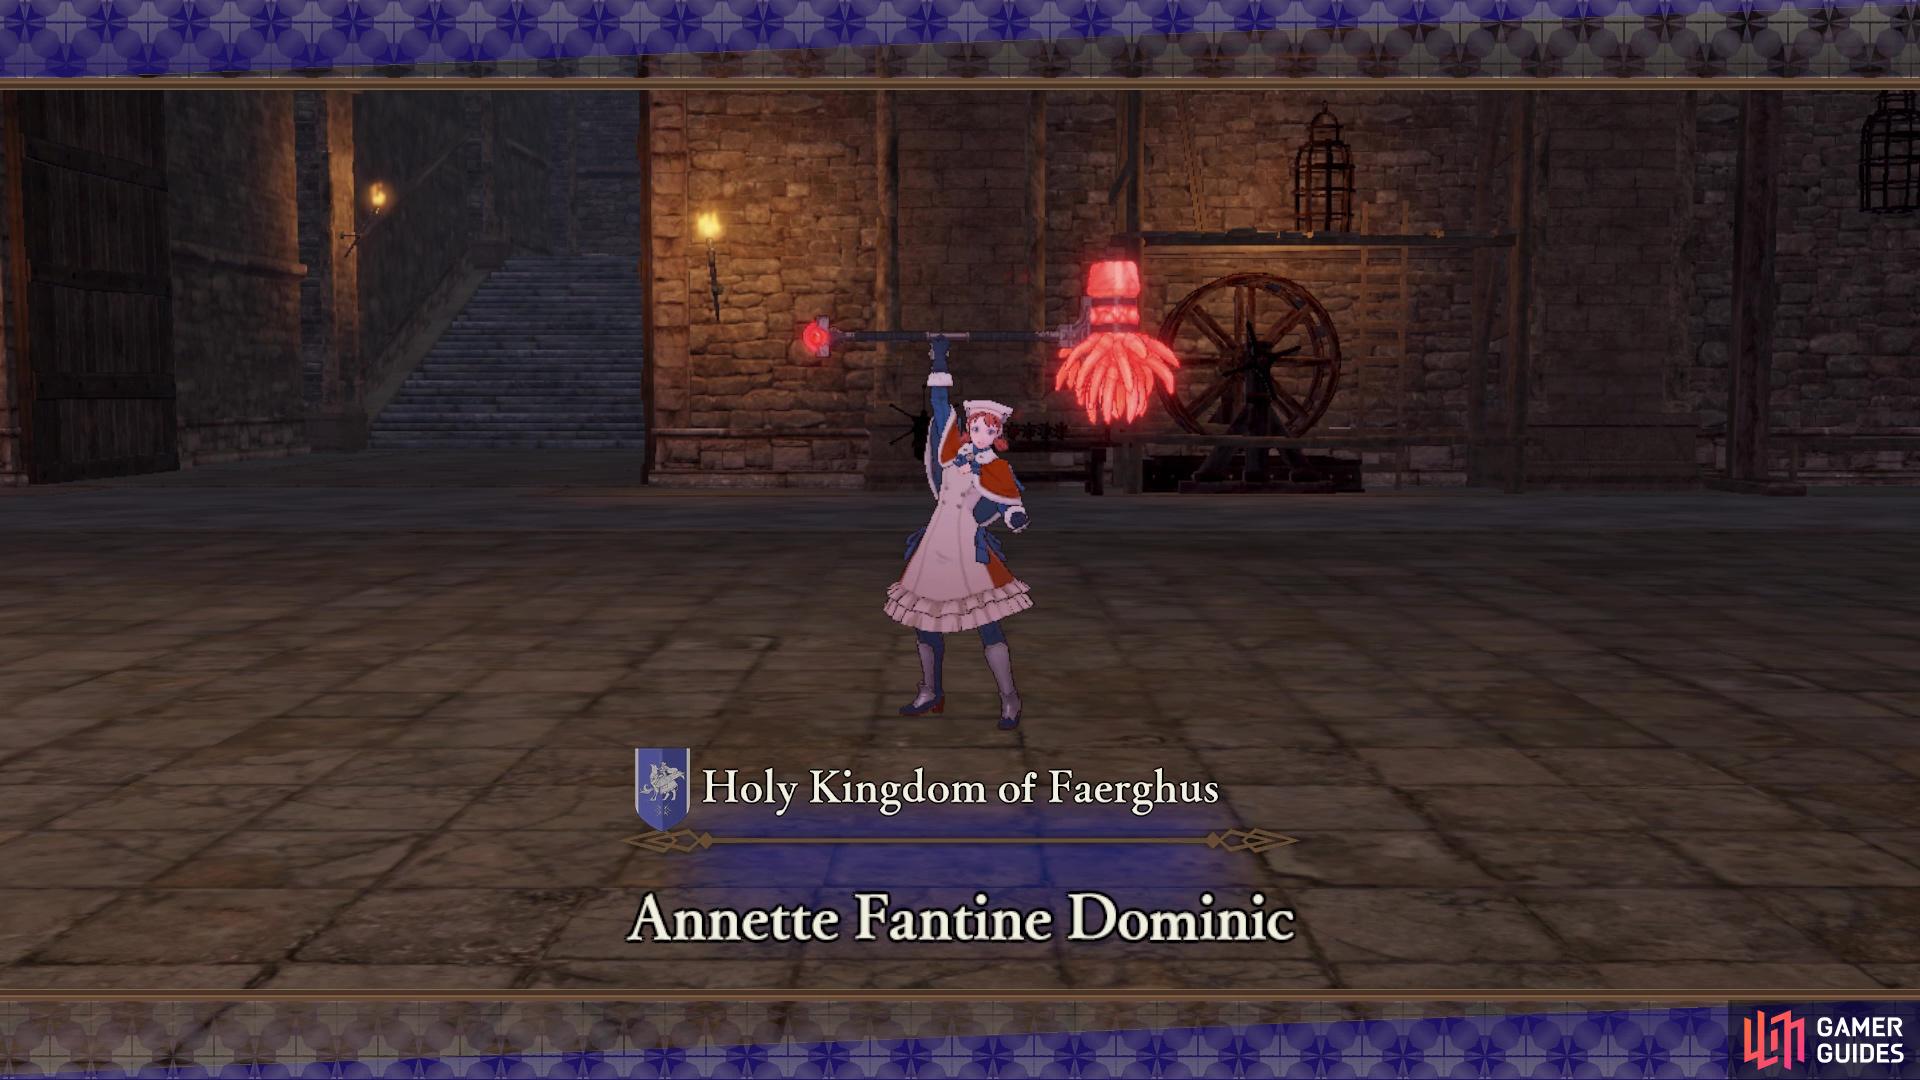
Taking this path will make Annette spawn in that stronghold there
If you selected the Backdoor Intel Strategy prior to starting the battle, you will be able to trigger it at this point. Doing so will open up a secret passage just south of the northwestern stronghold. Stepping foot in that stronghold will cause two things to happen. First is that Annette will appear there to try and put a stop to you, and second is that Gustave will retreat to help out Annette. For right now, just concentrate on taking down Annette and capturing the stronghold. Doing that will cause Gustave to appear and help Annette escape, turning the main mission into defeating Gustave now. You’ve dealt with him once before, so do battle one more time to bring an end to him.
Mission 6: Defeat Baron Dominic
With that out of the way, the only thing left to do is go after Baron Dominic. If you’ve captured every other stronghold on the map, you only have one more left and they will bring some reinforcements to help out the Baron. For Baron Dominic himself, you should really have any trouble at all. Defeat him and the battle will finally be over.
No Comments