
This is a guide for Chapter 4: The Struggle Continues in Fire Emblem Warriors: Three Hopes, this page focusing on the Eastern Burgundy Territory.
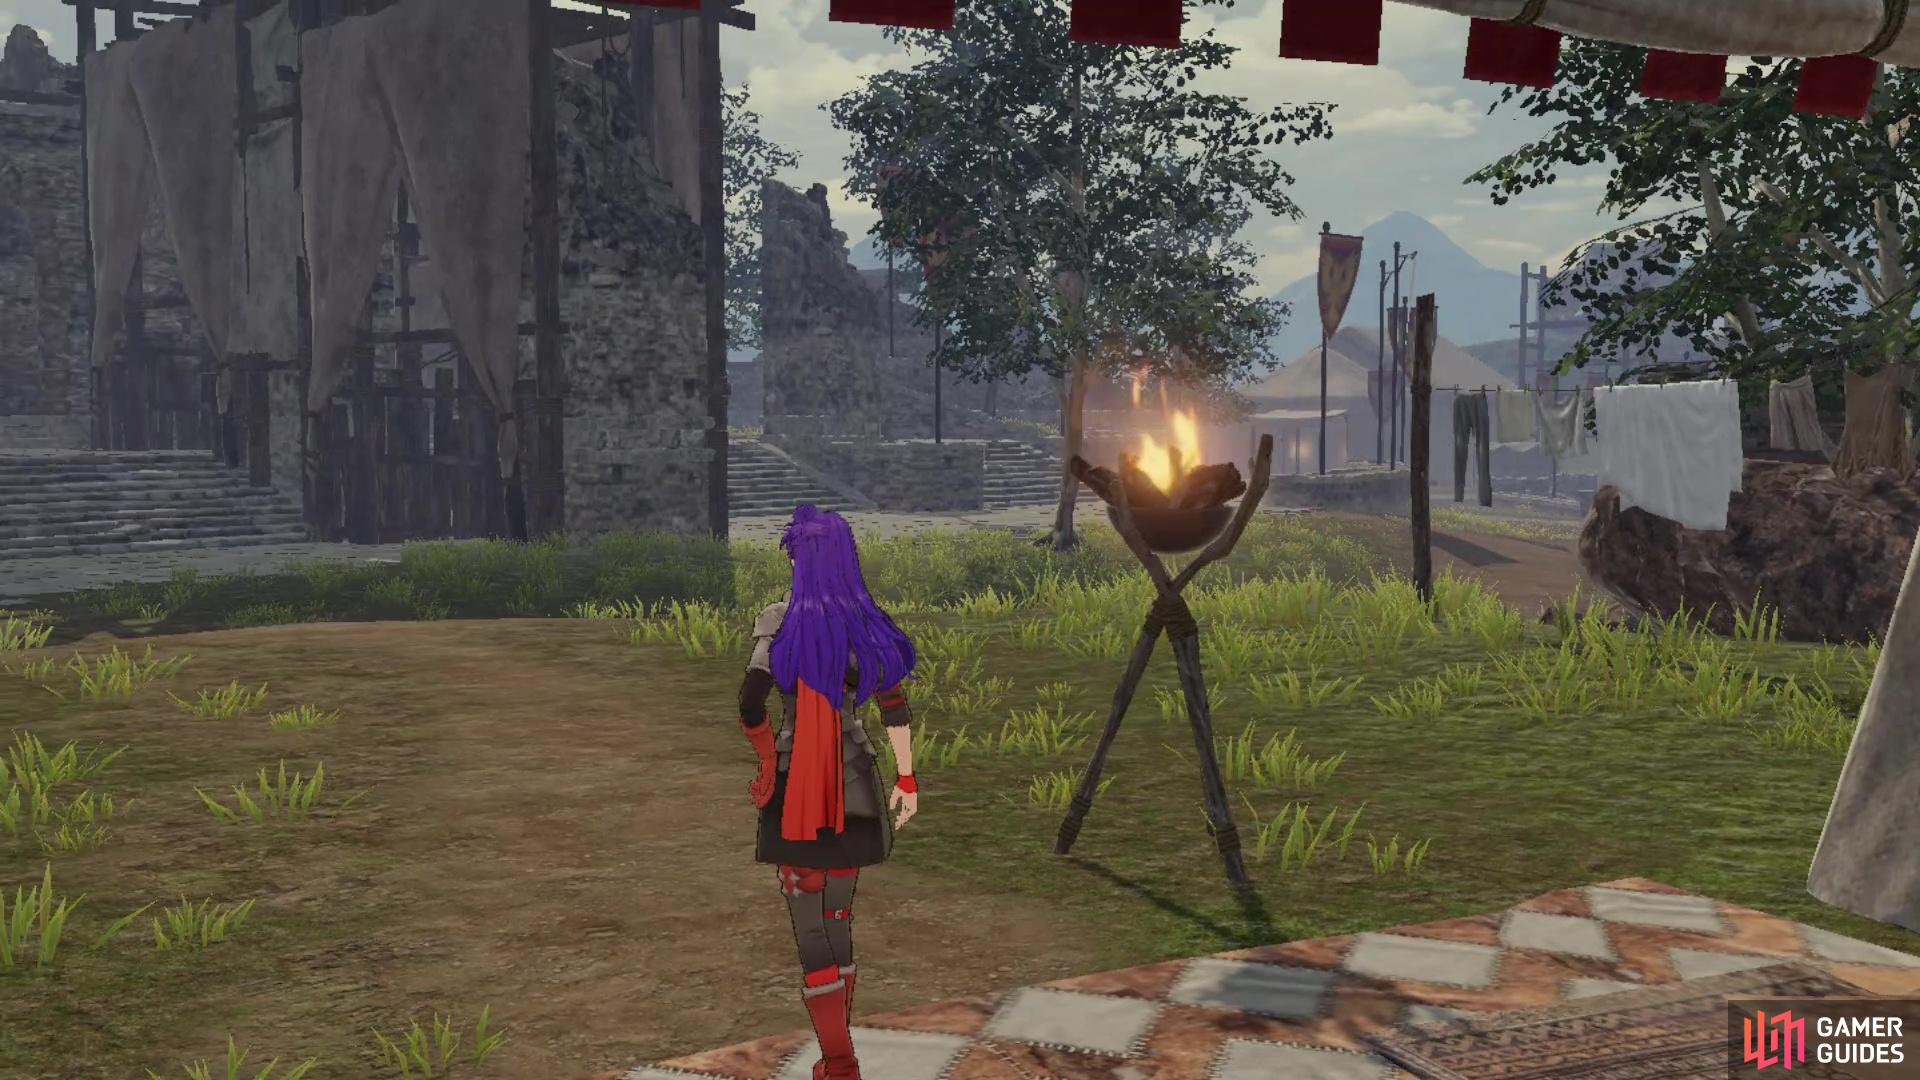
You will be at a new camp starting from this chapter
You will be at a new camp, which will be your base for the rest of the Scarlet Blaze campaign. Take a look around the camp, familiarize yourself with the surroundings, then speak to your fellow allies to get some Support Points, using the table below as a guide to those that grant the points. There are also some Documents laying around the place, which do nothing important but just offer some extra lore; there are three you can find in this chapter.
| Character | Correct Response |
|---|---|
| Monica/Lindhardt | Whomever you side with will get the increase |
| Caspar | Claim you’re not interested. |
| Manuela | Say you find that reassuring. |
| Bernadetta | Try to comfort her. |
| Dorothea | Say that they were only acquaintances. |
| Edelgard* | Give a sad look. |
- You cannot get the option for the Support conversation with Edelgard until you clear the objective of speaking with her at the beginning.
Before the Battle
To get started with this chapter, speak to Edelgard in the main building, who will go over the plans. Your goal is to make it to Garreg Mach, but you will need to go through some other territories in order to reach it. Basically, the chapters from here on out will have a main battle, when completed, will draw the chapter to the close. However, there are side battles that can be done, which will not only reward you with extra experience, but also other things. For right now, though, Edelgard directs you to check out the new facilities that just opened up around camp. You can use the shortcut, by pressing the R button, to choose a facility and instantly teleport to it.
The Training Grounds will allow you to pair together characters to train
which is a great way to earn experience towards classes
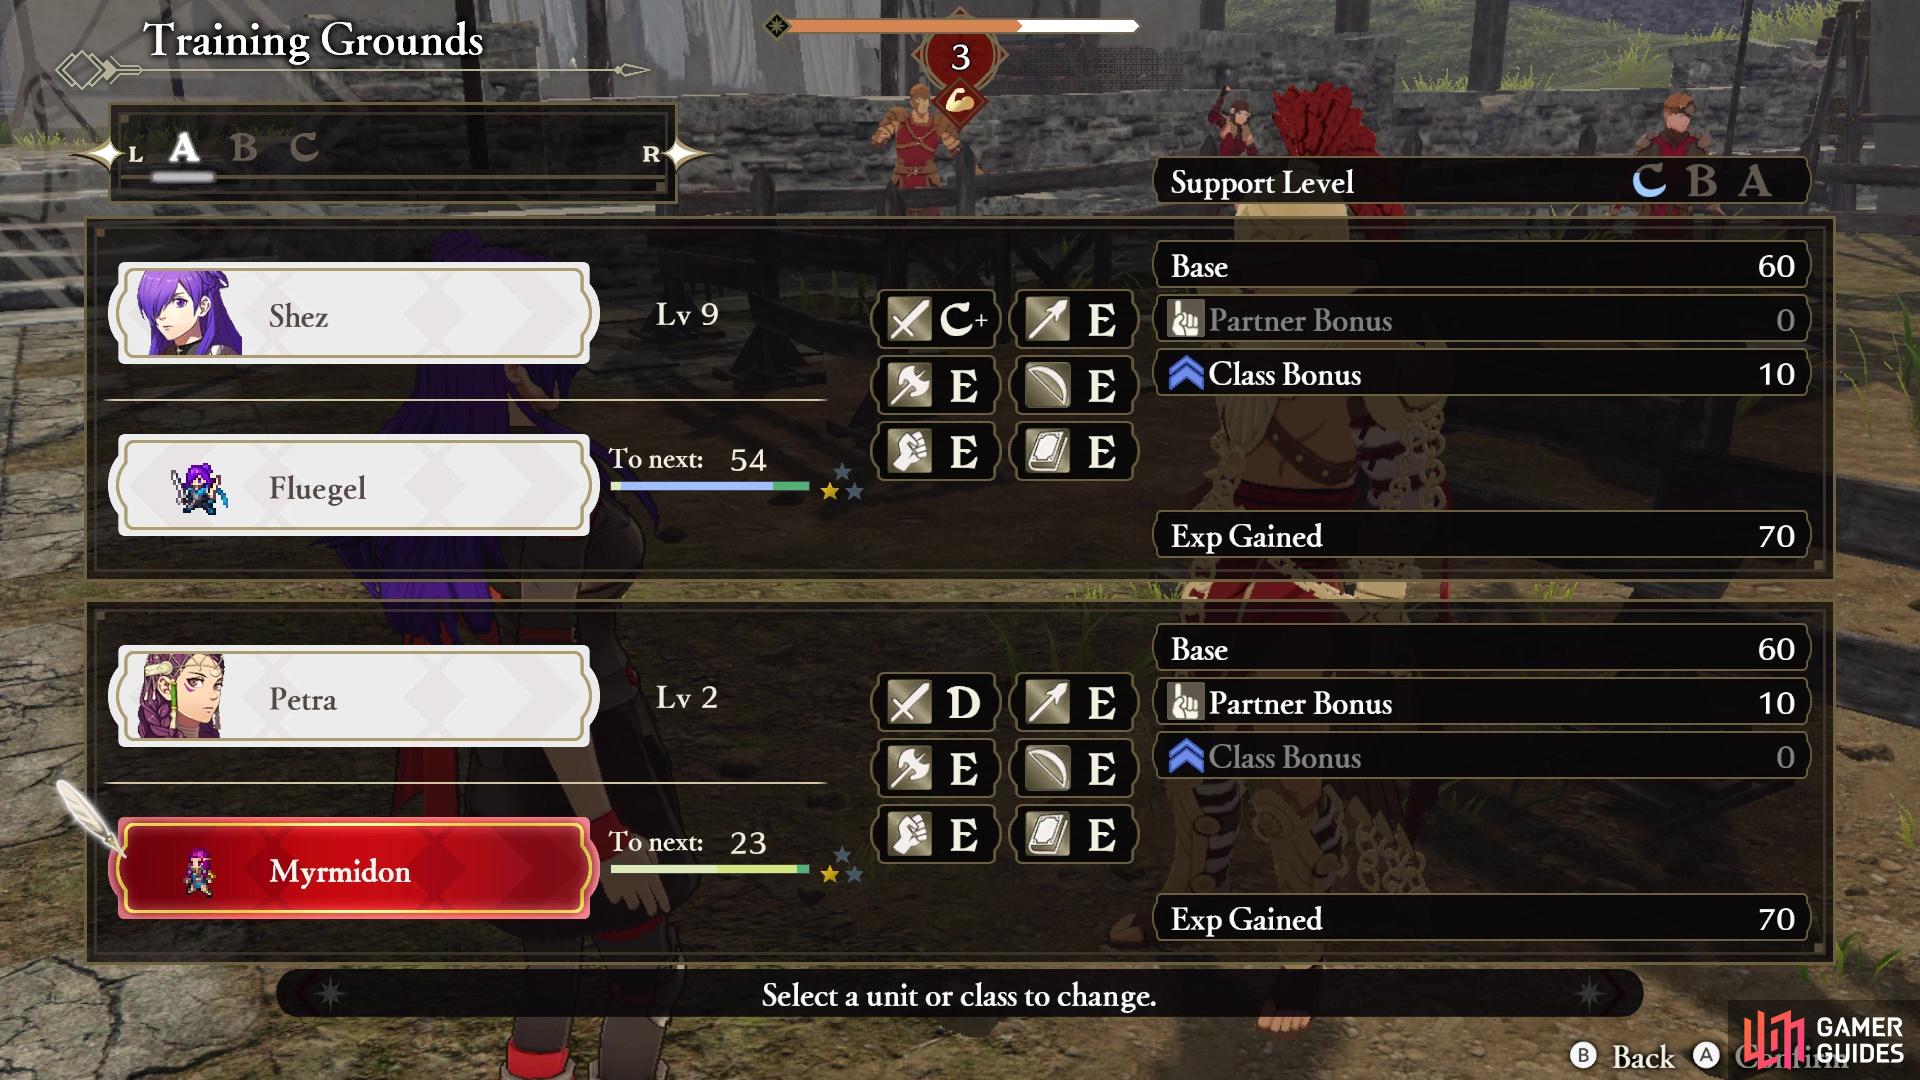
The Marketplace is where you can purchase items, as well as Gifts, for your allies. The Armorer is where you can purchase new weapons for your characters, although they don’t sell anything you don’t have right now. The Training Grounds is where the big action will take place. You can do a multitude of things here, like level your characters using the gold you have accrued, unlock new Classes for your characters, and even use the Train option to help improve their class levels. Note that you can only level up characters to the character that has the highest level, which is important, as you can also reset levels.
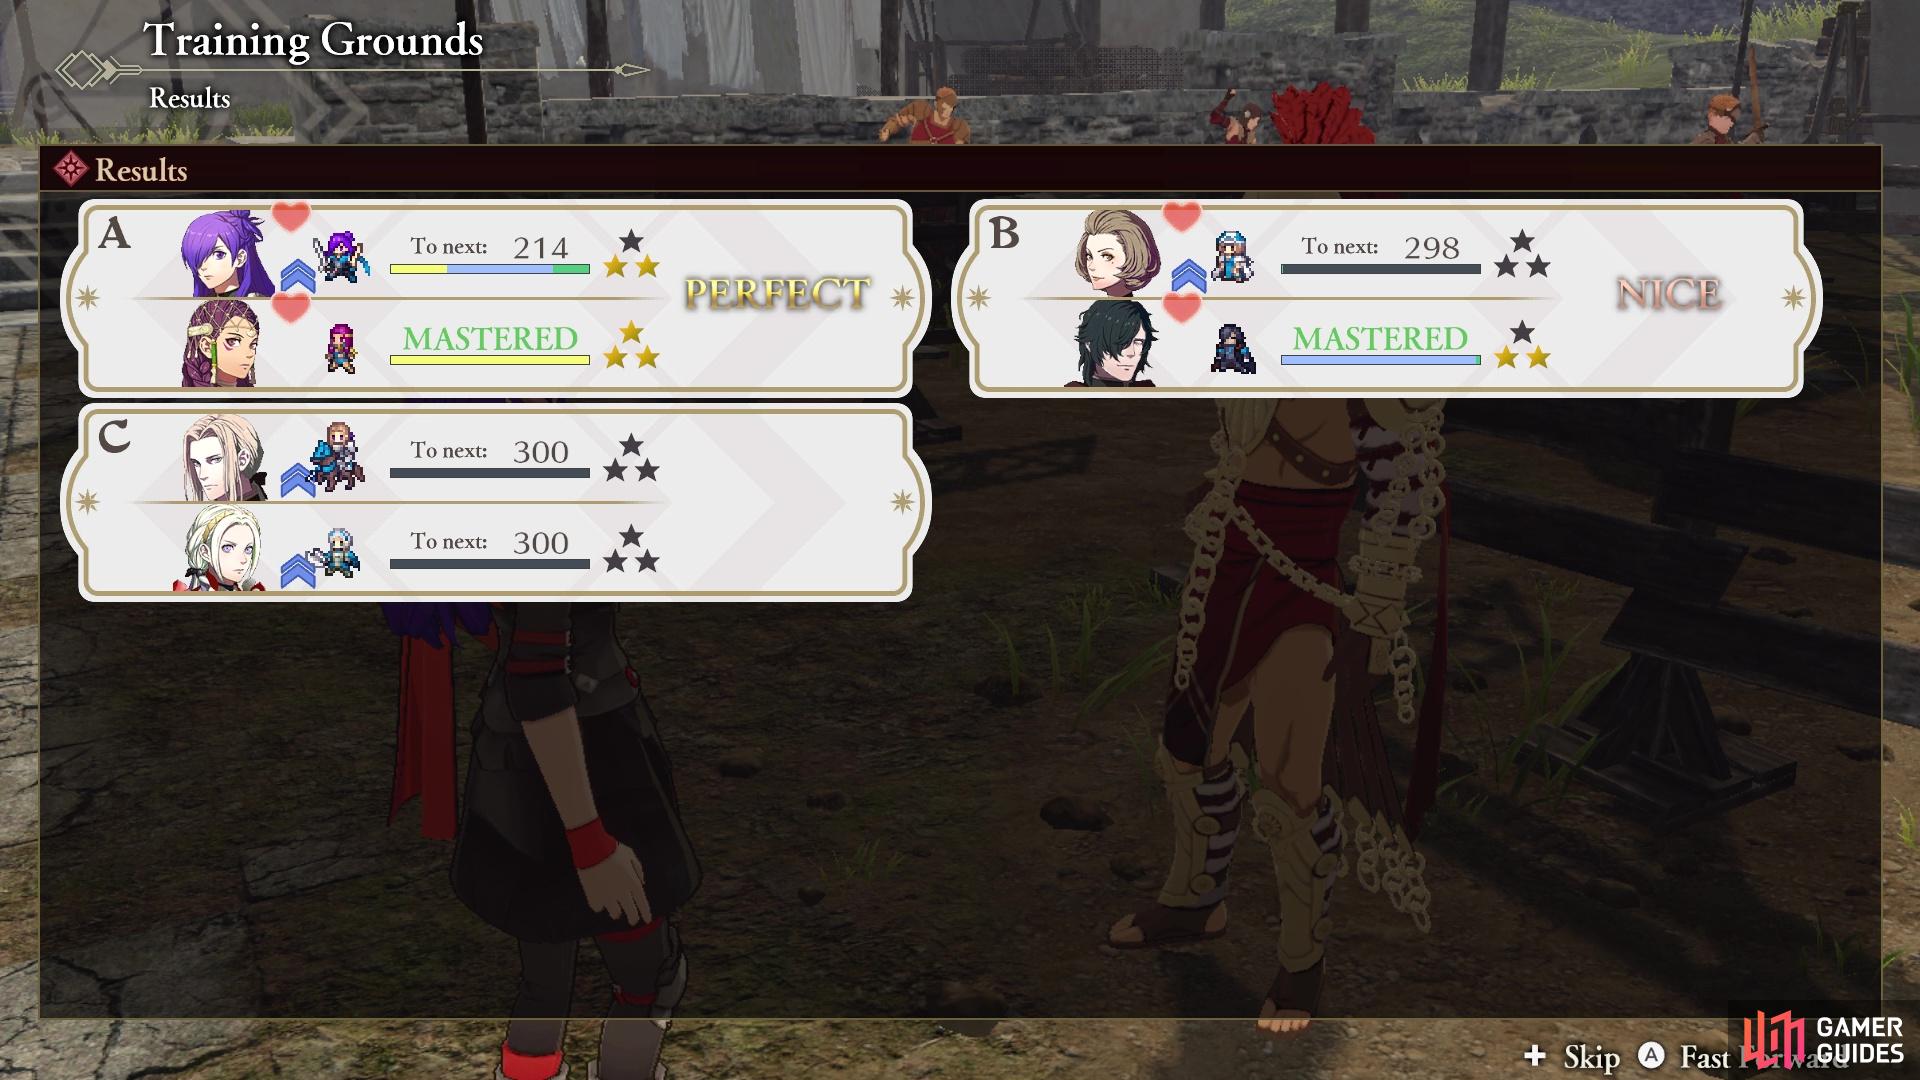
The Train option allows you to pair up characters, who will learn class experience, depending on how well the session goes. Each time you choose Train, you will be able to set up your characters, then choose between Begin Training or Successive Training. Doing this will consume Training Points, which will refill at the start of every chapter (you might also gain some after completing a side mission). Successive Training will just keep training until you run out of Training Points, while the other option just uses one at a time. You only have three Training Points at the moment.
The Training Ground is where you can also learn a new class for your characters. In order to do this, though, you will need to do two things. The first is master the class that is before it; for example, to change to Mercenary on Shez, you need to have mastered the Myrmidon class. In addition to that, you will also need the appropriate Exam Seal. Using the example above, Mercenary is an Intermediate class, so you will need an Intermediate Seal. You should have a number of Intermediate Seals right now, so you have the option to unlock some classes for your characters. Higher tier classes will get better stat increases upon leveling up, as well as a better affinity with certain weapons.
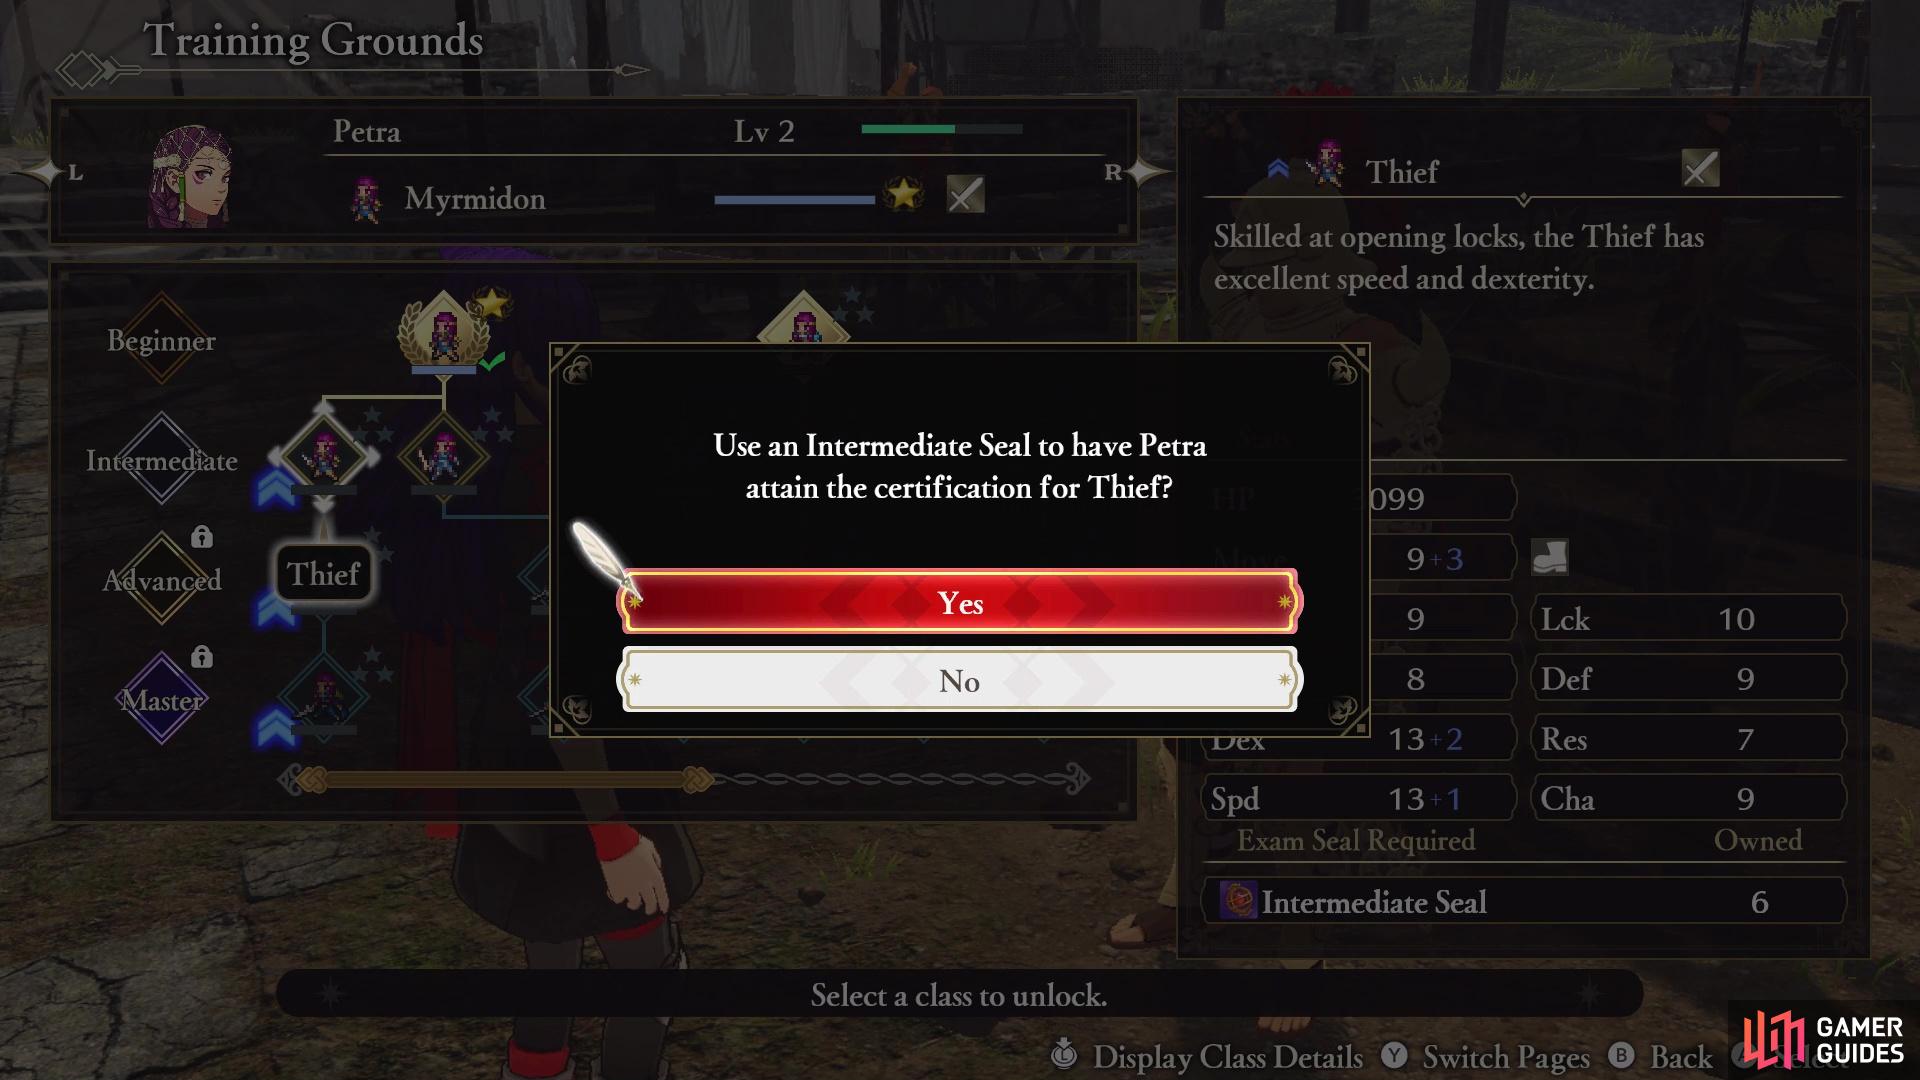
You will need Exam Seals to unlock better classes for each character
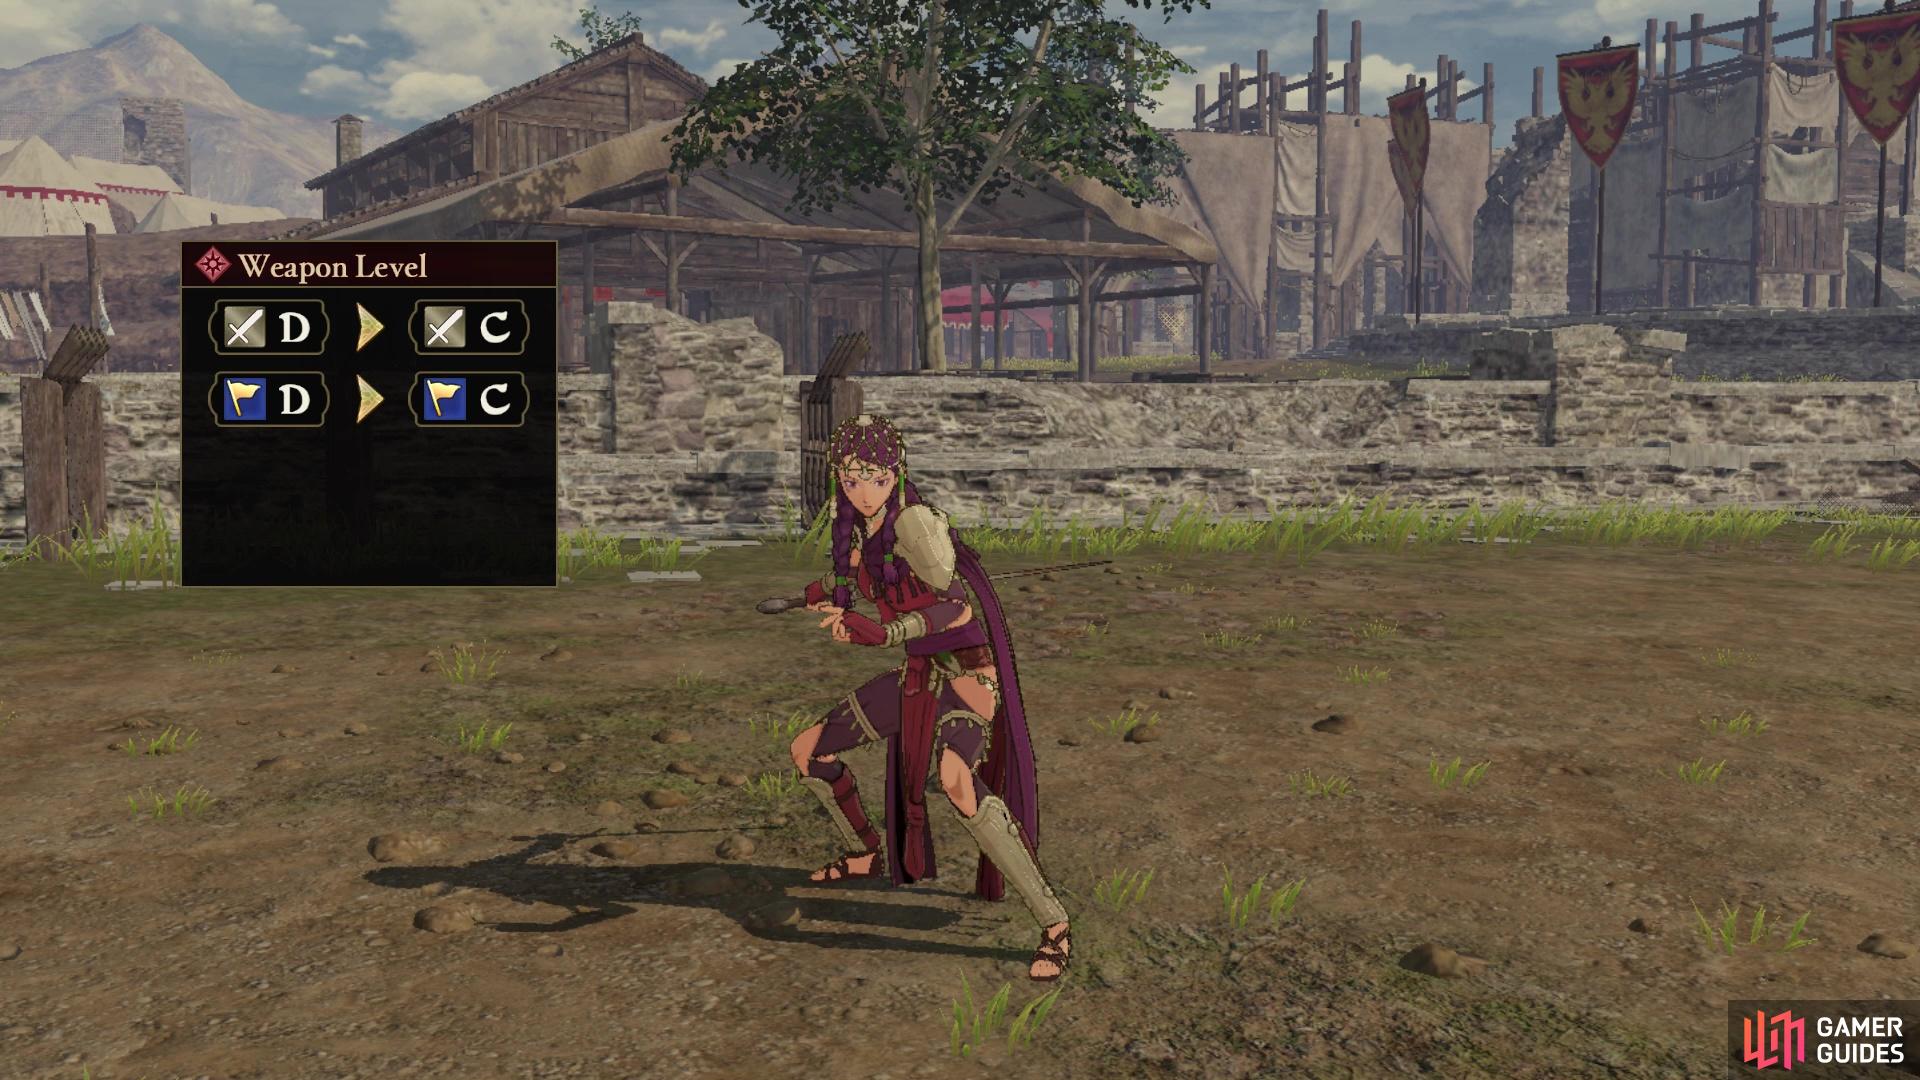
Changing classes can improve that character’s Weapon Level proficency
The Training Ground also allows you to participate in a Mock Battle. This allows you to test out a character/class, without having to worry about the character dying (especially if you’re playing on Classic). Note that you do not gain Achievements or any experience in Mock Battles.
When you’re ready, head to the Strategist in the main building to view the War Map. As you can see from the map, Garreg Mach is located on the far end and you cannot select it right away. You will actually need to complete two of the side missions in order to reach Garreg Mach, so let’s get started with the only one you can choose for right now, Eastern Burgundy Territory.
How to S Rank East Burgundy Territory
| Completion Time | Enemies Defeated | Damage Taken |
|---|---|---|
| 07:00 | 500 | 30% |
Overall, you really shouldn’t have any trouble getting an S Rank in this battle. One big tip that can help with the Enemies Defeated count is when you issue orders to your allies. Instead of putting them straight on an officer, you can have them go to the area around the officer. This should allow them to go after some of the normal enemies, instead of just straight up killing the officer. Issuing orders to your troops will be one of the biggest keys, though, in finishing this in under 7 minutes.
Mission 1: Wipe out the Enemy before Reinforcements Arrive
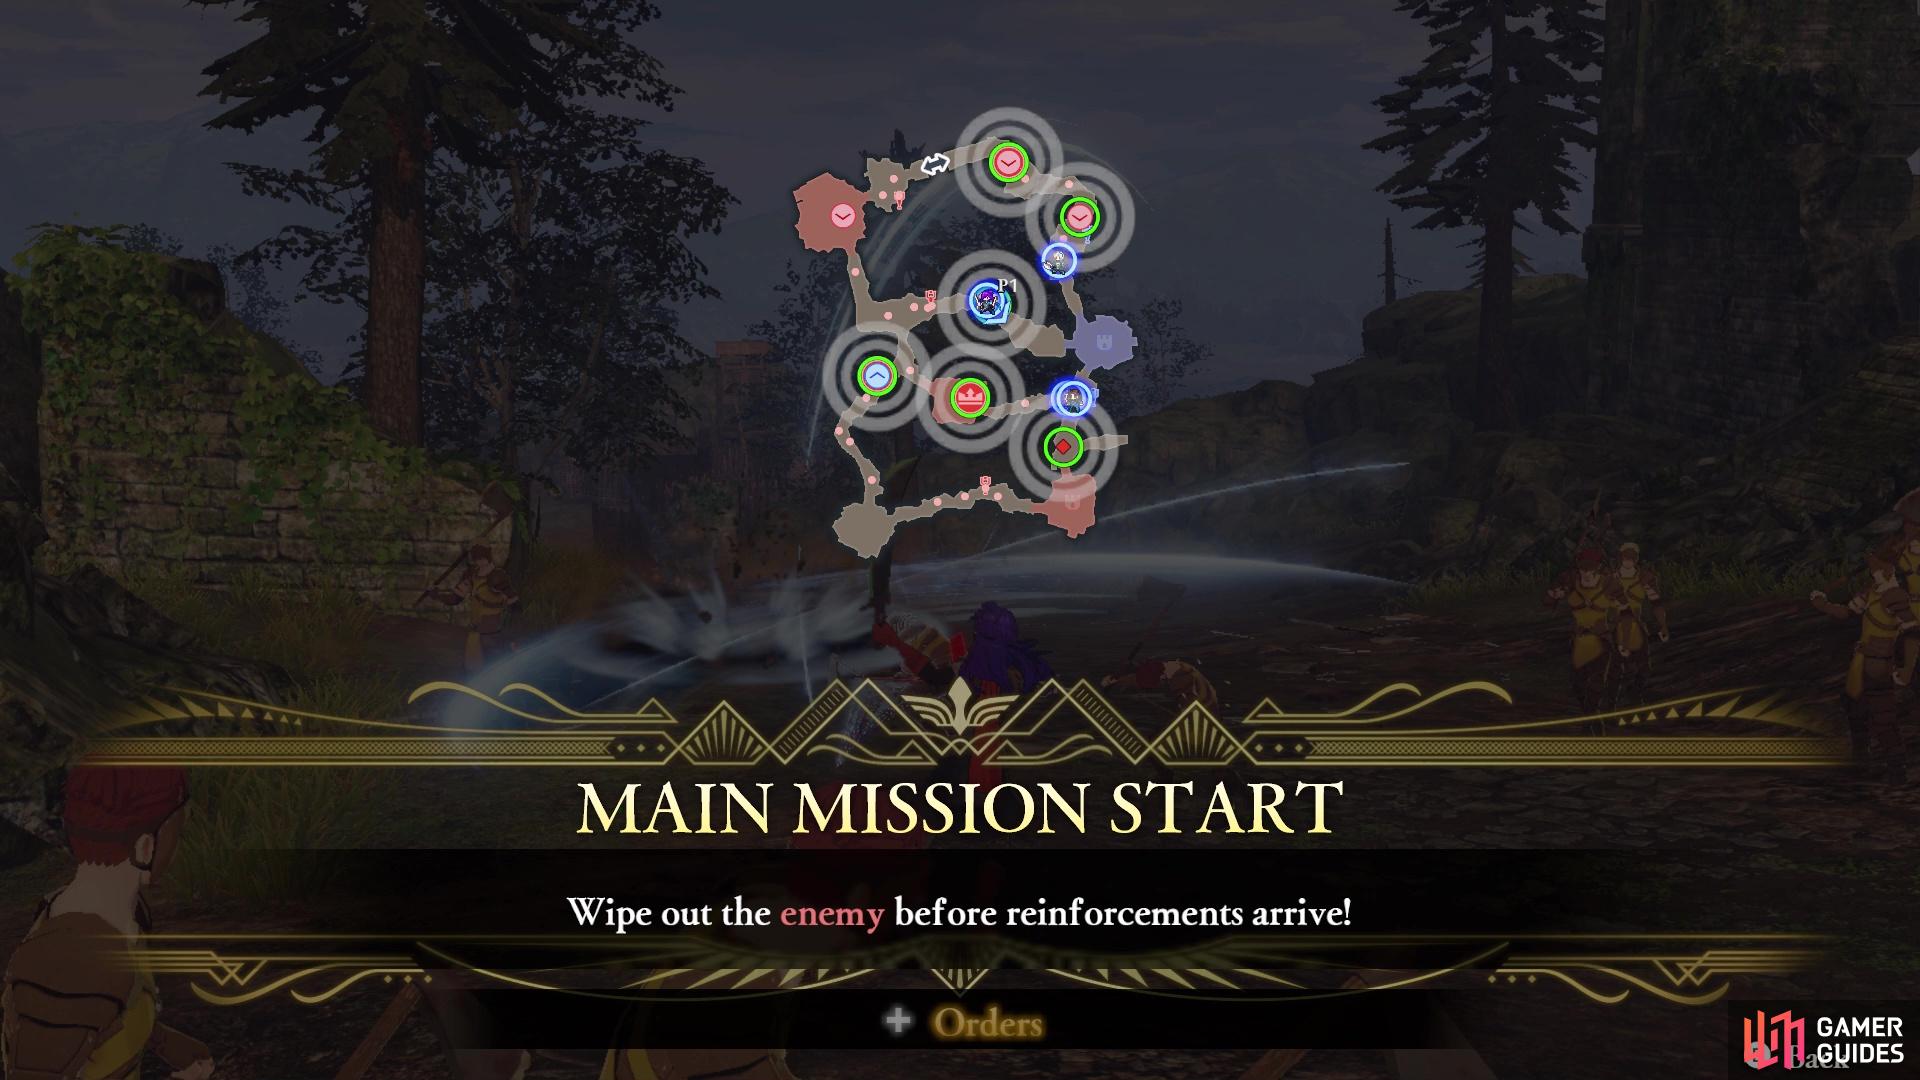
Your main task at the start is to wipe out the enemies highlighted
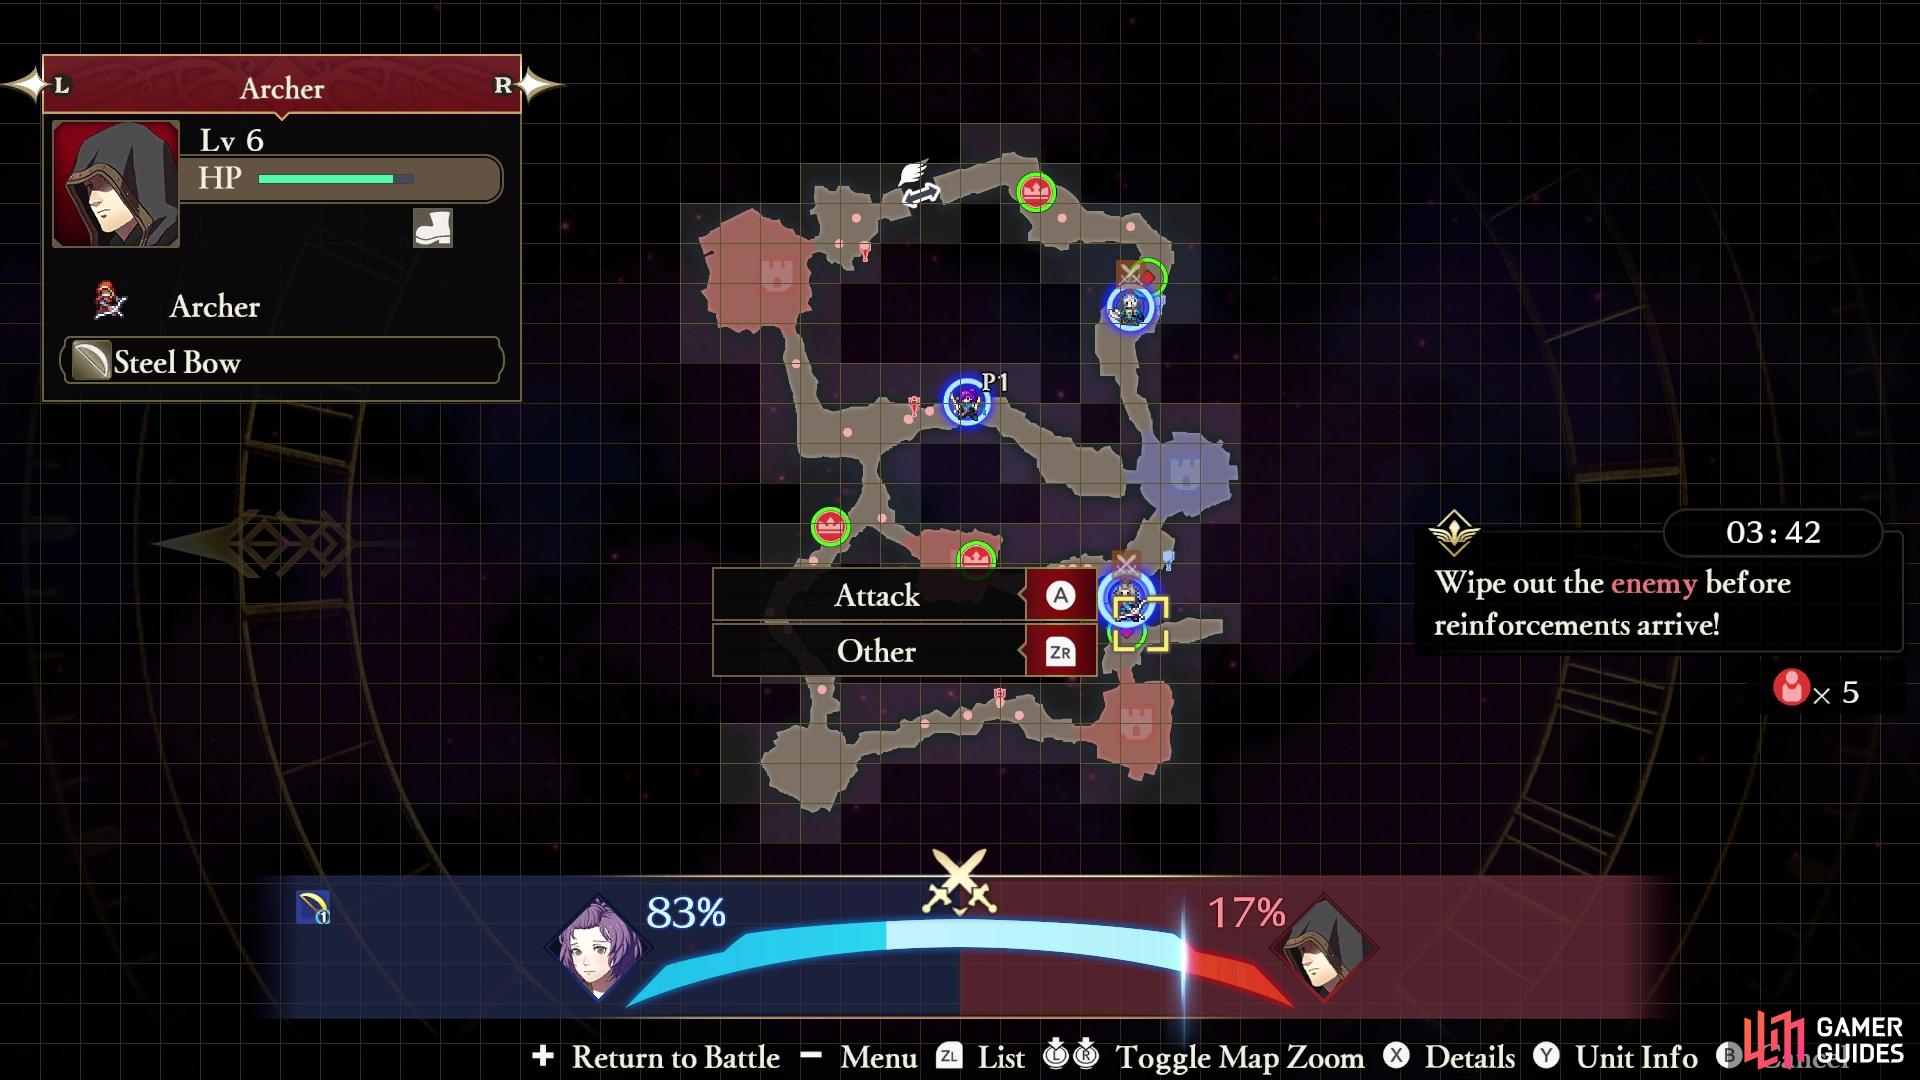
Order your allies to go after the enemies to make it easier on yourself
As soon as the battle starts, your first main mission will be to wipe out the enemy before reinforcements arrive. There are six targets you need to defeat, so getting to all of them yourself is not really an option here, especially if you’re trying to get that coveted S Rank. That means you should be issuing orders to your allies, making sure that you send them to enemies that they have an advantage against (the blue up arrow icon). There is also the probability gauge at the bottom of the screen when issuing orders, showing you the chance of how the battle will go between the units.
Side Mission: Protect the Monk while They Recruit the Myrmidon
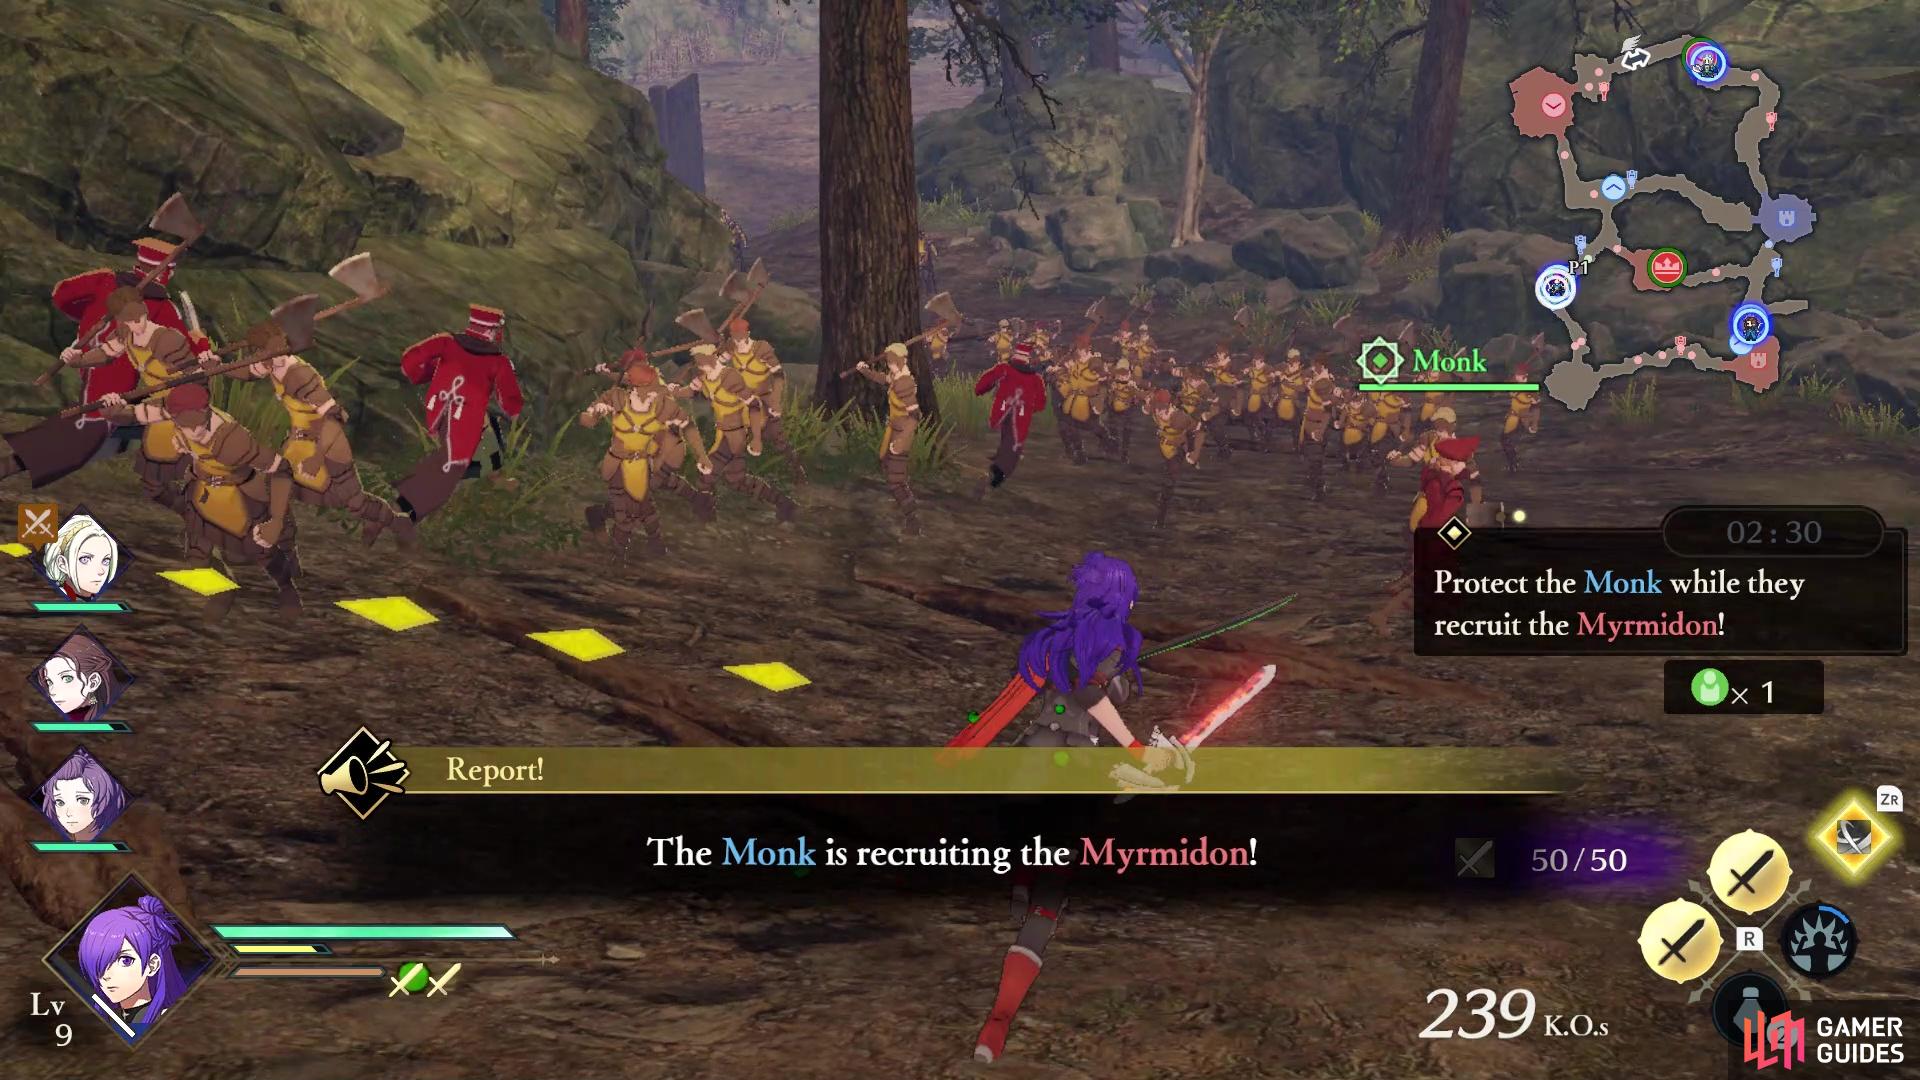
The Monk will attempt to recruit the Myrmidon
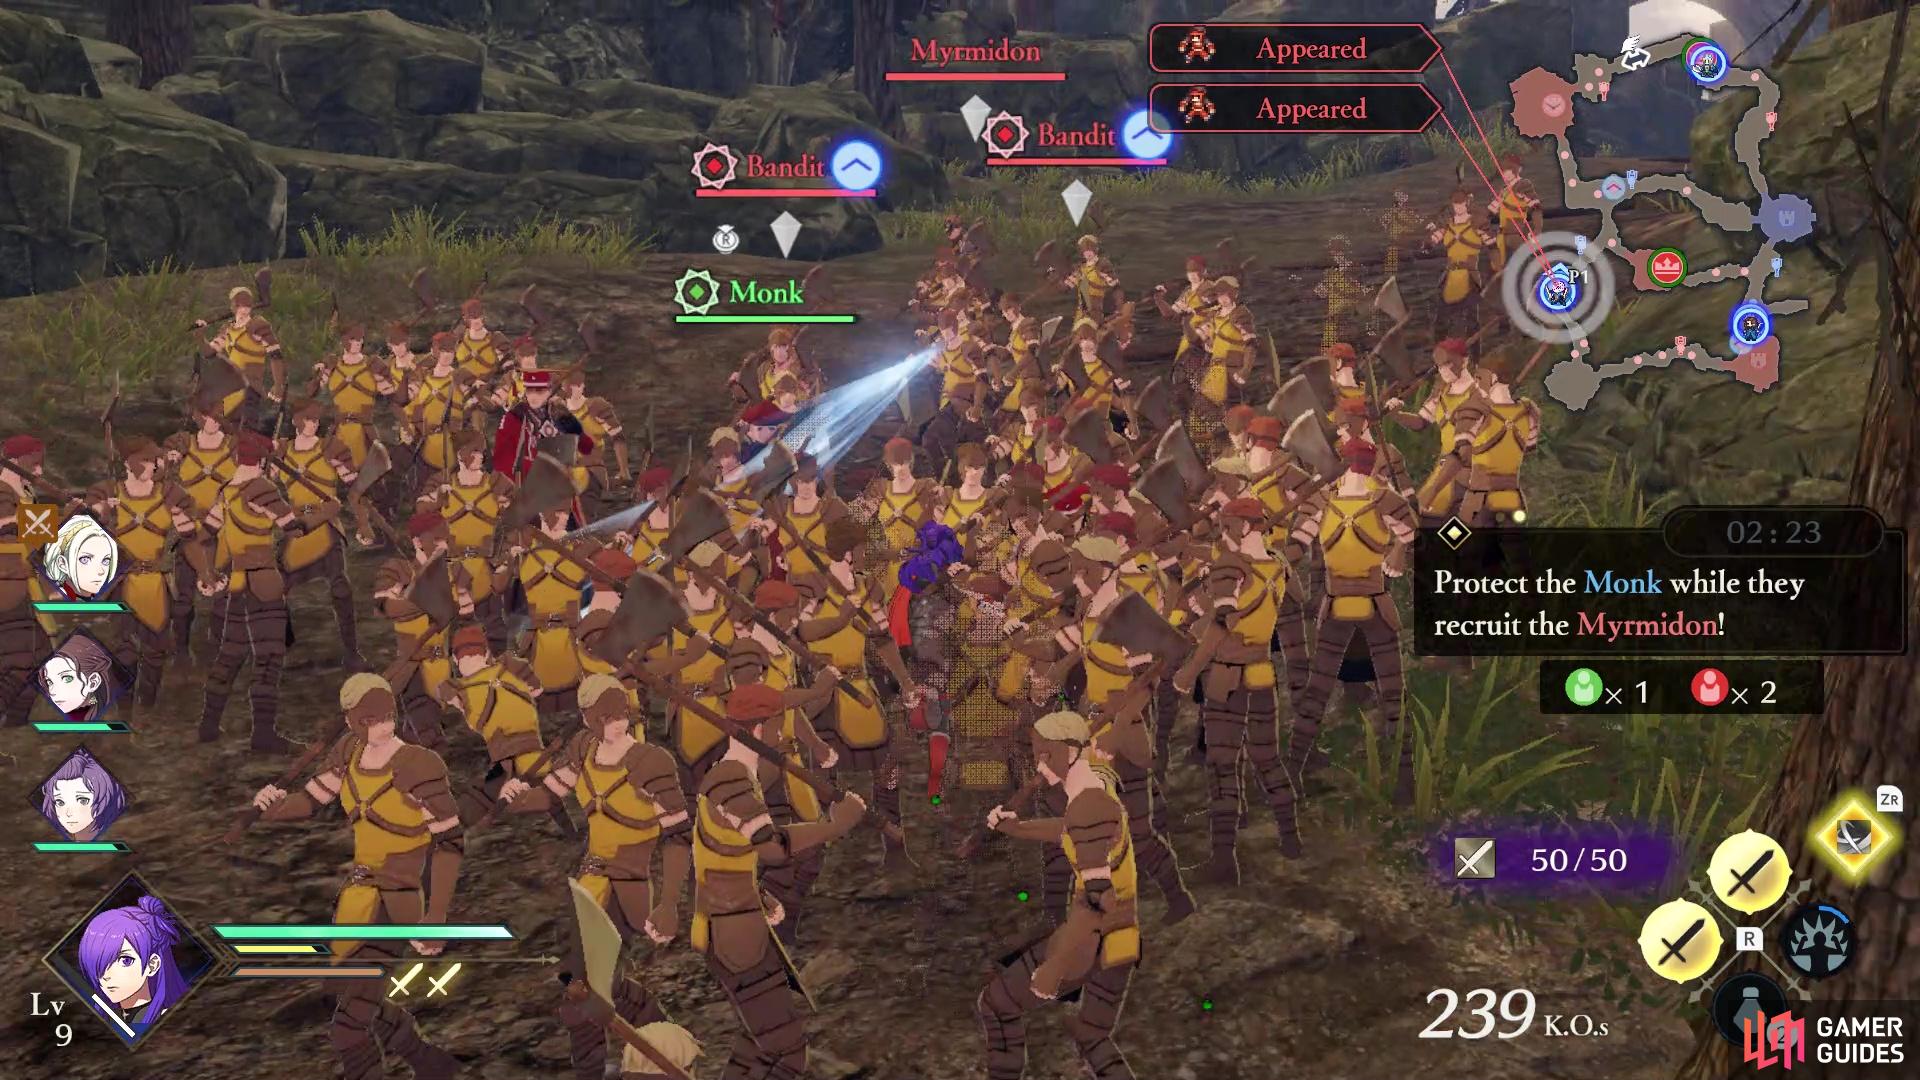
Things will get a little complicated as some Bandits show up to stop this
At some point during the battle, an enemy Myrmidon will appear on the western path, heading towards the southwest corner. This will also trigger a friendly Monk to spawn, whose goal is to try and persuade the Myrmidon to join your side. Your job is to protect the Monk while he closes in on the Myrmidon. Of course, when the Monk meets up with the Myrmidon, a bunch of Bandits appear, so you’ll need to defeat them without accidentally bringing down the Myrmidon, too. Being careful here with your bigger attacks, like the special ones or the Critical Rush, the Monk will fulfill his duty after defeating the Bandits.
Mission 2: Defeat the Fighter and Claim Victory!
Should you defeat all of the highlighted enemies in time before the timer reaches zero, then the enemy commander will appear in the bottom left corner of the map. Thankfully, the commander is nothing more than a generic Fighter, so he shouldn’t pose much trouble at all. While heading to the commander, feel free to clean up the rest of the map, especially if you have a lot of time remaining for the S Rank. There’s nothing else to say here, so defeat the commander to finish the battle.
Battle Aftermath
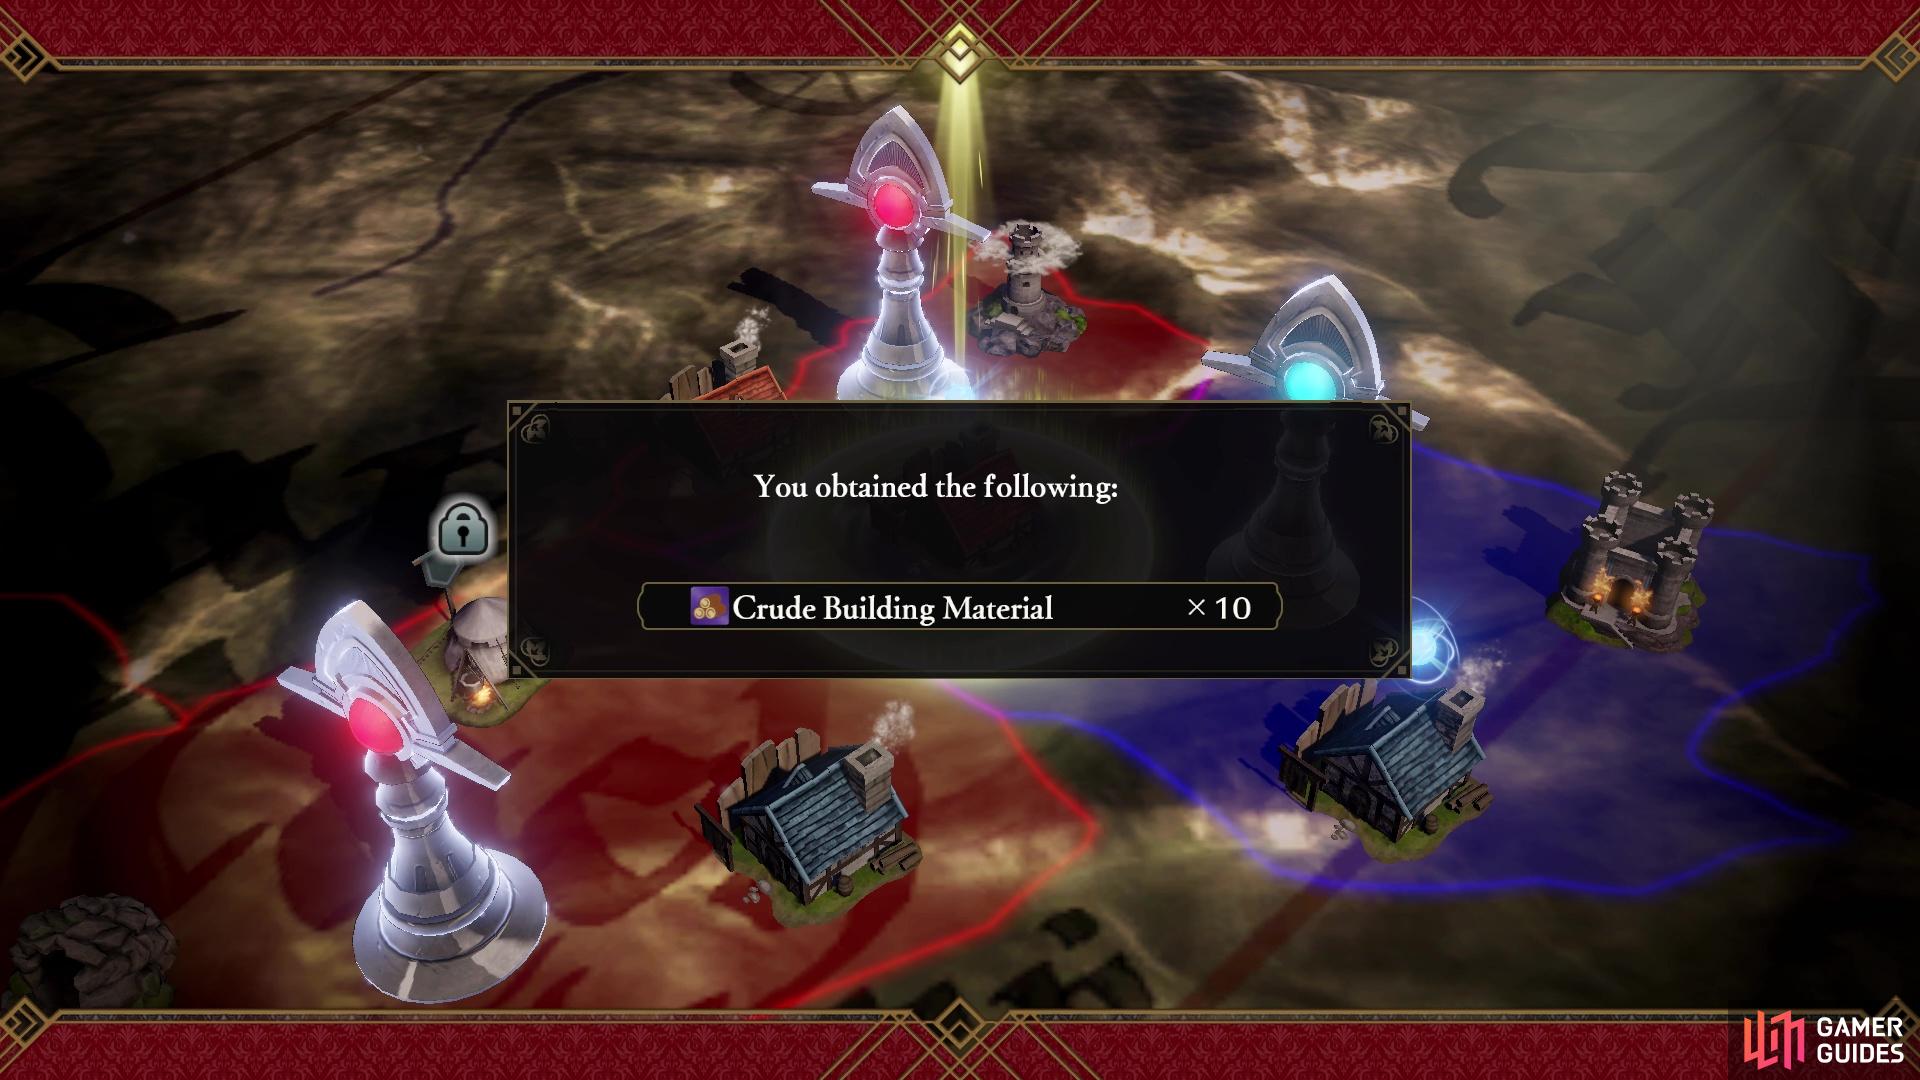
With the battle won, you will receive your usual rewards, as well as the ones for potentially S Ranking (Mace) and capturing the region. Doing this will net you Strategy Resources, which will be used when doing the main quest in the chapter. This is very important, as Strategy Resources will help you recruit more characters on any given route. The other thing capturing a region does is give you access to the Surveying Spots in that region. Place the cursor over these smaller icons to get some extra rewards. Note that some Surveying Spots might require you to pay some money, or force you to make a choice. The three Surveying Spots in this region will net you the following:
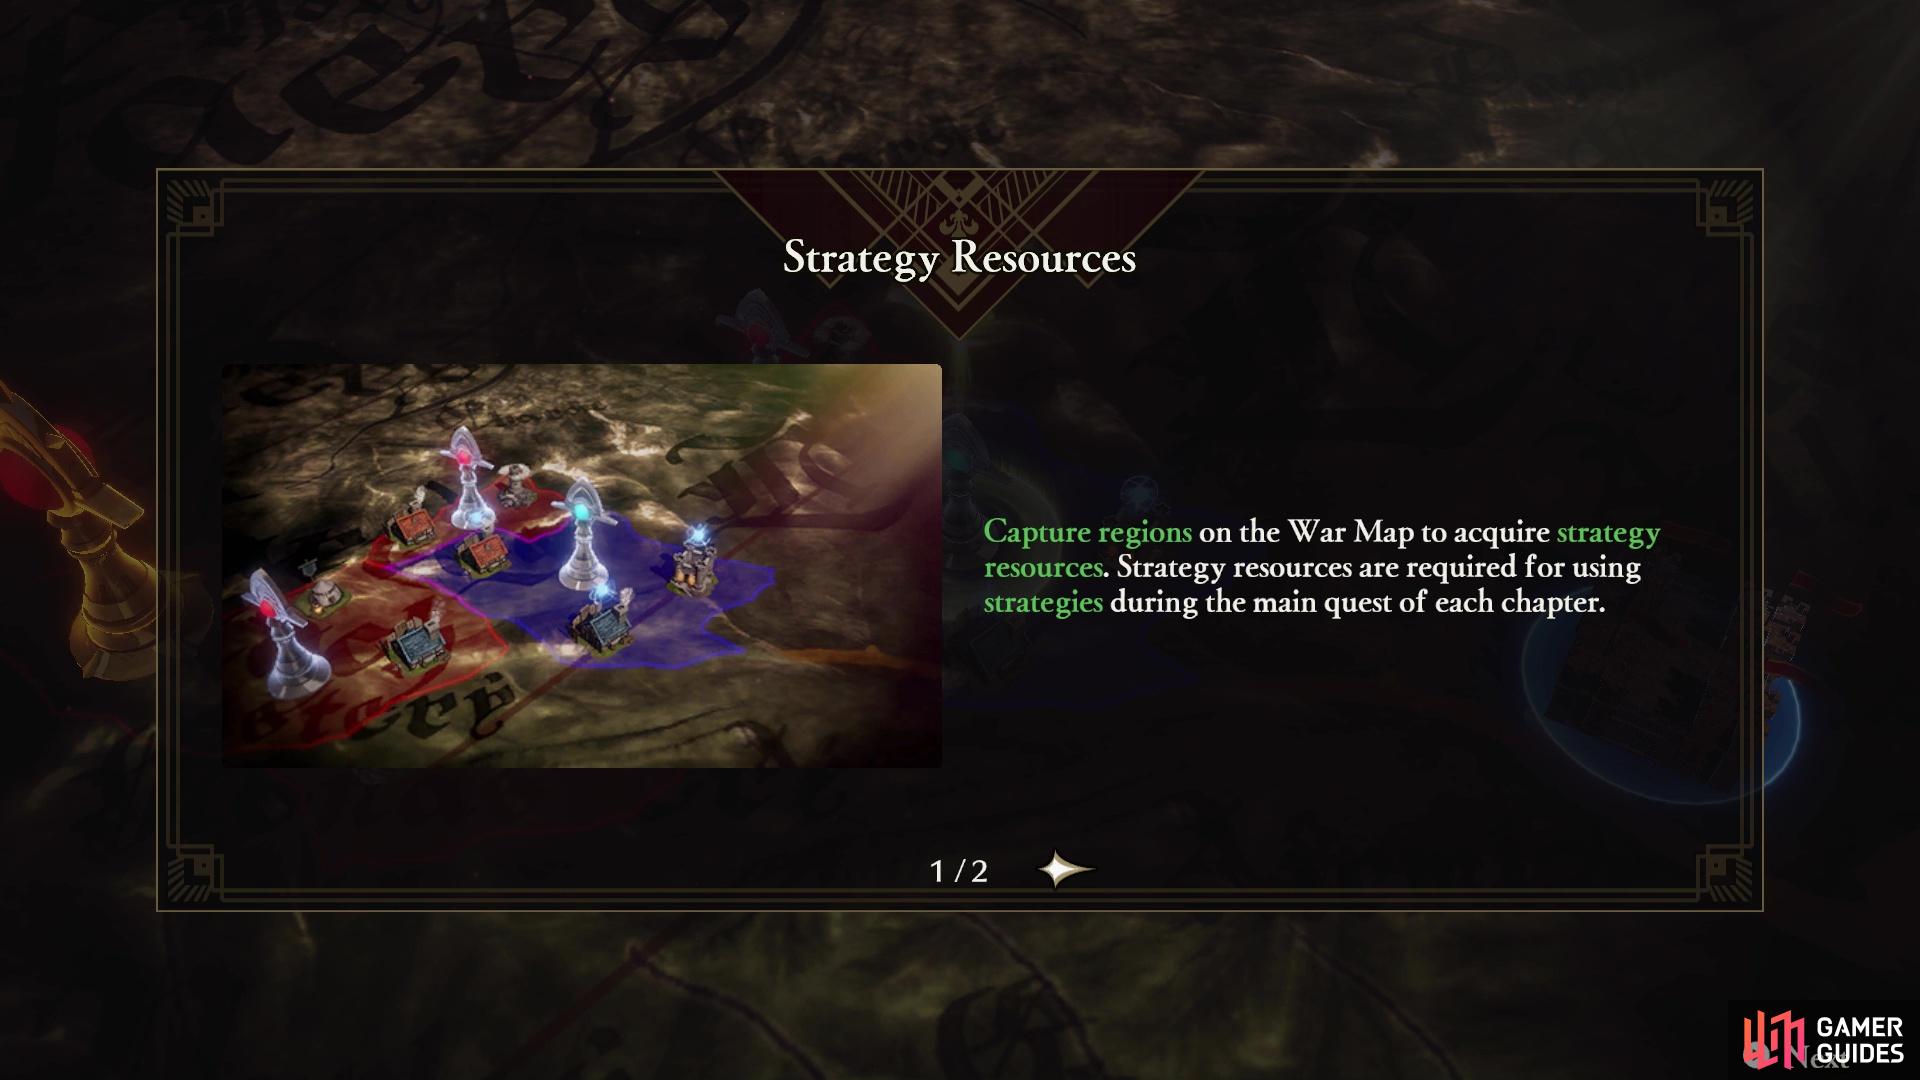
Strategy Resources will become useful during the main battle of the chapter
Check out the Surveying Spots to get some extra resources
- 2,400 G
- Crude Building Materials x10
- Floral Adornment x1
You will be forced to go back to your camp.
No Comments