
This is a guide for Chapter 5: The Skirmish in the Fog in Fire Emblem Warriors: Three Hopes, this page focusing on the Main Quest, Magdred Way.
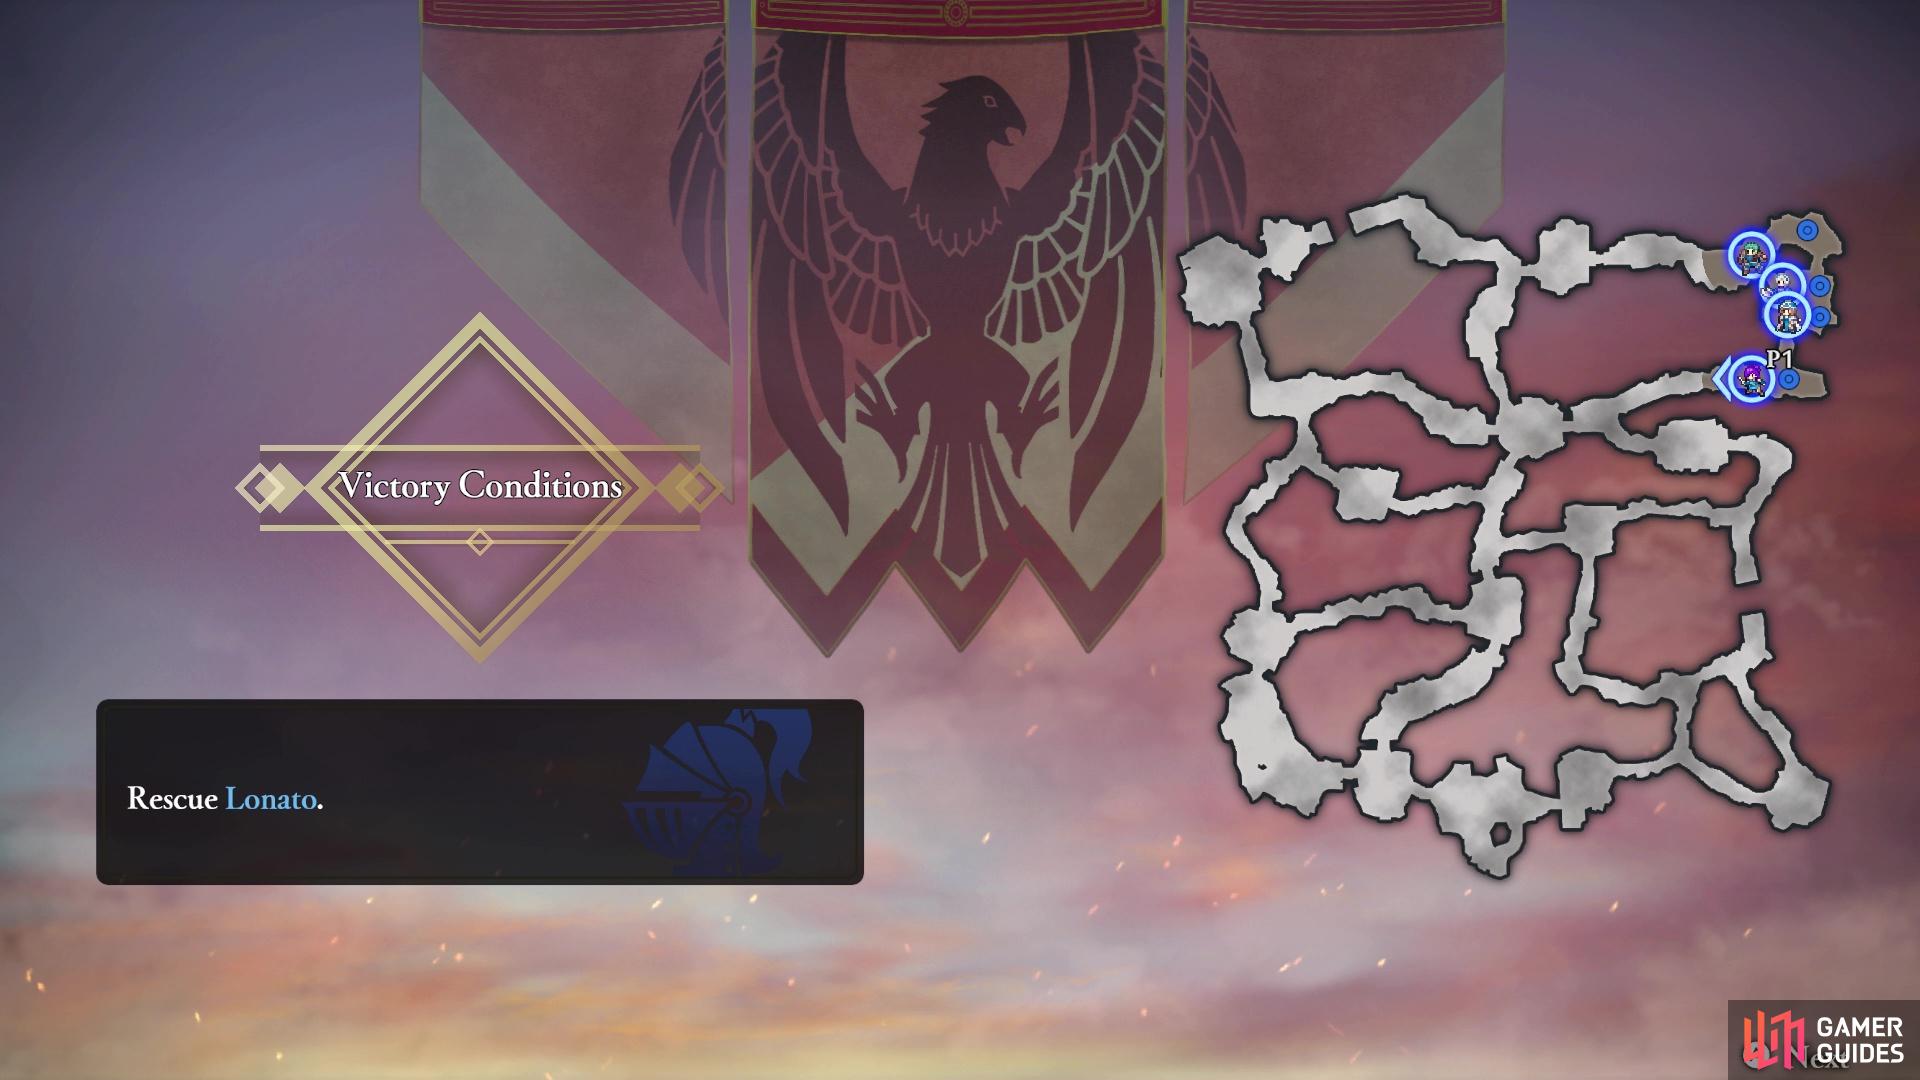
The battlefield for Magdred Way
A quick reminder that this is the main quest for Chapter 5 of Scarlet Blaze, so make sure you have done everything else you wanted to do before starting this battle. That includes the side battles, spending all of your Activity/Training Points in the camp, and checking out all of the Surveying Spots. You will be unable to do these and get the rewards for them later. Note that you will be able to replay battles for S Ranks, so don’t worry too much about that right now.
Which Strategies to Choose for Magdred Way
If you’ve captured all of the regions in this chapter, then you will have 40 Strategy Points to work with here. Obviously, if you wish to acquire Ashe as a playable character, then you will want to choose Persuade Ashe, which costs 20 points. That will leave you with only 20 more points to use, so if you use Torch, that will take those. Torch will make it easier to see enemies, as more of the map will be unveiled as you explore, but they will also see you coming. That is probably your best option, though, simply because of the objectives.
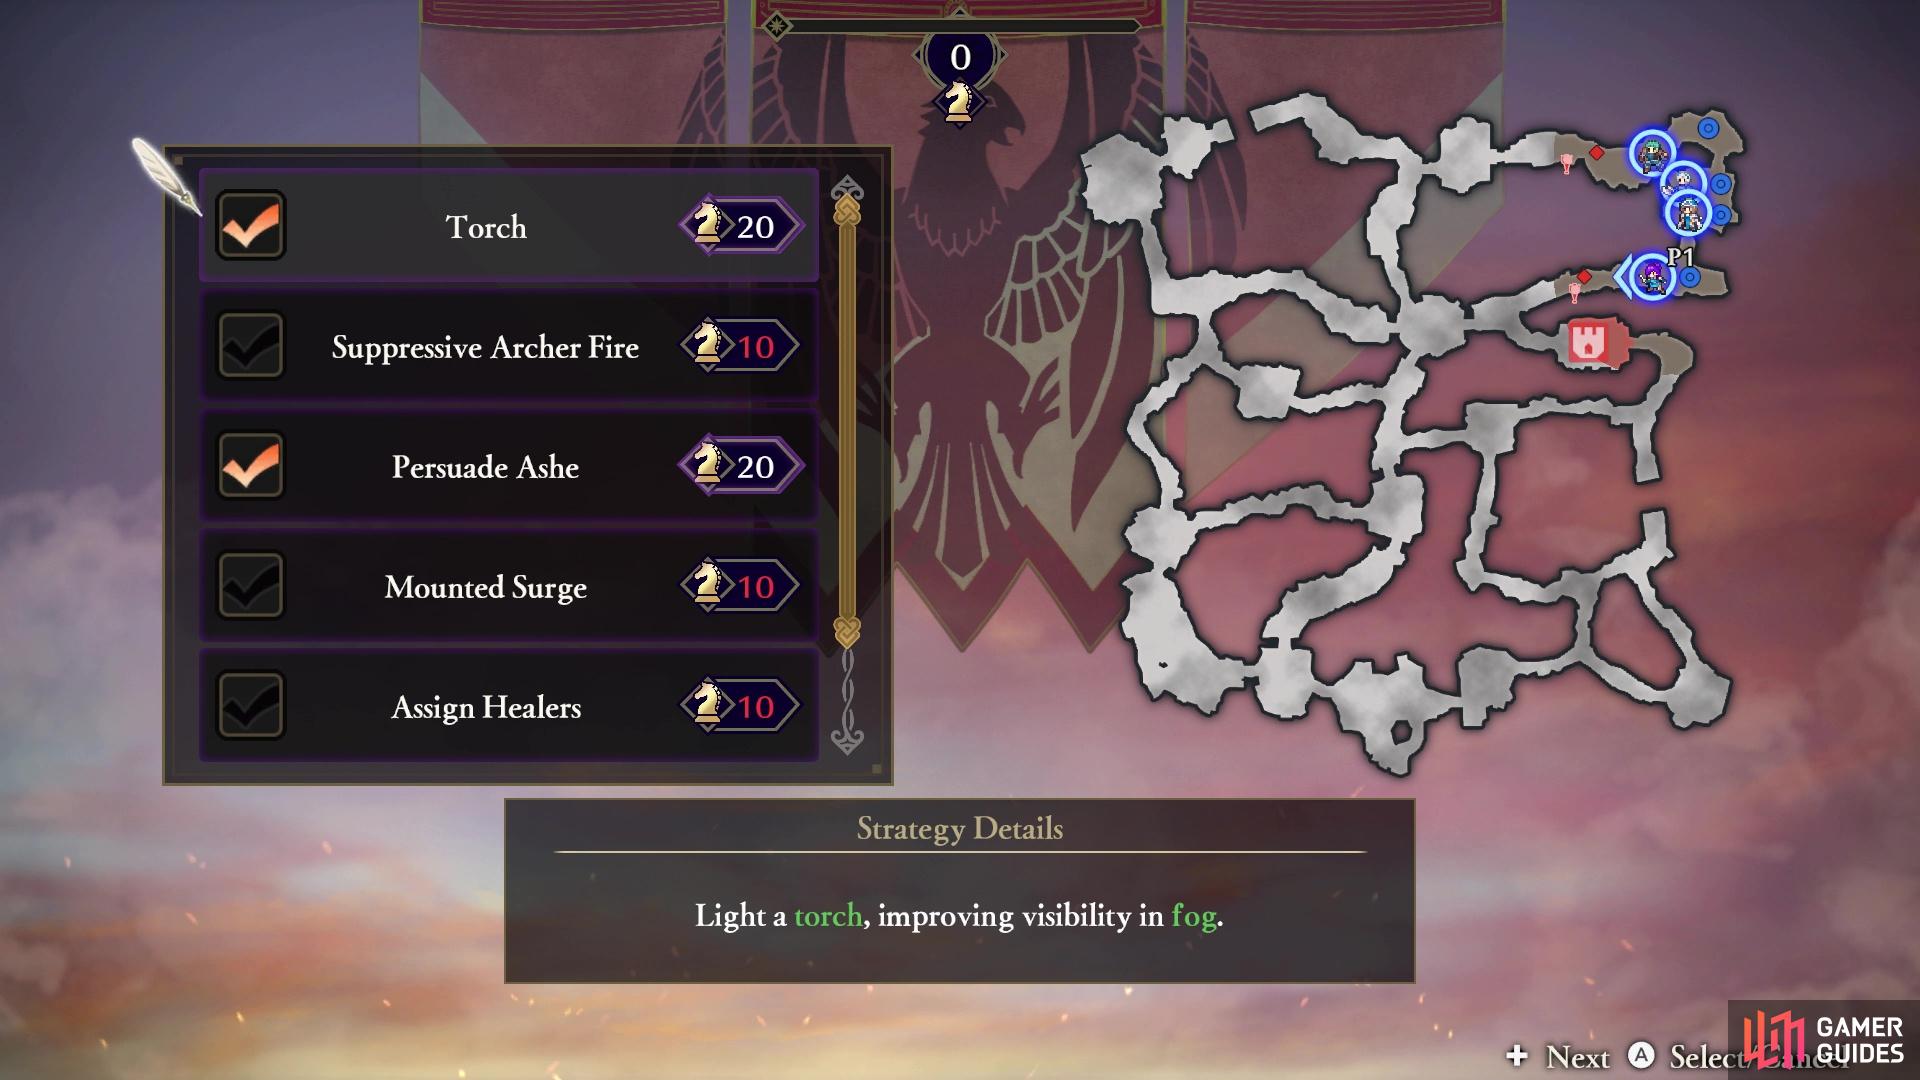
If you want Ashe in your army, make sure to pick that Strategy
| Strategy | Cost | Strategy Details |
|---|---|---|
| Torch | 20 | Light a torch, improving visibility in fog. |
| Suppressive Archer Fire | 10 | Request suppressive fire from the Gaspard Archers. |
| Persuade Ashe | 20 | Convince an enemy general to join your army. |
| Mounted Surge | 10 | Summon a mounted unit to engage the enemy. Reinforcements will deploy periodically. |
| Assign Healers | 10 | Assign a healer unit to periodically heal allies. |
| Built Up | 10 | Begin the battle with additional allied strongholds secured. |
How to S Rank Hagdred Way
| Completion Time | Enemies Defeated | Damage Taken |
|---|---|---|
| 15:00 | 1500 | 50% |
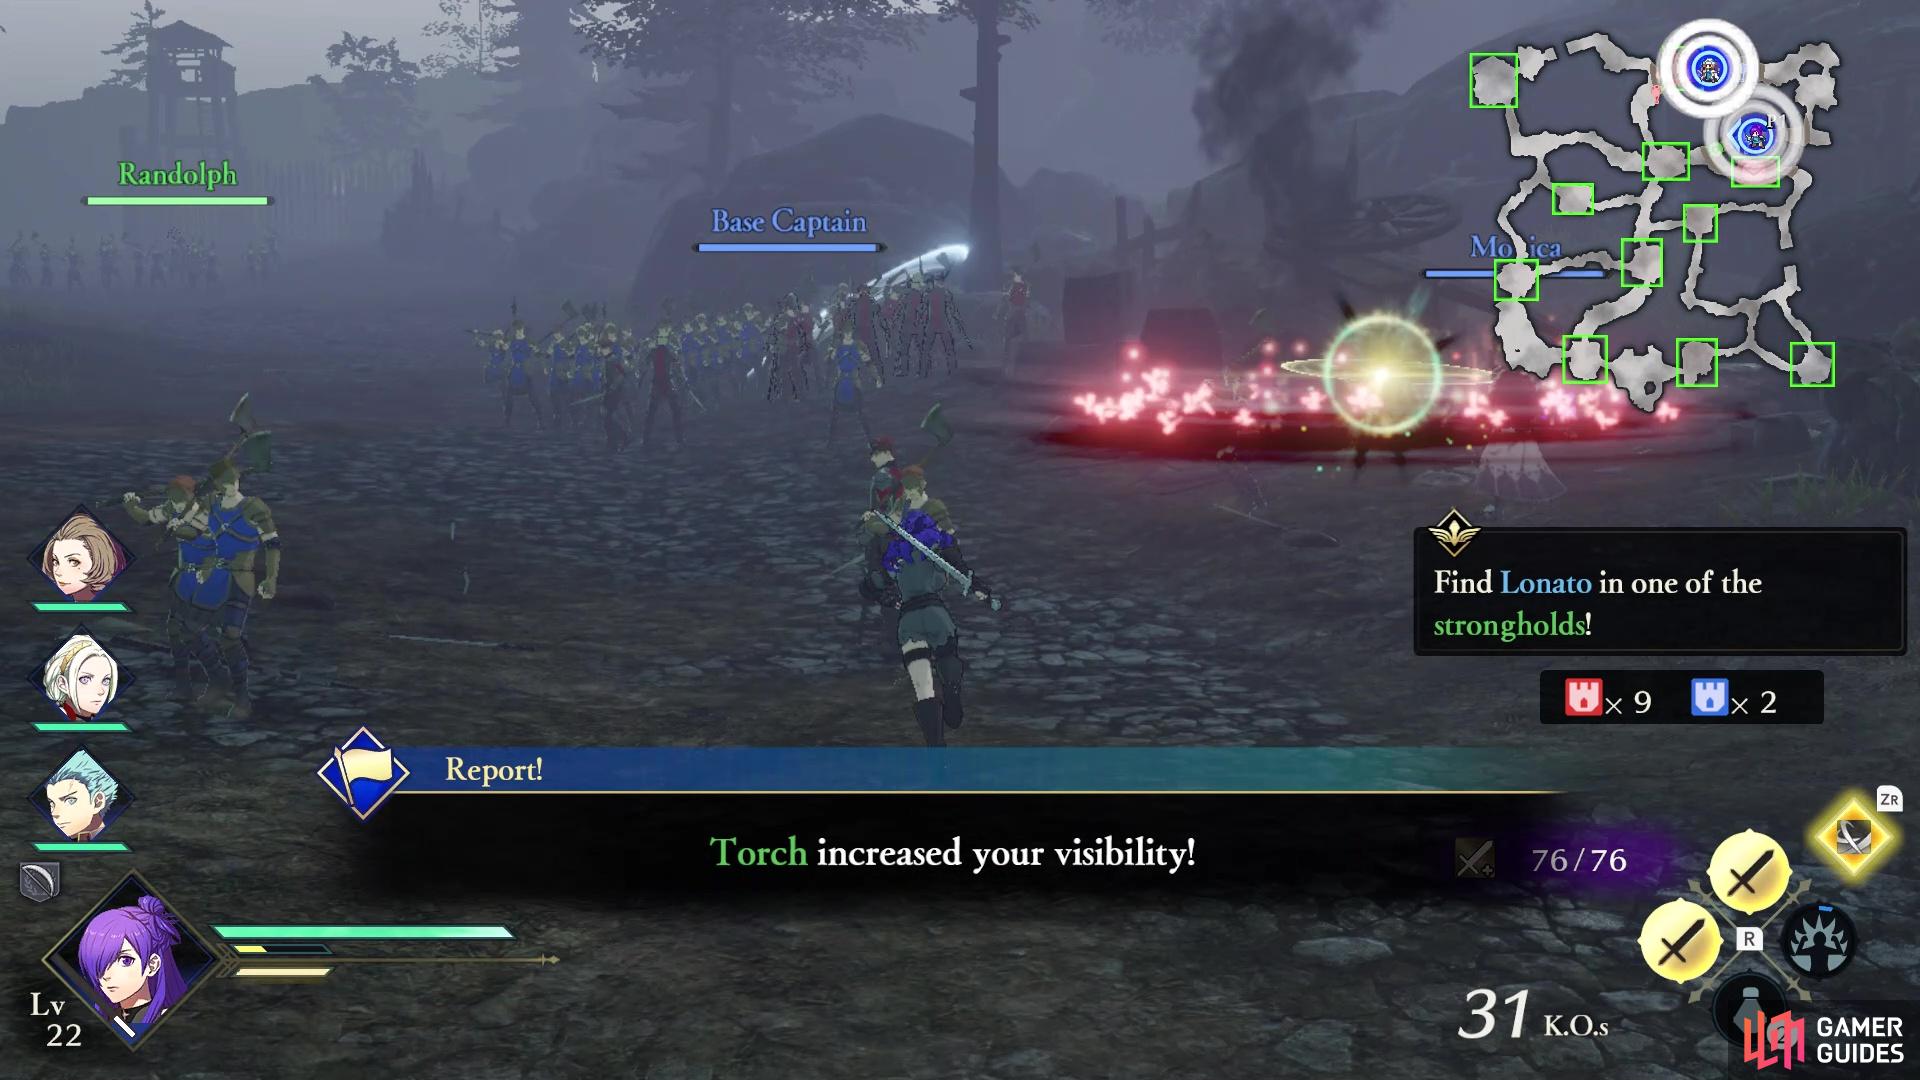
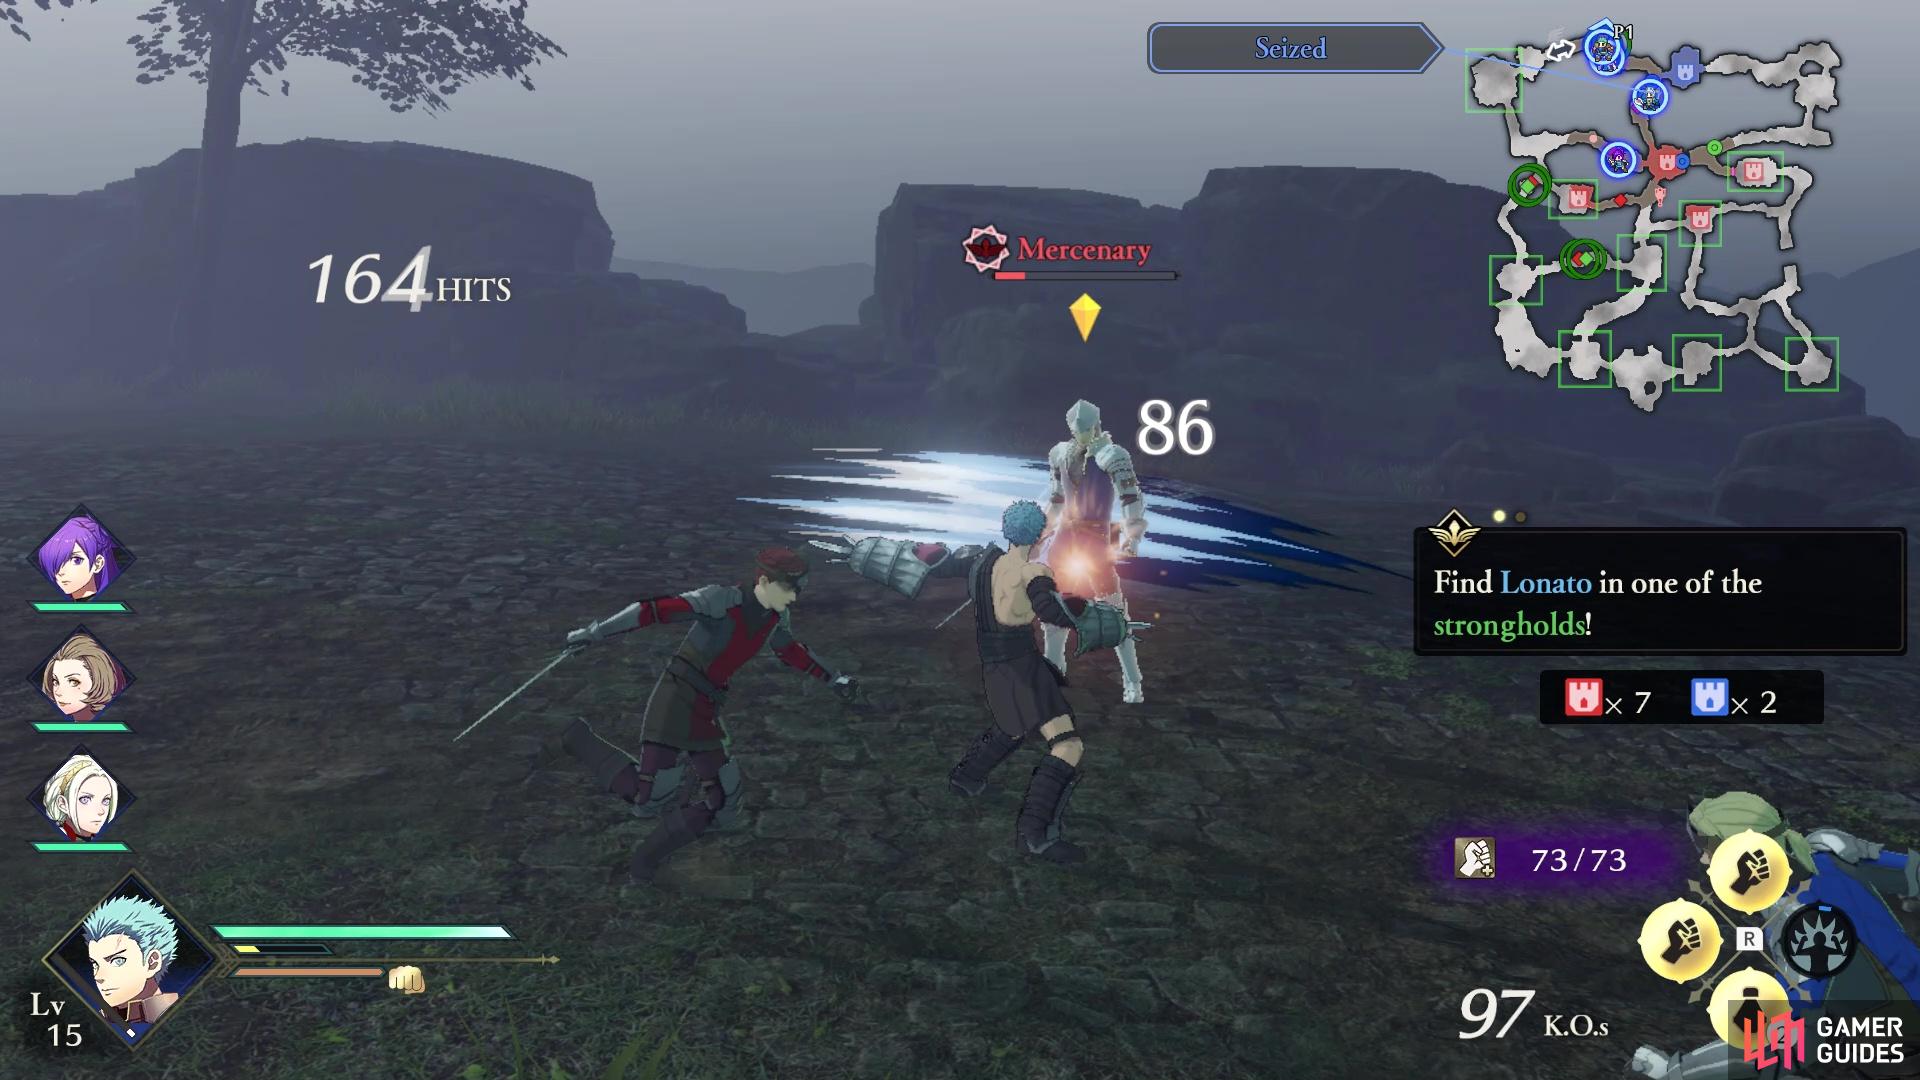
Since this is a main mission, you will want to take things a little more slowly, as you have 15 minutes in which to finish for the S Rank. The reason for that is you need 1,500 kills, which is not going to come quickly. The fog on the map is not going to help with things, since you’re not really going to know enemy placements, but the objectives should still show up as they appear. One of the first things you should do is start fighting enemies, racking up the kill count, as you make your way to the southeast corner to rescue Lonato.
Mission 1: Find Lonato in one of the Strongholds
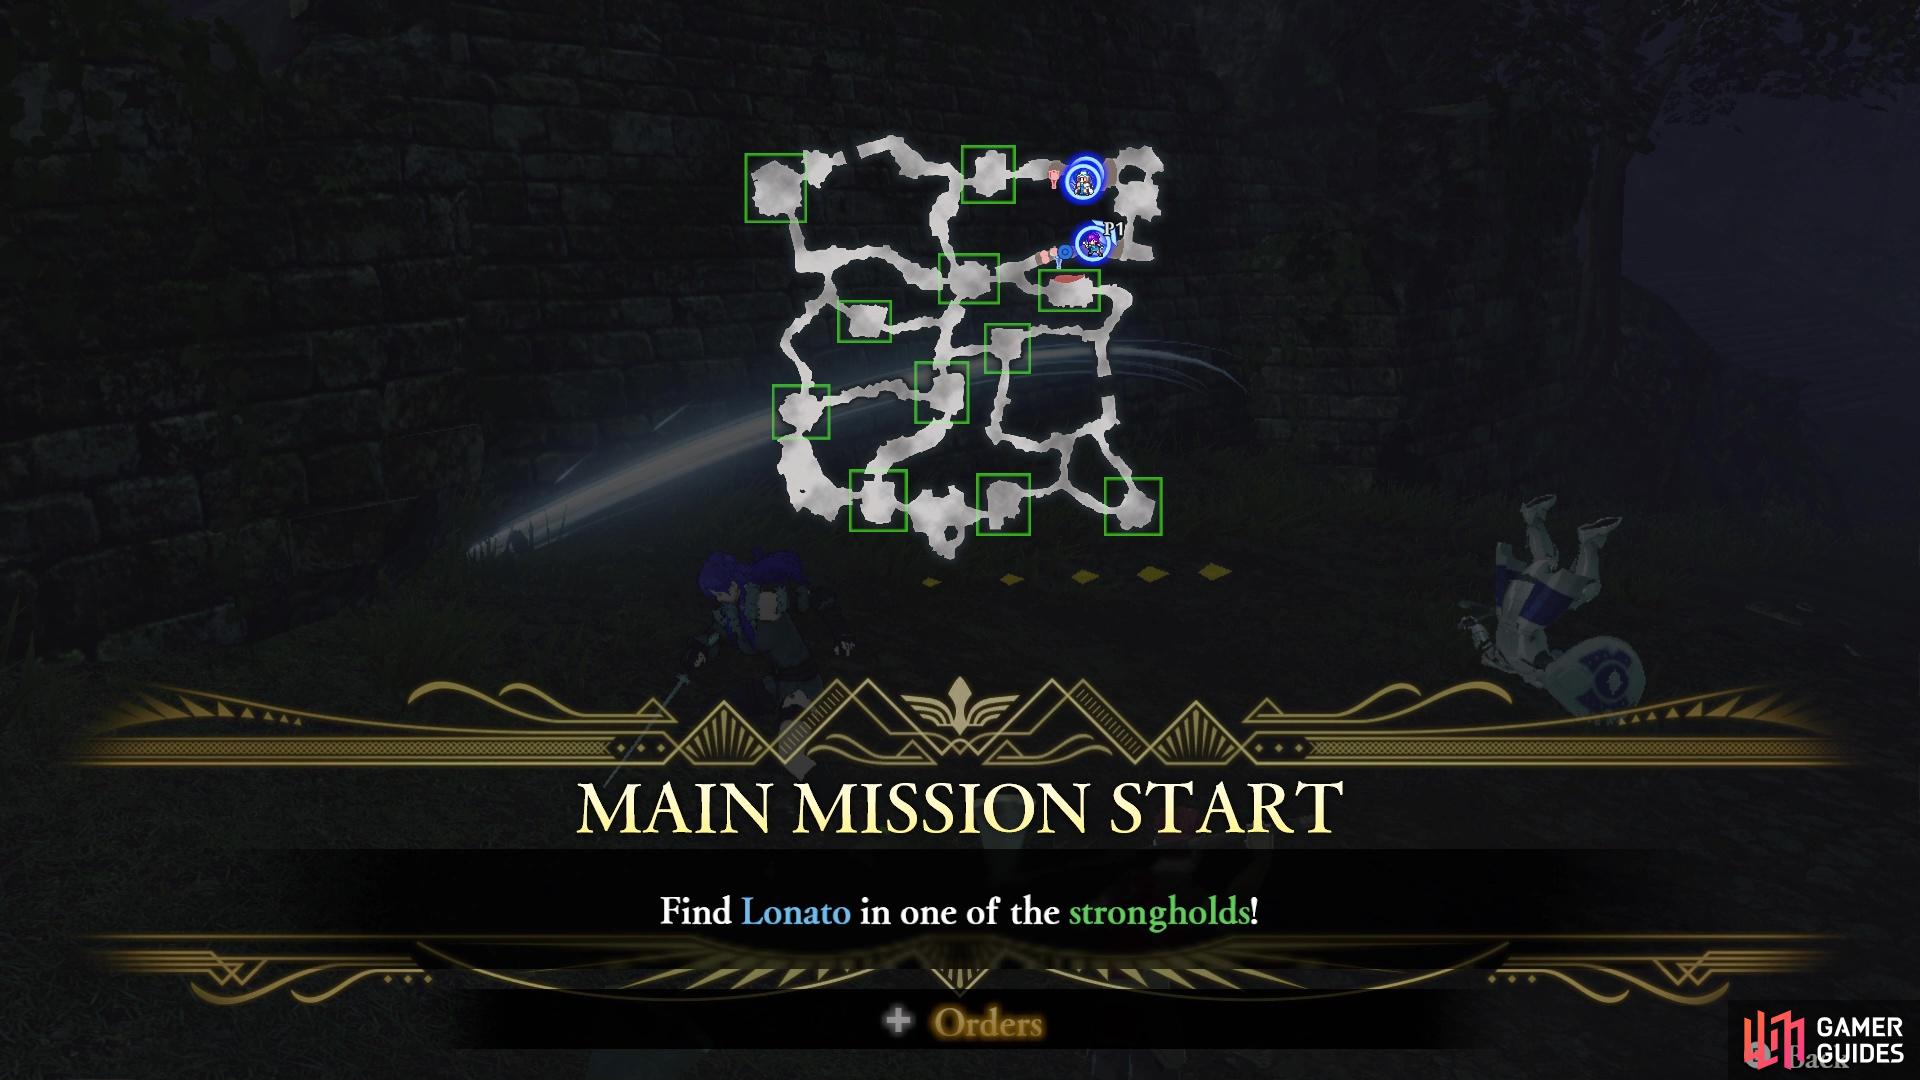
You will need to find Lonato in one of the strongholds
The Torch Strategy will help with clearing some of the fog as you explore
The whole objective of this battle is to find Lonato and protect him, so he can join the Imperial Army. However, the entire map is shrouded in fog, so you don’t exactly know where he is located. You can see the general layout of the map, but all of the unit placements are hidden. As you explore the map, the places you visited will be uncovered, so you will be able to know where you’ve been. If you selected the Torch Strategy before the battle, then the range the map is uncovered as you explore will be slightly bigger. It should be noted that if Lonato is routed, then you will fail the battle and be forced to start over.
To make things a lot easier on you, since Lonato is actually engaged in battle and you don’t even know it, he will be found in the stronghold in the bottom right corner of the map. Your best bet is to head straight there at the beginning, ignoring the one stronghold south of your initial positions, since the western gate is locked. That means head towards the center of the map and going south from there. You might meet with Ingrid along the way, which will give you another Main Mission to defeat her. If not, then continue straight south and then east, passing through the Forest Camp stronghold and taking it over (the eastern gate is locked until you take it). From there, you will be able to reach Lonato, so defeat the enemies surrounding him to rescue him.
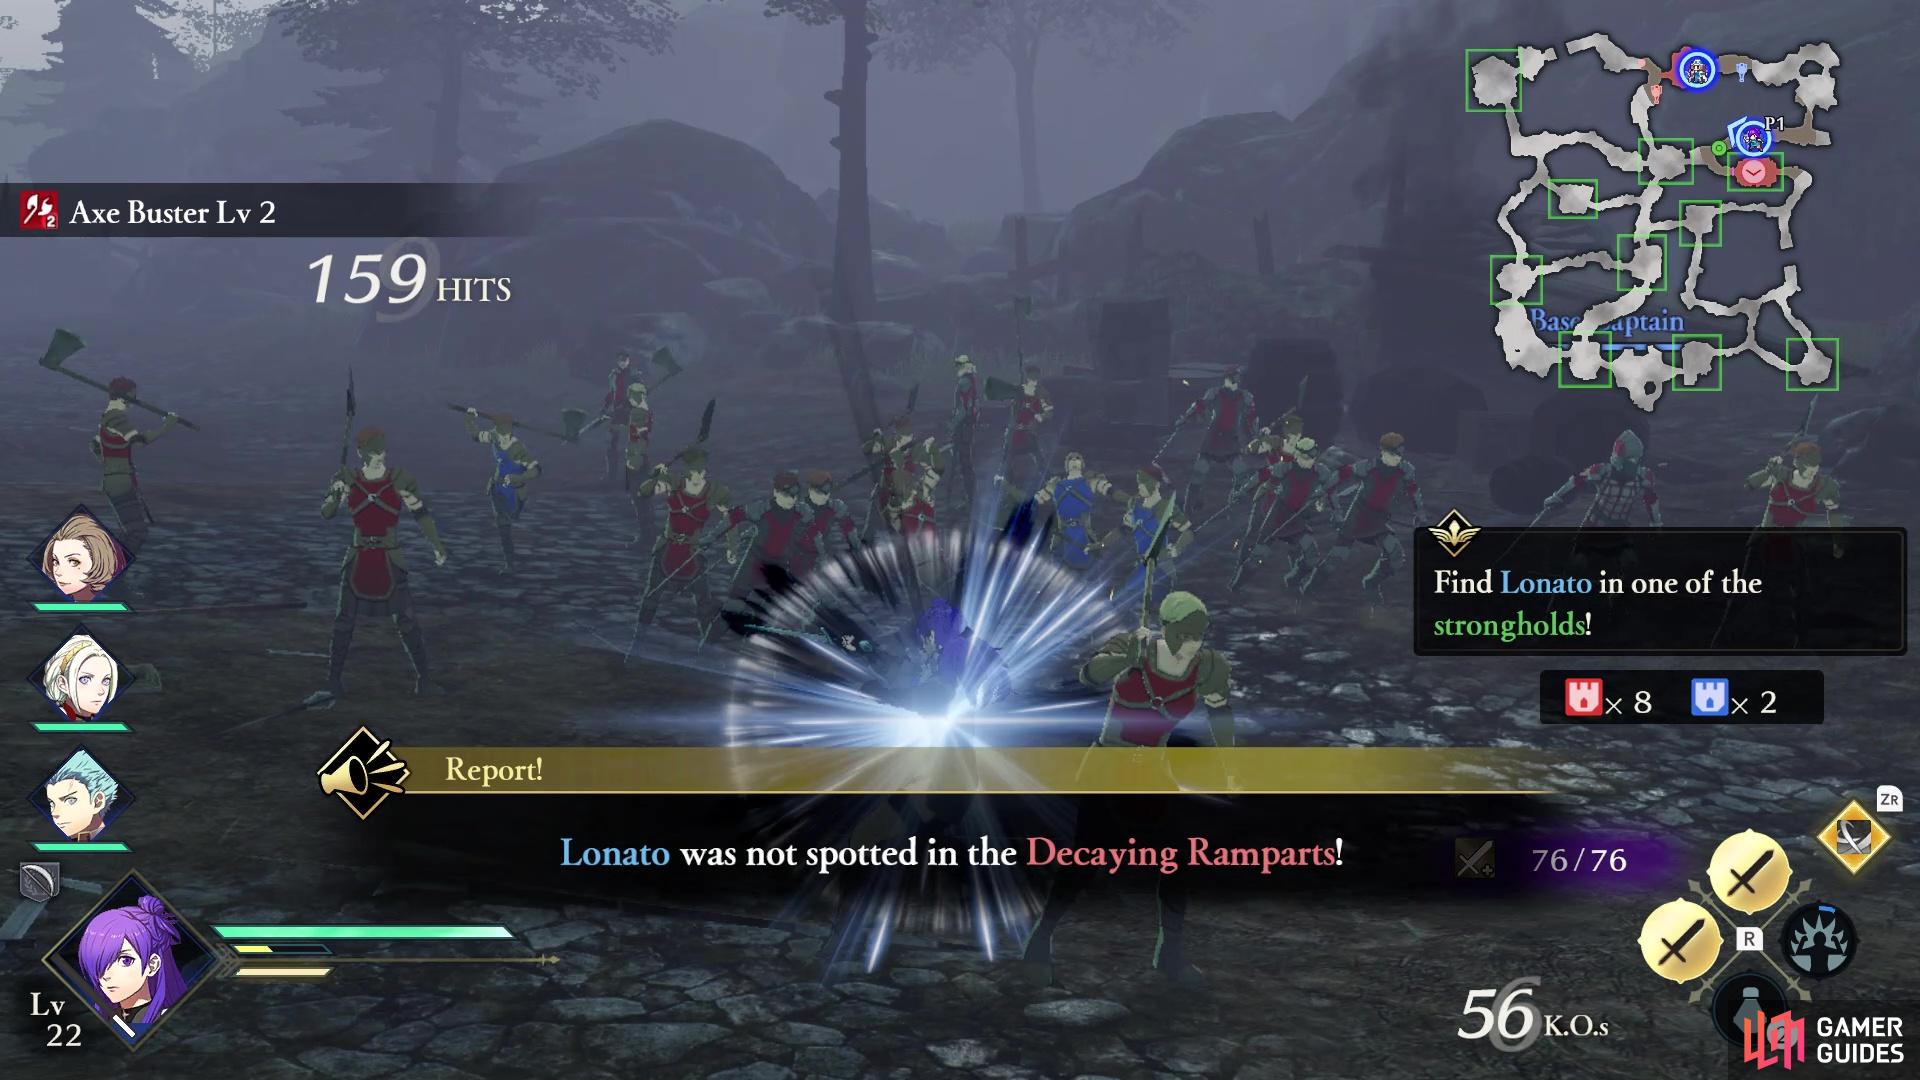
You will get updates as you pass strongholds without Lonato in them
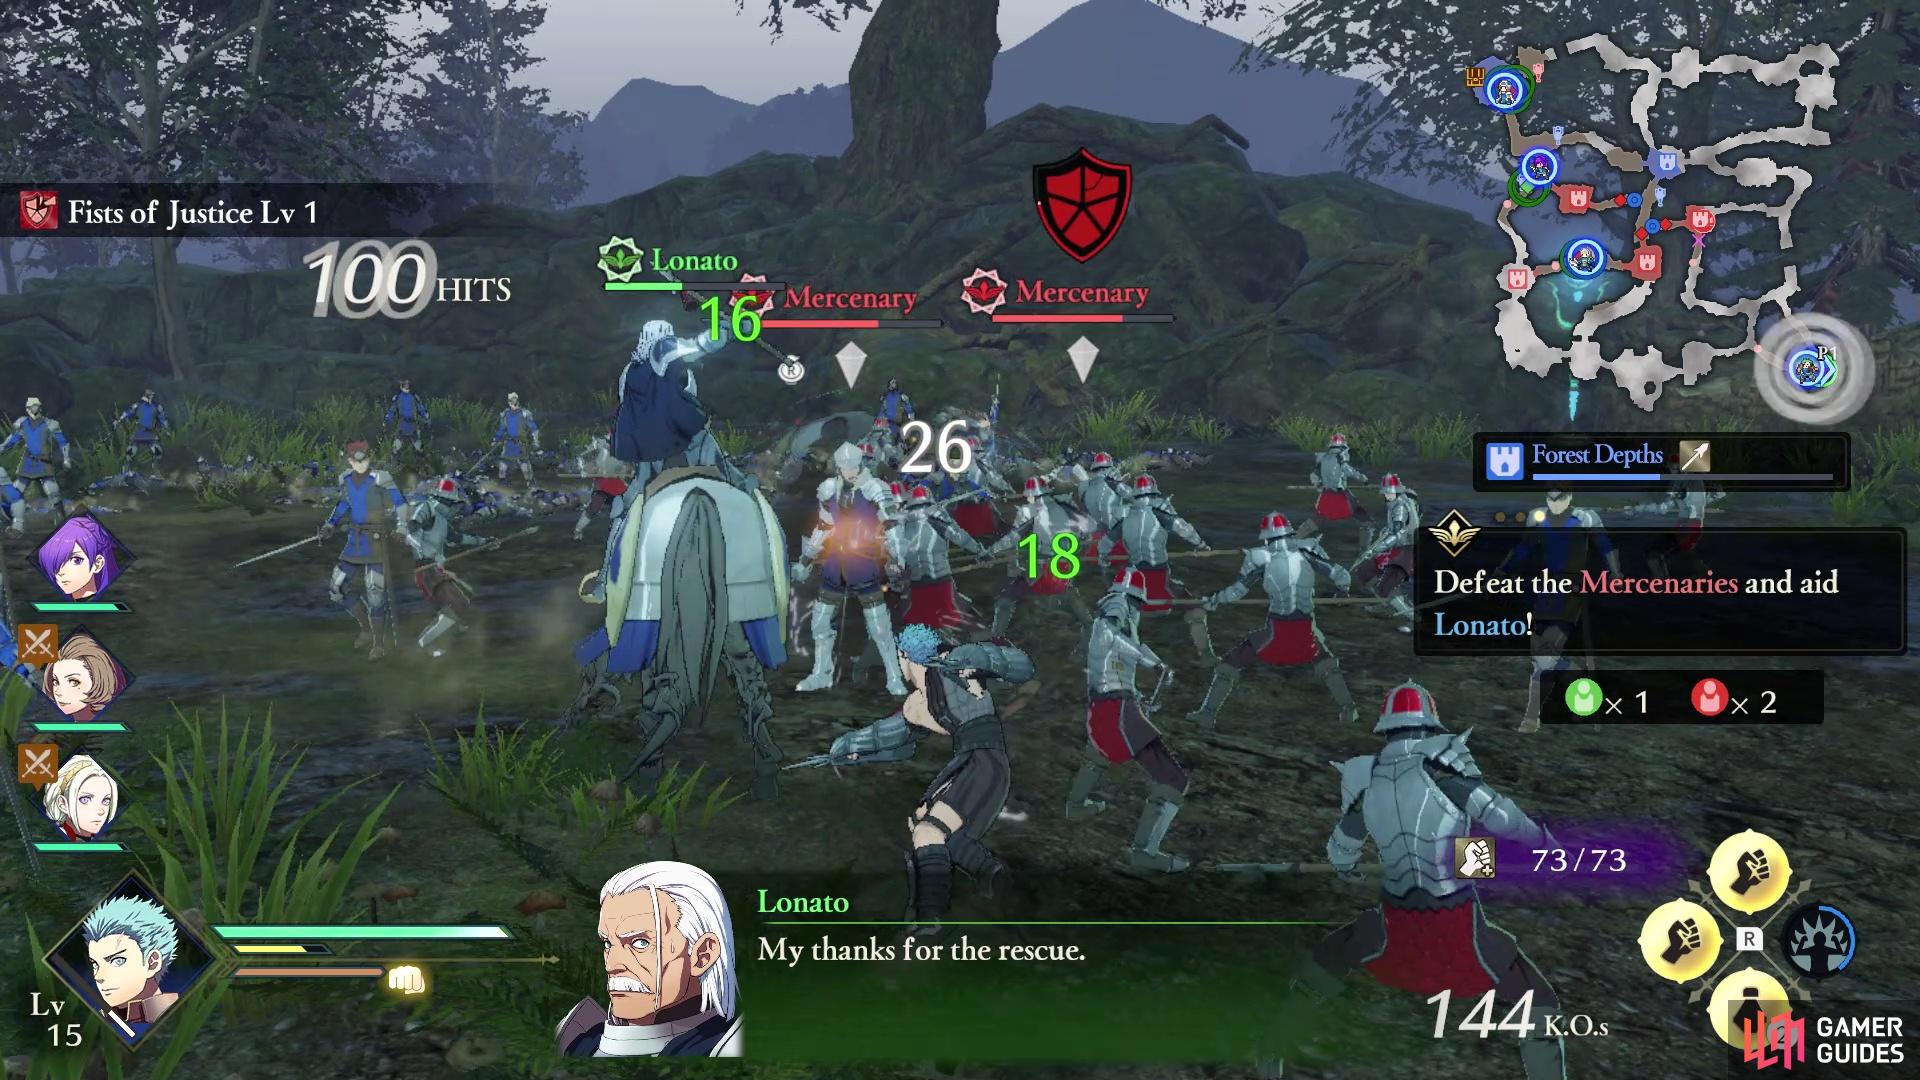
Lonato will be in the southeastern corner of the map
Note that there is some variation on how the events unfold in this battle, depending on if you go to find Lonato first. If you do this and rescue him as soon as possible, then the fog will be lifted. If you don’t do this straight away, you might get another Main Mission…
Mission 2: Defeat the Armored Knights to aid the Gaspard General
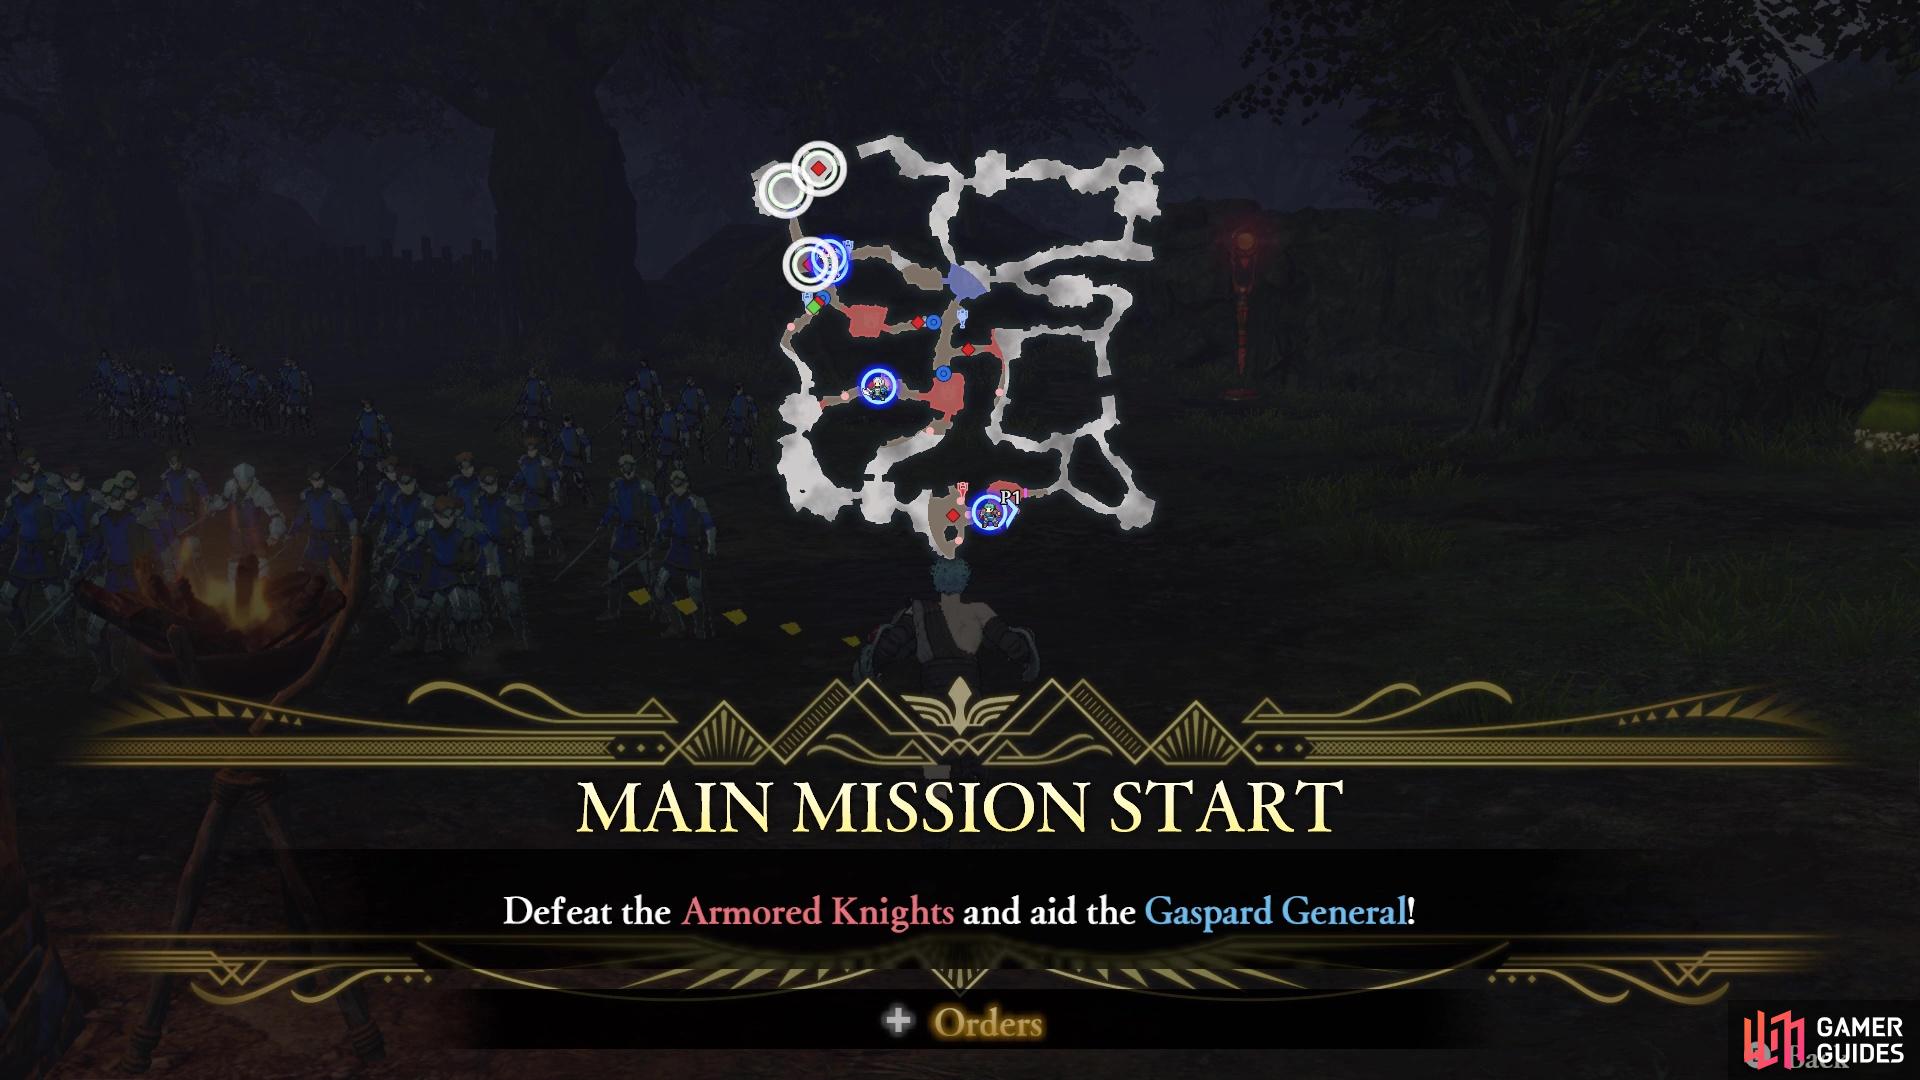
The Gaspard General is controlling the fog
Send some magic users to aid him, since they are great against Armored Knights
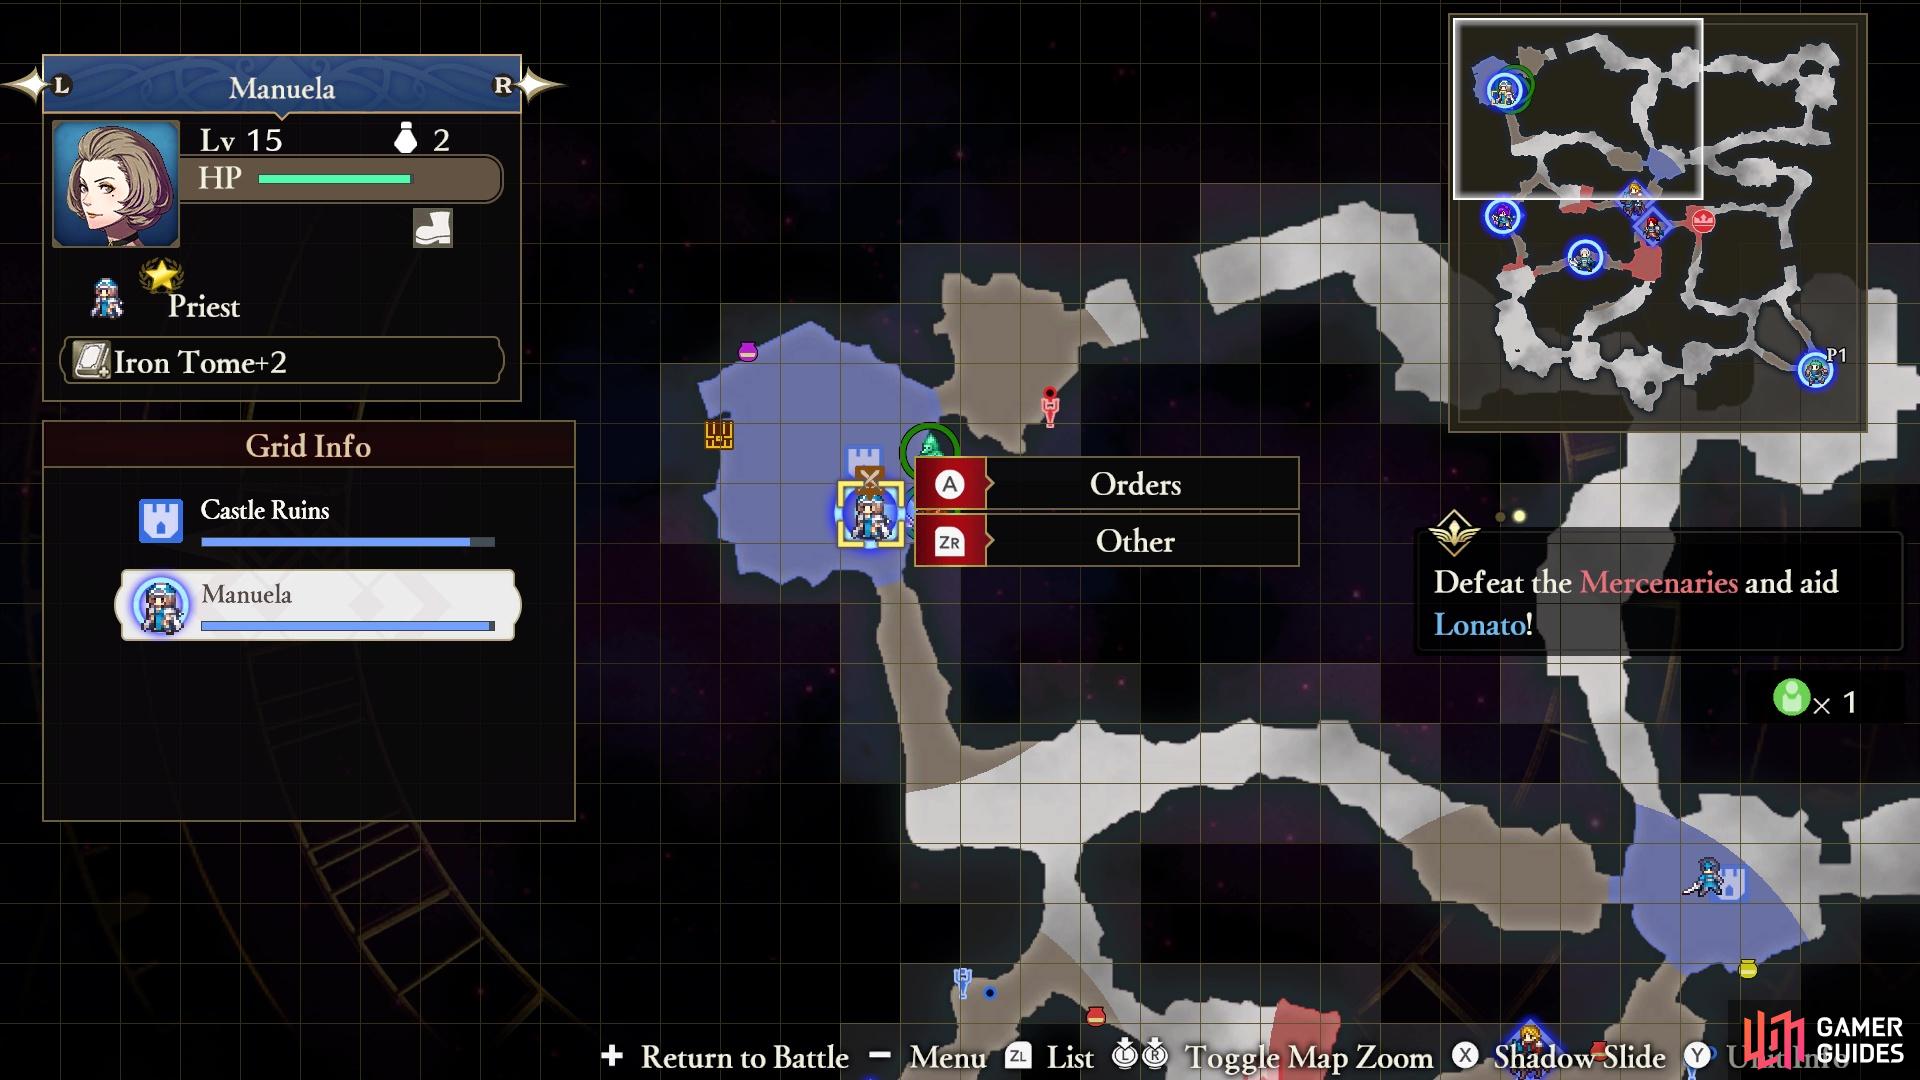
As it turns out, the dense fog is the work of magic and some enemy Armored Knights found the culprit behind the fog. The Gaspard General will be located in the northwest corner of the map, with the Armored Knights coming from the south and east of the stronghold. Since you likely don’t have a flying unit yet, you won’t be able to come from the east, so you can only reach the stronghold from the south. The ideal way to deal with this is to send allies to protect the General. Helping out the General will make him tell you where Lonato is located, if you haven’t found him yet yourself.
Side Mission: Aid the Gaspard Militia
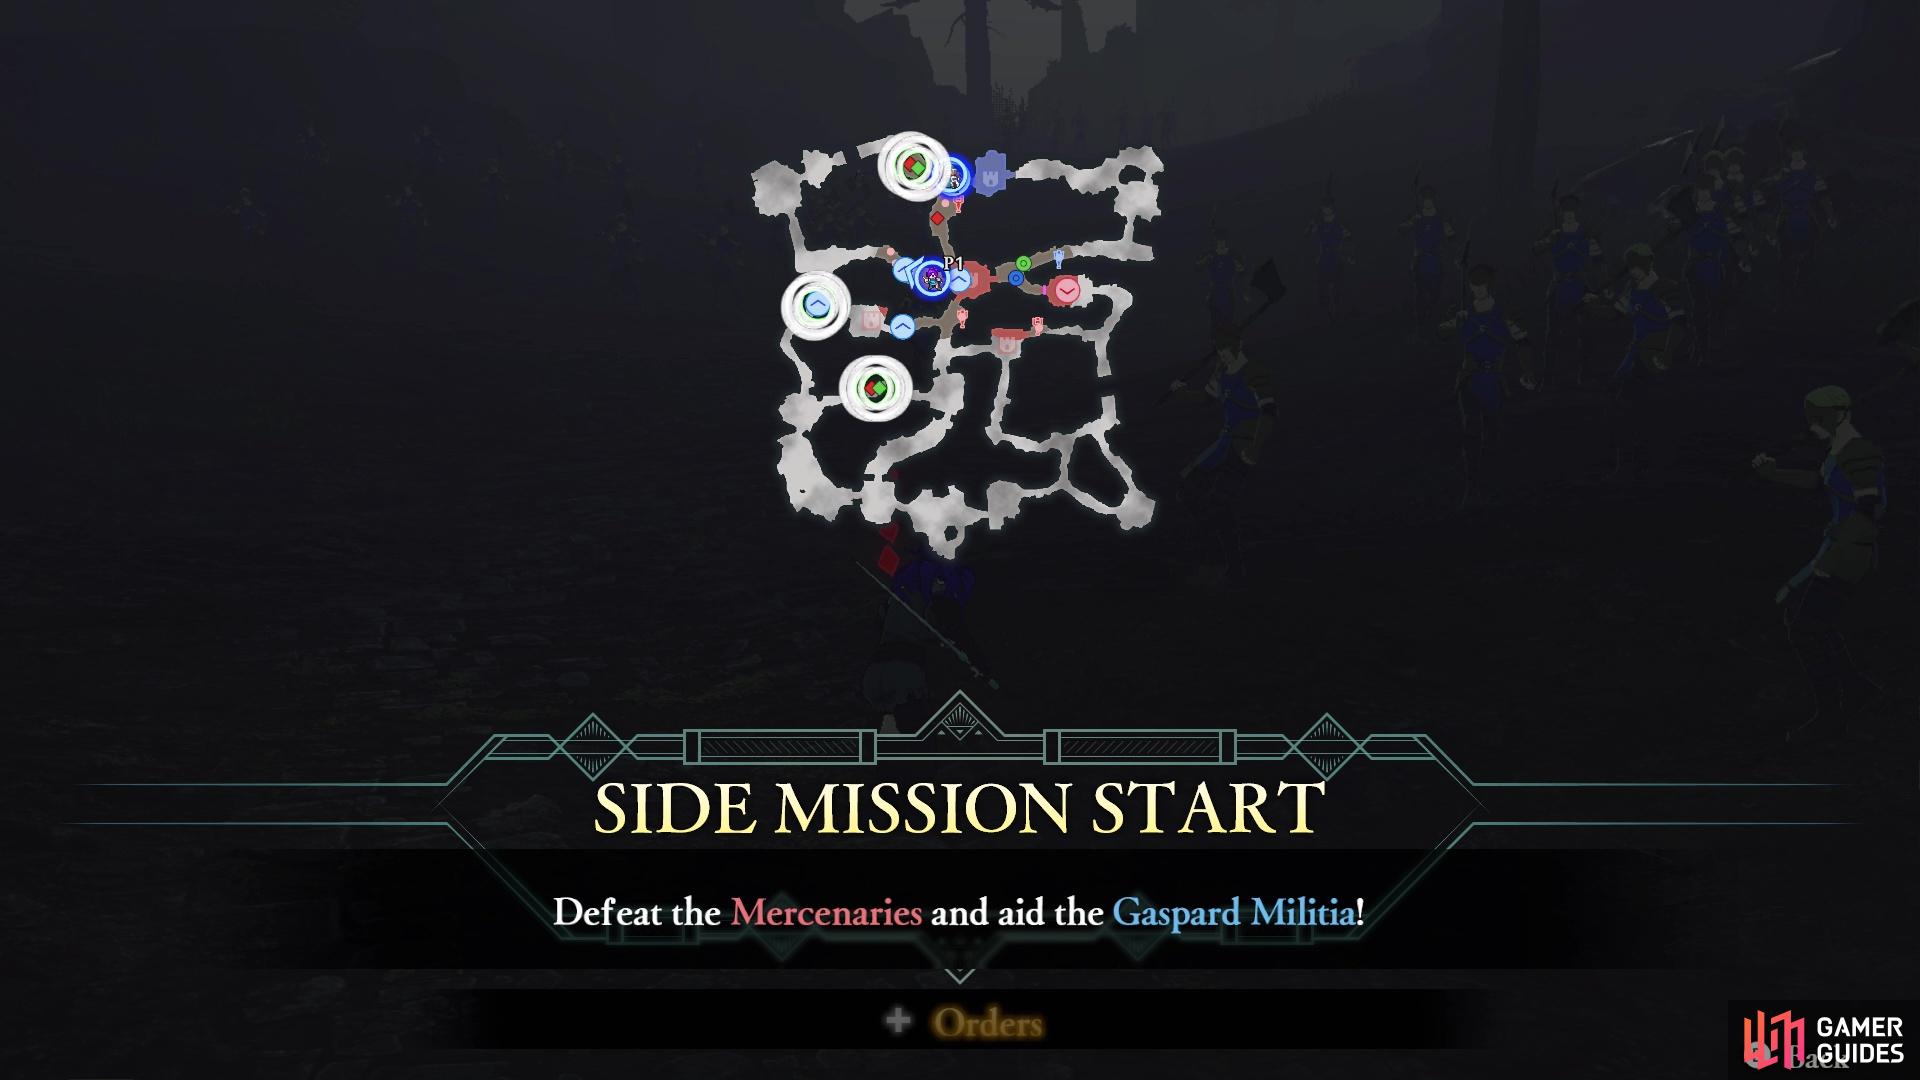
There will be three Militia that need help
Just defeat the enemy unit attacking them to rescue them
Not long into the battle, some Gaspard Militia will require some help, as they will be attacked by enemies. Thankfully, they are pinpointed on your map and there are three of them. To save time, send your allies to aid them, since you should still be going towards rescuing Lonato. They should all be Armored Knights, so magic users will be extra effective against them.
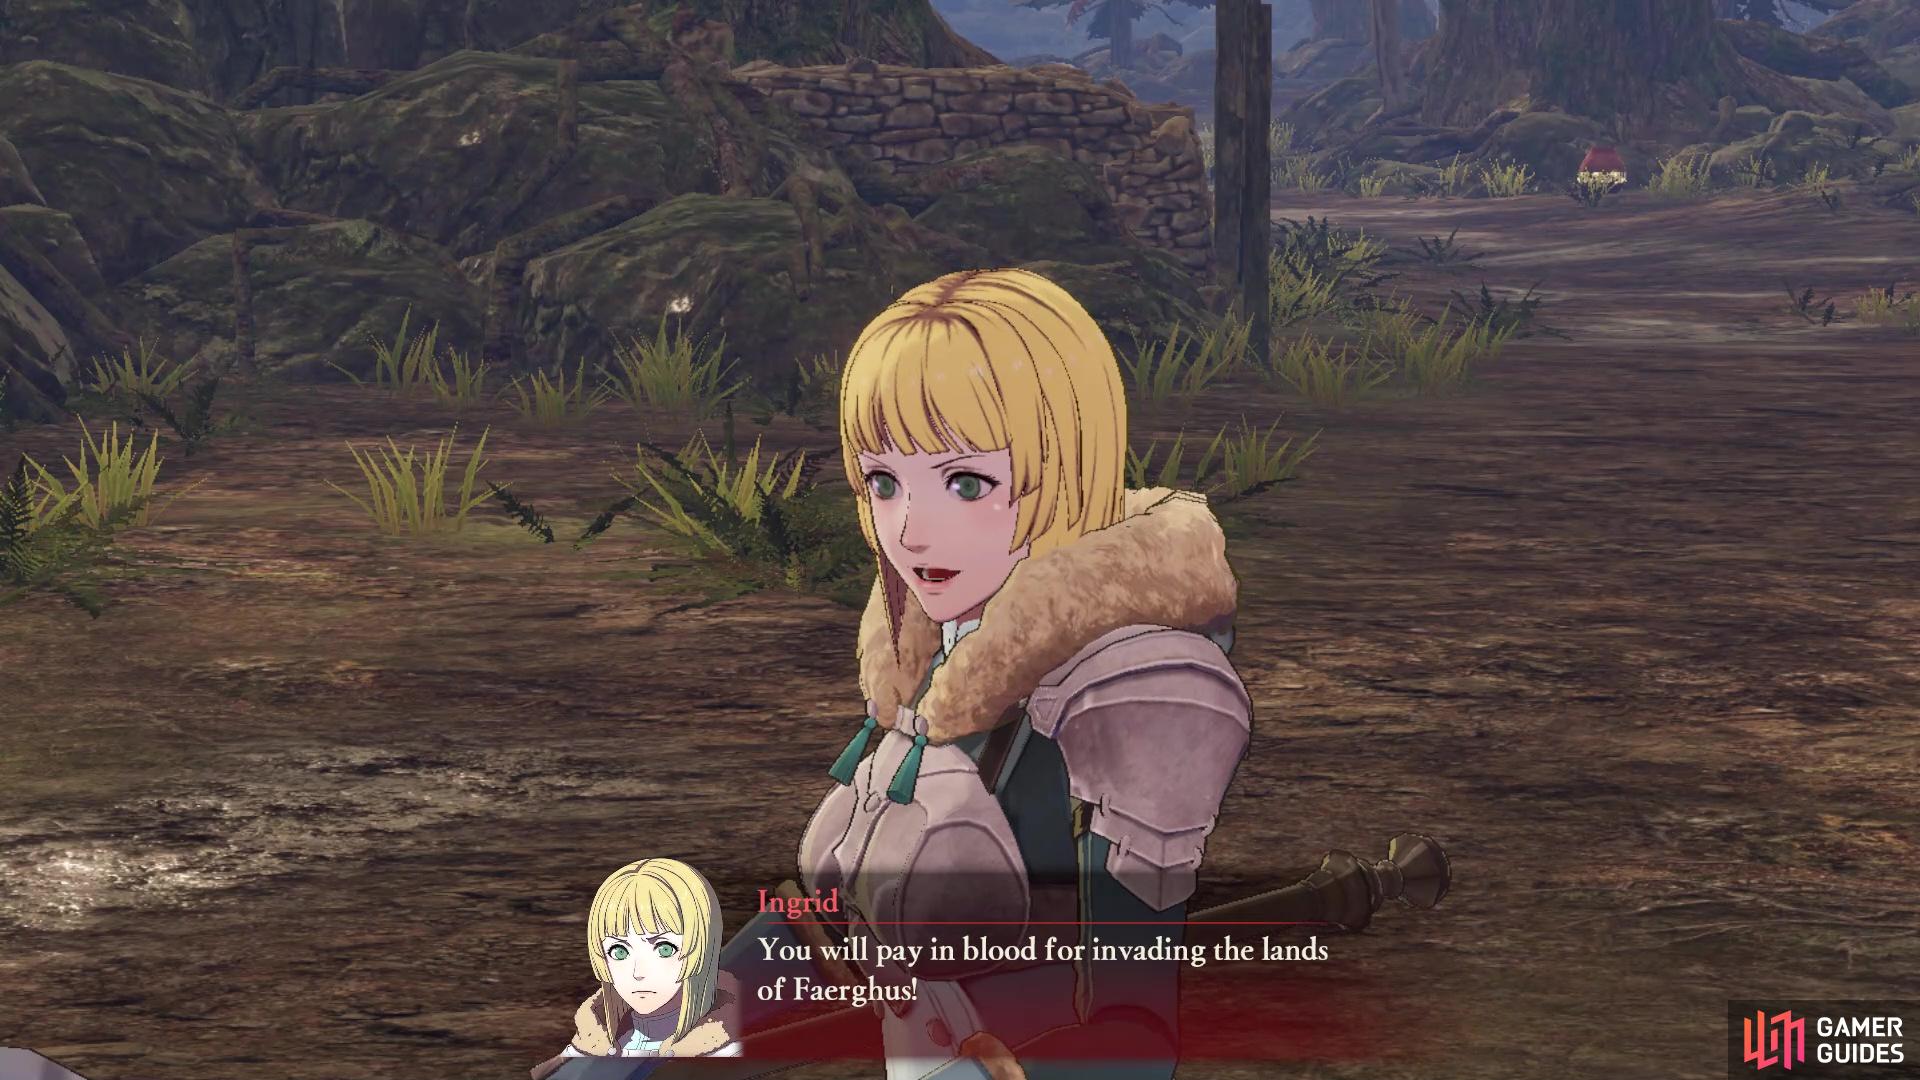
Mission 3: Defeat Ingrid
If you didn’t encounter Ingrid on the way to rescue Lonato, she will make herself known after you save him, then charge towards Lonato. She is a Pegasus Knight, so if you have a Bow user on the team, you can switch to them (if you set them as controllable) to go after Ingrid. If not, then it’s best to stick close to Lonato after rescuing him, since Ingrid will be showing up shortly after that.
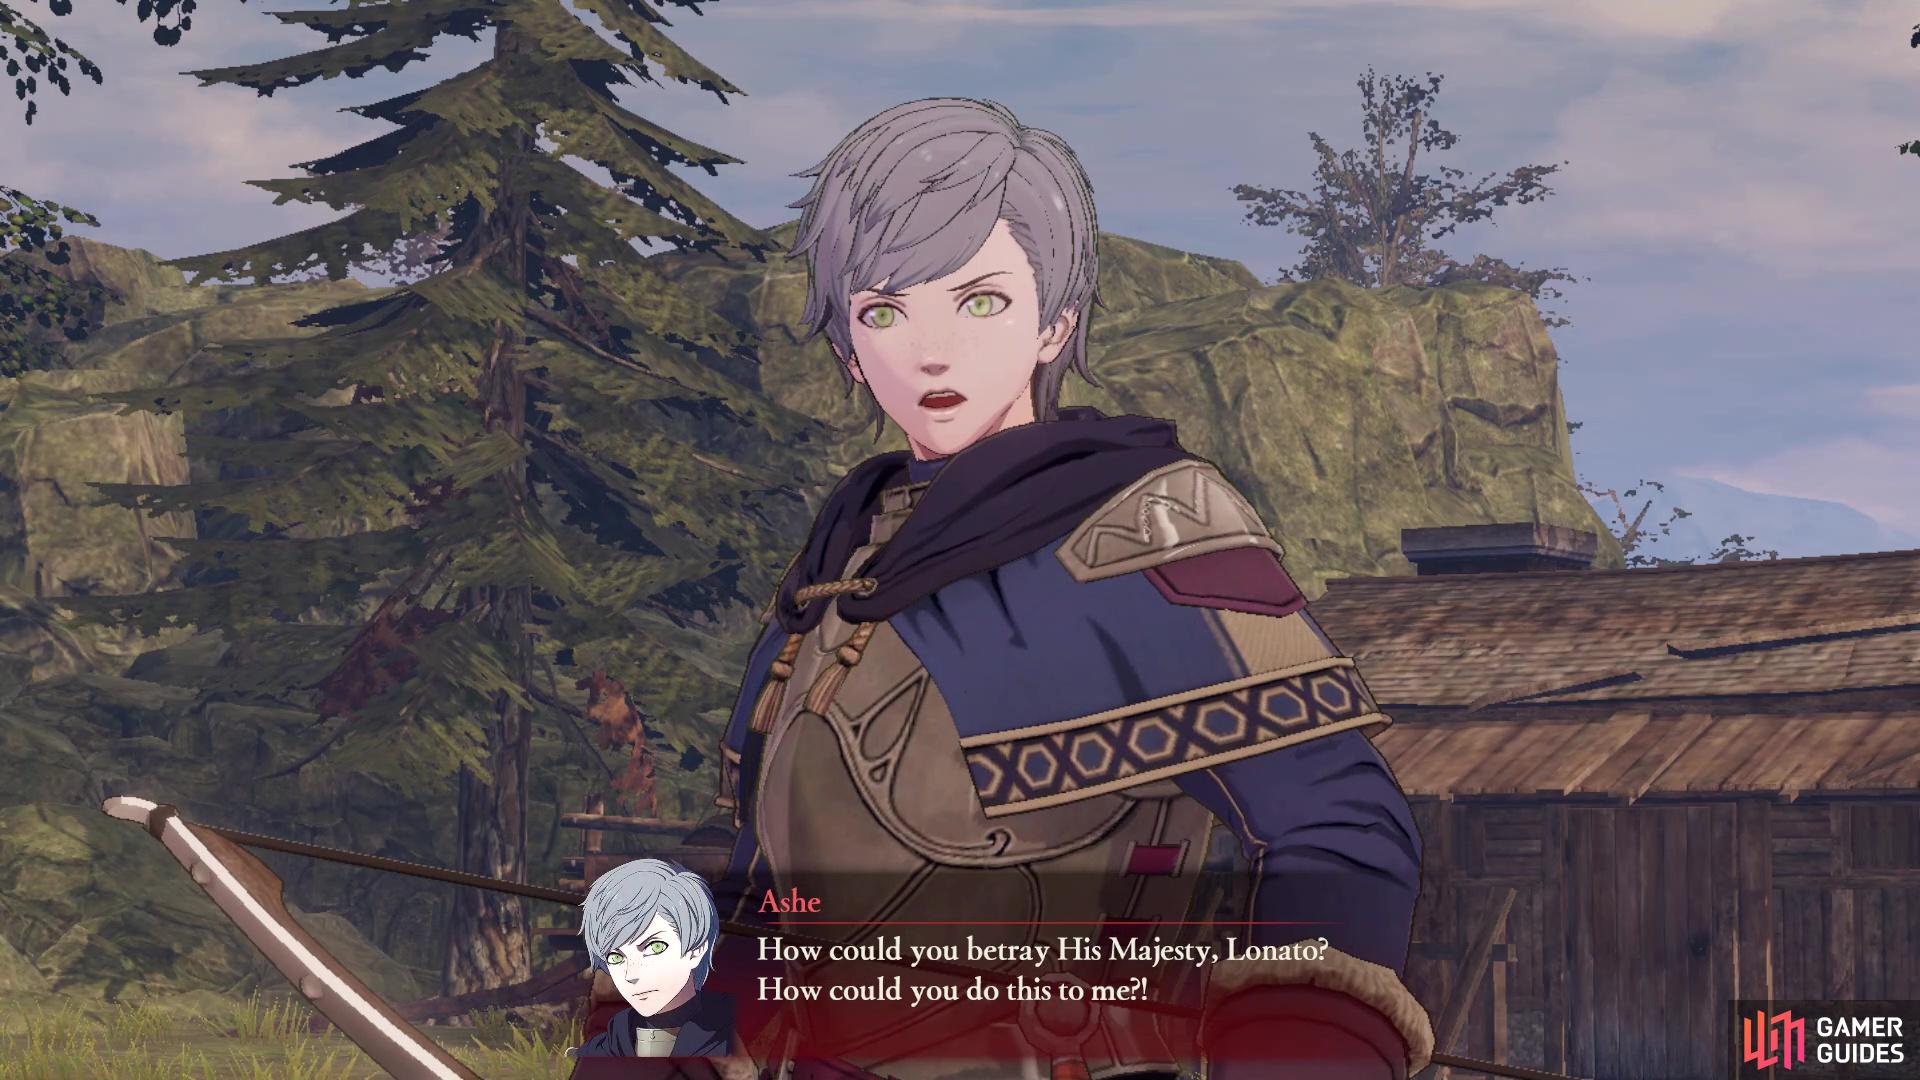
Mission 4: Defeat (and Recruit) Ashe
Ingrid will go straight after Lonato at a point during the battle
and Ashe will follow her after you bring Ingrid down
Not too long after defeating Ingrid, another officer will pop up to try their hand at going after Lonato. His name is Ashe and if you recall the one Strategy, you can actually recruit Ashe. If you have the Persuade Ashe Strategy, then make sure you activate it before defeating Ashe to make him join your army. If you don’t do this and defeat him without activating it, then Ashe will die. Ashe is a Bow-user and he will spawn with a couple of Archers in his entourage, so be prepared for a slightly challenging battle with him. They will come from the west, just outside of the second stronghold there, so you should be able to intercept them just as they enter it.
Mission 5: Defeat Byleth
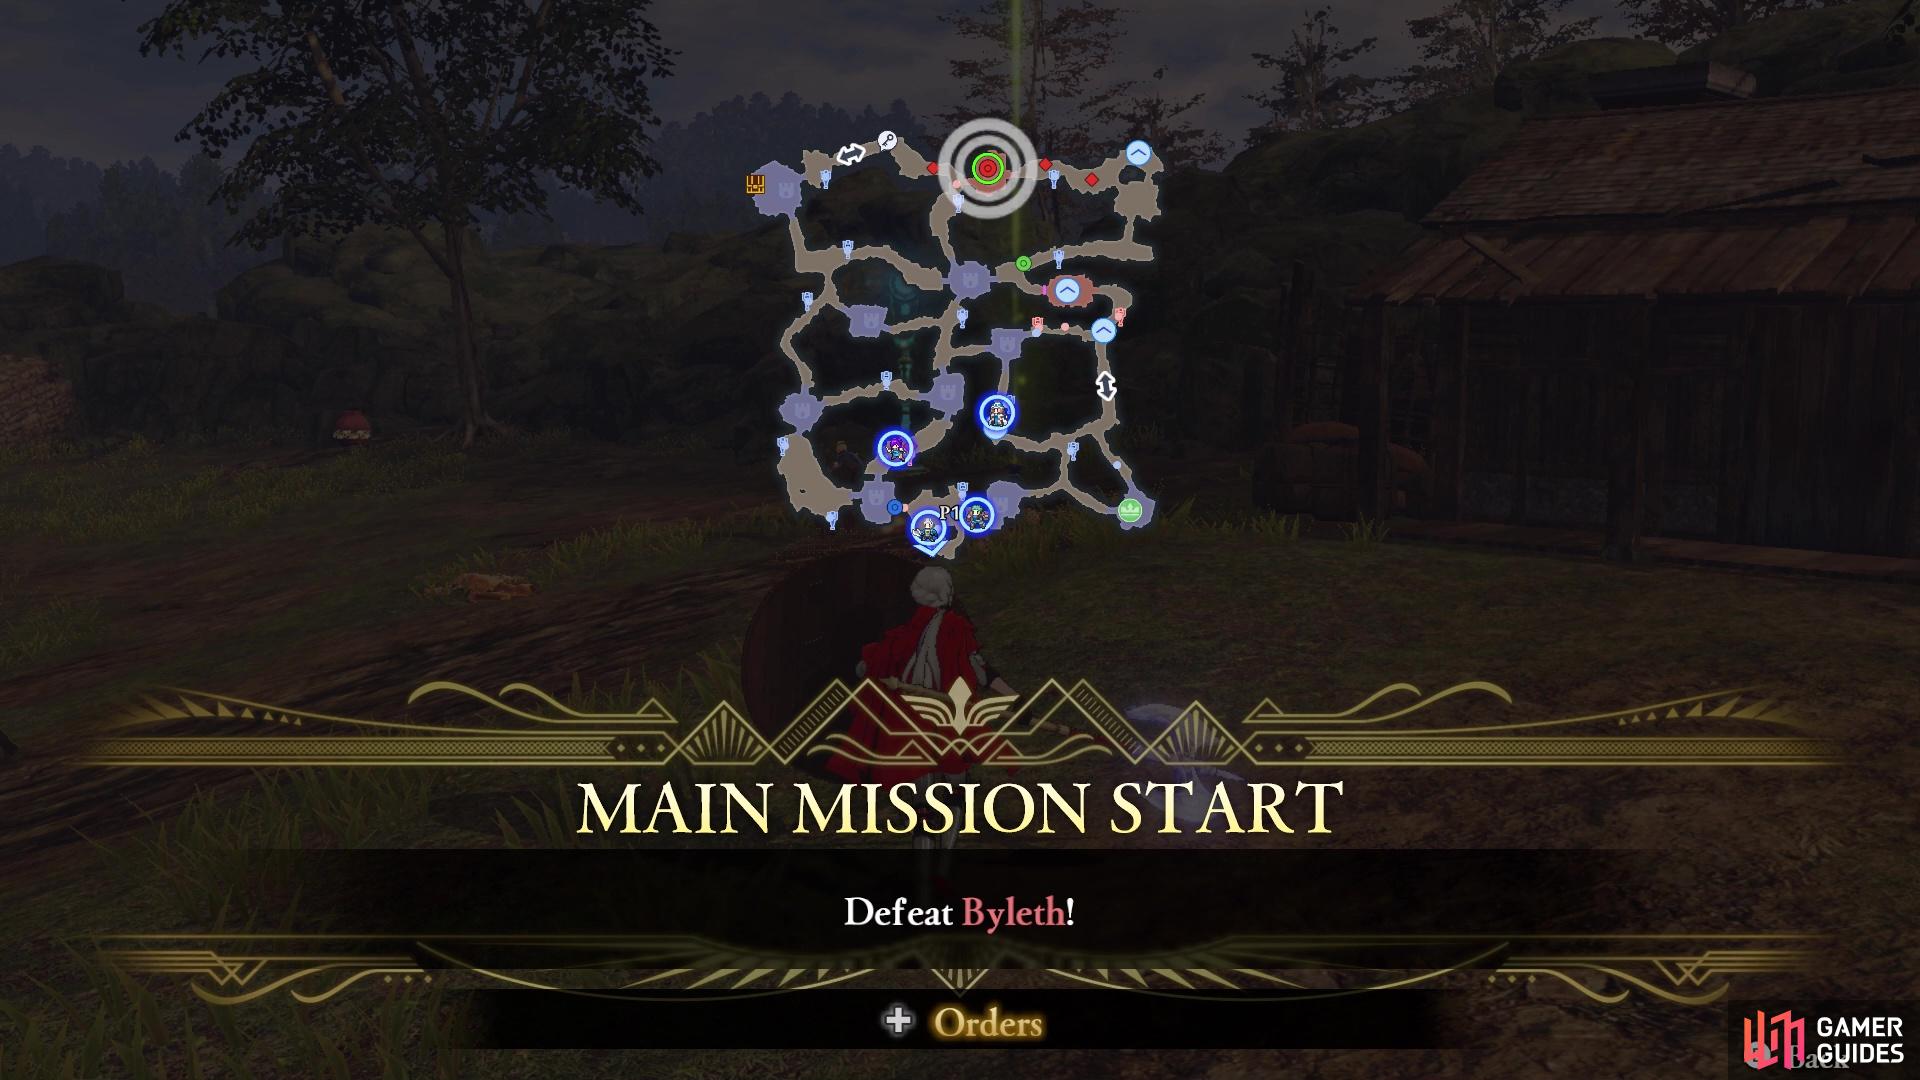
Well, it looks like things are just about over, but out of the blue, Byleth will appear at the north end of the map, along with some of Jeralt’s Mercenaries. The main goal here is to defeat Byleth, but they are just as strong, if not stronger, than they were at the beginning of the game. Despite being a bit unorthodox, it’s probably for the best to just ignore Byleth right now, as it will likely take a lot out of you to bring them down. You might need to tussle a little bit with Byleth before the final Main mission will trigger, though.
However, if you take a look at your map closely, one of the Mercenaries that spawned with Byleth will have a key icon. It’s the one just east of the gap that requires a flying unit, so it’s a good idea to hunt down the officer to retrieve the key. The chest is located in the stronghold in the northwest corner of the map, and it will contain a new Accessory.
Mission 6: Defeat Jeralt and Alois
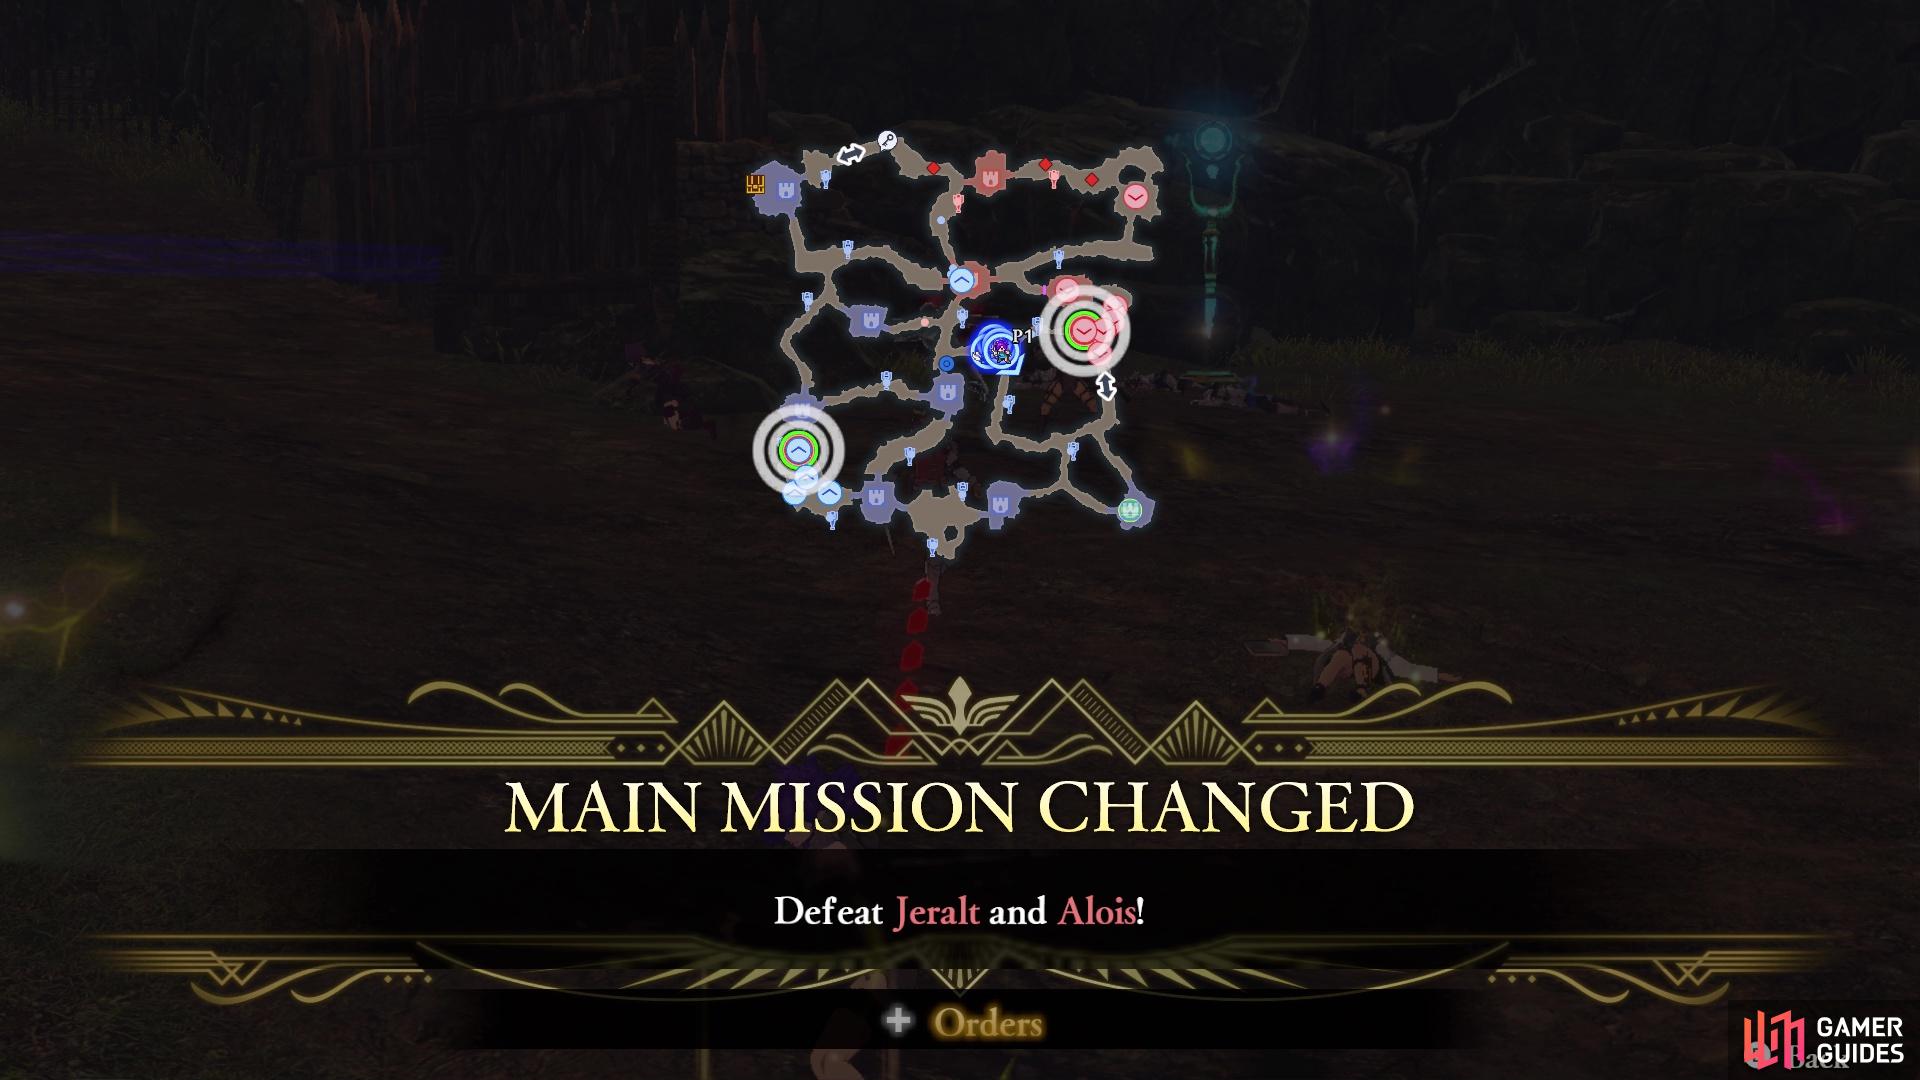
You will not need to defeat Byleth now, but it will turn into a side mission, should you want to try your hand at bringing them down. Should you successfully win against Byleth, they will drop a stat-boosting item. Either way, the last main mission of this map will involve defeating both Jeralt and Alois, who will have spawned now. Alois will spawn on the western side of the map, while Jeralt will be on the eastern side. Of course, both will have a few other officers with them, but you will need to be careful with Jeralt, as he might venture south and engage with Lonato, so prioritize him first.
No Comments