
This is a guide for Chapter 0: Crossed Roads in Fire Emblem Warriors: Three Hopes.

Shez and his allies attempt to take on Jeralt’s Mercenaries.
As the first (or zeroth) chapter in the game, this serves as a tutorial stage to get you warmed up. Predictably, it’s an easy stage with an extremely low risk of failing.
If you’re new to the Warriors/Musou series or are feeling rusty, we suggest taking your time during this stage to get accustomed to the gameplay controls and combos, etc.
When you load in, use  to move Shez around and
  to adjust the camera. Once you feel comfortable, head north-west towards the green X on the mini-map.
Mission 1: Team up with Getz and Lazley to defeat the nearby enemies
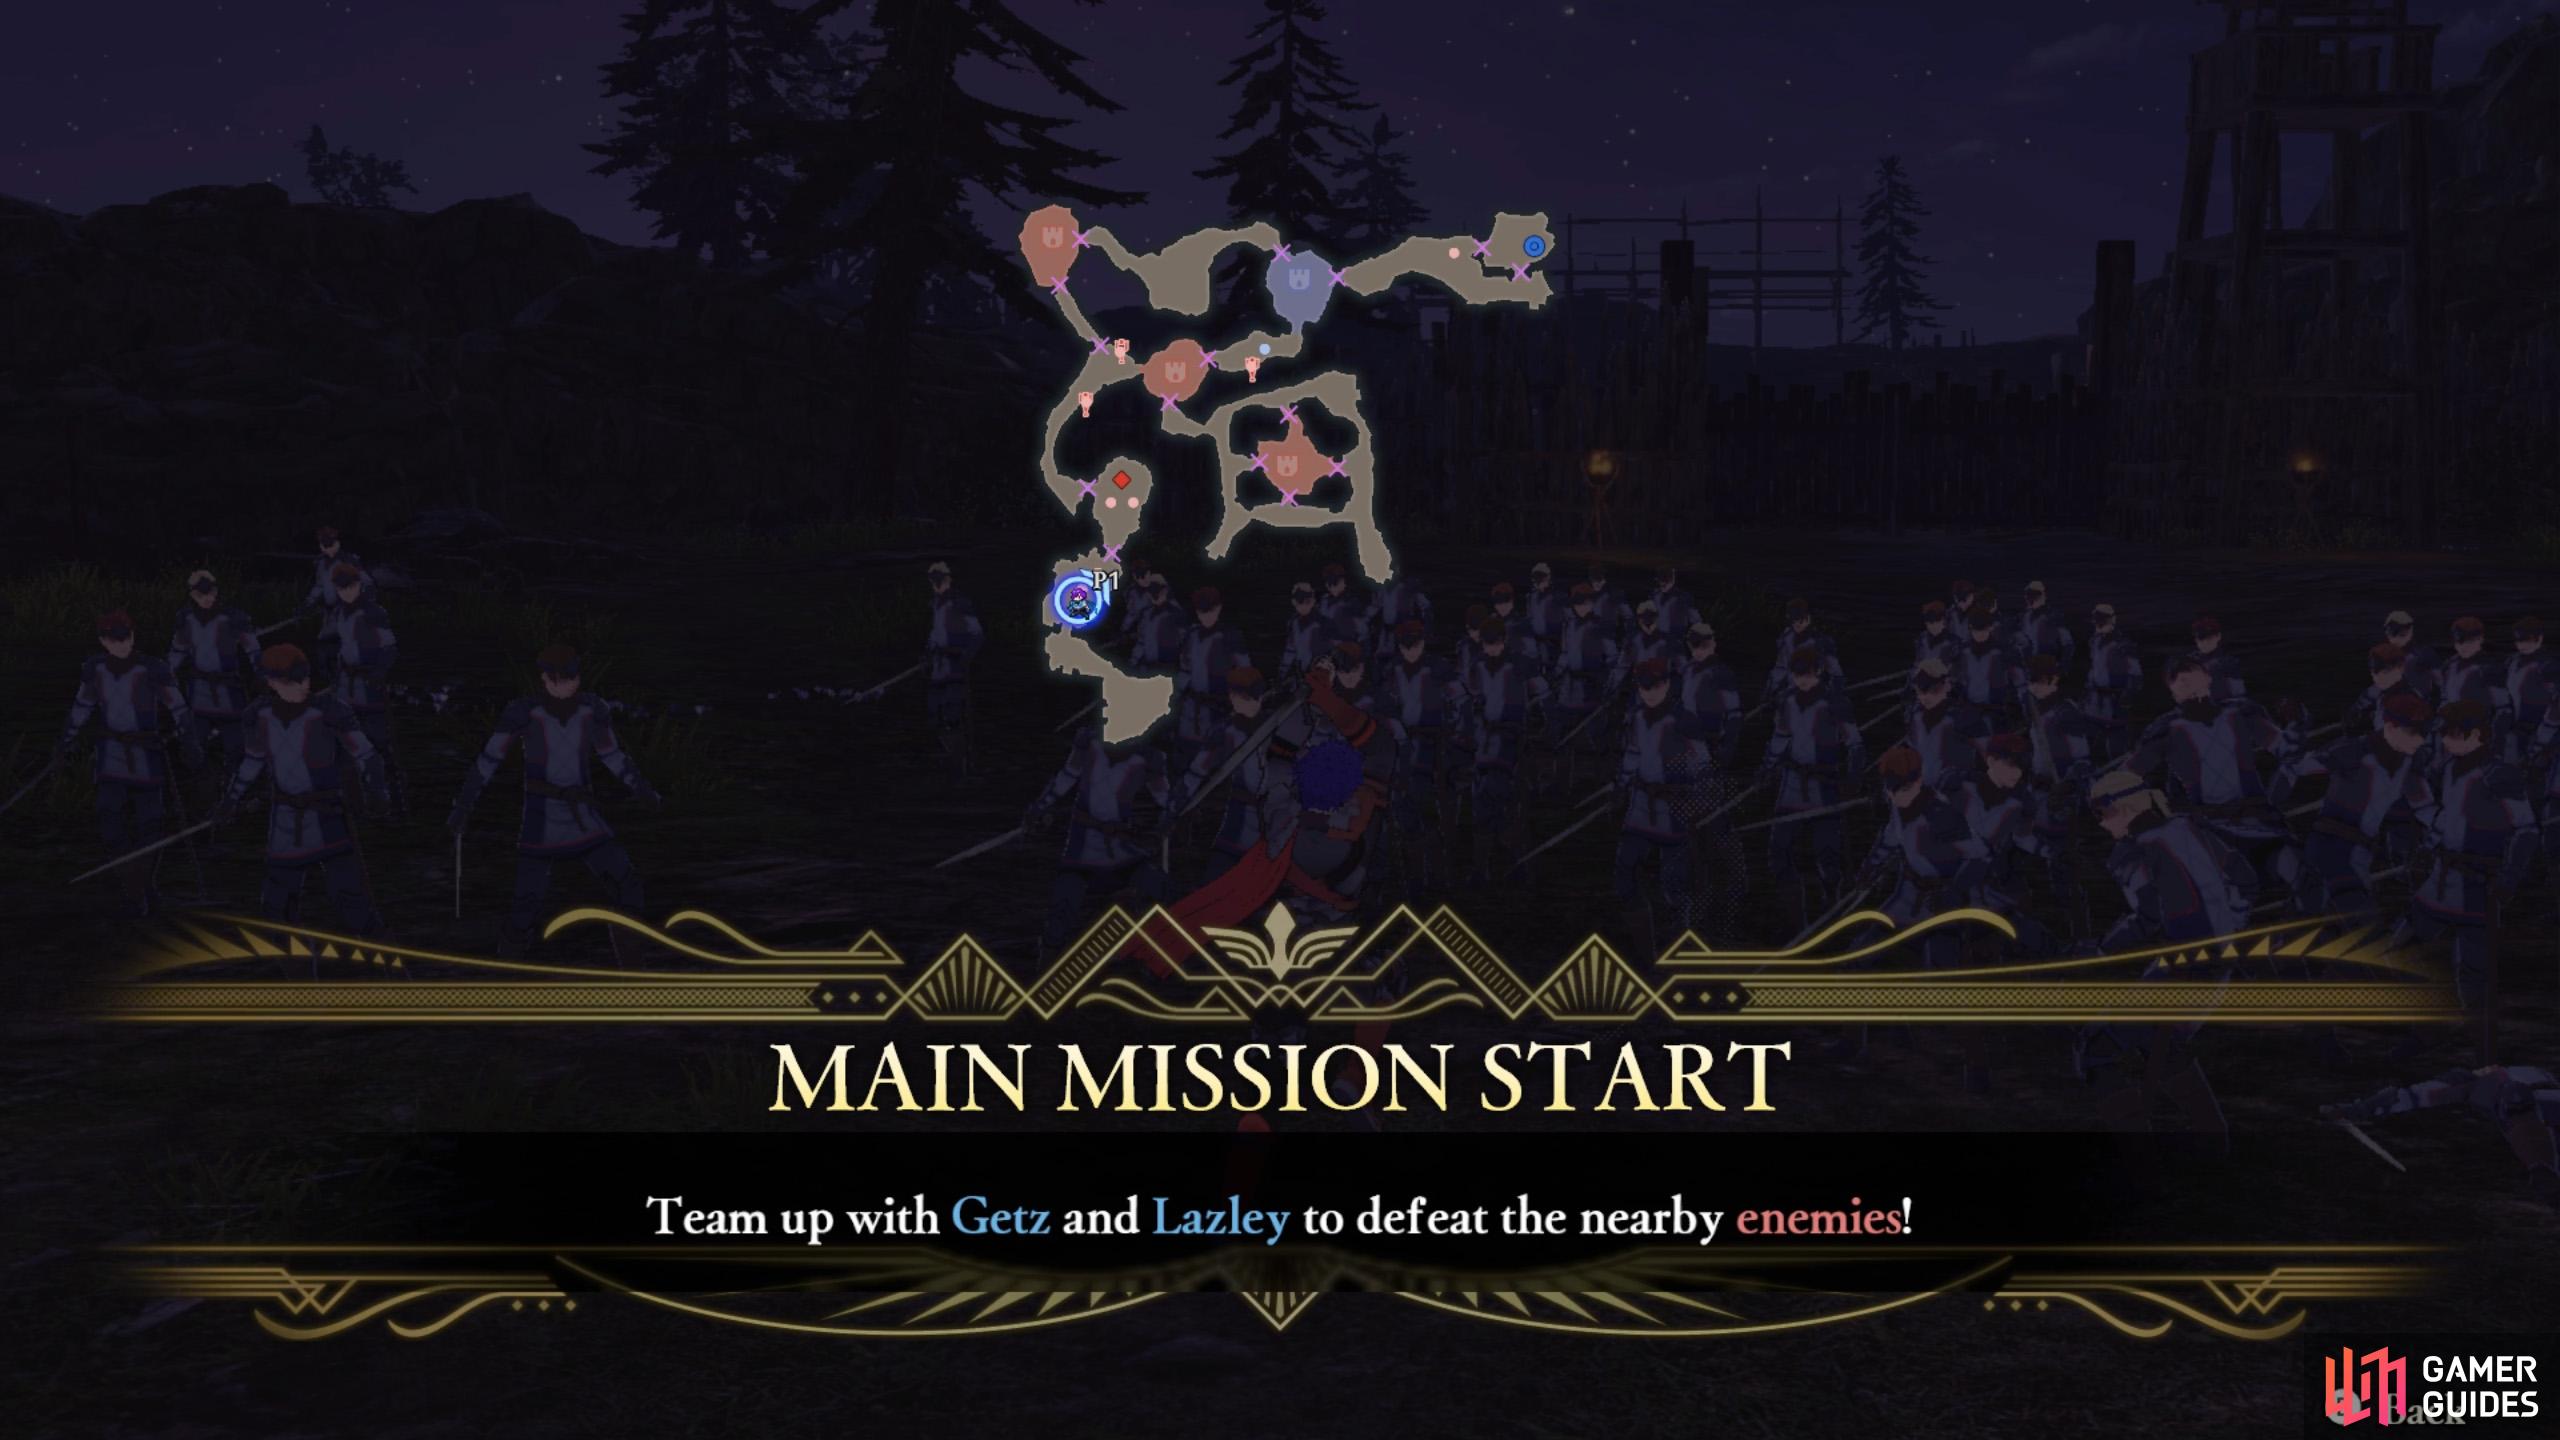
An easy mission to get your started.
Bash up the foes before you any way you want. Although, the flashier the better.
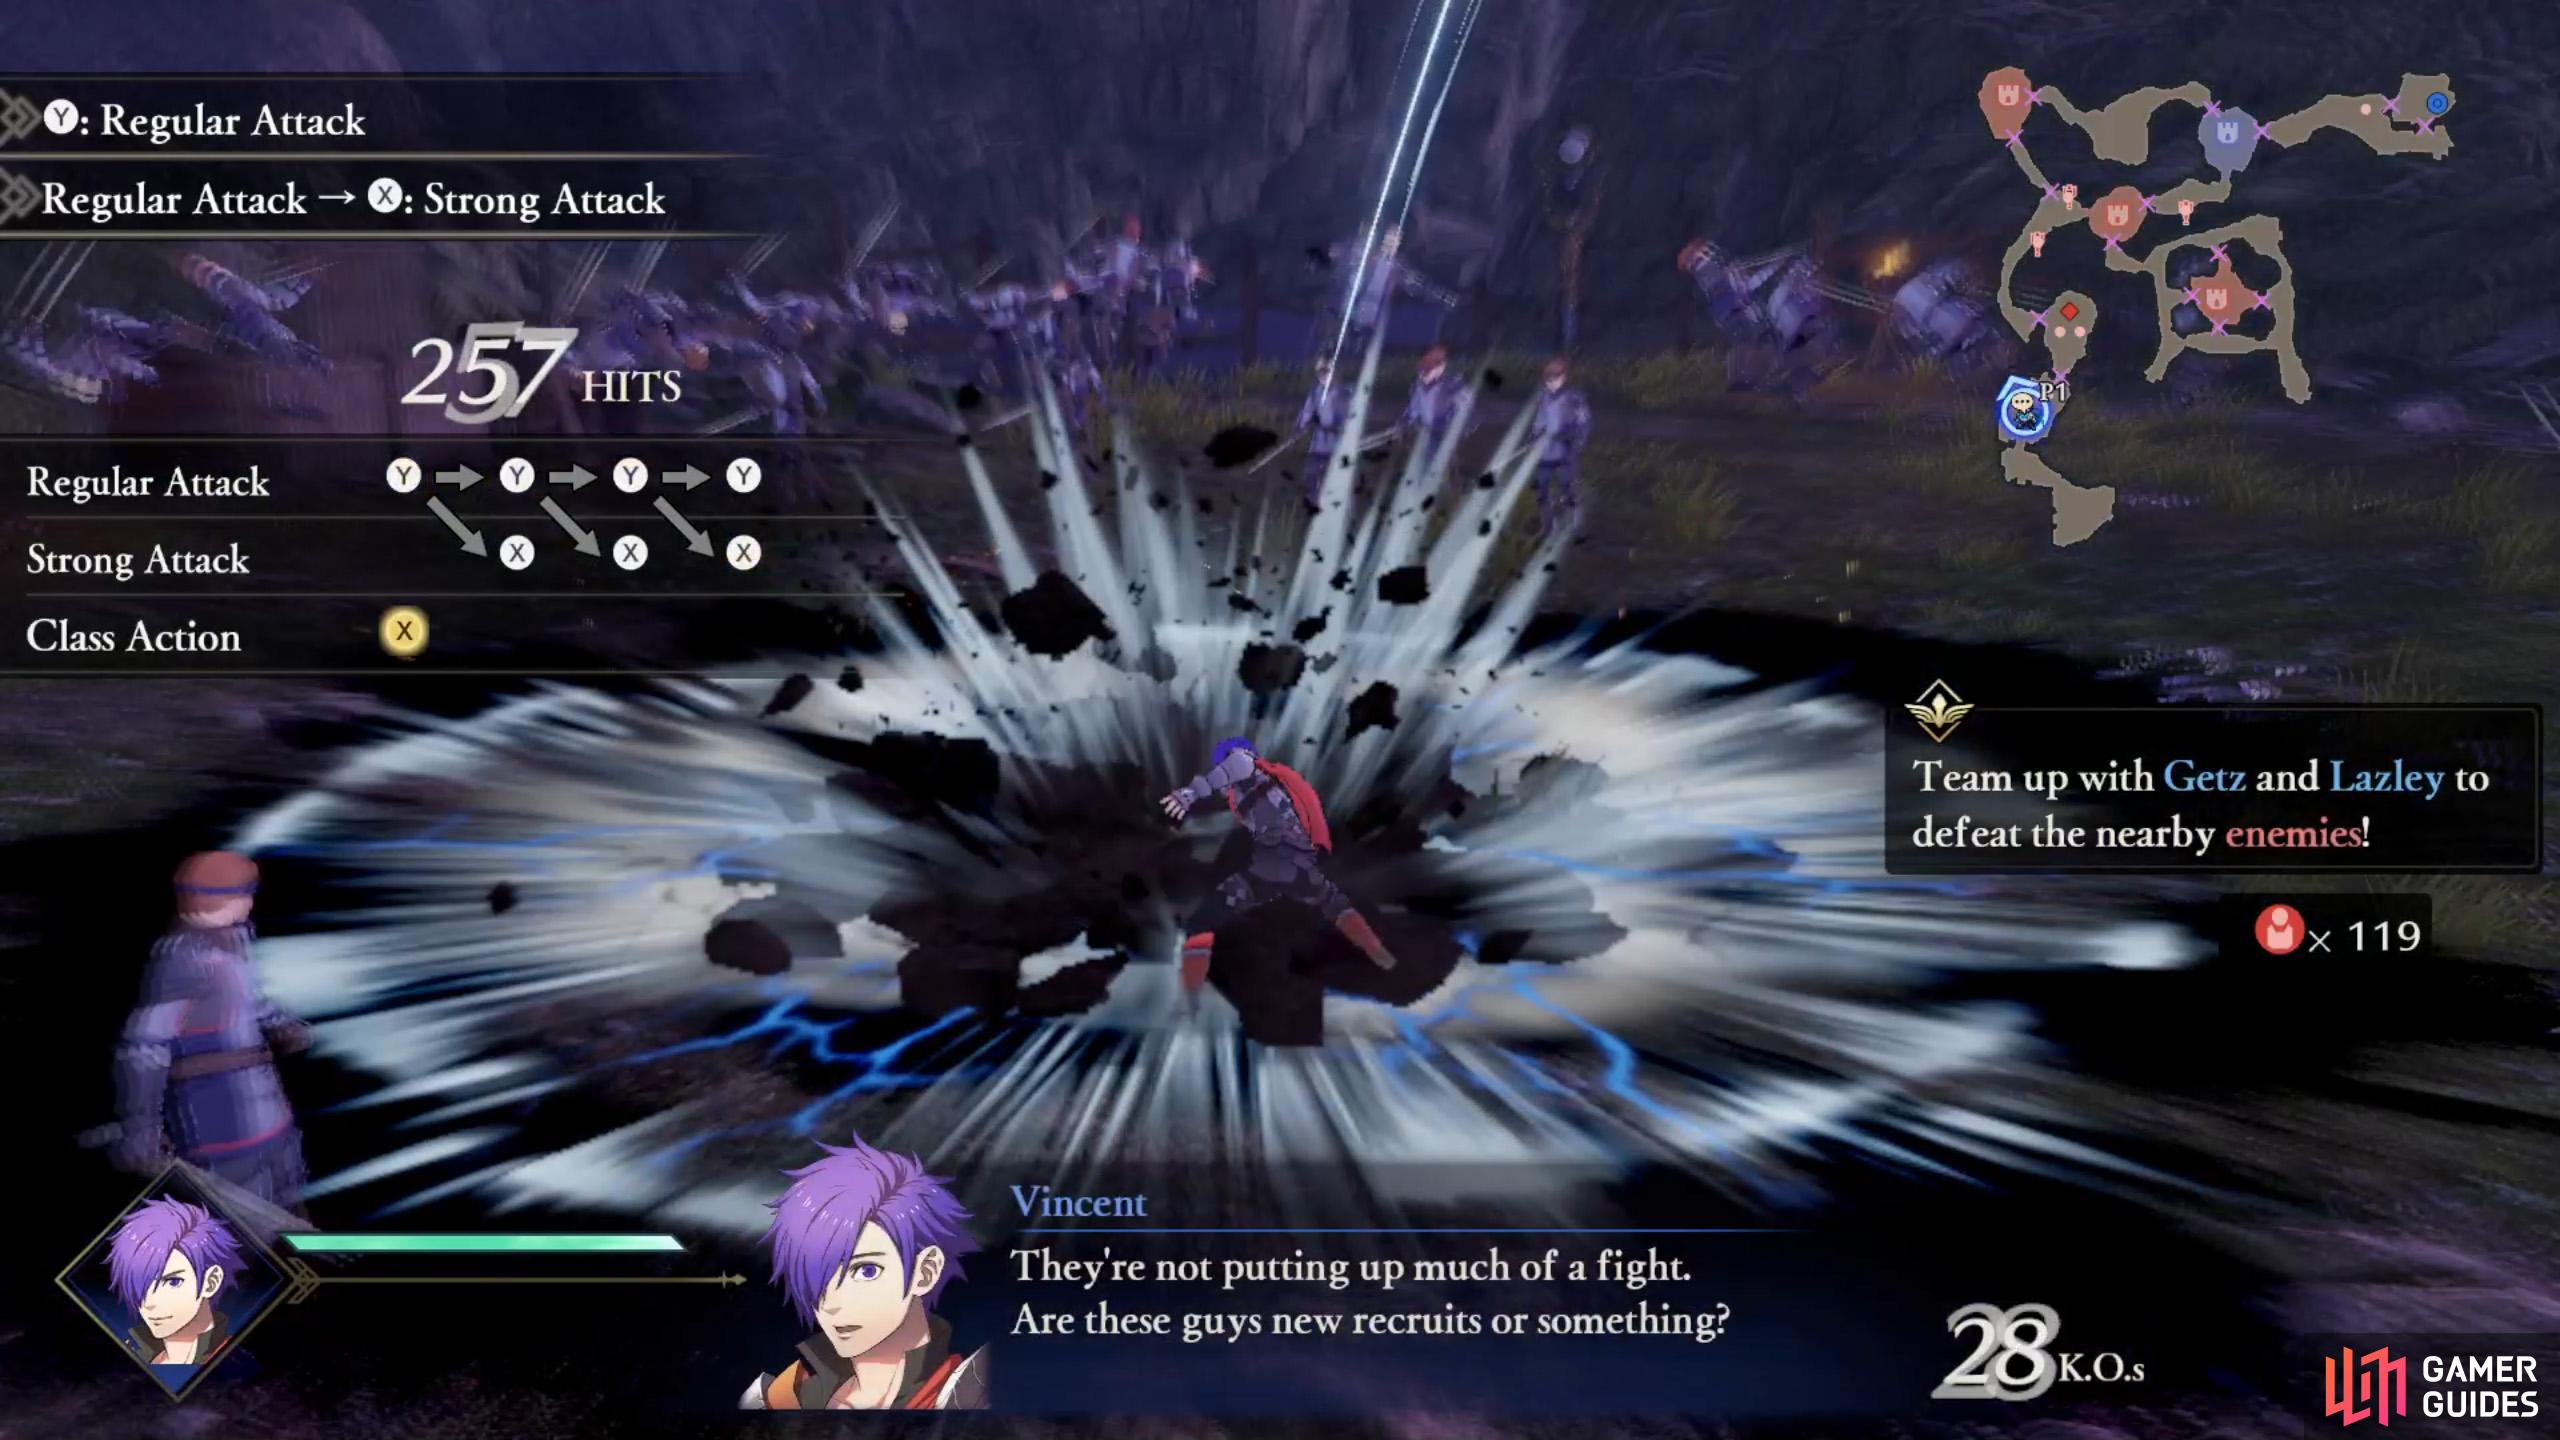
A whole bunch of cannon fodder foes await you. Press  to perform a regular attack. You can continue pressing the button a few more times to create a combo of regular attacks.
After performing at least one regular attack, press  to perform a strong attack. Depending on how many regular attacks you did beforehand, the type of strong attack you trigger will be different. Eg. is different to .
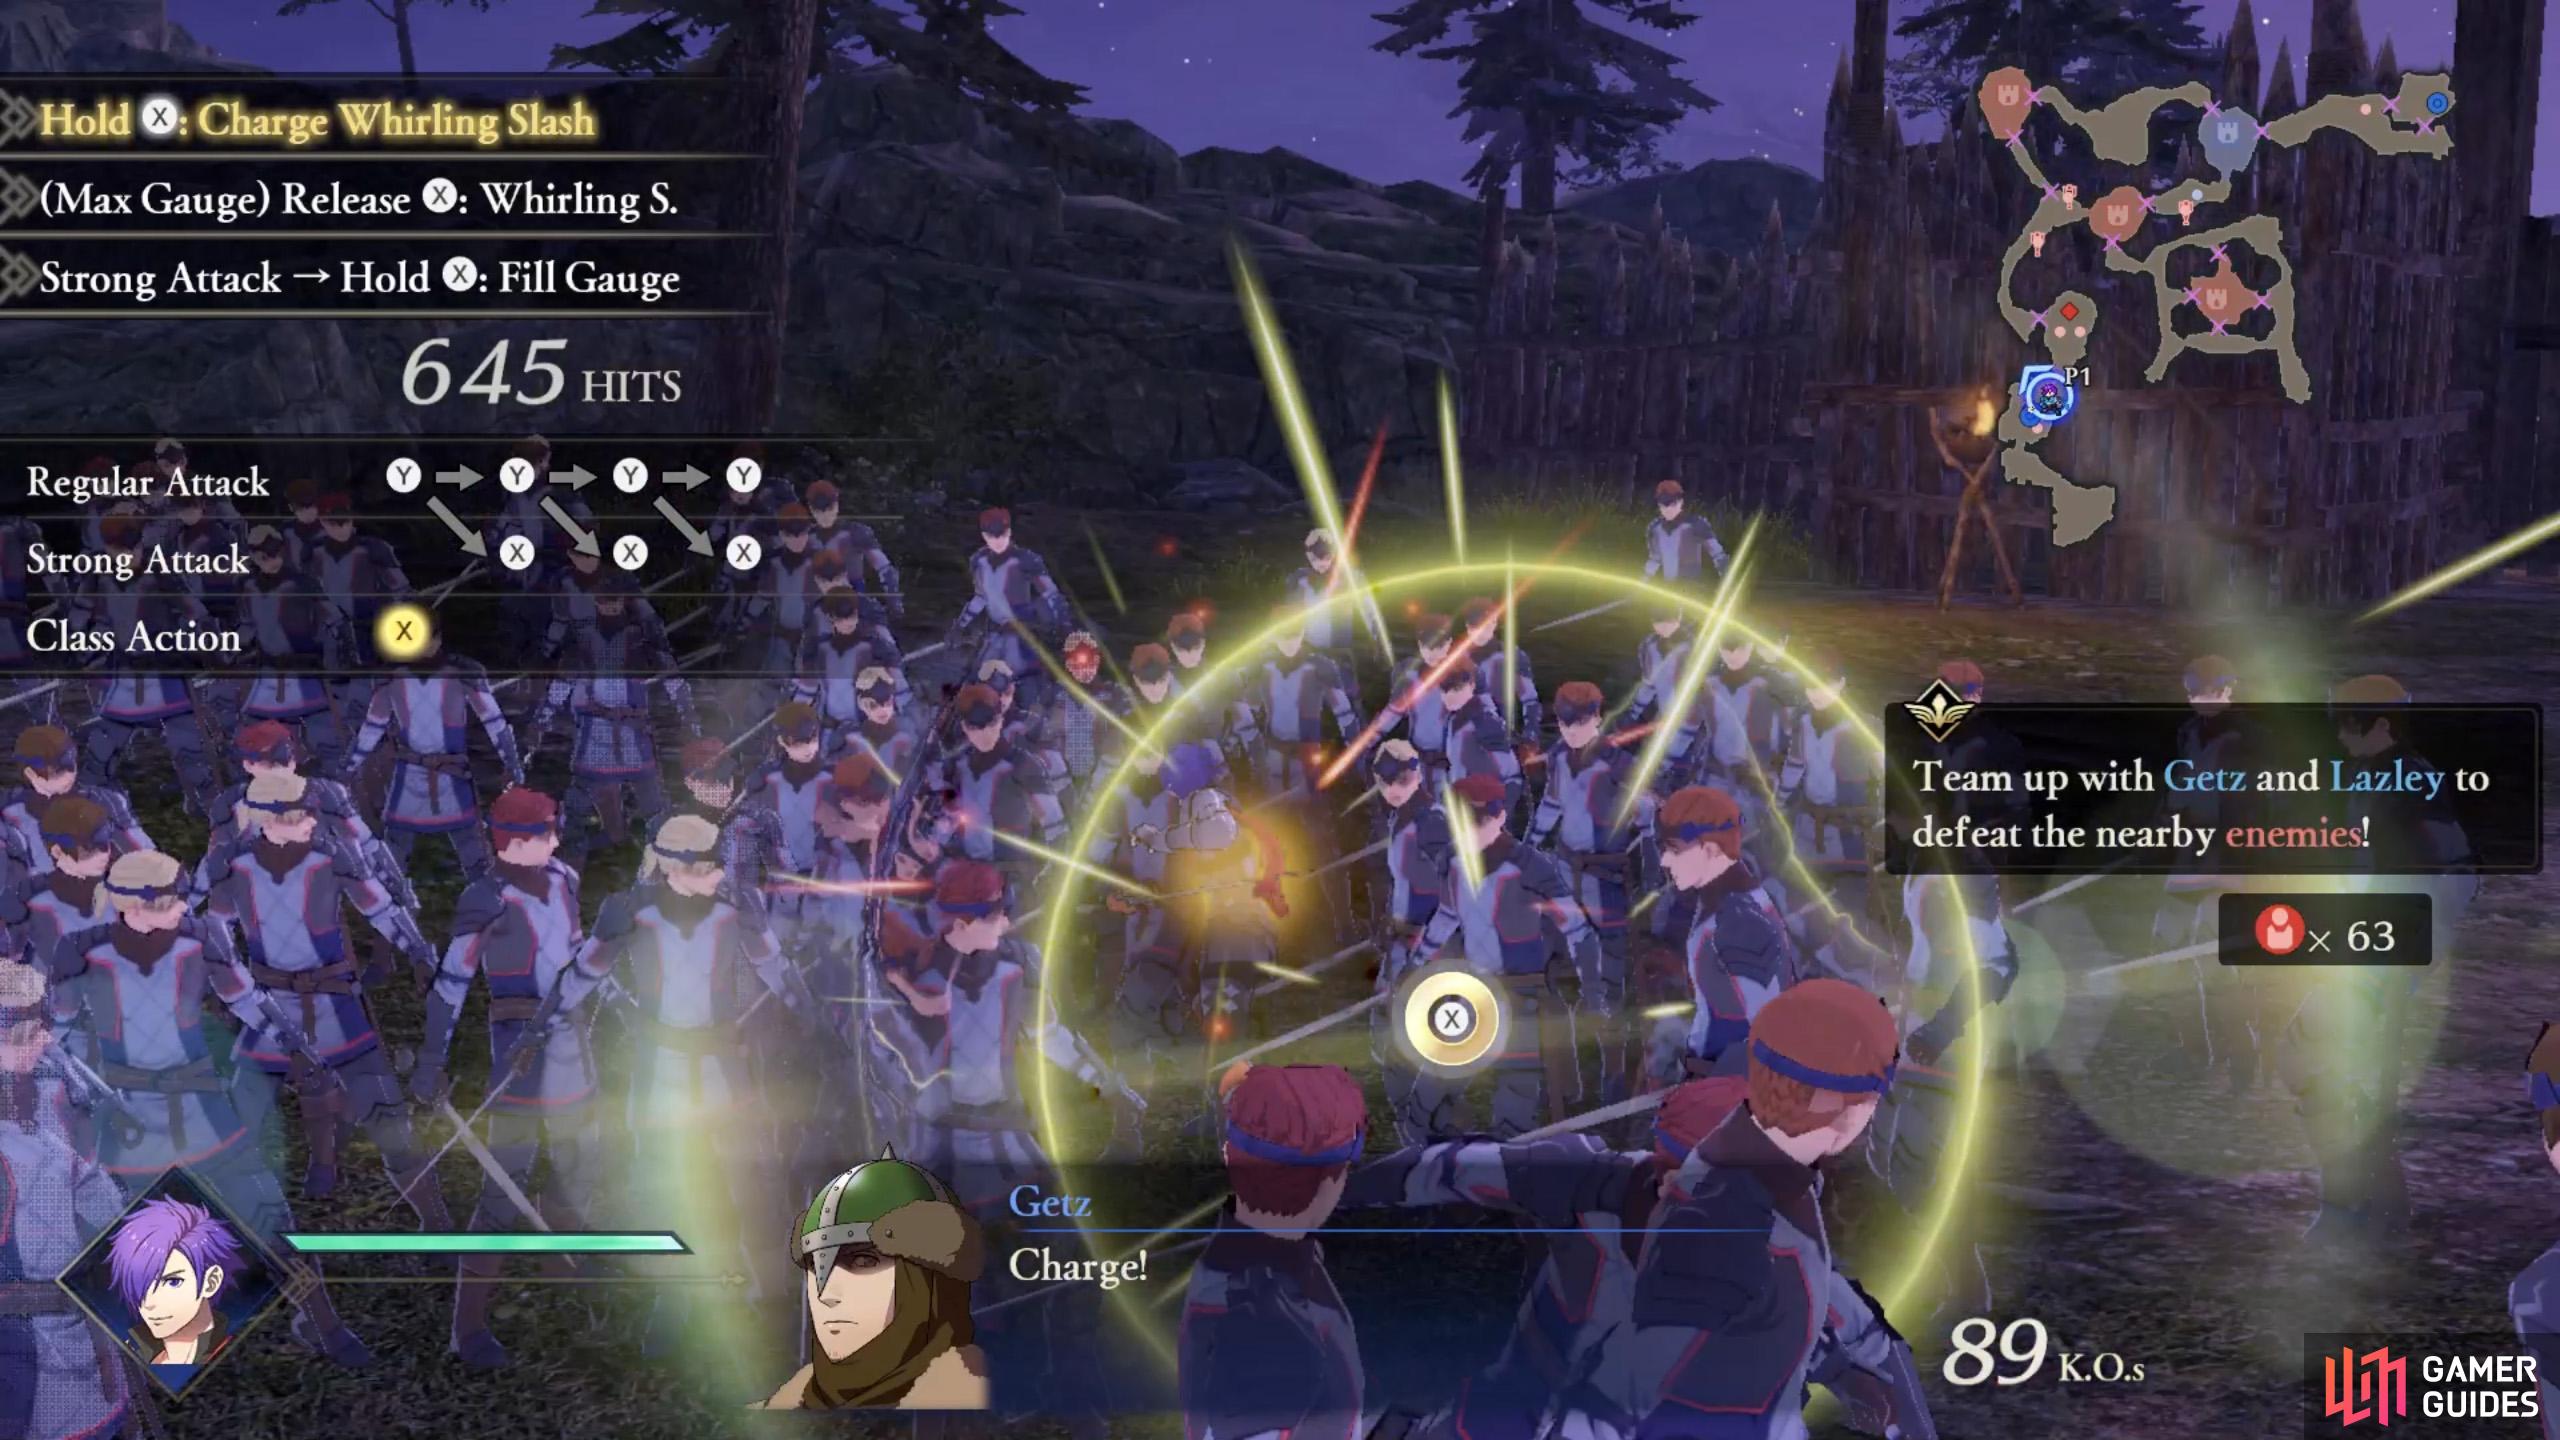
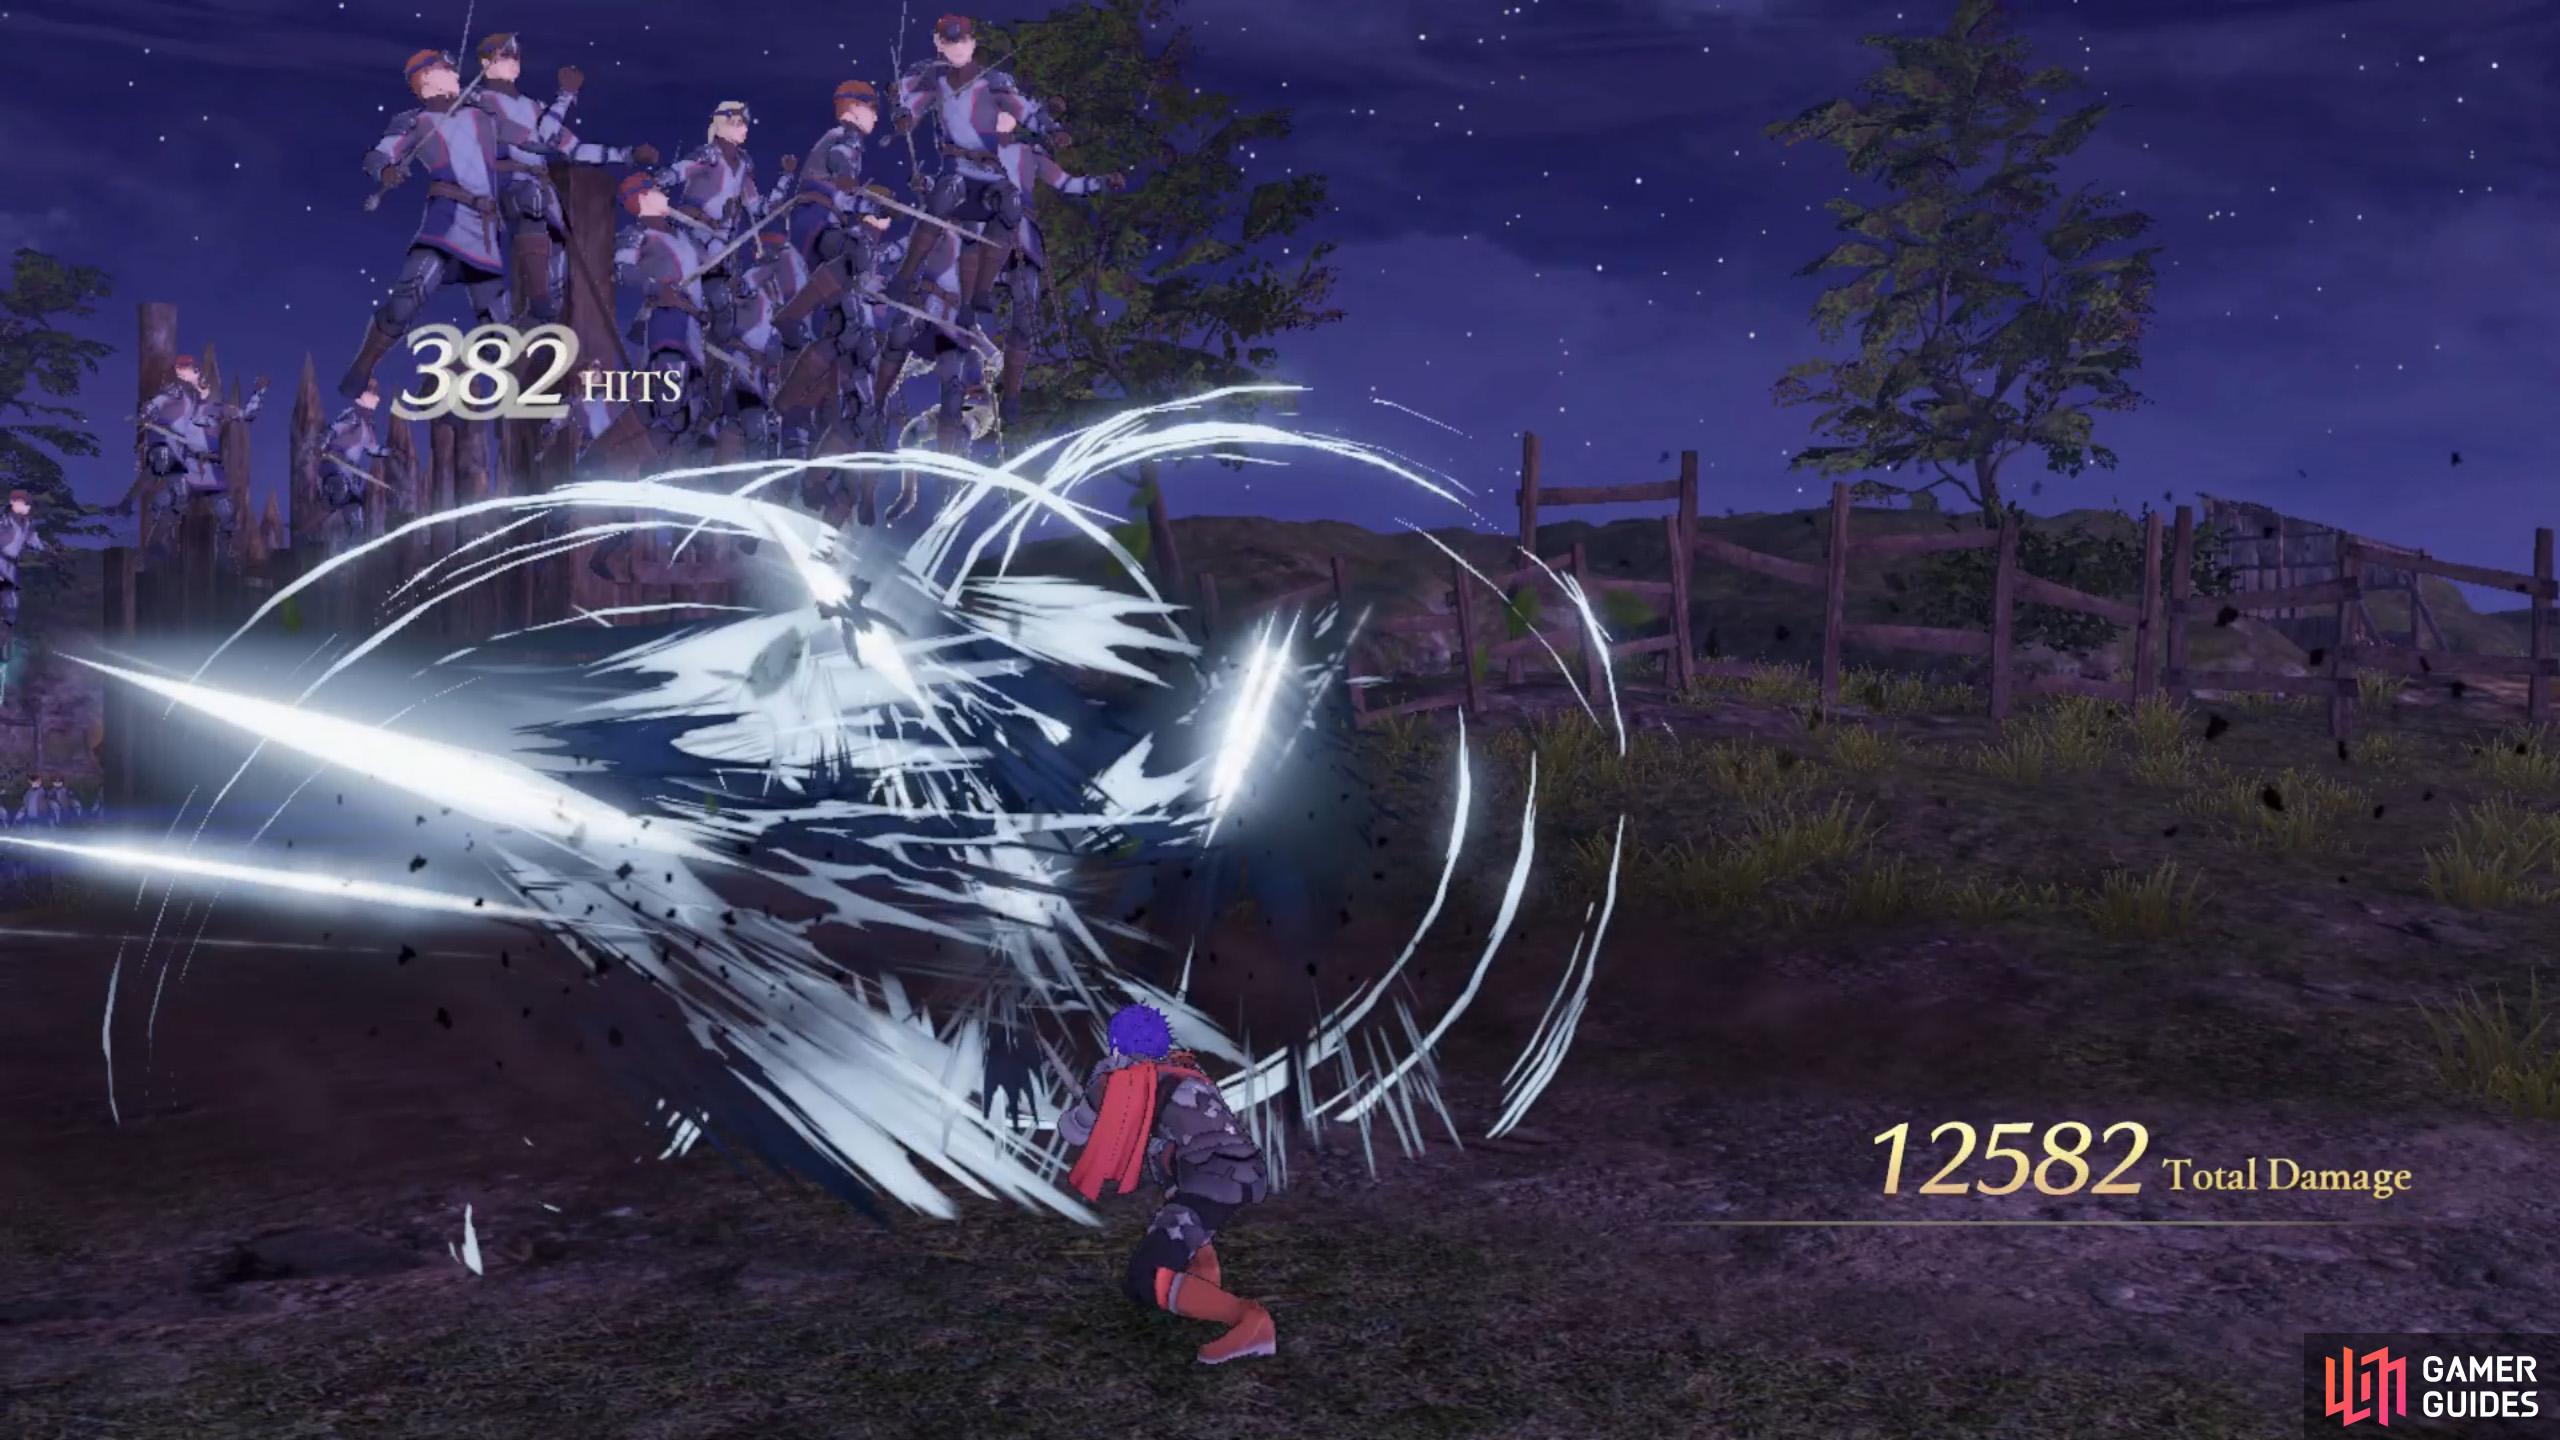
Hold X to charge up the gauge.
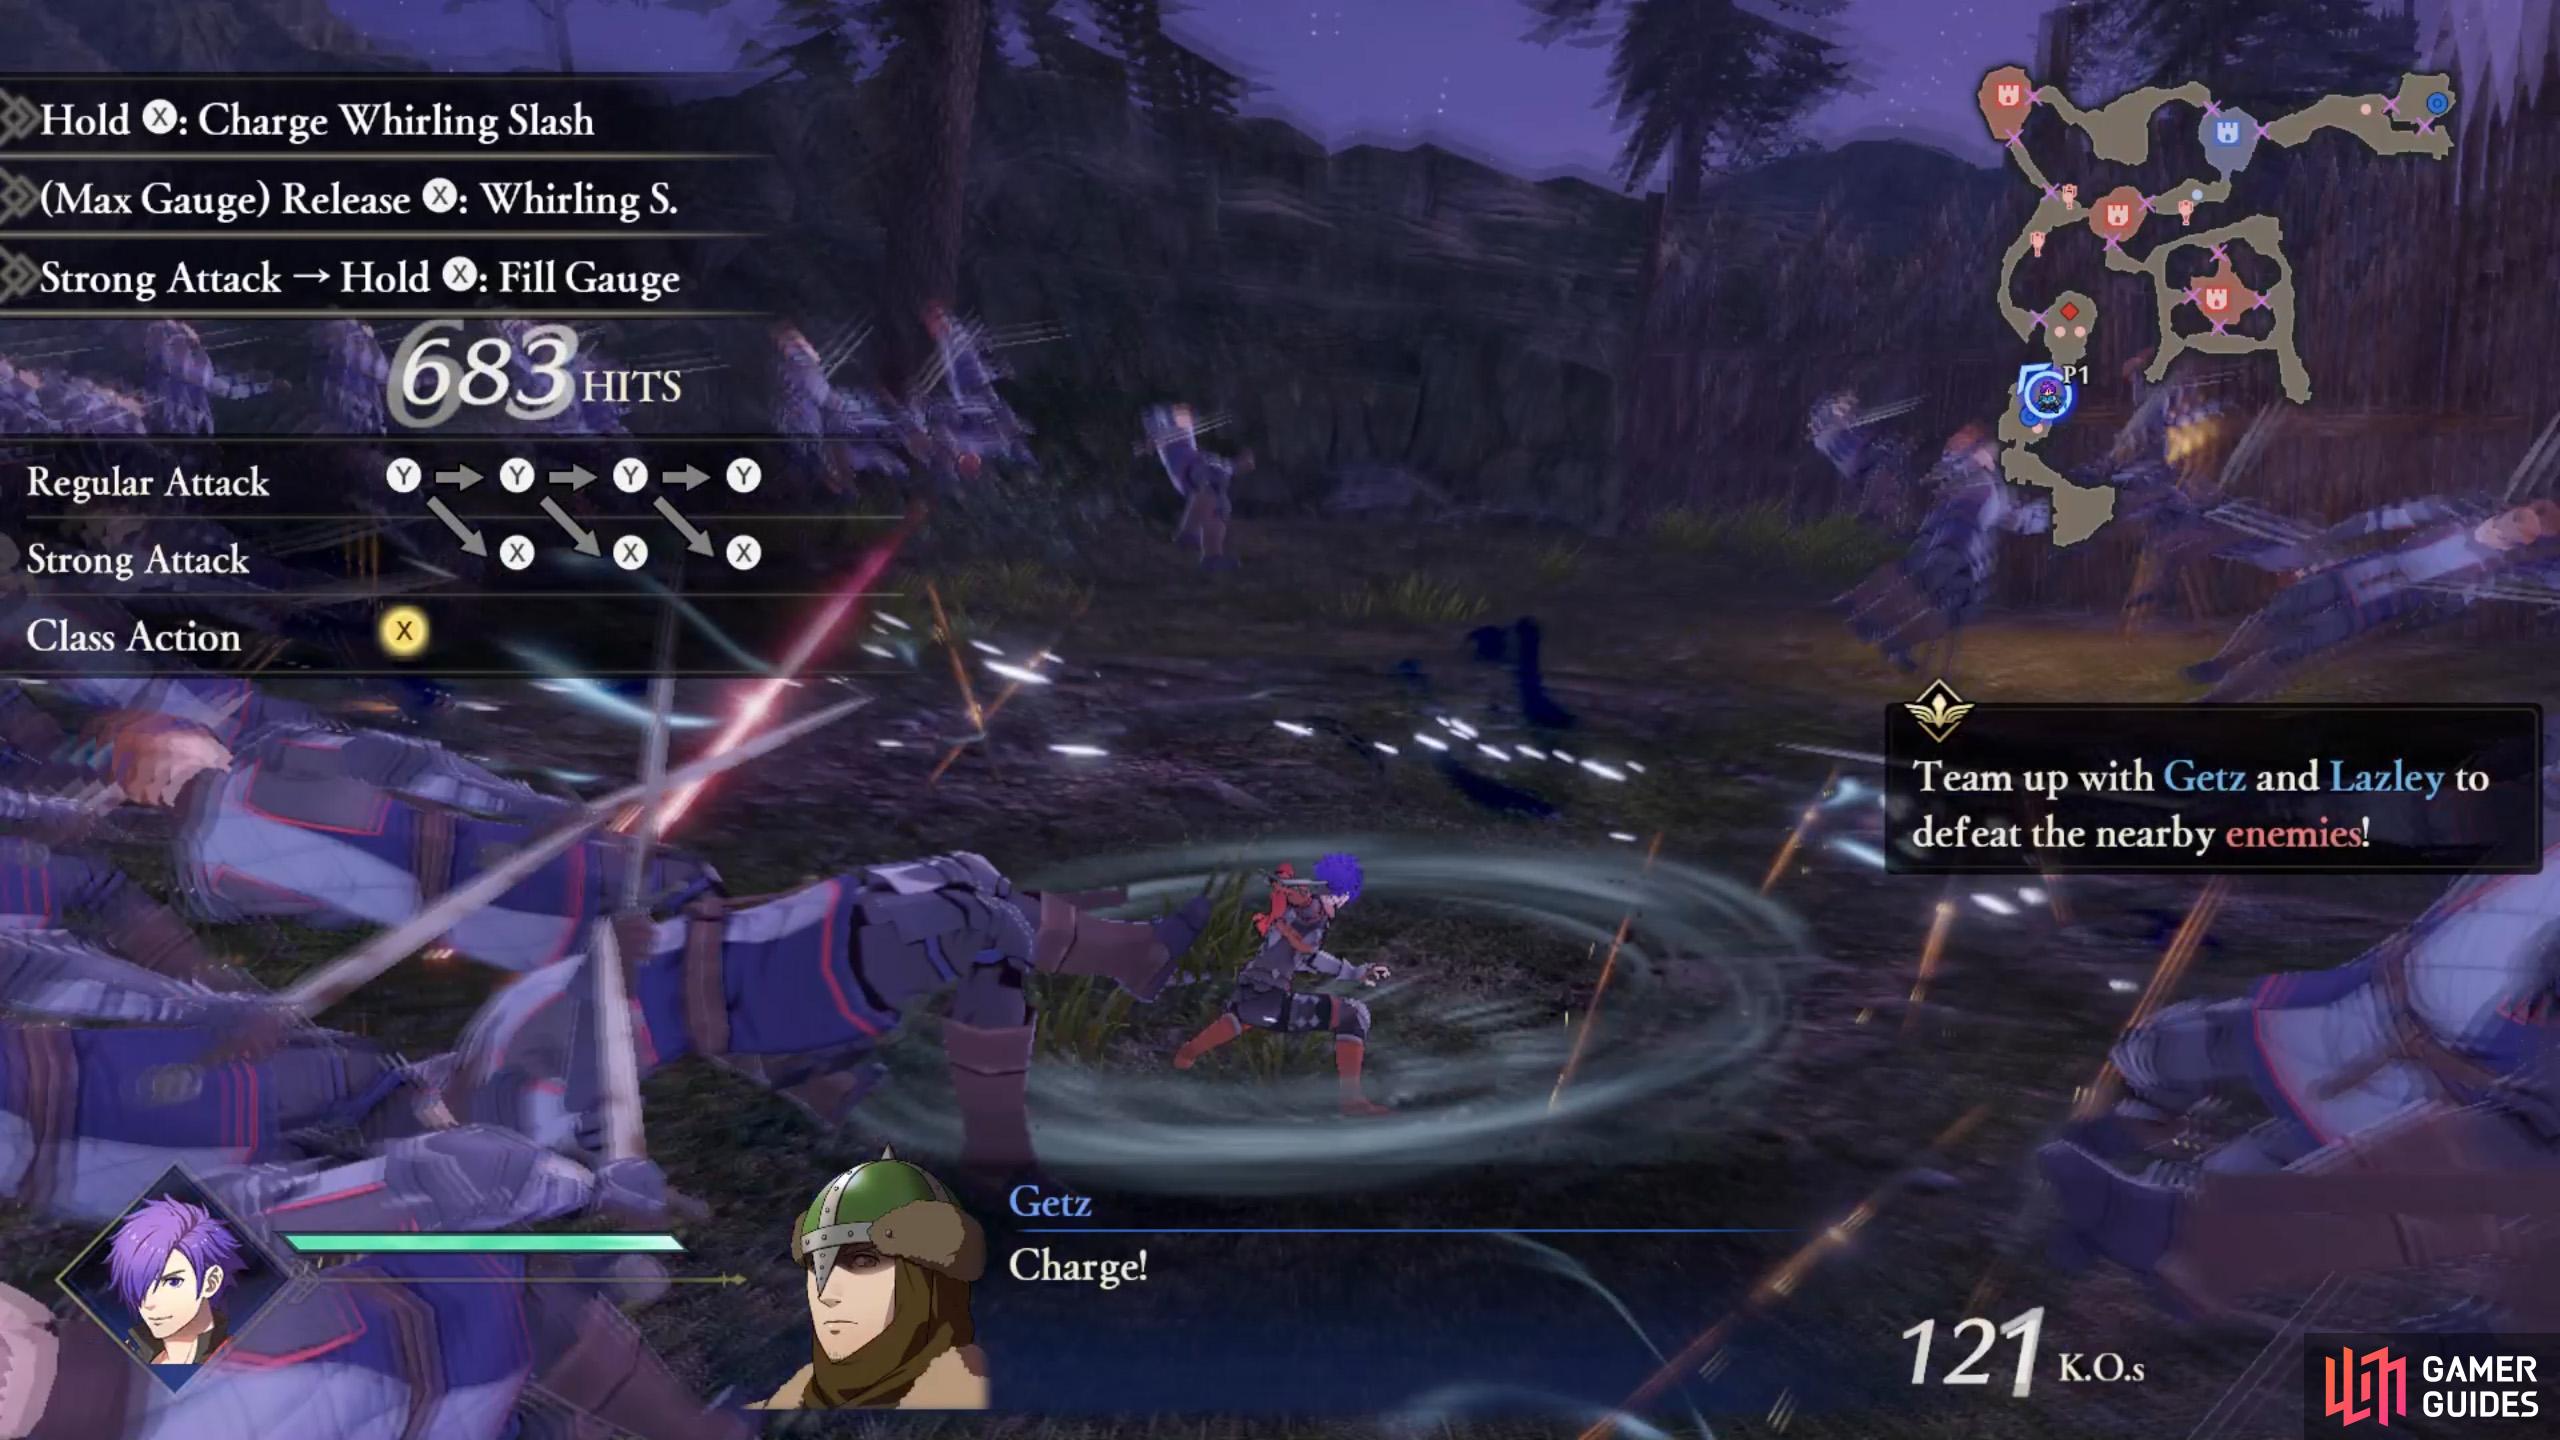
Then release to smite multiple foes at once!
Your goal is to defeat 150 foes as indicated by the icon on the right, below the mission objective. If you’re new to Warriors, this may seem like a lot, but it’s actually baby numbers. Simply spam combos like mad, wherever there are enemies, until the counter sharply declines to 0.
Also, you can press by itself (without doing a regular attack beforehand) to trigger your Class Action. Shez is a Myrmidon, so holding lets them charge up the Class Gauge to perform a sweeping attack. Holding during a Strong Attack also reduces the charge time of the Class Action.
Mission 2: Defeat the Mercenary Captain
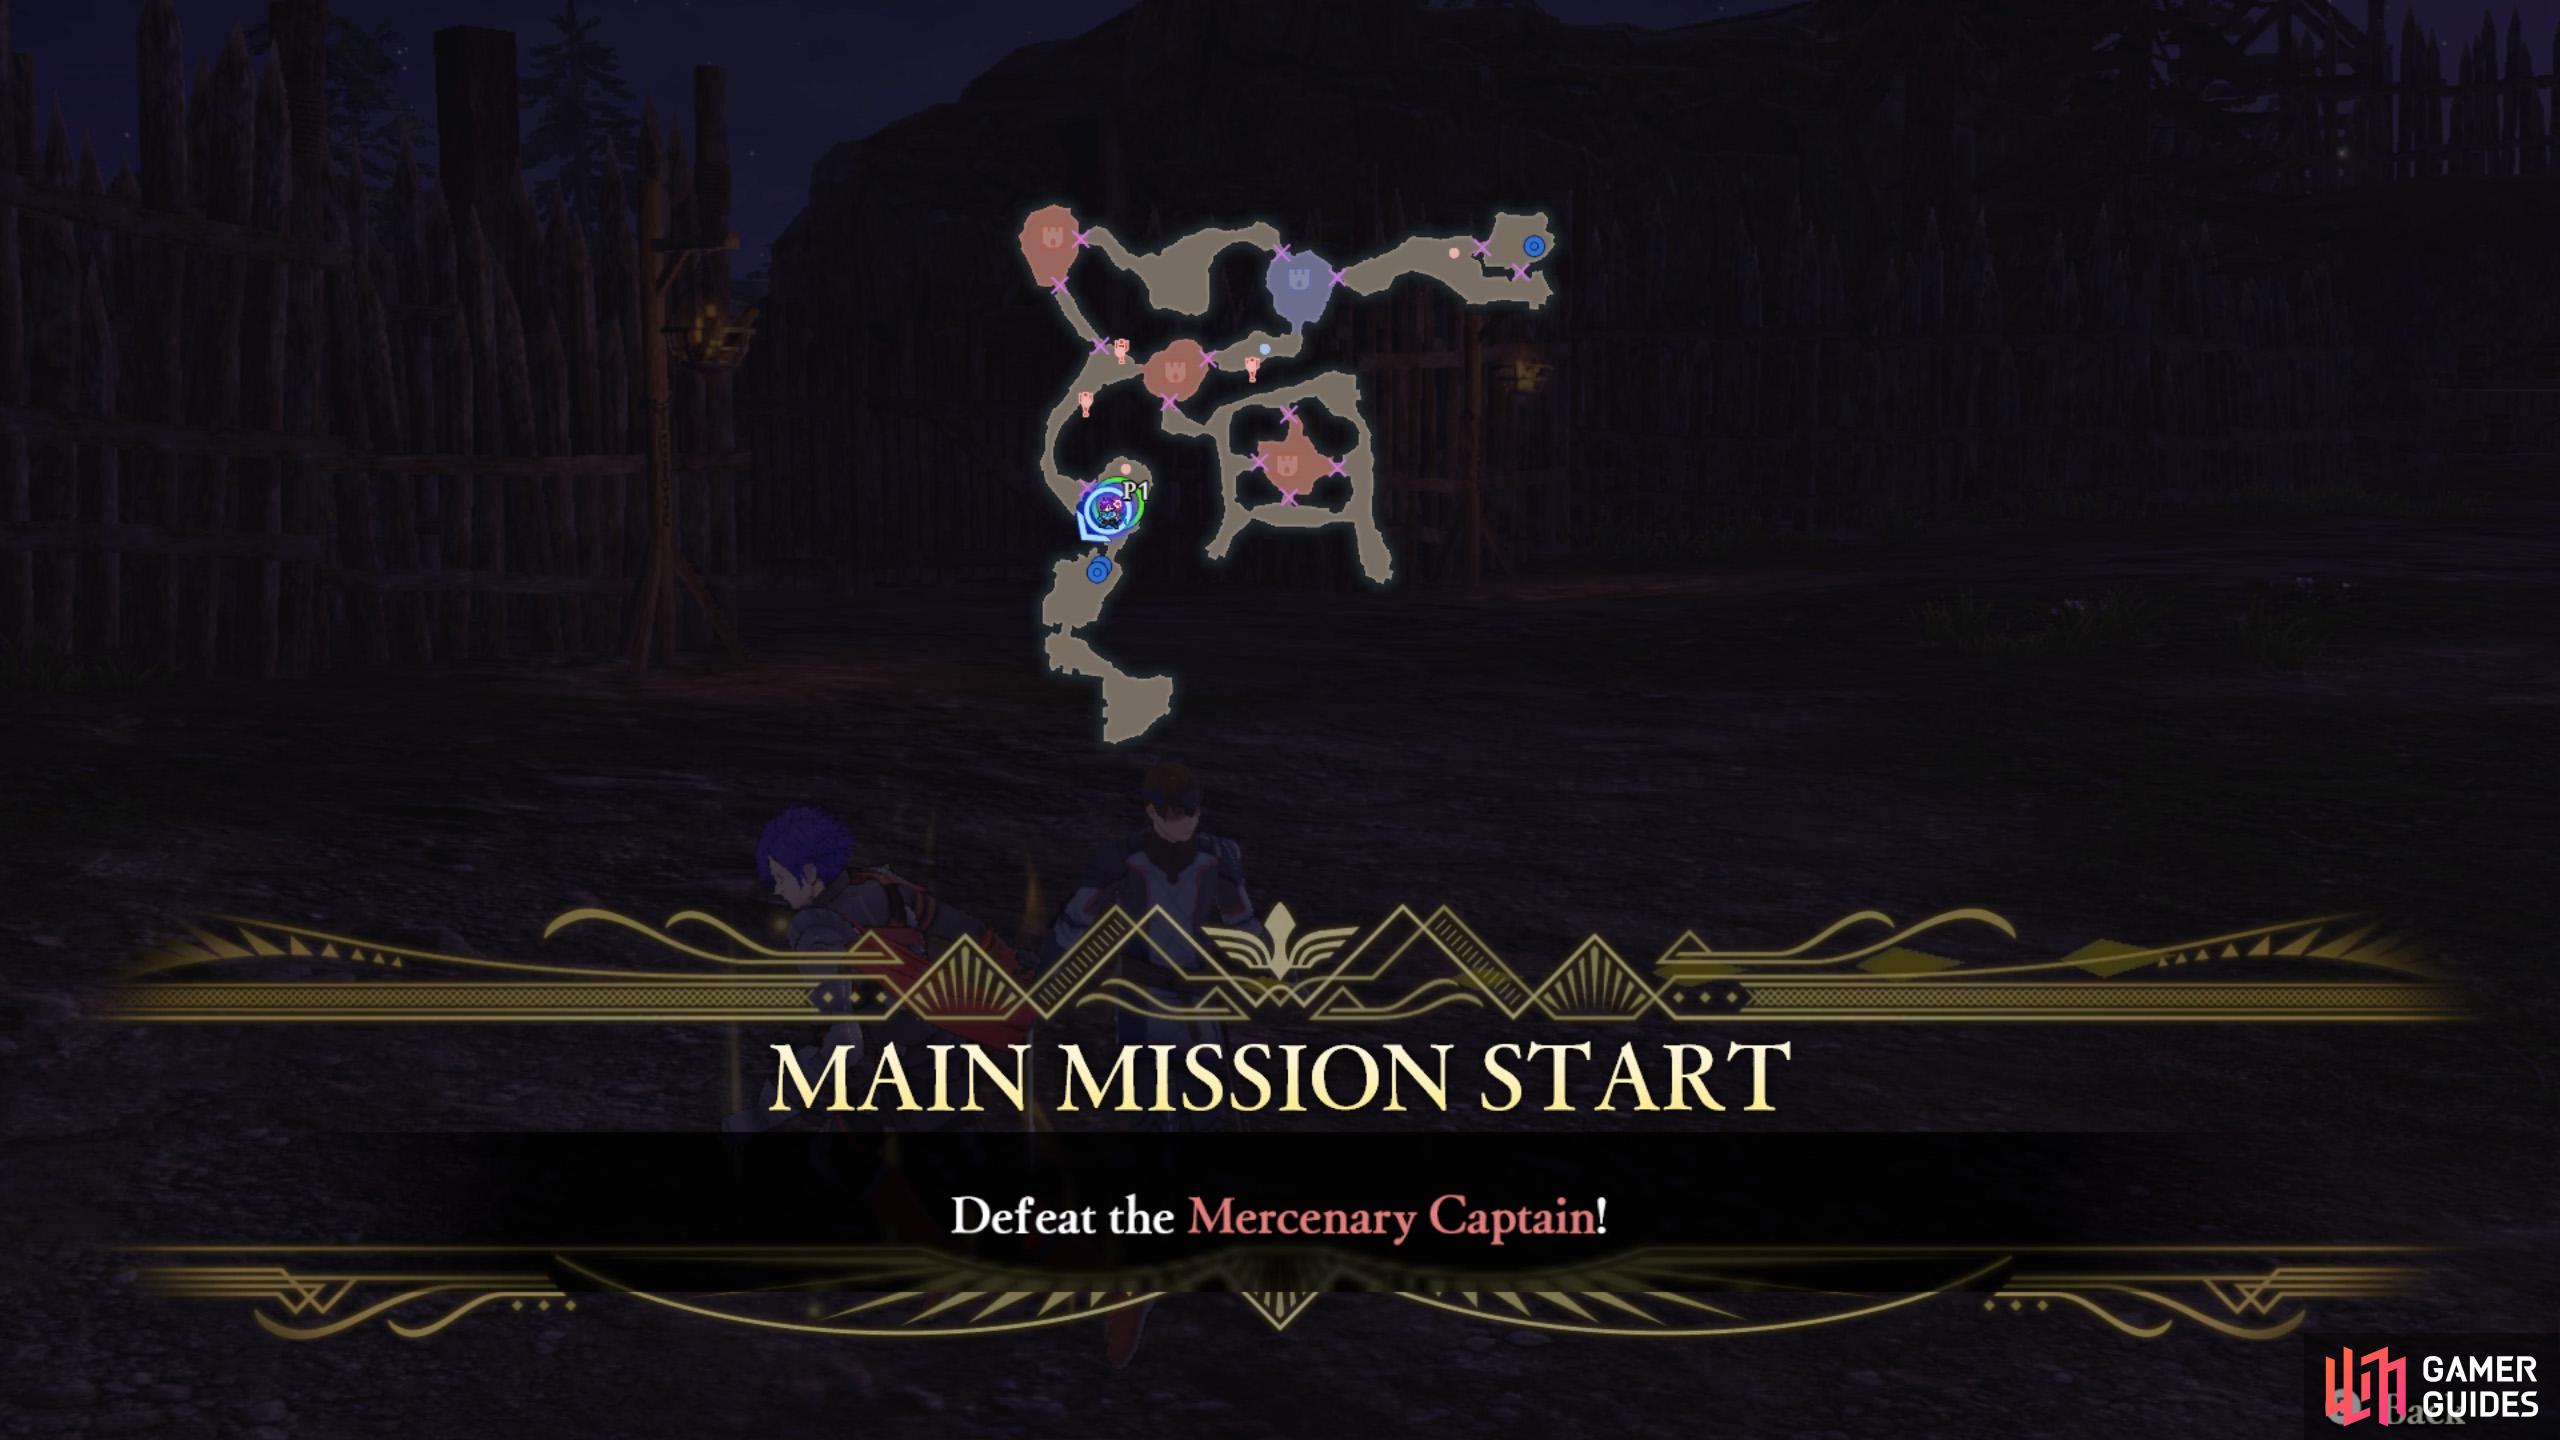
You have to defeat a captain this time, but they’re not too tricky.
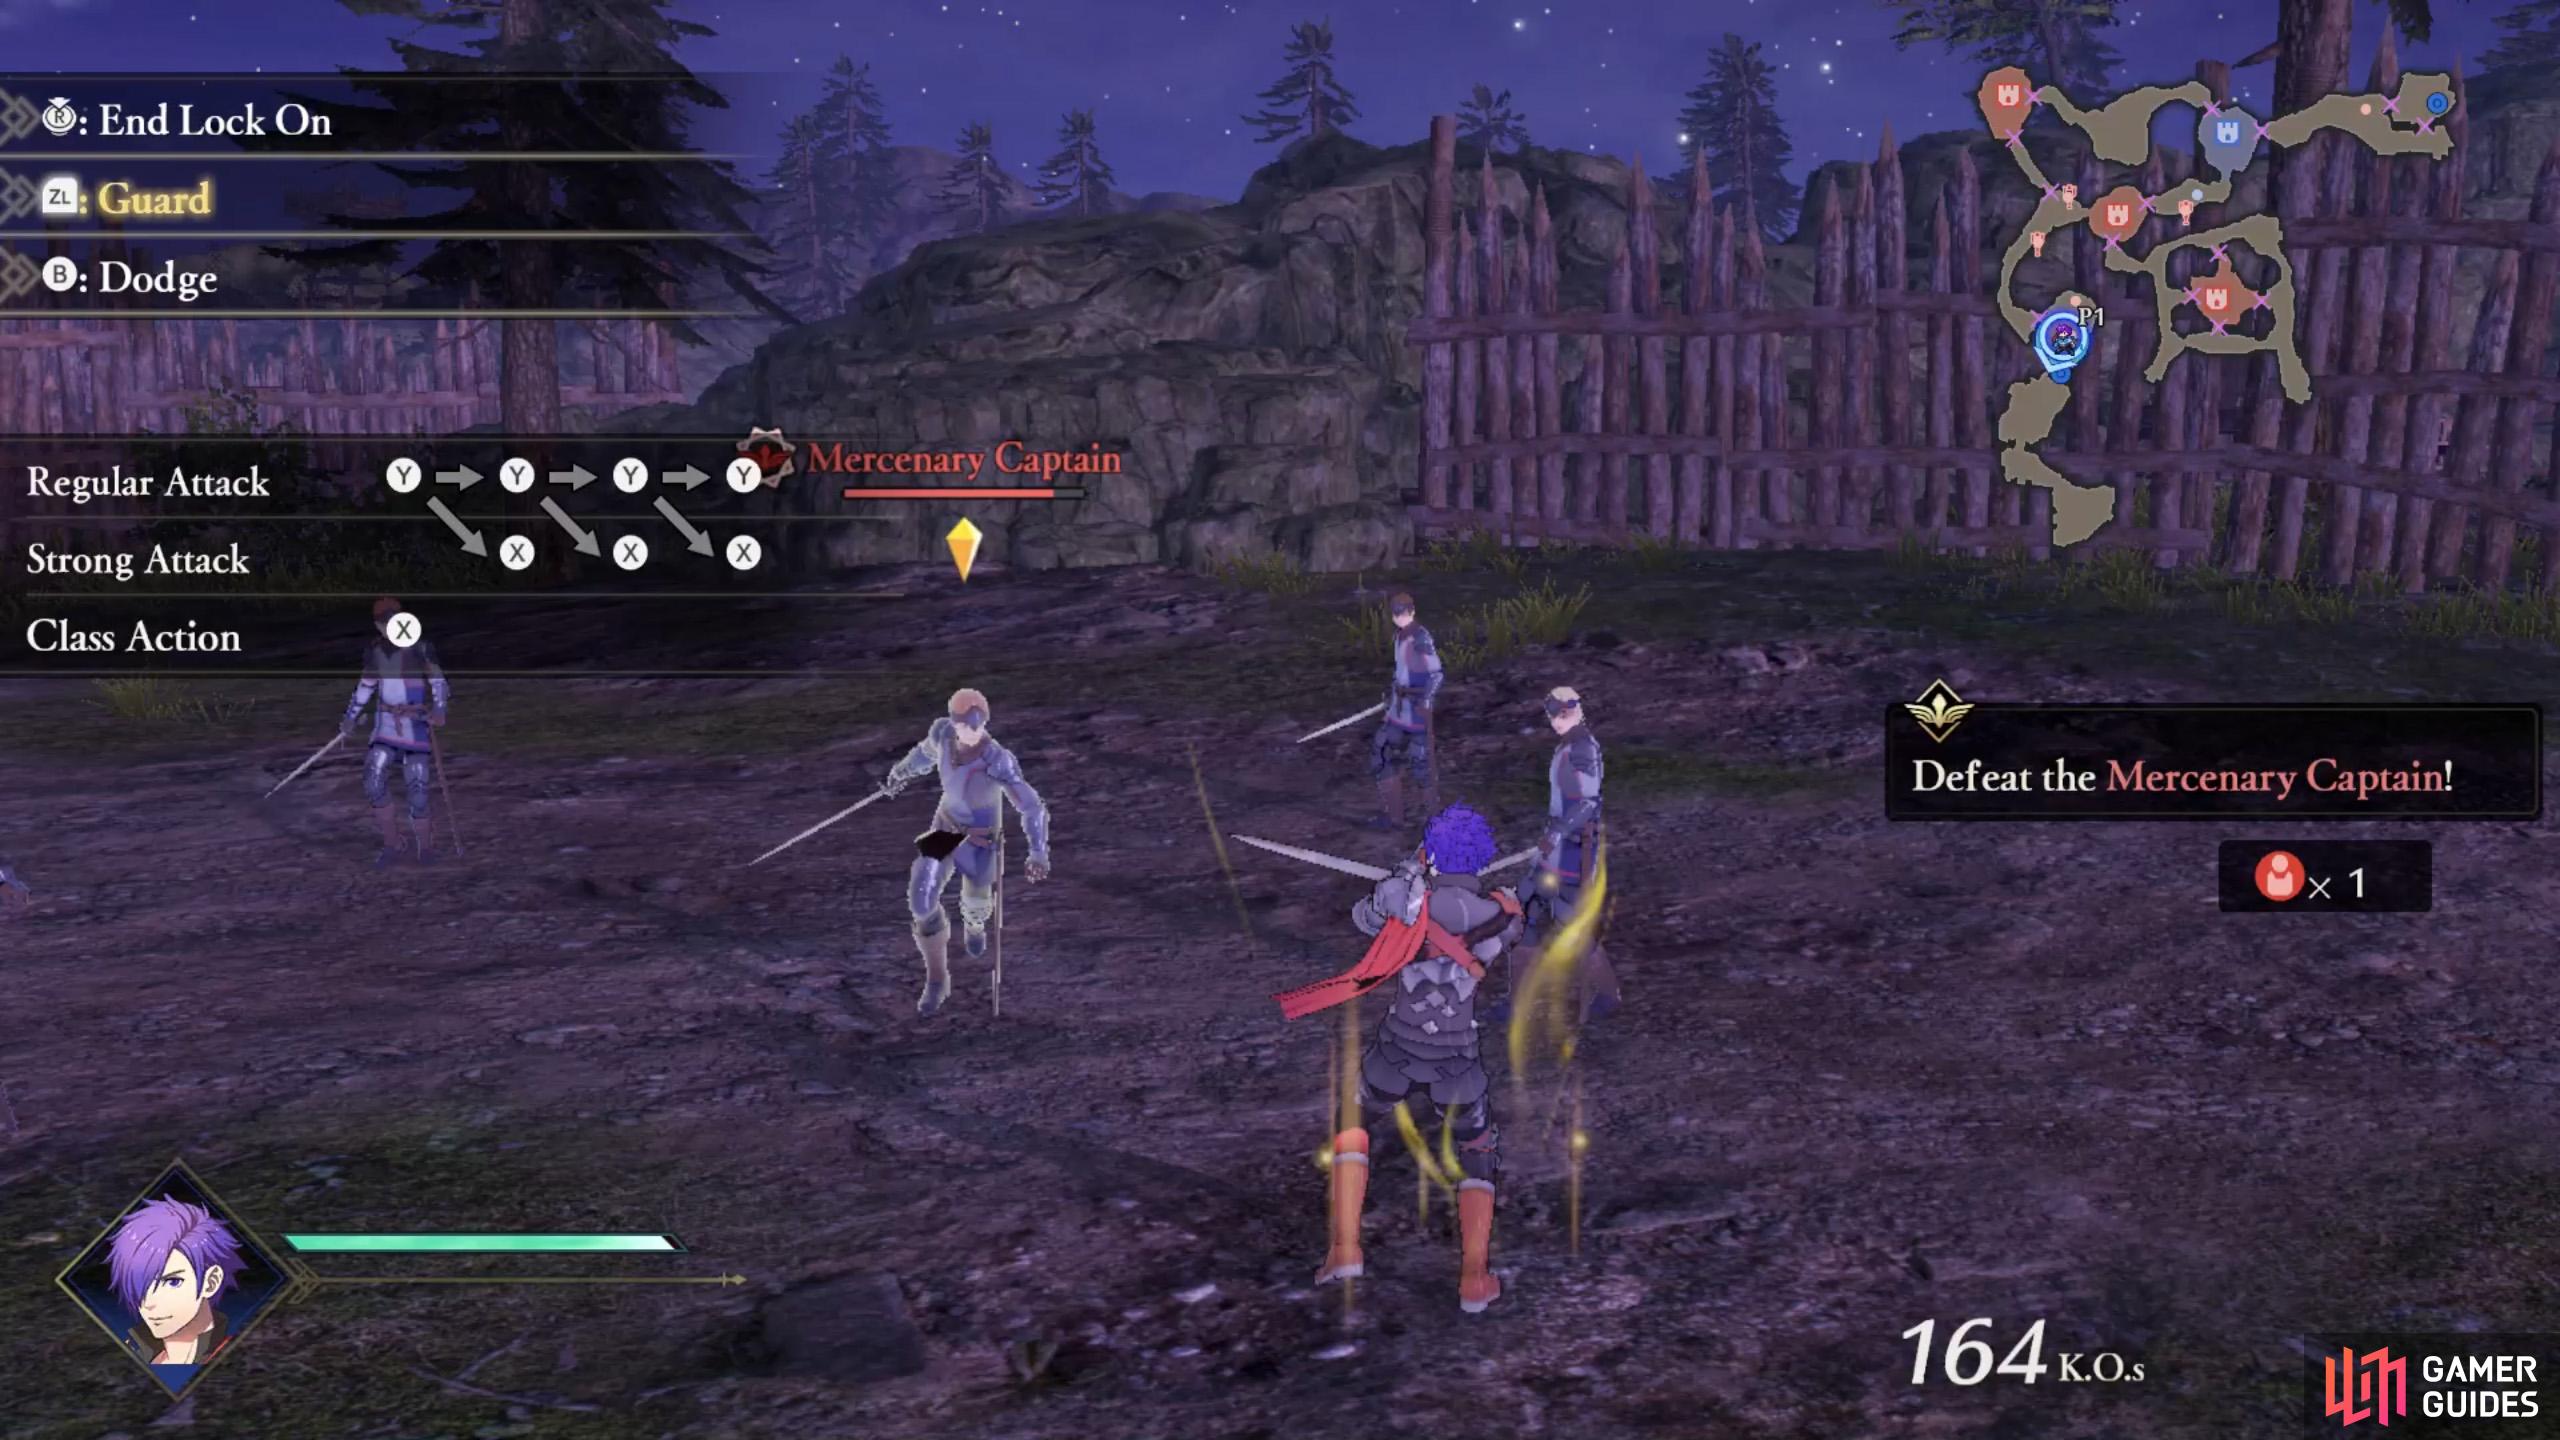
Lock On so you can move around without have to mess with the camera.
With the foes defeated, the stronghold gate ahead will open, allowing you to proceed. Your next task is to defeat the Mercenary Captain, who’s slightly tougher than the mooks you previously dispatched.
Against tougher foes, press  to guard and
  to dodge. When an arrow is above a foe’s head, you press
  to Lock On, so you can move around without losing track of your prey. Press
  to swap between targets, if there are multiple.
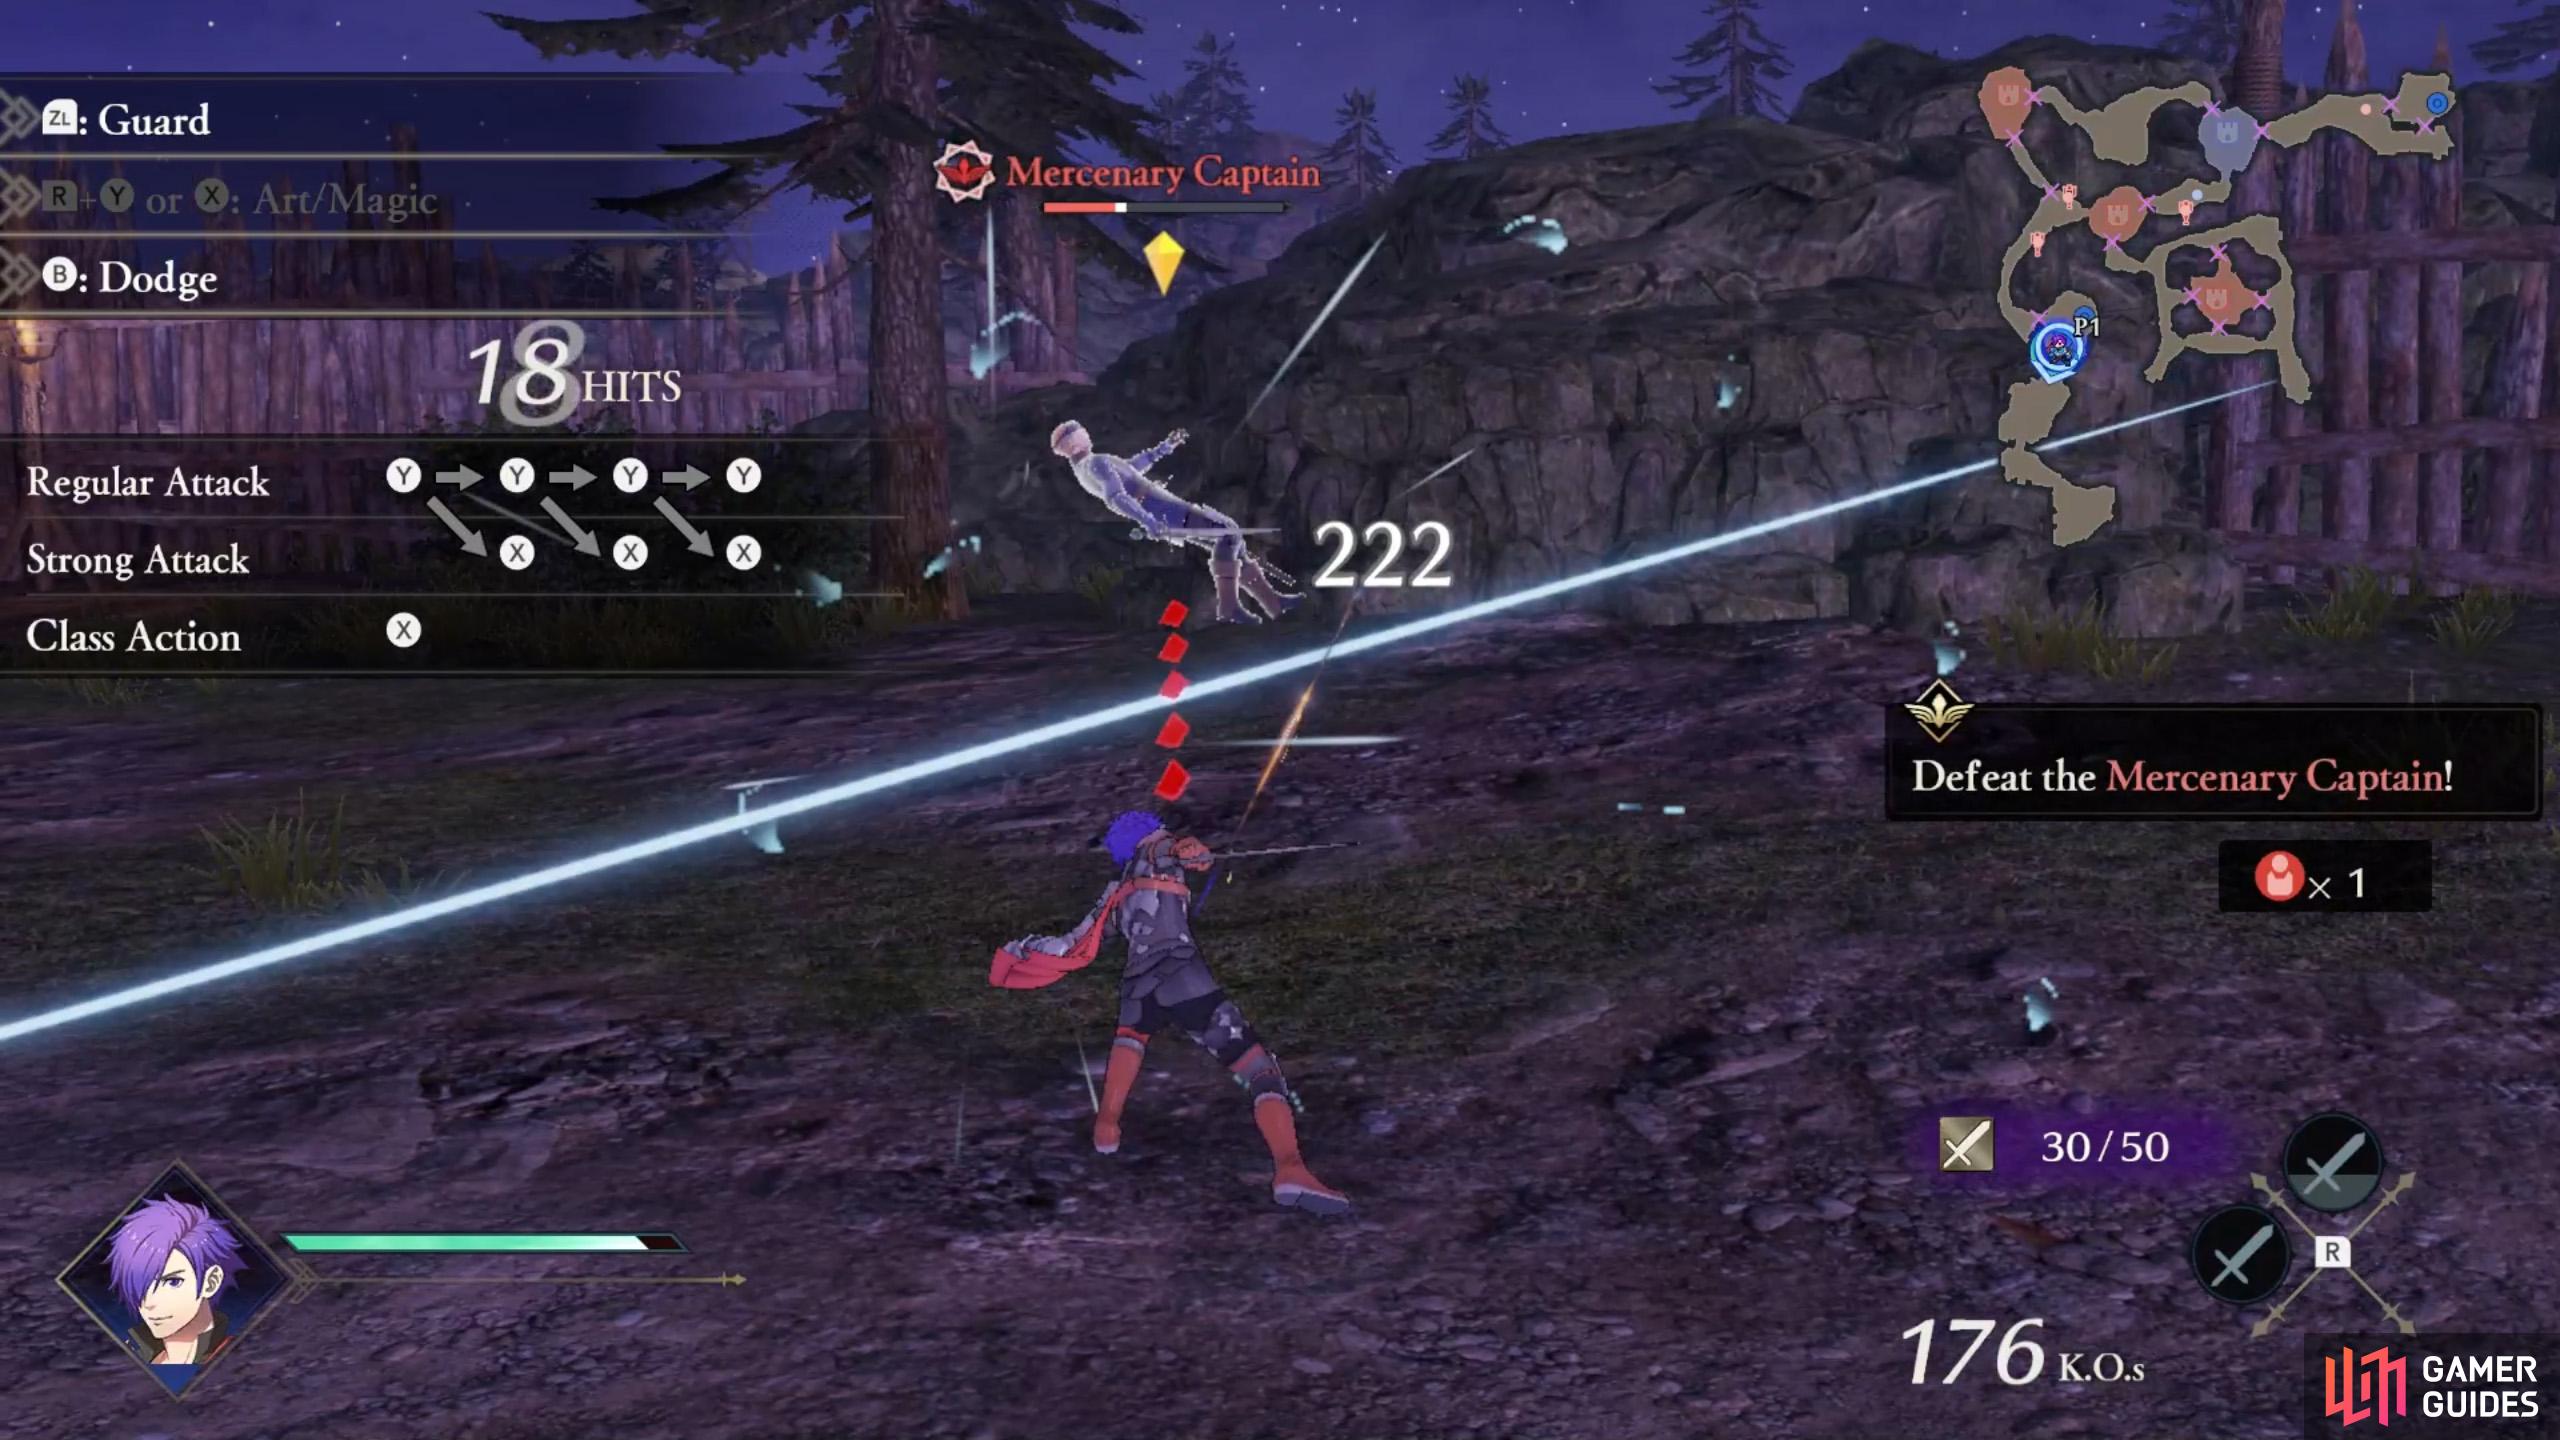
Anyway, it shouldn’t take long to find the Mercenary Captain–or they may come to you. Unlike the cannon fodder from before, the captain is actually aggressive, but barely a threat. Lock on and poke them with combos while occasionally dodging/guarding.
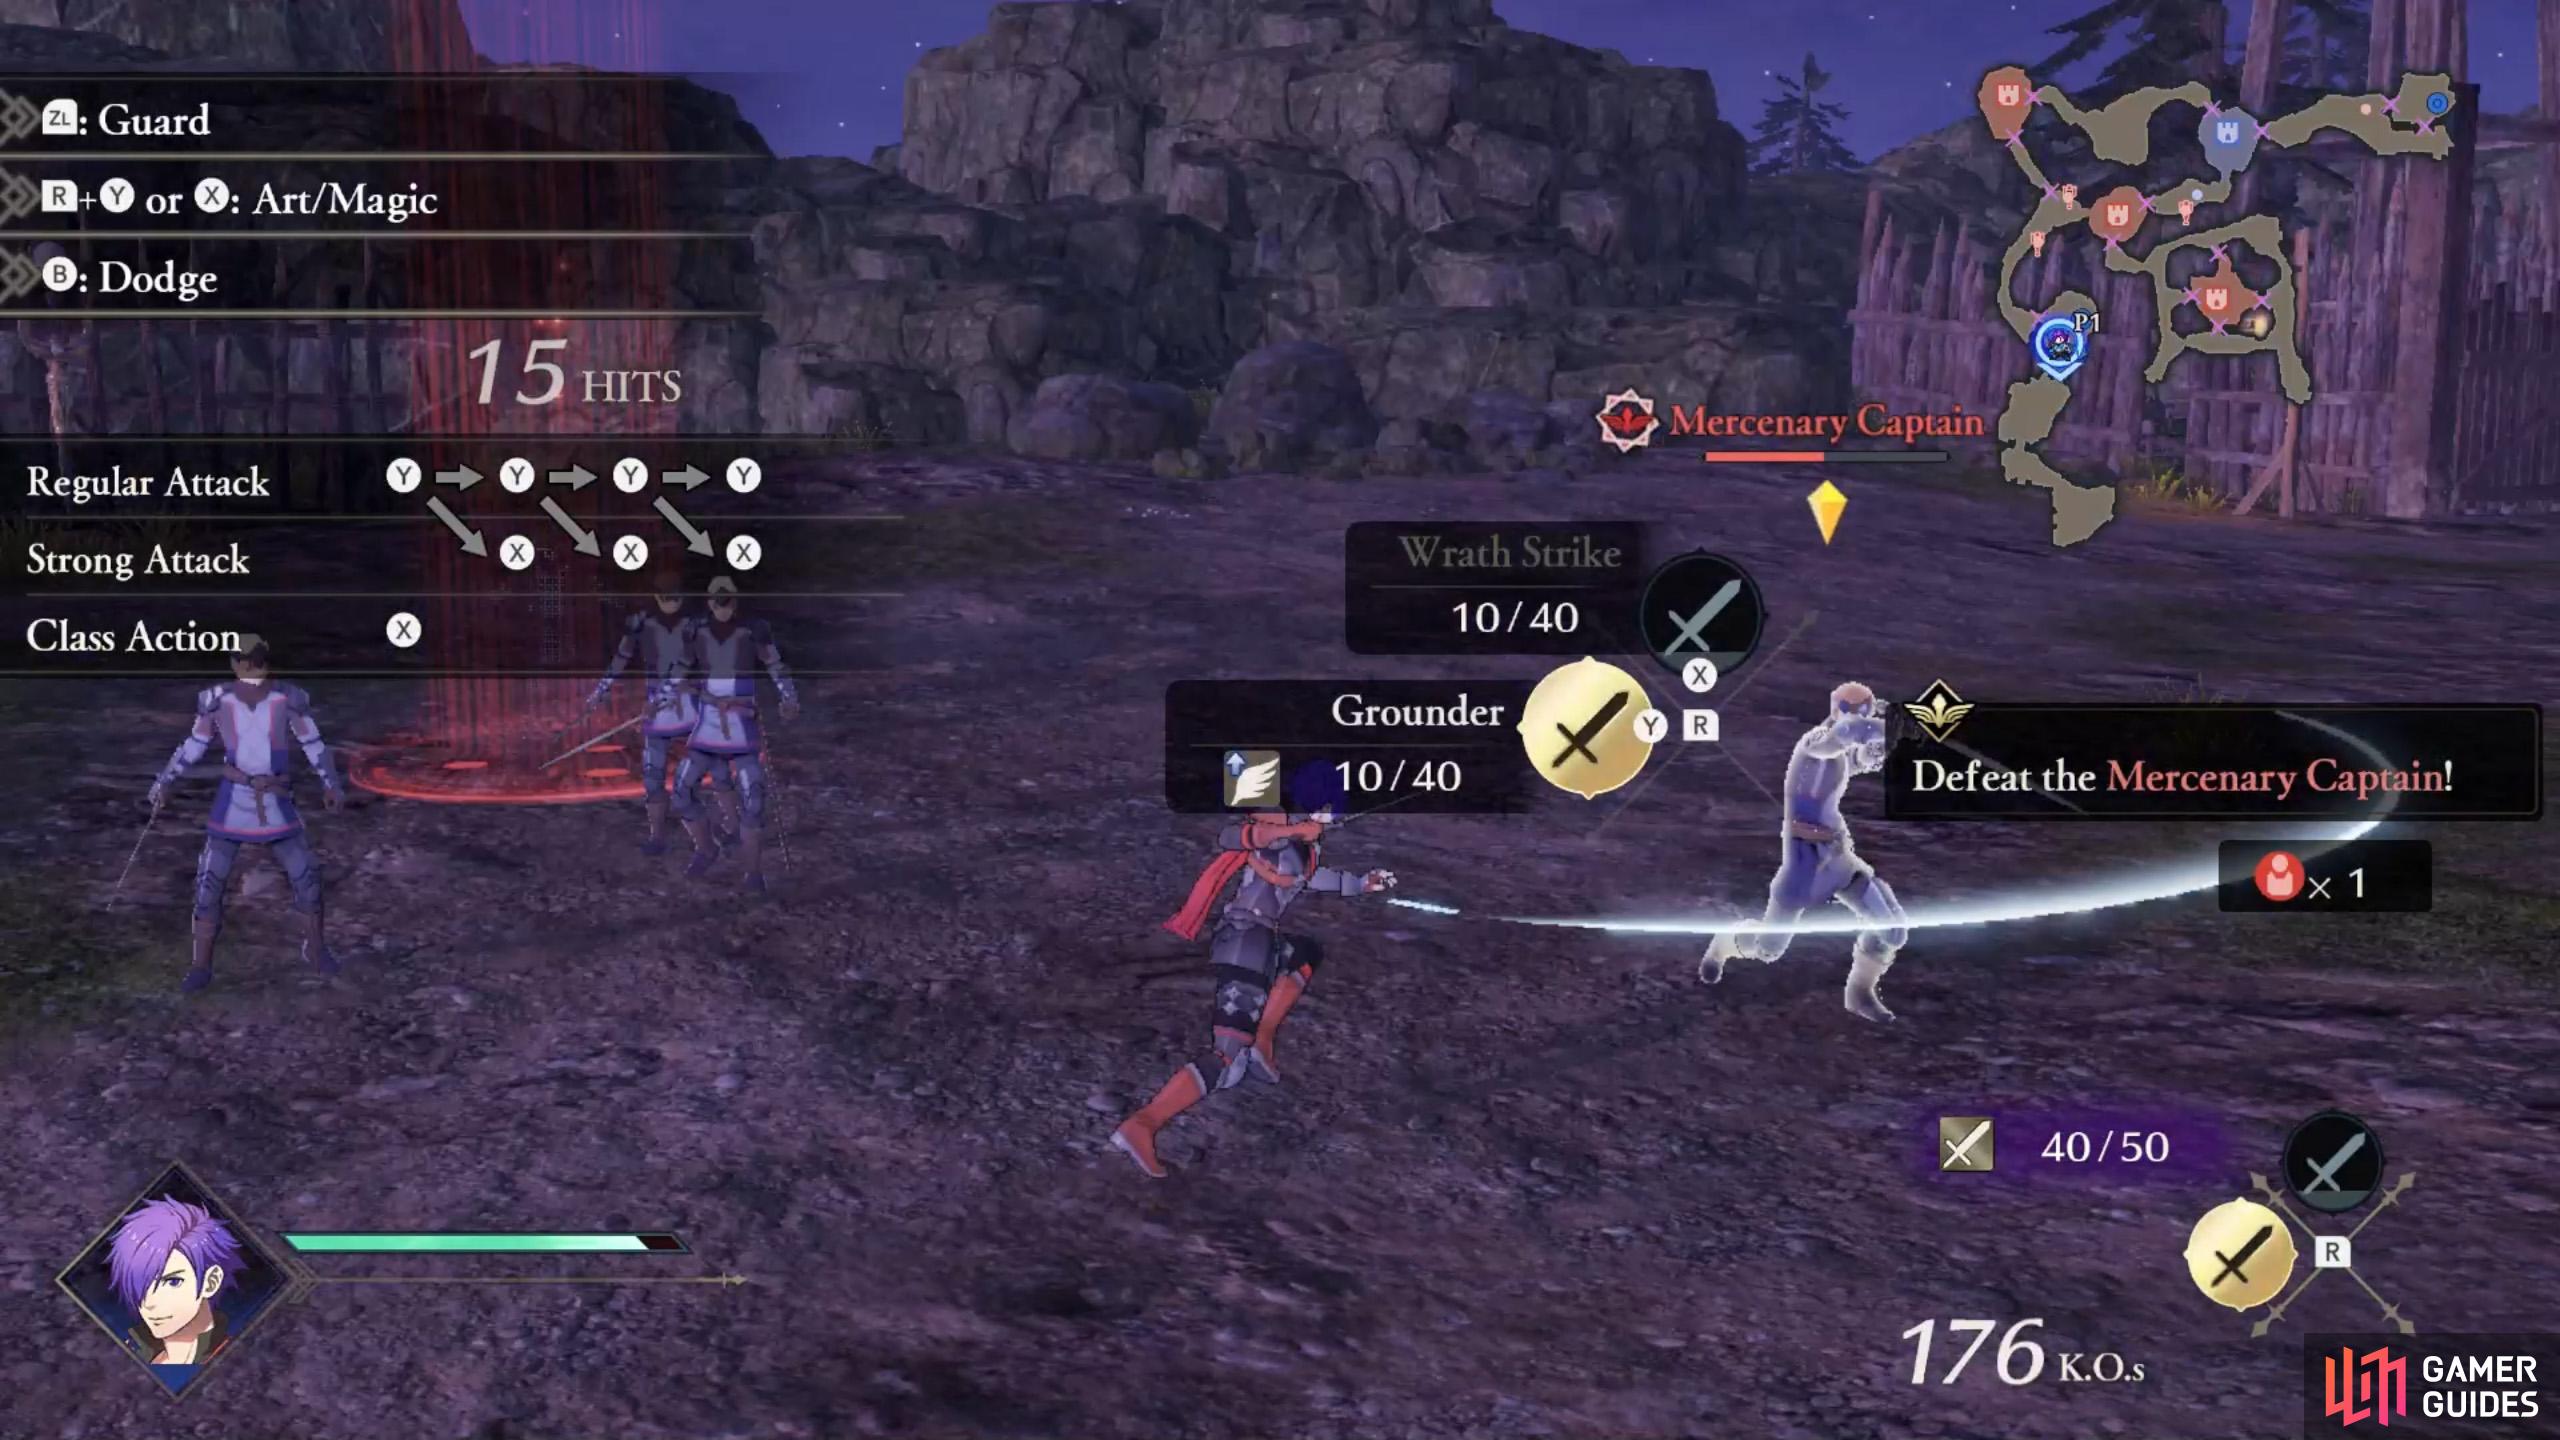
Hold R to open the Quck Menu.
Then press the corresponding button to use a Combat Art.
If you need more oomph, try breaking out the Combat Arts. Hold  to open the Quick Menu. Then press or to trigger the equipped Combat Art. You can also trigger magic spells in a similar way (you have none right now).
Beating the Mercenary Captain will cause a green tonic to drop. Grab these to restore your HP mid-battle. Another stronghold gate will open. Take the west exit and follow the path north to the next highlighted area.
Along the way, there are Base Captains, similar to the Mercenary Captain from before. Defeat these to claim the small area, bolstering your troops.
Mission 3: Lower the Stronghold Captain’s Stun Gauge and perform a Critical Rush
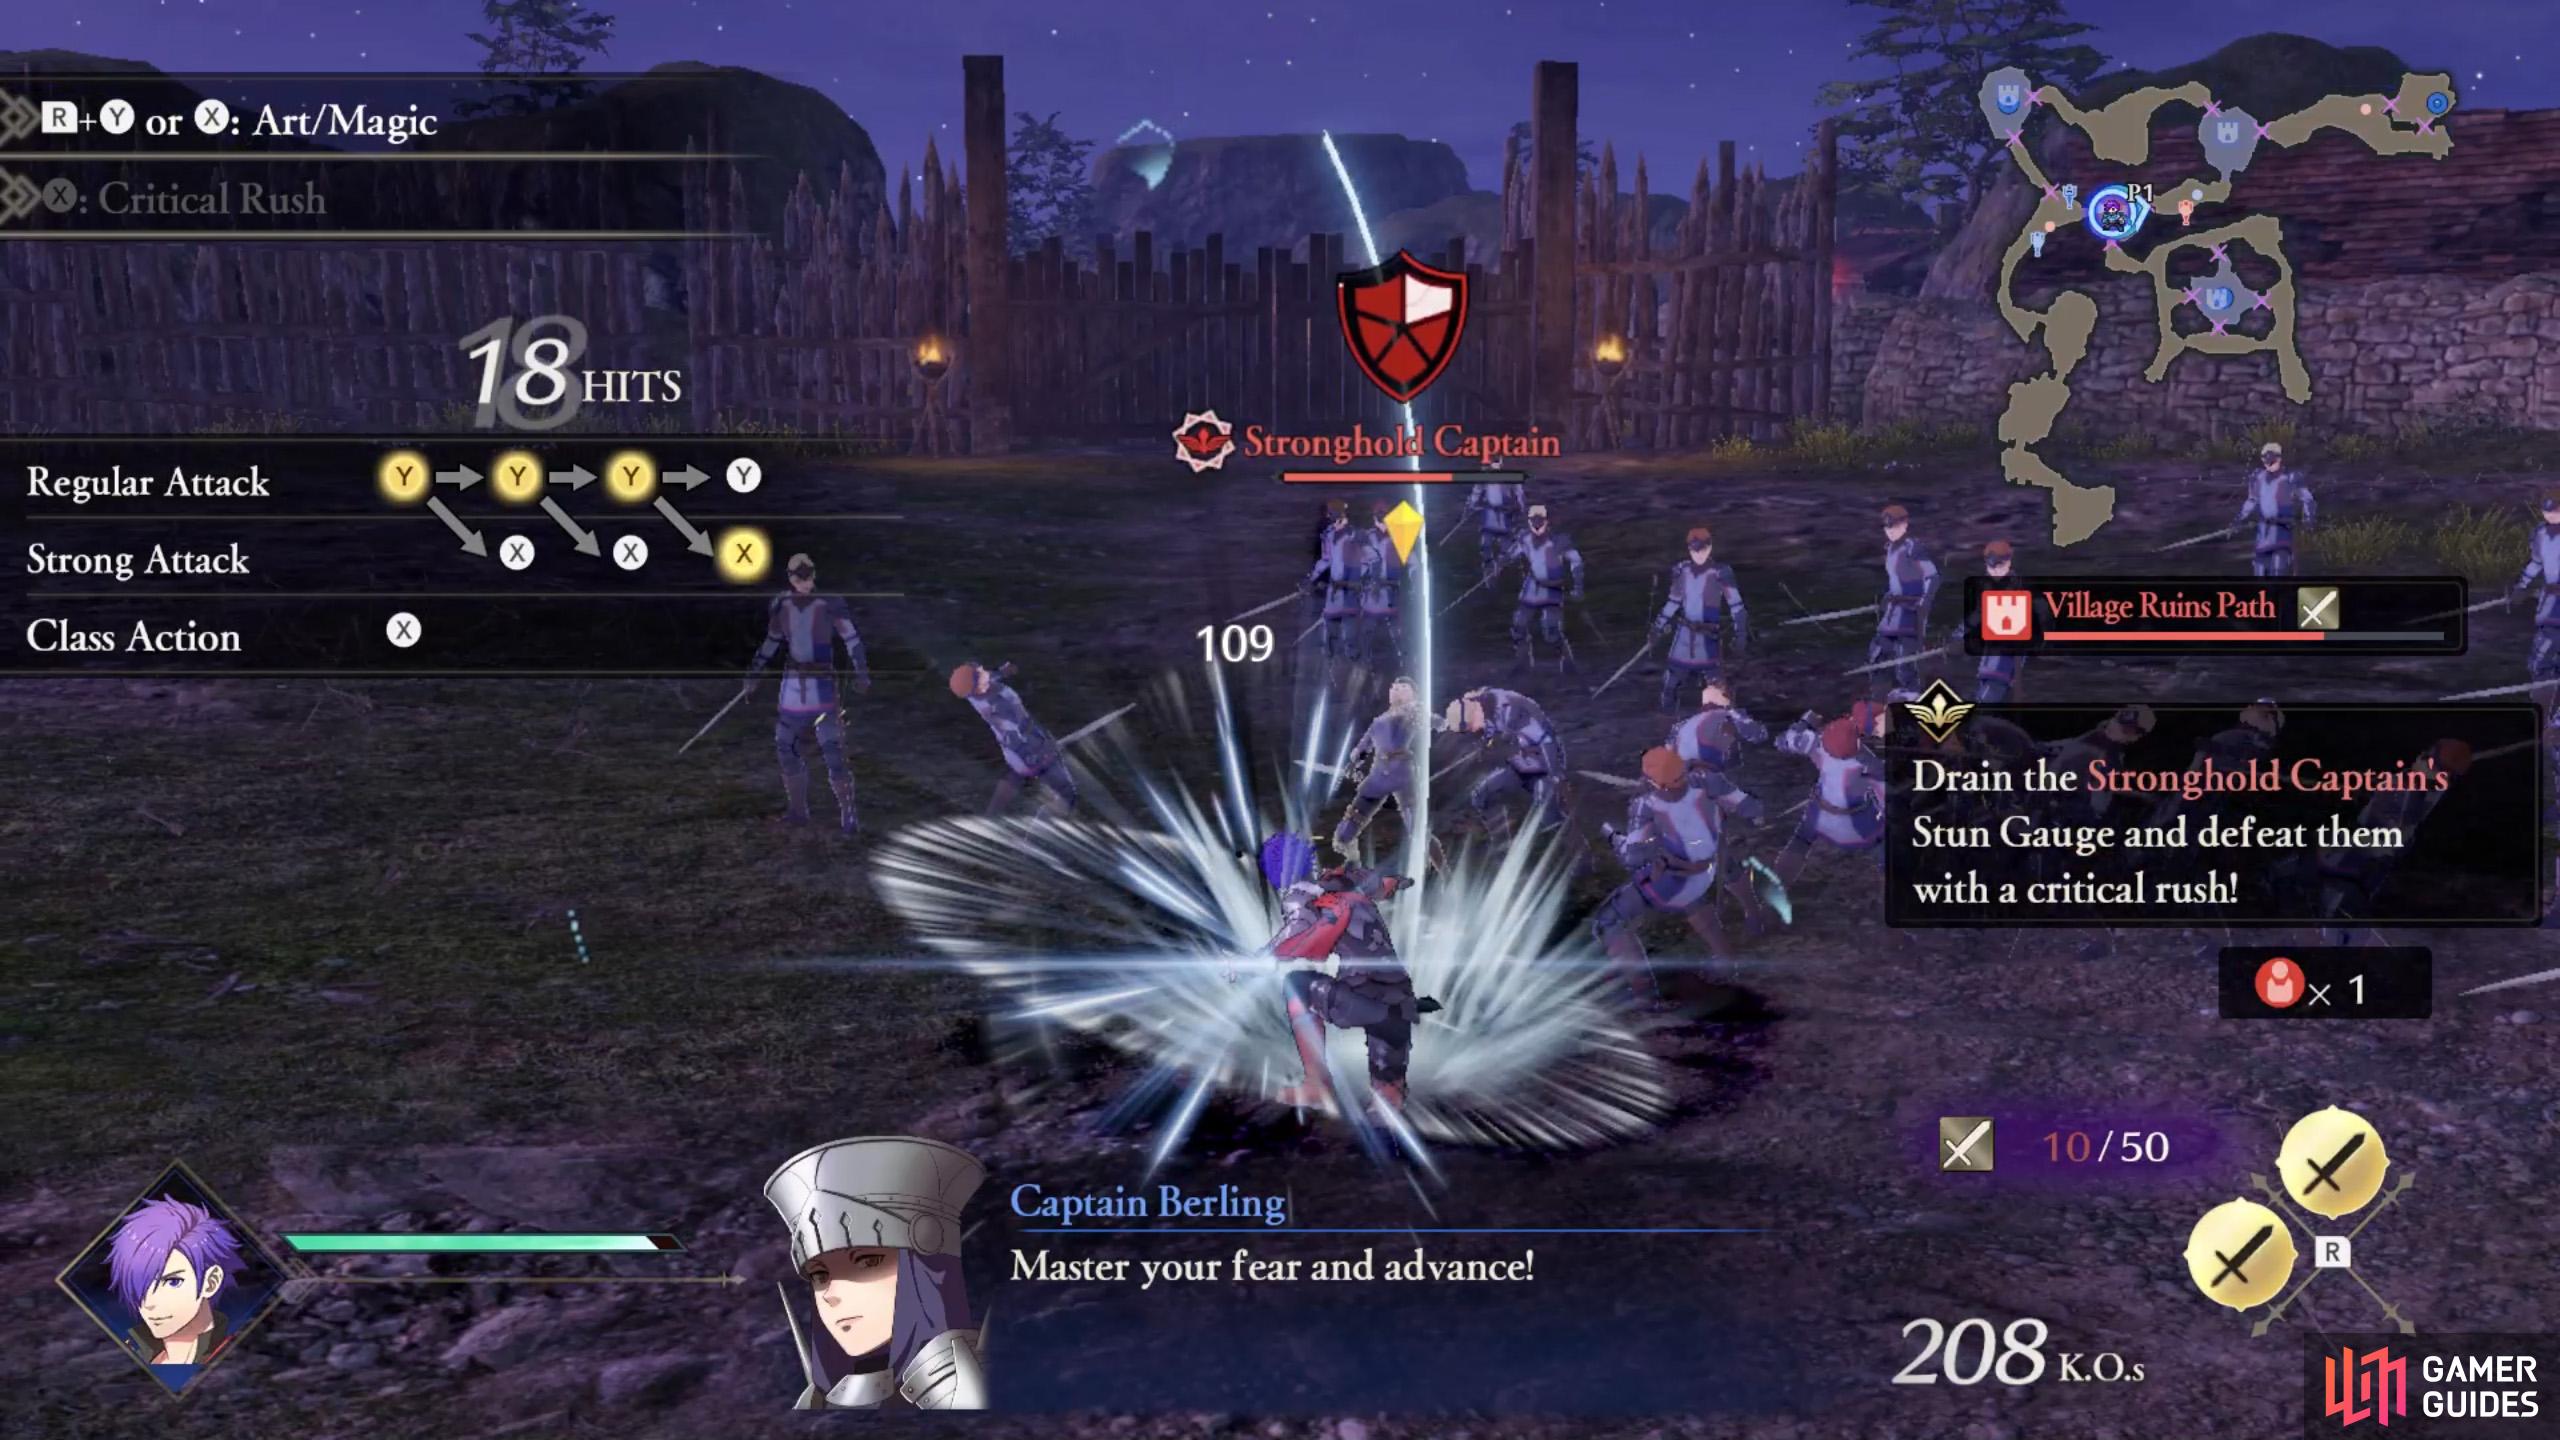
When the gauge appears (and it looks safe), keep whacking the enemy!
After breaking the gauge, hit X to let them have it.
Upon reaching the first stronghold, you’ll face a slightly tougher Stronghold Captain. You’ll be asked to break the Captain’s Stun Gauge to trigger a Critical Rush. The Stun Gauge appears as a red shield icon above a foe’s attack. It will pop up when one of the following occurs:
- The foe is hit by a Combat Art or Magic.
- You trigger a Perfect Guard.
- The foe is about to use a Combat Art of Magic.
- You knock the foe back with an attack.
In this case, use your two Combat Arts to make the Stun Gauge appear. While the gauge is present, the outer red border indicates how much time remains until the gauge disappears. So keep applying the pressure while the gauge is there! Once all five pieces of the gauge are gone, press when nearby to unleash a Critical Rush.
Once the Stronghold Captain keels over, grab the purple crystal they dropped to regain your weapon durability.
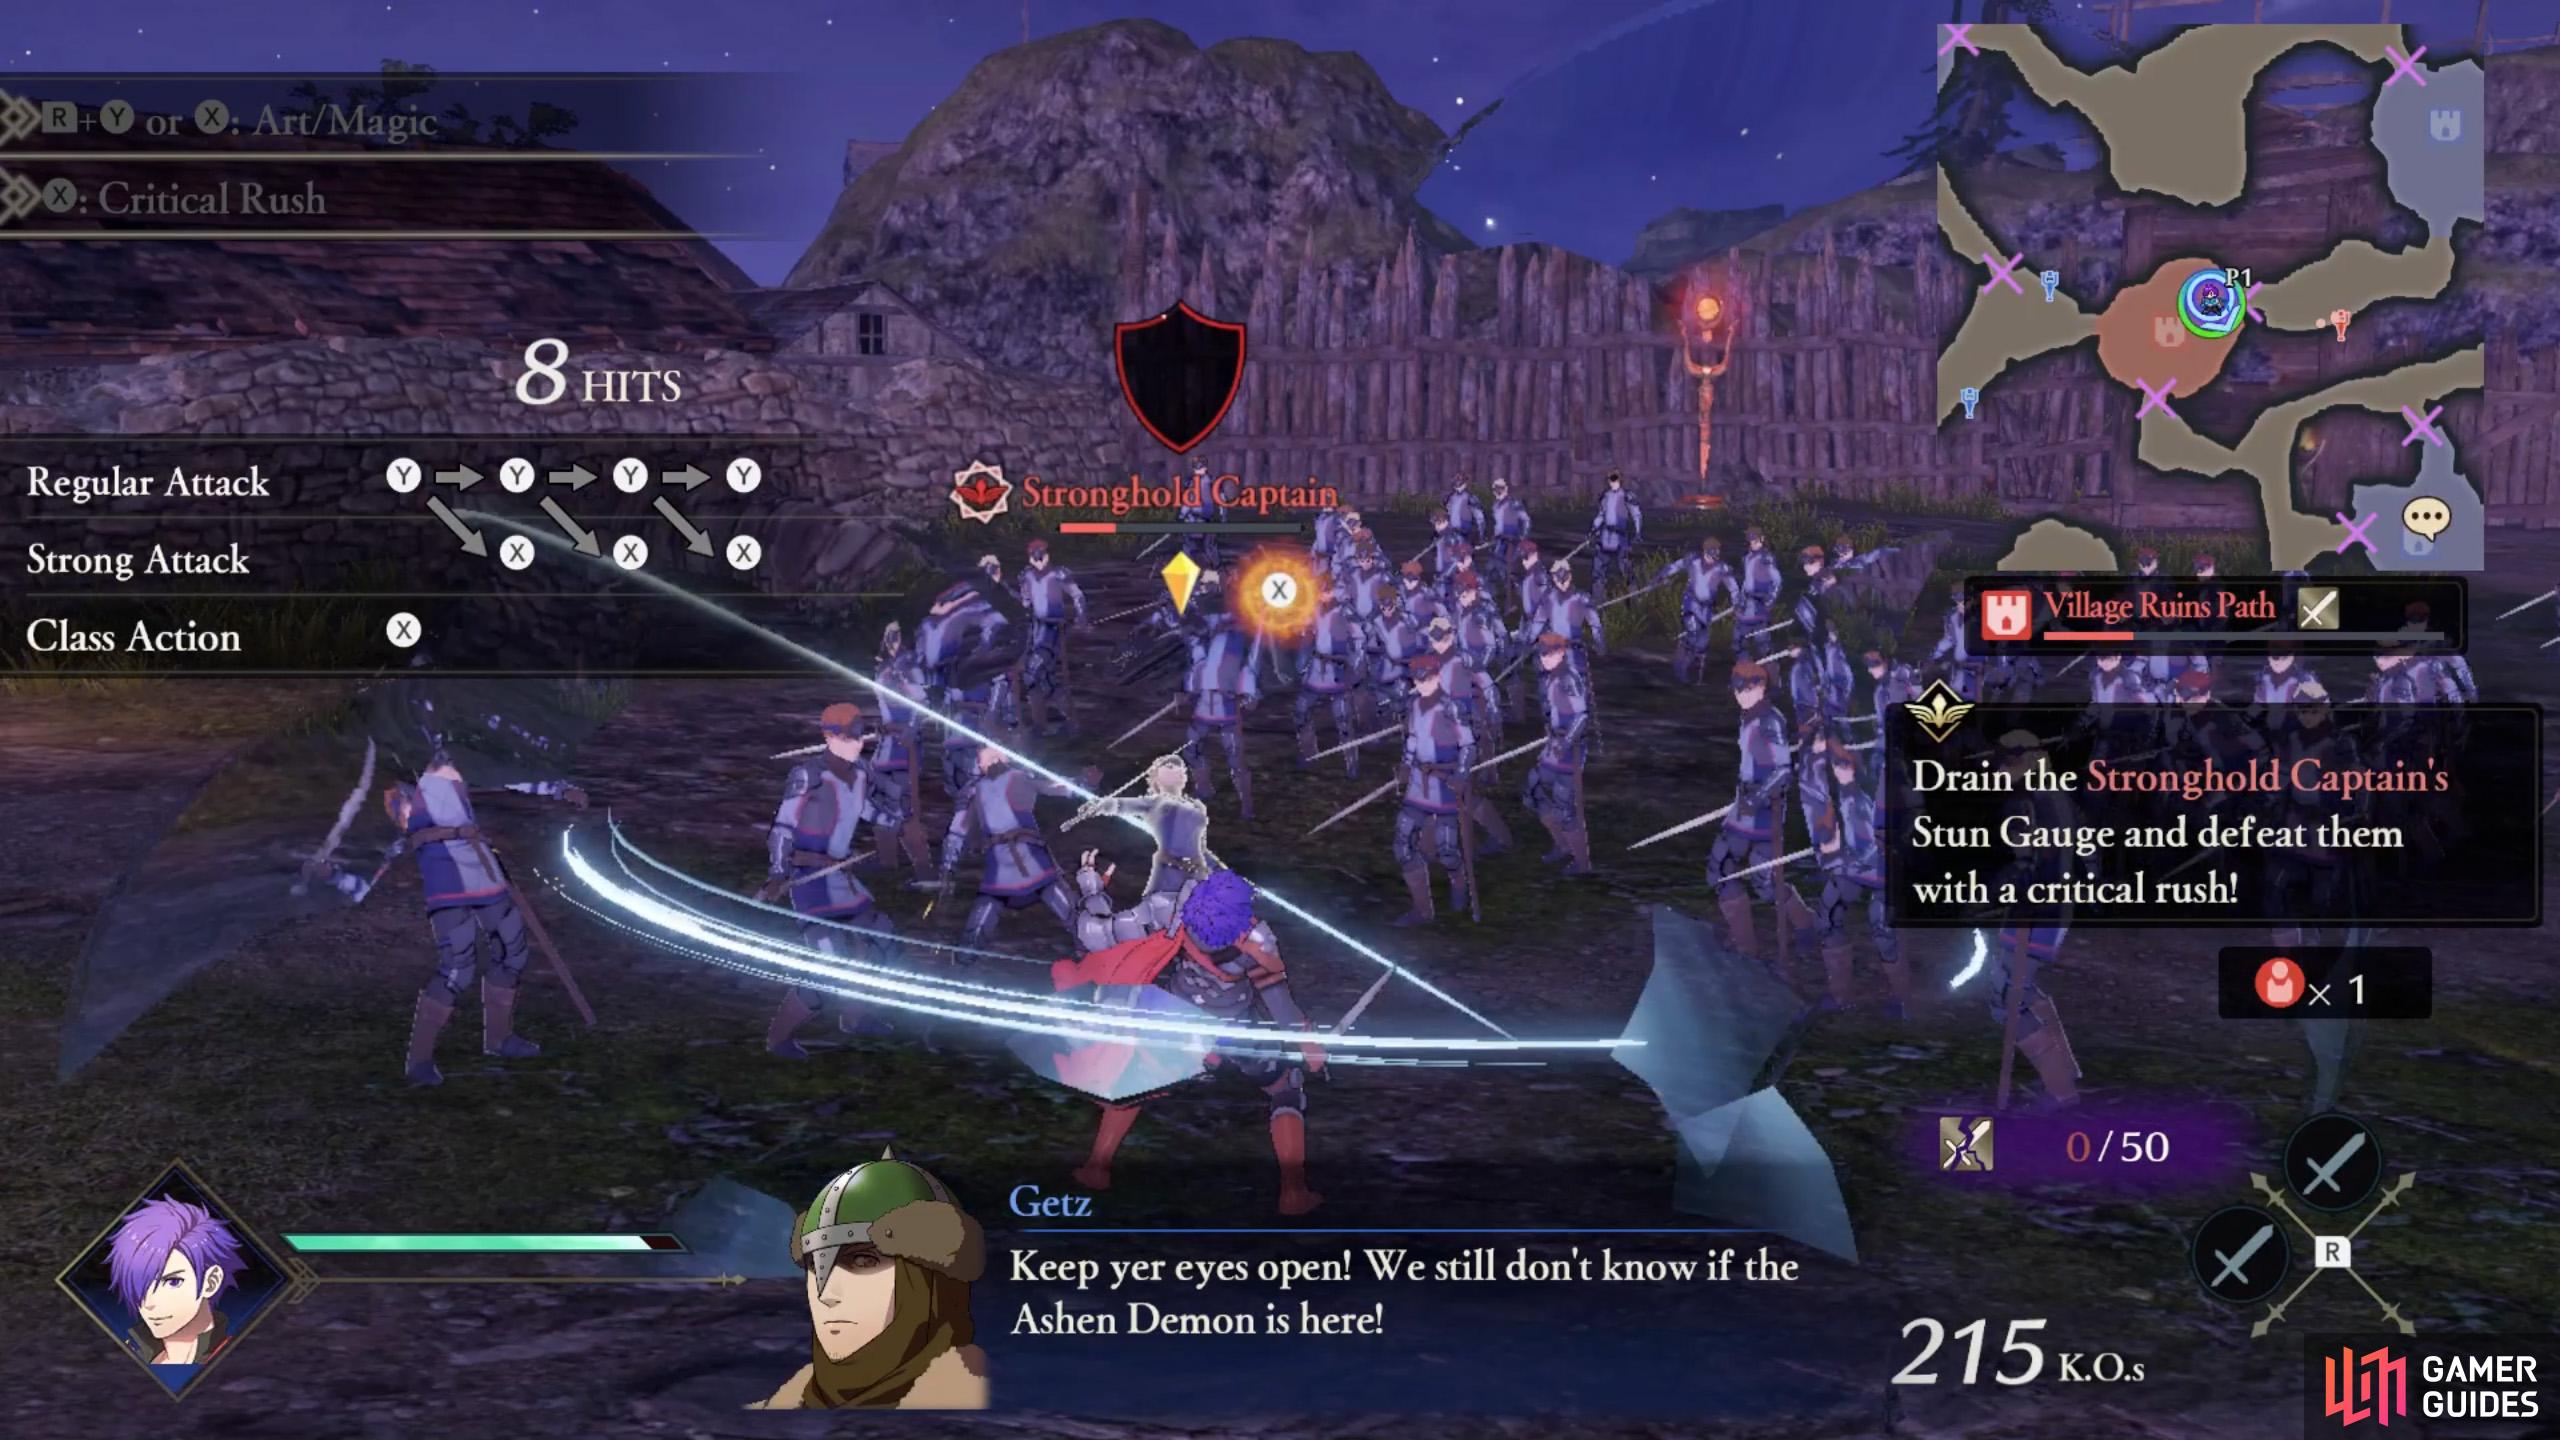
Mission 4: Defeat Jeralt’s Mercenaries’ main force
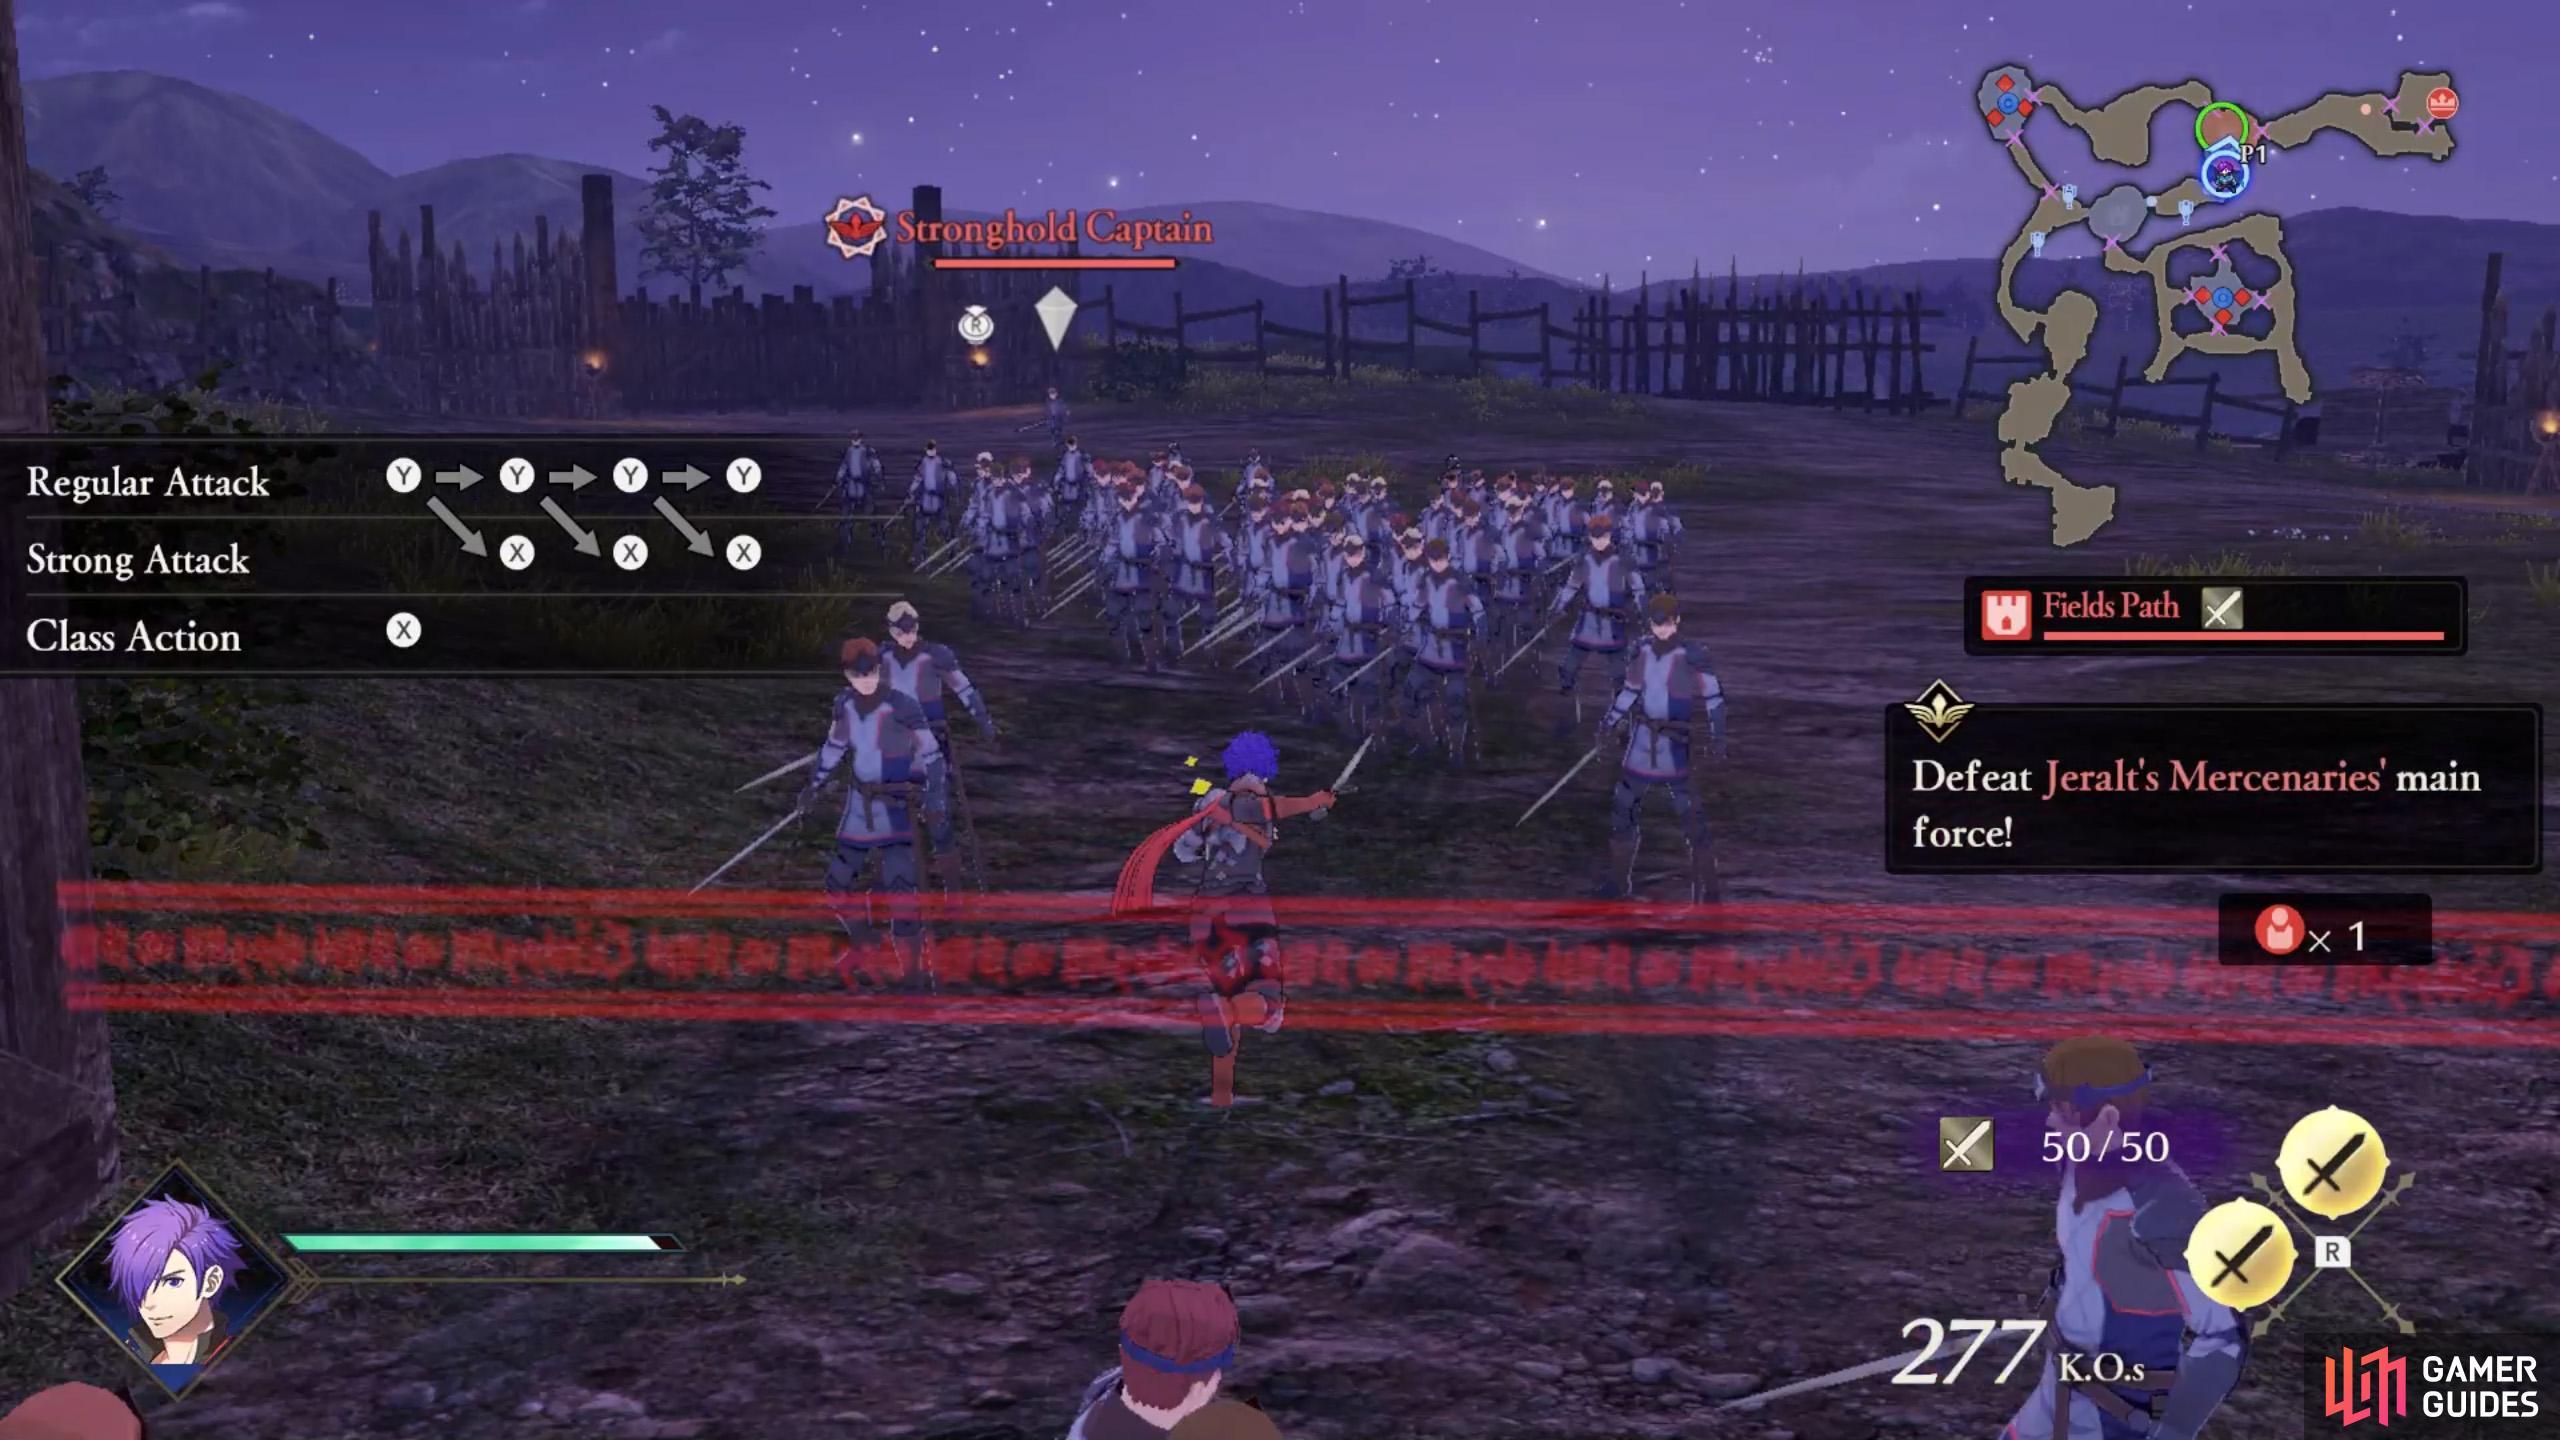
Carry on to the third stronghold, north from the center.
Use the same tricks as last time to beat up the Stronghold Captain.
Just when it seems the tide is in your favor, the main force of Jeralt’s Mercenaries arrives, resulting in numerous reinforcements for the enemy. To make matters worse, the feared Ashen Demon makes their appearance.
As soon as you can, head north-east towards the next stronghold. Then focus on defeating the Stronghold Captain here just like before. As you do so, your allies will drop like flies. Sad as it may be, there’s nothing to be done about it. Instead, focus on fighting what’s directly in front of you.
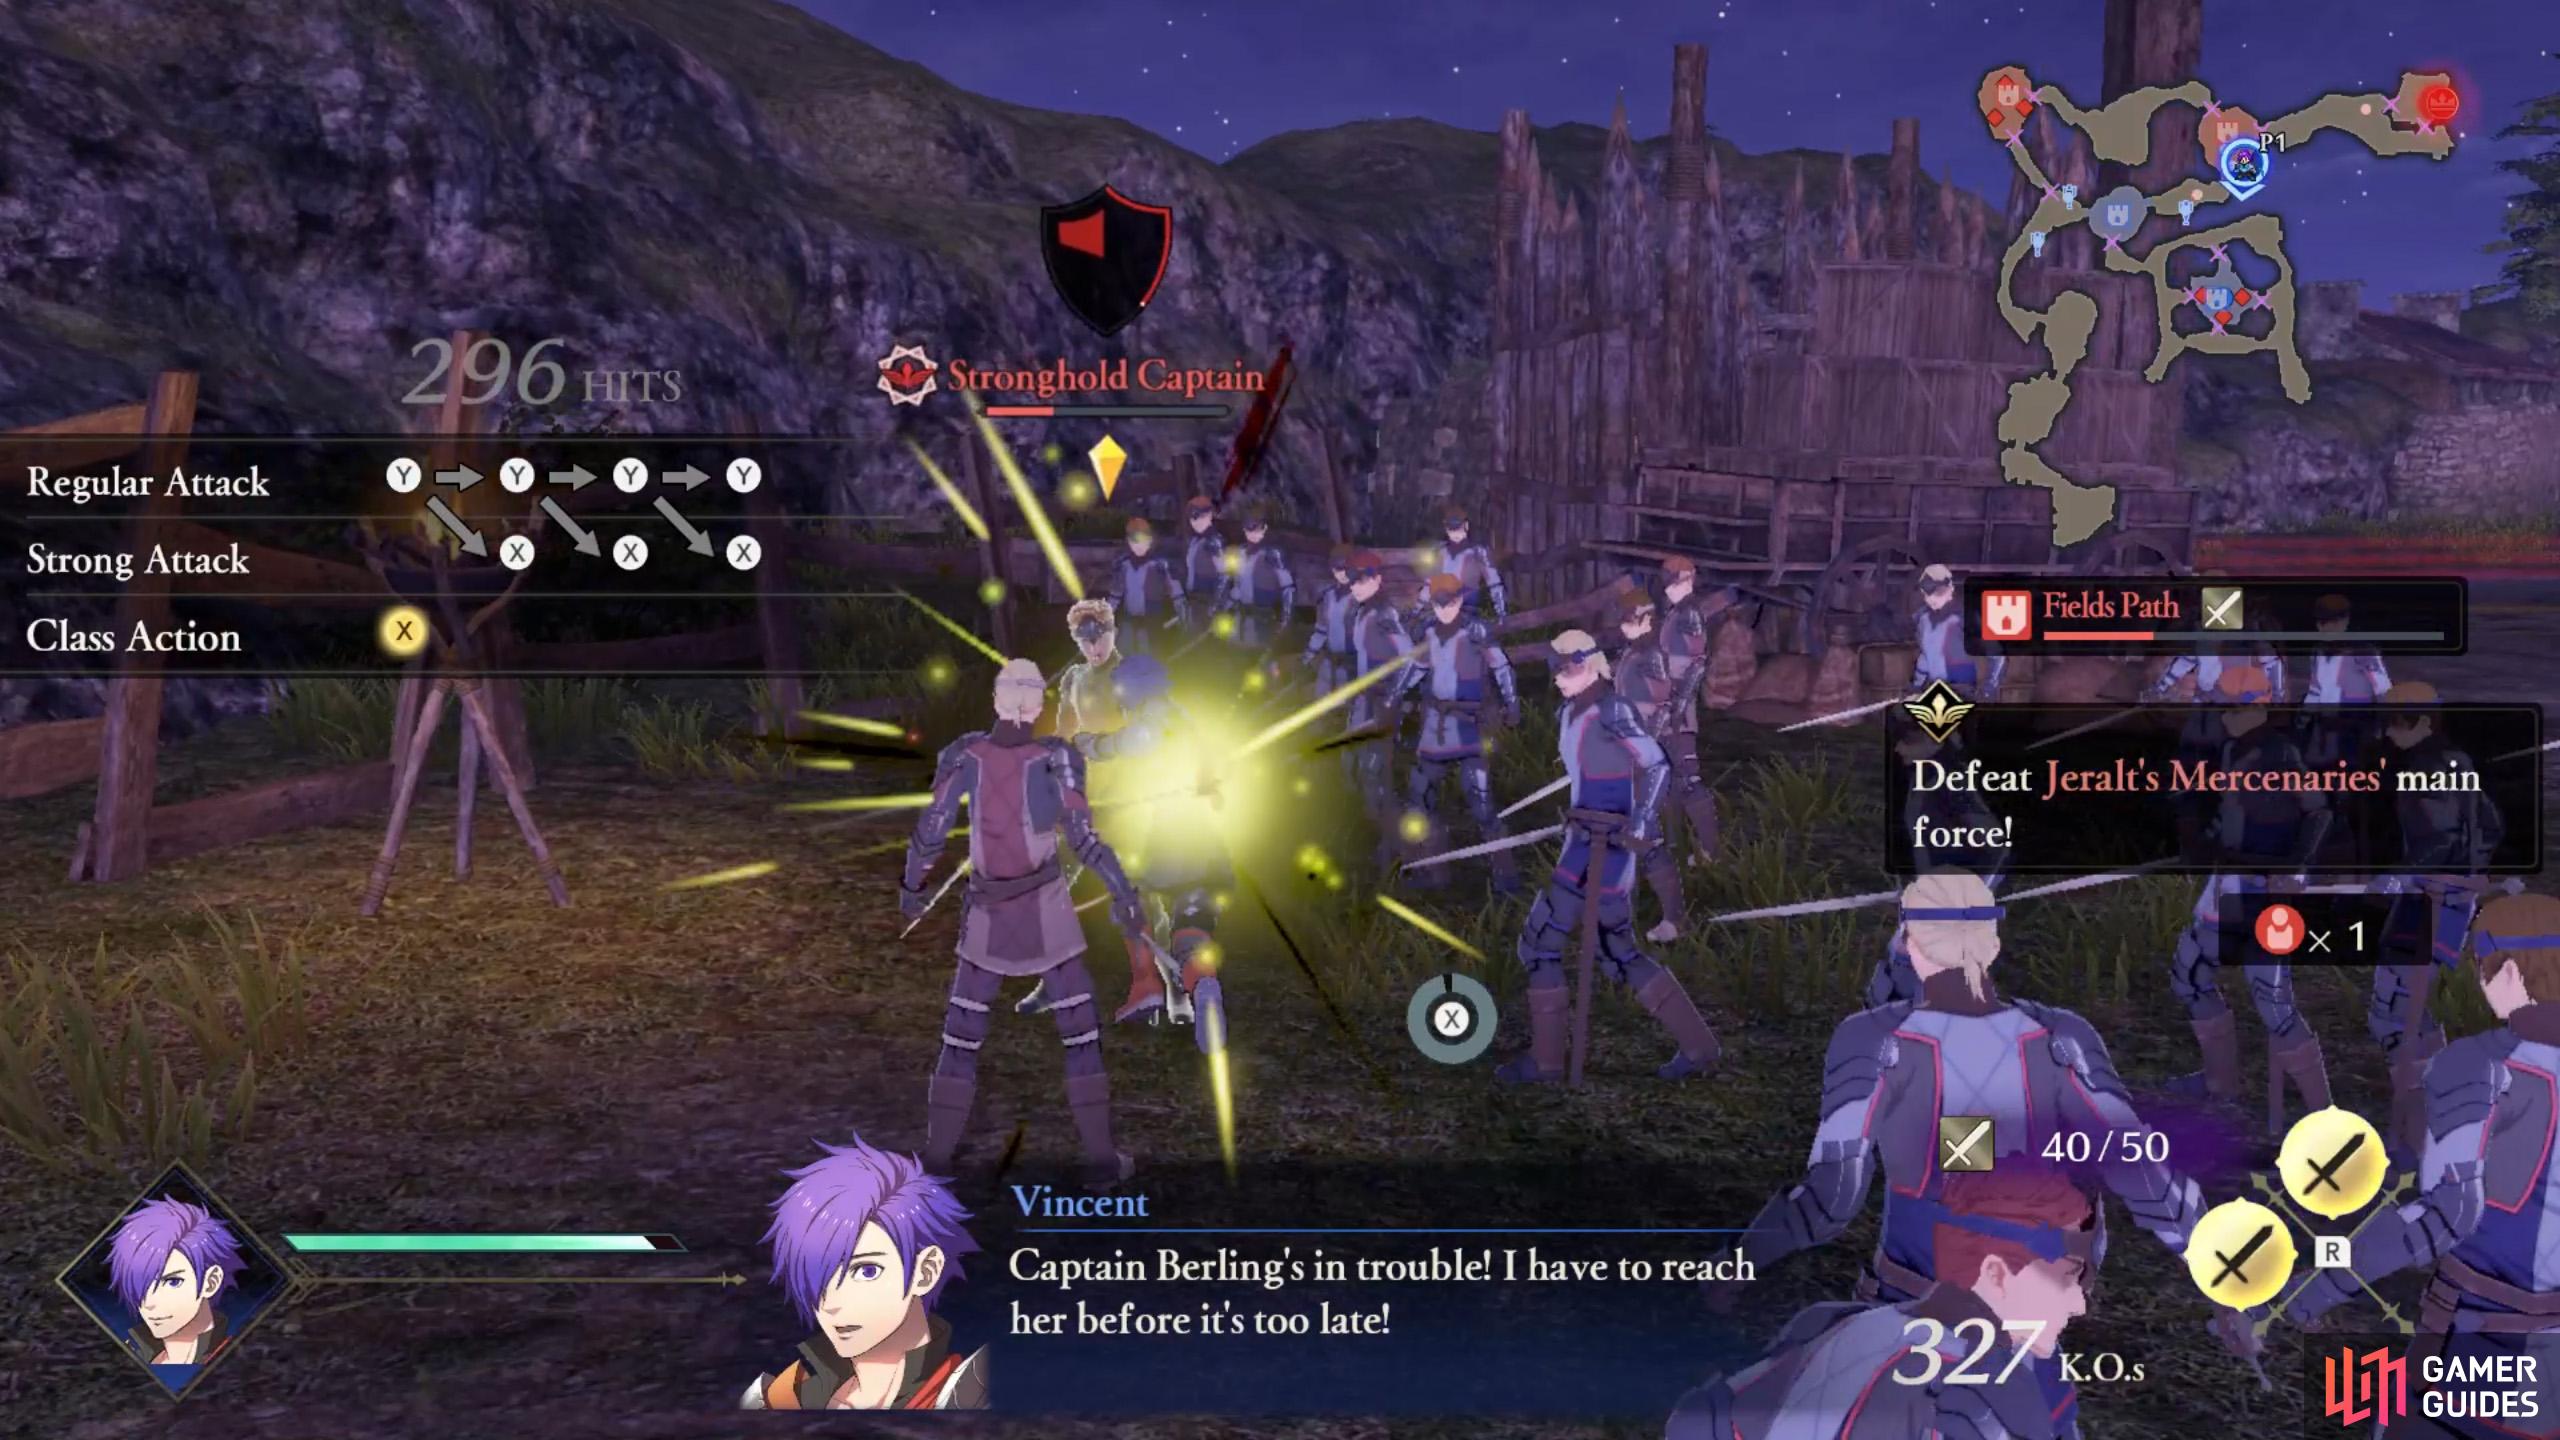
When your Warrior Gauge is max, press A to use your Warrior Special.
This will deal heavy damage to any nearby foes.
Once the initial captain is defeated, two Mercenary Captains will spawn. With little time to spare, now’s the time to bring out the big guns. Press  when near one or both of the captains to trigger your Warrior Special, dealing massive damage. You can use this whenever your Warrior Gauge (under your HP bar) is full, from dealing/taking damage or collecting yellow tonics.
Mission 5: Defeat Byleth (or Try)
If you don’t know this face, you will soon.
Byleth is far, far stronger than you.
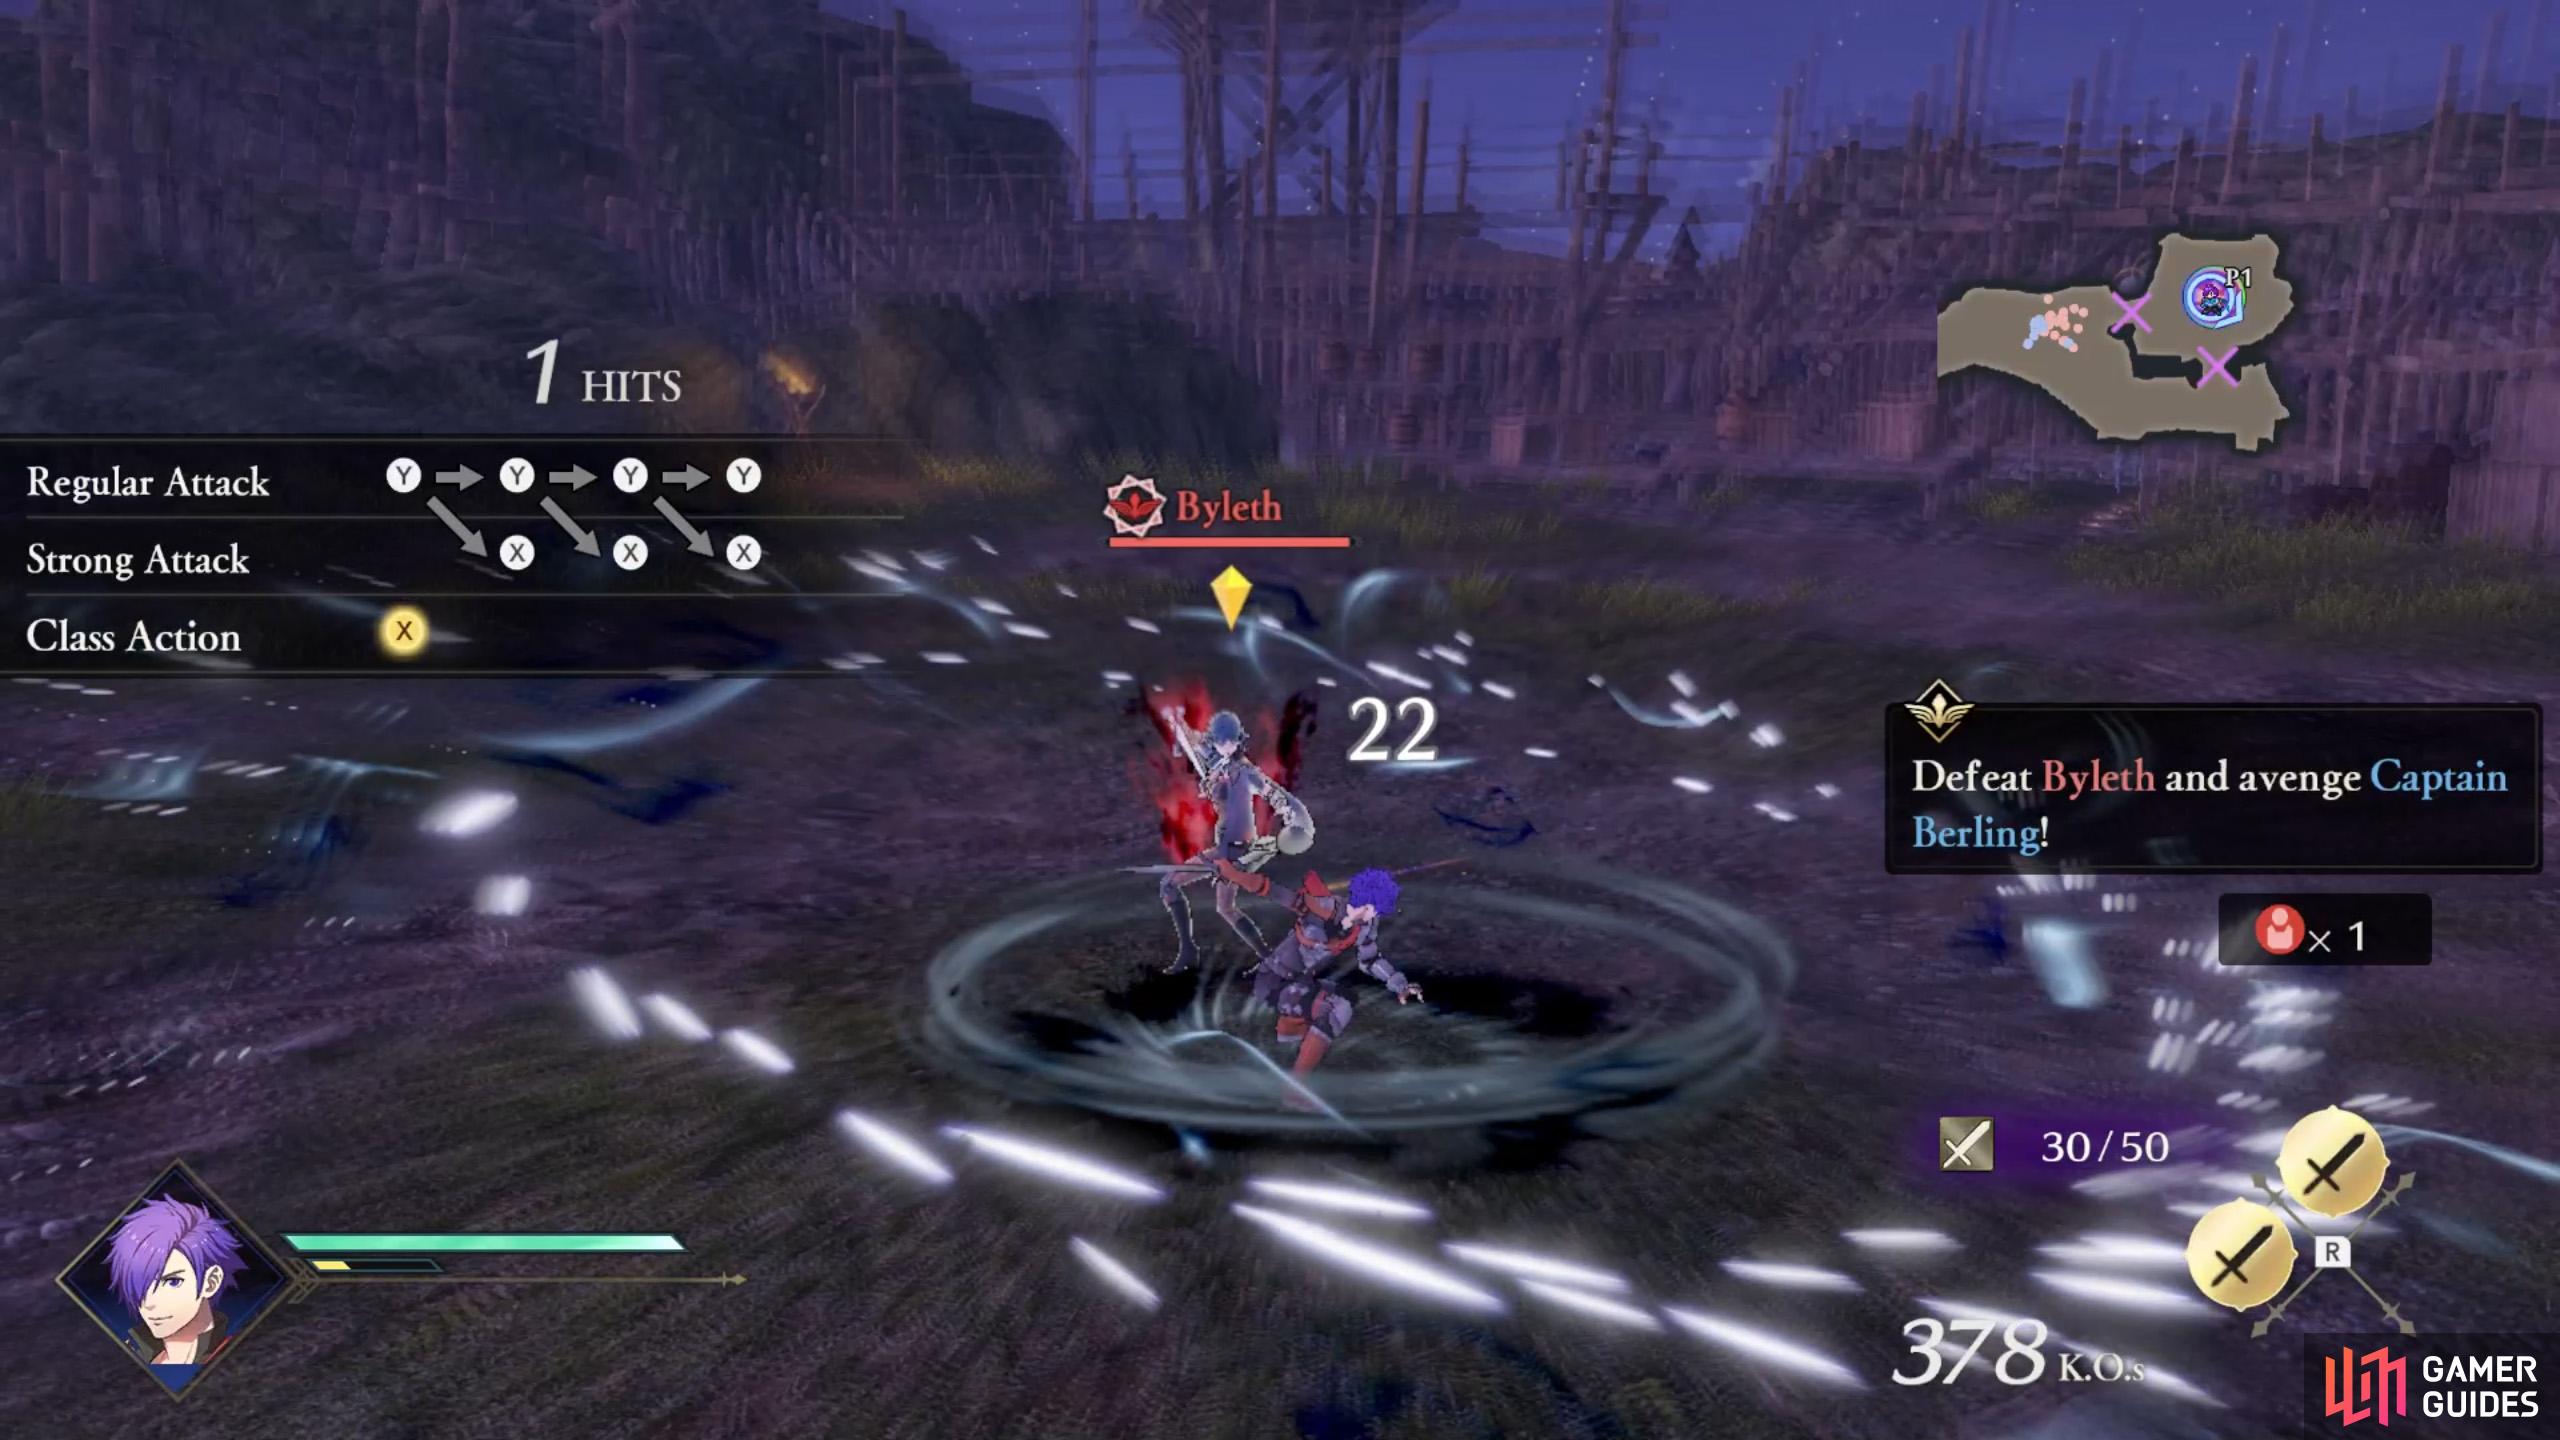
After breaking through the second stronghold, there will be some sad news. Exit the stronghold via the east and head towards the area where Byleth, the Ashen Demon is waiting. Unlike the pansy enemies you’ve been dealing with, Byleth actually lives up to their “demon” moniker, dealing massive damage to you and taking pitiful damage from you. Keep poking Byleth while dodging/guarding or let Byleth juggle you around–you can’t actually lose here.
Eventually, a cutscene will play. You’ll then resume control as Awakened Shez. At this point, you might expect Byleth to be a pushover due to your crazy anime powers. But actually, the fight isn’t much different–that Ashen Demon is on a whole other level… Instead, when you deal enough damage or take enough damage, Byleth will retreat. Hey, come back! We almost had you! (Not really.)
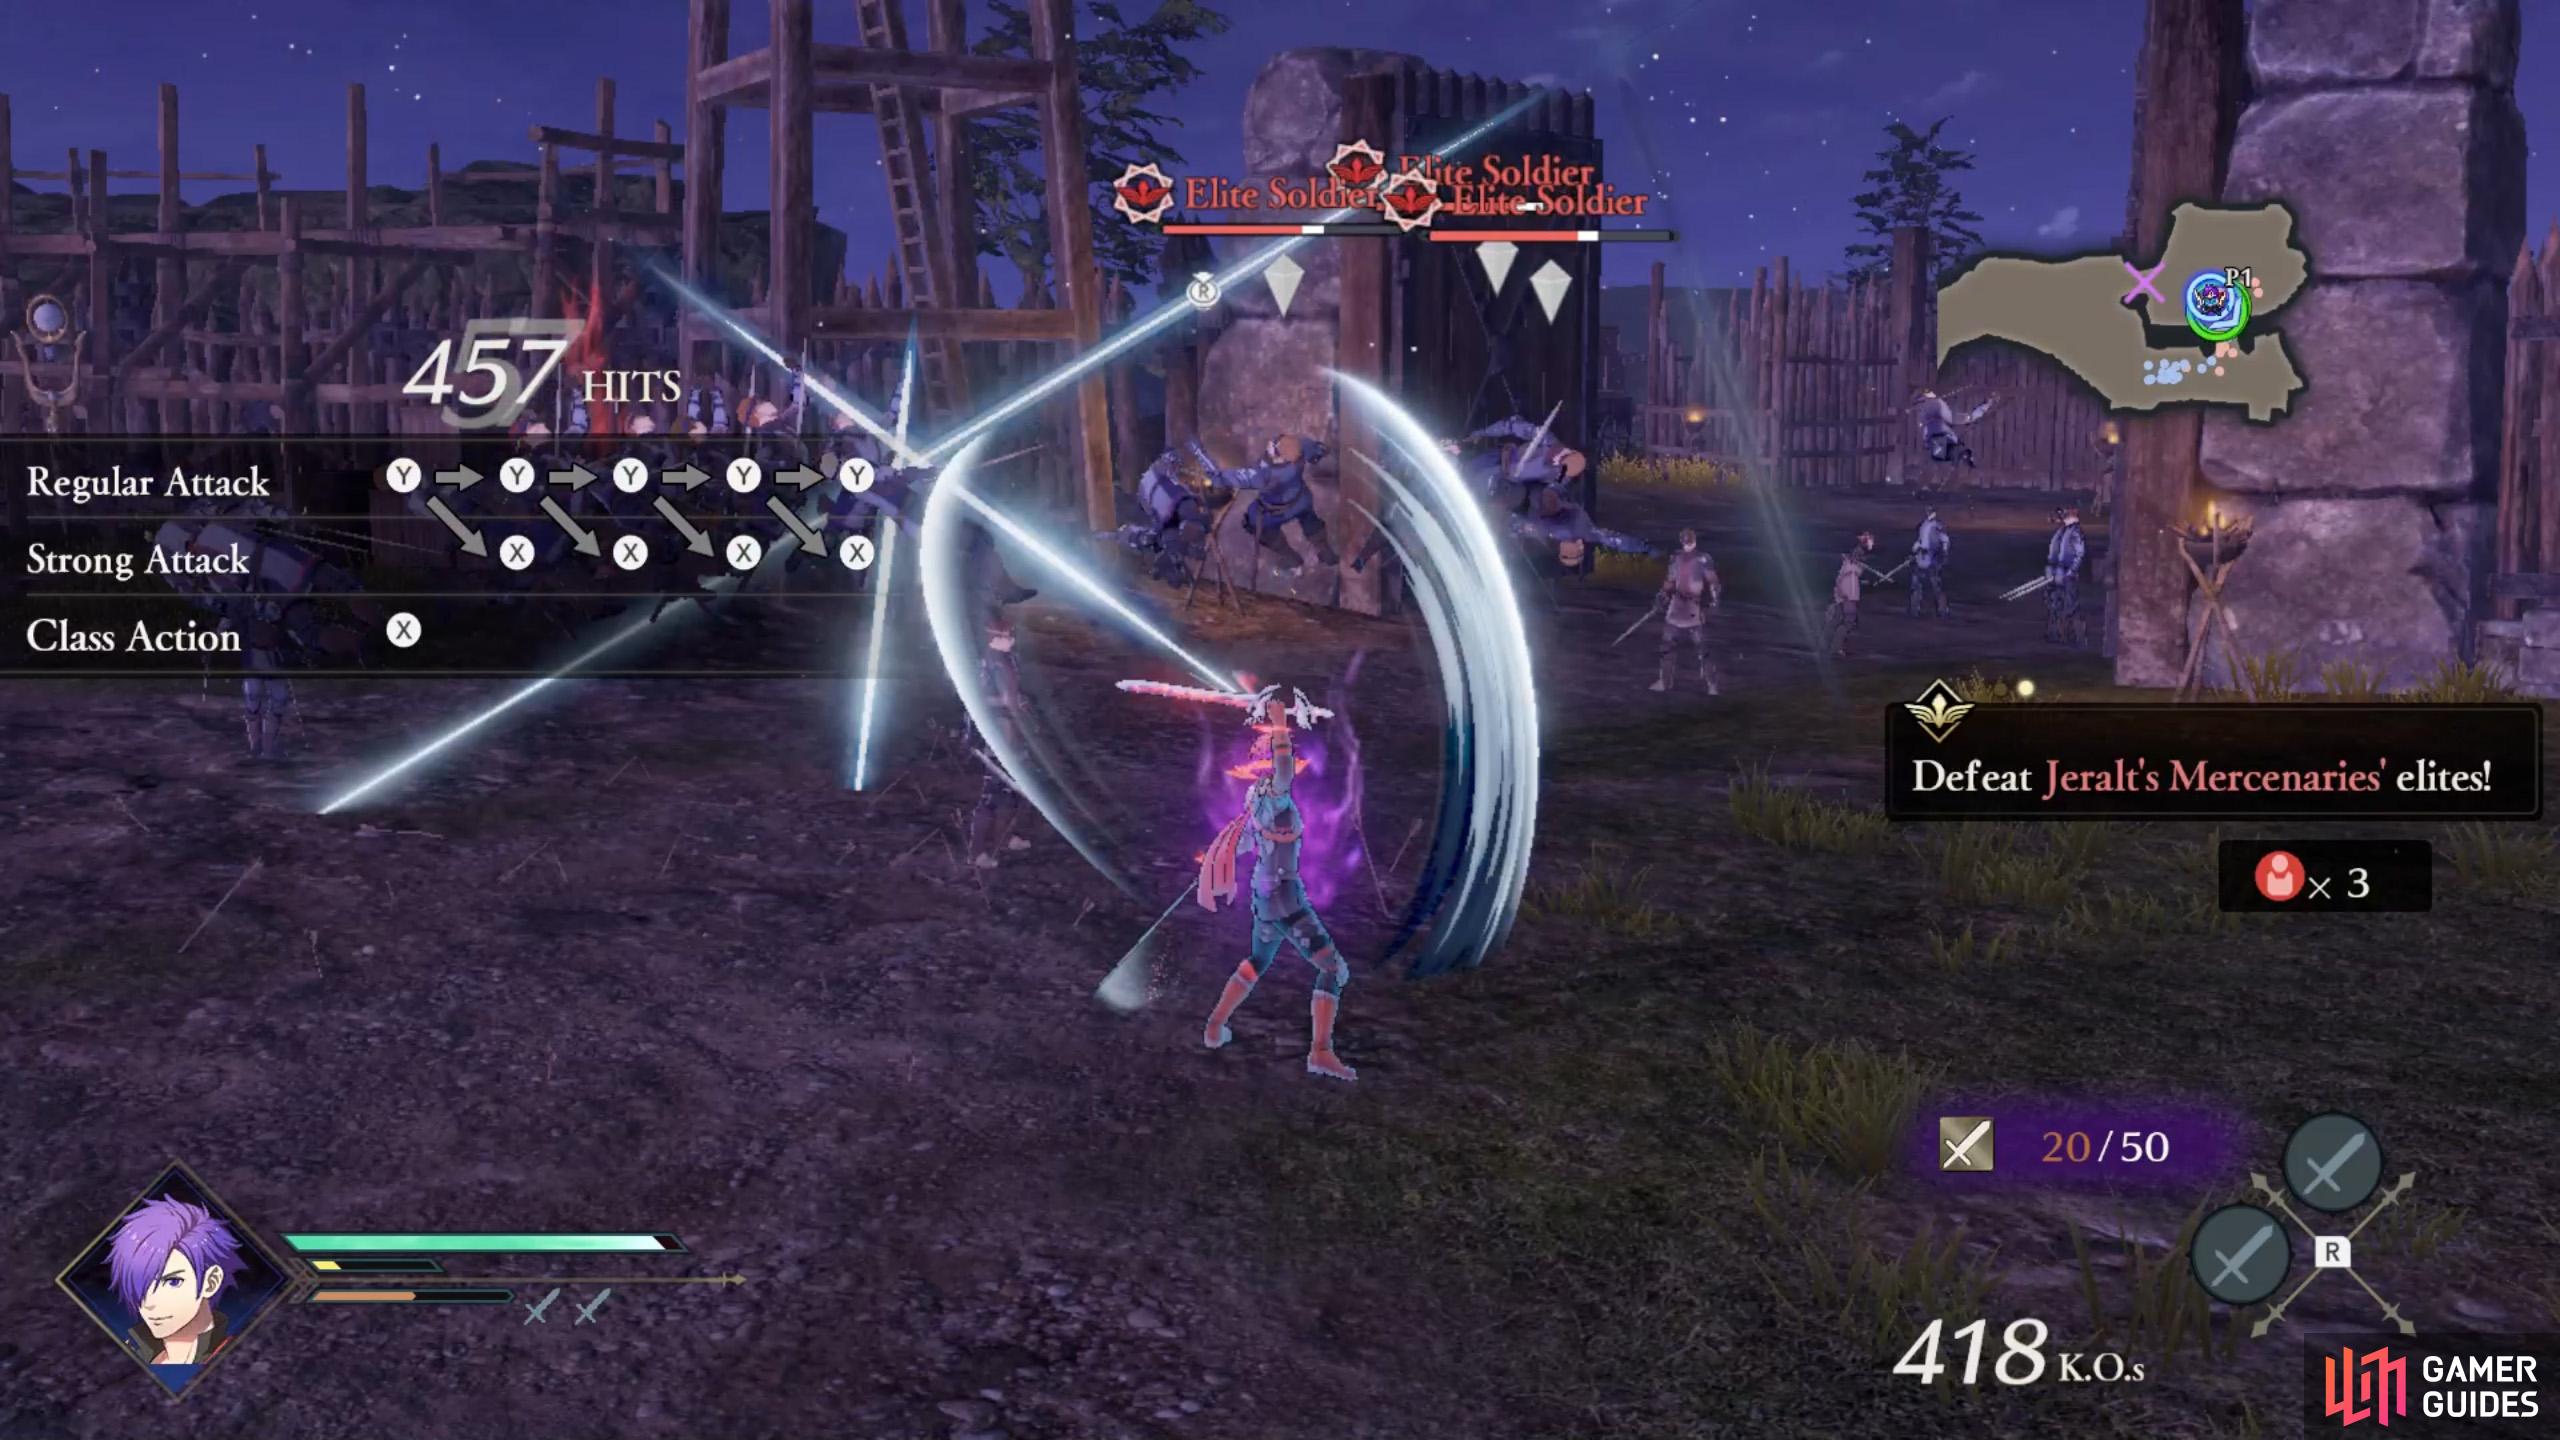
Mission 6: Defeat Jeralt’s Mercenaries’ elites
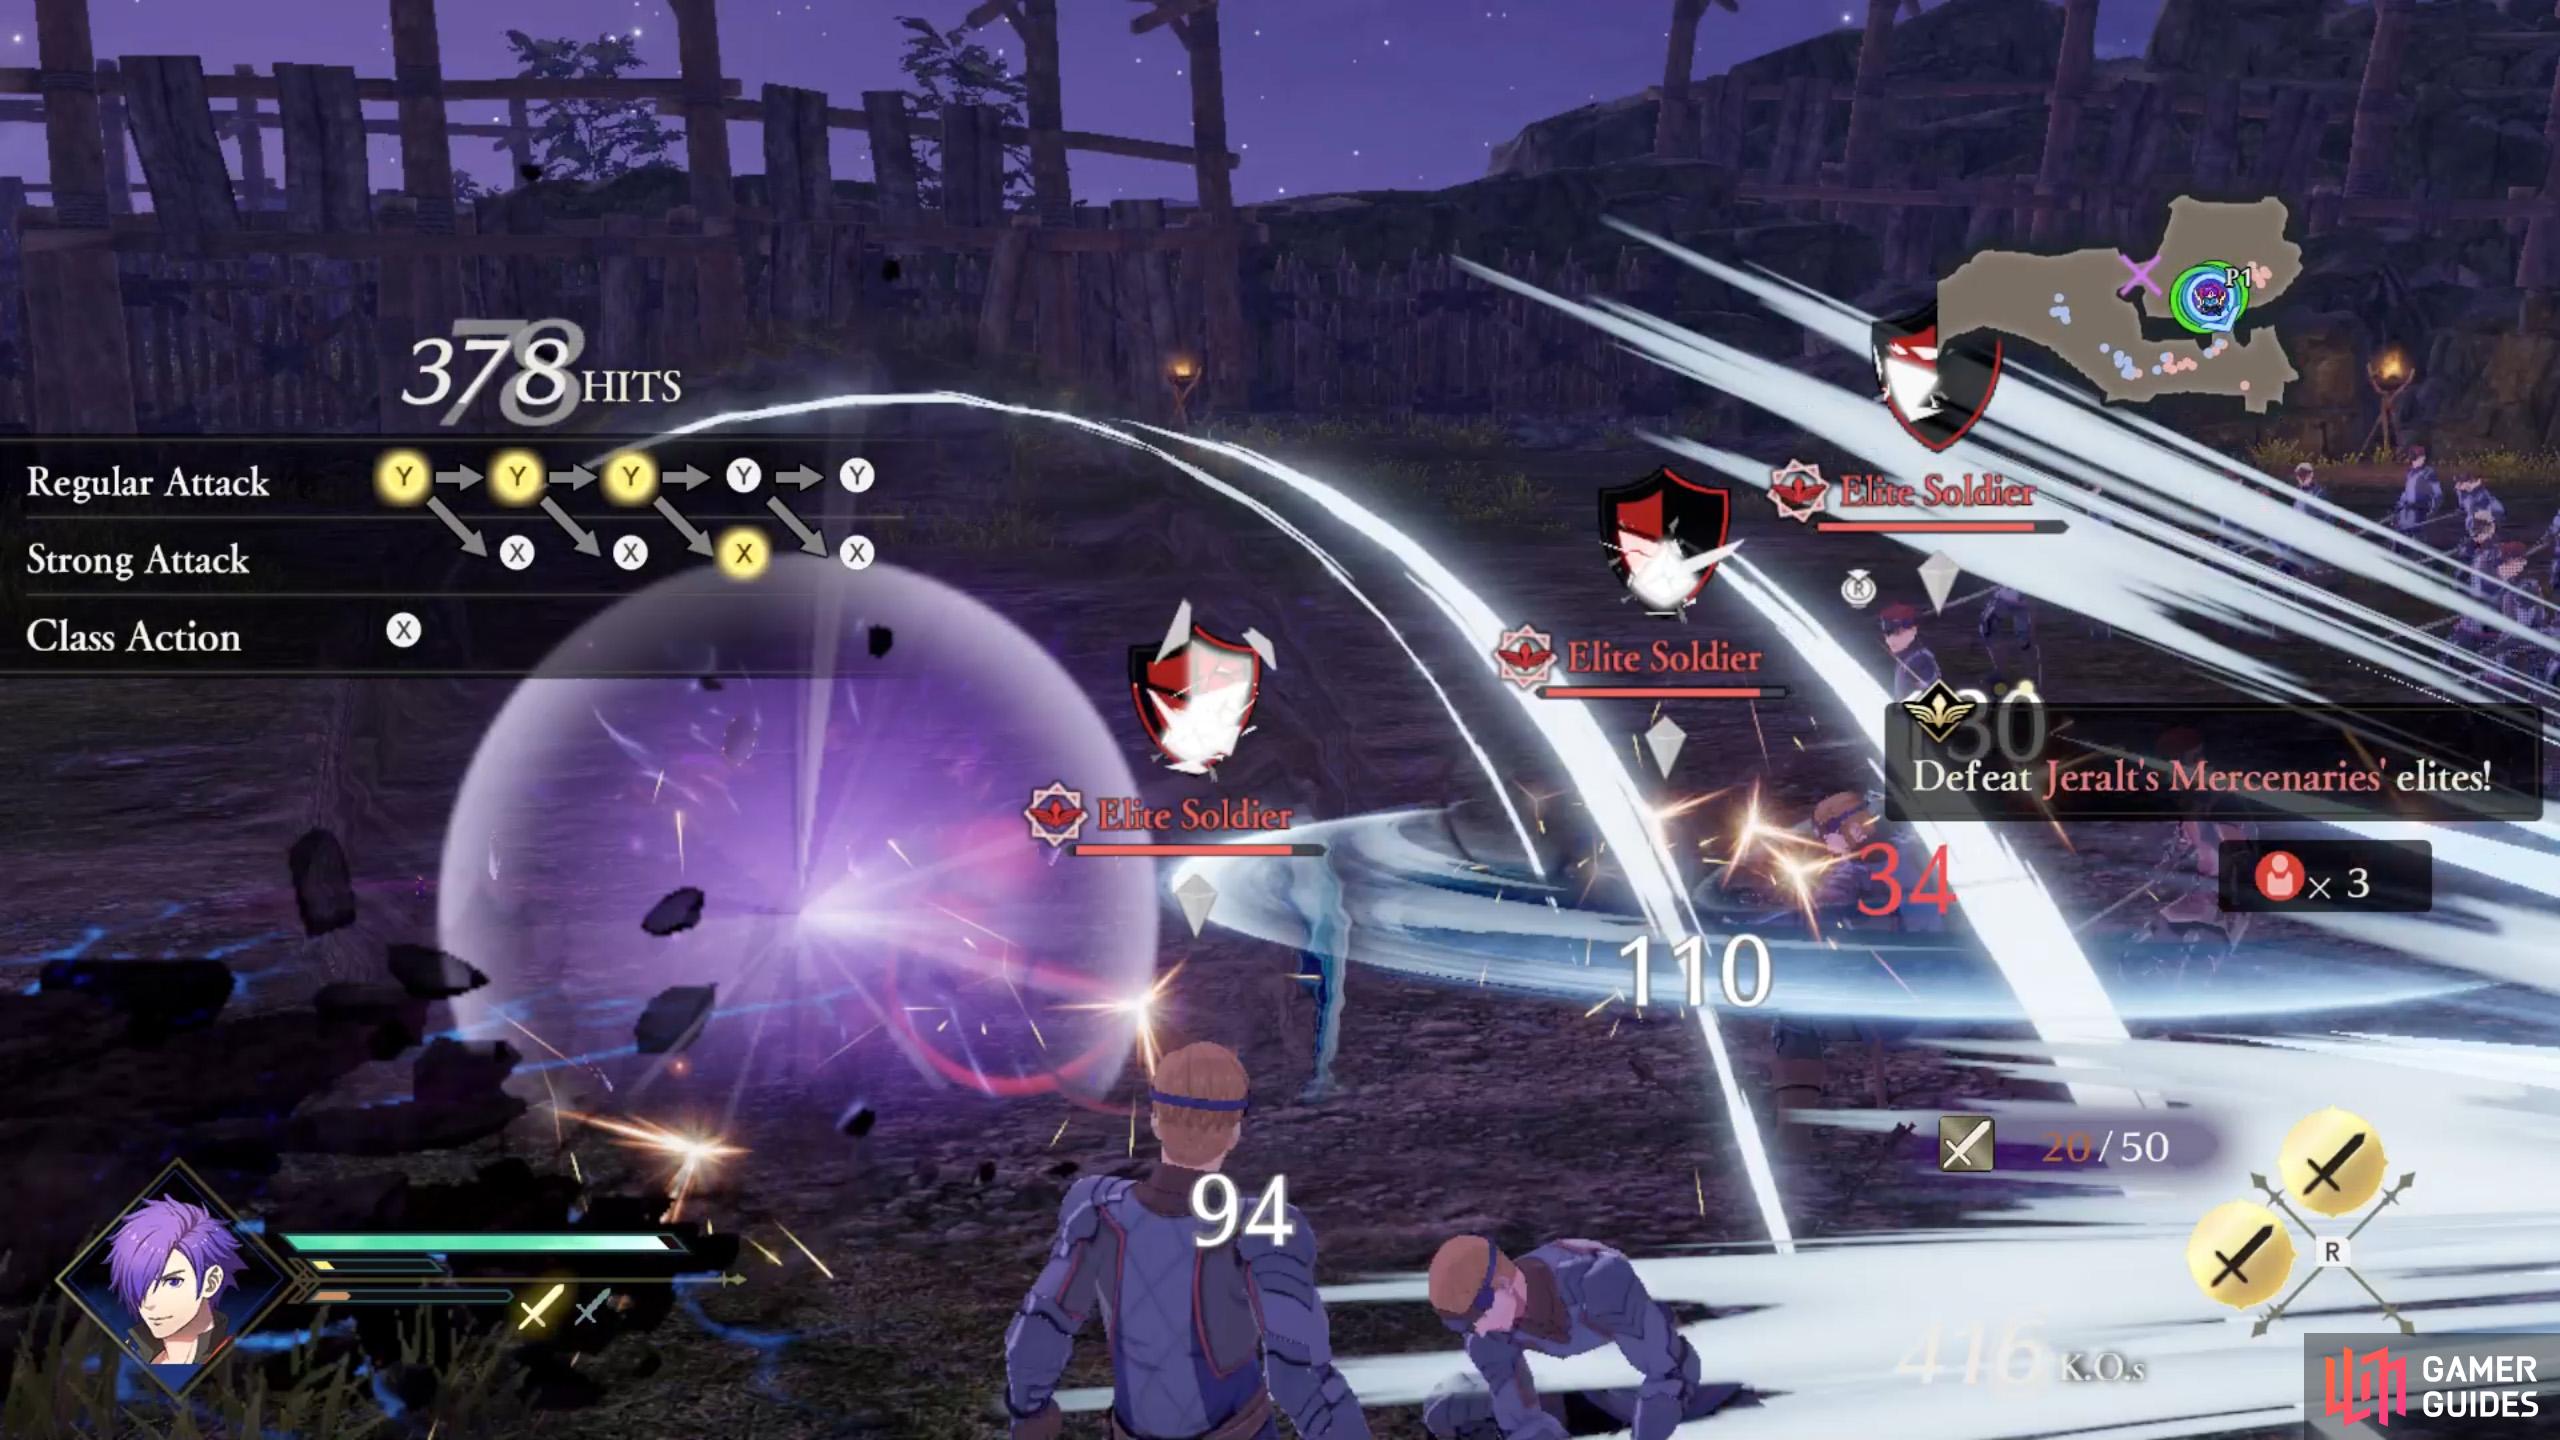
While Awakened, all attacks will trigger the Stun Gauge.
This makes performing a Critical Rush trivial.
Byleth may be gone, but plenty of foes remain. Of note, 3 Elite Soldiers will spawn. Despite their name, they’re easy prey. Especially since you can’t die right now. Besides that, all of your attacks will cause the Stun Gauge to appear, so you’ll probably shred through their gauge before you know it. Also, since you’re in a new class, pressing by itself will trigger a powerful dash attack.
Once you’ve mopped up these “elites”, the chapter will come to an end. However, Shez’s vengeance against Byleth has only just begun.
No Comments