
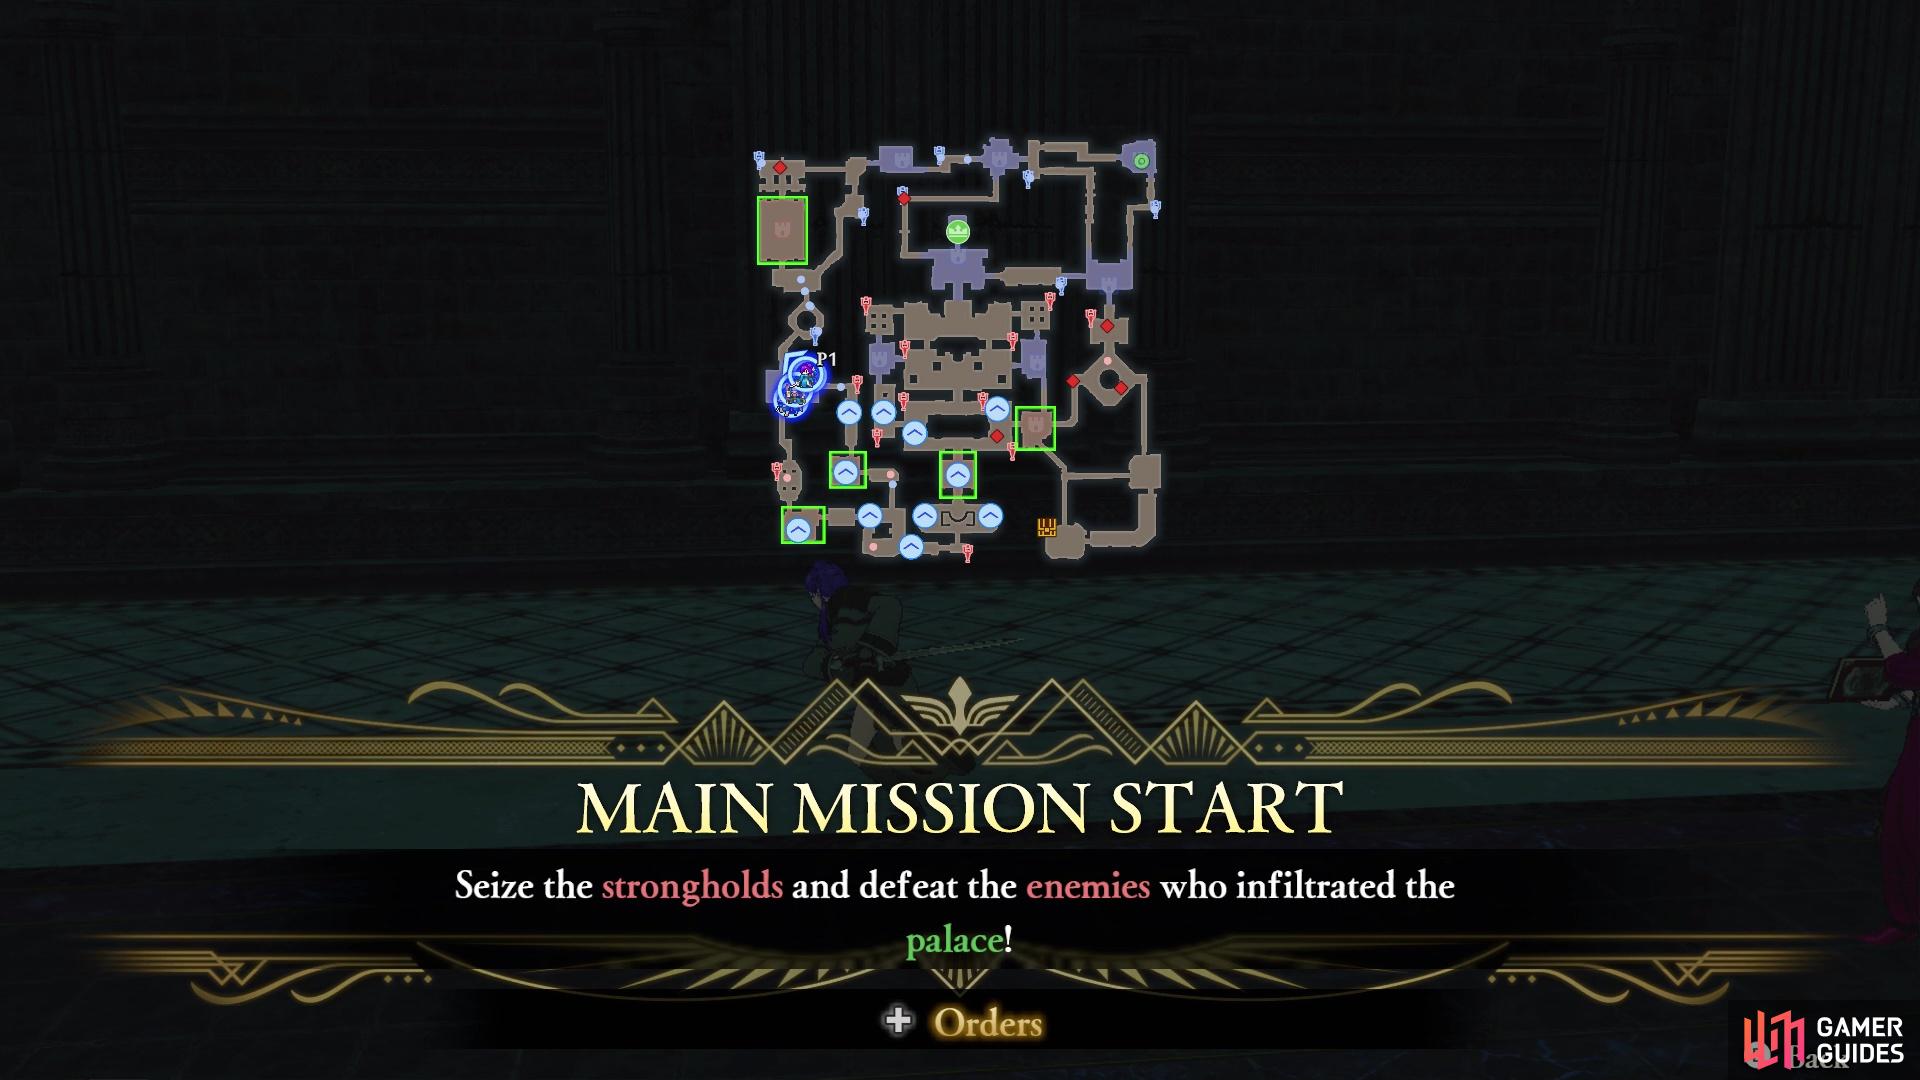
This is a guide for Chapter 9: Unrest in Enbarr in Fire Emblem Warriors: Three Hopes, this page focusing on the Main Quest, Midwestern Riegan Territory.
An assassination is afoot on Edelgard
A quick reminder that this is the main quest for Chapter 9 of Scarlet Blaze, so make sure you have done everything else you wanted to do before starting this battle. Since there are no side battles or Surveying Spots, you just want to make sure you’ve used all of your Training Points and Activity Points.
Which Strategies to Choose for Enbarr, the Imperial Capital
You only have a few Strategies to choose from for this battle, and only 30 Strategy Resources to use. Naturally, if you wish to recruit Shamir, then you will want to take the Persuade Shamir Strategy. That will leave you with only 10 Strategy Resources left, and the only one that makes sense is Rescue. This will allow you to get Edelgard to a slightly more safe location later on in the battle.
| Strategy | Cost | Strategy Details |
|---|---|---|
| Rescue | 10 | Get Edelgard to a safe location using Rescue Magic. |
| Persuade Shamir | 20 | Convince an enemy general to join your army. |
| Ingenious Formation | 10 | Begin the battle in a special formation. |
| Stronghold Sabotage | 10 | Decrease the durability of all enemy strongholds at the beginning of battle. |
| Anti-Archer Training | 10 | Grant the Bowbreaker ability to Stronghold Captains in allied strongholds. |
How to S Rank Enbarr, the Imperial Capital
| Completion Time | Enemies Defeated | Damage Taken |
|---|---|---|
| 16:00 | 1500 | 50% |
As usual, the time limit above is what will most likely prevent you from getting the S Rank in this battle. The best thing to do is not dawdle and simply concentrate on the main objects, as they pop up. The missions that require you to take all of the enemy strongholds will be a chore a little bit, but you can simply send your allies to most of them, while you go to one yourself. The rest of the missions will be pretty straightforward, although you might want to worry about the side missions, as they will target Edelgard (who is a lose condition).
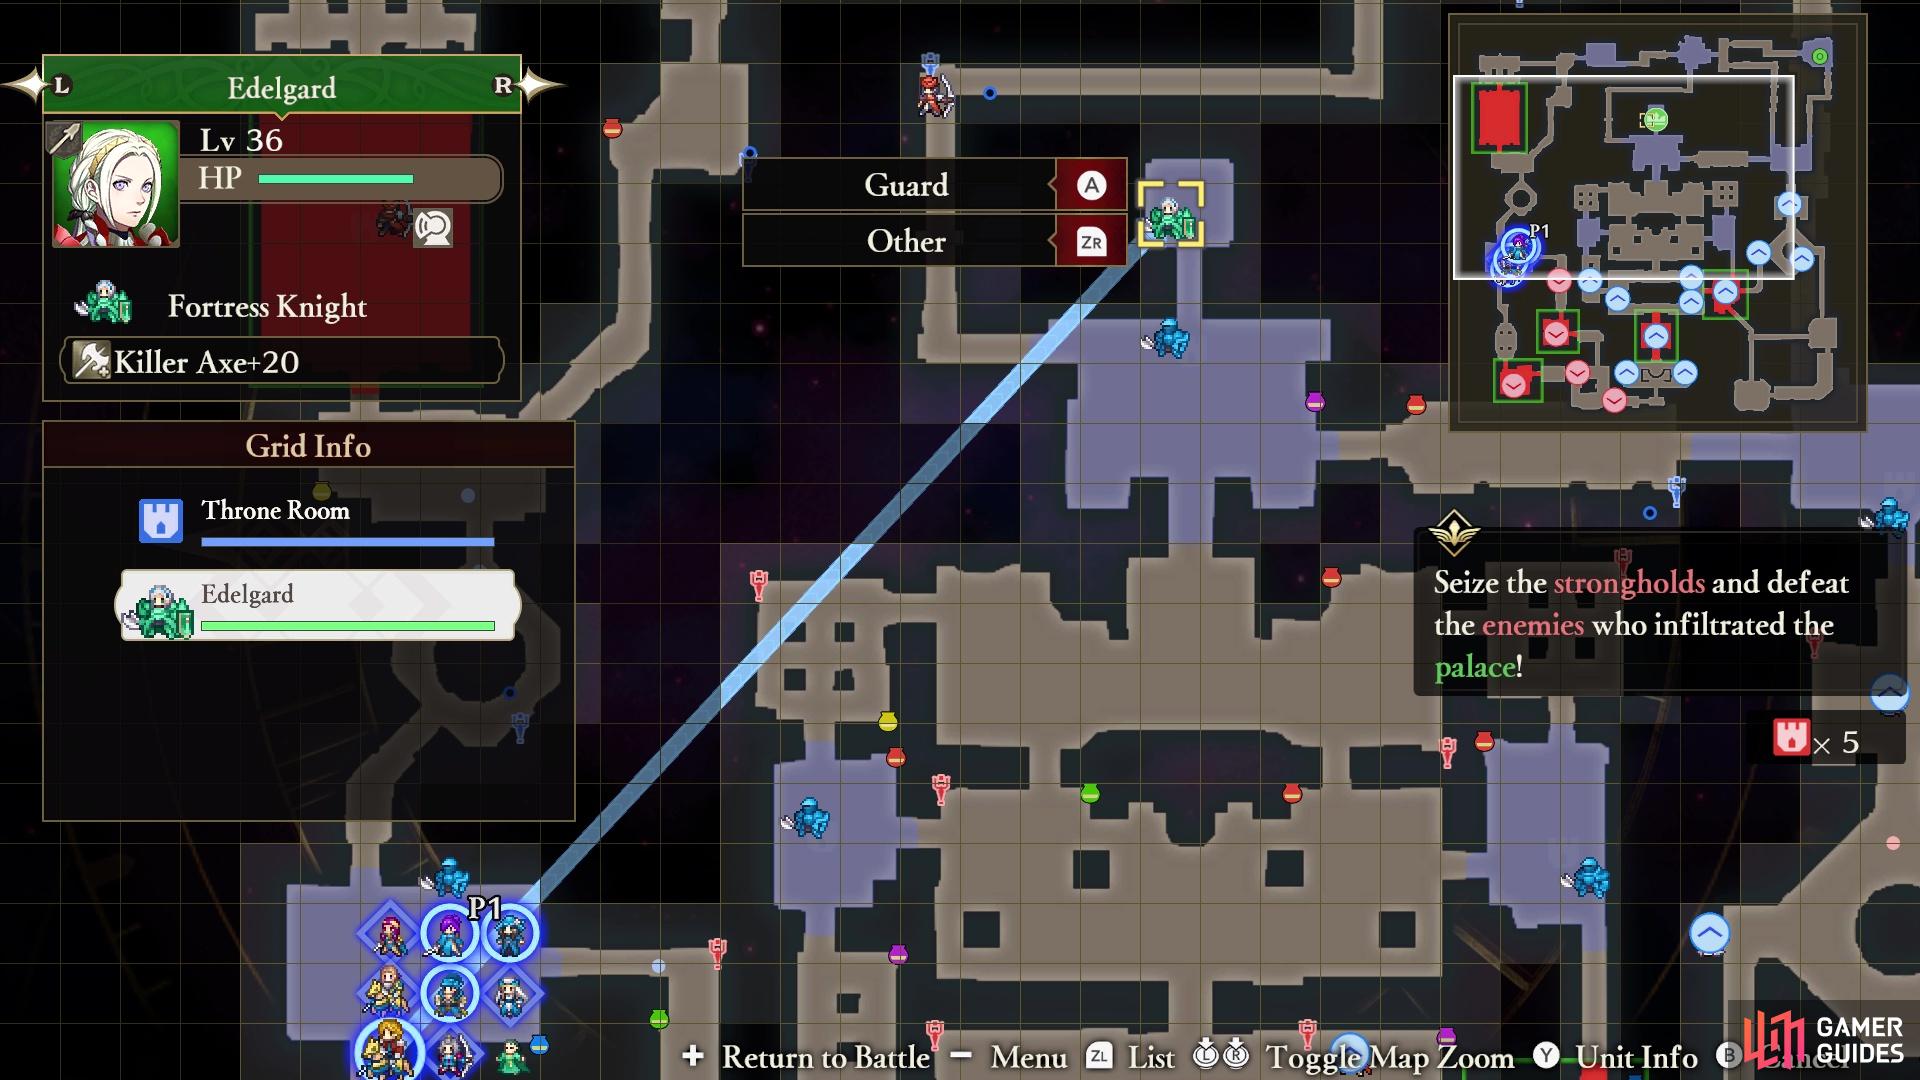
Mission 1: Seize the Strongholds to Seal the Entry Points
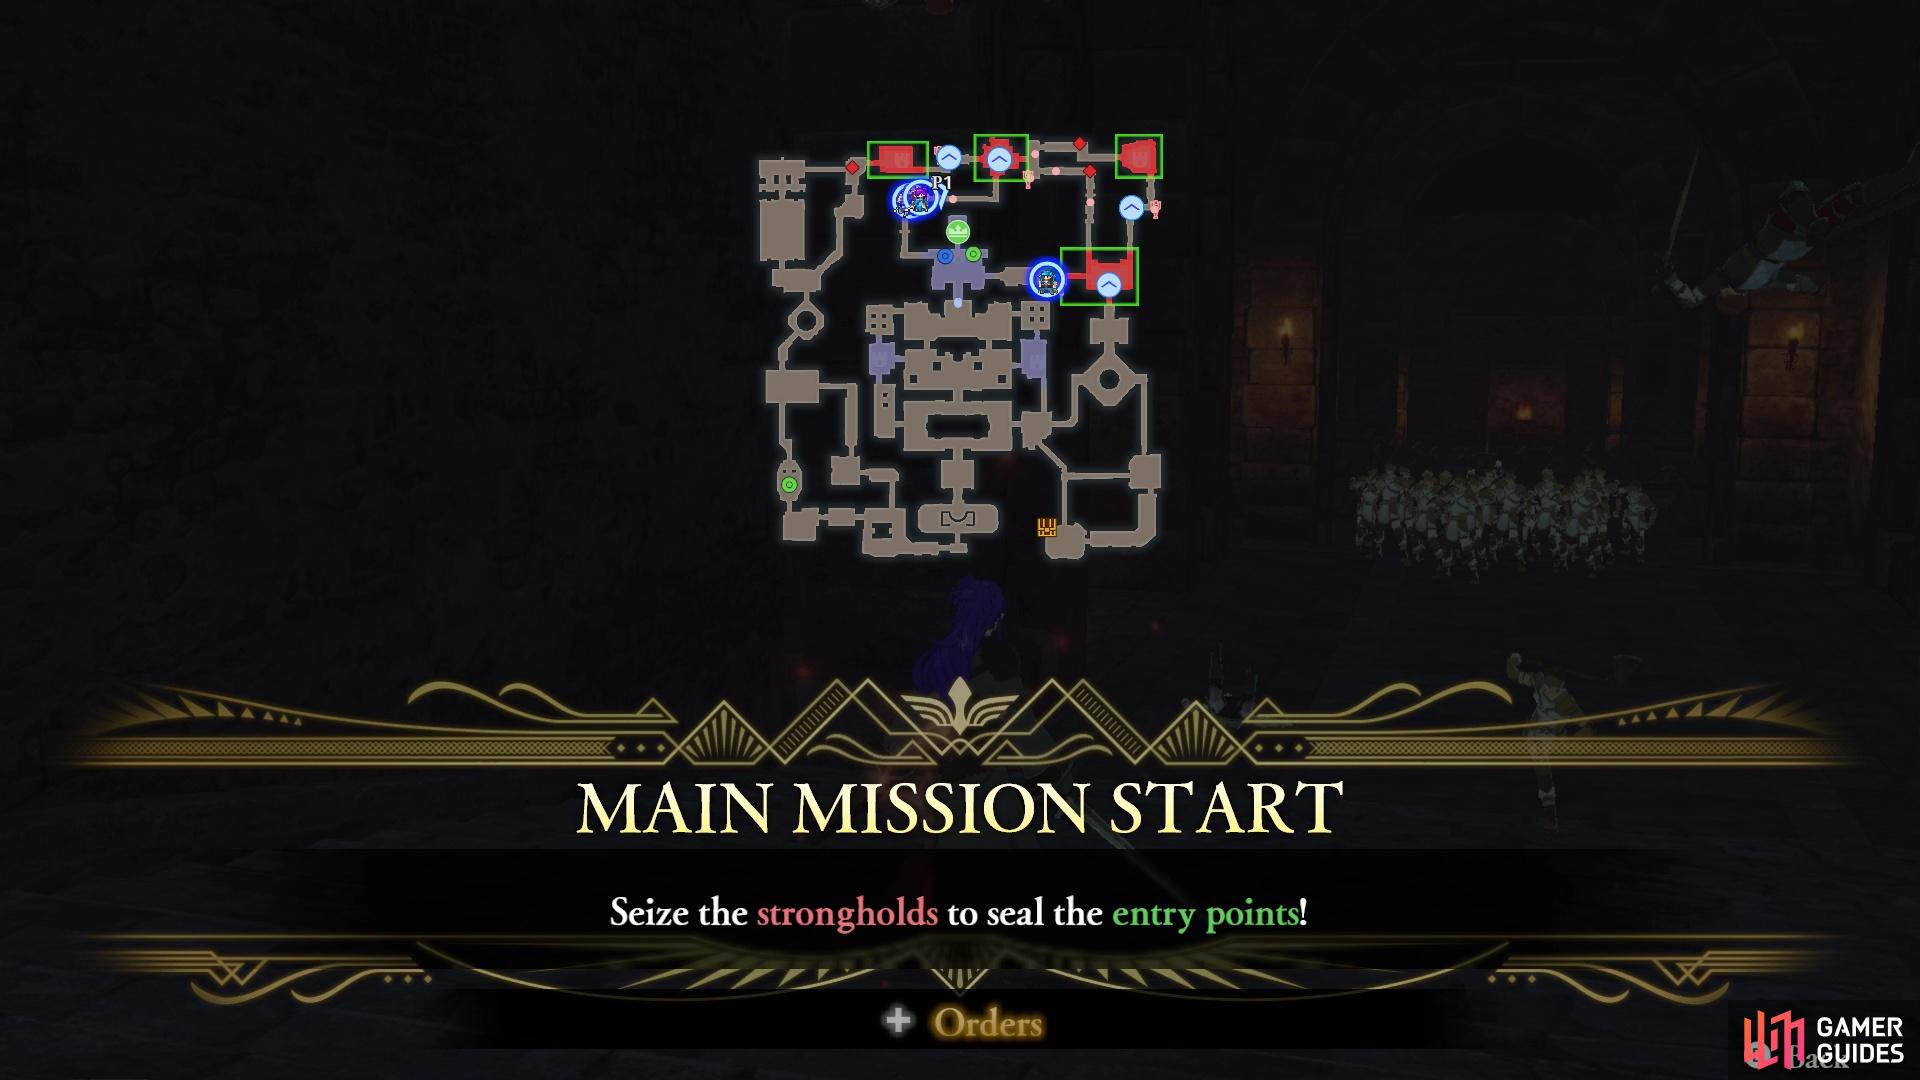
Your first task is to capture all of the strongholds shown

Some extra enemy units will appear to go after Edelgard
The battle will start with this mission, tasking you with capturing the four strongholds on the northern end of the map. Now, you should be issuing orders to your characters straight out of the gate, sending one or two units to each stronghold. You will probably want to go after the northwestern one, as that will put you on a path to go down the left side of the map. Note that during this time, some enemy reinforcements will show up and start advancing on Edelgard.
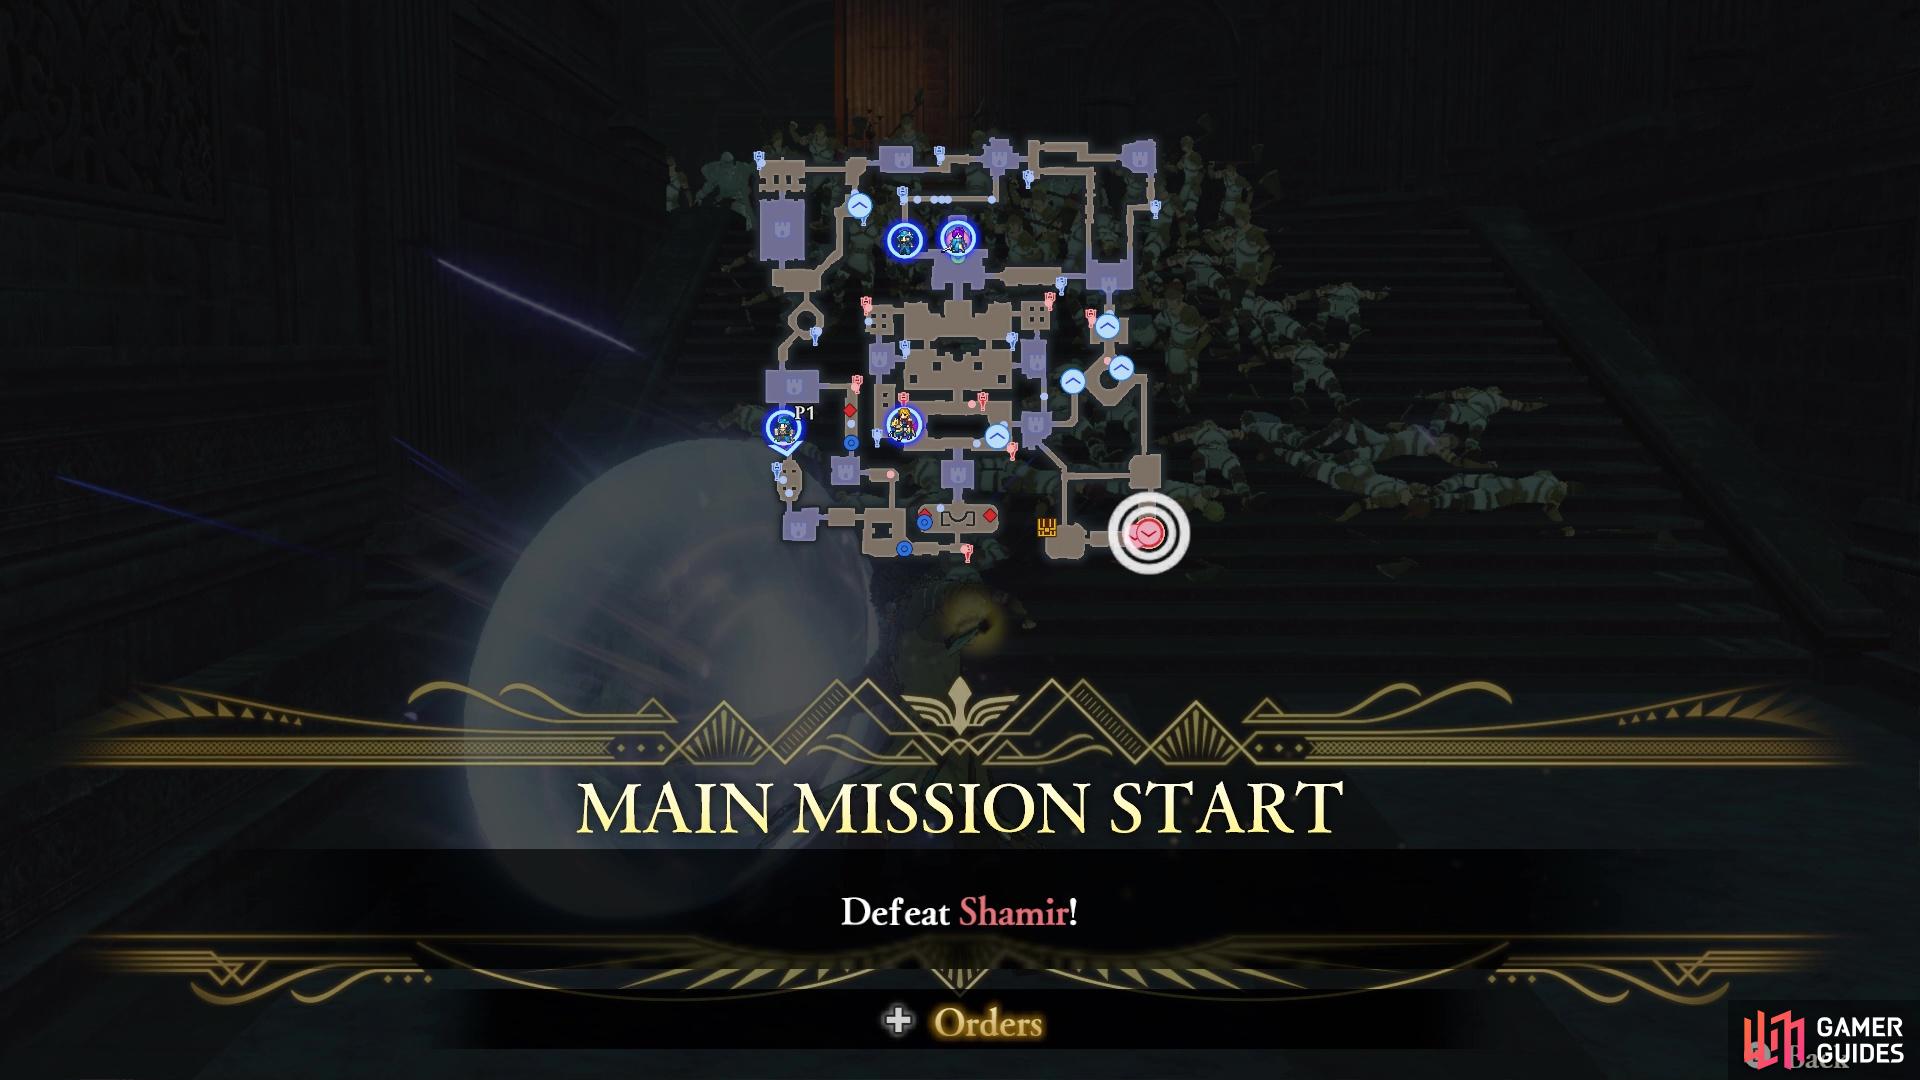
Mission 2: Defeat Shamir
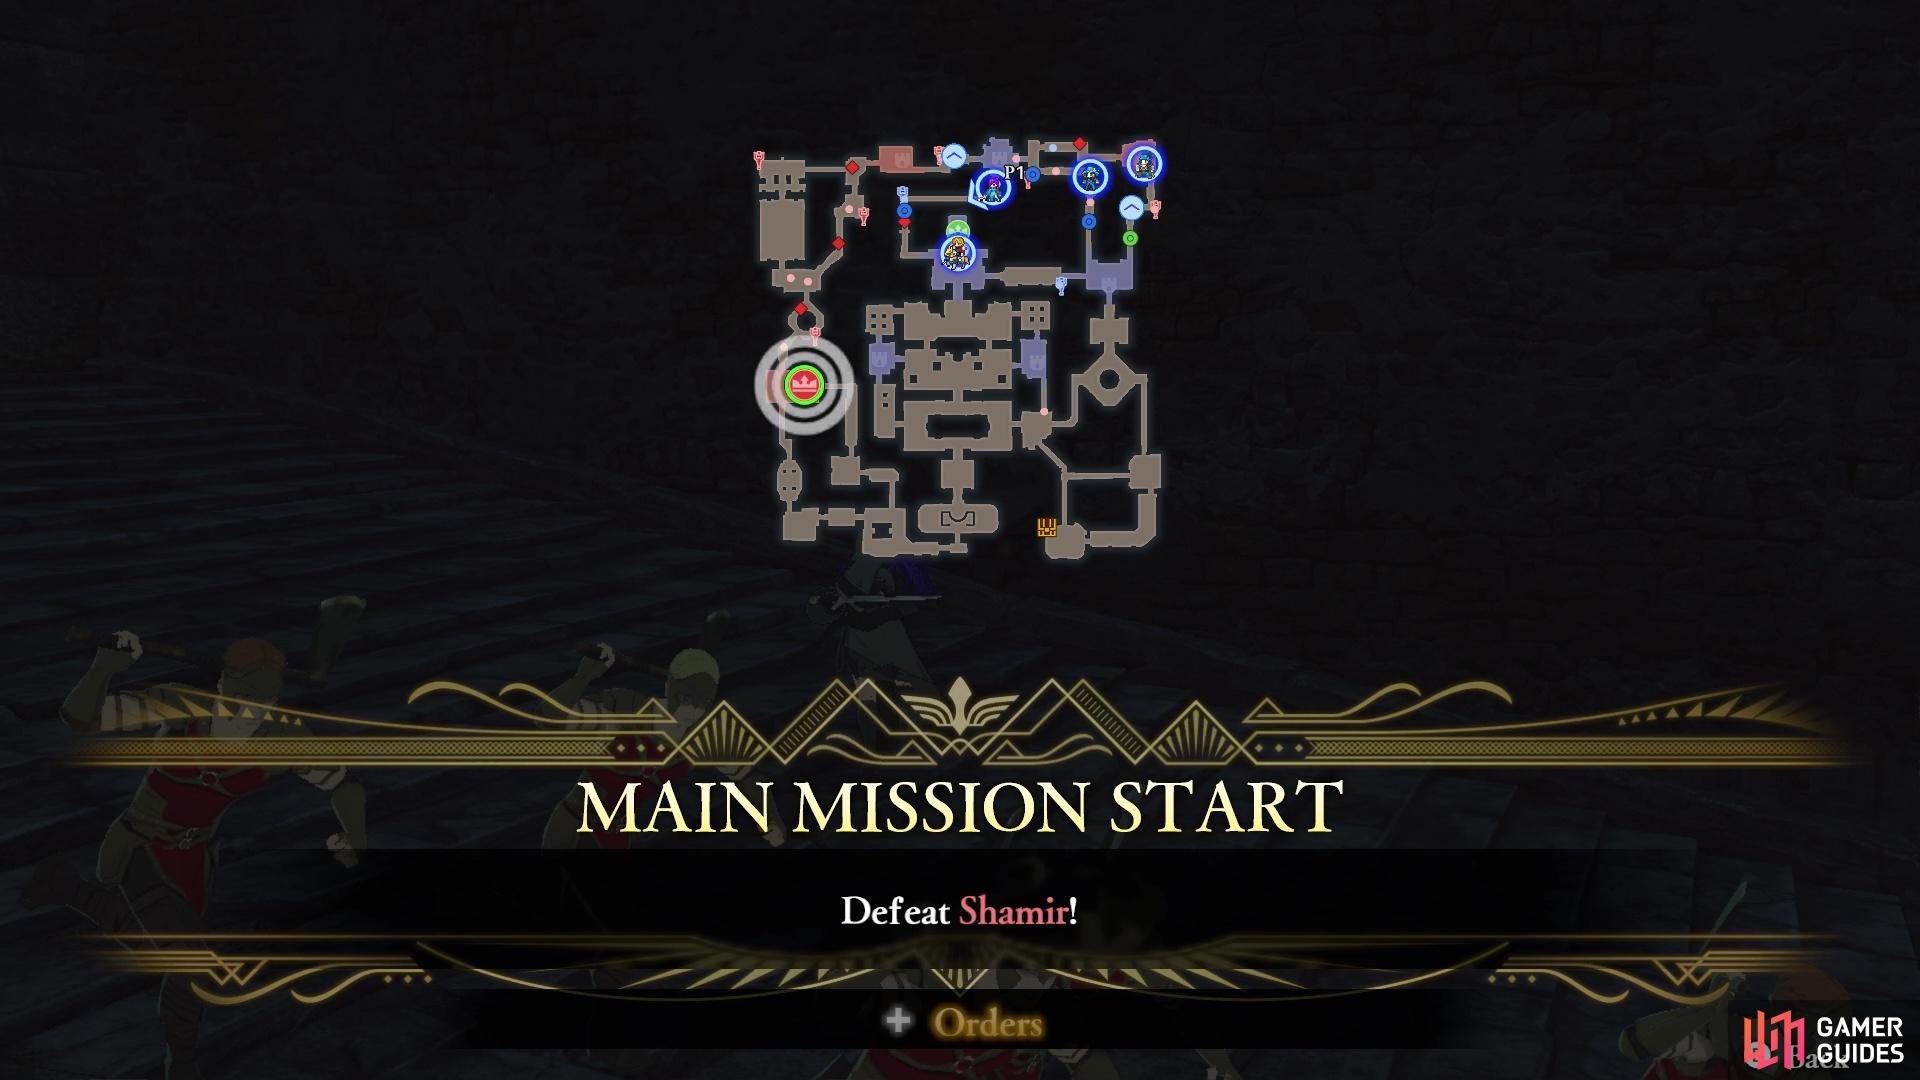
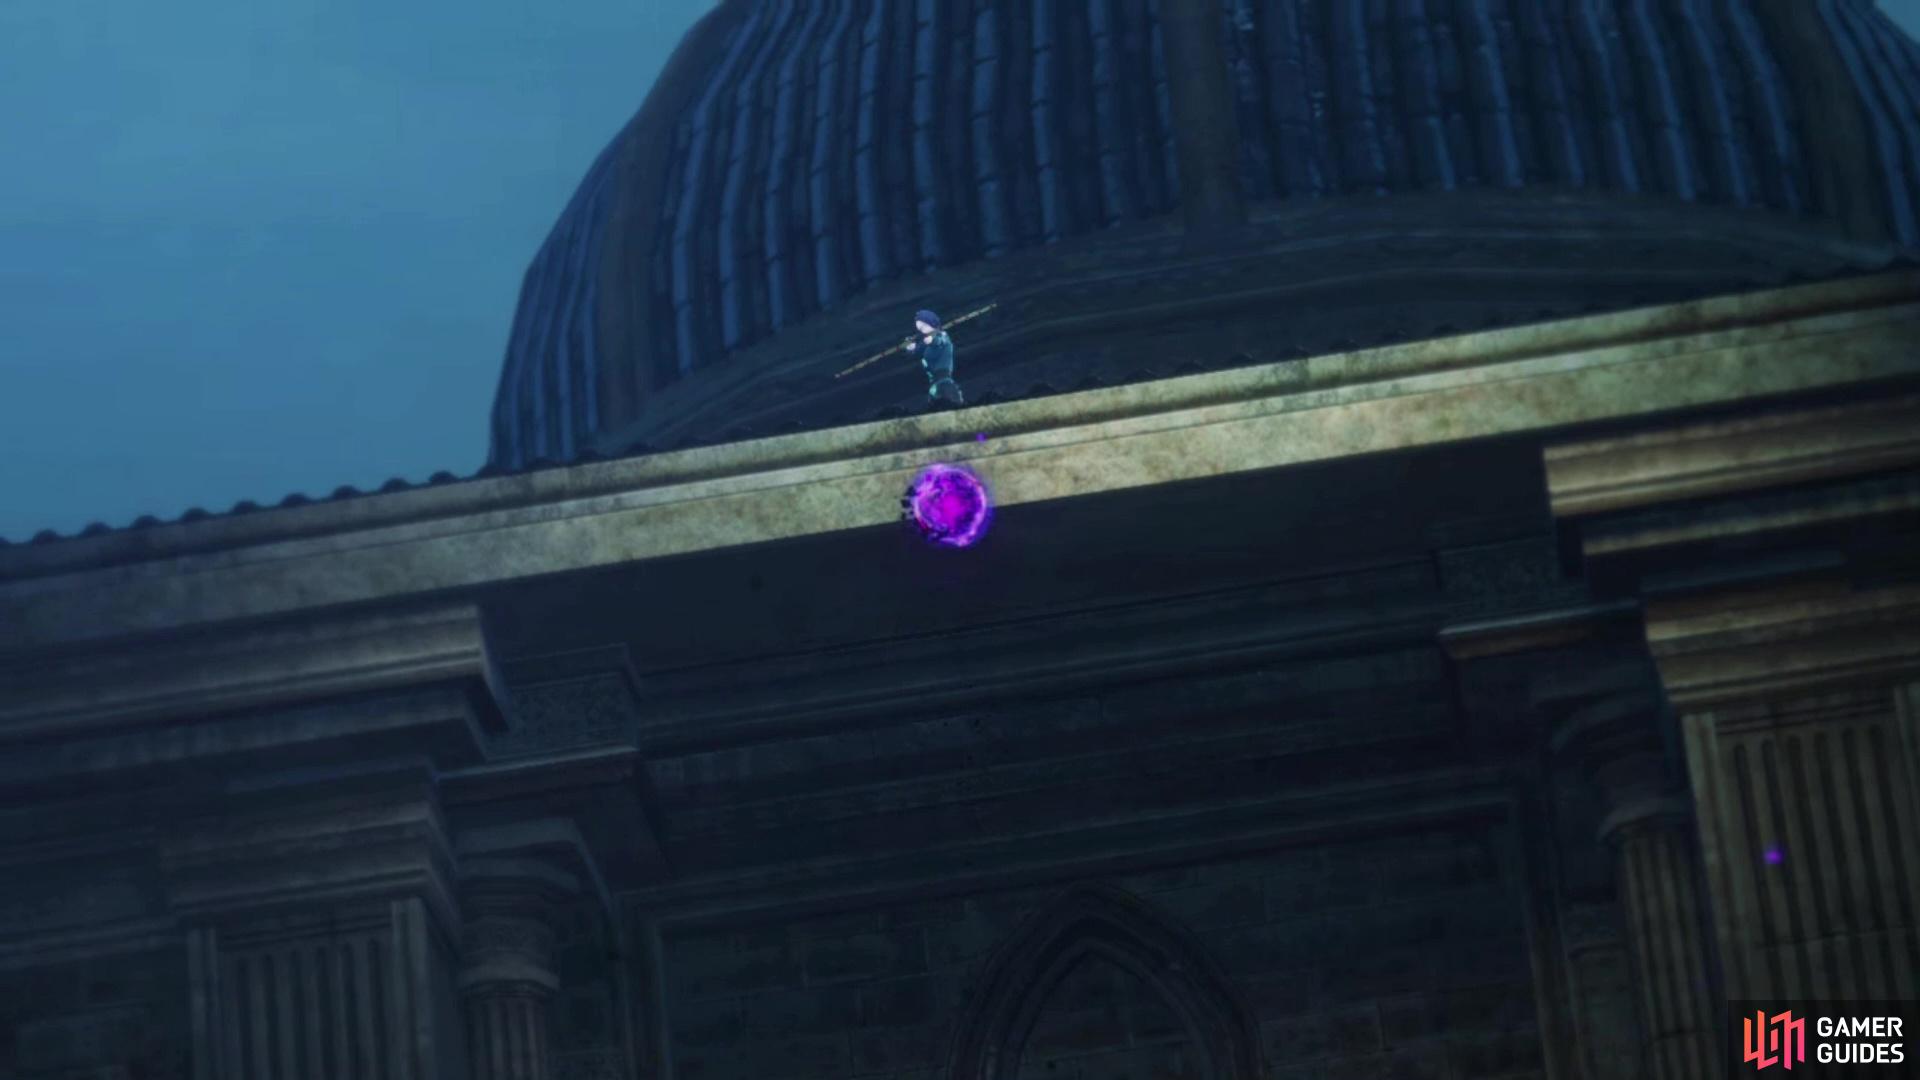
Shamir will appear on the left side of the map
She will disappear after taking enough damage
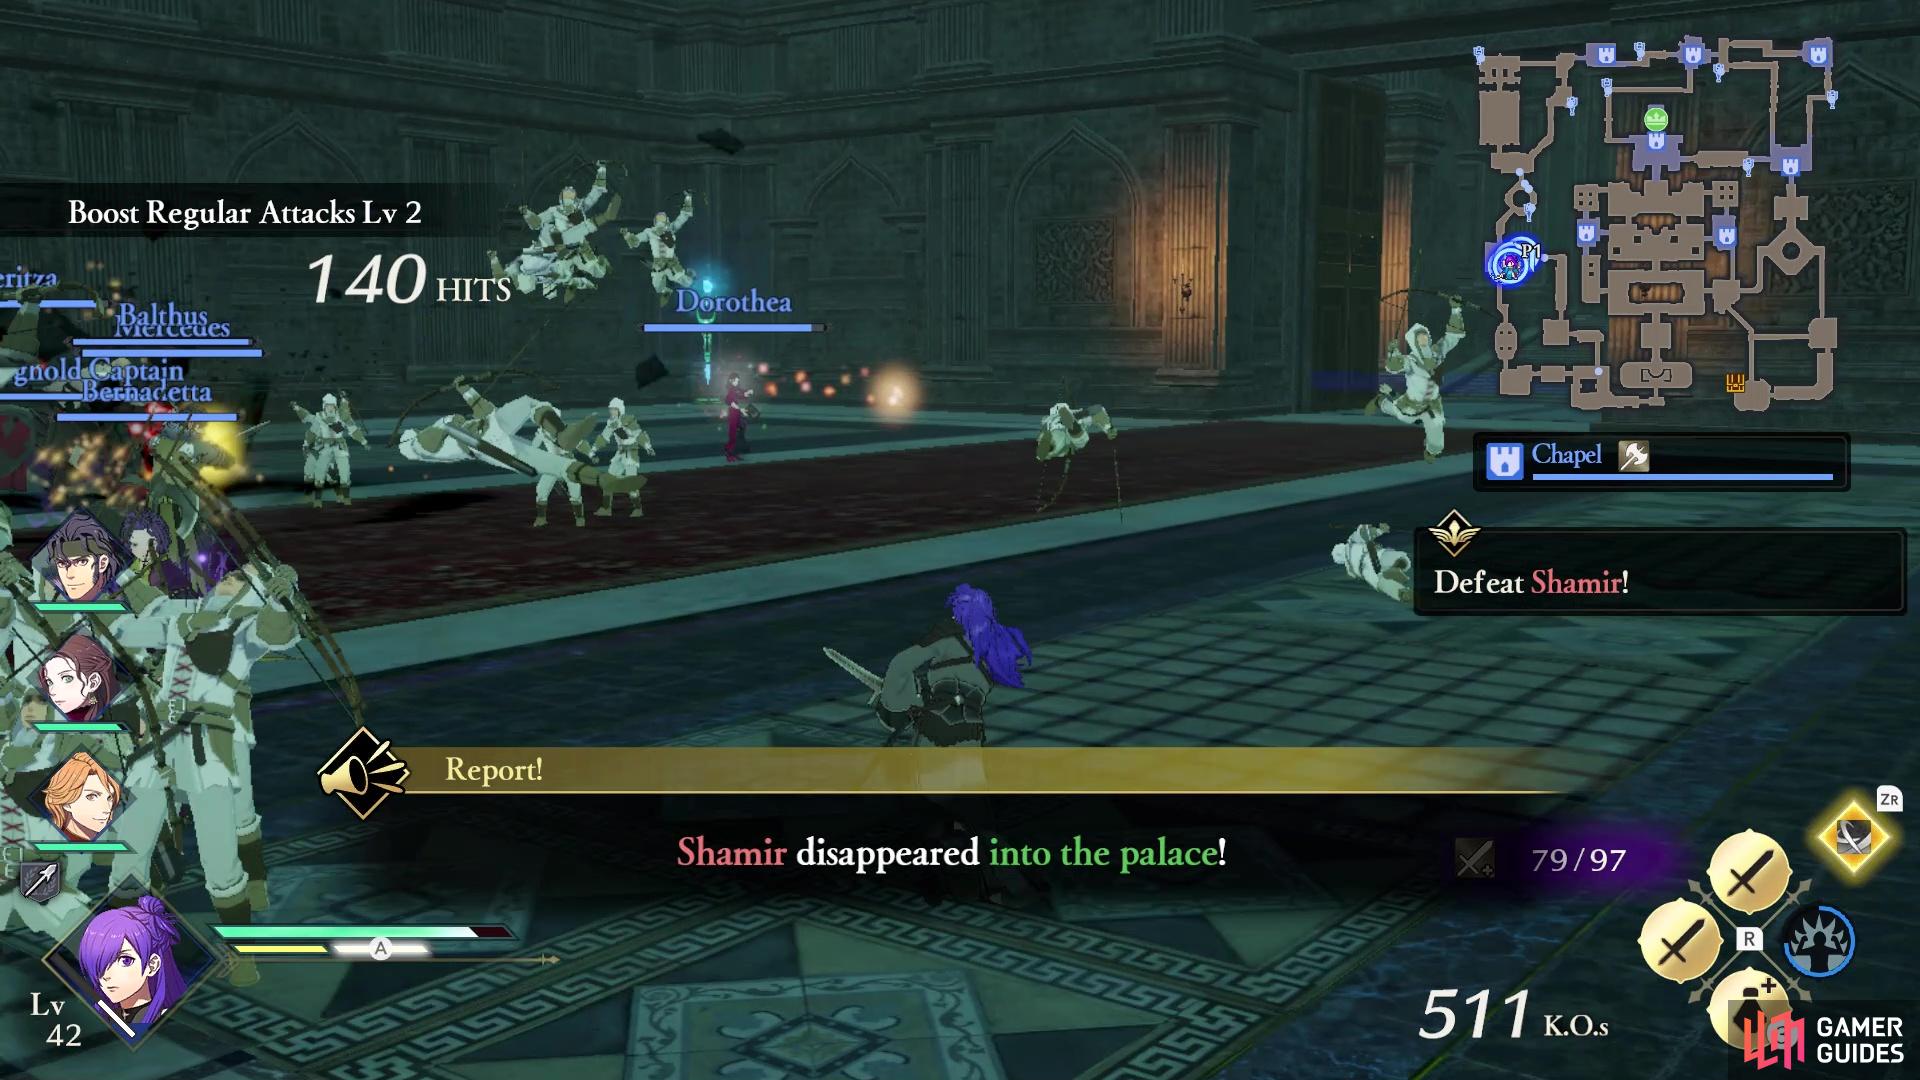
Not too long into the battle, Shamir will appear on the western side of the map. Count Hevring will be there and begin battling with her. He should be more than enough to keep her occupied, until you can reach her. Note that she is a Bow-user, so maybe having someone like Balthus might be better in going after her. However, she won’t stick around for too long, as she disappears a short while into fighting her. Note that this isn’t when you will try to recruit her, so the Strategy prompt will not pop up now.
Mission 3: Seize the Strongholds and Defeat the Intruders
You will need to take over even more strongholds
It’s wise to send someone to help protect Edelgard around this time
After Shamir disappears, your army will discover more intruders in the Imperial Palace, prompting this main mission. There will be a lot more enemy units on the map, with your goal being to capture the five strongholds marked on your map. These strongholds are a bit more spread out compared to the first set, so definitely take advantage of issuing orders to your allies to go after them.
Side Mission: Defeat the Assassins Targeting the Fire Orbs
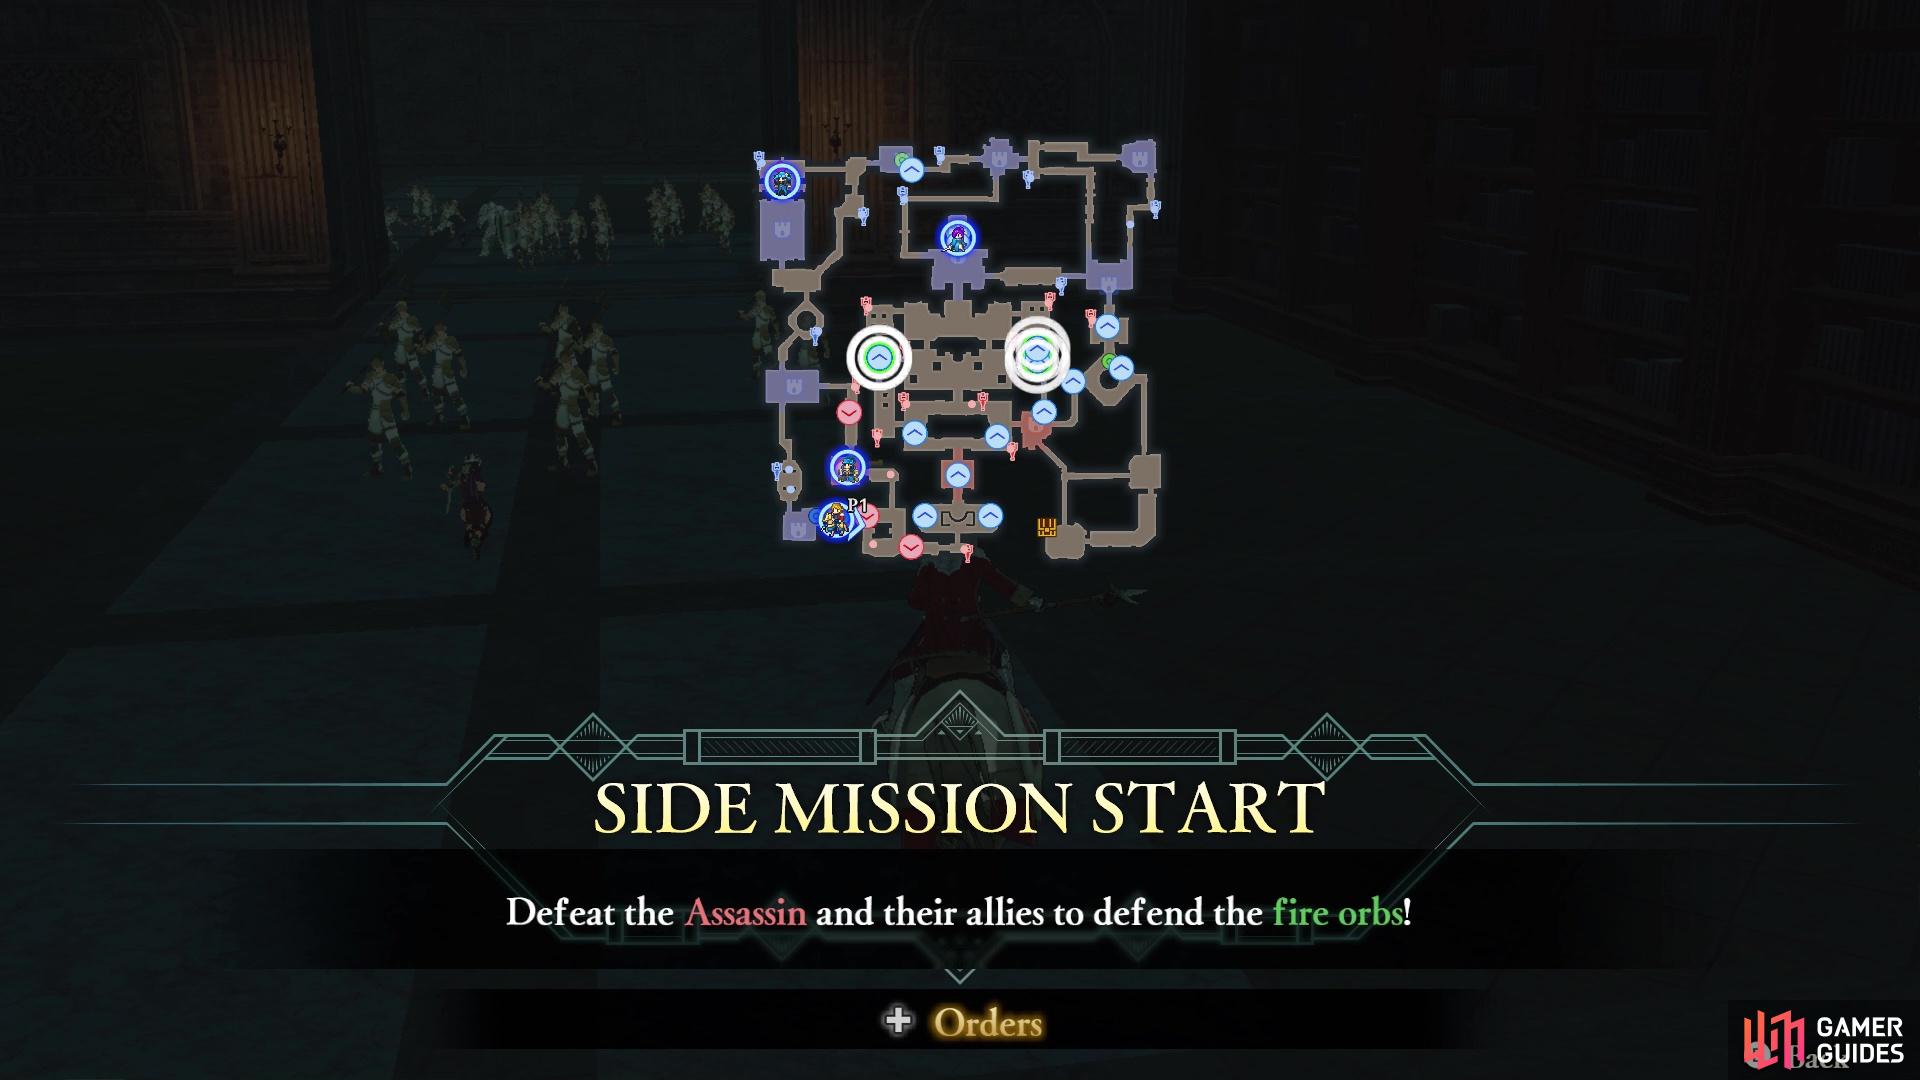
Assassins and others will appear to go after the Fire Orbs
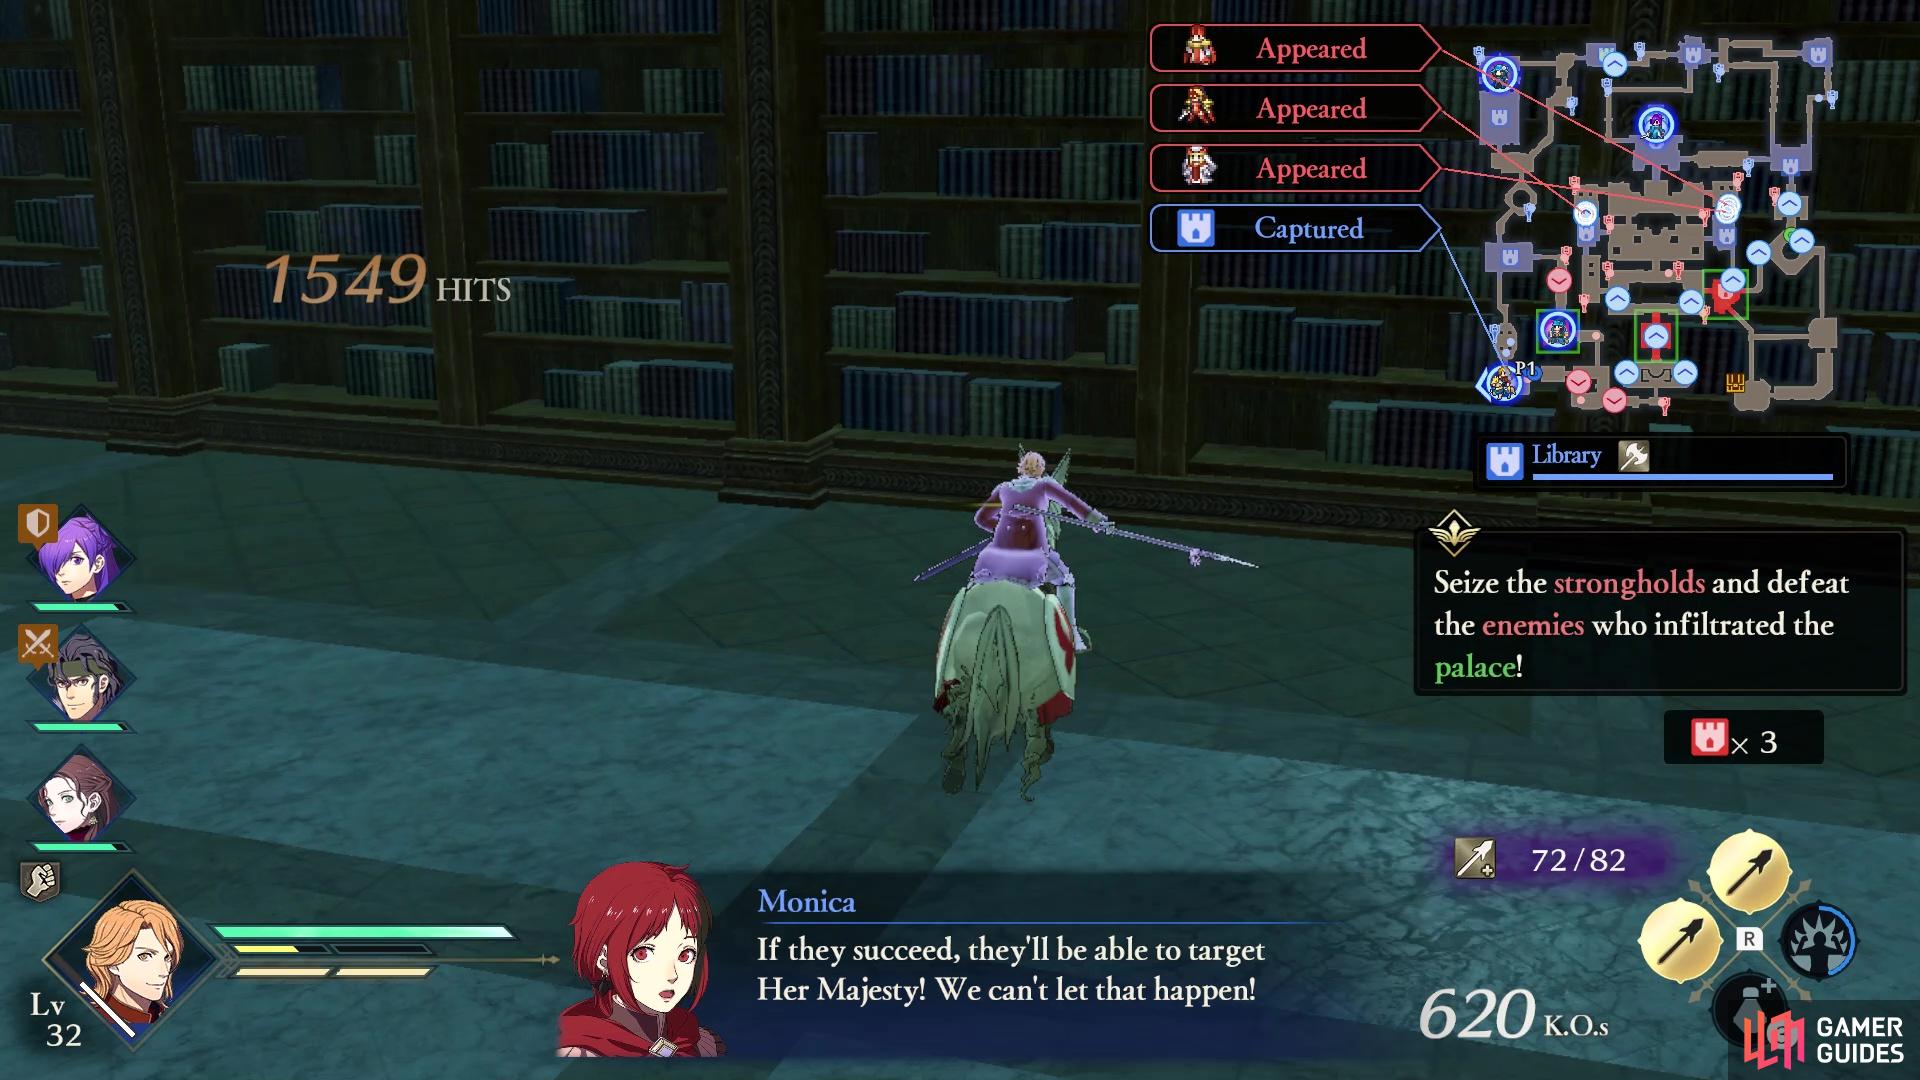
Listen to Monica here, as they will use them to attack Edelgard
As you are taking down the strongholds in the previous mission, this side mission will eventually pop up. Some Assassins will appear and go straight towards trying to secure the Fire Orbs. If they manage to capture these, then they will be able to target Edelgard to deal some pretty good damage to her. Thus, it’s imperative that you head straight for the enemy units yourself, since you want to make sure to stop them. Assassins are sword-wielders, so someone like Ferdinand or Jeritza (in their respective mounted classes) should be more than enough to take them down.
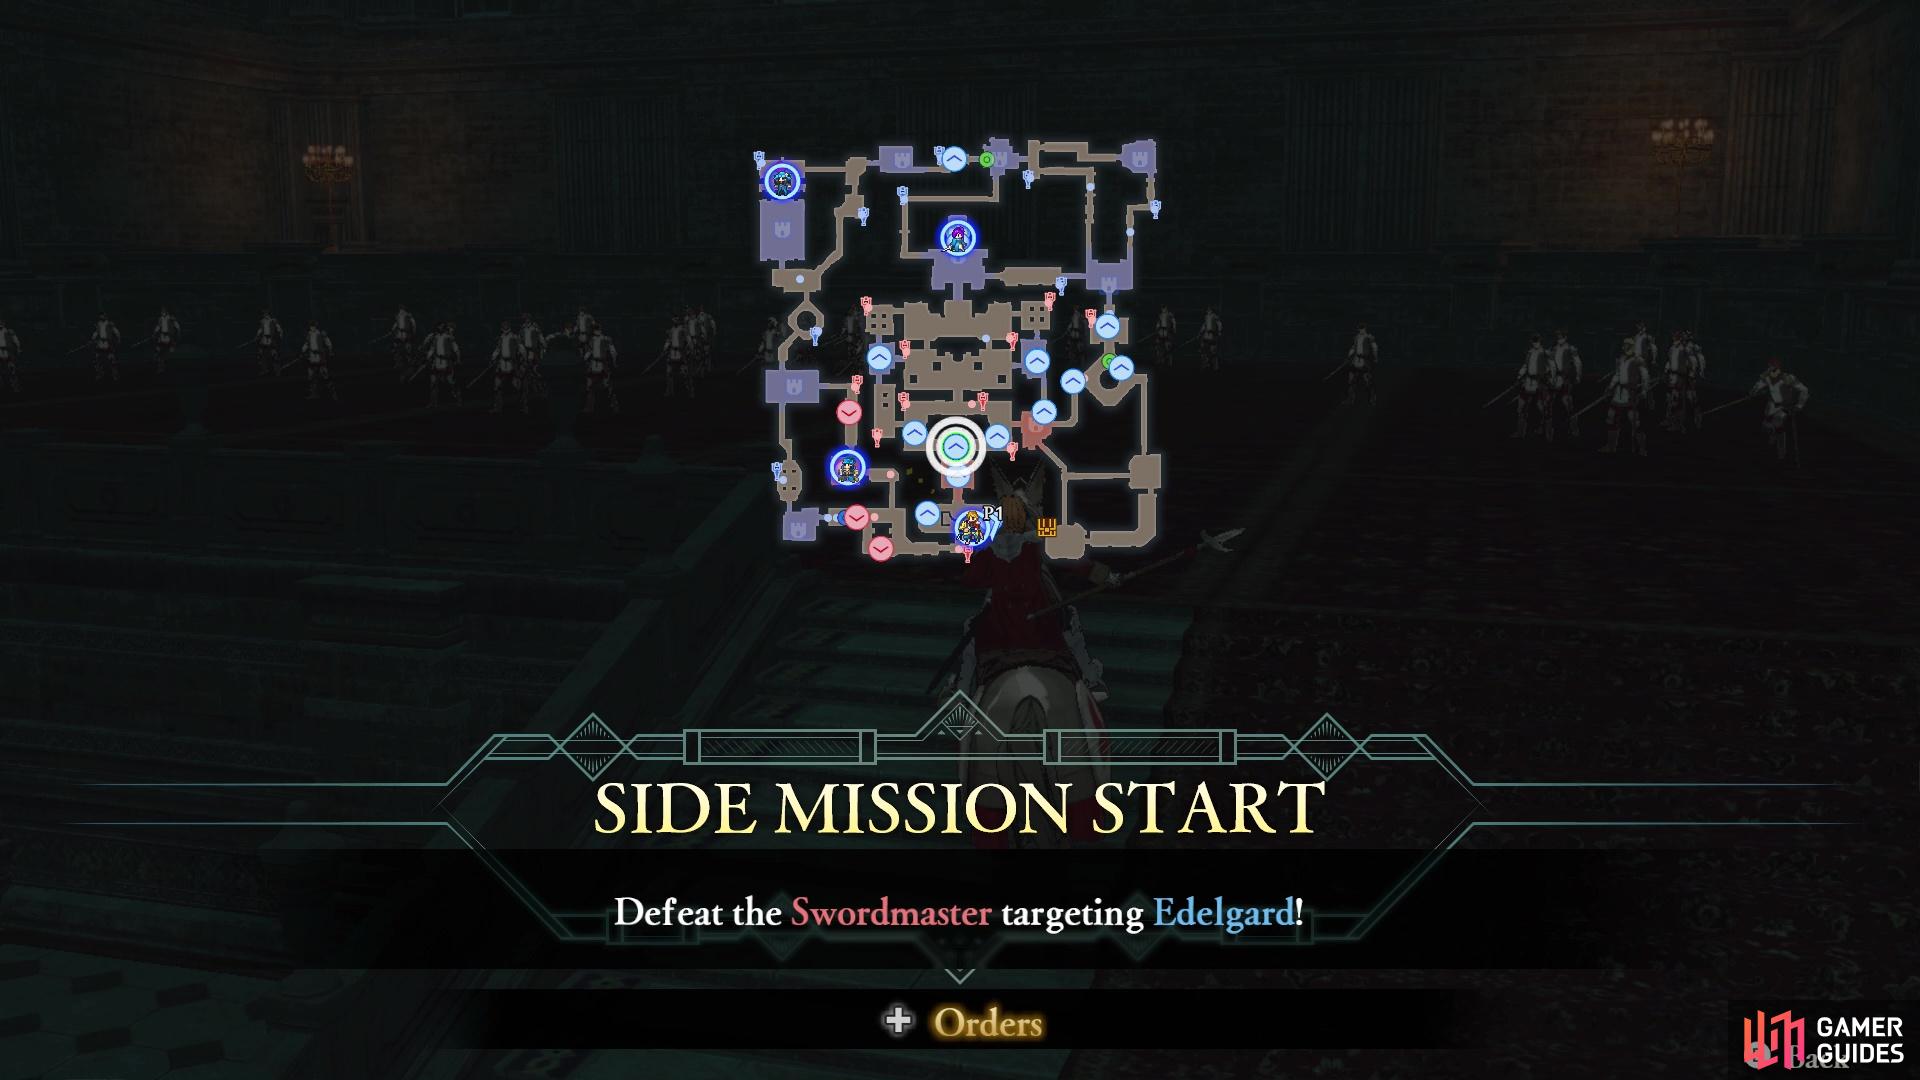
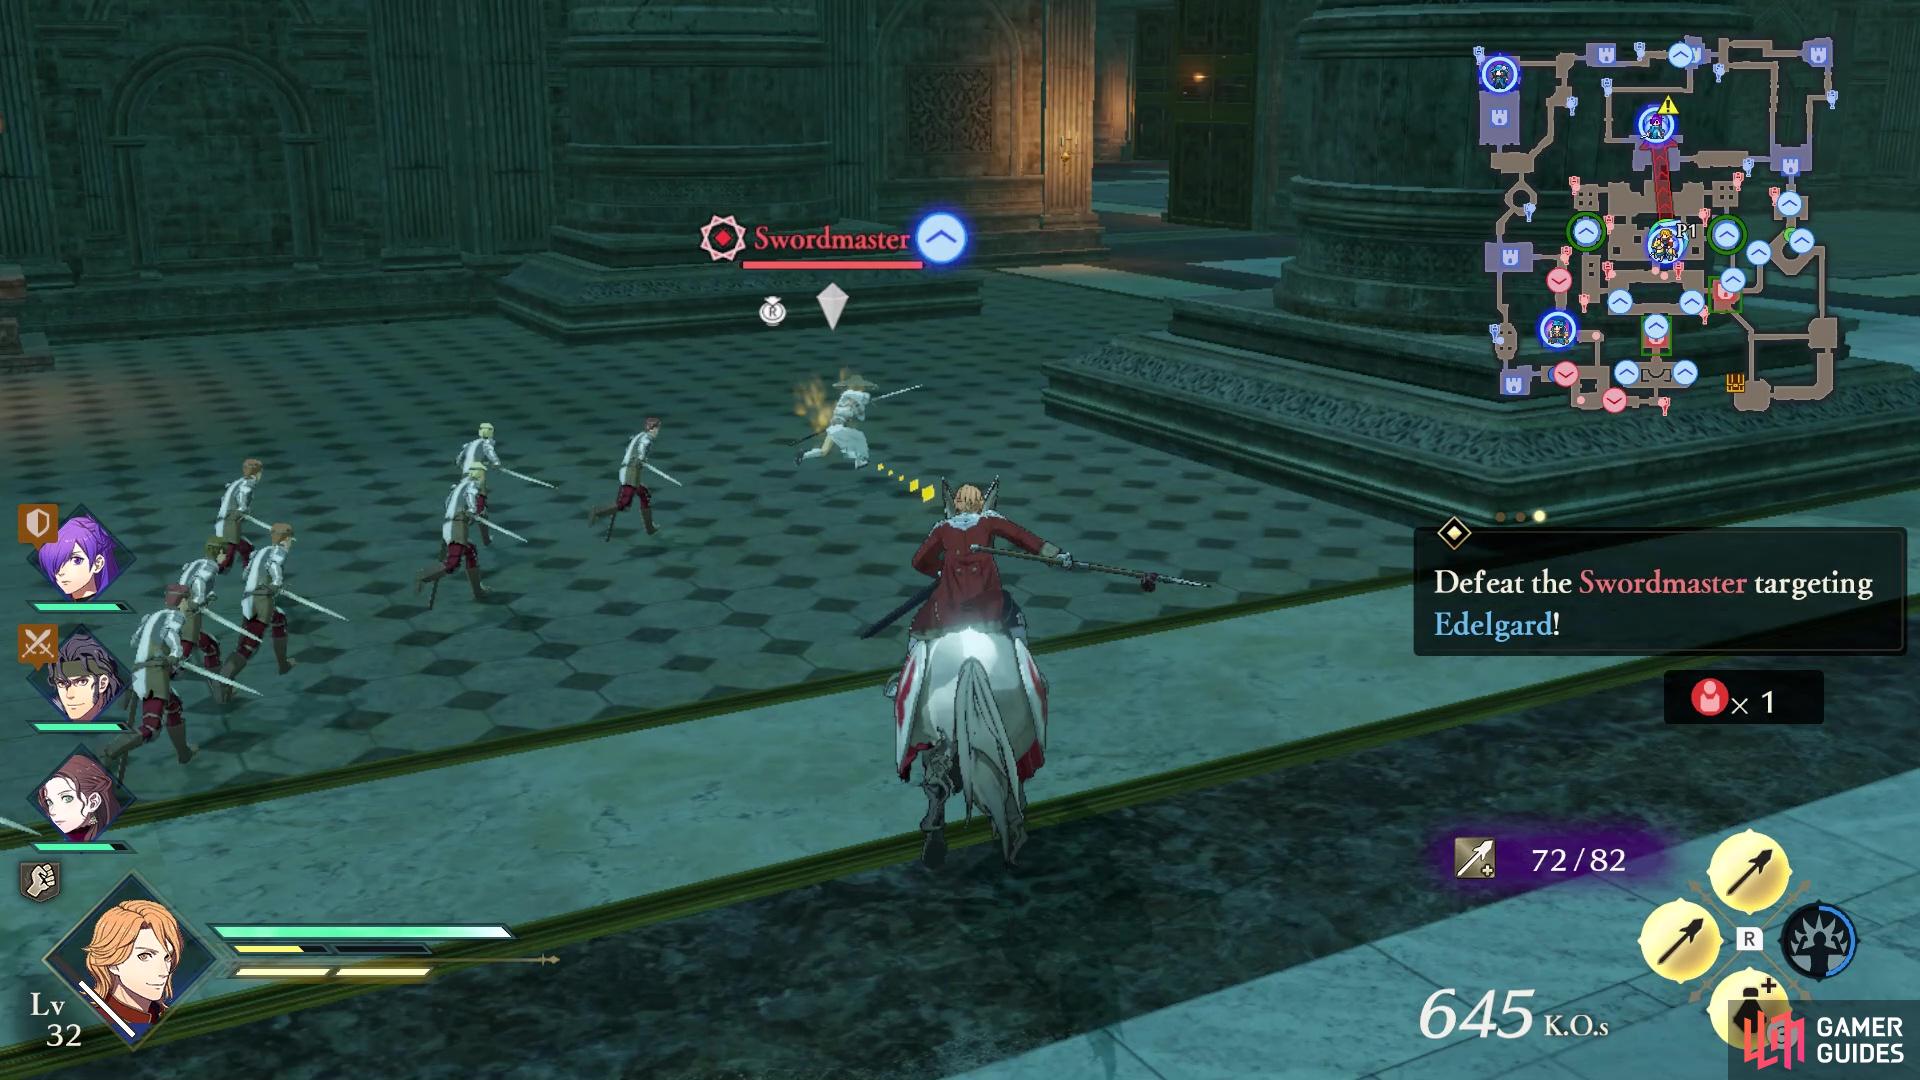
Side Mission: Defeat the Swordmaster targeting Edelgard
The Swordmaster should appear around the same time as the Fire Orb enemies
They will make a beeline straight to Edelgard
At around the same time as the Assassins going after the Fire Orbs, a Swordmaster will appear in the southern area and go straight after Edelgard. Being proficient in swords, hence the Swordmaster name, they will have an advantage over Edelgard, who is likely still wielding an axe. Considering this should be on the way to the Fire Orbs and it’s in the same vicinity, assuming they trigger at the same time, then you should be able to intercept the Swordmaster easily.
Side Mission: Defeat the Bishop or Fortress Knight
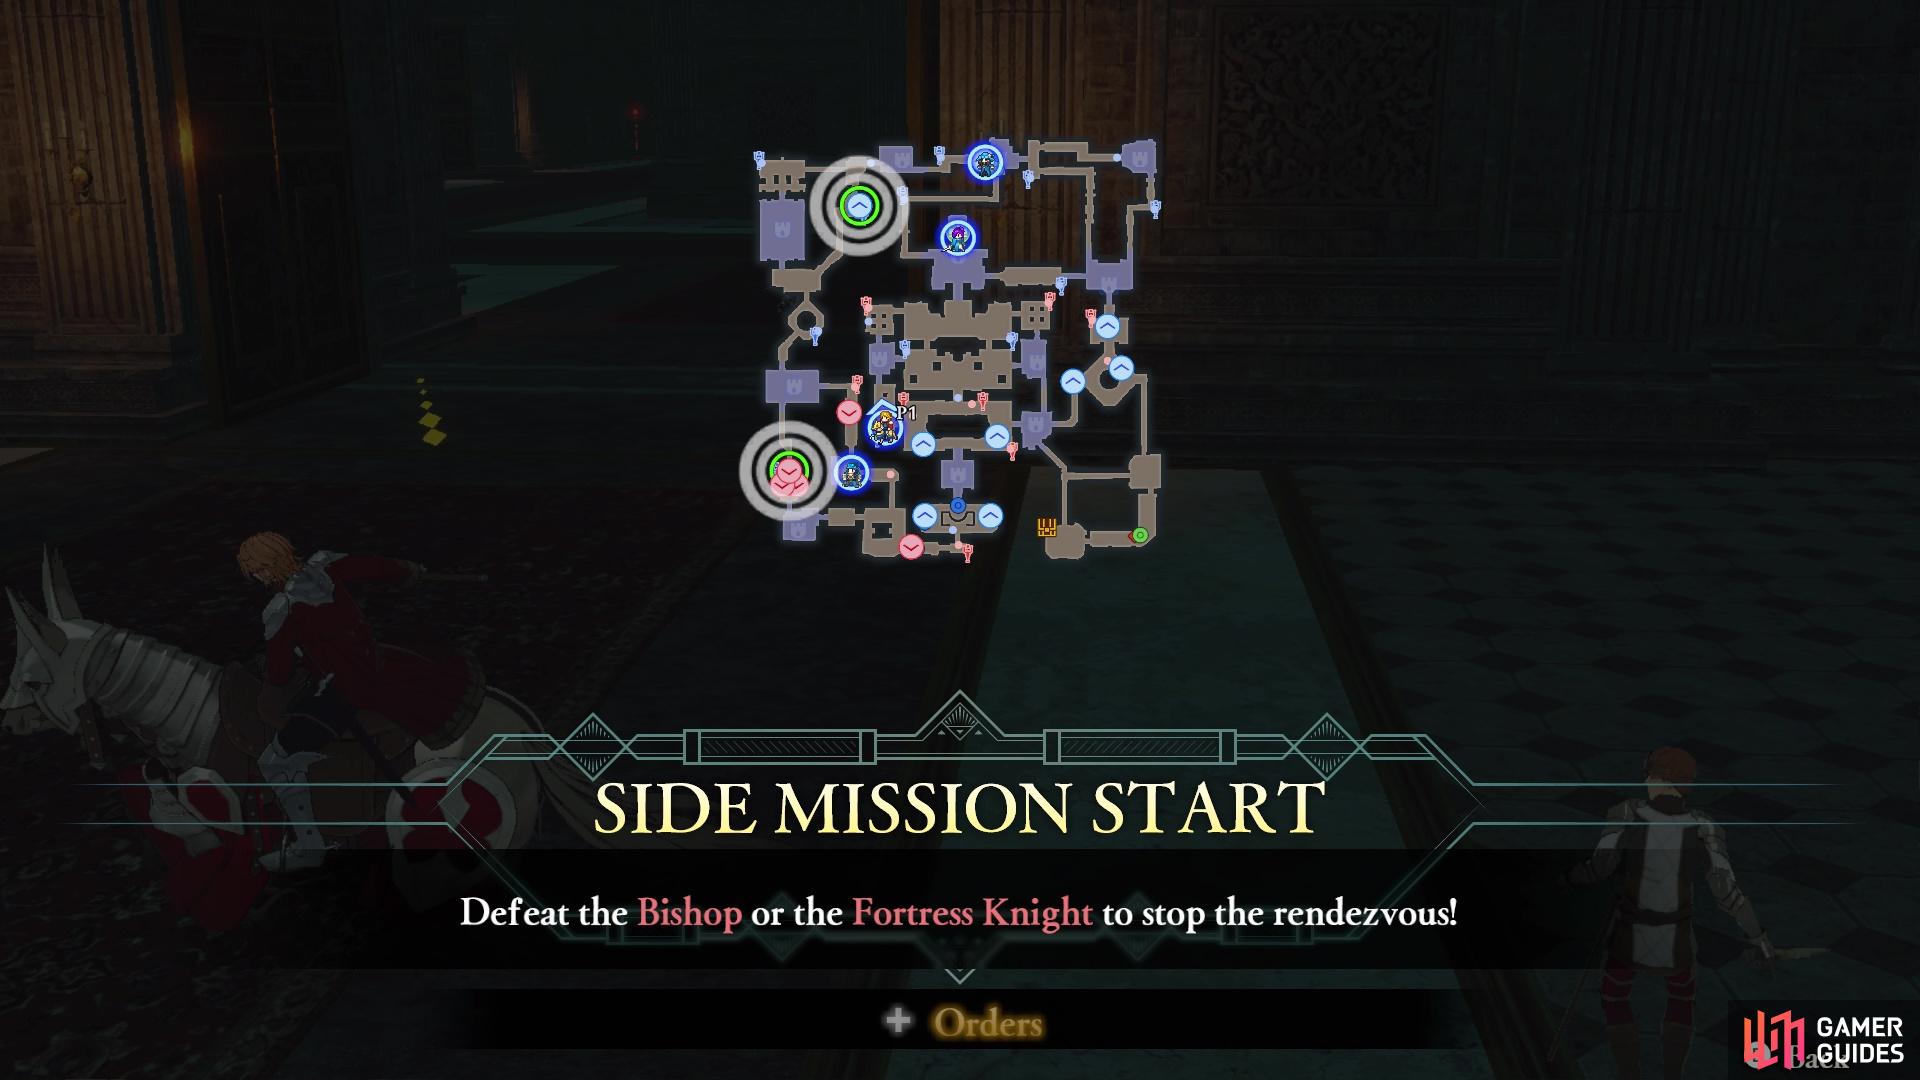
The Fortress Knight and Bishop are aiming to meet up for sinister deeds
The Knight will be moving and will be accompanied by two Armored Knights
This is yet another side mission, with this one focusing on a pair of enemy units that will appear on the western side of the map. The Fortress Knight is the southern of the two, and will begin moving north, to meet up with the Bishop. It’s highly likely that nothing good will come out of them meeting, so it’s wise to put a stop to their nefarious plans by defeating one of them. Since the Fortress Knight is the one on the move, it’s best to focus him down, although he is definitely the beefier of the two (plus, he comes with two Armored Knights).
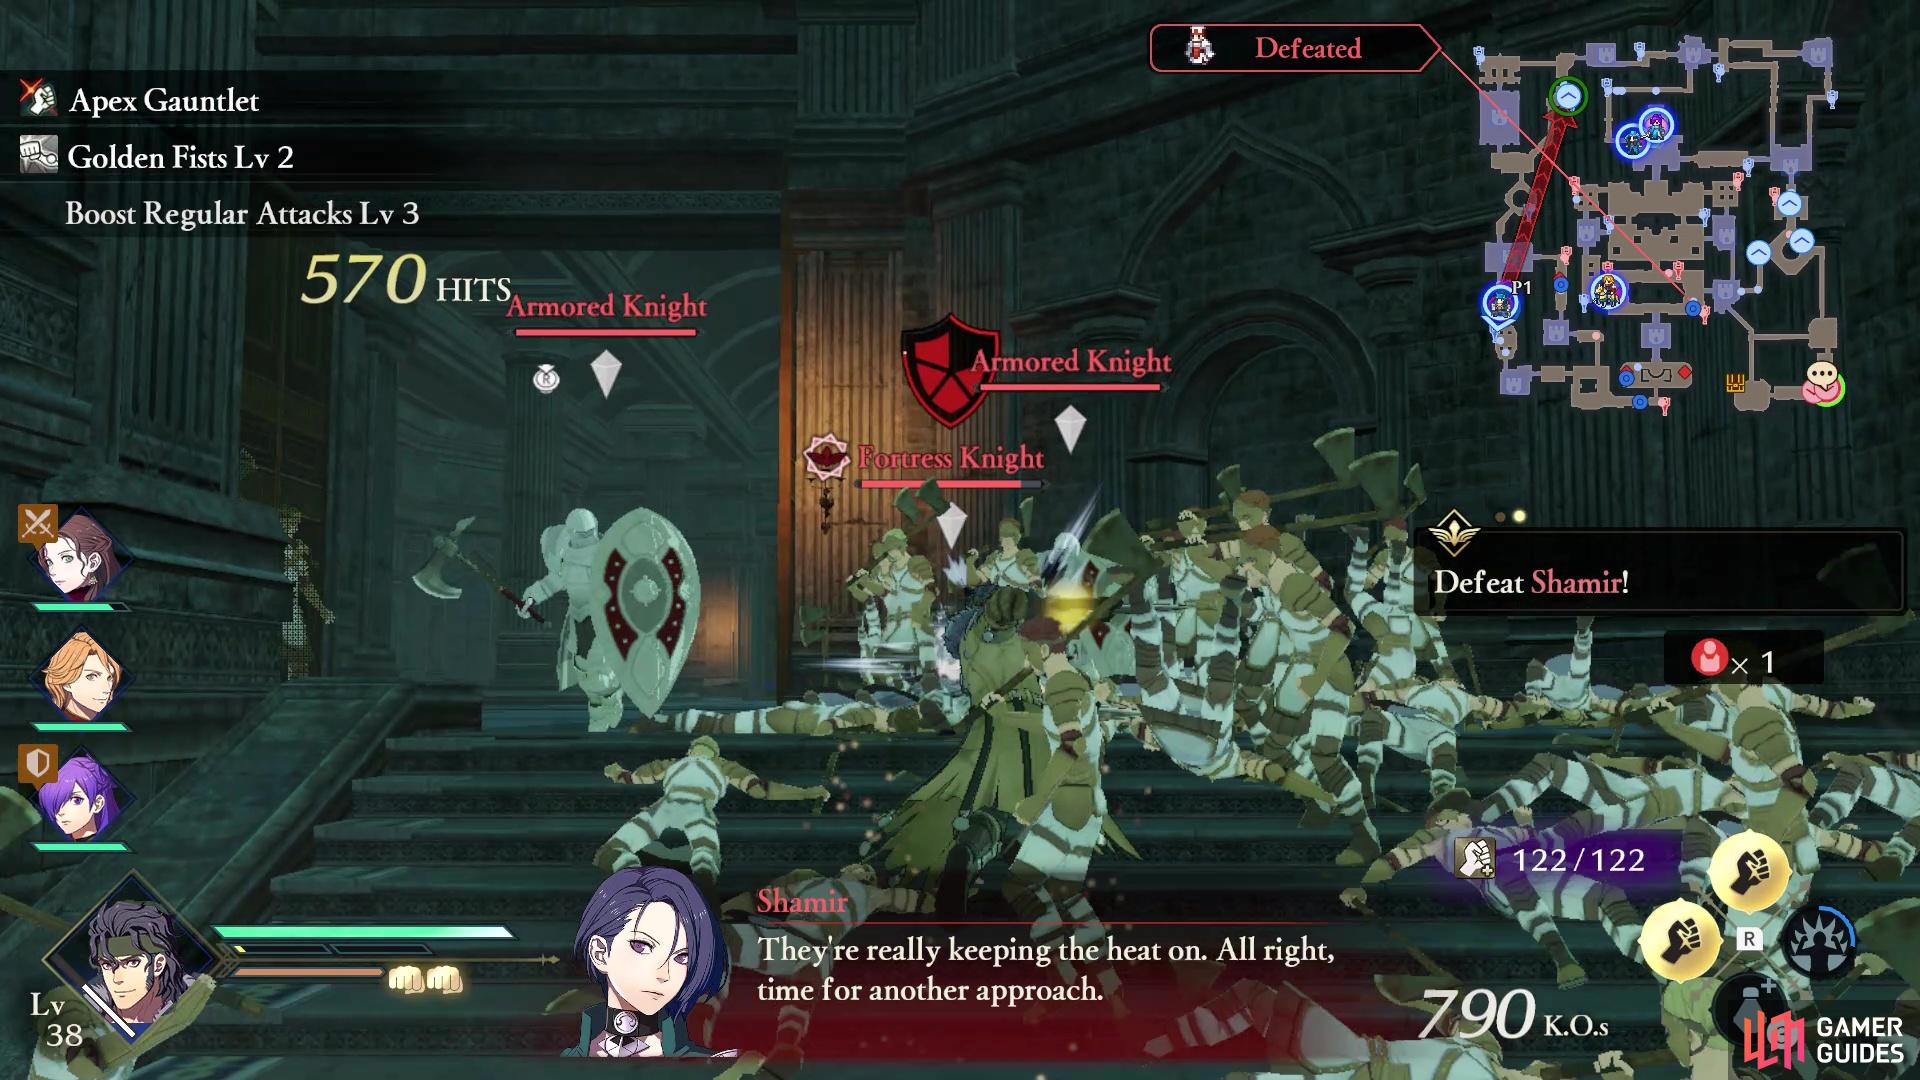
Mission 4: Defeat Shamir
Yes, Shamir will show her face once again, this time in the southeastern corner of the map. This is nothing different than the first time she showed up, as Shamir will disappear after taking enough damage. Note that during this time, it is highly likely that Edelgard will move out of the throne room and south a bit on the map. If you took the tip above of assigning a strong allied unit to her, then she should be more than fine while you clear up any side missions, and/or go after Shamir, since some enemy units will ambush her once she reaches a certain point.
Whenever you approach Shamir, though, some enemy units will appear to ambush you, and she will lock you in that area. As Shamir disappears again, this seems to signal some Wyvern Riders to appear in that southeastern corner, one of which will have the key needed to open the chest in the same area. You only need to defeat the Wyvern Riders it seems, but you might as well clear out the entire area there. You do want to make it quick, though, as final moments of the battle will draw near.
Mission 5: Defeat Catherine and Recruit Shamir
Once Shamir disappears the second time, springing one final trap on you in the southeast corner, Catherine will appear in the center of the map, poised to attack Edelgard. You should have an allied unit there to help guard her already, but if not, do that now and possibly send a second one, too. Note that, at this time, if you chose the Rescue Strategy prior to the start of the battle, you will be able to initiate it now. This will make Count Hevring activate some magic that will teleport Edelgard back to the throne room, which isn’t exactly a long journey for Catherine to make.
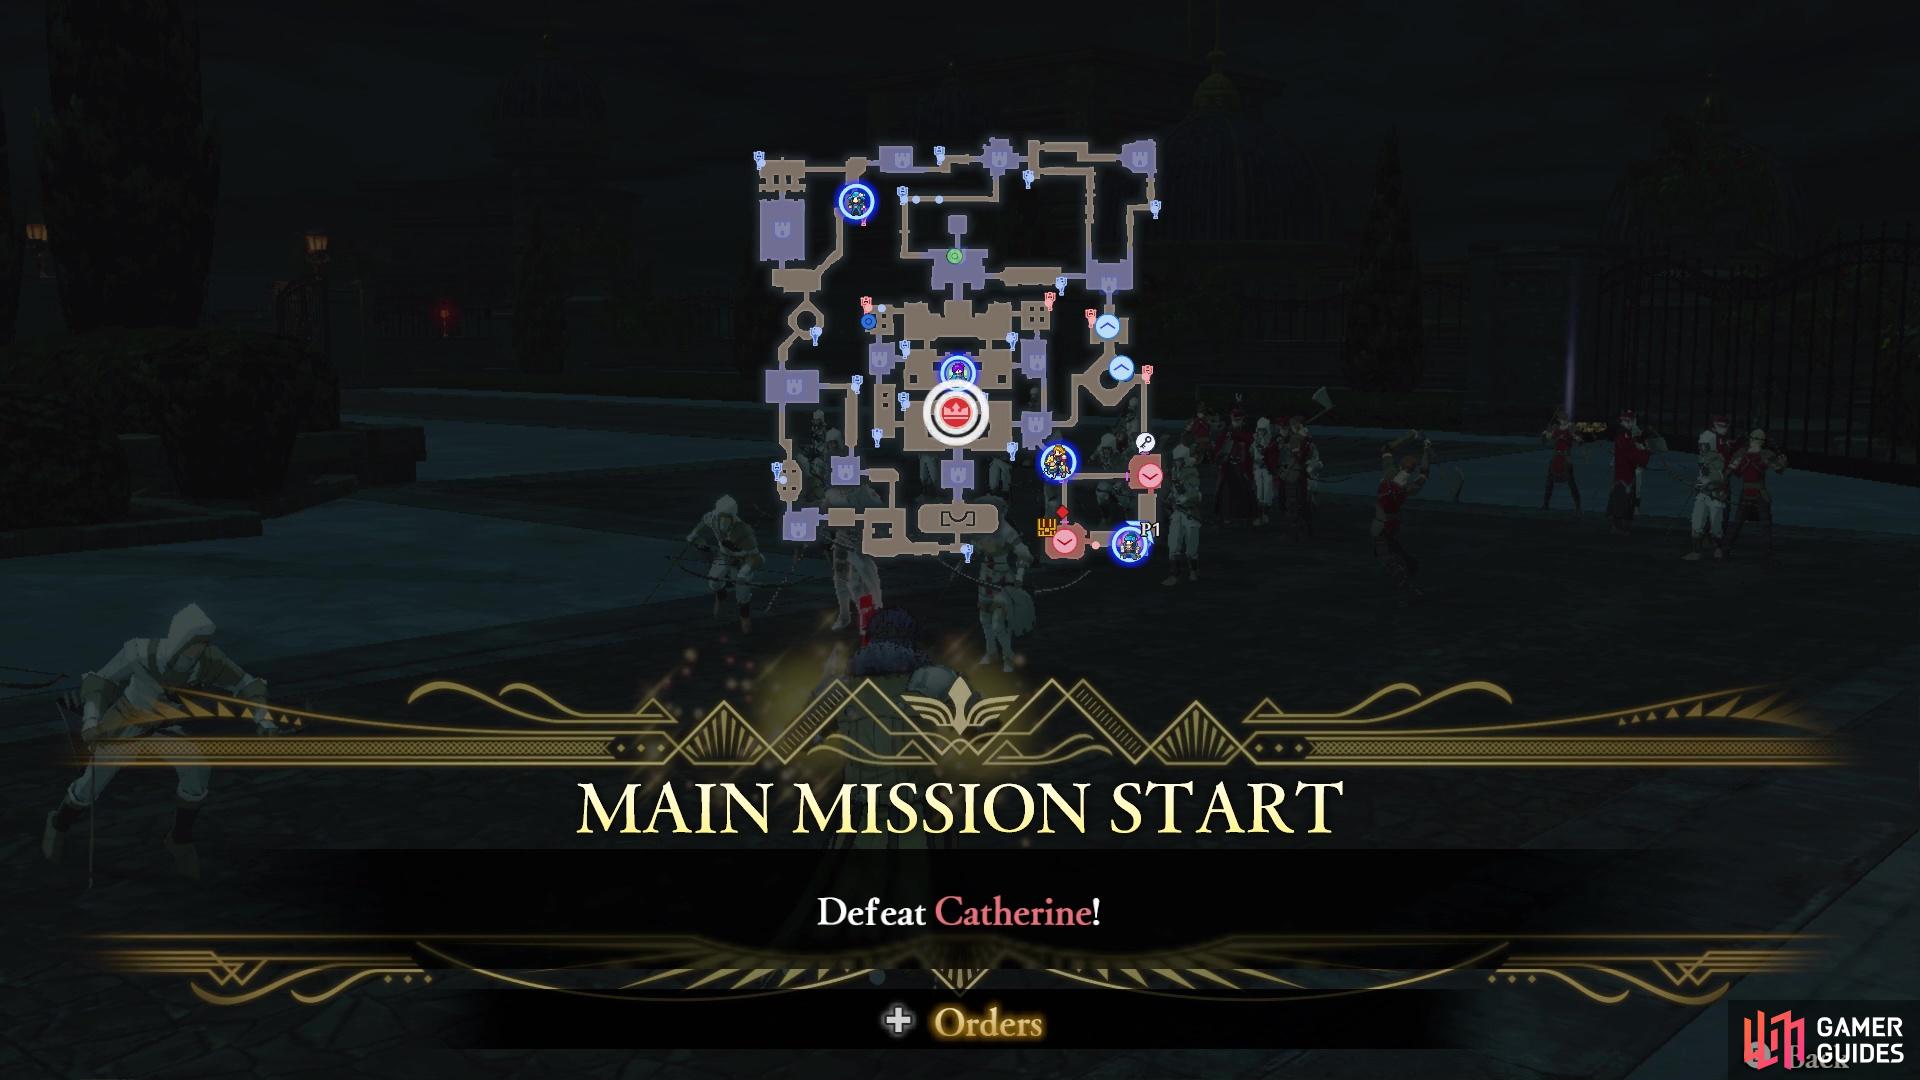
As the battle winds down, Shamir will reappear one final time to assist Catherine in trying to kill Edelgard. If you chose the Persuade Shamir Strategy prior to the beginning of the skirmish, then you should be able to initiate it now. The game mentions that you should just defeat Catherine in order to recruit Shamir, so that is what’s going to be written here. Focus all of your attacks on Catherine and try to separate the pair, so you don’t accidentally defeat Shamir here. Once you bring down Catherine, though (and Shamir, if you don’t have the Strategy), then the battle will finally be over.
No Comments