
This is a guide for Chapter 12: The Rising Darkness in Fire Emblem Warriors: Three Hopes, this page focusing on the Eastern Hrym Territory.
The Main Quest of Chapter 12
A quick reminder that this is the main quest for Chapter 12 of Scarlet Blaze, so make sure you have done everything else you wanted to do before starting this battle. That includes the side battles, spending all of your Activity/Training Points in the camp, and checking out all of the Surveying Spots. You will be unable to do these and get the rewards for them later. Note that you will be able to replay battles for S Ranks, so don’t worry too much about that right now.
Which Strategies to Choose for Eastern Hrym Territory
If you have capture all of the regions on the War Map during this chapter, then you should have a total of 70 Strategy Resources to spend on Strategies. Should you choose the first three, though, all of those points will be spent. The other three Strategies are not really worth the trouble, plus Persuade Leonie should be chosen to get the last possible recruit during the Scarlet Blaze route.
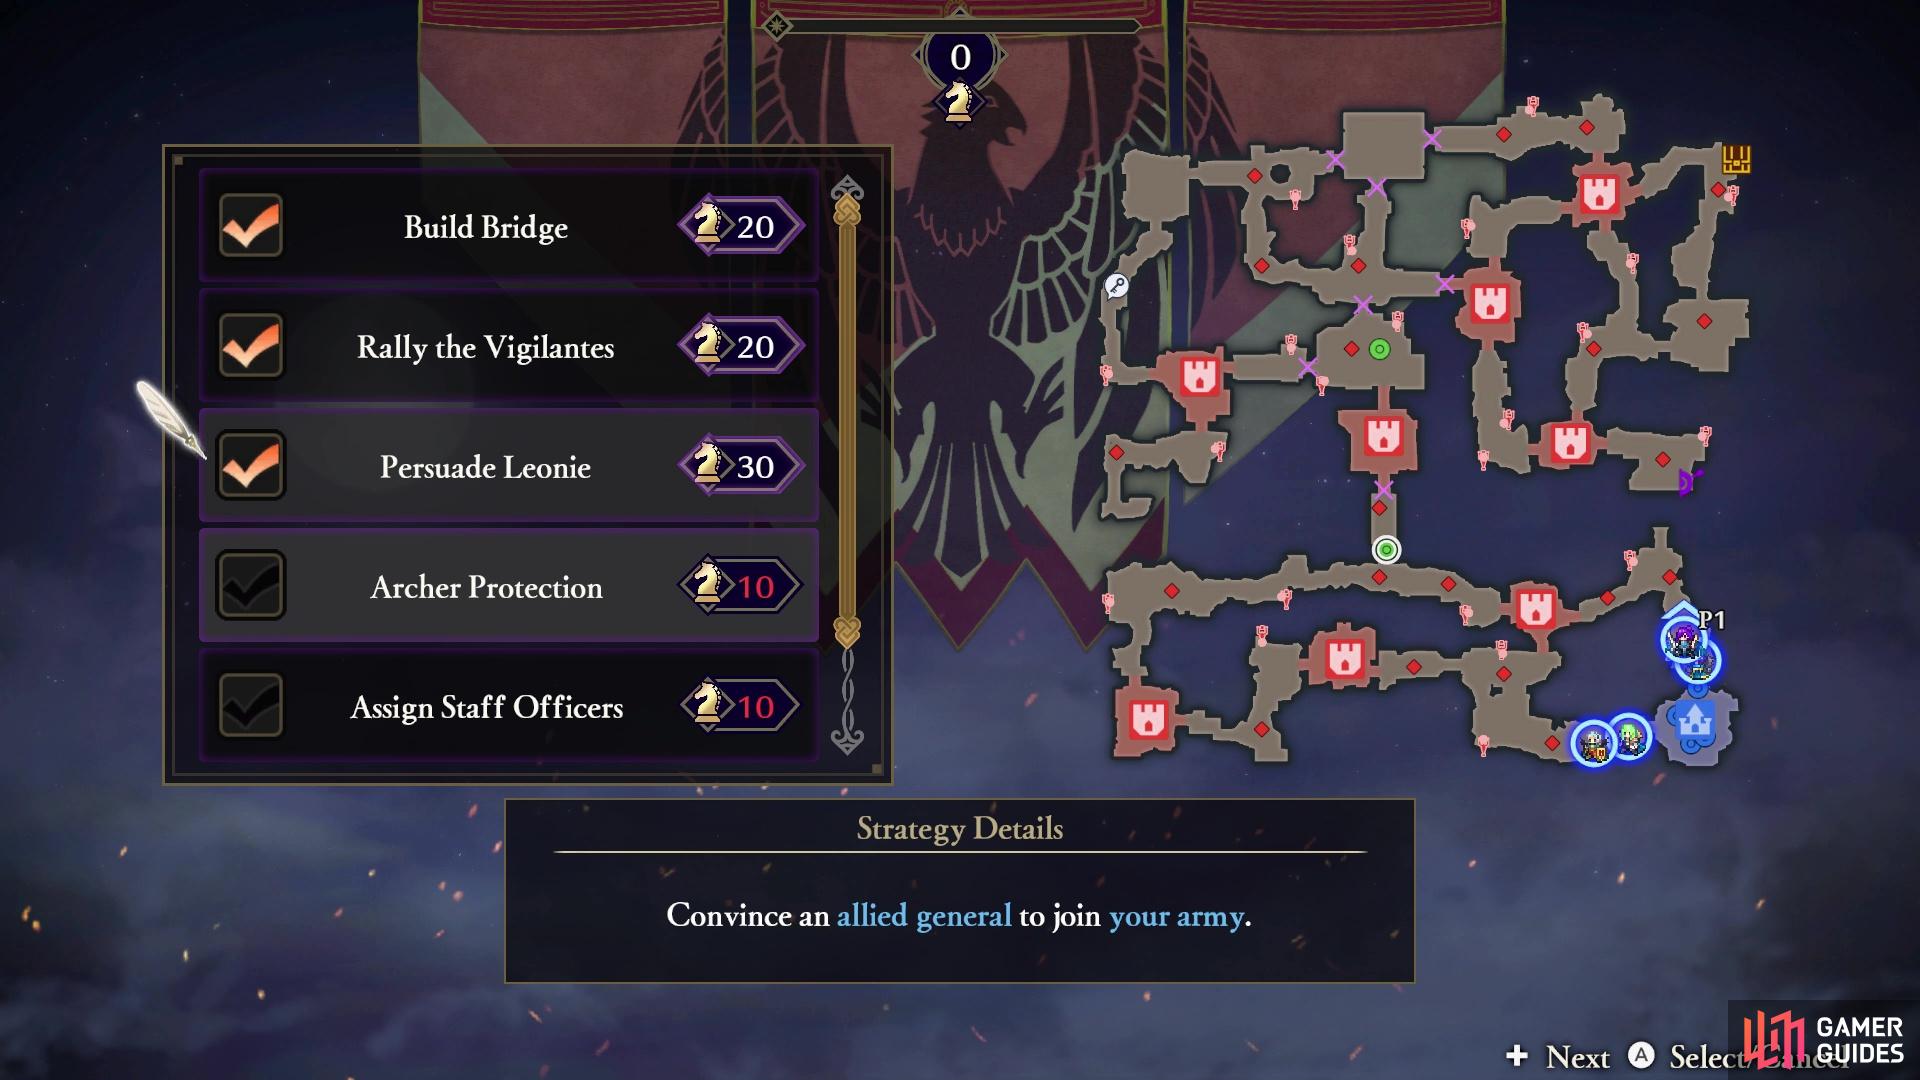
Leonie will be the final character you can recruit in Scarlet Blaze
| Strategy | Cost | Strategy Details |
|---|---|---|
| Build Bridge | 20 | Build a bridge to create a new path. |
| Rally the Vigilantes | 20 | Summon vigilantes to protect the citizenry’s evacuation point. |
| Persuade Leonie | 30 | Convince an allied general to join your army. |
| Archer Protection | 10 | Assign an archer unit to protect allies as they advance. |
| Assign Staff Officers | 10 | Slightly strengthen allies for a period of time at the start of battle. |
| Well-Stocked | 10 | Begin the battle with allied strongholds stocked with healing items. |
How to S Rank Eastern Hrym Territory
| Completion Time | Enemies Defeated | Damage Taken |
|---|---|---|
| 15:00 | 1500 | 50% |
As usual, the time limit above will probably be the biggest factor in trying to get the S Rank for this battle. Issuing orders is going to be a big factor here, especially to those that have an advantage over the enemy units you’re fighting. Try to stick to the main missions and ignore any side missions, unless they involve the Evacuation Shelter in the southeast, as losing that means you fail the battle.
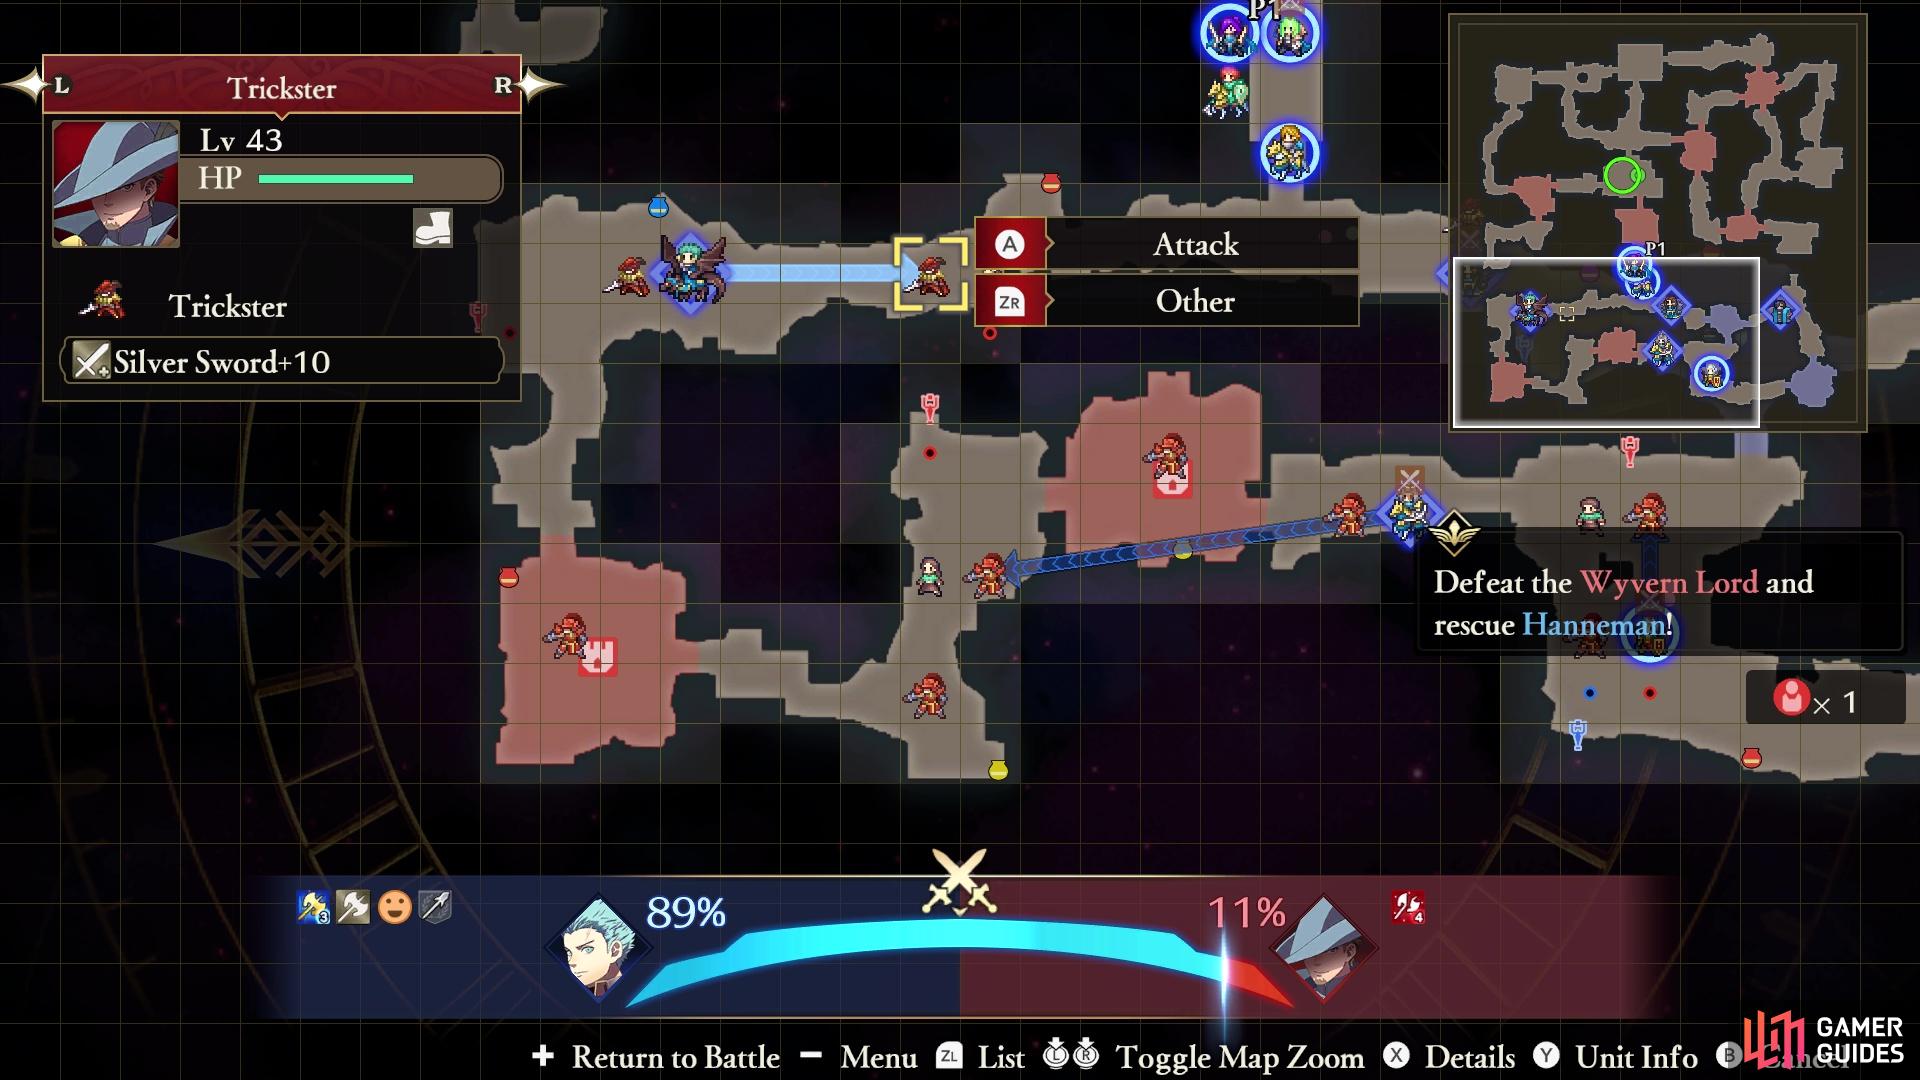
Mission 1: Defeat the Wyvern Lord and Rescue Hanneman
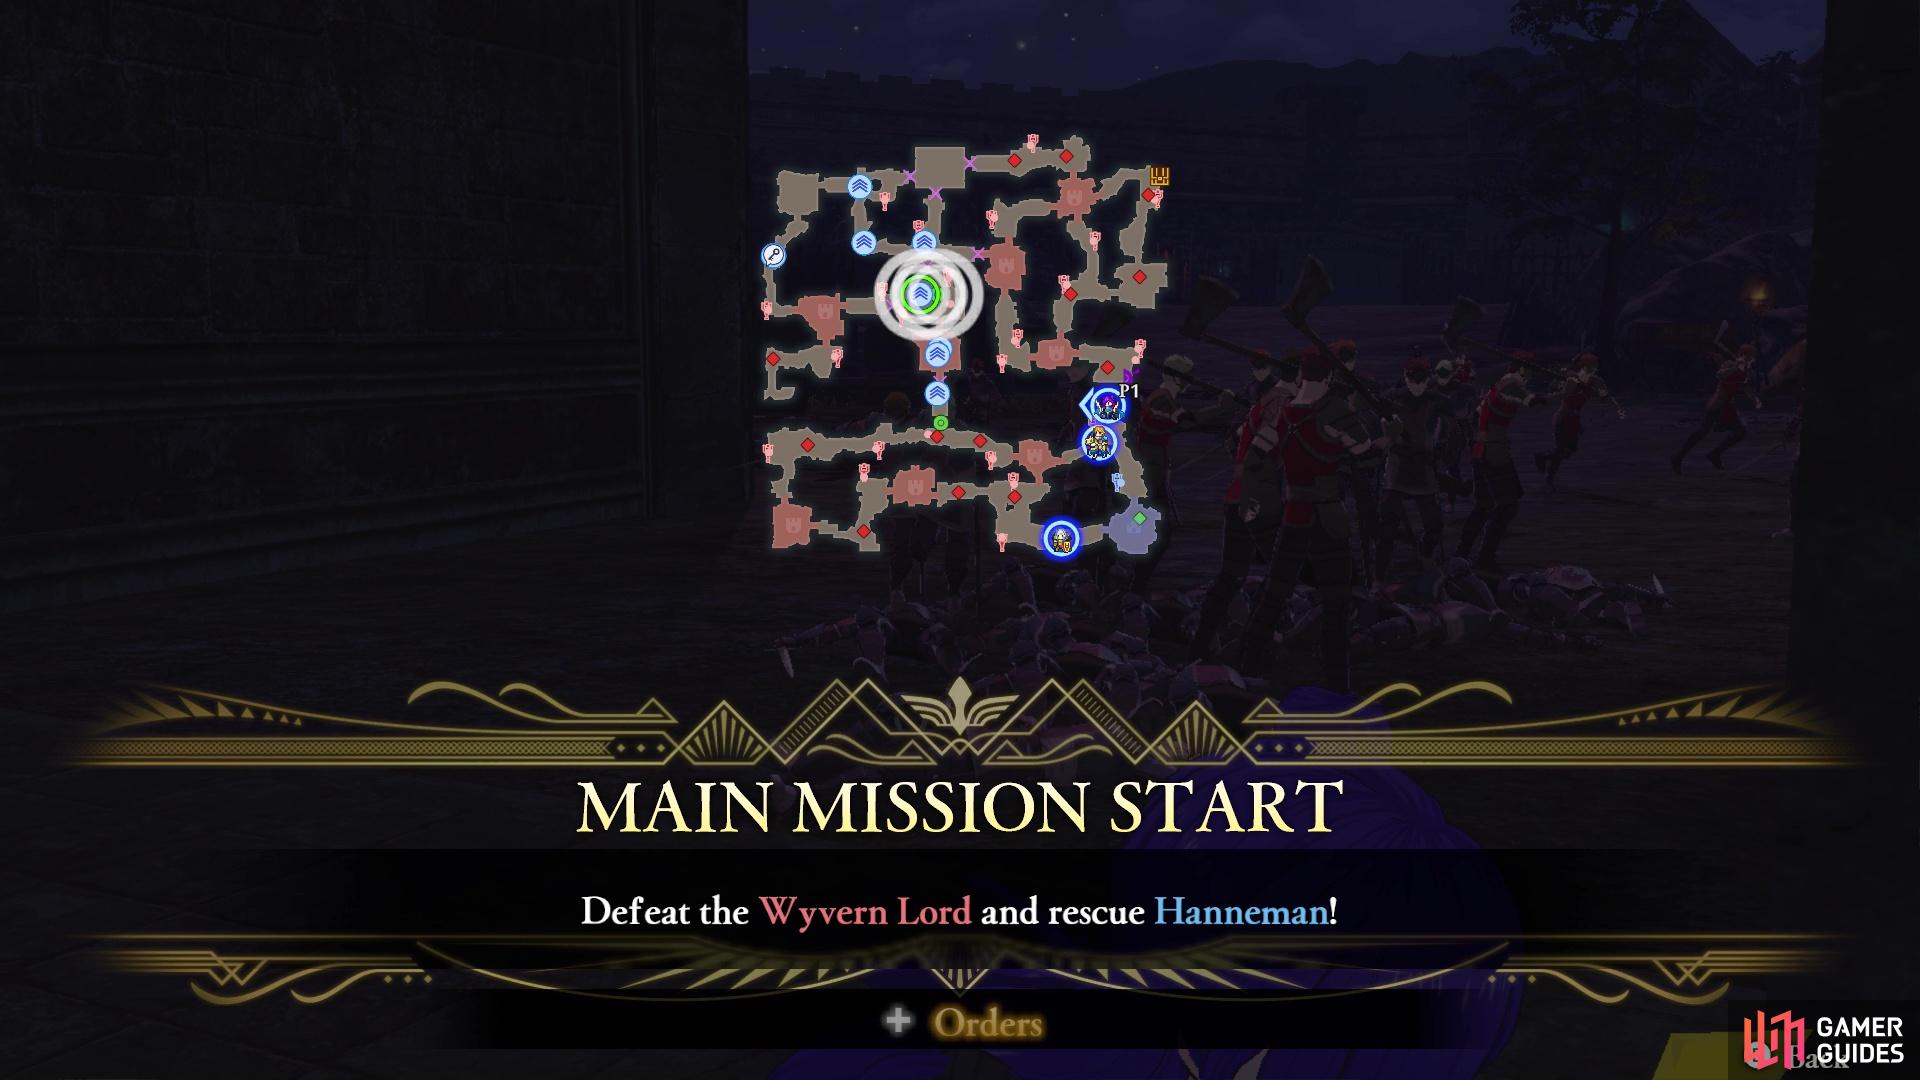
Rescuing Hanneman will be your first priority
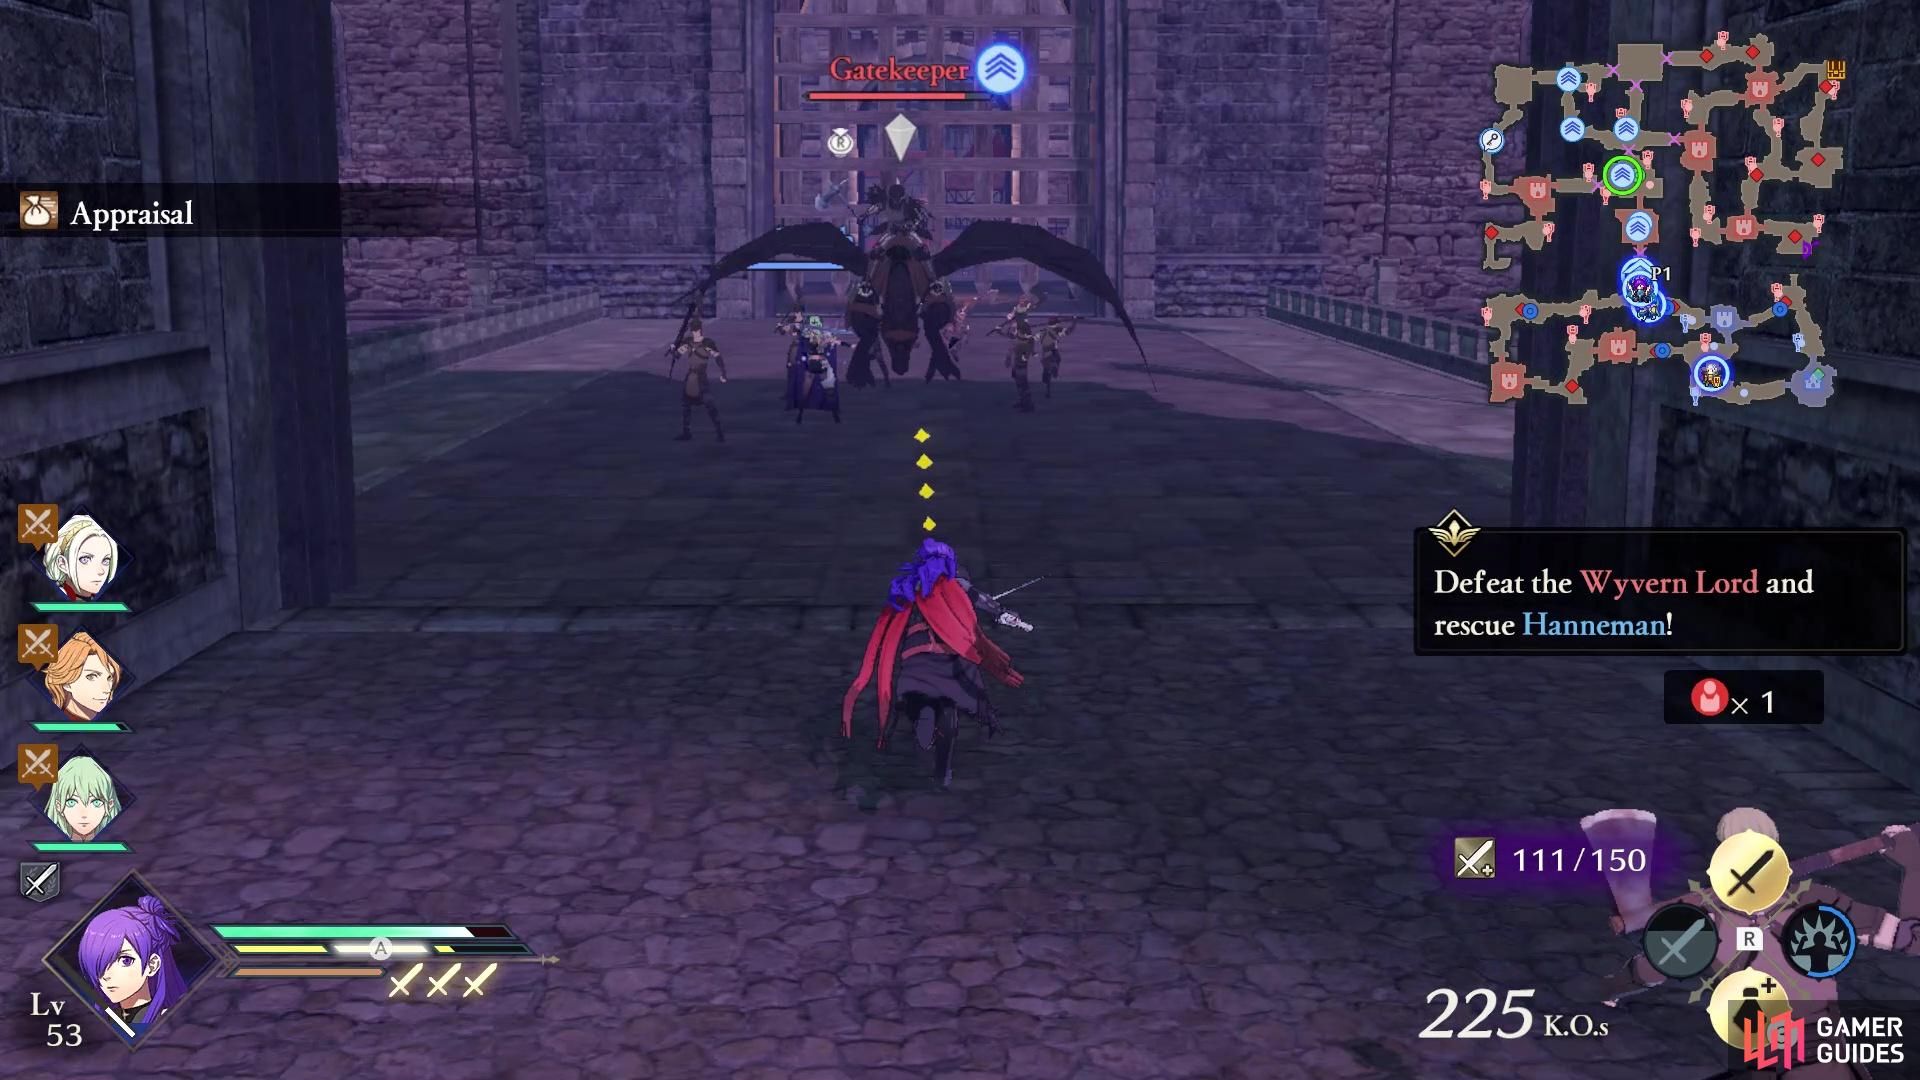
Defeat the Gatekeeper to open the way to Hanneman
Your overall mission at the beginning of the battle will revolve around getting to Hanneman and rescuing him, which is done by defeating the Wyvern Lord he’s doing battle with from the start. There’s not much else to do at the beginning, but there will be a bunch of enemy units and strongholds along the southern end of the map. So, one of the things you can do is assign your allied units to take those out, so they’re not in your way. In order to gain access to the area with Hanneman, you will need to defeat a Gatekeeper. You will also run into Leonie here, who will be a fellow allied unit and someone you will be recruiting later on in the fight.
Side Mission: Defeat the Thieves to Rescue the Citizens
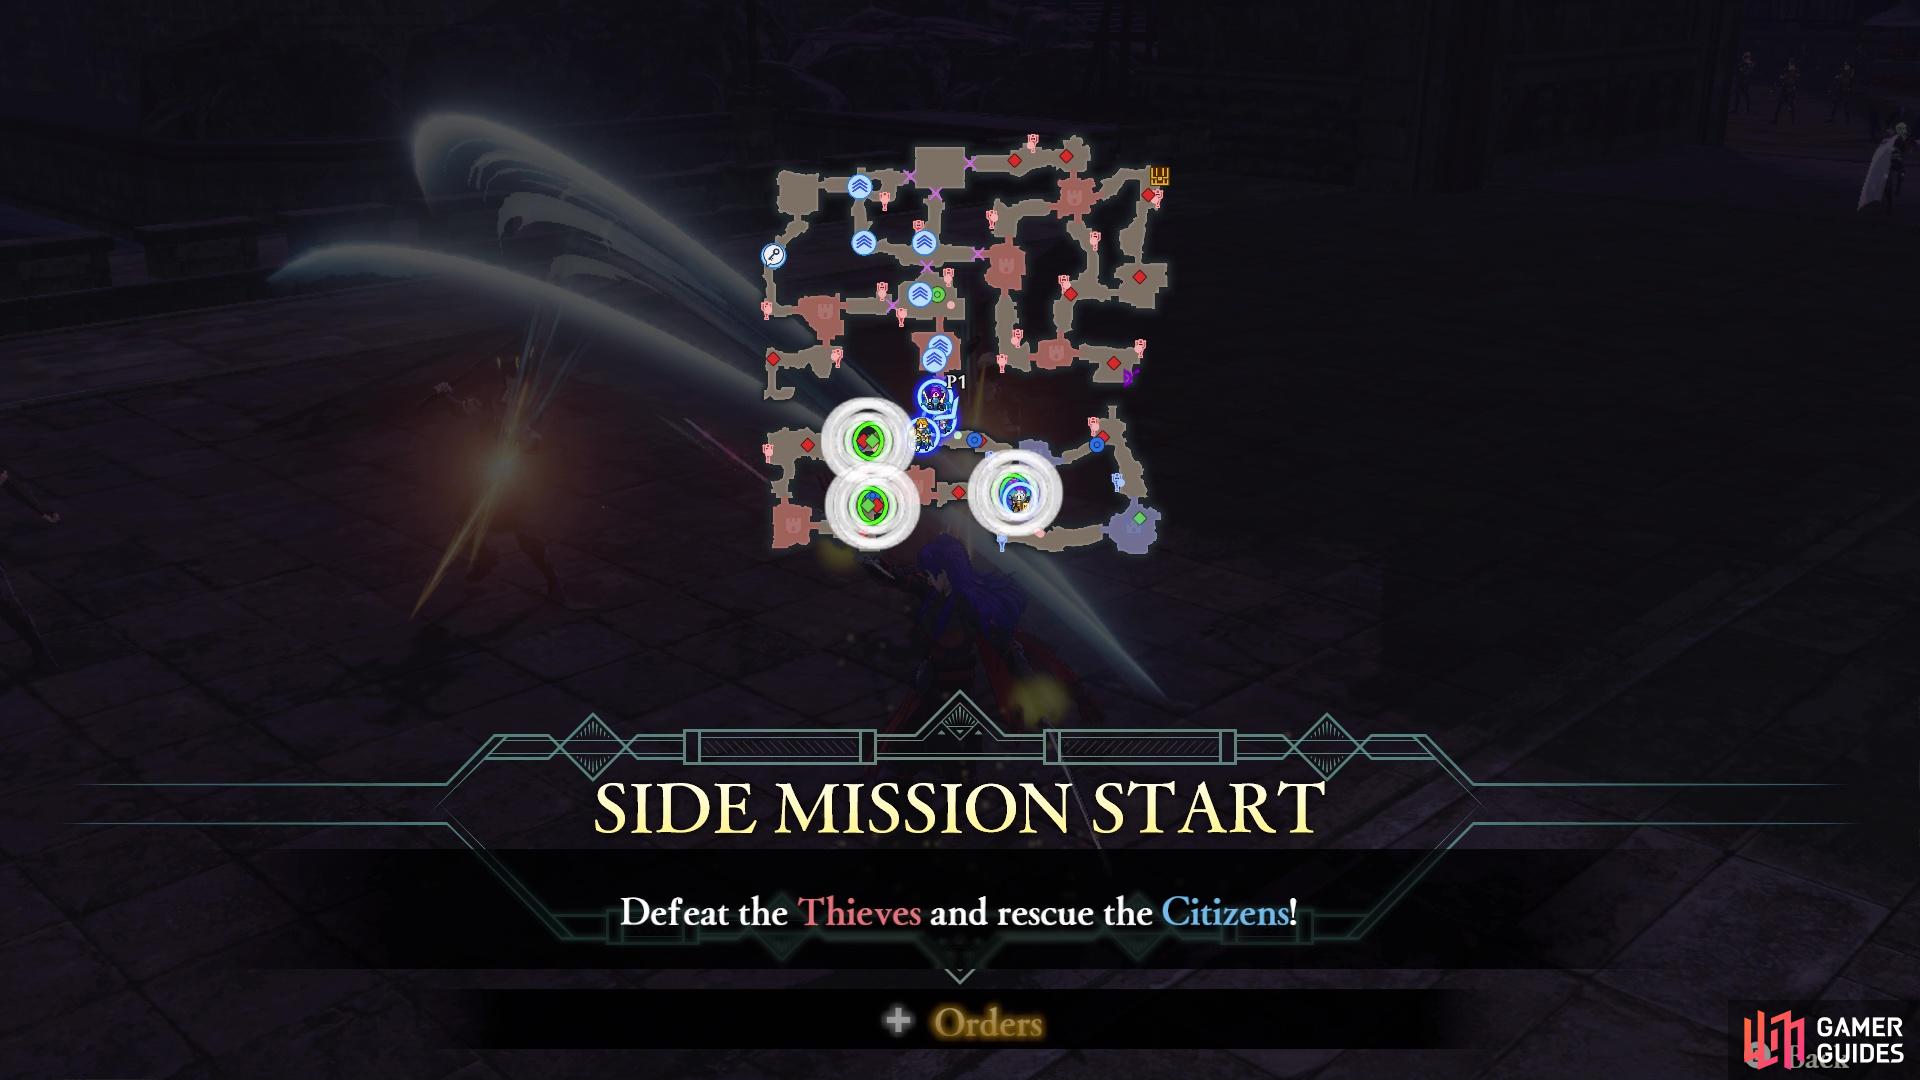
Some Citizens will be in trouble on your way to rescuing Hanneman
Issue orders to your allies to rescue the Citizens
Not too long into the battle, likely before you reach Hanneman himself, a side mission will pop up that asks you to rescue some Citizens from a bunch of Thieves. The trio of citizens will spawn in the southern half of the map, so they are all accessible without having to do anything. Of course, being pretty much nobodies, they will likely die very quickly, so if you wish to complete this side mission, then you want to defeat the Thieves as soon as possible. Even better would be to send your allies to assist, since you need to make sure that you rescue Hanneman.
Mission 2: Defeat Pallardo
Once you aid Hanneman, Pallardo will appear in the northwest corner of the map. If you personally helped out Hanneman, then you should be in the middle of the map. Go ahead and confront this Pallardo, with the knowledge that he uses swords and is a Trickster. However, once you defeat him, you will find out he isn’t the real one…

Side Mission: Defeat Pallardo’s Subordinate to Retrieve the Stolen Goods
At around the same time as Pallardo’s appearance, you should receive another notification about one of his subordinates. Apparently, he stole some goods from the town and is about to make a hasty escape with them. They will first appear just east of the center of the map, where Hanneman was located and needed rescuing. Since you will likely already be there, you can easily stop the thief. It should be noted that you might receive another popup, talking about the Build Bridge Strategy. This is either time based or happens whenever one of your army reaches the southwest corner, leading towards the north. Initiating this Strategy will allow you to unlock another path leading to the north, instead of just the central one.
Mission 3: Defeat the real Pallardo
Upon defeating the double, the real Pallardo will decide to show up just west of where you rescued Hanneman. Despite being the real one, he’s not really any different than his double you just fought. That means that someone like Ferdinand, or another default Lance-user, will be perfect against him.
Mission 4: Defeat Metodey
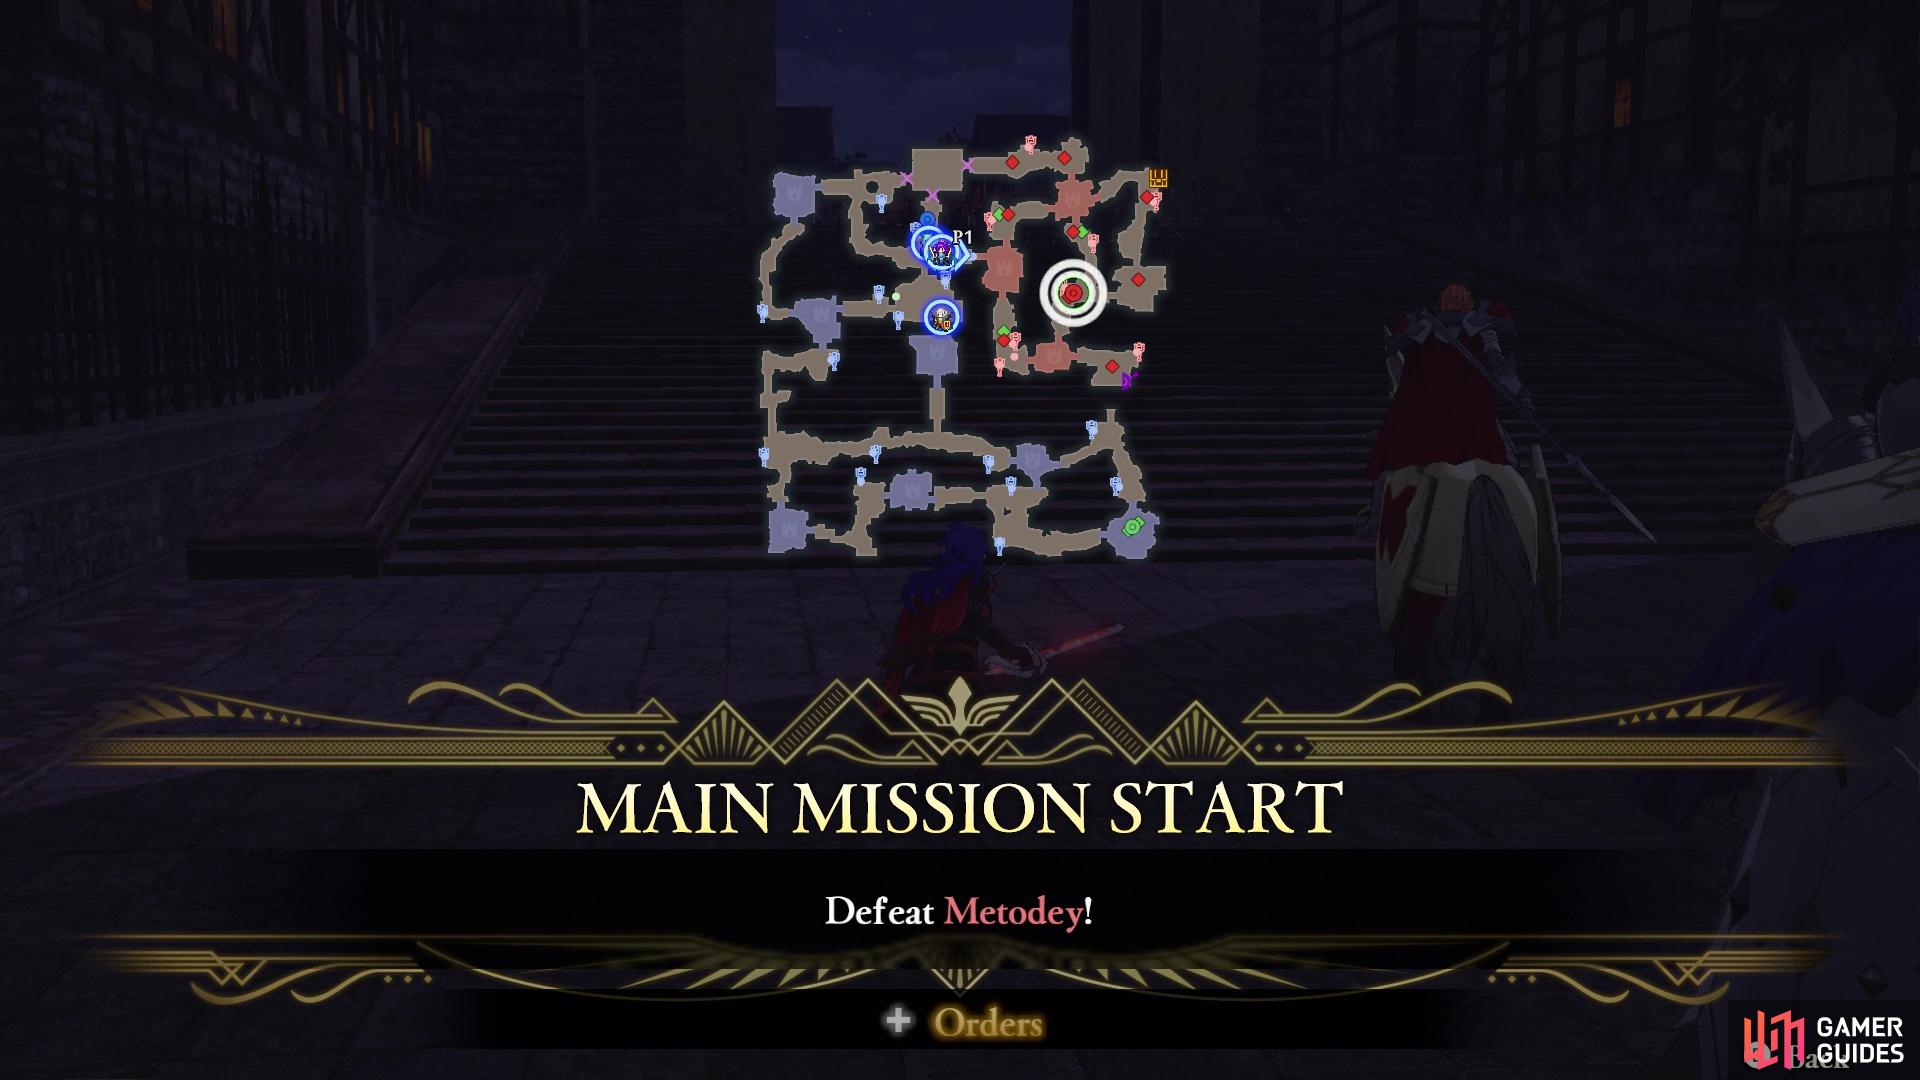
Metodey will be your primary target at this stage
but you should help out the Citizens in the side mission
With Pallardo finally gone for good, Metodey will appear to the east. This will happen at the same time as the following side mission, so things might appear a little hectic at first. Thankfully, Metodey will be right in the area with his subordinates, so you don’t need to travel across the entire map to reach him. As with Pallardo, he is also the same class and will also be using swords, so you know what to do by now.
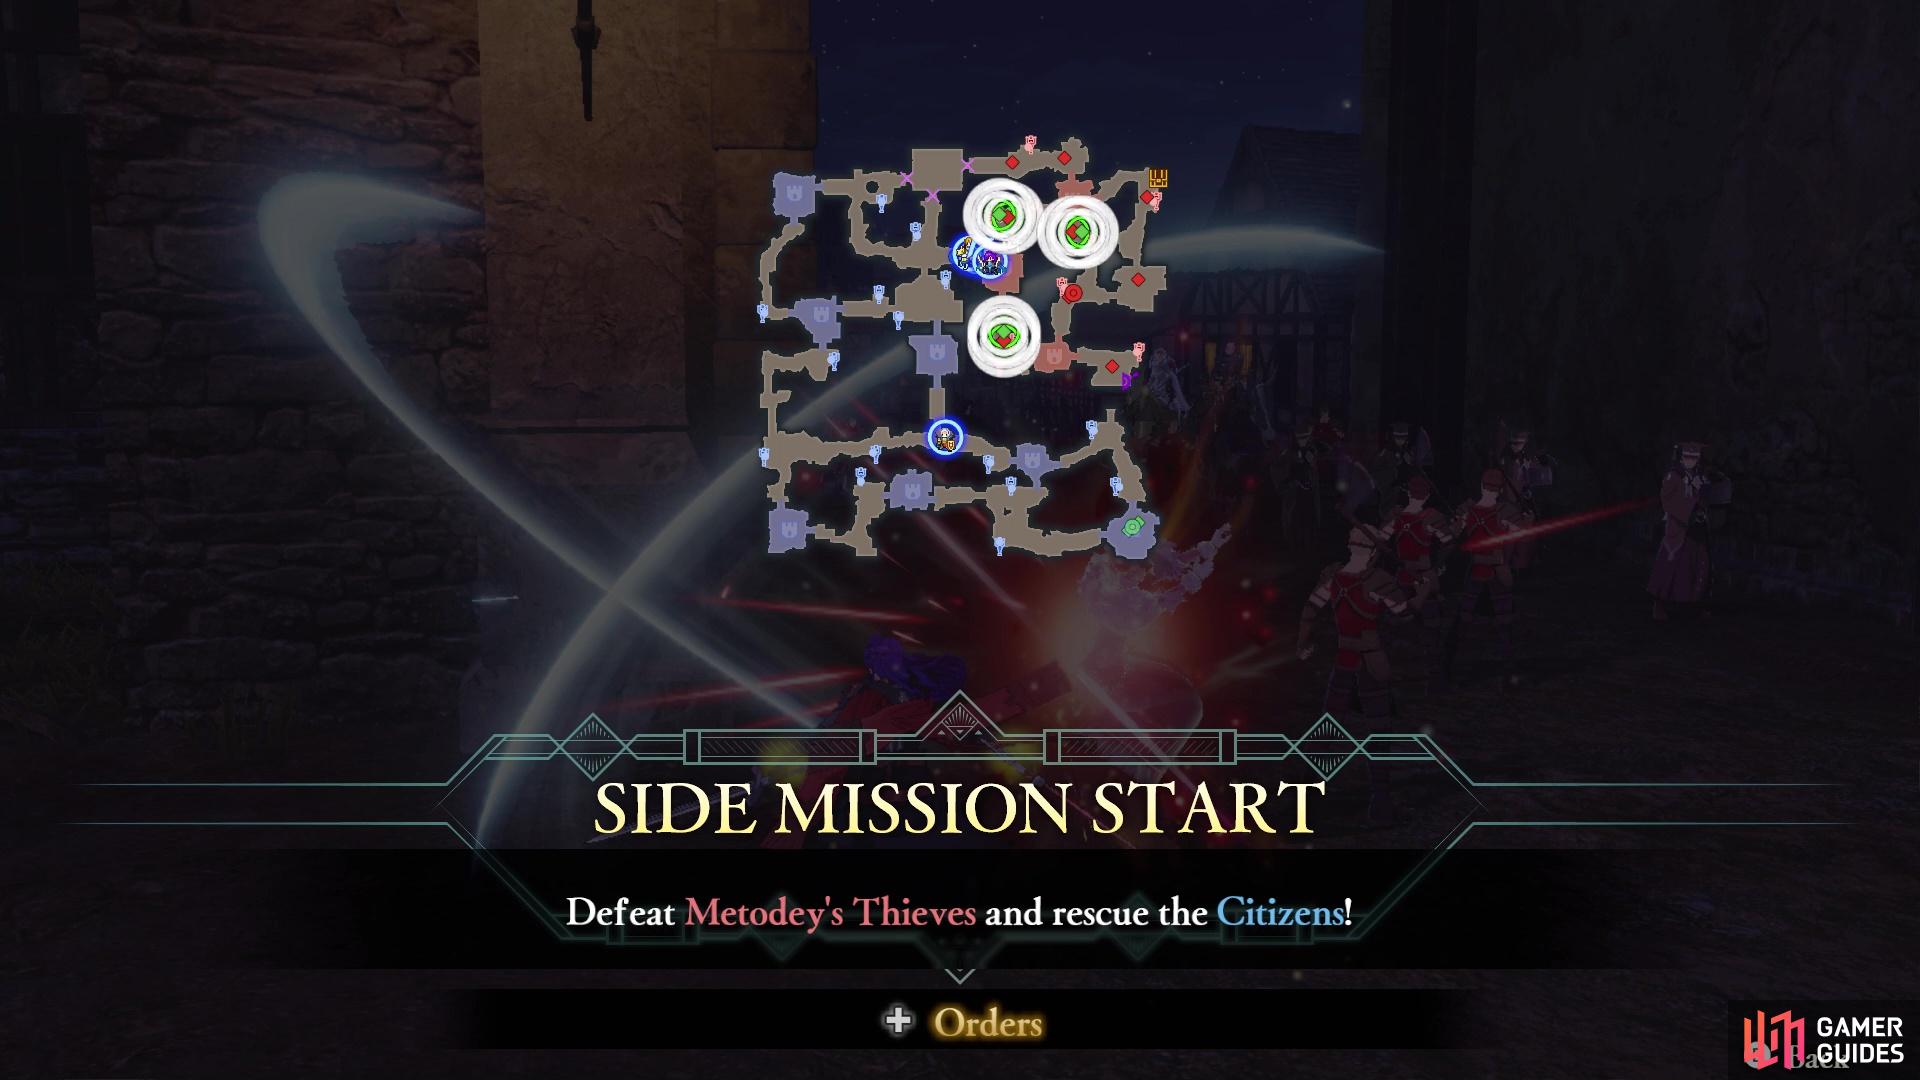
Side Mission: Defeat Metodey’s Thieves and Rescue the Citizens
This will appear at the same time as the main mission to defeat Metodey, as more Citizens will be under attack from enemy units. There will be three Citizens to rescue, all of whom are in the same general area. It might be best to send allies after two of them, while you deal with the third yourself. You could also order allies to all three, then go and take out Metodey, since that should just catch all three without needing to worry about any other mission for right now.
Mission 5: Defeat the Demonic Beast
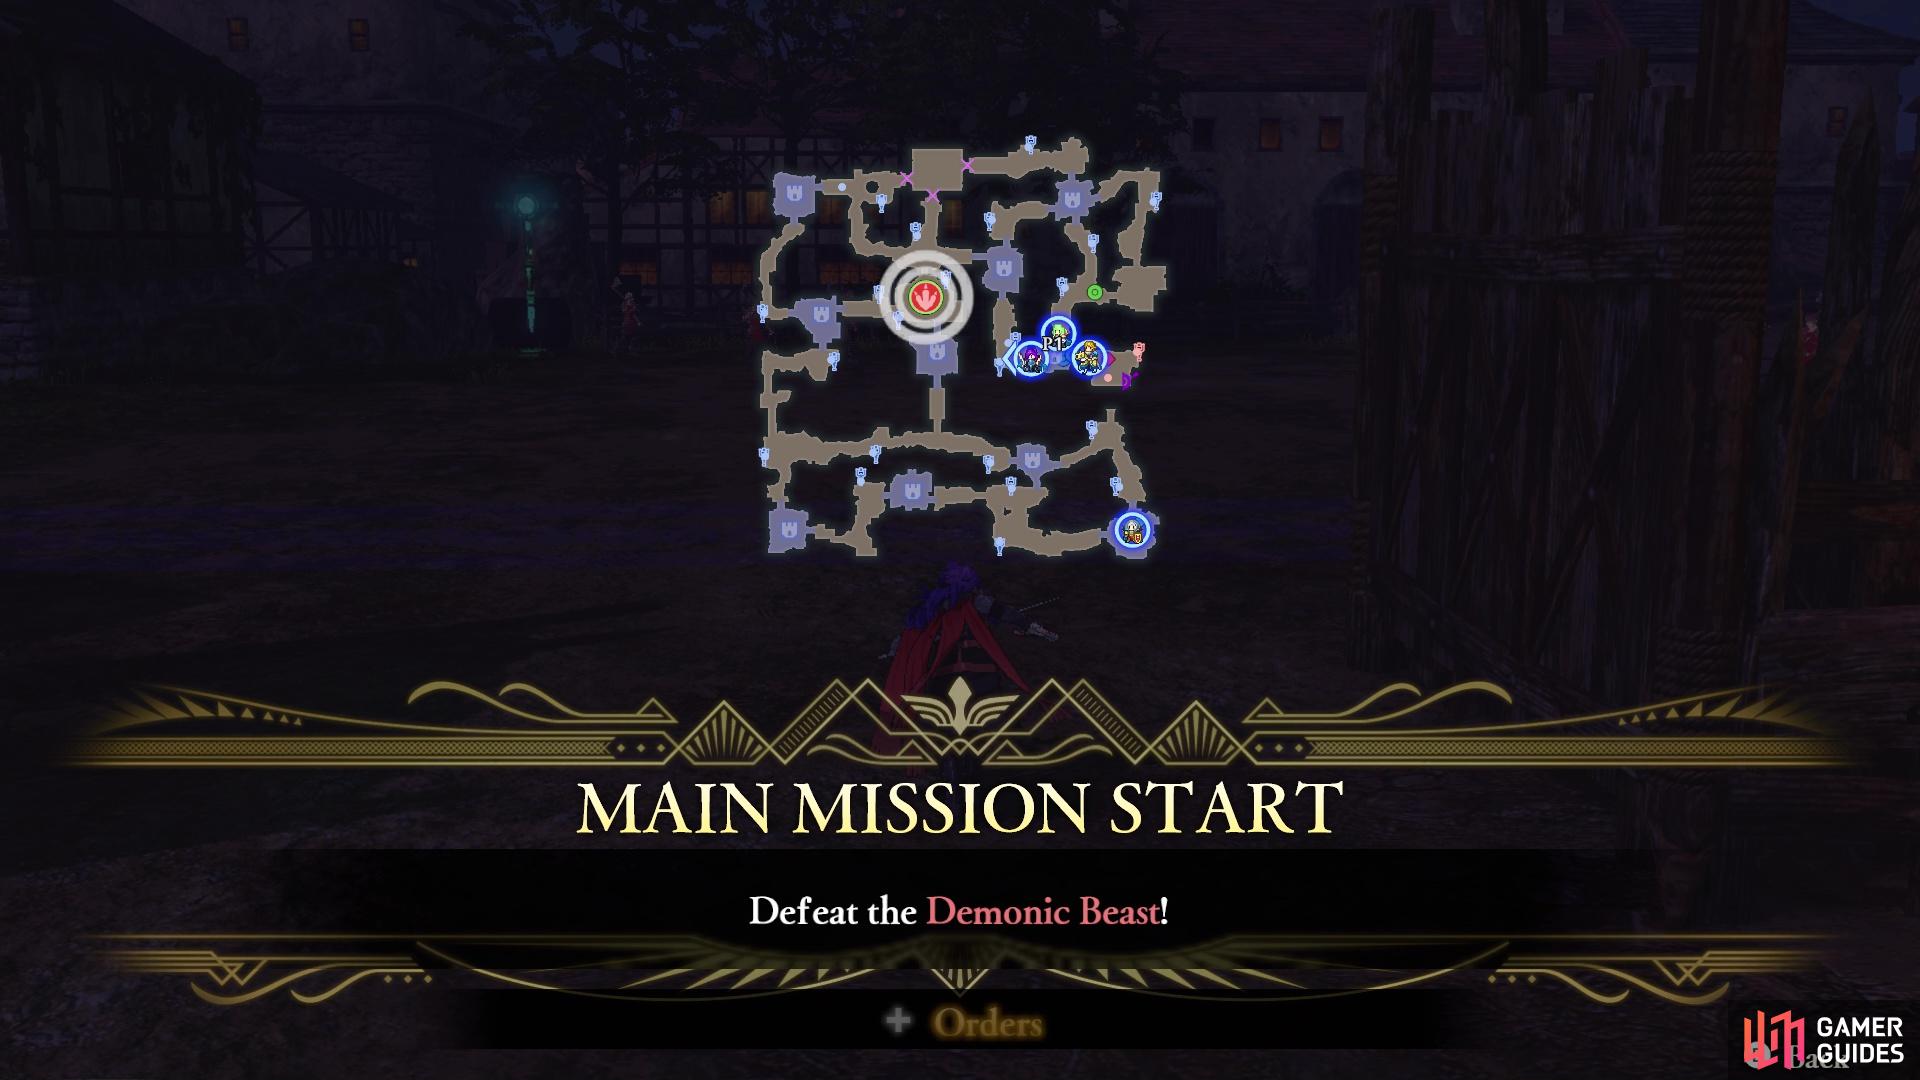
The Demonic Beast will appear after Metodey goes down
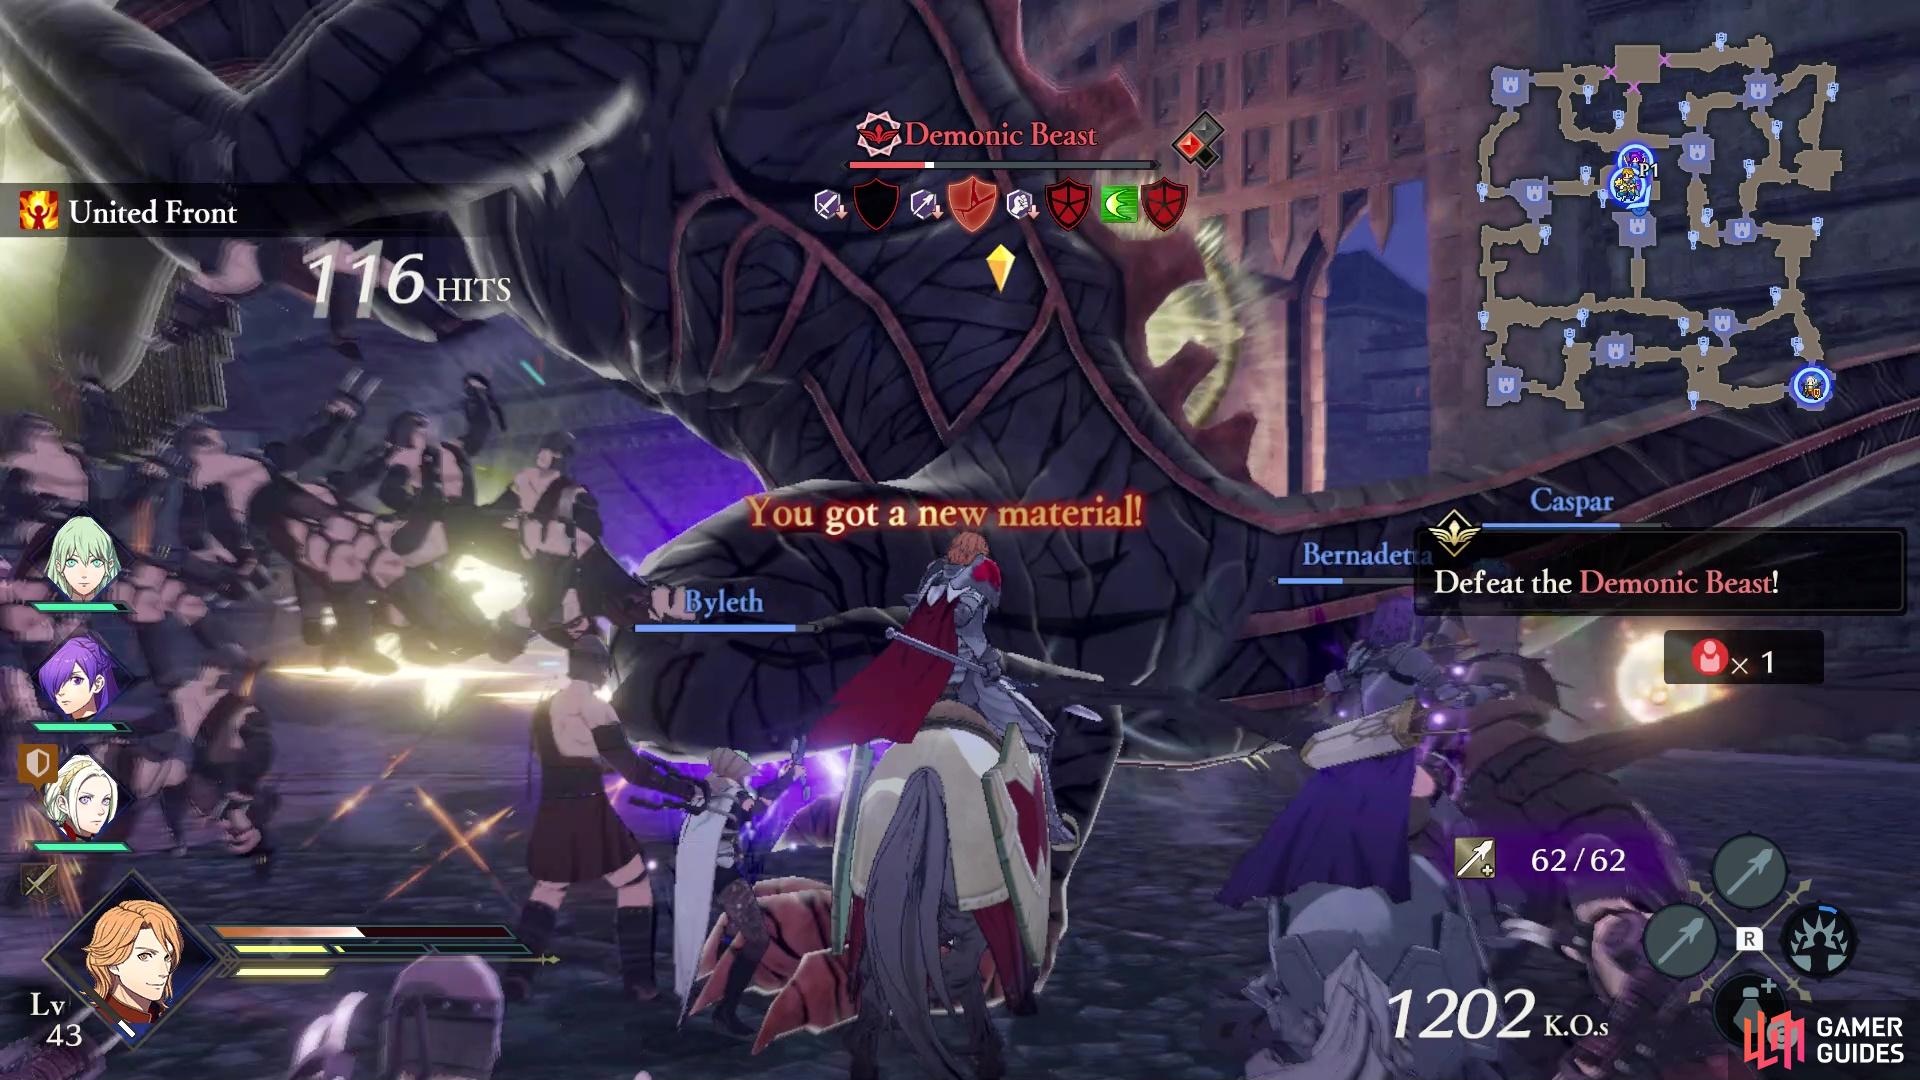
Make sure you always break the shields to get extra loot
When Metodey has gone down, a Demonic Beast will be summoned in the middle of the map. Naturally, to avoid the town being destroyed, you decide to take care of it. As with any Monster, there are multiple shields to break through, and this Demonic Beast will have three life bars. The monster is weak to Swords, Spears, Gauntlets, and Wind, so hopefully you have three of the four in your current lineup. You’ve probably fought more than your fair share of monsters now, without needing to be told what to do.
Mission 6: Esort Leonie to the Evacuation Shelter
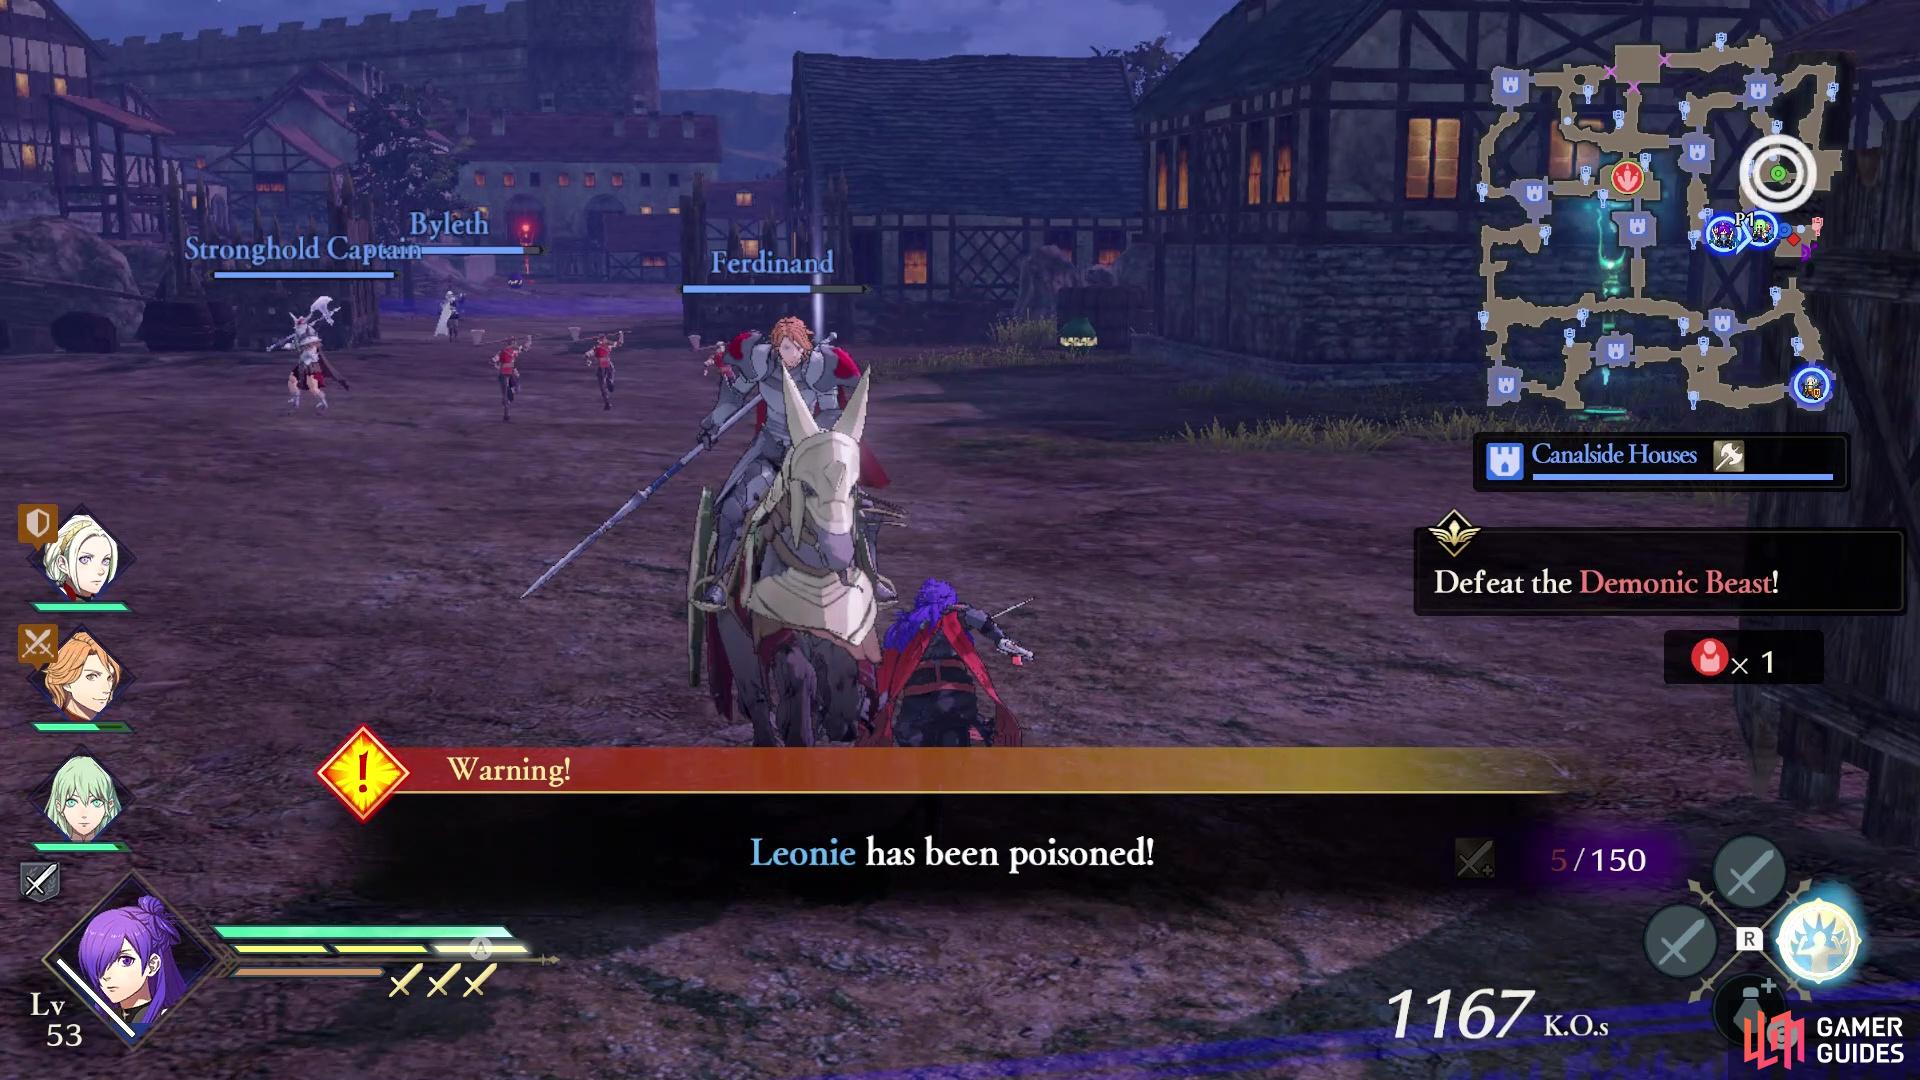
Around the same time as the above, you will see a popup that Leonie has been poisoned. This will trigger the Persuade Leonie Strategy to appear, which will start the main mission. You will need to escort her back to the Evacuation Shelter, which is your stronghold in the bottom right corner. It should be noted that you can only officially recruit Leonie if you also recruited Byleth during Chapter 10. If you didn’t, then after going through the motions of the main mission, she will refuse to join you.
In order to get Leonie back safely to the designated stronghold, you will need to head to the drawbridge on the eastern side of the map. It will be pointed out to you, so clear the way to it and there will be a switch there. Interact with the lever to lower the drawbridge, which will prompt Leonie to head straight to the stronghold. Fortunately, there won’t be any enemy units that will spawn to try and stop you. Once she reaches the stronghold, she will ask to join you after this is over, then leave the battlefield with Hanneman.
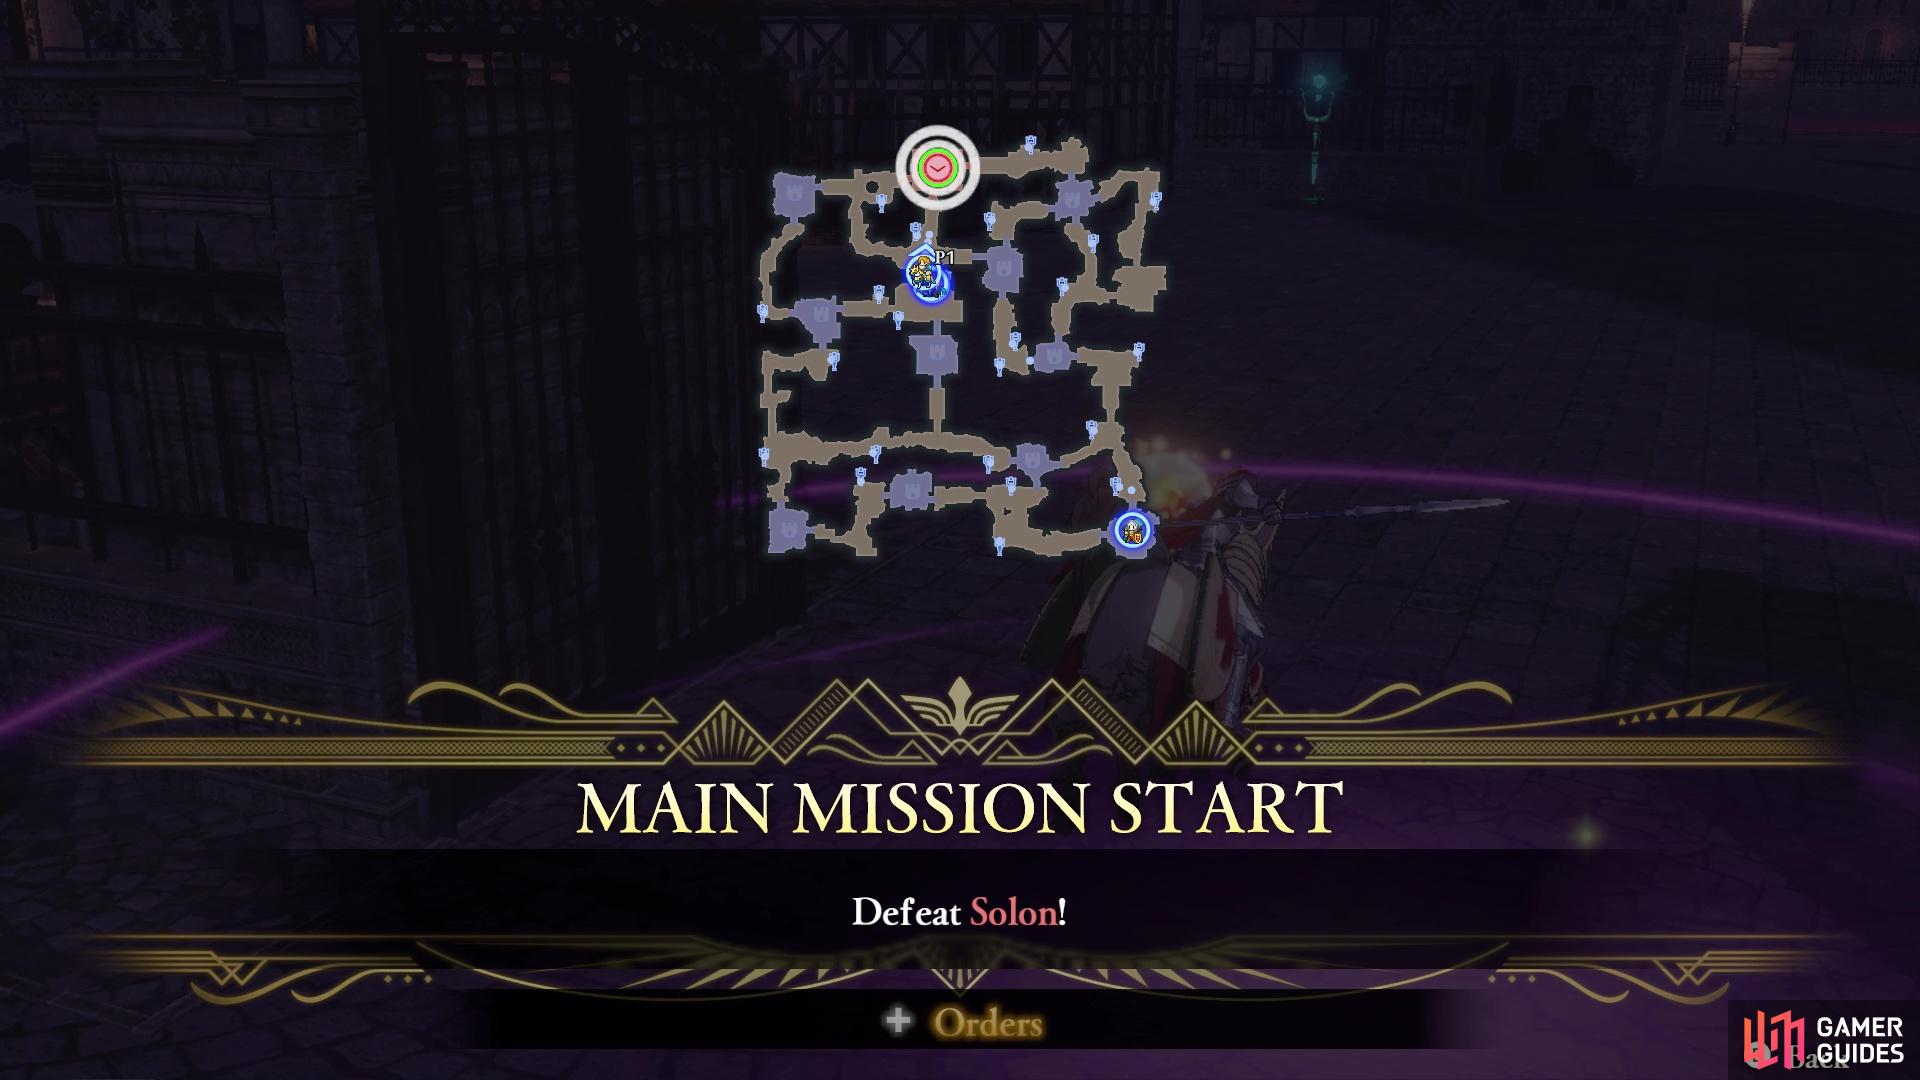
Mission 7: Defeat Solon/Defeat the Mysterious Mages
With the Demonic Beast pushing up daisies, the one you’ve been waiting for will finally appear in the north, one of Those Who Slither in the Dark, Solon. He will be your target, but he’s not so easily accessible. Some Mysterious Mages will show up and erect a Wall of Darkness, essentially cutting you off from Solon. There are three Mages that you need to defeat, all right outside the stronghold with Solon. You will actually need to travel a bit, since those three Mages aren’t all directly connected with one another.
Since Those Who Slither don’t play fair, they will send some Dark Bishops after the Evacuation Shelter stronghold while you’re trying to bring down the Wall of Darkness. If you took the tip above, then you should hopefully have a playable character guarding the stronghold, so switch to them at this point. There will be three Dark Bishops to strike down, although one of them might go off to attack something else, other than the stronghold. Take out the Dark Bishops and the Mysterious Mages, then defeat Solon to finish the battle.
No Comments