
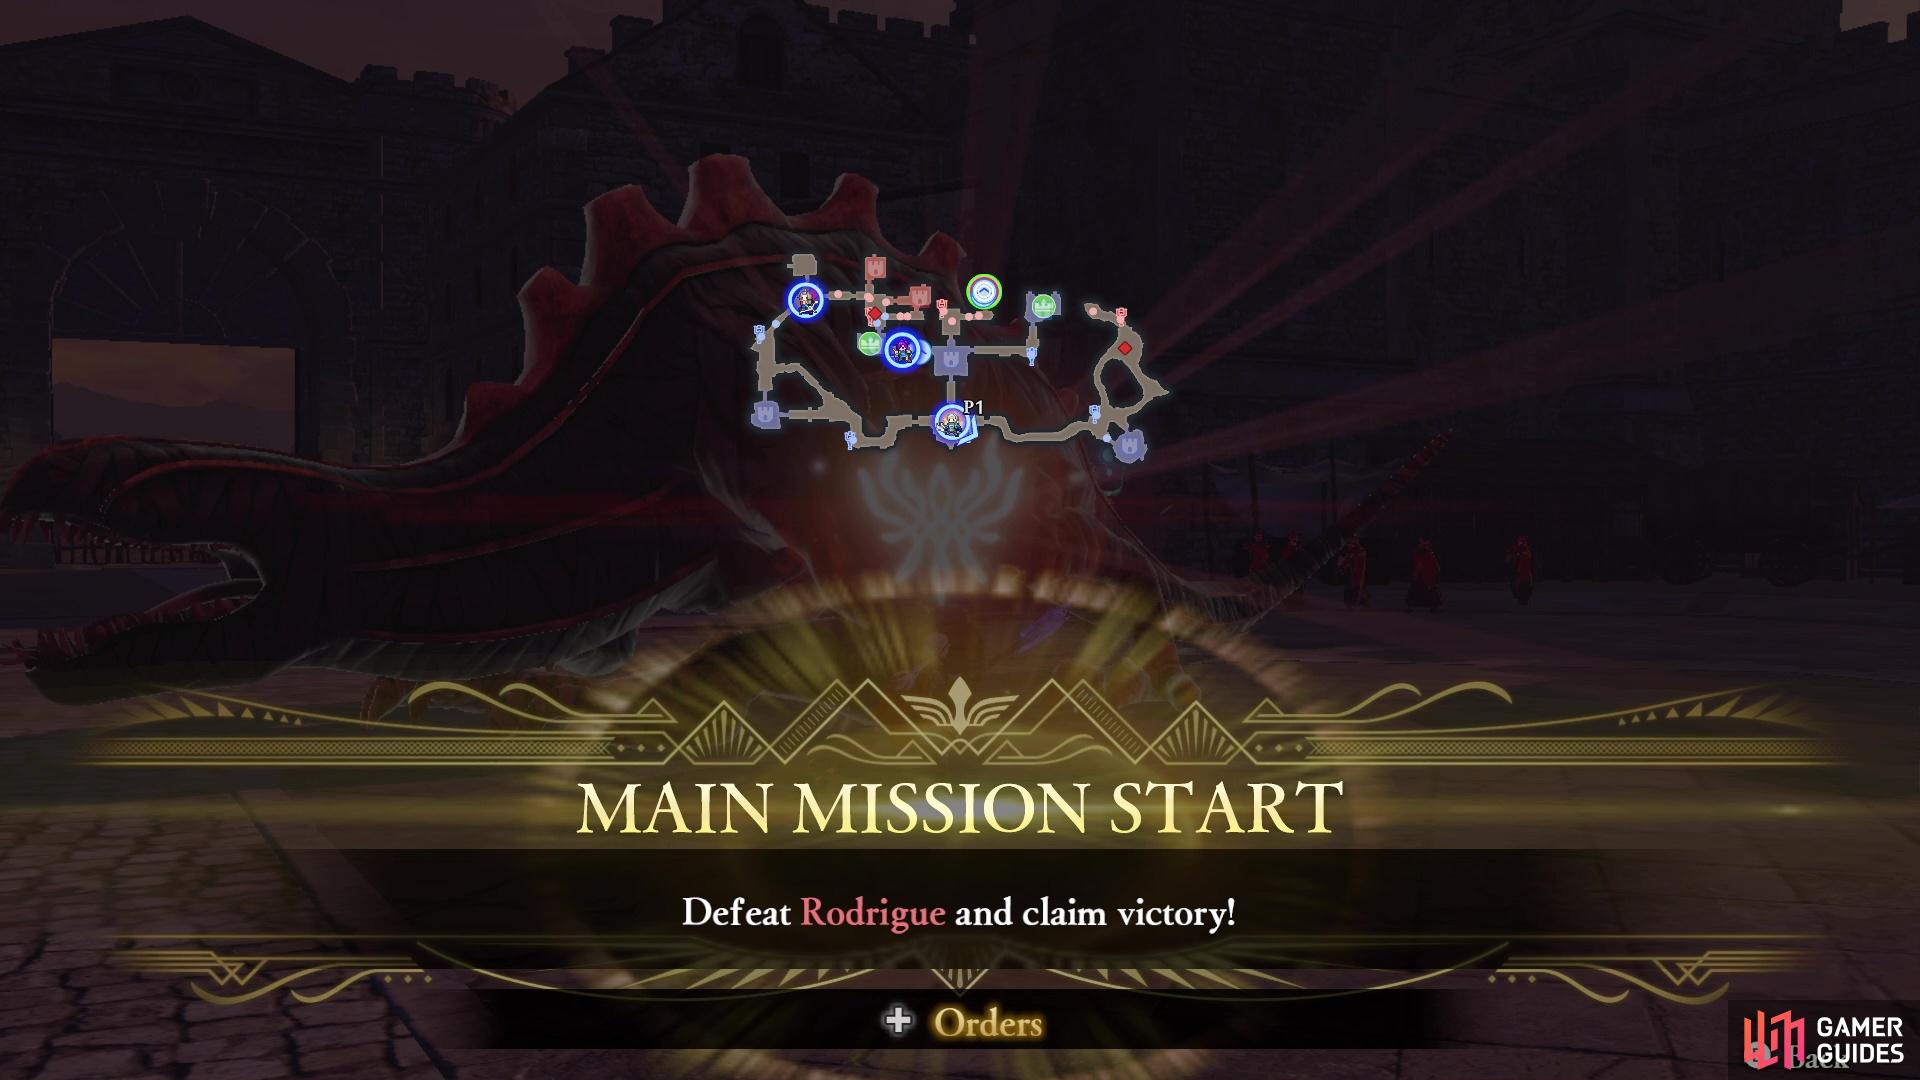
This is a guide for Chapter 5: The Skirmish in the Fog in Fire Emblem Warriors: Three Hopes, this page focusing on the Eastern Rowe Territory.
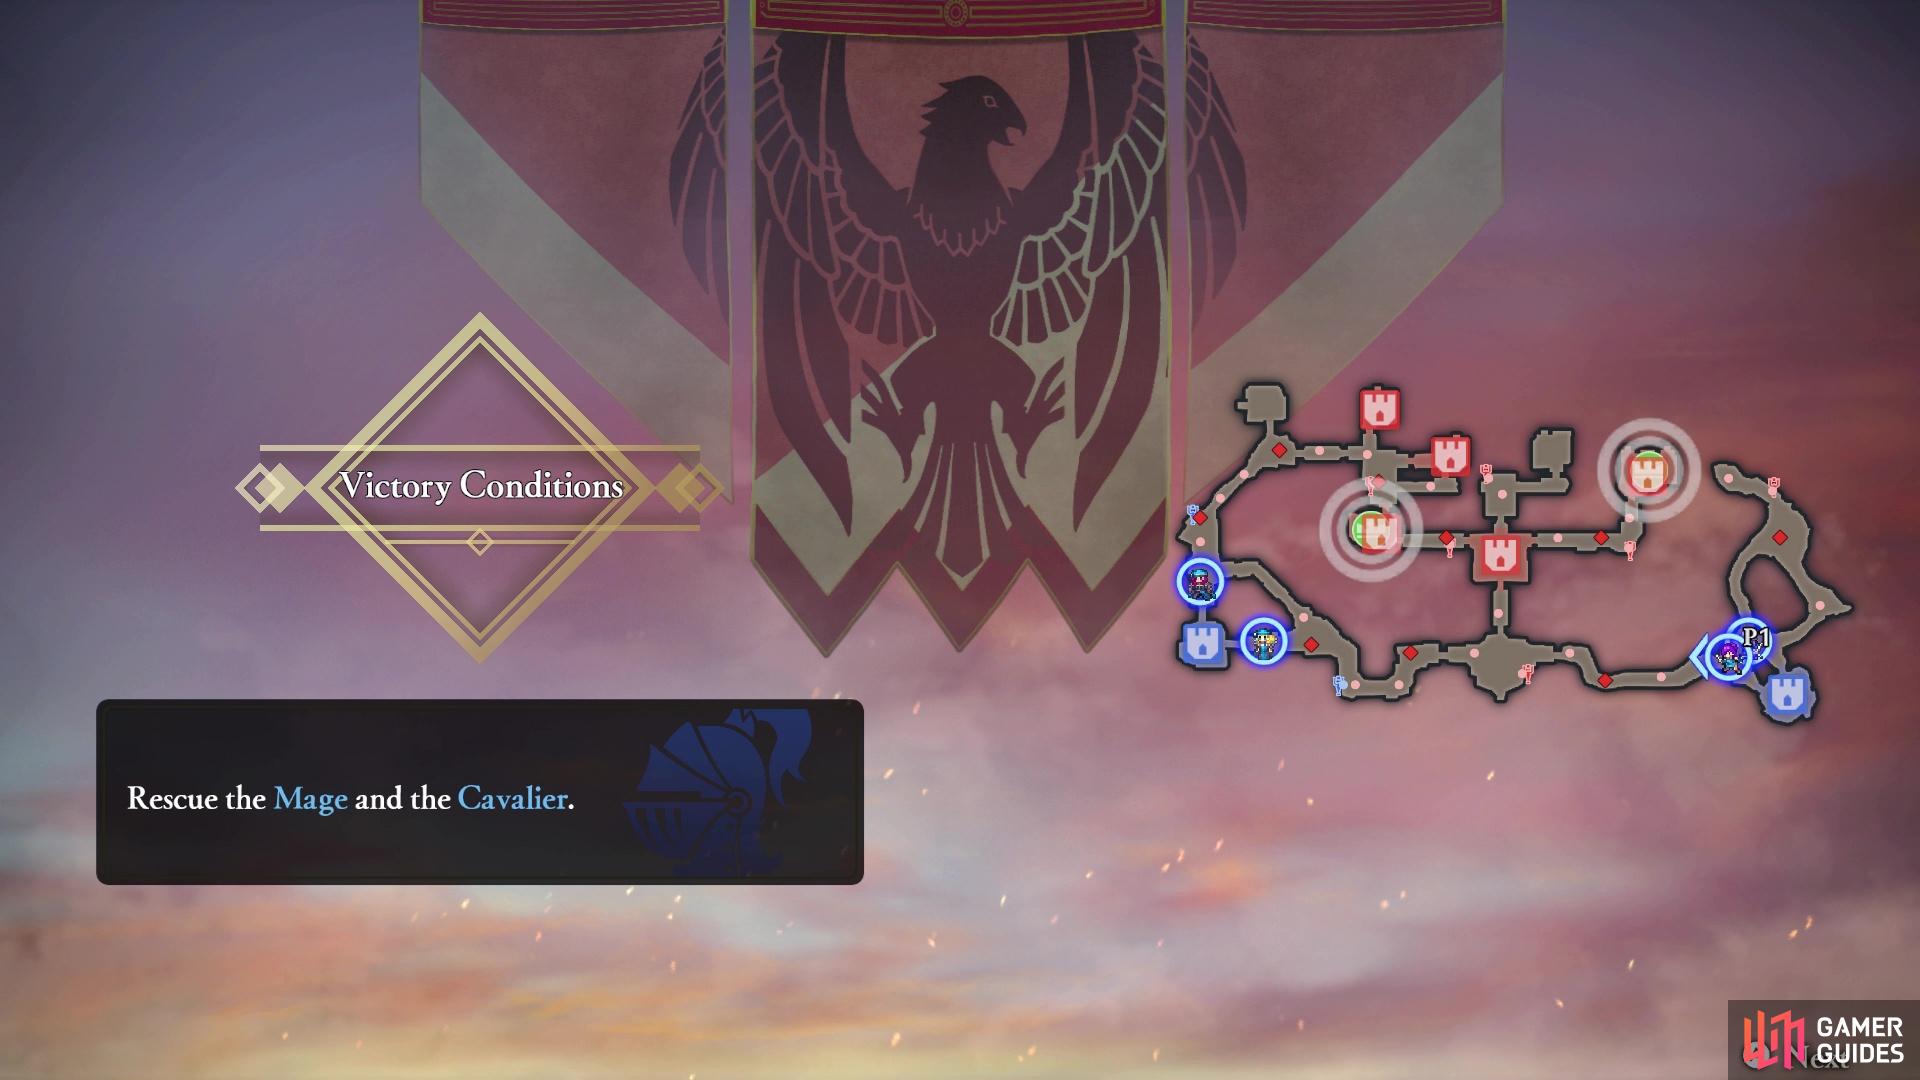
The battlefield for the Eastern Rowe Territory skirmish
How to S Rank Eastern Rowe Territory
| Completion Time | Enemies Defeated | Damage Taken |
|---|---|---|
| 07:00 | 500 | 30% |
As with the previous rescue mission, the beginning of the battle can be quite annoying, since you want to absolutely rush the two allies you need to save to make sure they aren’t defeated. Each of them will have three officers/captains at their throats, so quickly make your way to them (Mage first, since they always seem a little bit squishier) and rescue them. After rescuing one of the allies, the Demonic Beast will appear. Since this is a side mission and you gain nothing at all from it while trying to S Rank, ignore it completely. Rescue the other ally and the commander will appear, so defeat him to finish the stage.
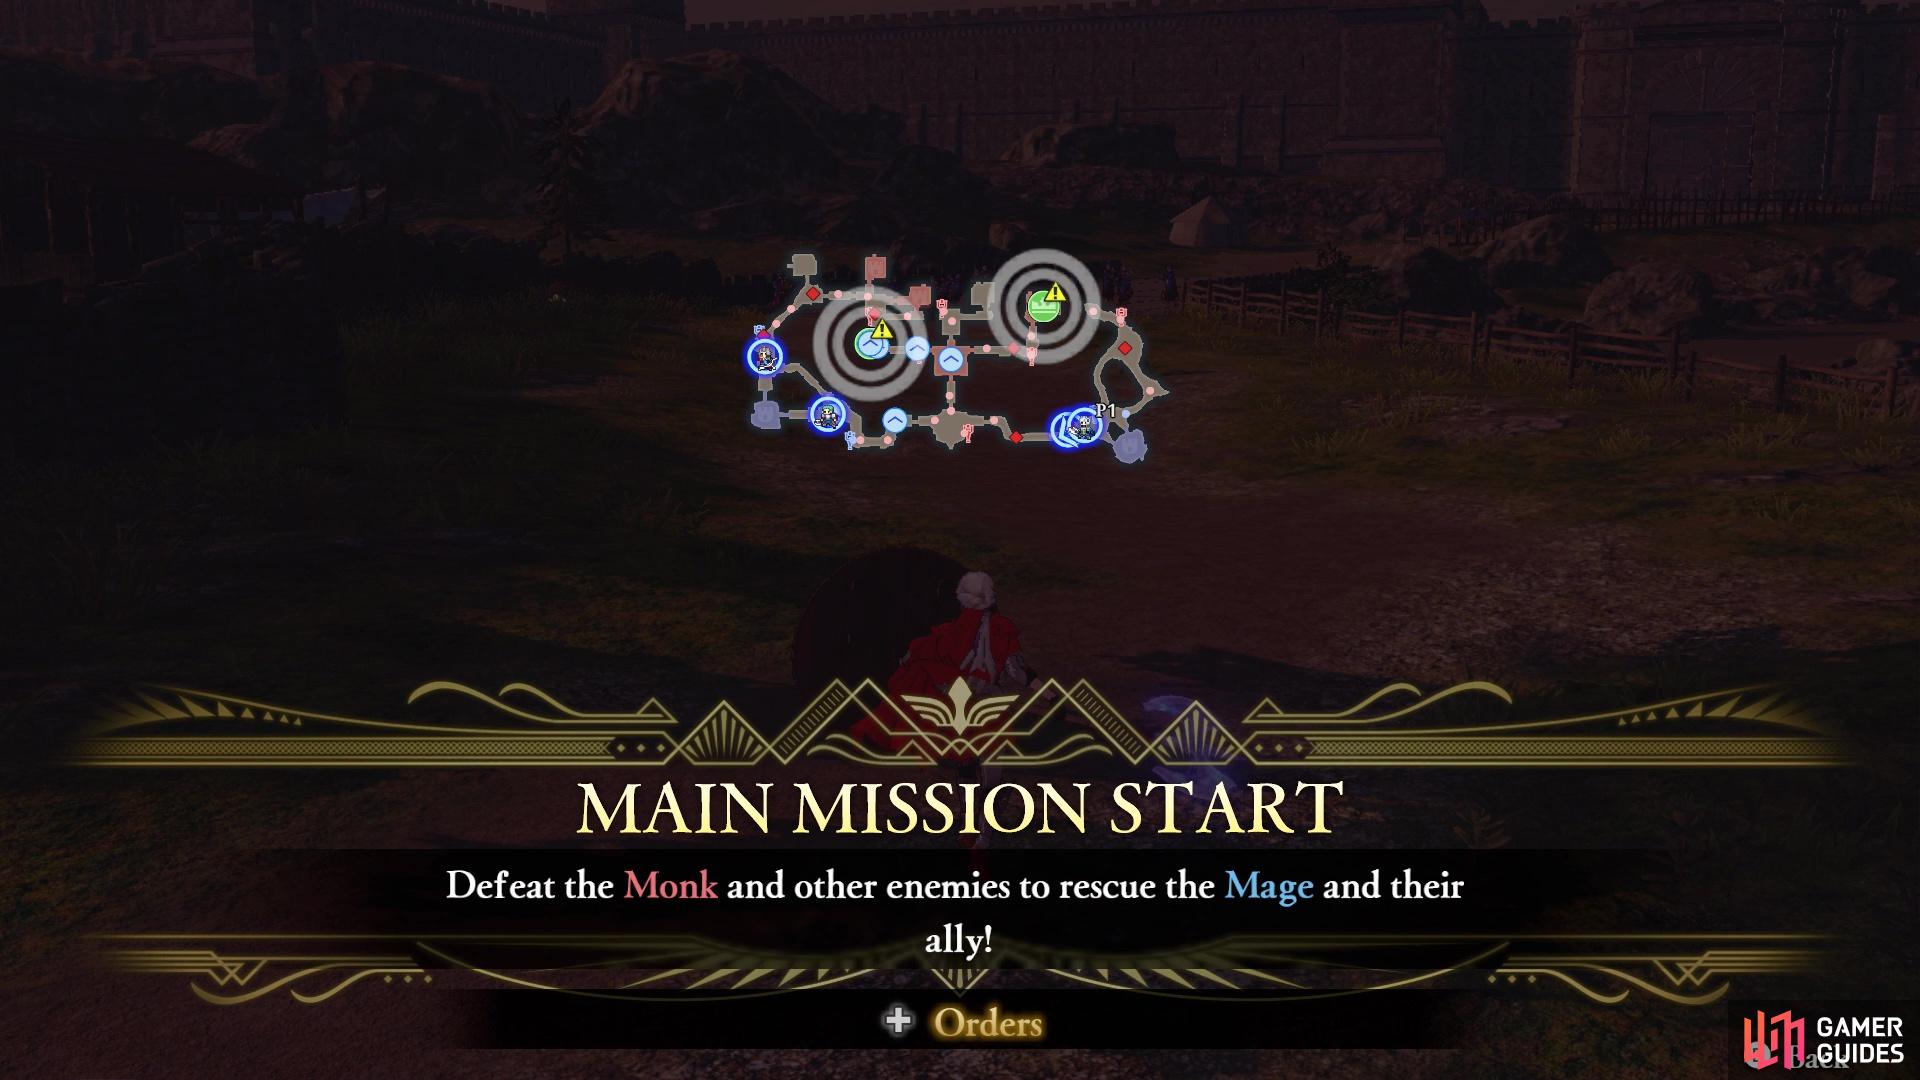
Mission 1: Rescue the Mage and Ally
You are on a rescue mission for this battle
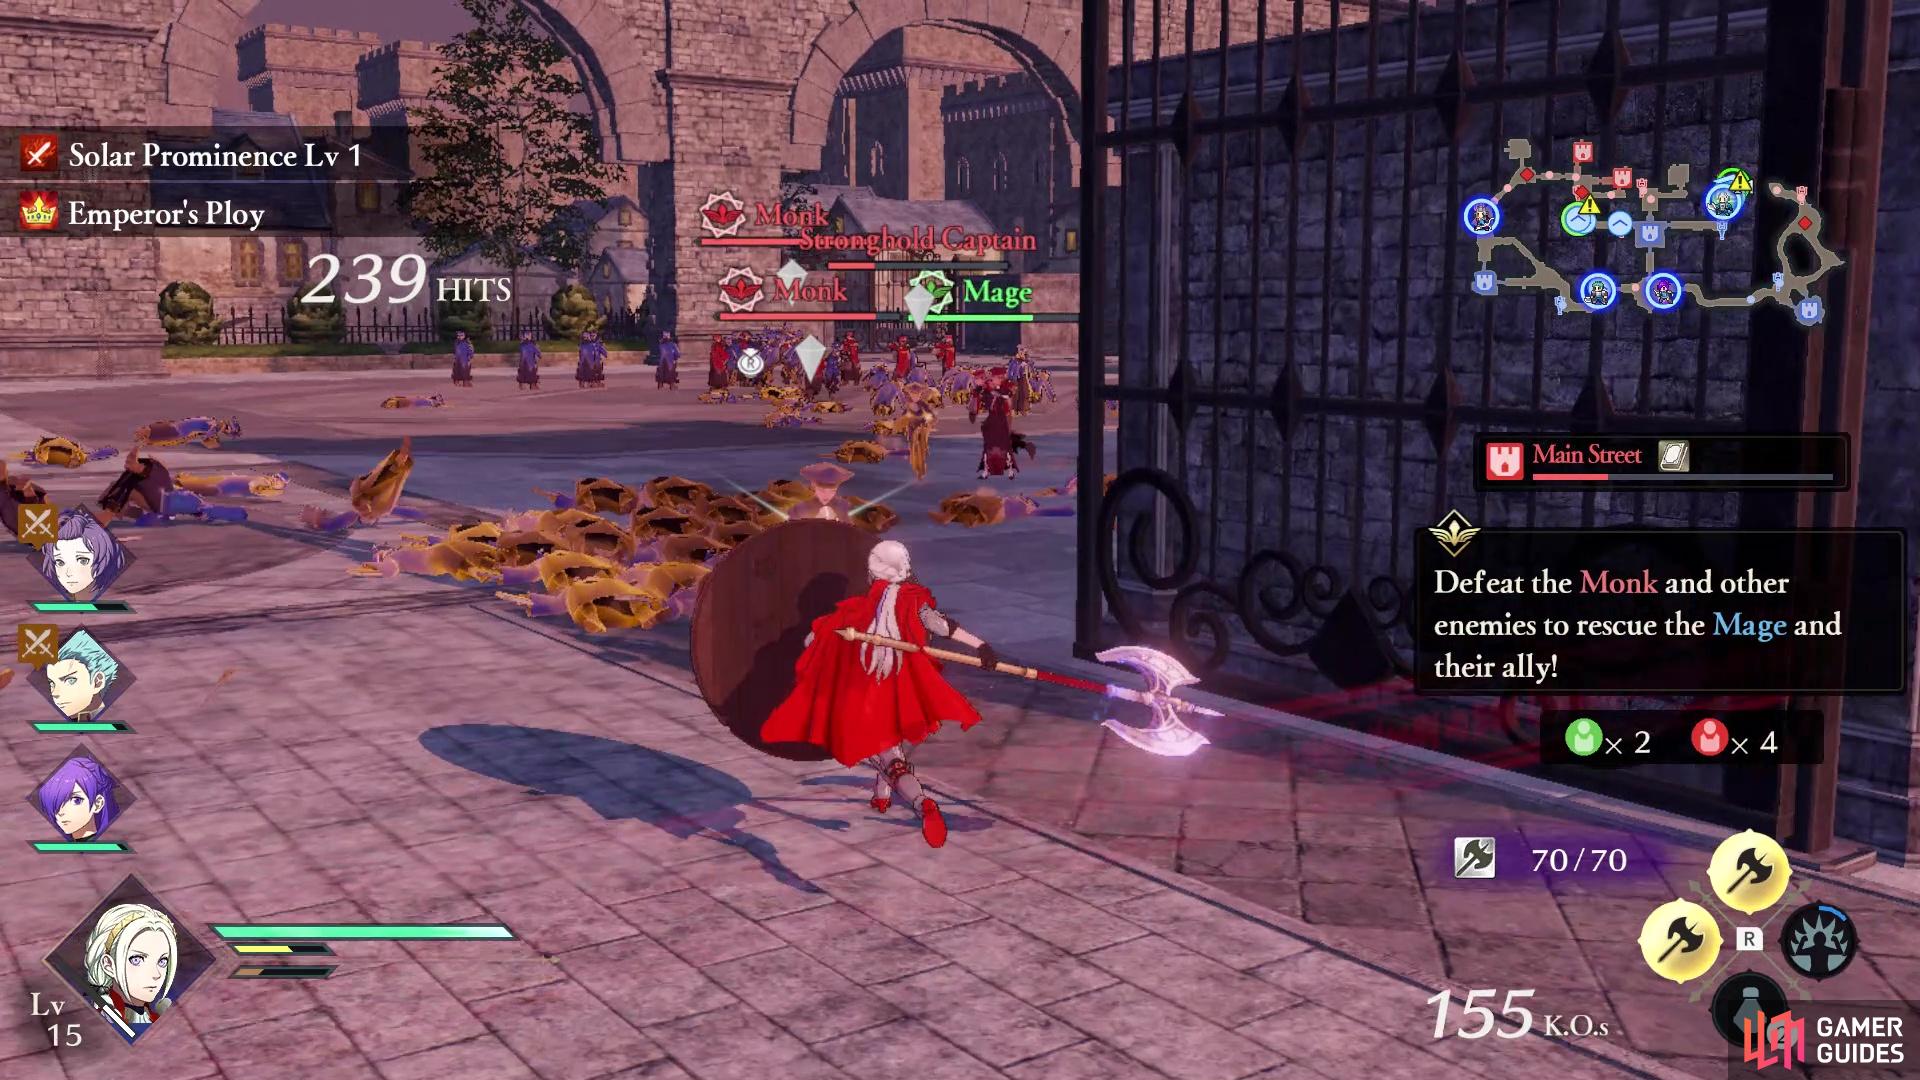
Each of the targets are being attacked by three bigger enemies
The Mage and their ally are located towards the middle of the map, and it’s your job to rescue them before they get defeated. It doesn’t really matter which way you go to get there, as both paths seem about the same length. Both the Mage and their ally will have three officers/captains attacking them, so speed is a factor to just make sure they stay alive. As usual, it’s probably better to go after the Mage first, as they tend to be in trouble more often. Save one of them, though, and something else happens…
Side Mission: Defeat the Exp. Demon Beast
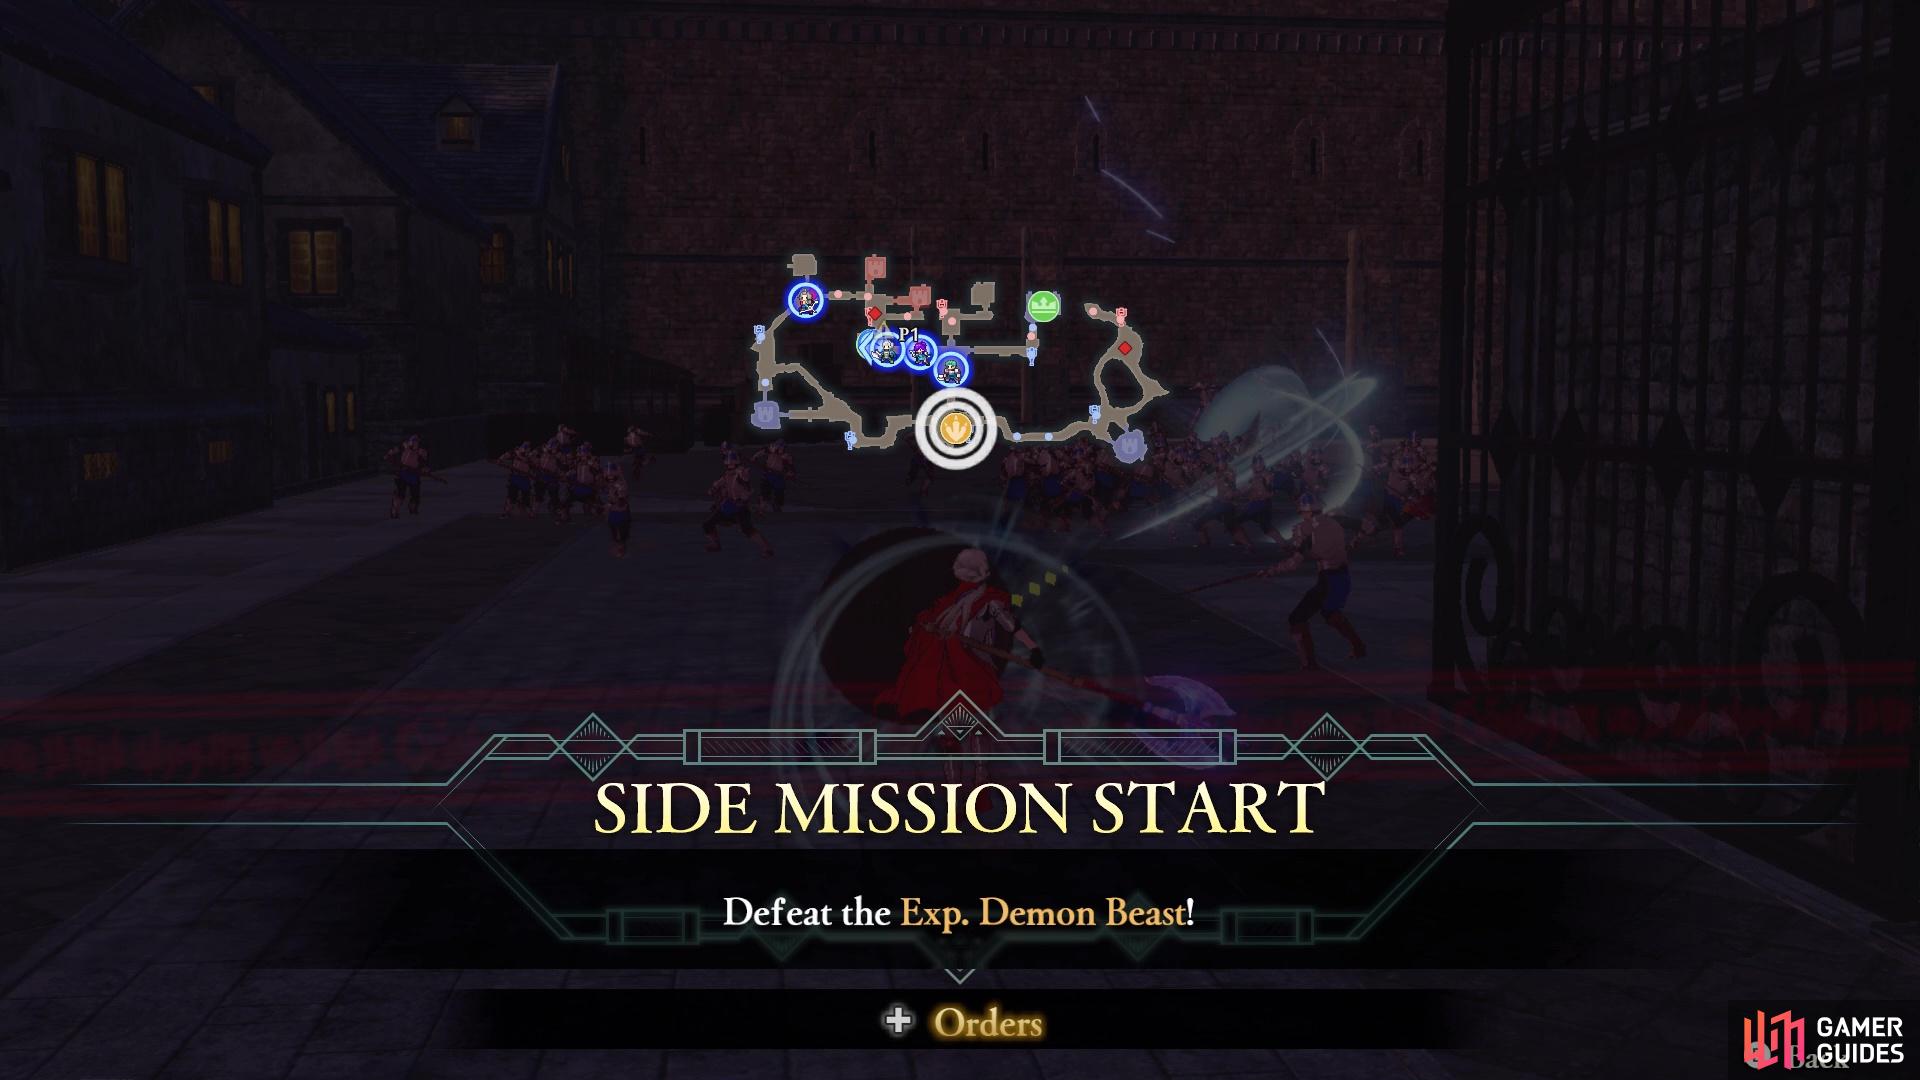
After saving one of the above two, a Demonic Beast will appear in the southcentral area of the map. This will be the first one since you’ve fought the one during Chapter 2. If you don’t recall, these large creatures will have four different shields on them and multiple health bars. The easiest way to deal with them is to break one of their shields, then perform the Critical Rush to deplete one of its health bars. After destroying the one shield, you will be unable to break that particular shield again, so switch over to another weapon type/element and do it again.
All of the Demonic Beast’s attacks are laid out for you, so you know the area to avoid, as long as you dodge them in time. For this particular Beast, you will see it is weak to Swords, Axes, Bows, and Ice. Breaking a shield will not only make it easier to defeat, but you will also get extra goodies from it, so it’s a great idea to do this. Demonic Beasts, and other big monsters, are also a great source for Rusted Weapons, which can be repaired at the Blacksmith at your base. These Rusted Weapons are usually better than the normal weapons you can buy/find, so it is worth going after the Demonic Beast.
Mission 2: Defeat Rodrigue
Upon rescuing both the Mage and their ally, the commander of the battle will appear. His name is Rodrigue and he will spawn in at the north, near the center portion of the map. There’s really not much more to say here, but Rodrigue will be mounted on a horse and is using a spear. Defeat him and the battle is won.
Rodrigue spawns after rescuing both allies
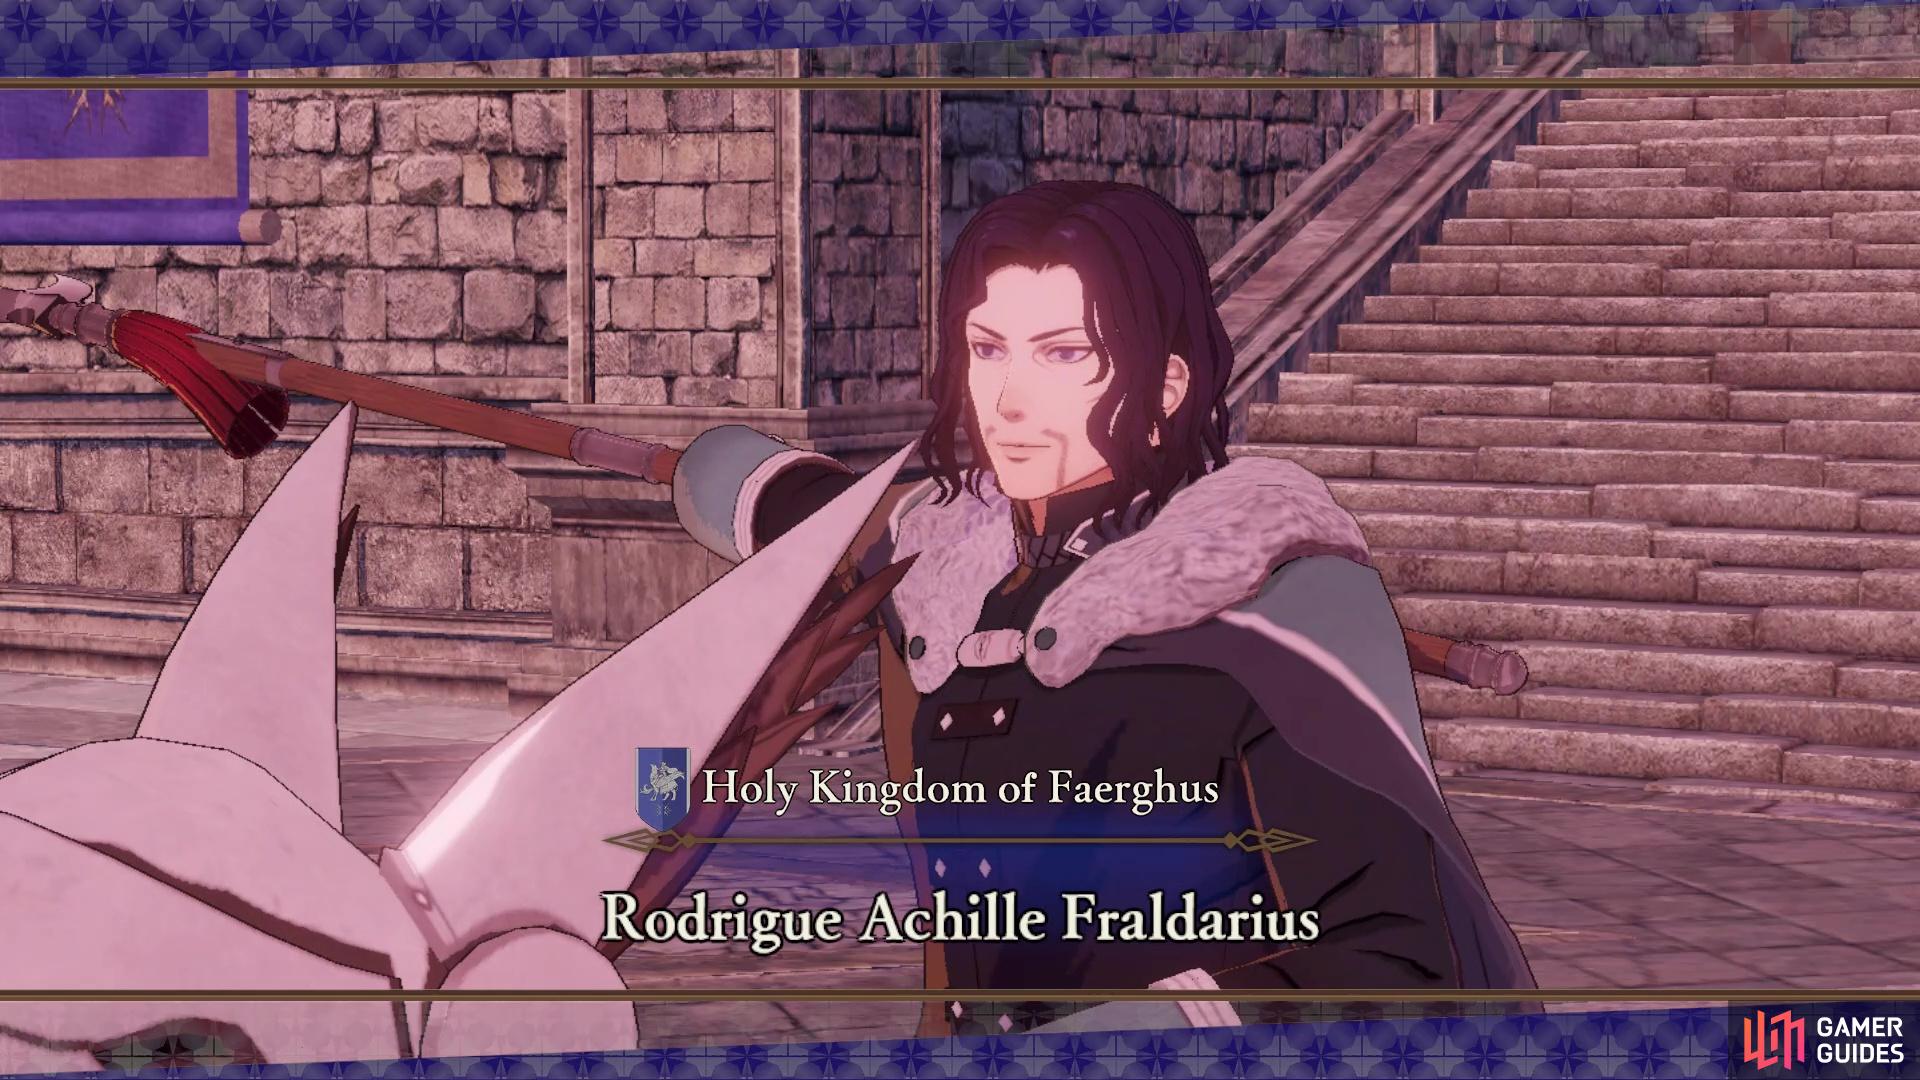
He is a mounted fighter, with a spear
When you complete this battle, you will see a short tutorial about Expeditions. Sometimes, after a battle, you will see the Expedition icon in the corner of the screen. If you take that unit on one, you will receive more Support Points than usual from it. Once you take them out on an Expedition, they won’t want to go again (at least, for the bonus points), and it will also go away if you start another battle. Another thing you will be given a tutorial about are Challenger Quests. These are basically the side battles you’ve been doing, but there will be limitations for them. Completing them will allow you to get better rewards from Surveying Spots and from achieving S Rank for that battle.
Speaking of Surveying Spots, check the ones around the Eastern Rowe Territory to get the following rewards:
- Suppressive Archer Fire (Strategy)
- Basic Building Material x38, Squire’s Insignia x15, Storage Bag x10 (requires you to have 3x Albinean Herring)
No Comments