
This is a guide for Chapter 4: The Struggle Continues in Fire Emblem Warriors: Three Hopes, this page focusing on Eastern Garreg Mach.
The battlefield for Eastern Garreg Mach
How to S Rank Eastern Garreg Mach
| Completion Time | Enemies Defeated | Damage Taken |
|---|---|---|
| 07:00 | 500 | 30% |
This battle isn’t too difficult to S Rank, with probably the biggest factor being the time. At the start, send your allies up the western half of the map, depending on their advantages, while you take the southern stronghold with Shez (if they are equipped with swords). Then you can go after the other officers required for defeat, with you probably ignoring the Monk and Thief that show up, since they are part of a side mission. It might be a good idea to take out the Advisor when it shows up, since that lowers the army’s morale some. Once you see Seteth show up, make a beeline towards him and bring him down to quickly win the battle.
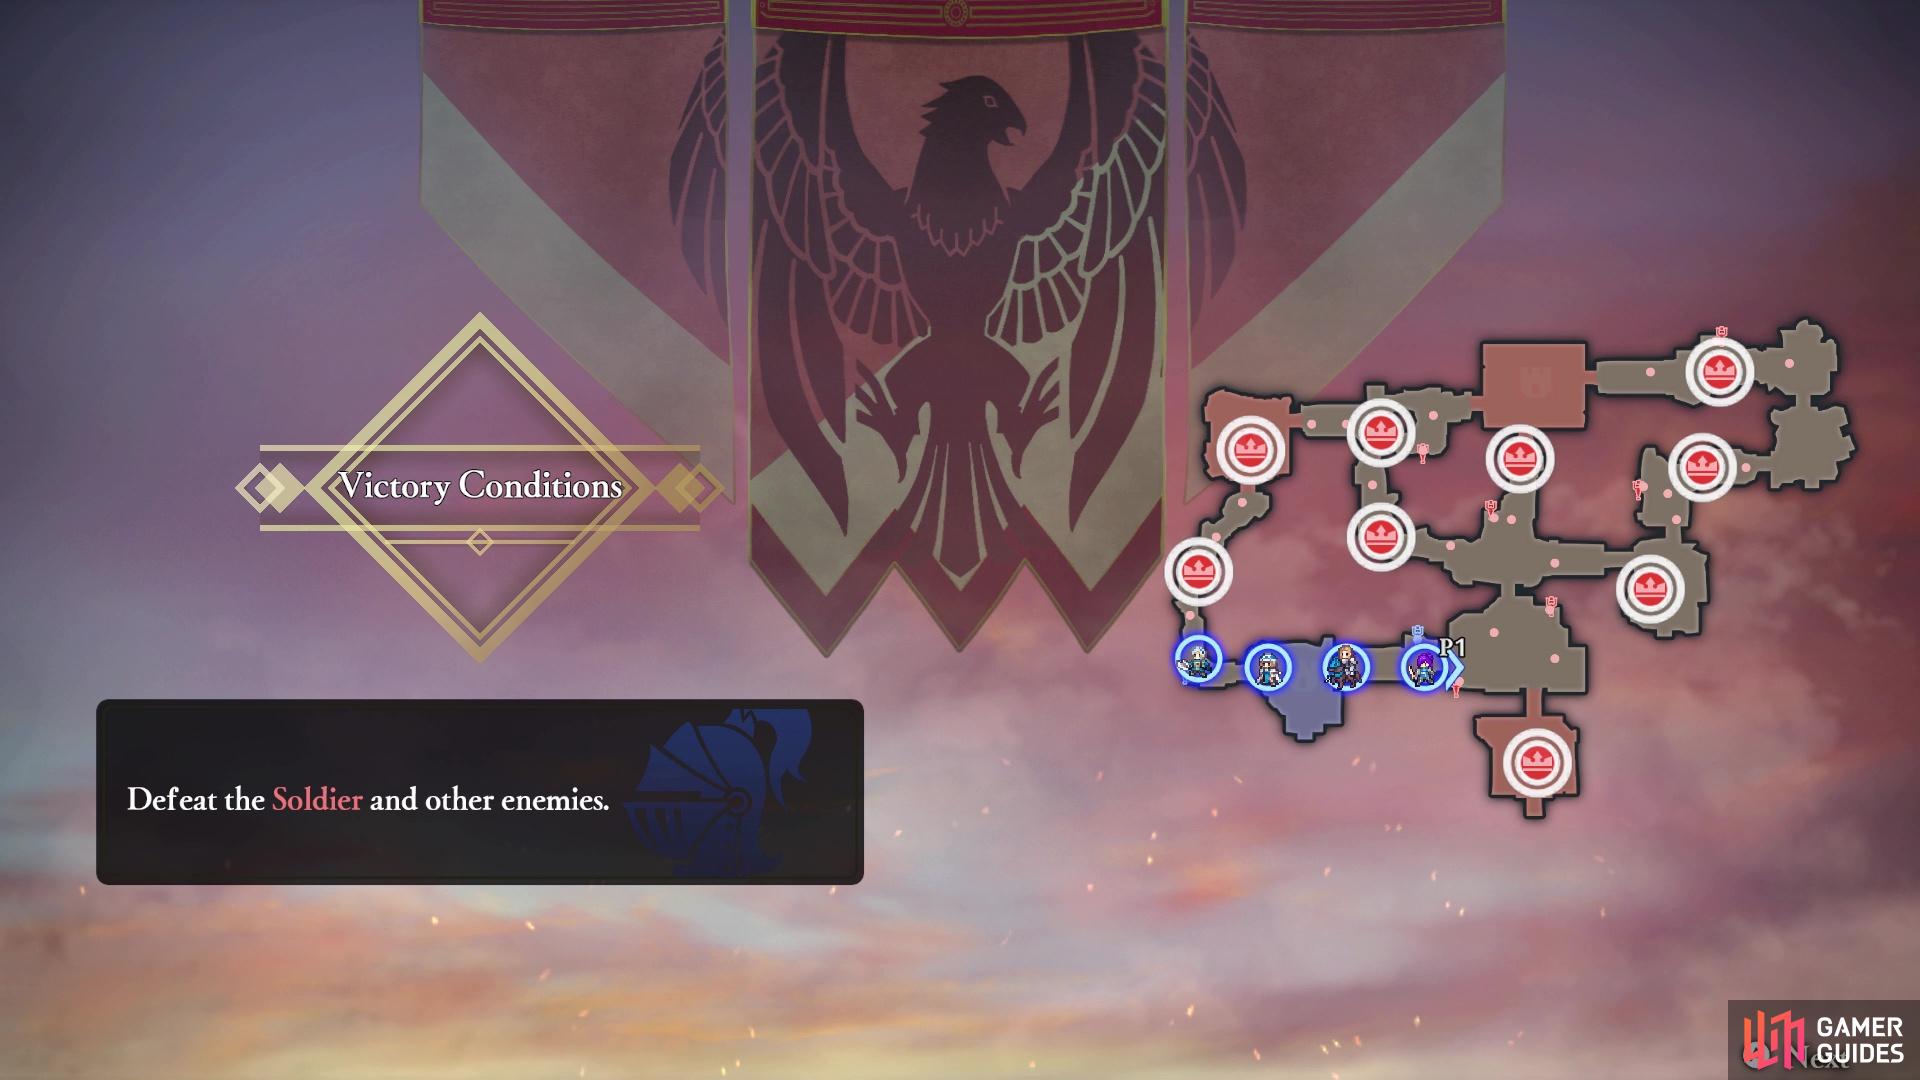
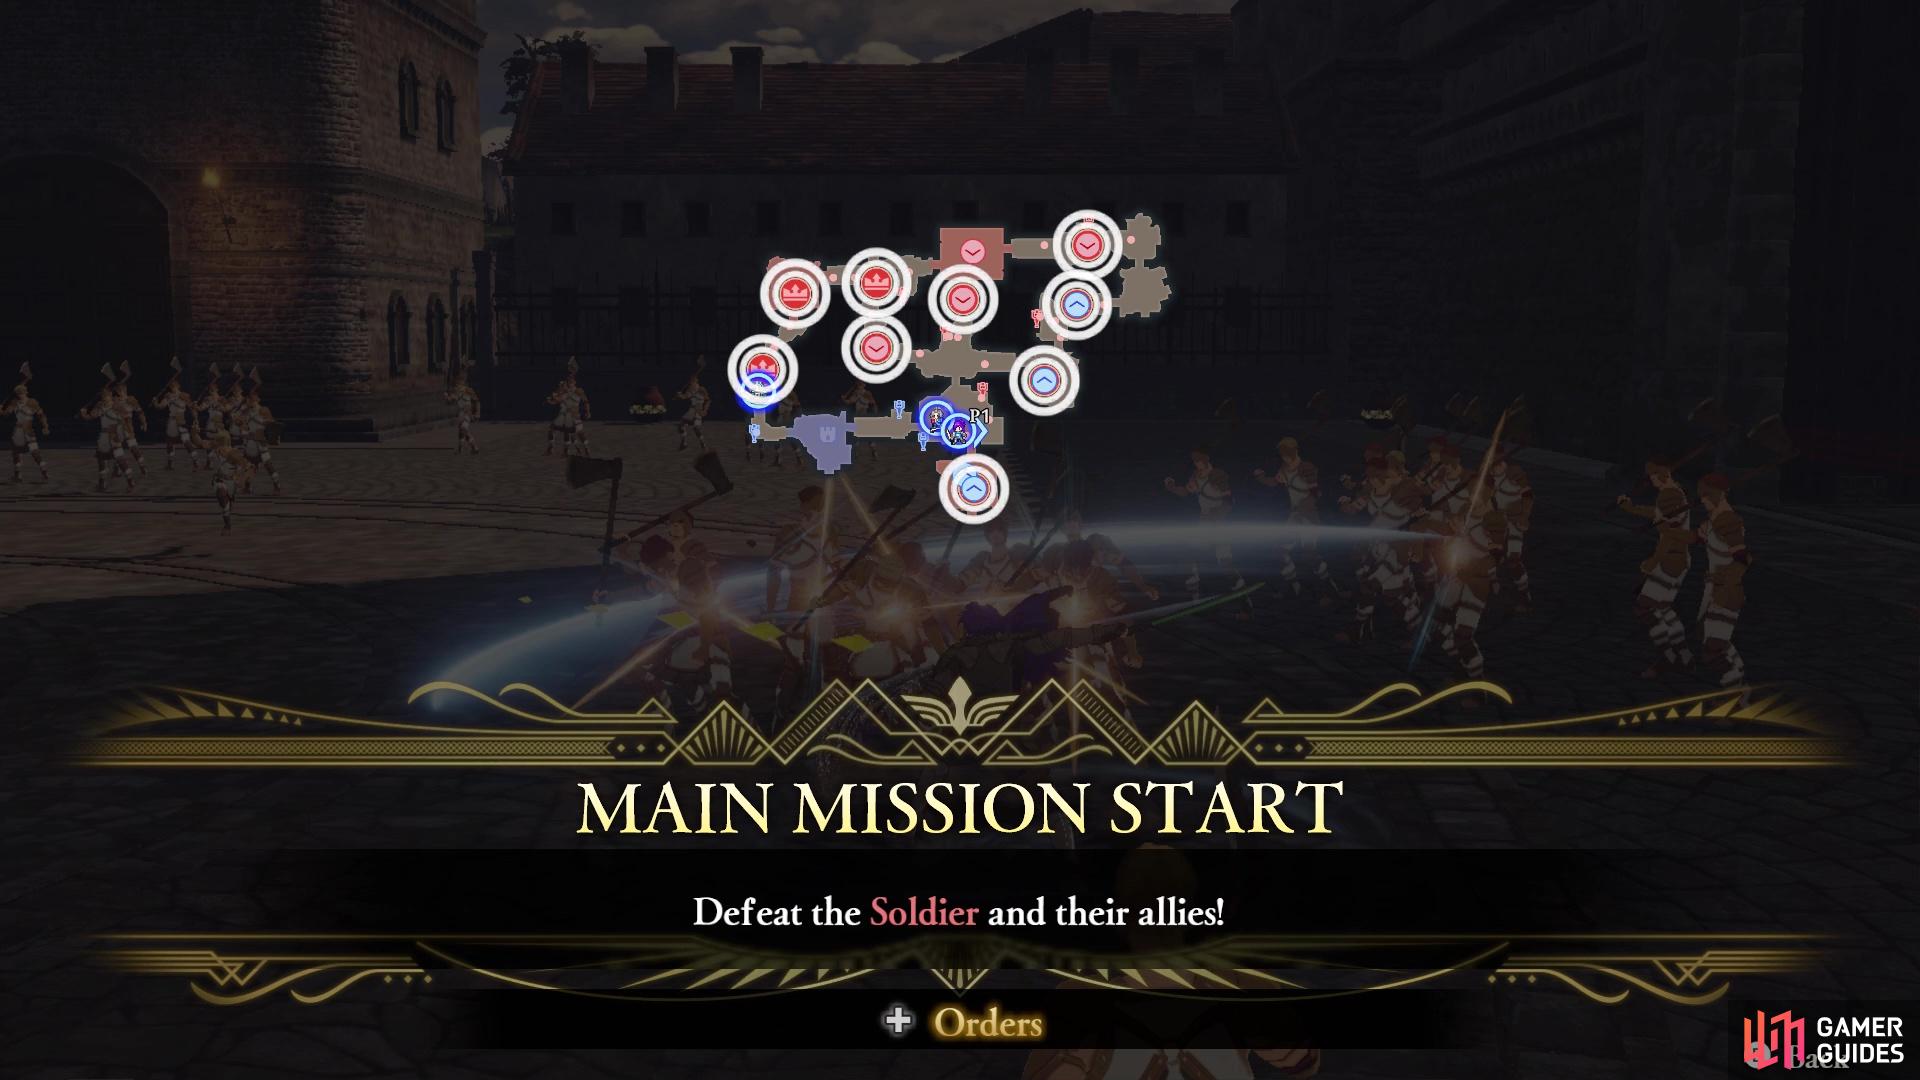
Mission 1: Defeat the Soldier and their allies
You will need to defeat all of the officers marked on the map
As a sword-wielding Shez, take the stronghold just south of your starting position
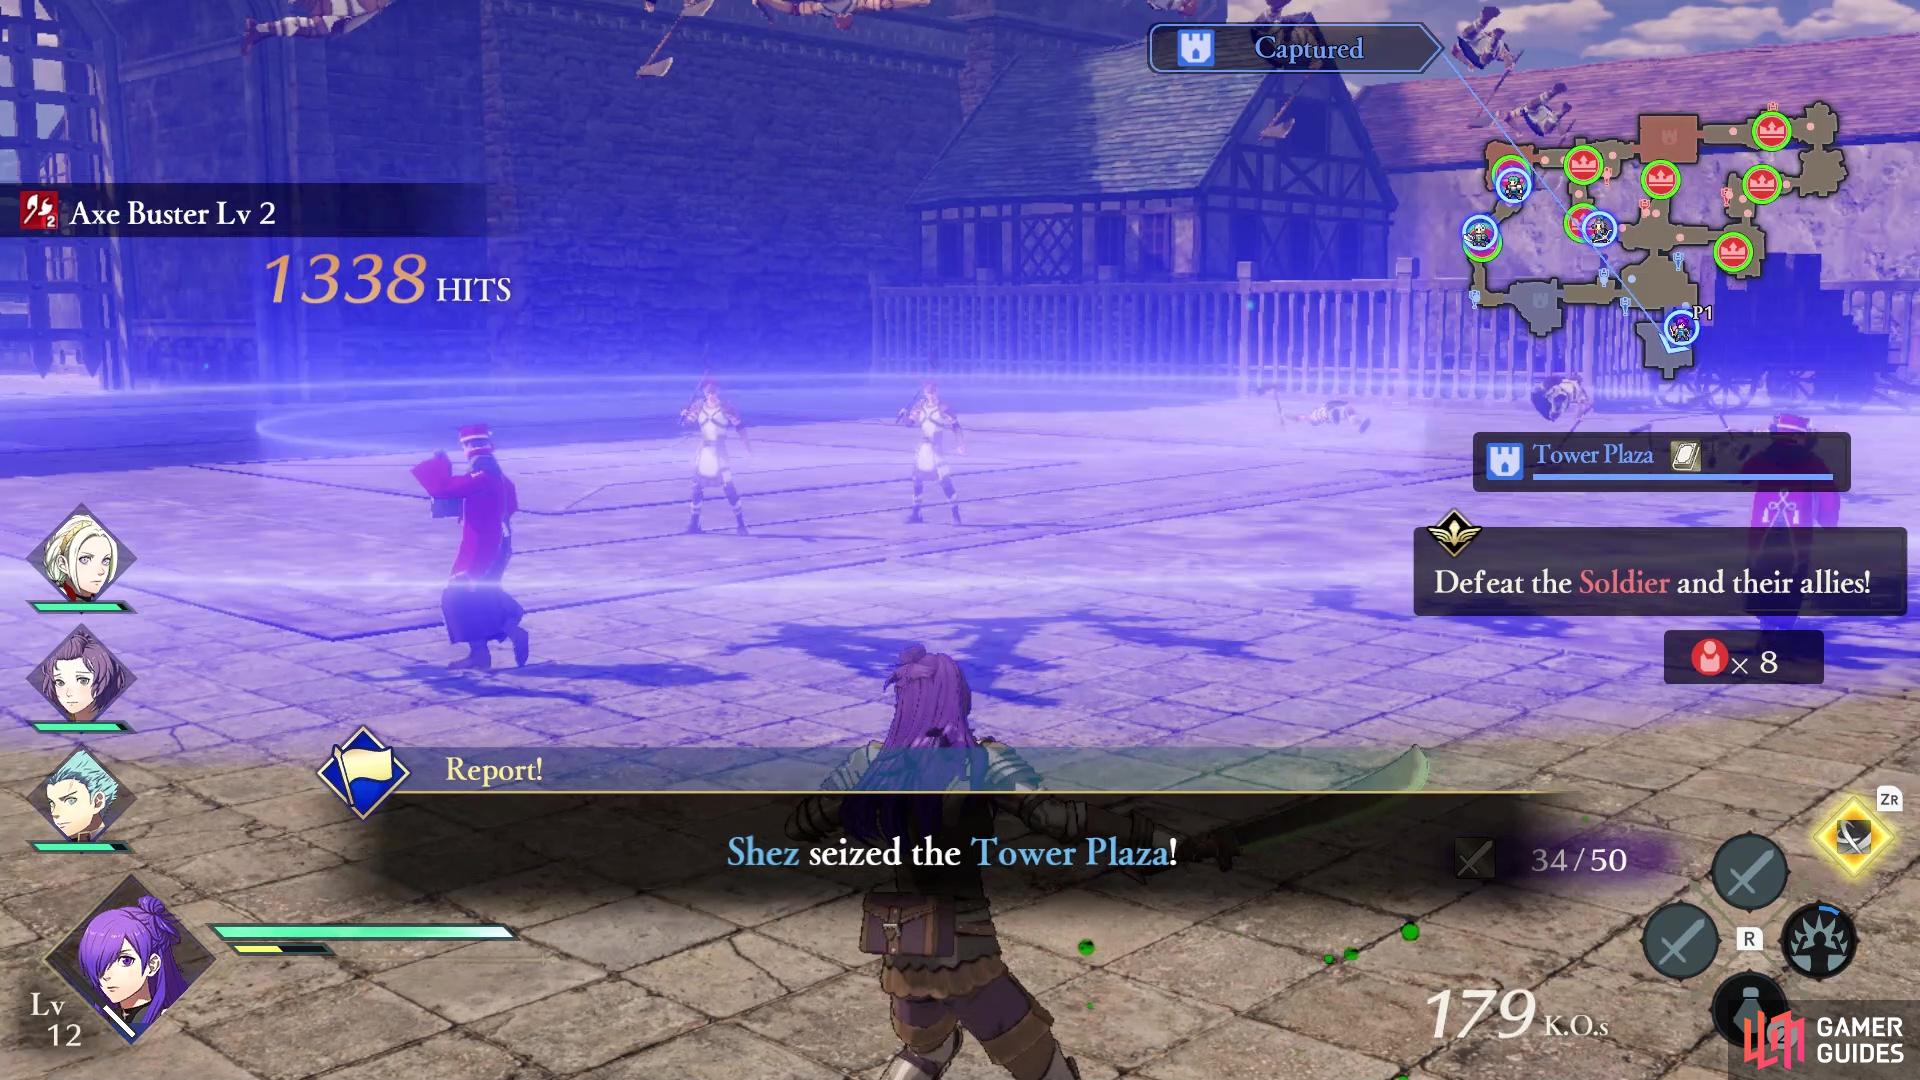
Your first mission will be to pretty much clear the battlefield of the officers, which is a tall task right away, since you have nine targets to go after here. Of course, giving orders to your allies will help a lot, keeping in mind the advantages with weapons and all that. The problem is that you only have a few allies with you, so you just need to take things slowly here. If you’re controlling Shez and are equipped with a sword, you can cover the stronghold just south of the start. Eventually, the main mission will change, once Seteth shows up…
Side Mission: Defeat the Bandit to Rescue the Monk
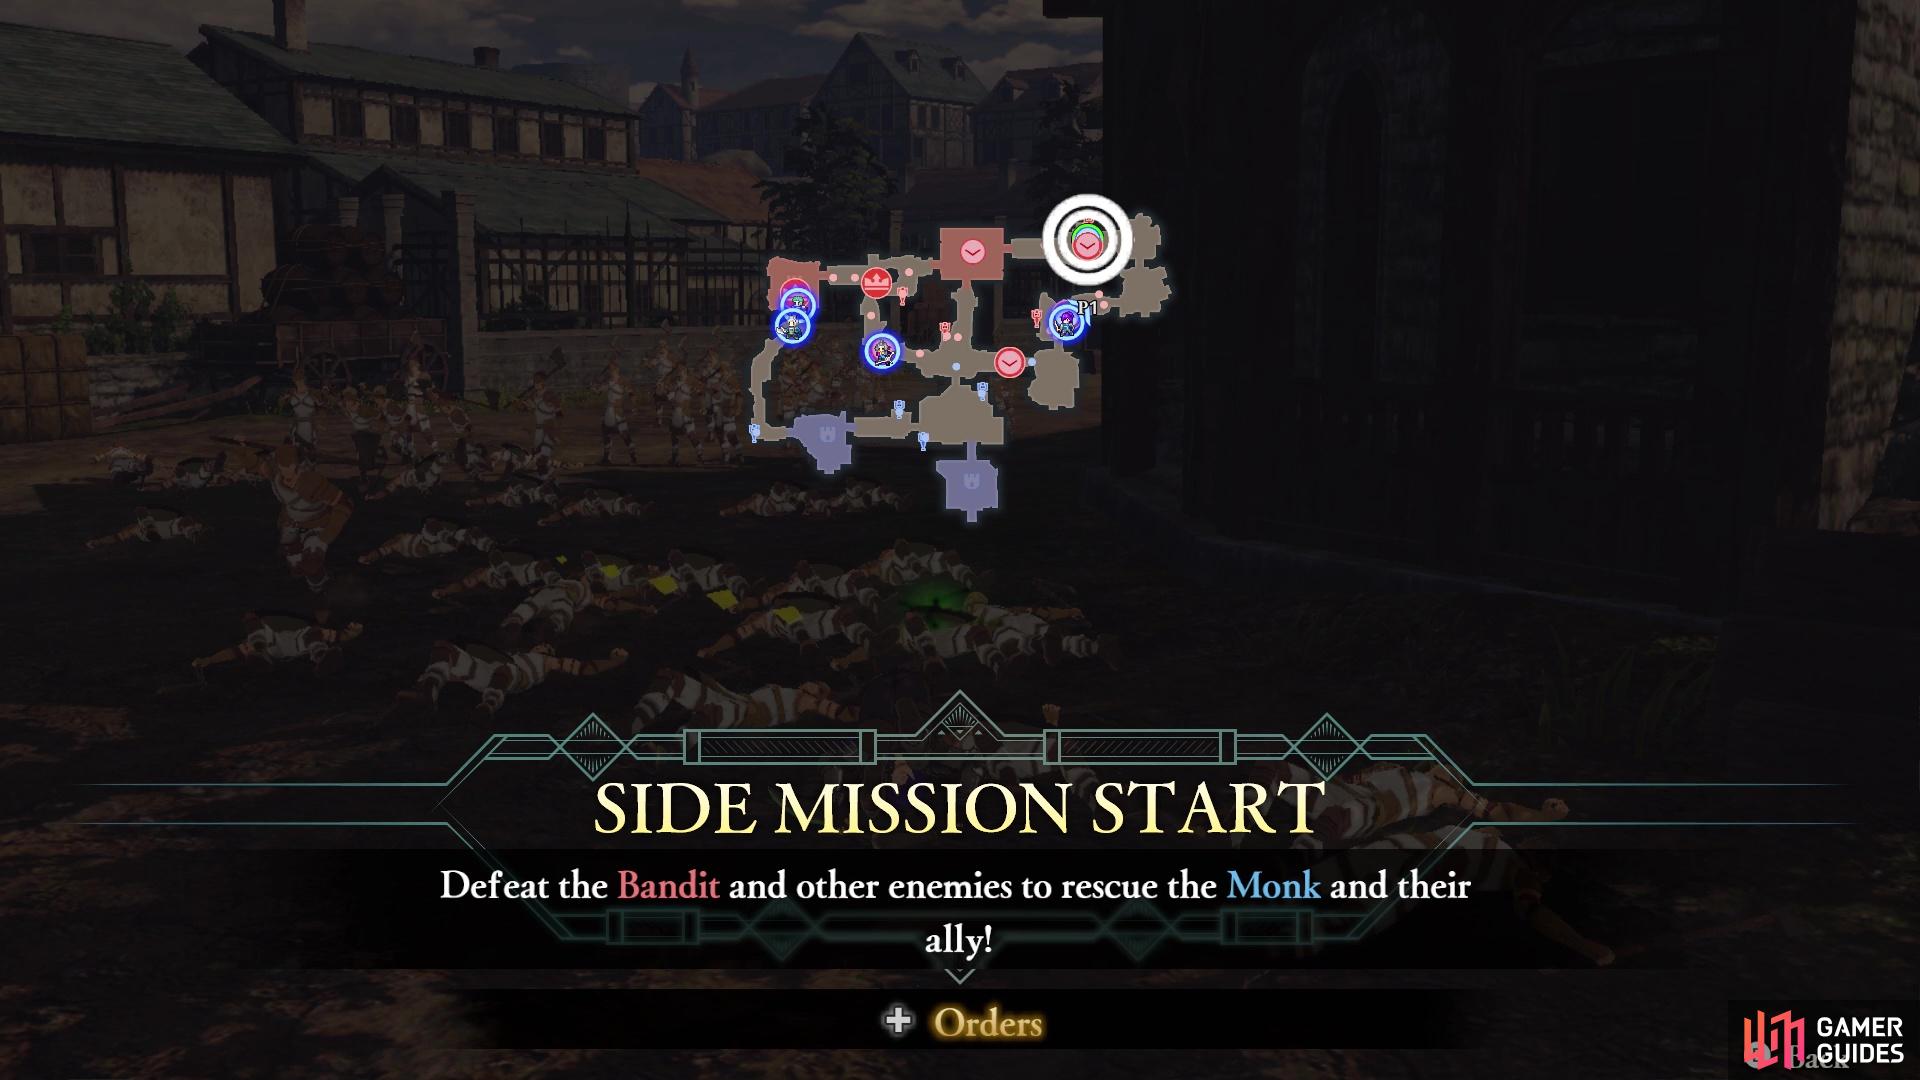
At some point during the mission, a Monk and Thief will appear in the northeastern corner of the map. Of course, a Bandit and other enemies will also appear, who will be pursuing the Monk and Thief. Your goal in this side mission will be to help out the Monk and Thief, but things don’t stay simple for too long. As you head towards them, a bunch of enemy reinforcements will appear, so there will be quite a number of officers to stand in your way. Ignore them and head straight for the Thief and Monk, so you can clear any enemy officers around them.
If you have a Warrior Special queued up, then that would be good to use right away, to clear out the area and hopefully defeat a couple of the officers. A powerful move like that, or the Awakened Mode, should you have it already, can make short work of the officers surrounding the Monk and Thief. Once you have helped them, the Monk will thank you by healing your entire army.
Side Mission: Defeat the Advisor
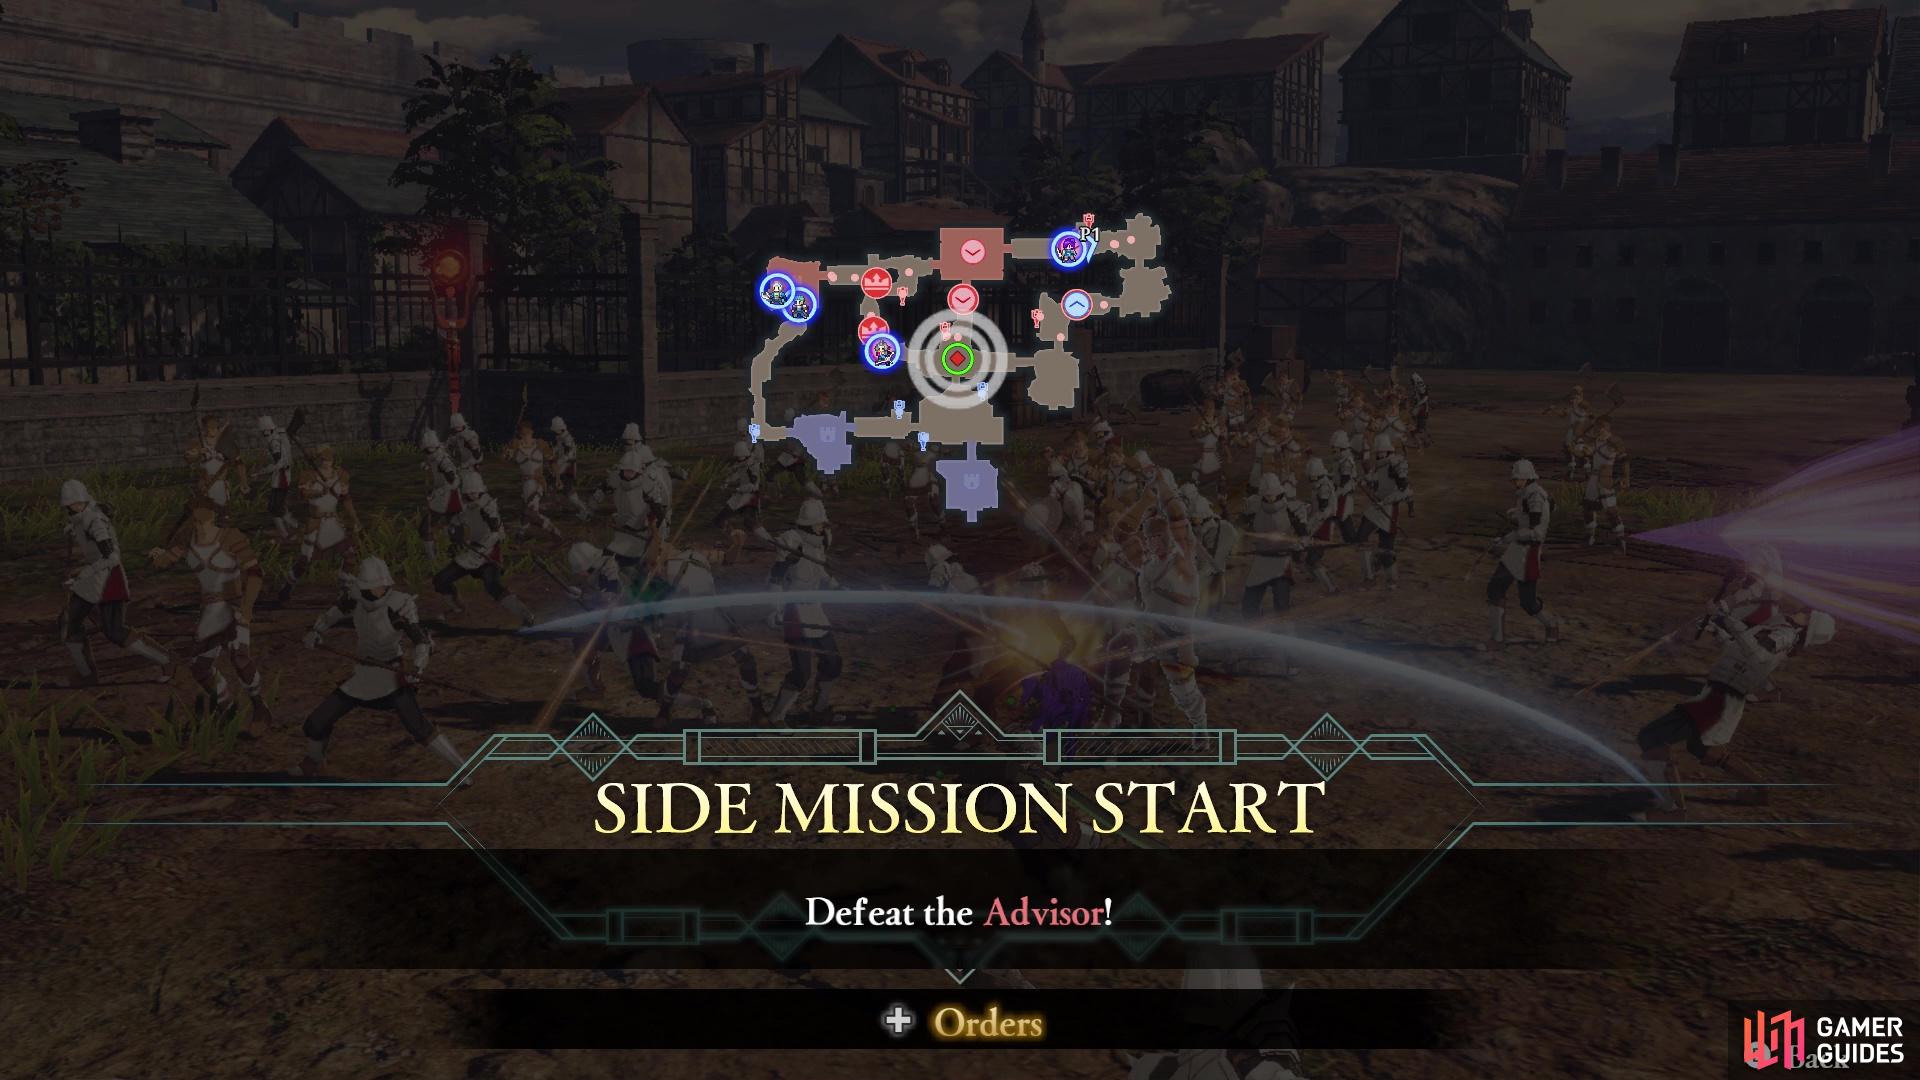
The Advisor will appear in the middle of the map

They will be alone, so it’s easy pickings
Another side mission that will appear during the course of the battle is an Advisor appearing to inspire the Church of Seiros Army. The enemy army will be fired up, so they will be a little stronger than normal. The Advisor will appear in the center of the map, so it’s your goal to head there and make sure the Advisor goes down, putting the Seiros Army’s power back down to normal.
Mission 2: Defeat Seteth
It’s a little bit unclear what makes Seteth appear, but he will eventually show up and change the main mission to just defeating him. He will appear in the stronghold toward the northeastern corner, and will be riding a Wyvern. He will be using an axe, so if you still have Shez using a sword, they will have an advantage over him. Likewise, if you have a bow user in the battle (for instance, Bernadetta), then they will have an extreme advantage over Seteth, as he is a flying unit, too. Defeat Seteth and the battle will be over.
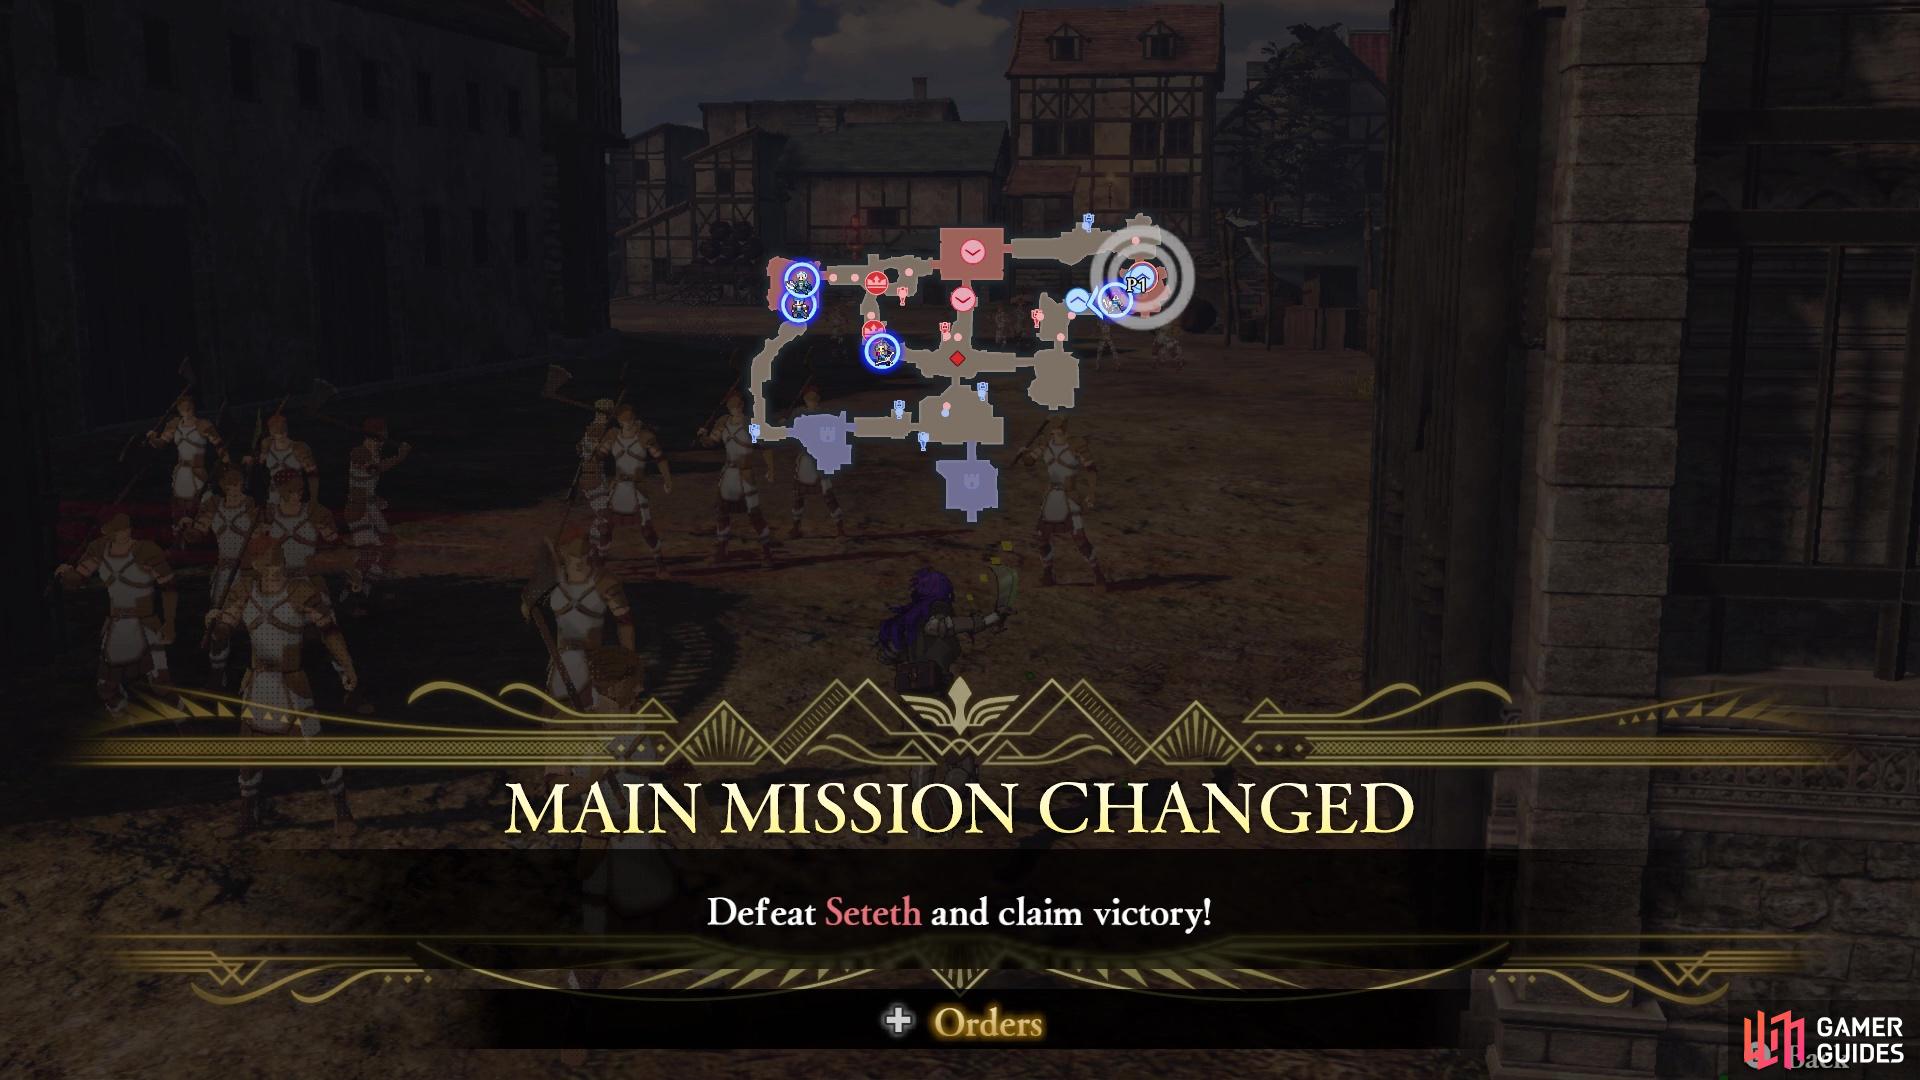
Seteth will show up at some point towards the northeast corner
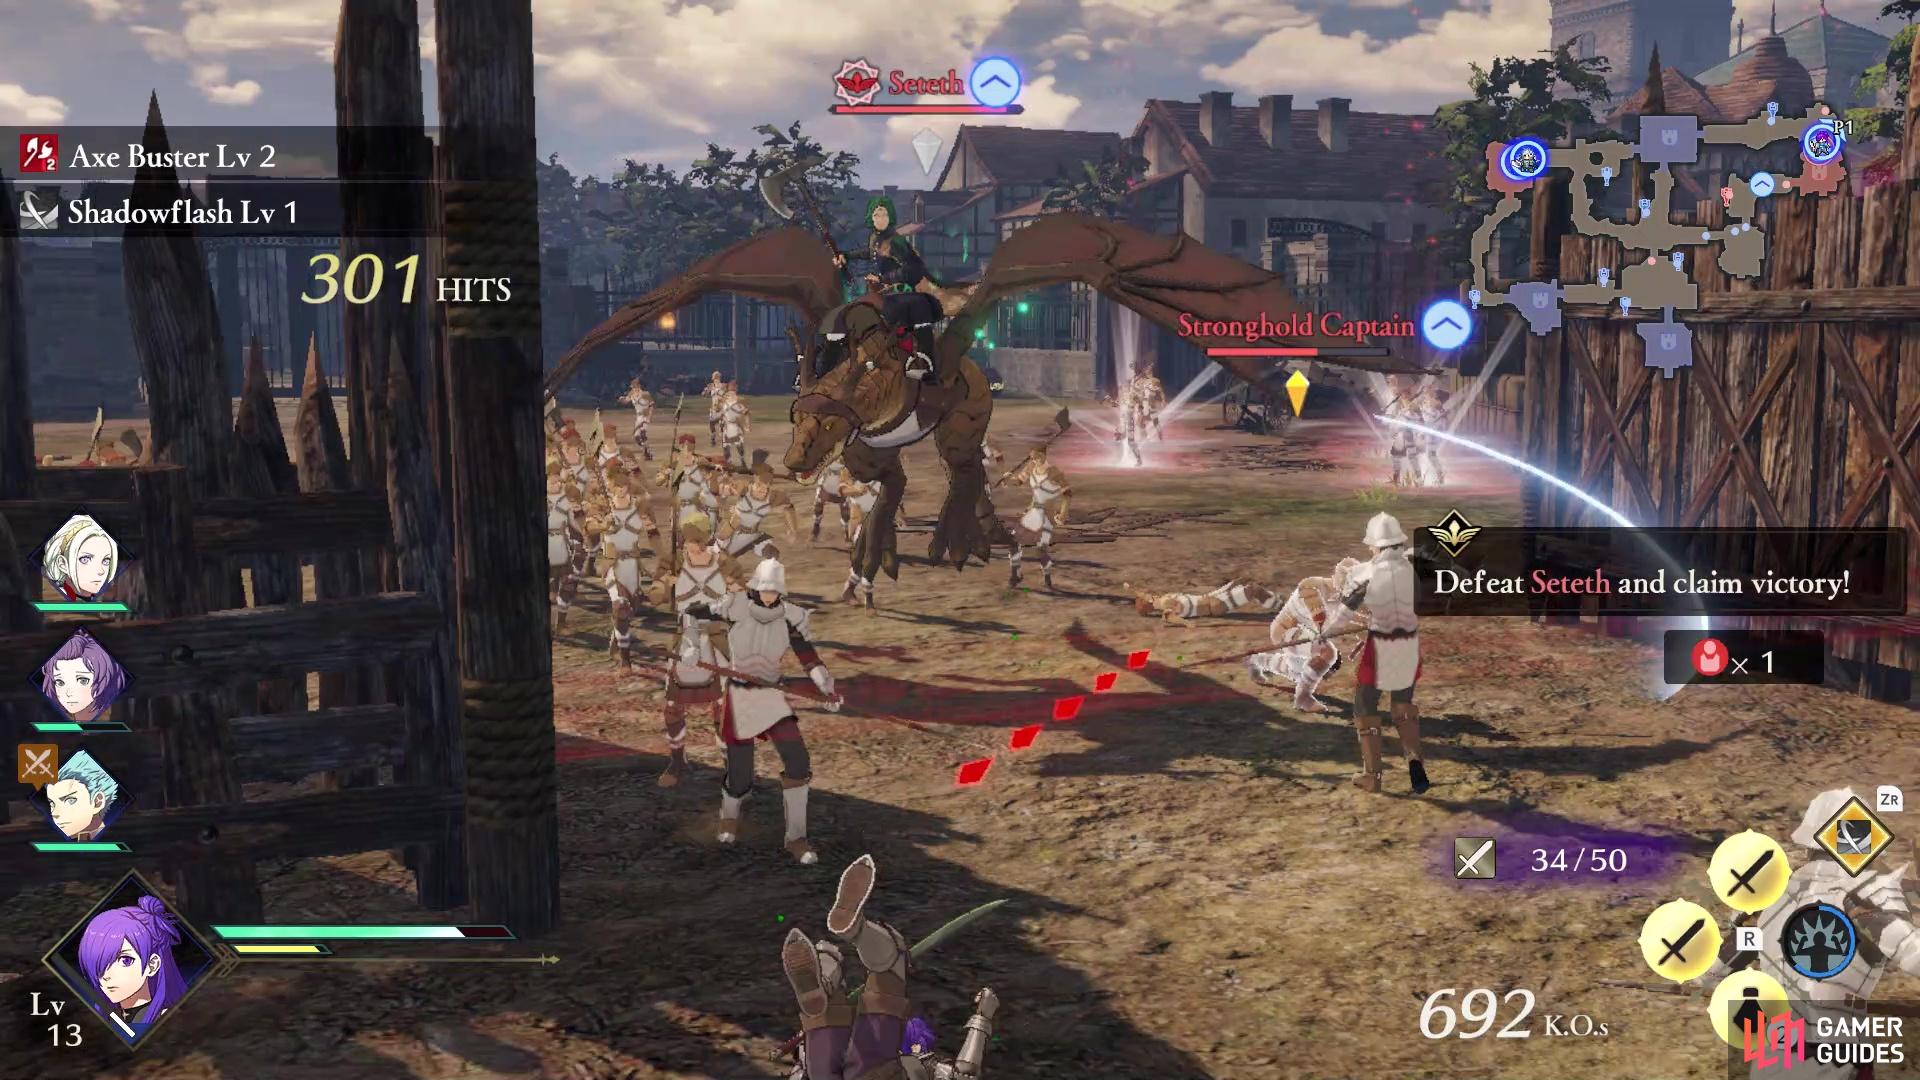
He will be riding a Wyvern, making him extremely weak to bows
You will receive 10 Strategy Resources for completing the battle, plus gain an extra Activity Point for back at base. Additionally, don’t forget to check the Surveying Spots here to gain the following:
- Blaze (Strategy; requires all side battles to be complete)
- Crude Building Material x10
- Strength Ring or Speed Ring (can only choose one)
No Comments