
This is a guide for Chapter 5: The Skirmish in the Fog in Fire Emblem Warriors: Three Hopes, this page focusing on the Western Erebus Territory.
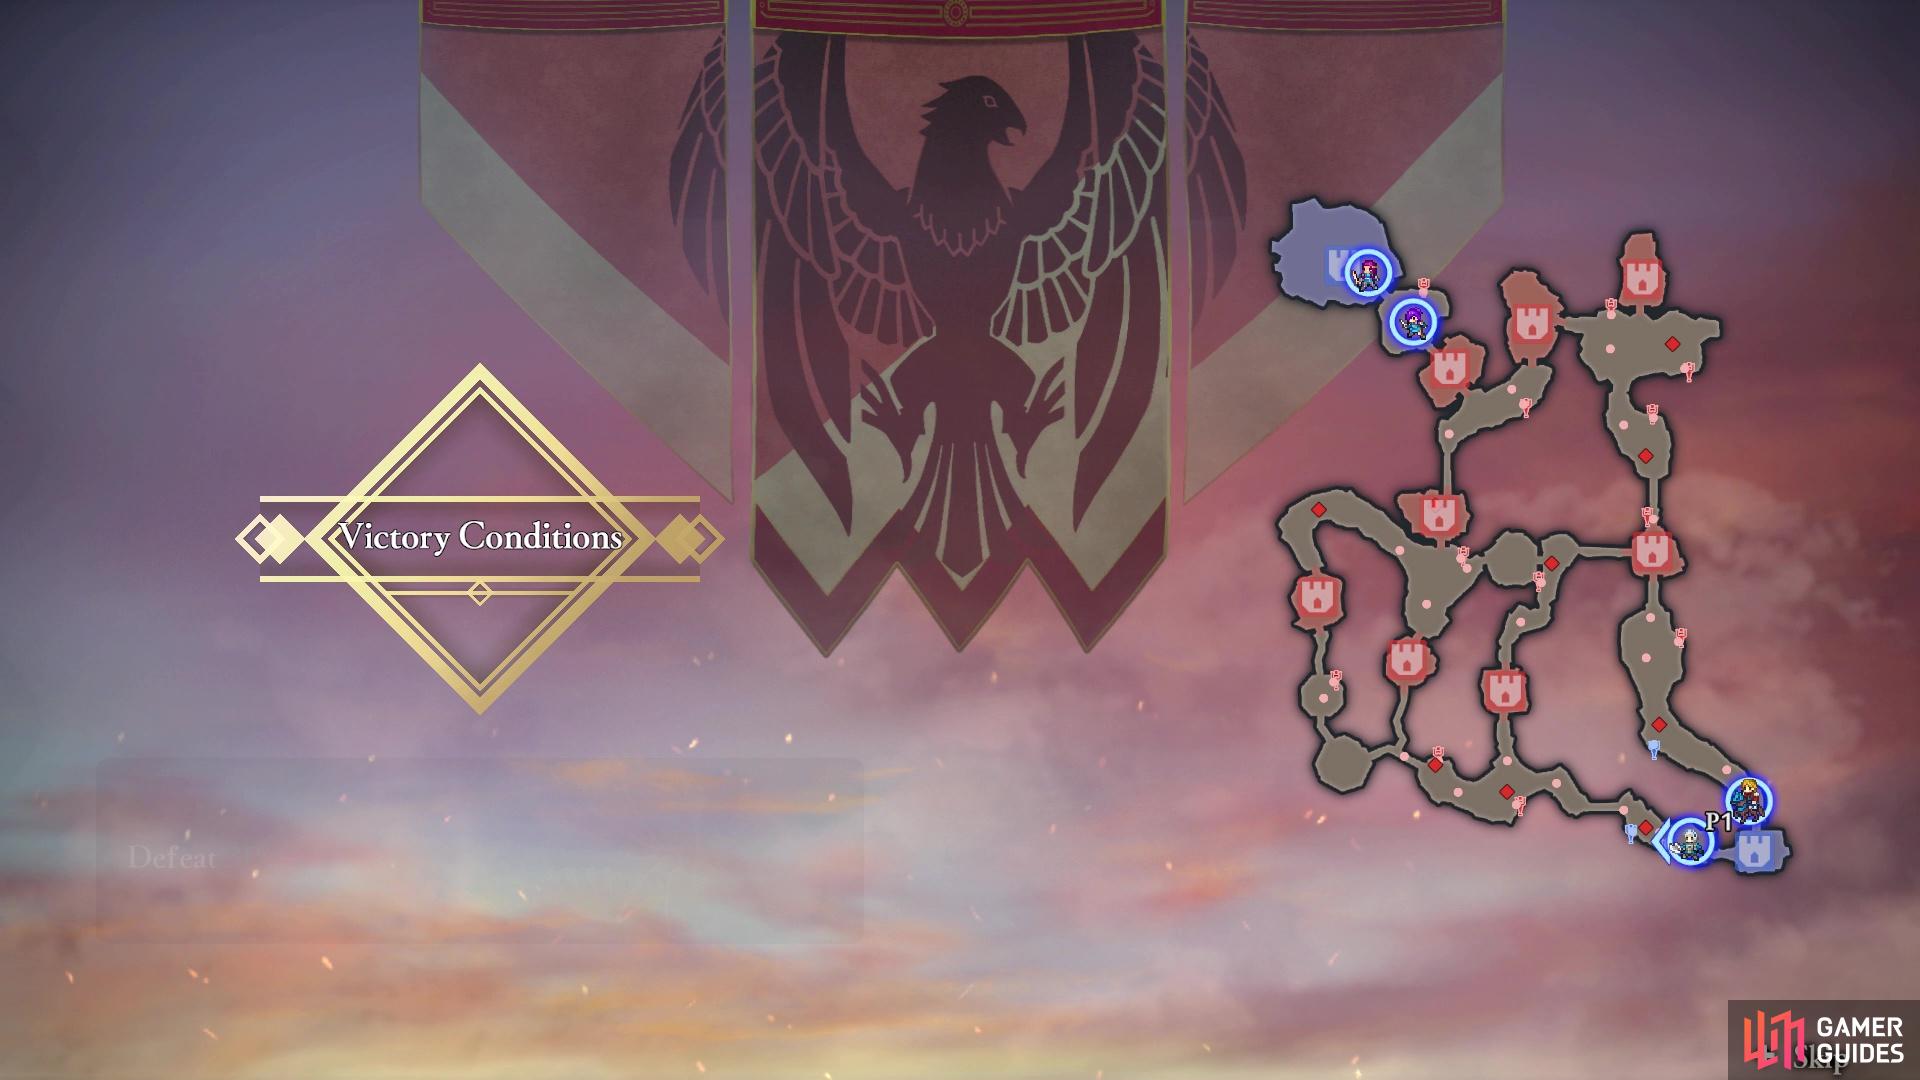
The battlefield for Western Erebus Territory
How to S Rank Western Erebus Territory
| Completion Time | Enemies Defeated | Damage Taken |
|---|---|---|
| 07:00 | 600 | 30% |
This can be a pretty easy battle to S Rank, simply because the main objective is to defeat 300 enemies. You don’t really need to go out of your way to do any of the side missions here, as long as you reach the 600 enemies for the enemies defeated goal of the S Rank. So, you just go crazy and defeat all of the enemies to reach that 600, then go after the commander. One thing to be careful about is the Mage’s magic, as it can hurt quite a bit, so it might not be too bad to go out of the way slightly to get rid of the Mage.
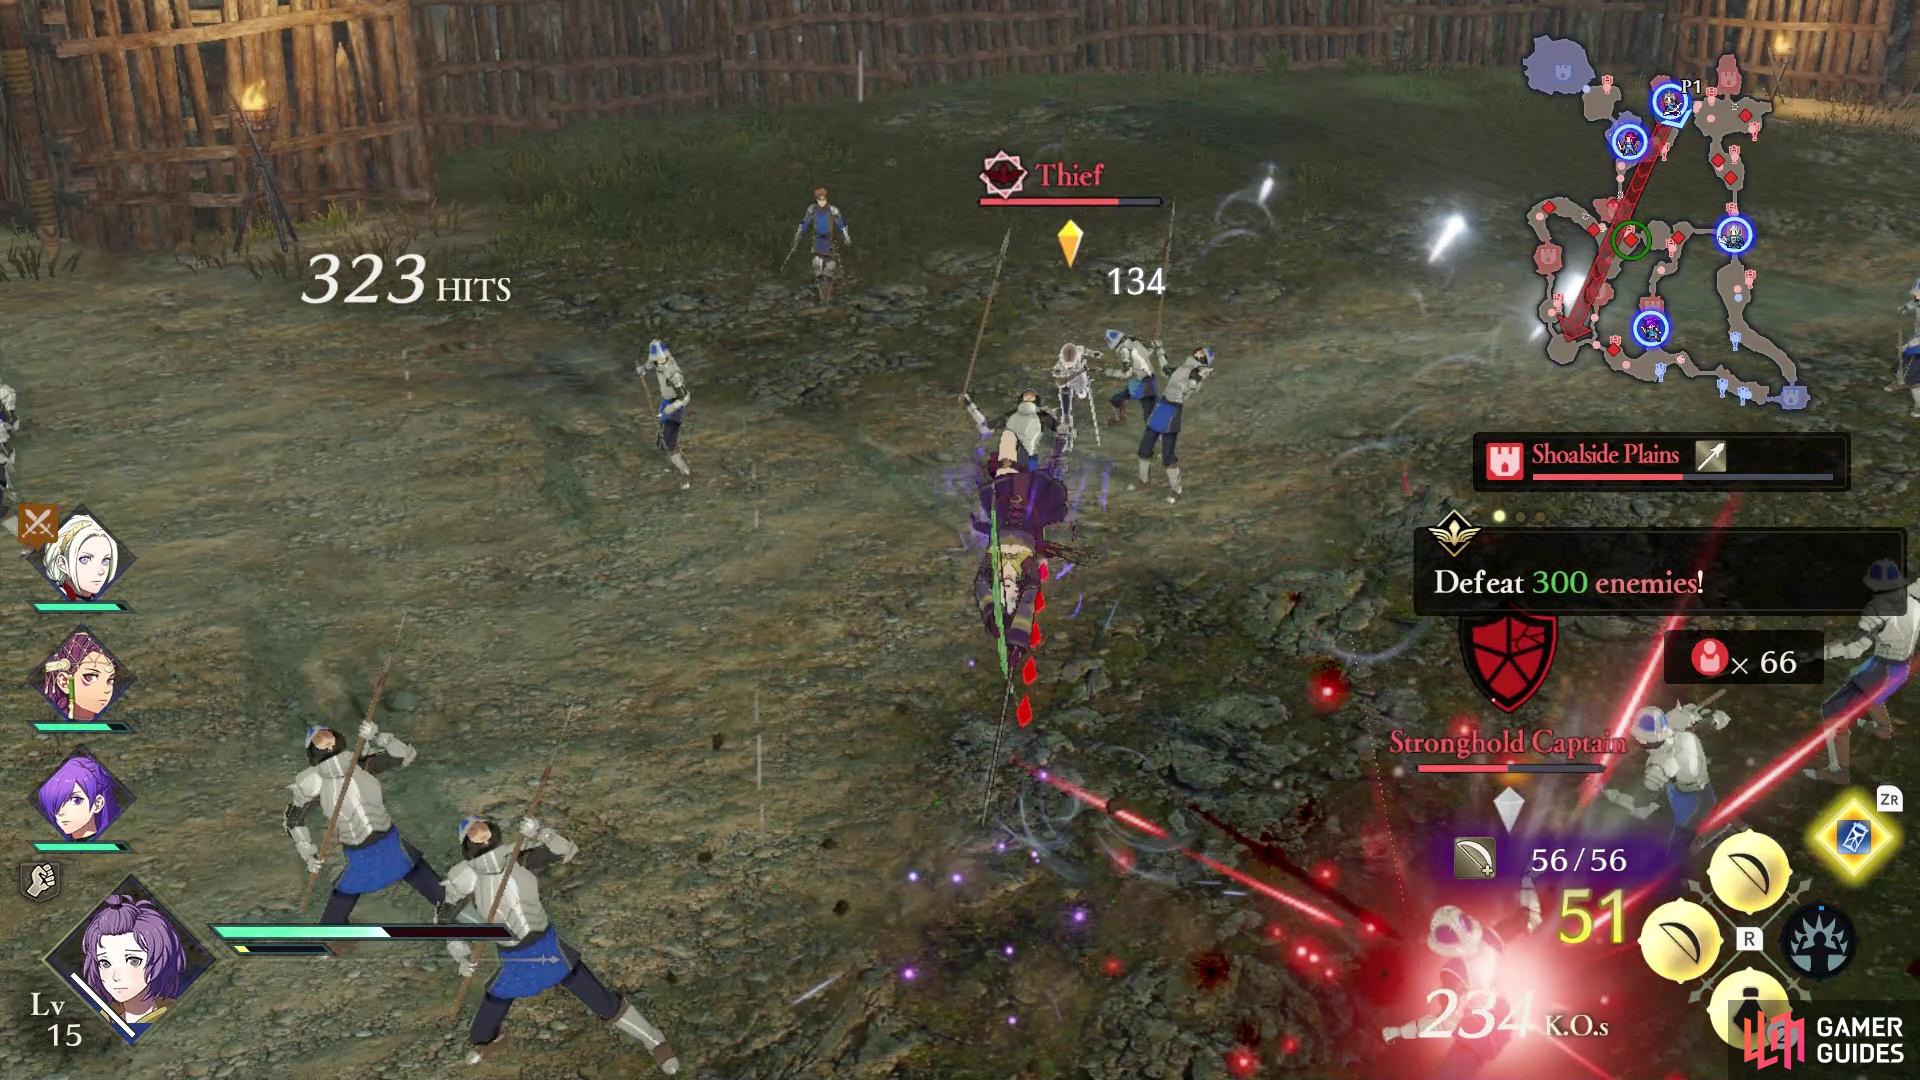
Mission 1: Defeat 300 Enemies
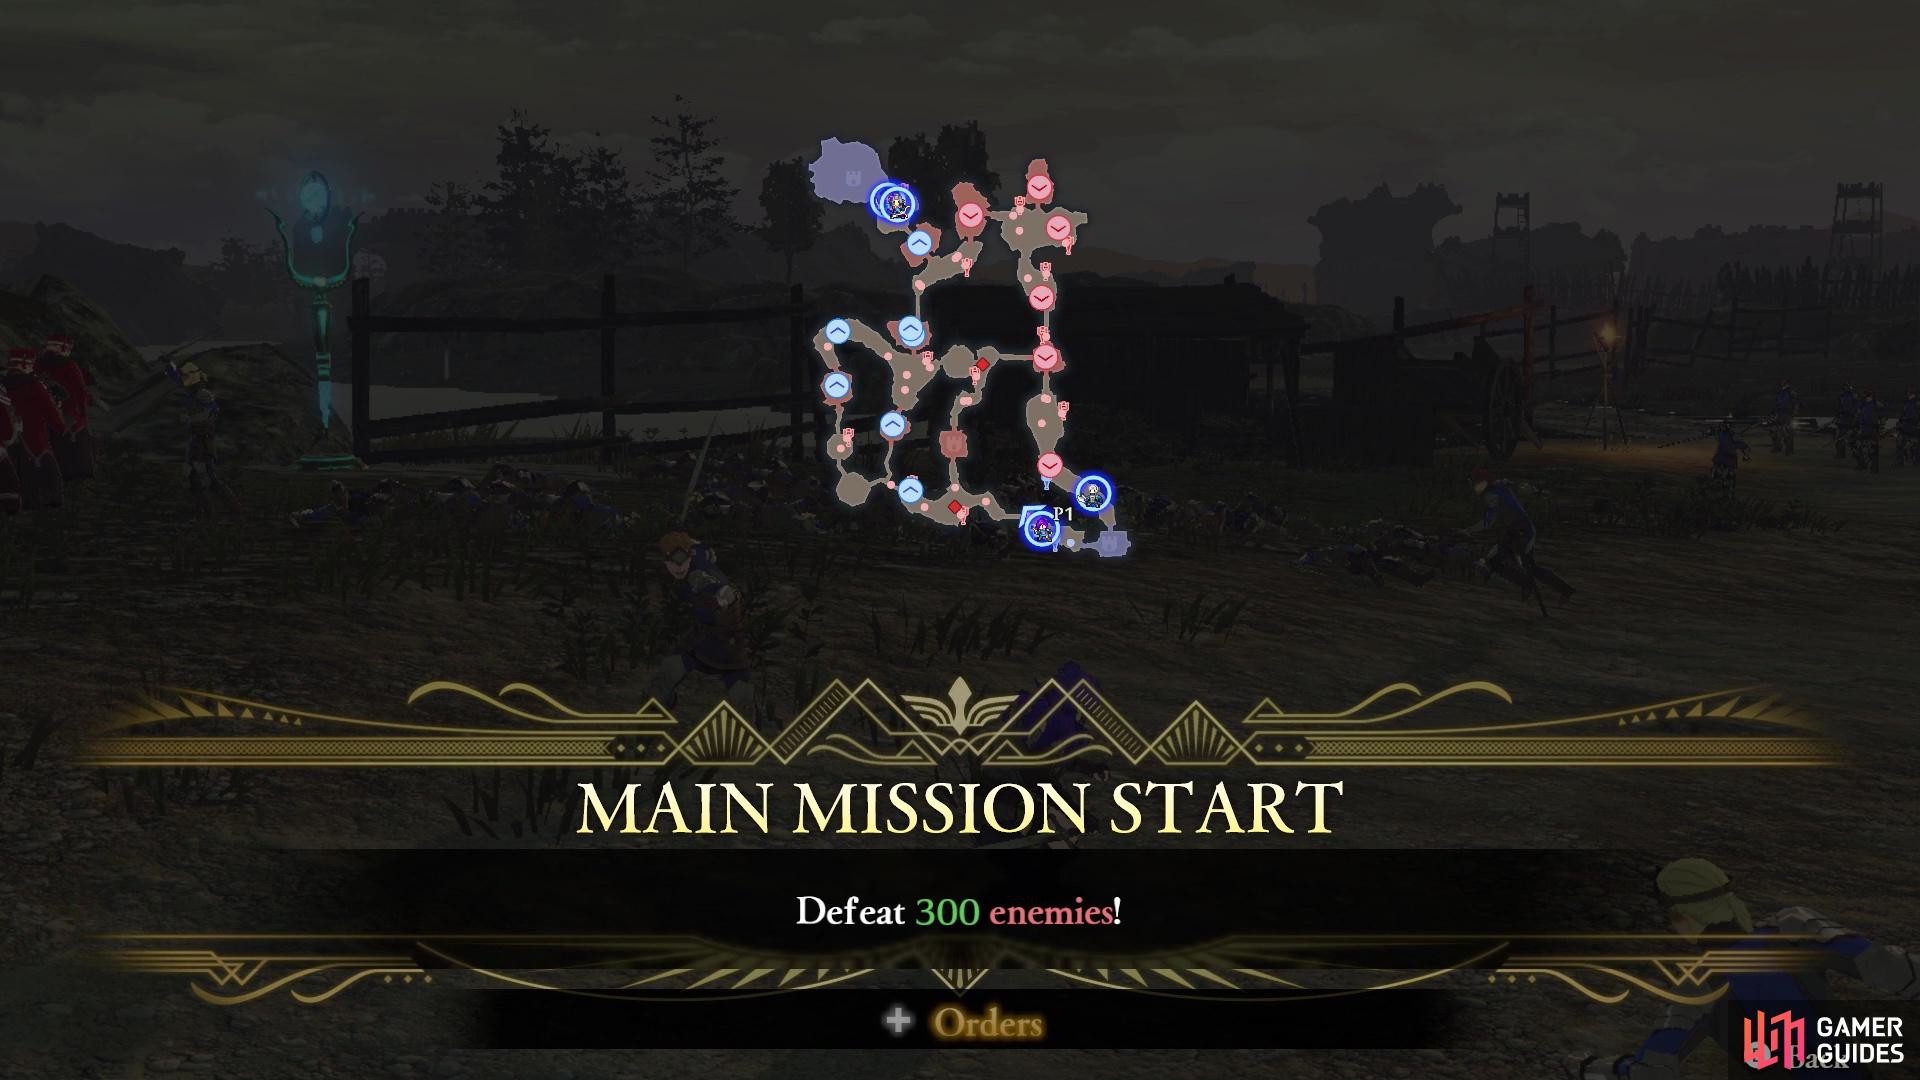
Your main goal at the start is to defeat 300 enemies
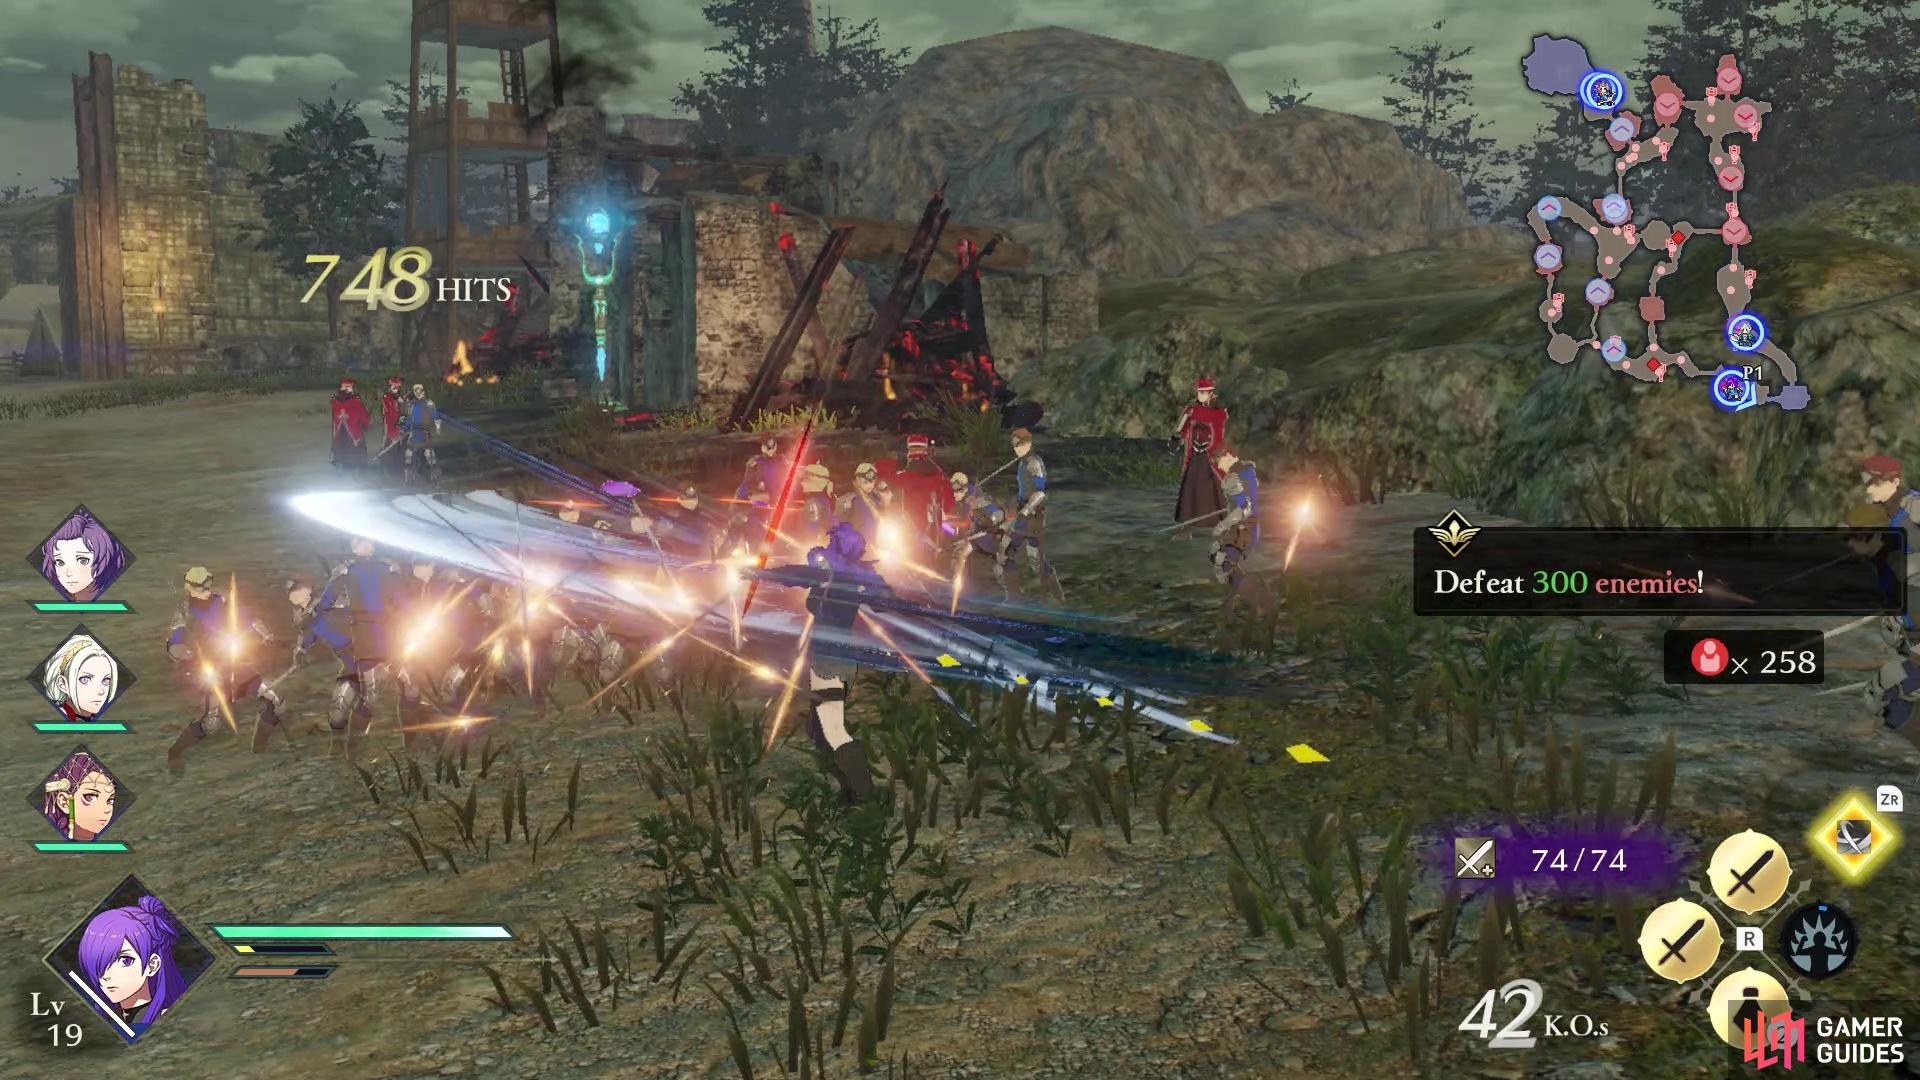
just keep swinging while racking up the kill count!
The main mission in this battle is simple, as you just need to defeat 300 enemies. There are plenty of enemies to go around, plus all of the side missions will help you get to the kill count needed to complete the mission. Plus, if you want to get the S Rank, you’re going to need to get 600 kills, so this will be easy enough.
Side Mission: Defeat the Mage to Stop their Magic attack
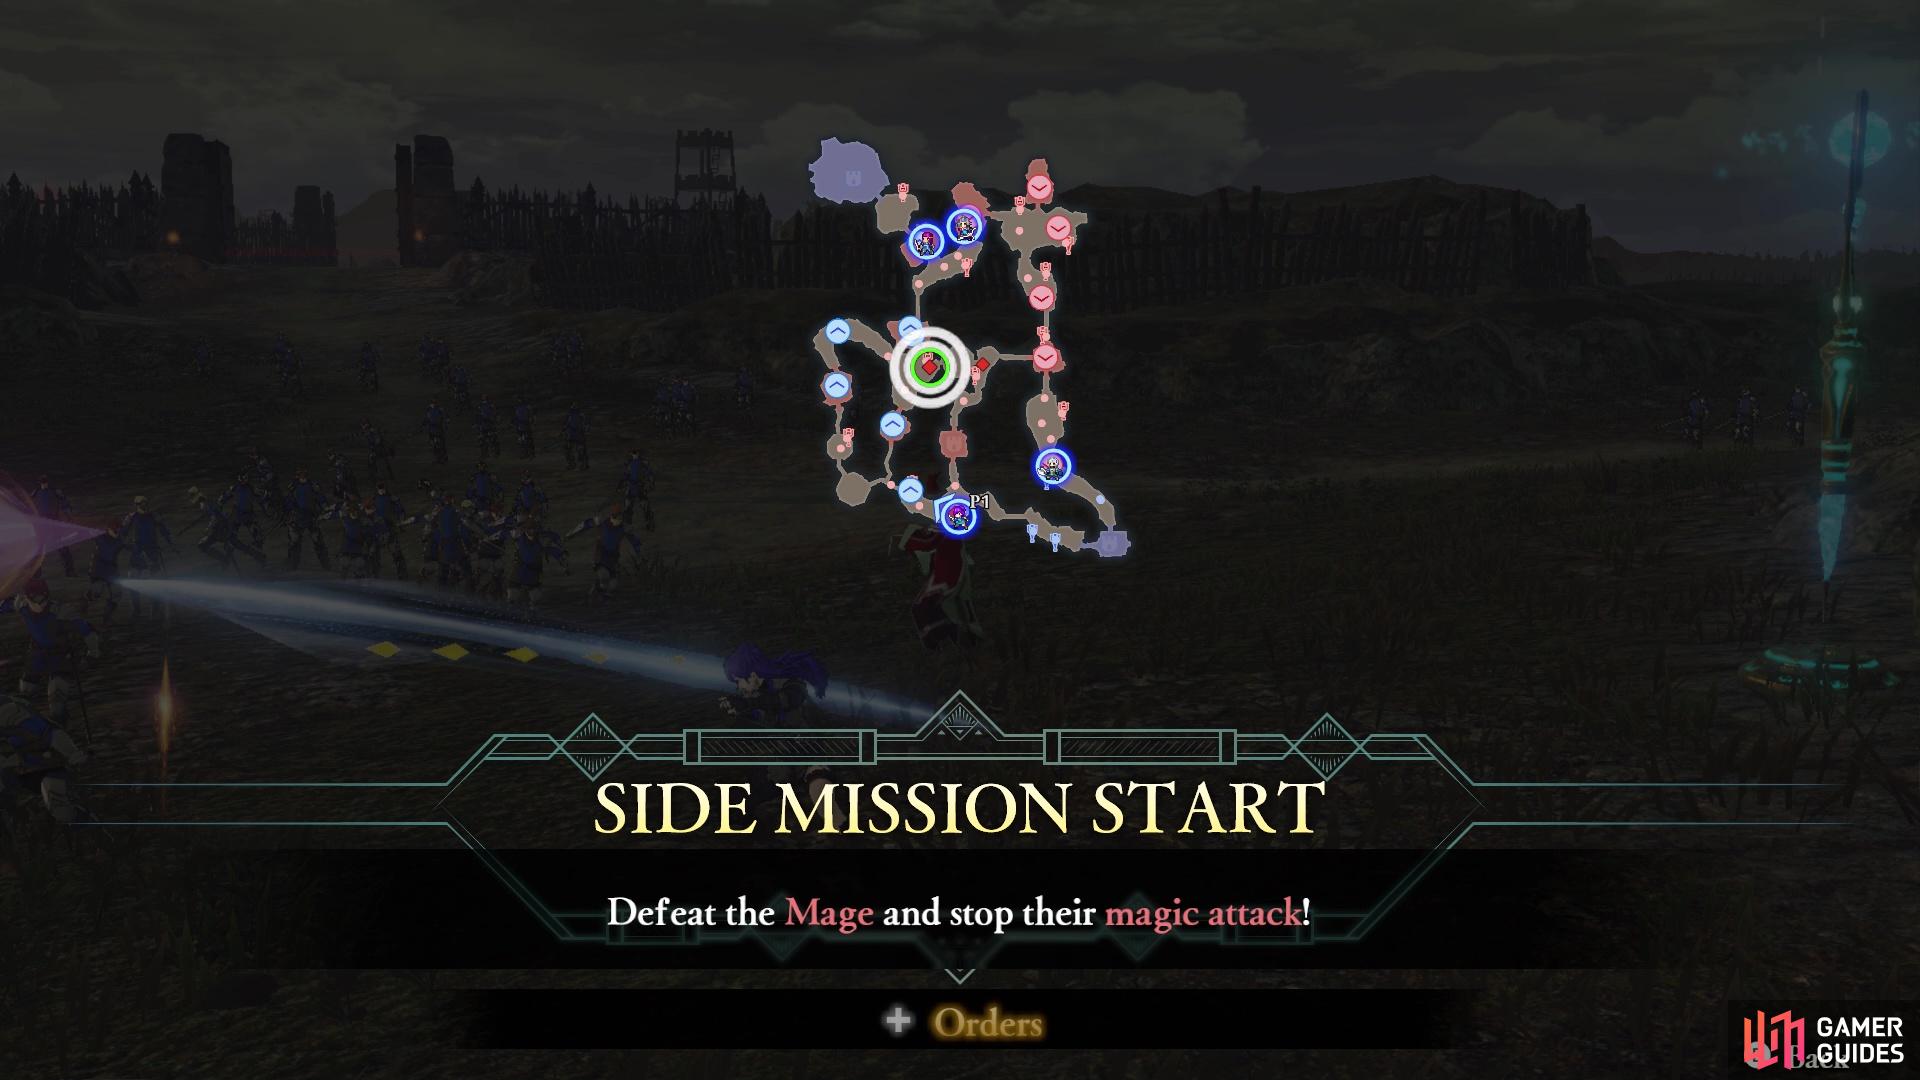
The Mage will appear somewhere near the center of the map

Be on the lookout for the areas where the magic will strike
At some point during the battle, a Mage will appear near the center of the map and begin casting magic. This magic will come in the form of lightning strikes, and will follow you around the battlefield, so you will need to be on the look out for the giant red circles that signal a lightning strike is coming. Depending on where you start, you should make your way over to the Mage and get rid of them as soon as possible, as the lightning strikes are annoying and cause you to lose some time here and there.
Side Mission: Don’t let the Thief reach the Central Pier
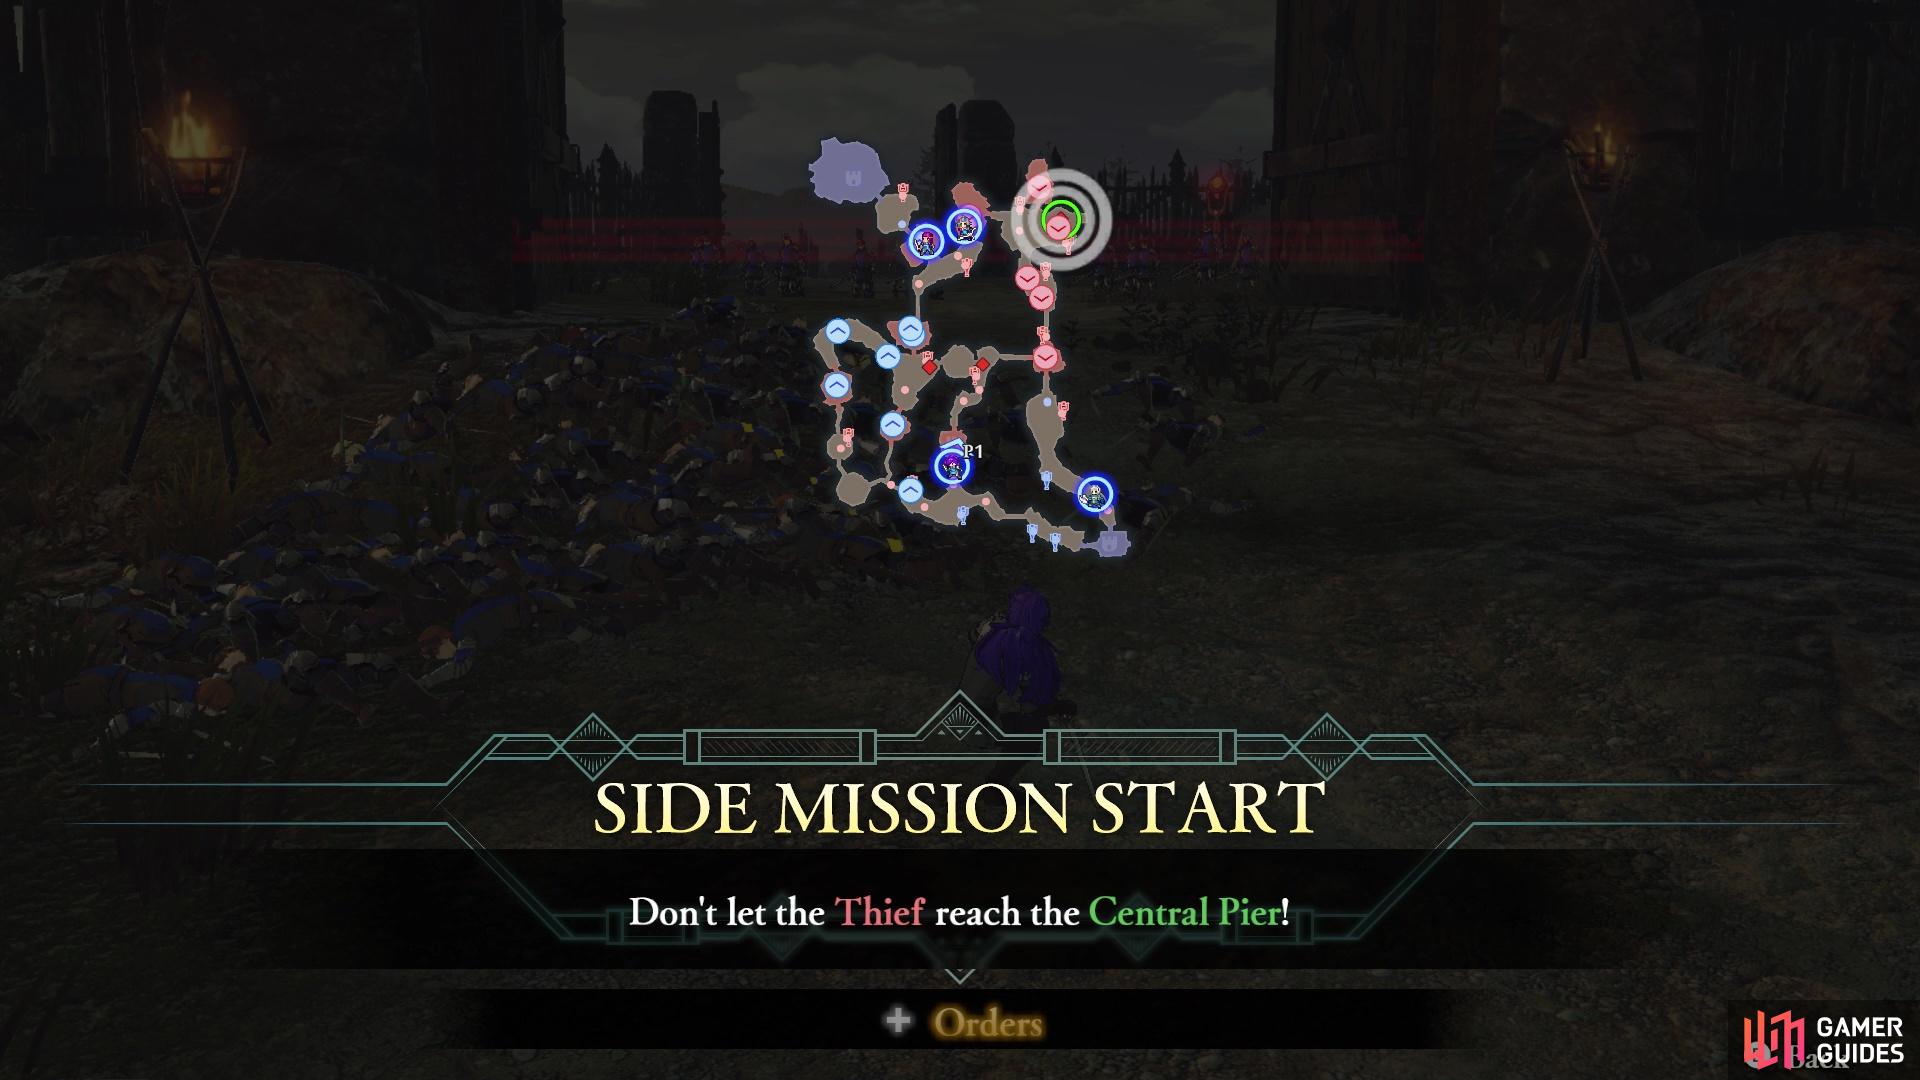
The Thief will make a beeline to the designated area
However, the Thief will stop when confronted by a controlled character
Yep, this is another side mission here (don’t worry, there’s one more), with a Thief appearing in the upper right corner of the map. His only goal is to reach the Central Pier in the lower left corner, and it’s your job to stop him. As long as you meet up with the Thief at all, he will stop and confront you, so you won’t need to do a lot of chasing. Other than making sure to reach the Thief before he reaches his destination, there’s not much else to this side mission.
Side Mission: Protect the Pegasus Knights
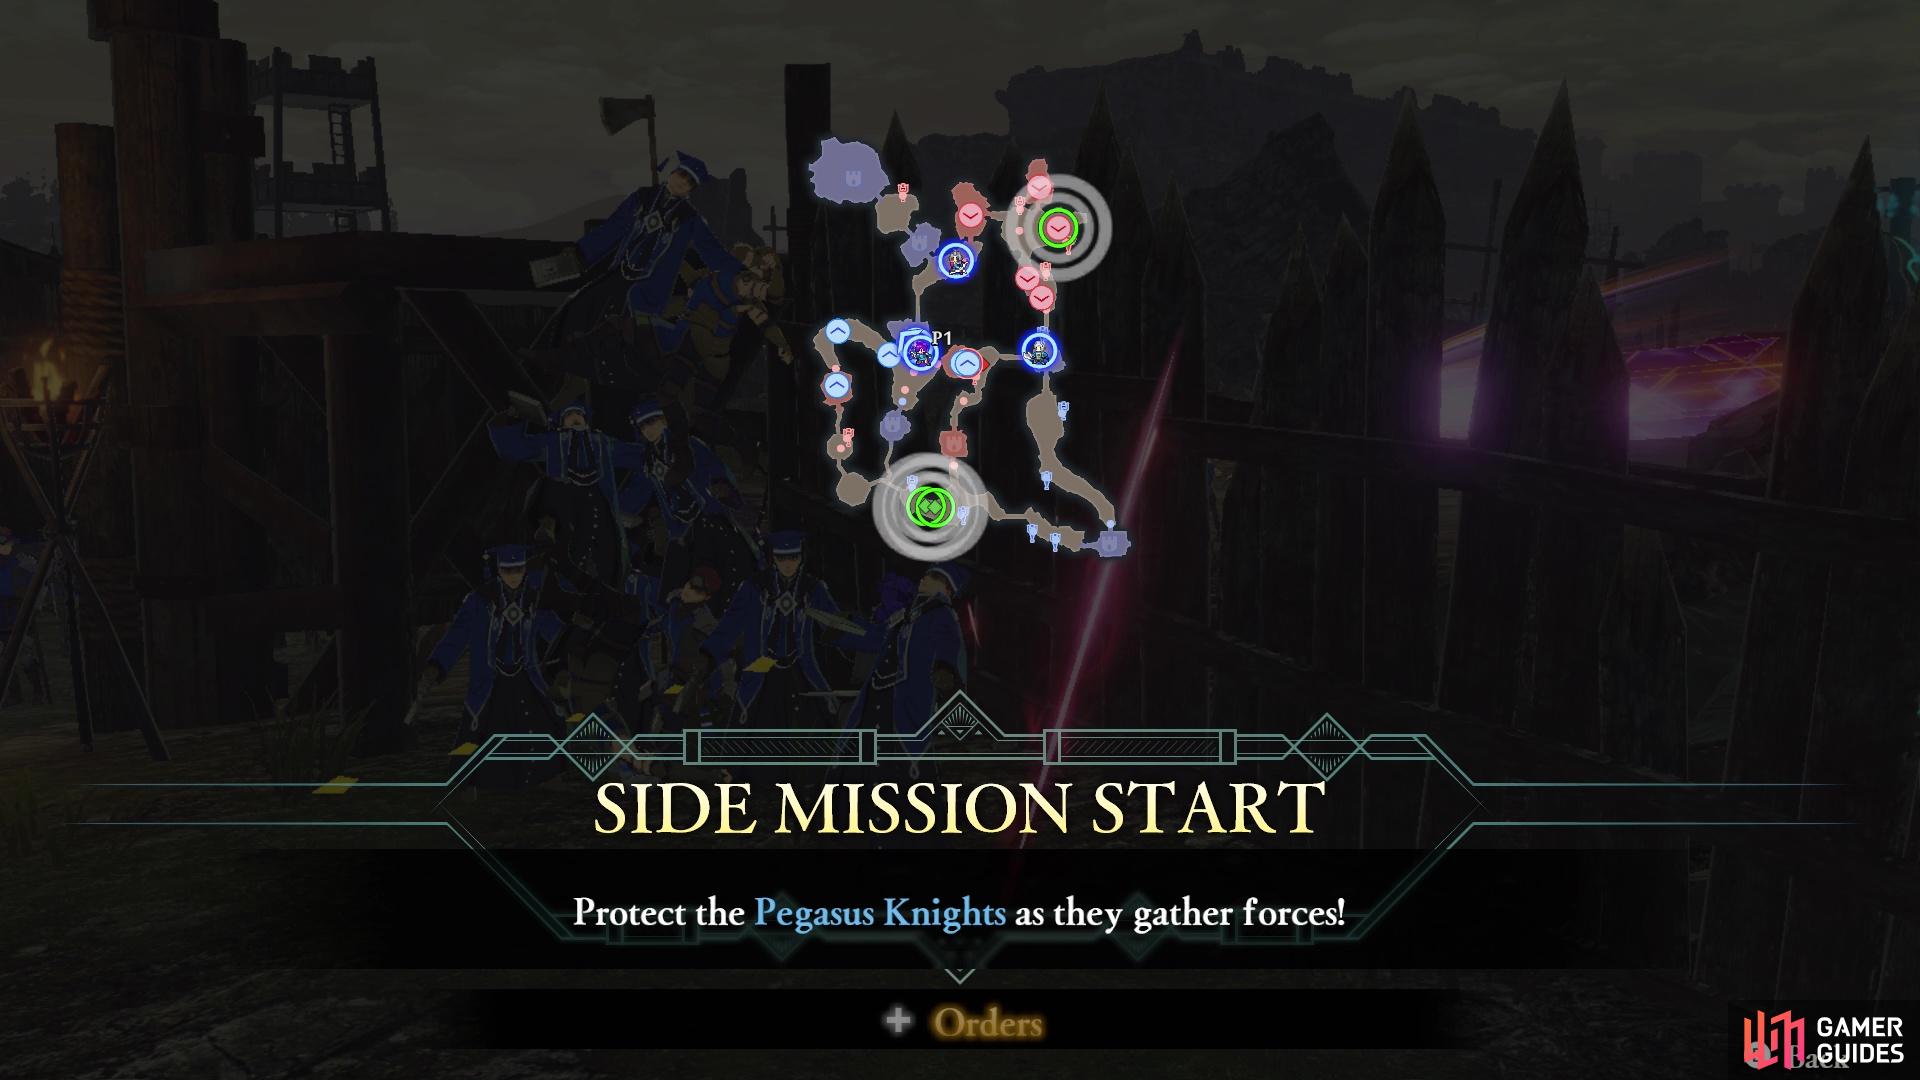
The Pegasus Knights will spawn in two areas
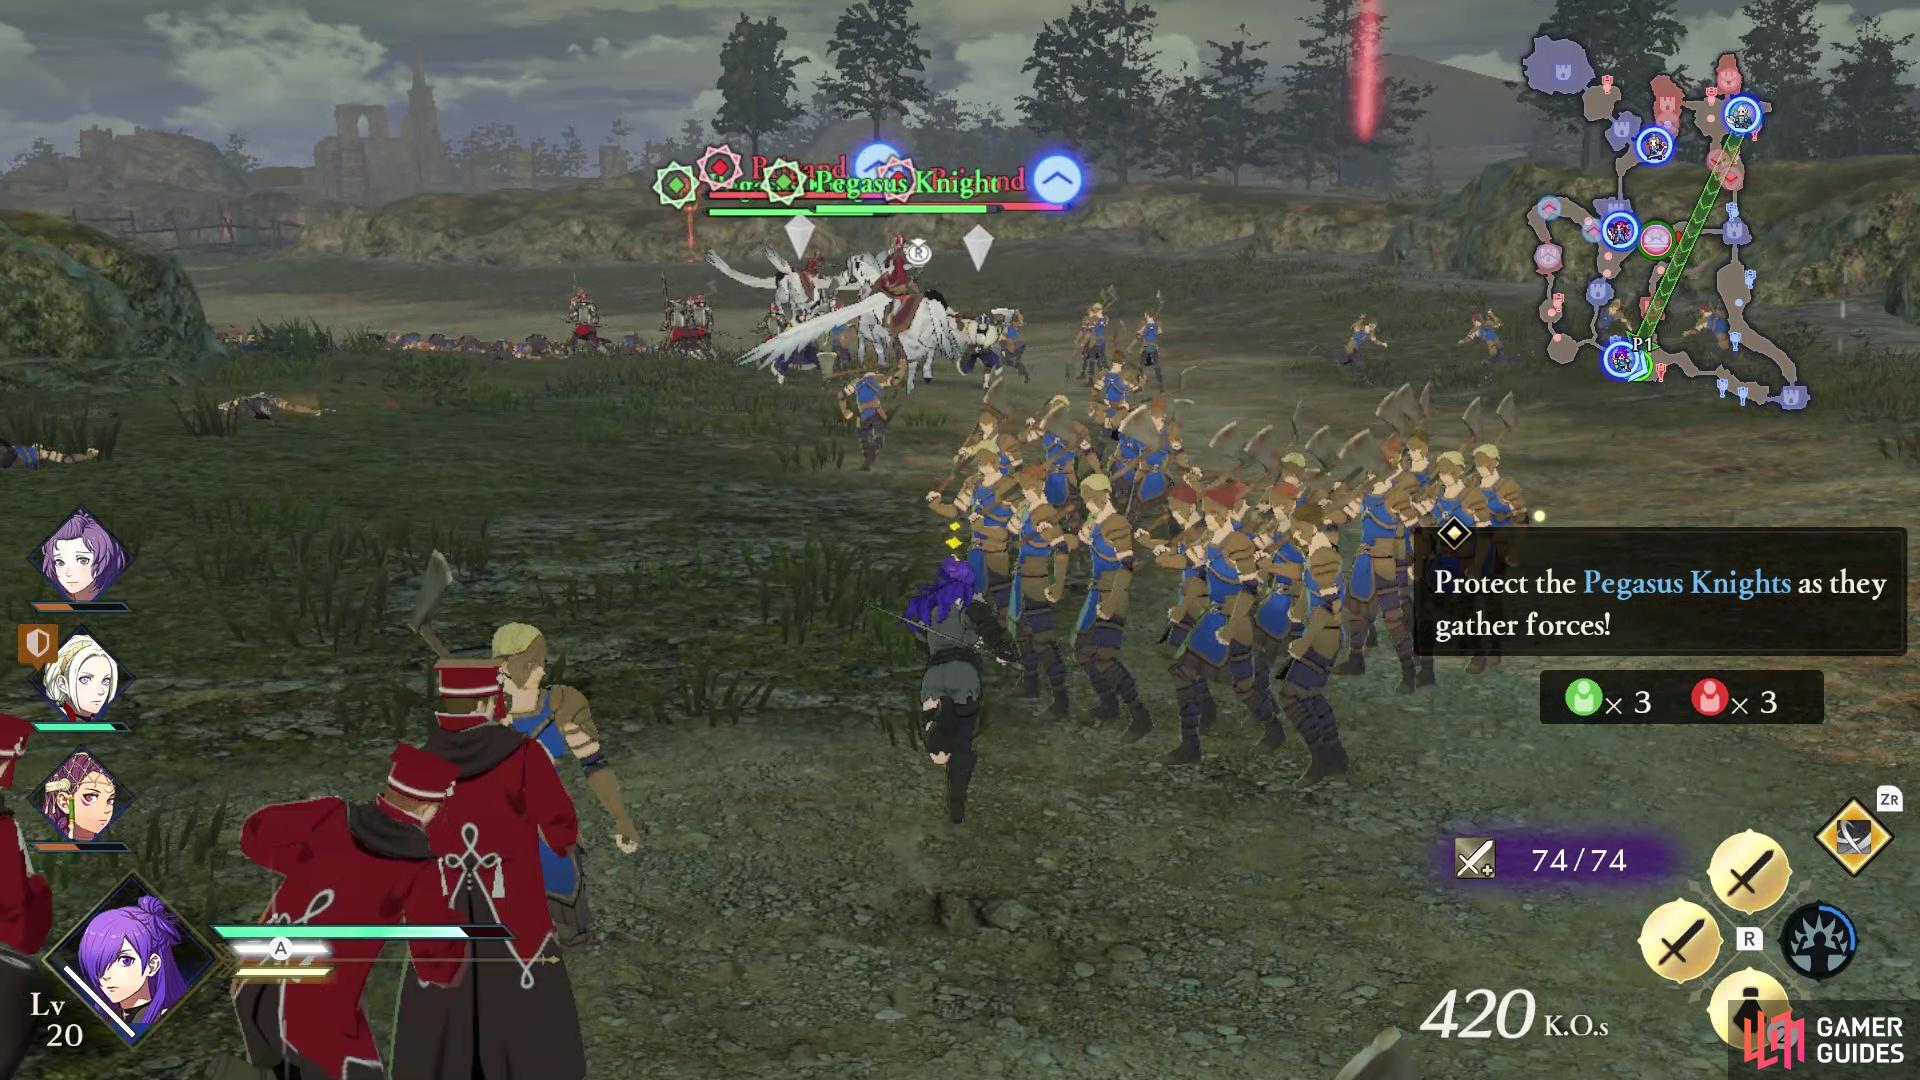
They will definitely need your help to stay alive
There is yet another side mission, although this will be the final one for this battle. Two sets of two Pegasus Knights each will appear in the south and northeast. Your job is to protect them while they prepare to gather forces. Of course, things aren’t always so simple, as some other enemy units will appear to put a stop to the Pegasus Knights. If you wish to complete this side mission, then you will want to help the Pegasus Knights, as they will be routed by the enemy. Quickly send one or two allies to one set, while you personally rescue the other set. You can then switch over to the other ally and clear that area, too. Once you rescue both sets, they will eventually do their thing and join up with the Imperial Army.
Mission 2: Defeat Gustave
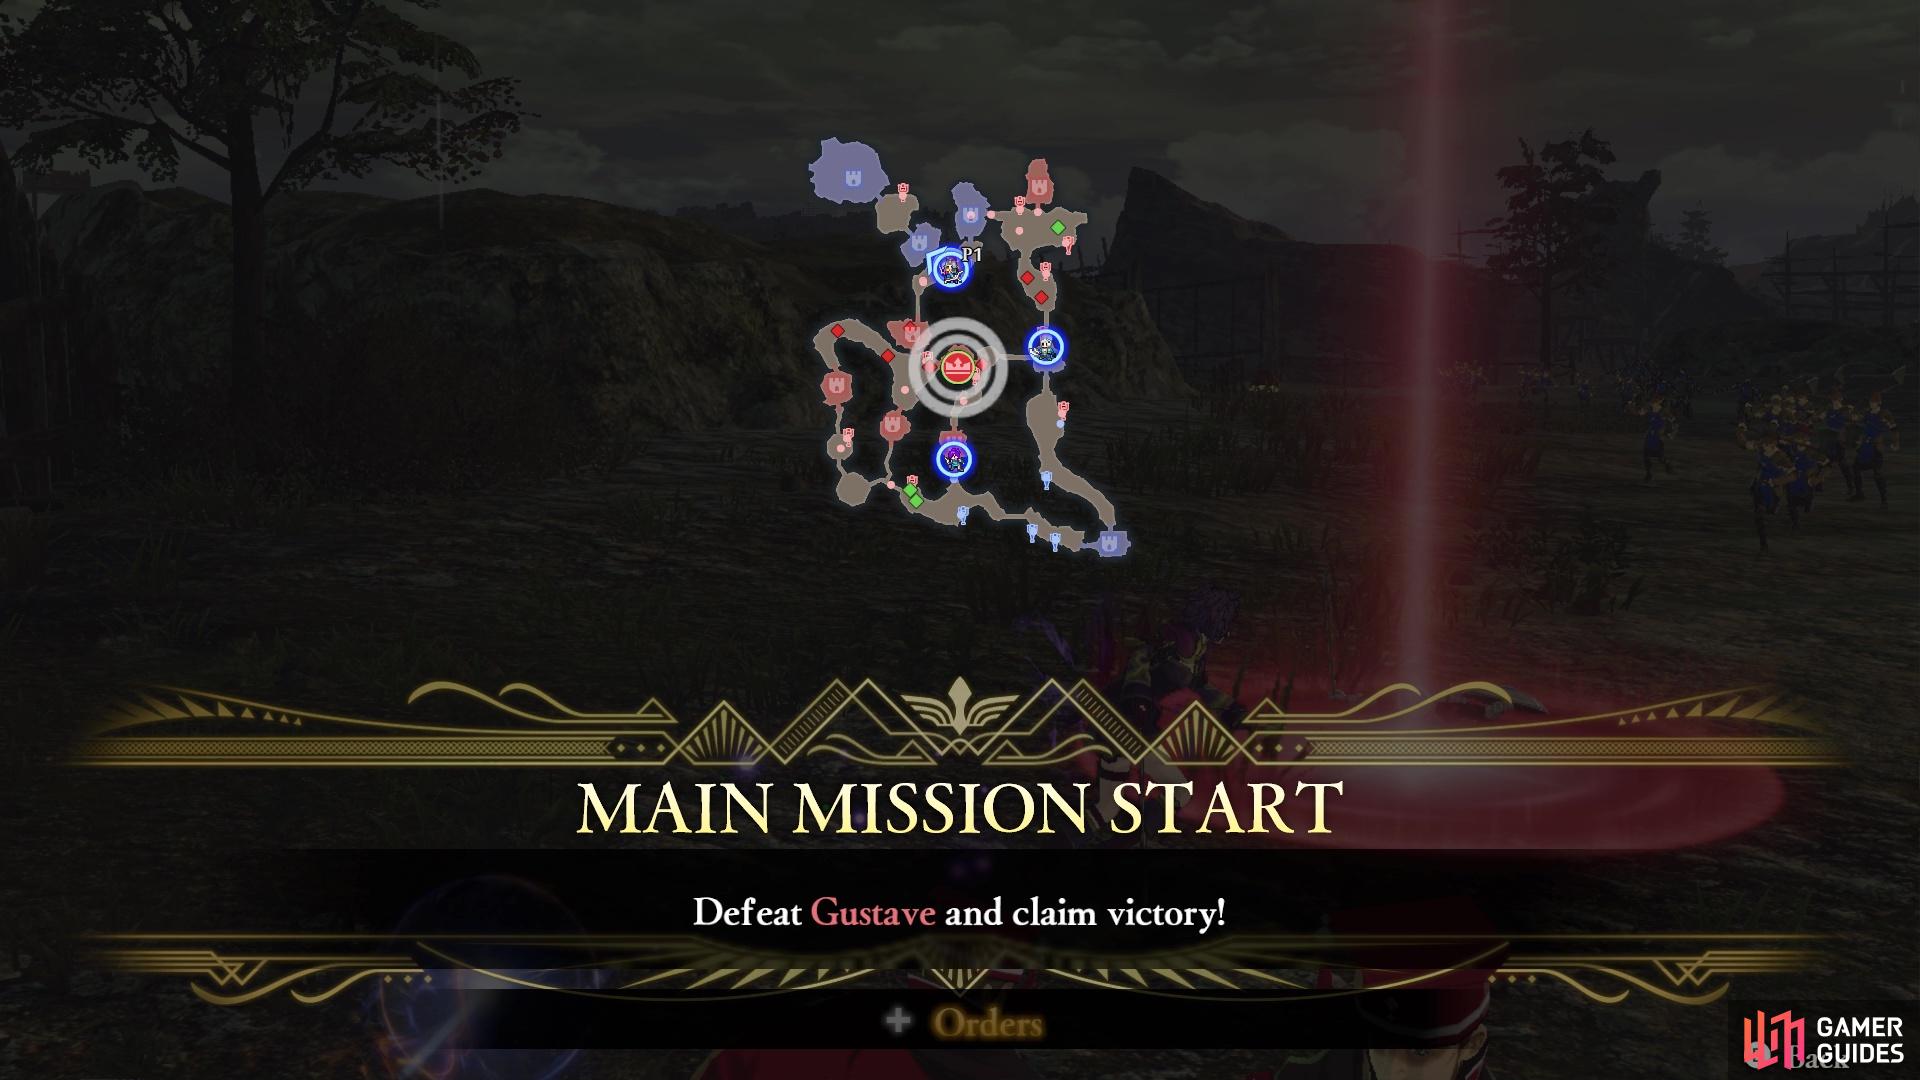
Gustave appears after defeating the 300 enemies

He will be equipped with an axe and shield
All of the side missions being pushed aside, the enemy commander for this battle will appear after getting the 300 kills from the first main mission. Gustave will appear in the center of the map, and wields an axe and shield (similar to Edelgard’s unique class). He seems to be a little tankier than other commanders you’ve faced thus far, which is likely due to his class. Once you defeat Gustave, the battle will be over.
As from these side missions, you will gain 10 Strategy Points, plus you will be able to grab the Surveying Spots, which yield the following:
- Basic Building Material x38, Apprentice Smithing Set x15, Humble Furnishings x10
- Choose a unit to receive a permanent Str +5 buff
- Choice between two battalions, either Volunteer Cavalry or Volunteer Archers
Note that if you were quick enough, there will be two additional Extra Quests in this region, another An Unexpected Encounter and A Grave Threat. It’s worth doing both of these, due to the Monsters you face in them.
No Comments