
This is a guide for Chapter 2: Three Houses in Fire Emblem Warriors: Three Hopes.
After two tutorial stages in a row, the training wheels will slowly be removed. This will be the first proper big battle you’ll take part in, although it’s still on the easy side, being an early-game stage.
S Rank Requirement
| Completion Time | Enemies Defeated | Damage Taken |
|---|---|---|
| 12:00 | 600 | 40% |
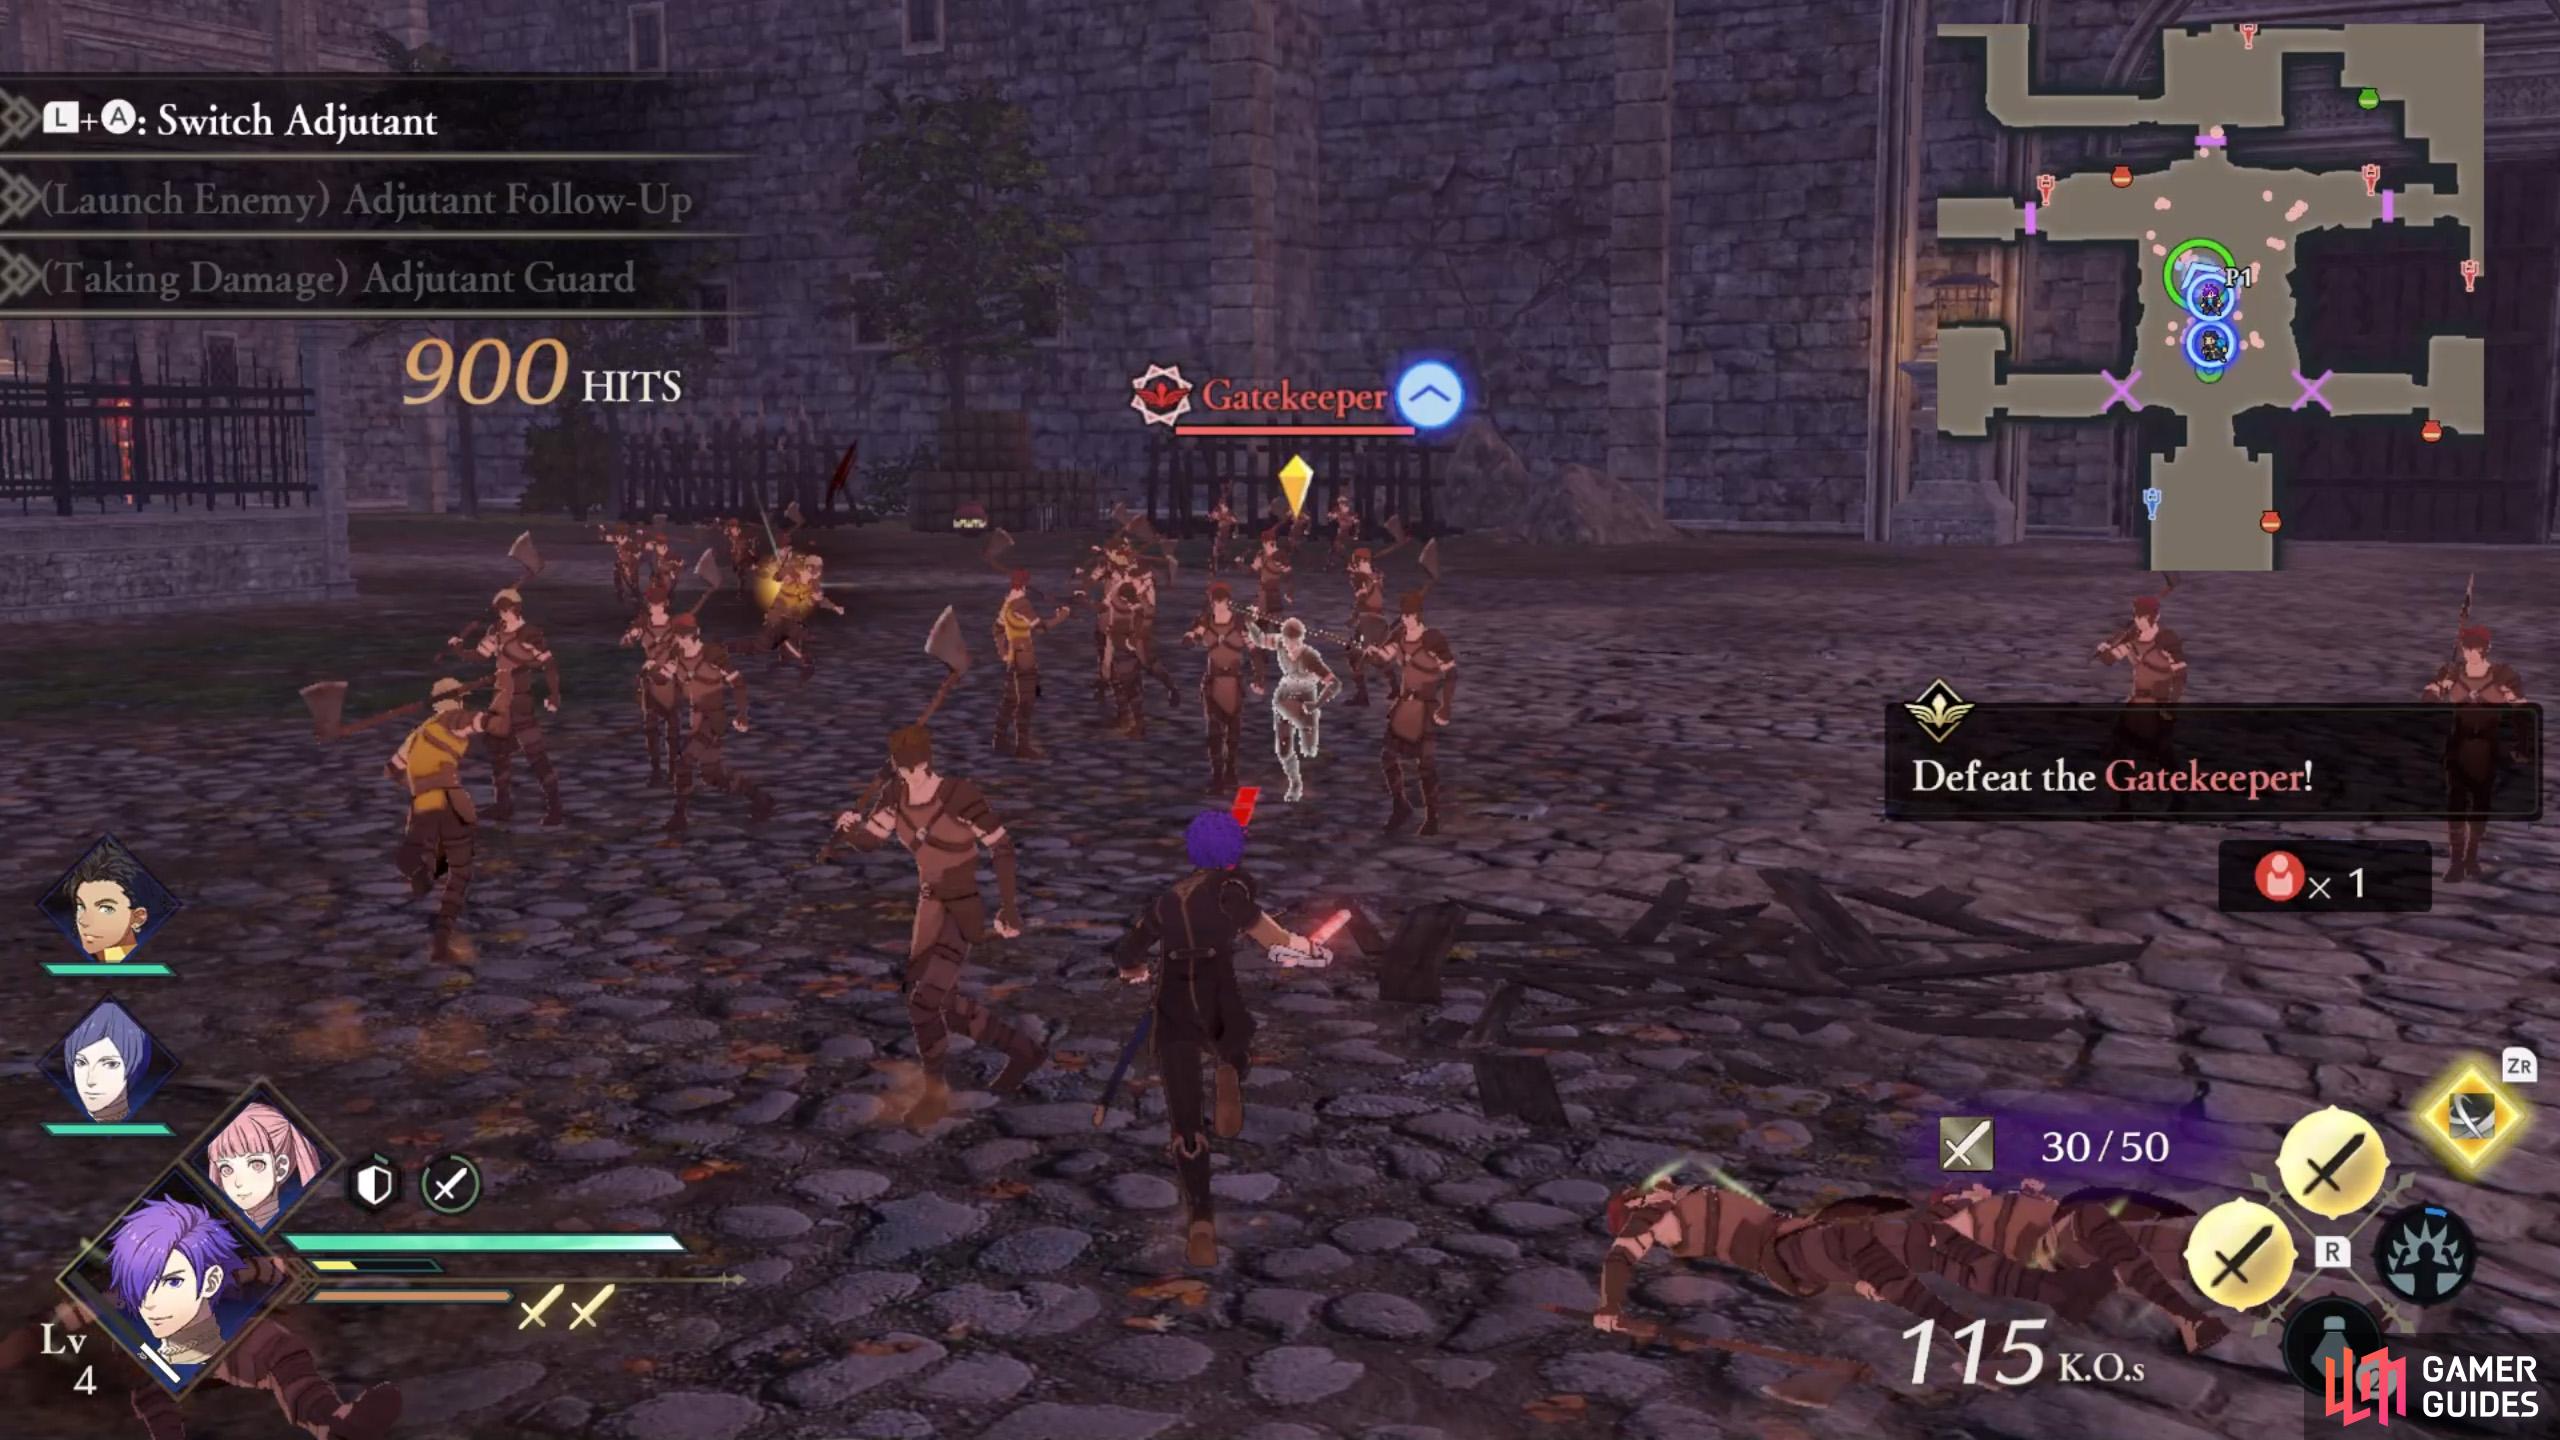
Mission 1: Defeat the Gatekeeper
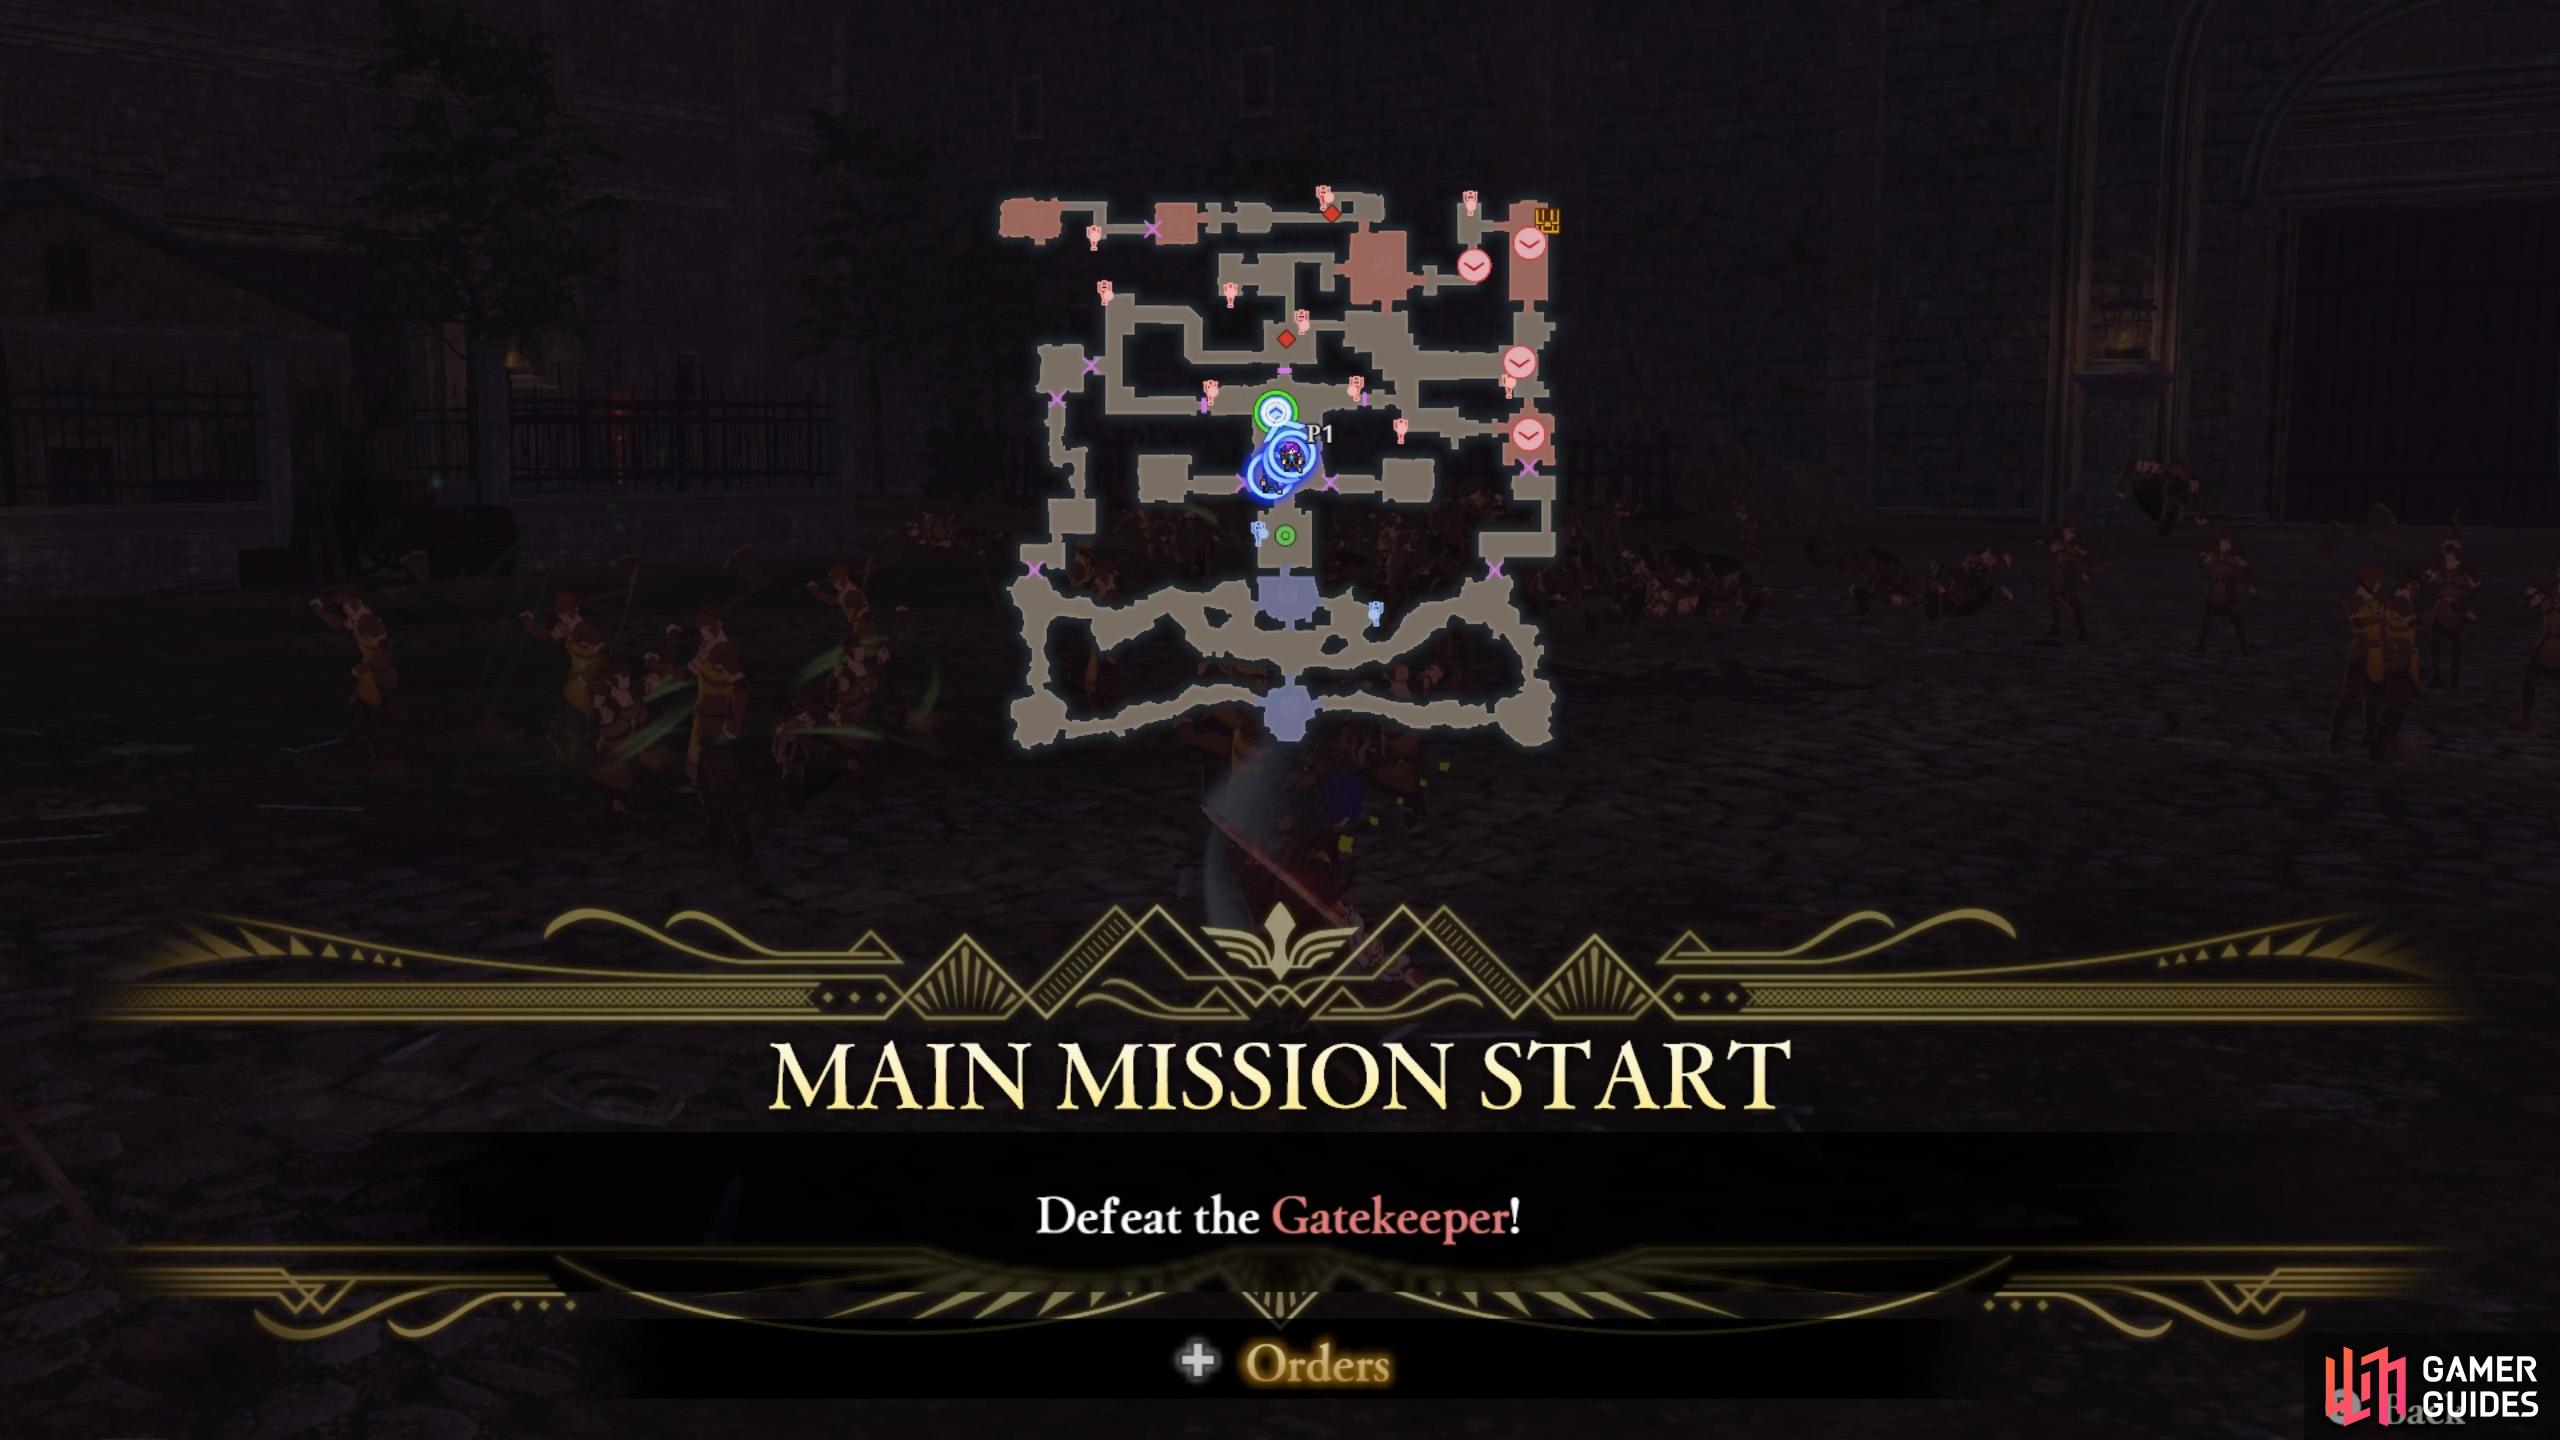
Your opponent is a bog-standard gatekeeper, not the famous one.
A sword-wielder like Shez will be good here.
If you joined the Black Eagles, Edelgard, Hubert and Ferdinand will be playable characters.
Meanwhile, if you picked the Blue Lions, Dimitri, Dedue and Ashe will be playable characters.
Finally if you sided with the Golden Deer, you’ll have Claude, Lorenz and Hilda as playable characters.
Regardless, Jeritza will assist as a NPC, similar to Alois near the end of the previous chapter.
To begin with, charge north towards the front gates. No need to be subtle. Jeritza will notice an obstruction; you’ll need to defeat a gatekeeper (not the Gatekeeper) to open the gate. We suggest using Shez since their sword beats the gatekeeper’s axe.
After the gatekeeper falls, it’ll drop a colored weapon pack, similar to the resource bags. These will yield new weapons–the weapon level depends on the color (goes from blue to green, yellow, orange and red). Gray weapon packs will yield broken weapons. Uh, thanks?
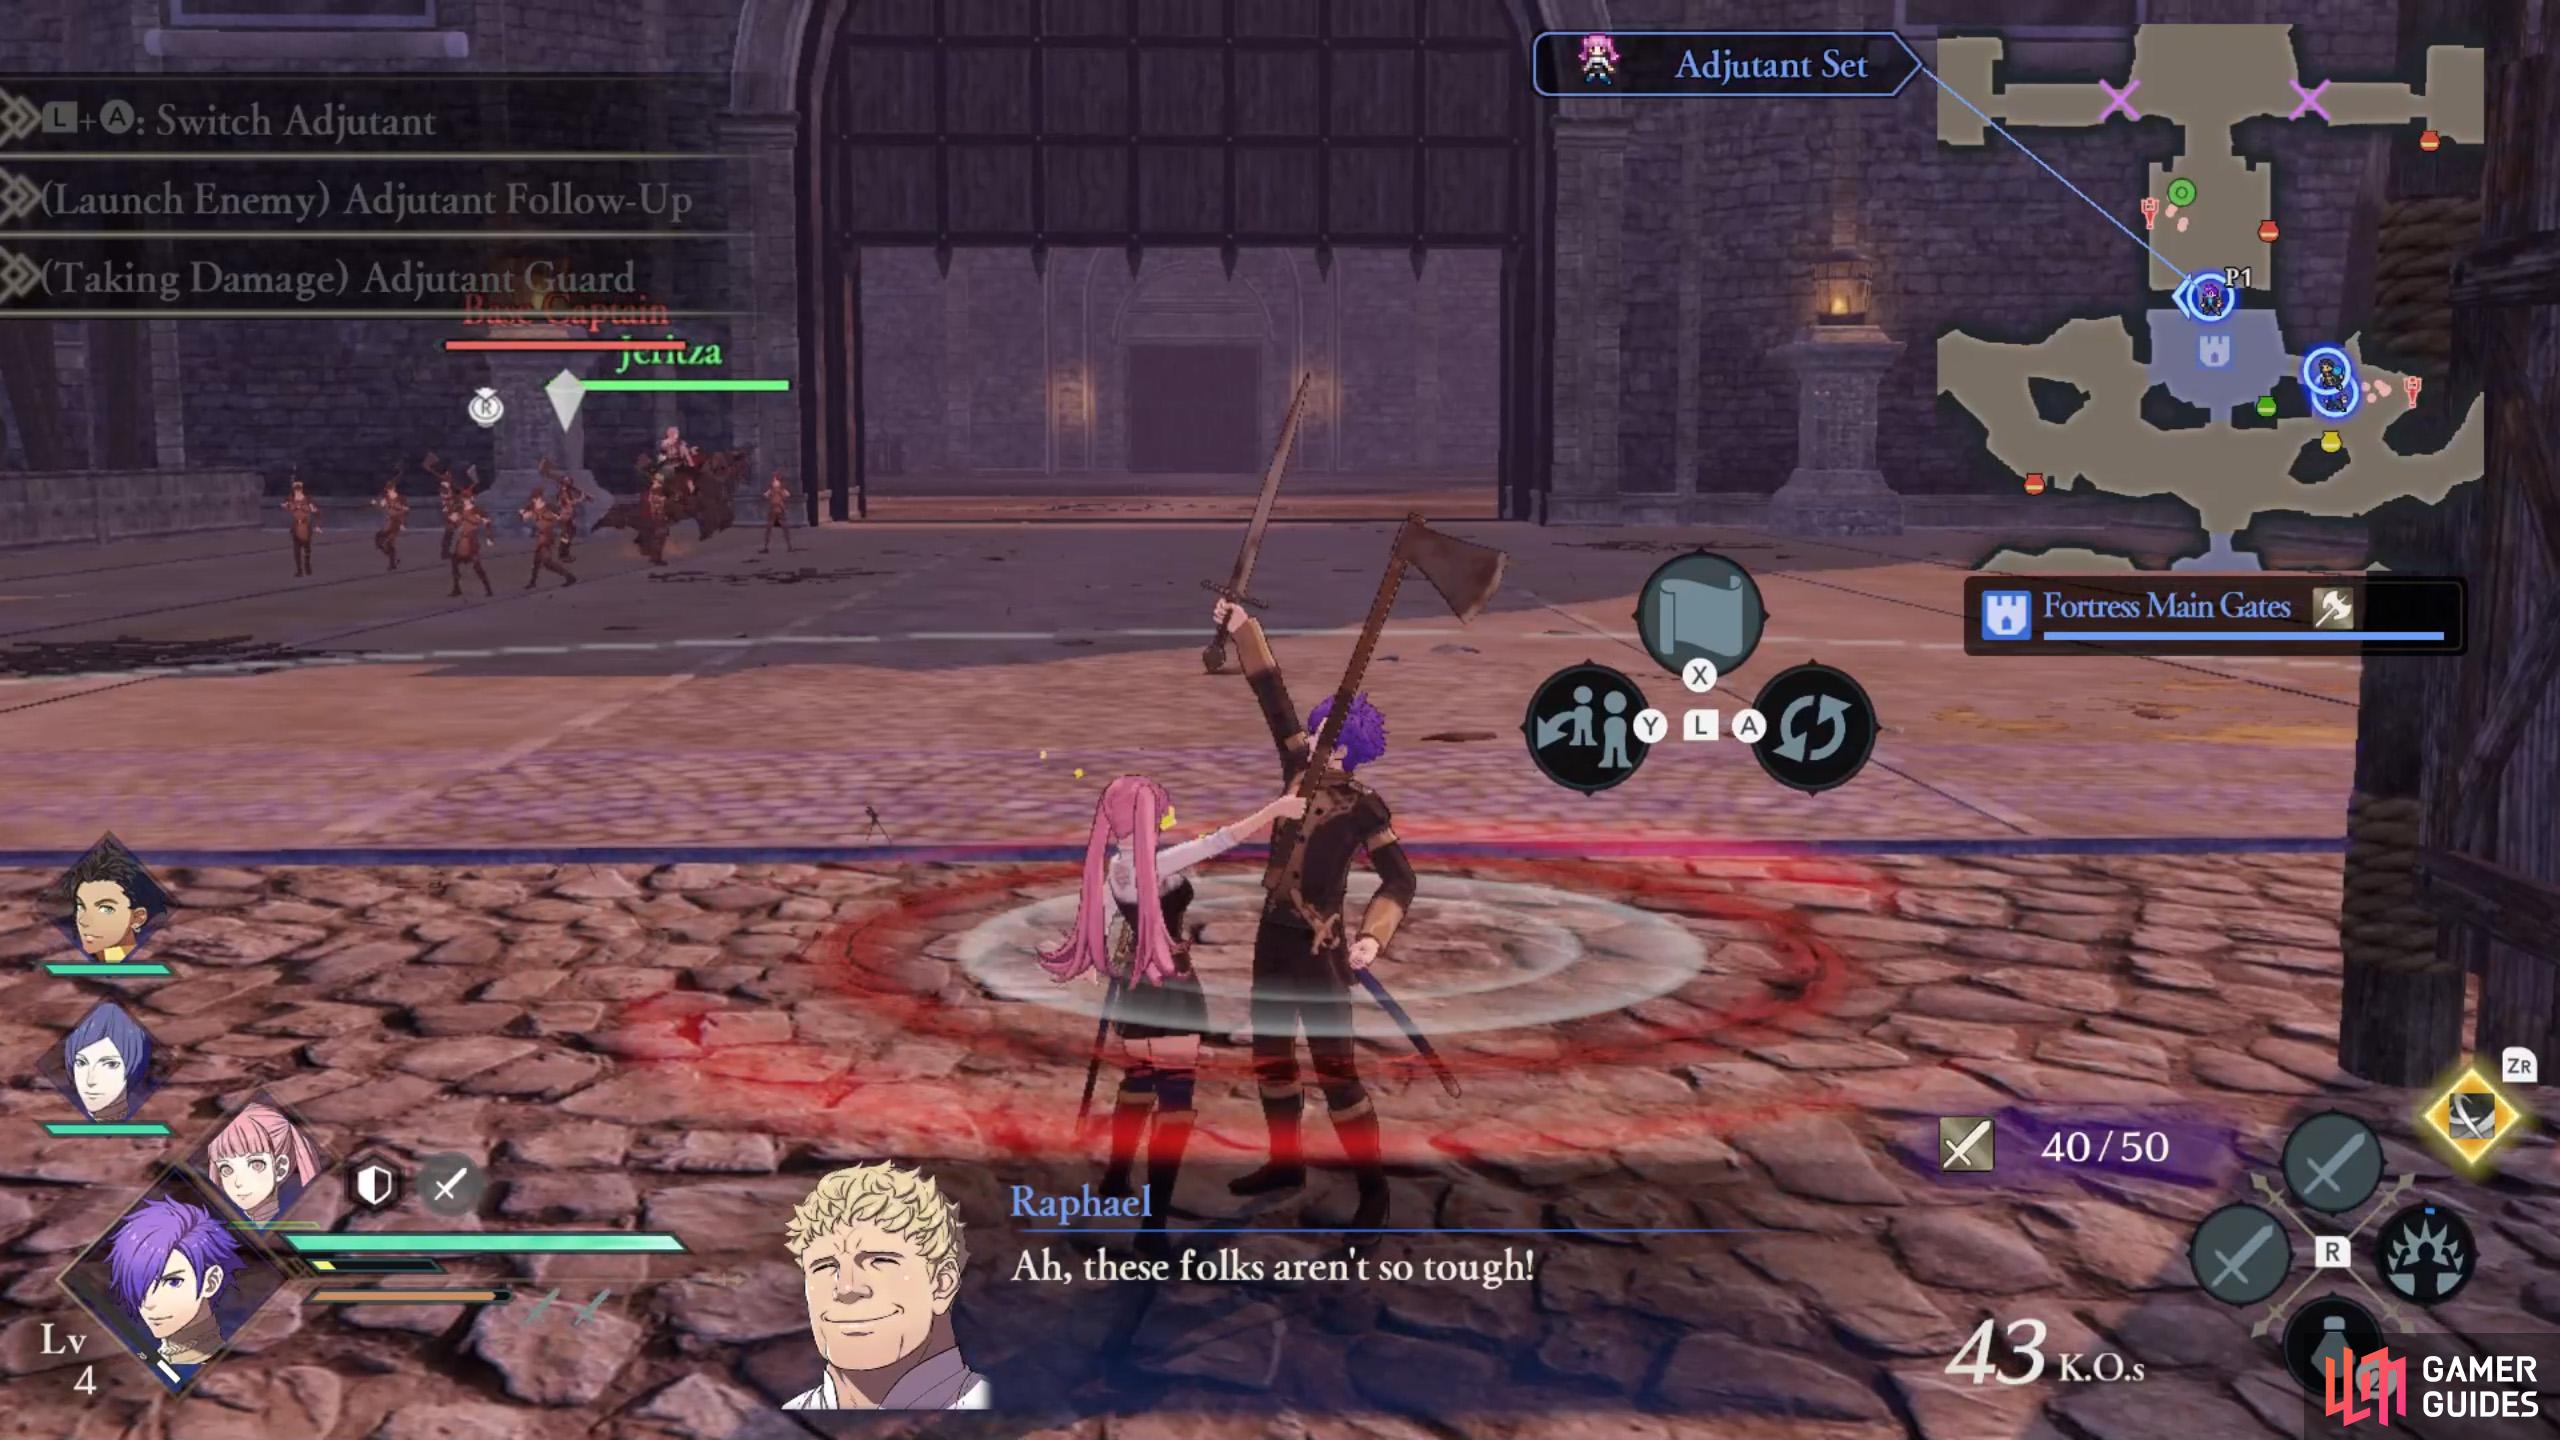
Approach a playable character and press L + Y to assign them as your adjutant.
Adjutants provide various buffs, while enhancing your Warrior Special.
Around this time, you may receive a tutorial on Adjutants. When near a playable character you’re not controlling, hold  and press
  to make that character an adjutant. They will temporary leave the battlefield and assist the character they were assigned an adjutant.
Adjutants provide passive stat boosts and also trigger follow-up attacks and cover from attacks, according to the shield and sword gauges above your HP bar. Furthermore, your Warrior Special will become a stronger Partner Special.
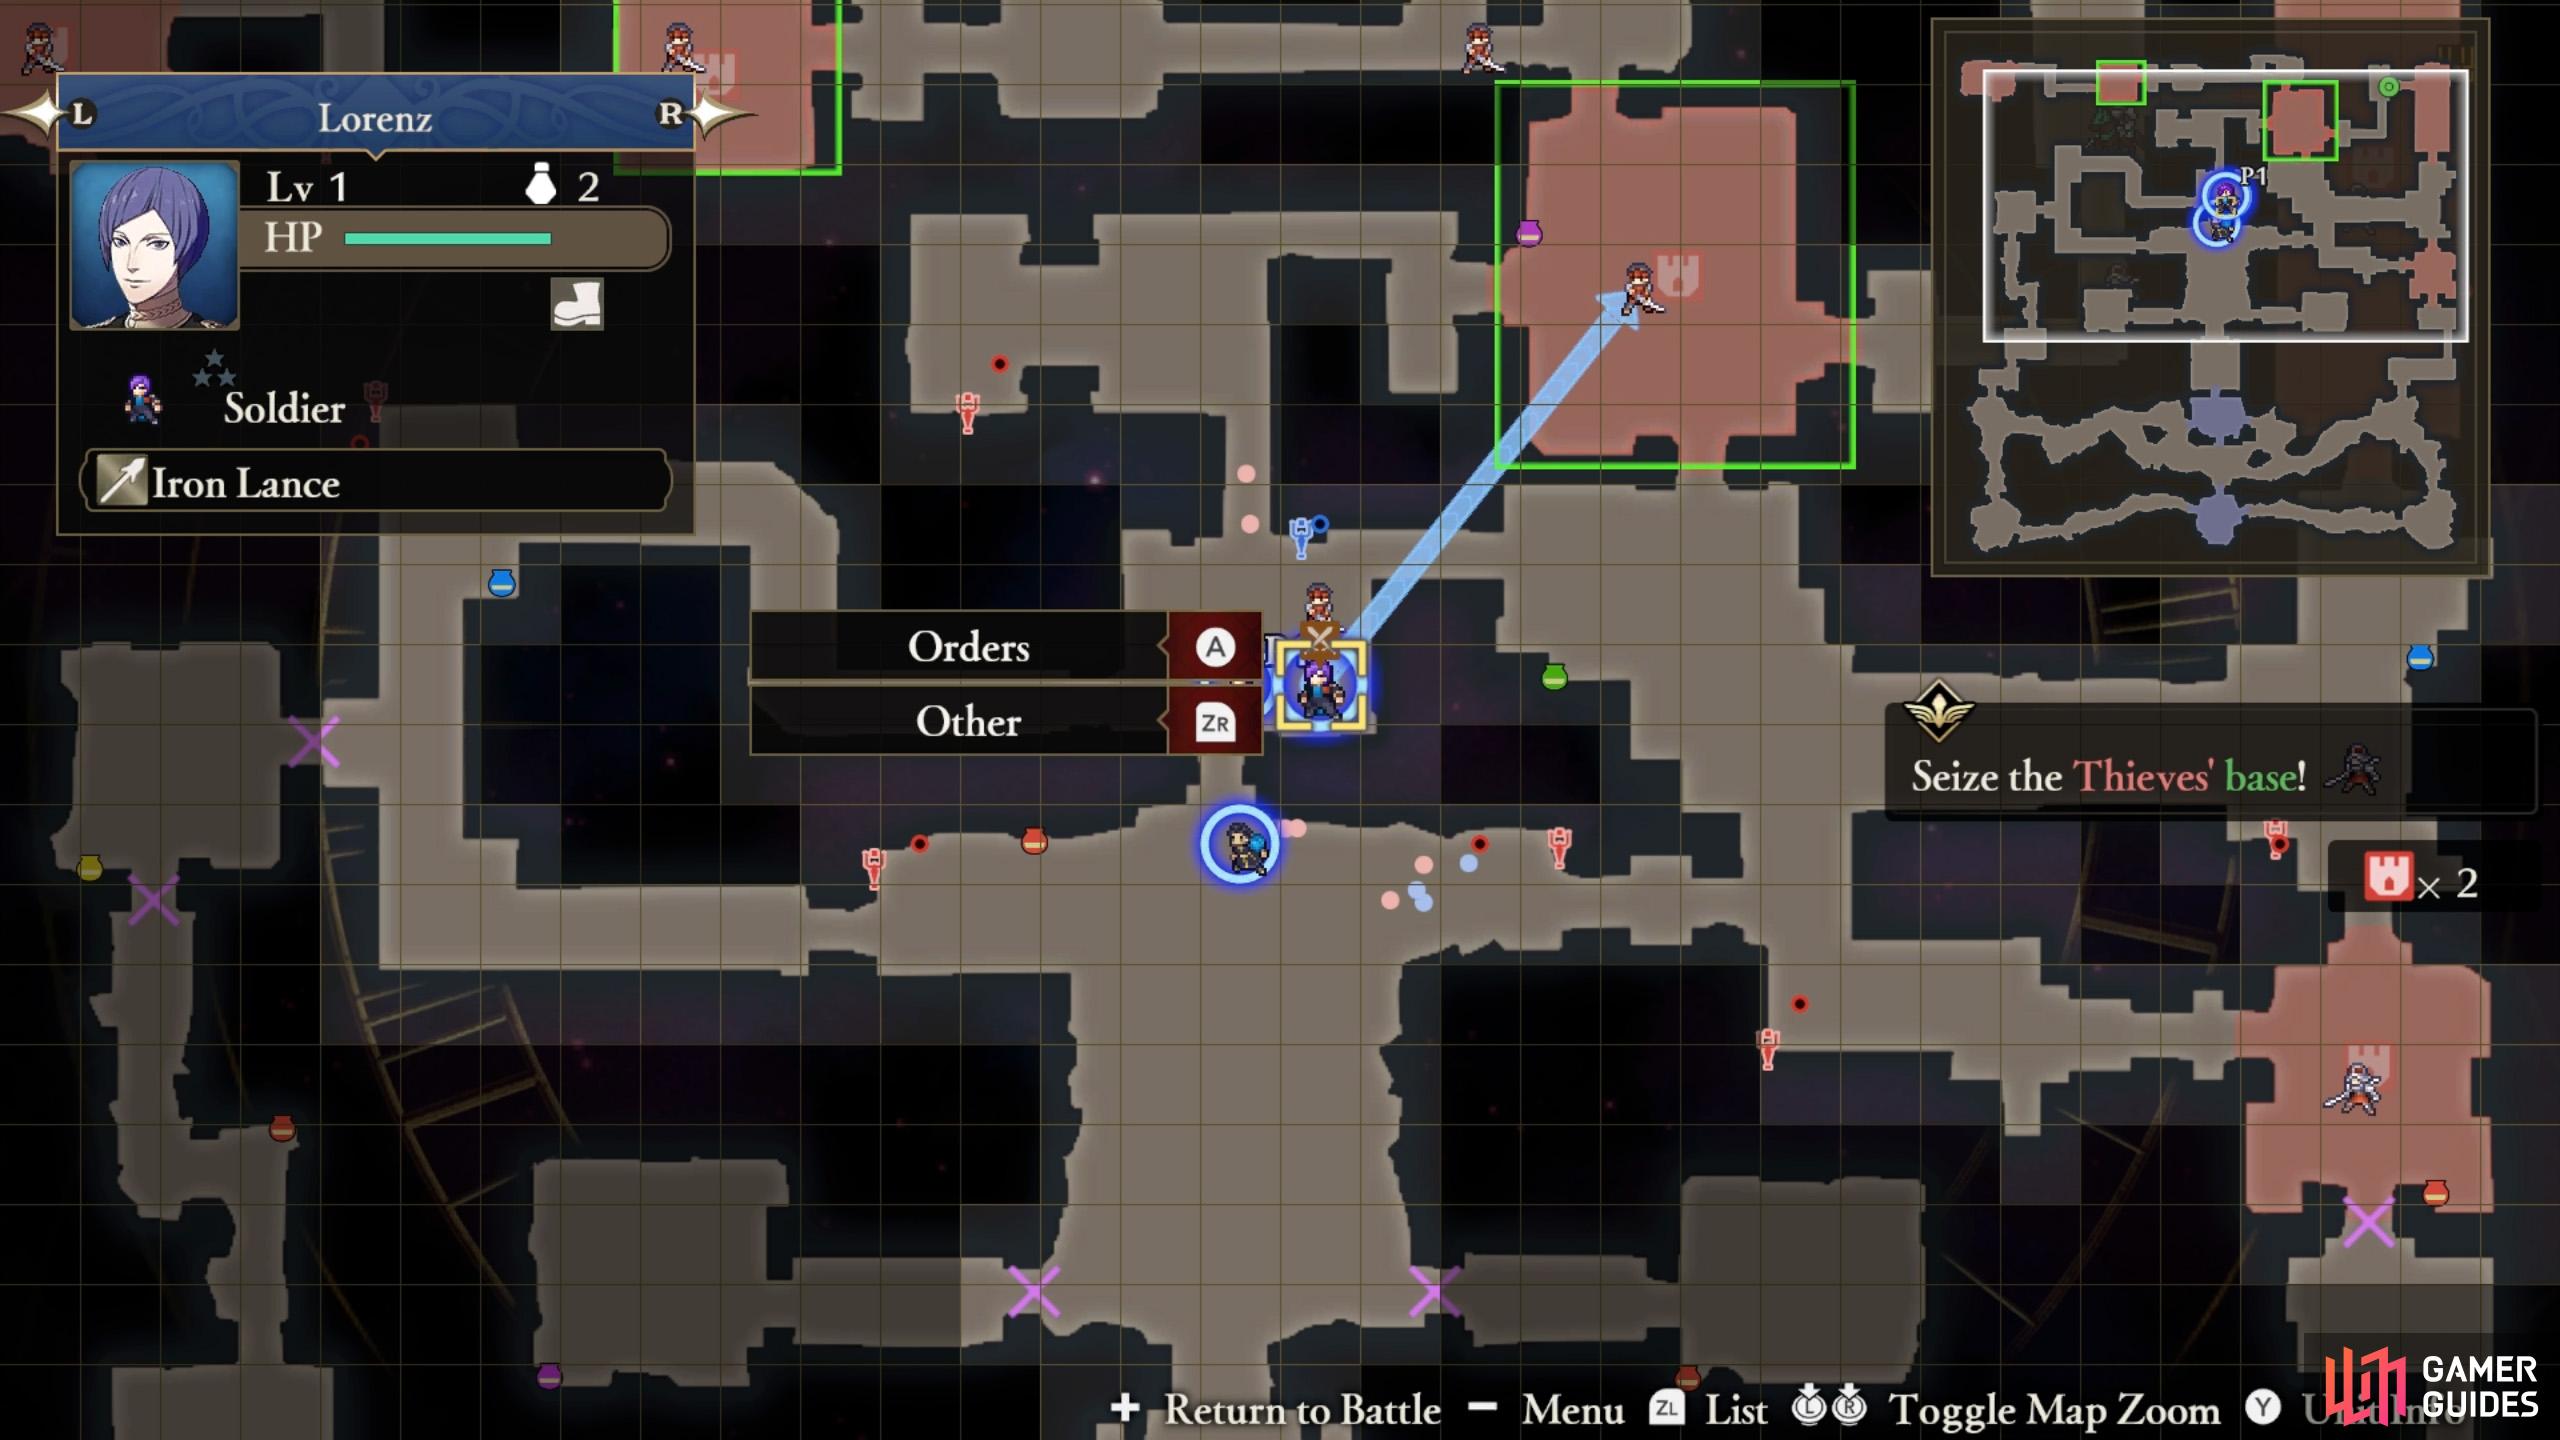
Mission 2: Seize the Thieves’ Base
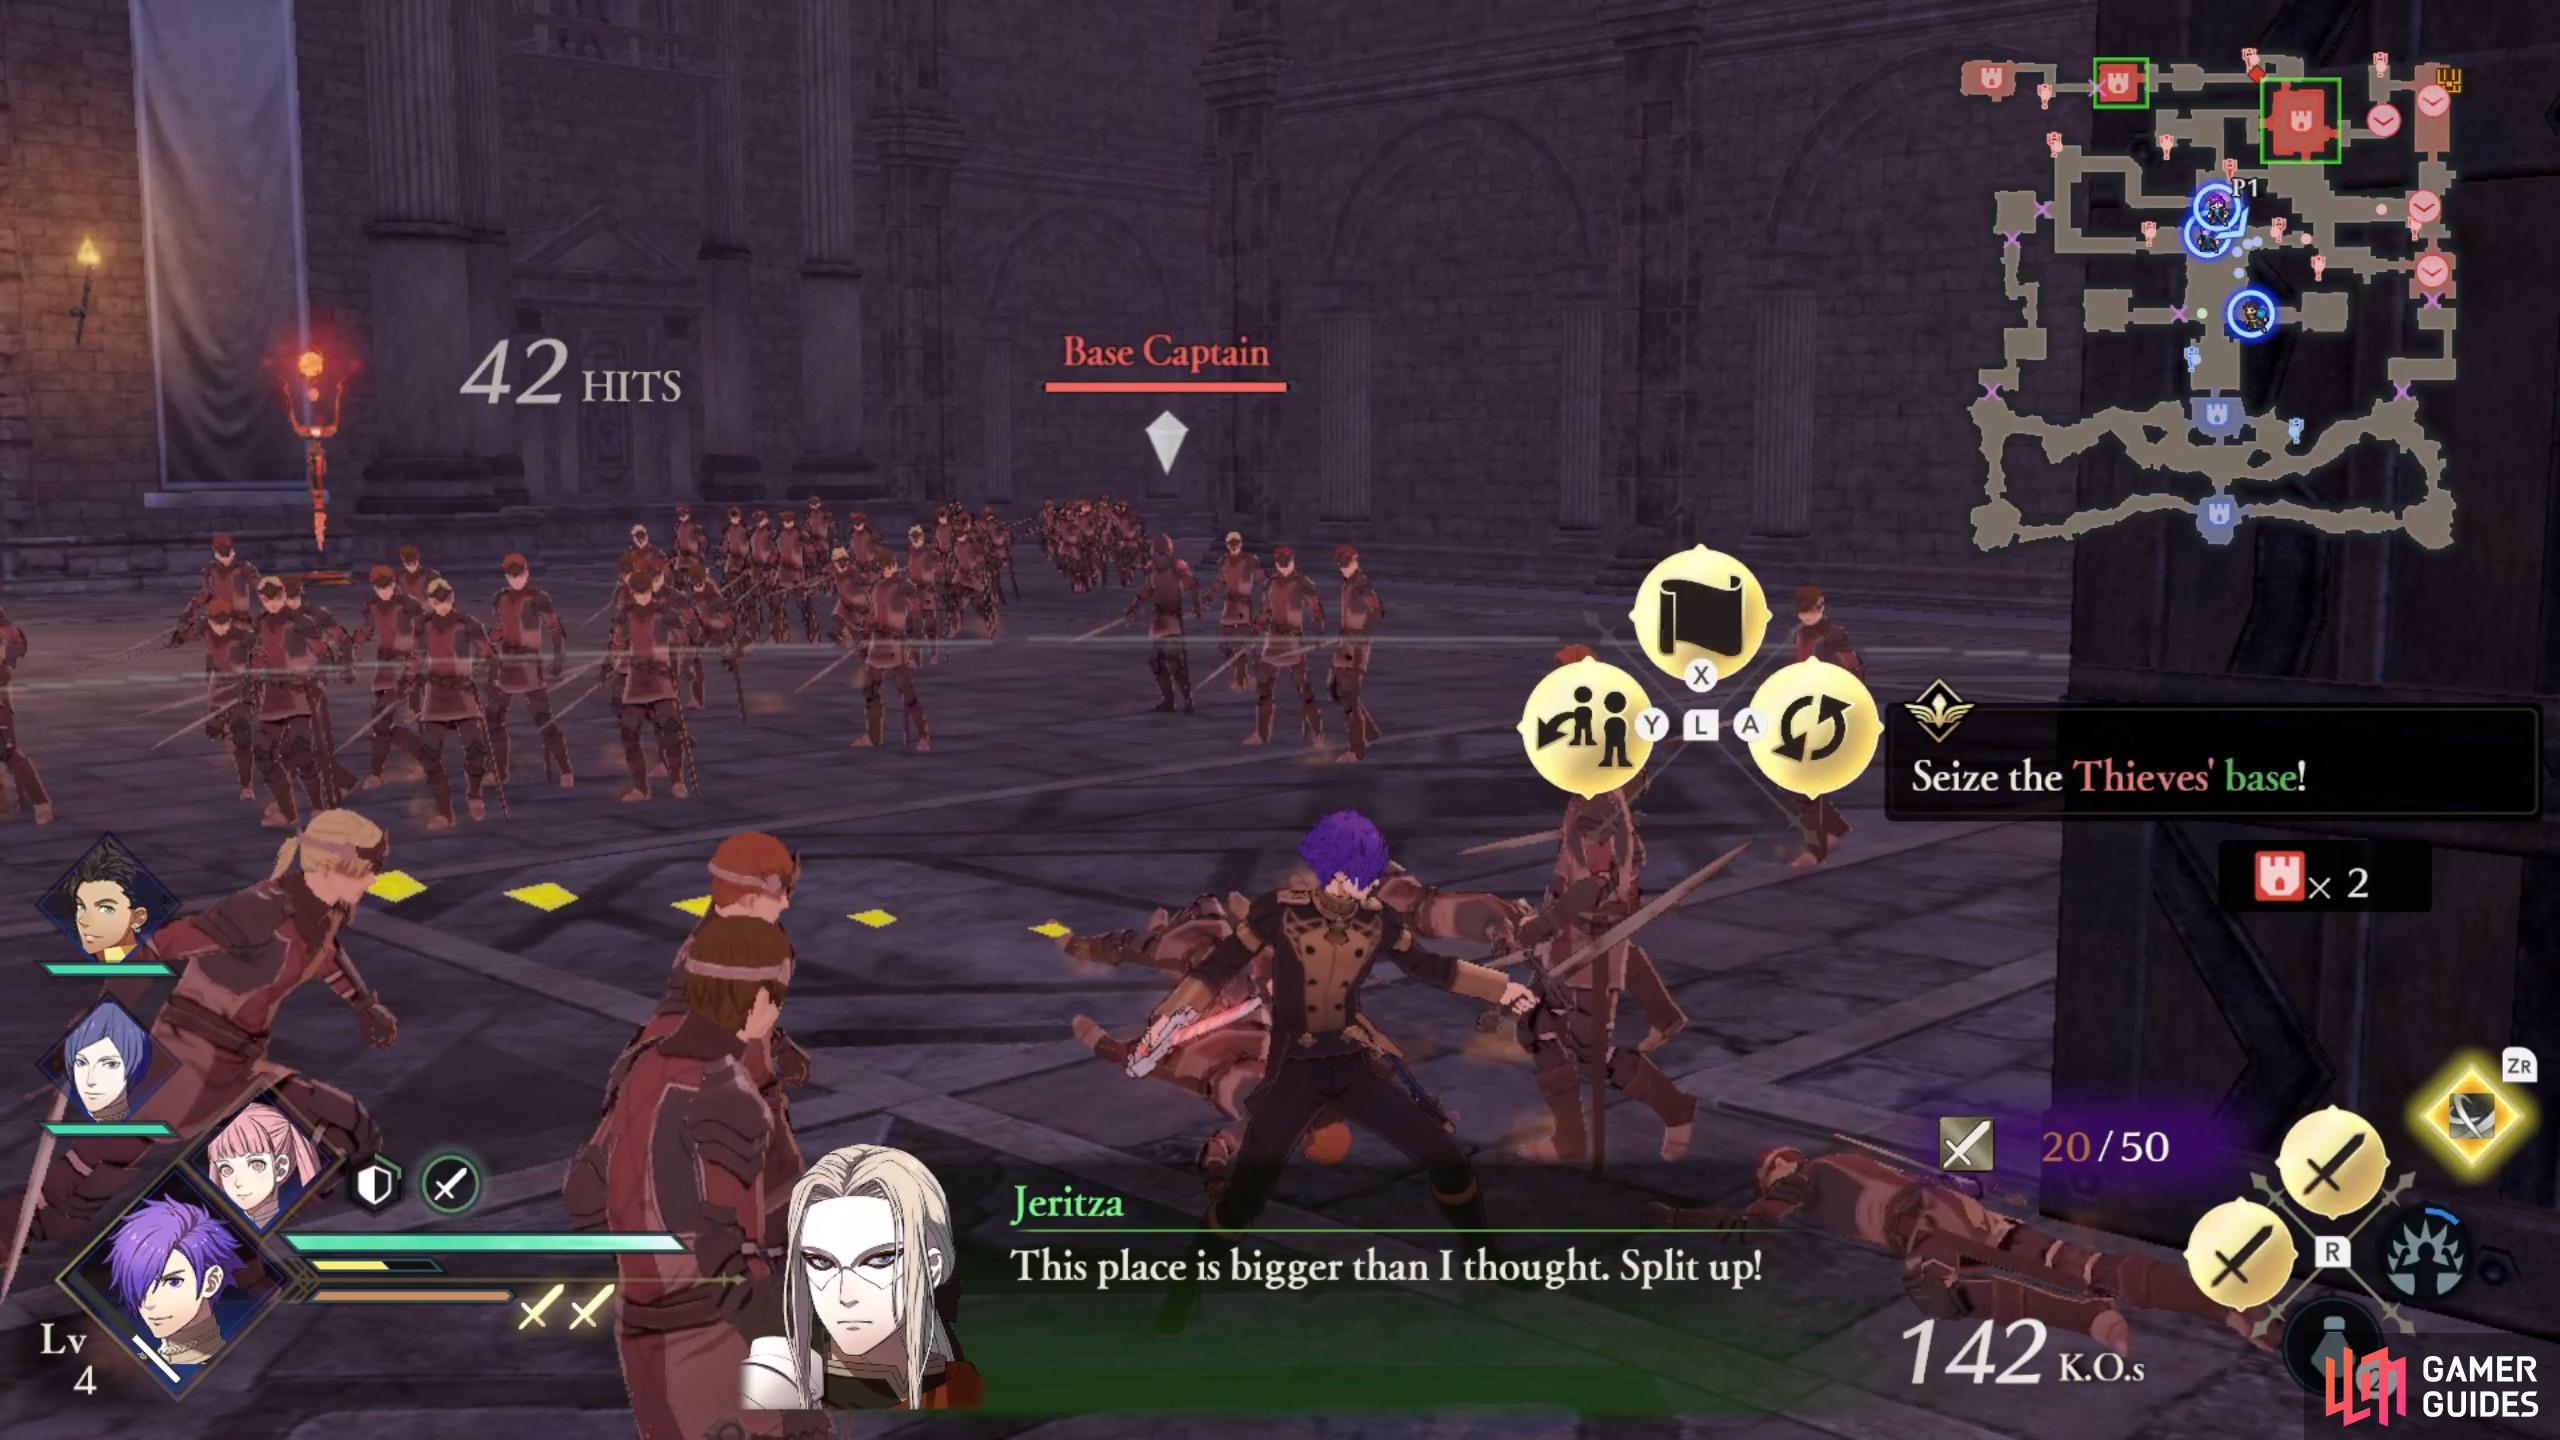
There’s a lot of ground to cover, so we recommend splitting up the work.
Don’t rely on your allies to go to the best place; use Orders to boss them around!
Without the gatekeeper to protect it, the front gates will open–straight ahead and two on the sides. From here, there are 4 red strongholds that you must capture. That’s exactly one for each character you can control. So open the Orders menu with  and send the students to a different stronghold each.
Lance users (Ferdinand, Dimitri or Lorenz) should head for one of the two strongholds along the north, where the sword-wielding enemies are. Similarly, Axe users (Edelgard, Dedue or Hilda) will have an easier time at the two strongholds at the north-east corner and towards the east.
Shez has a disadvantage at the north-east and east strongholds, so have him/her take one of the two northern ones. Finally, ranged fighters (Hubert, Ashe or Claude) should head for the remaining stronghold (north-east or east).
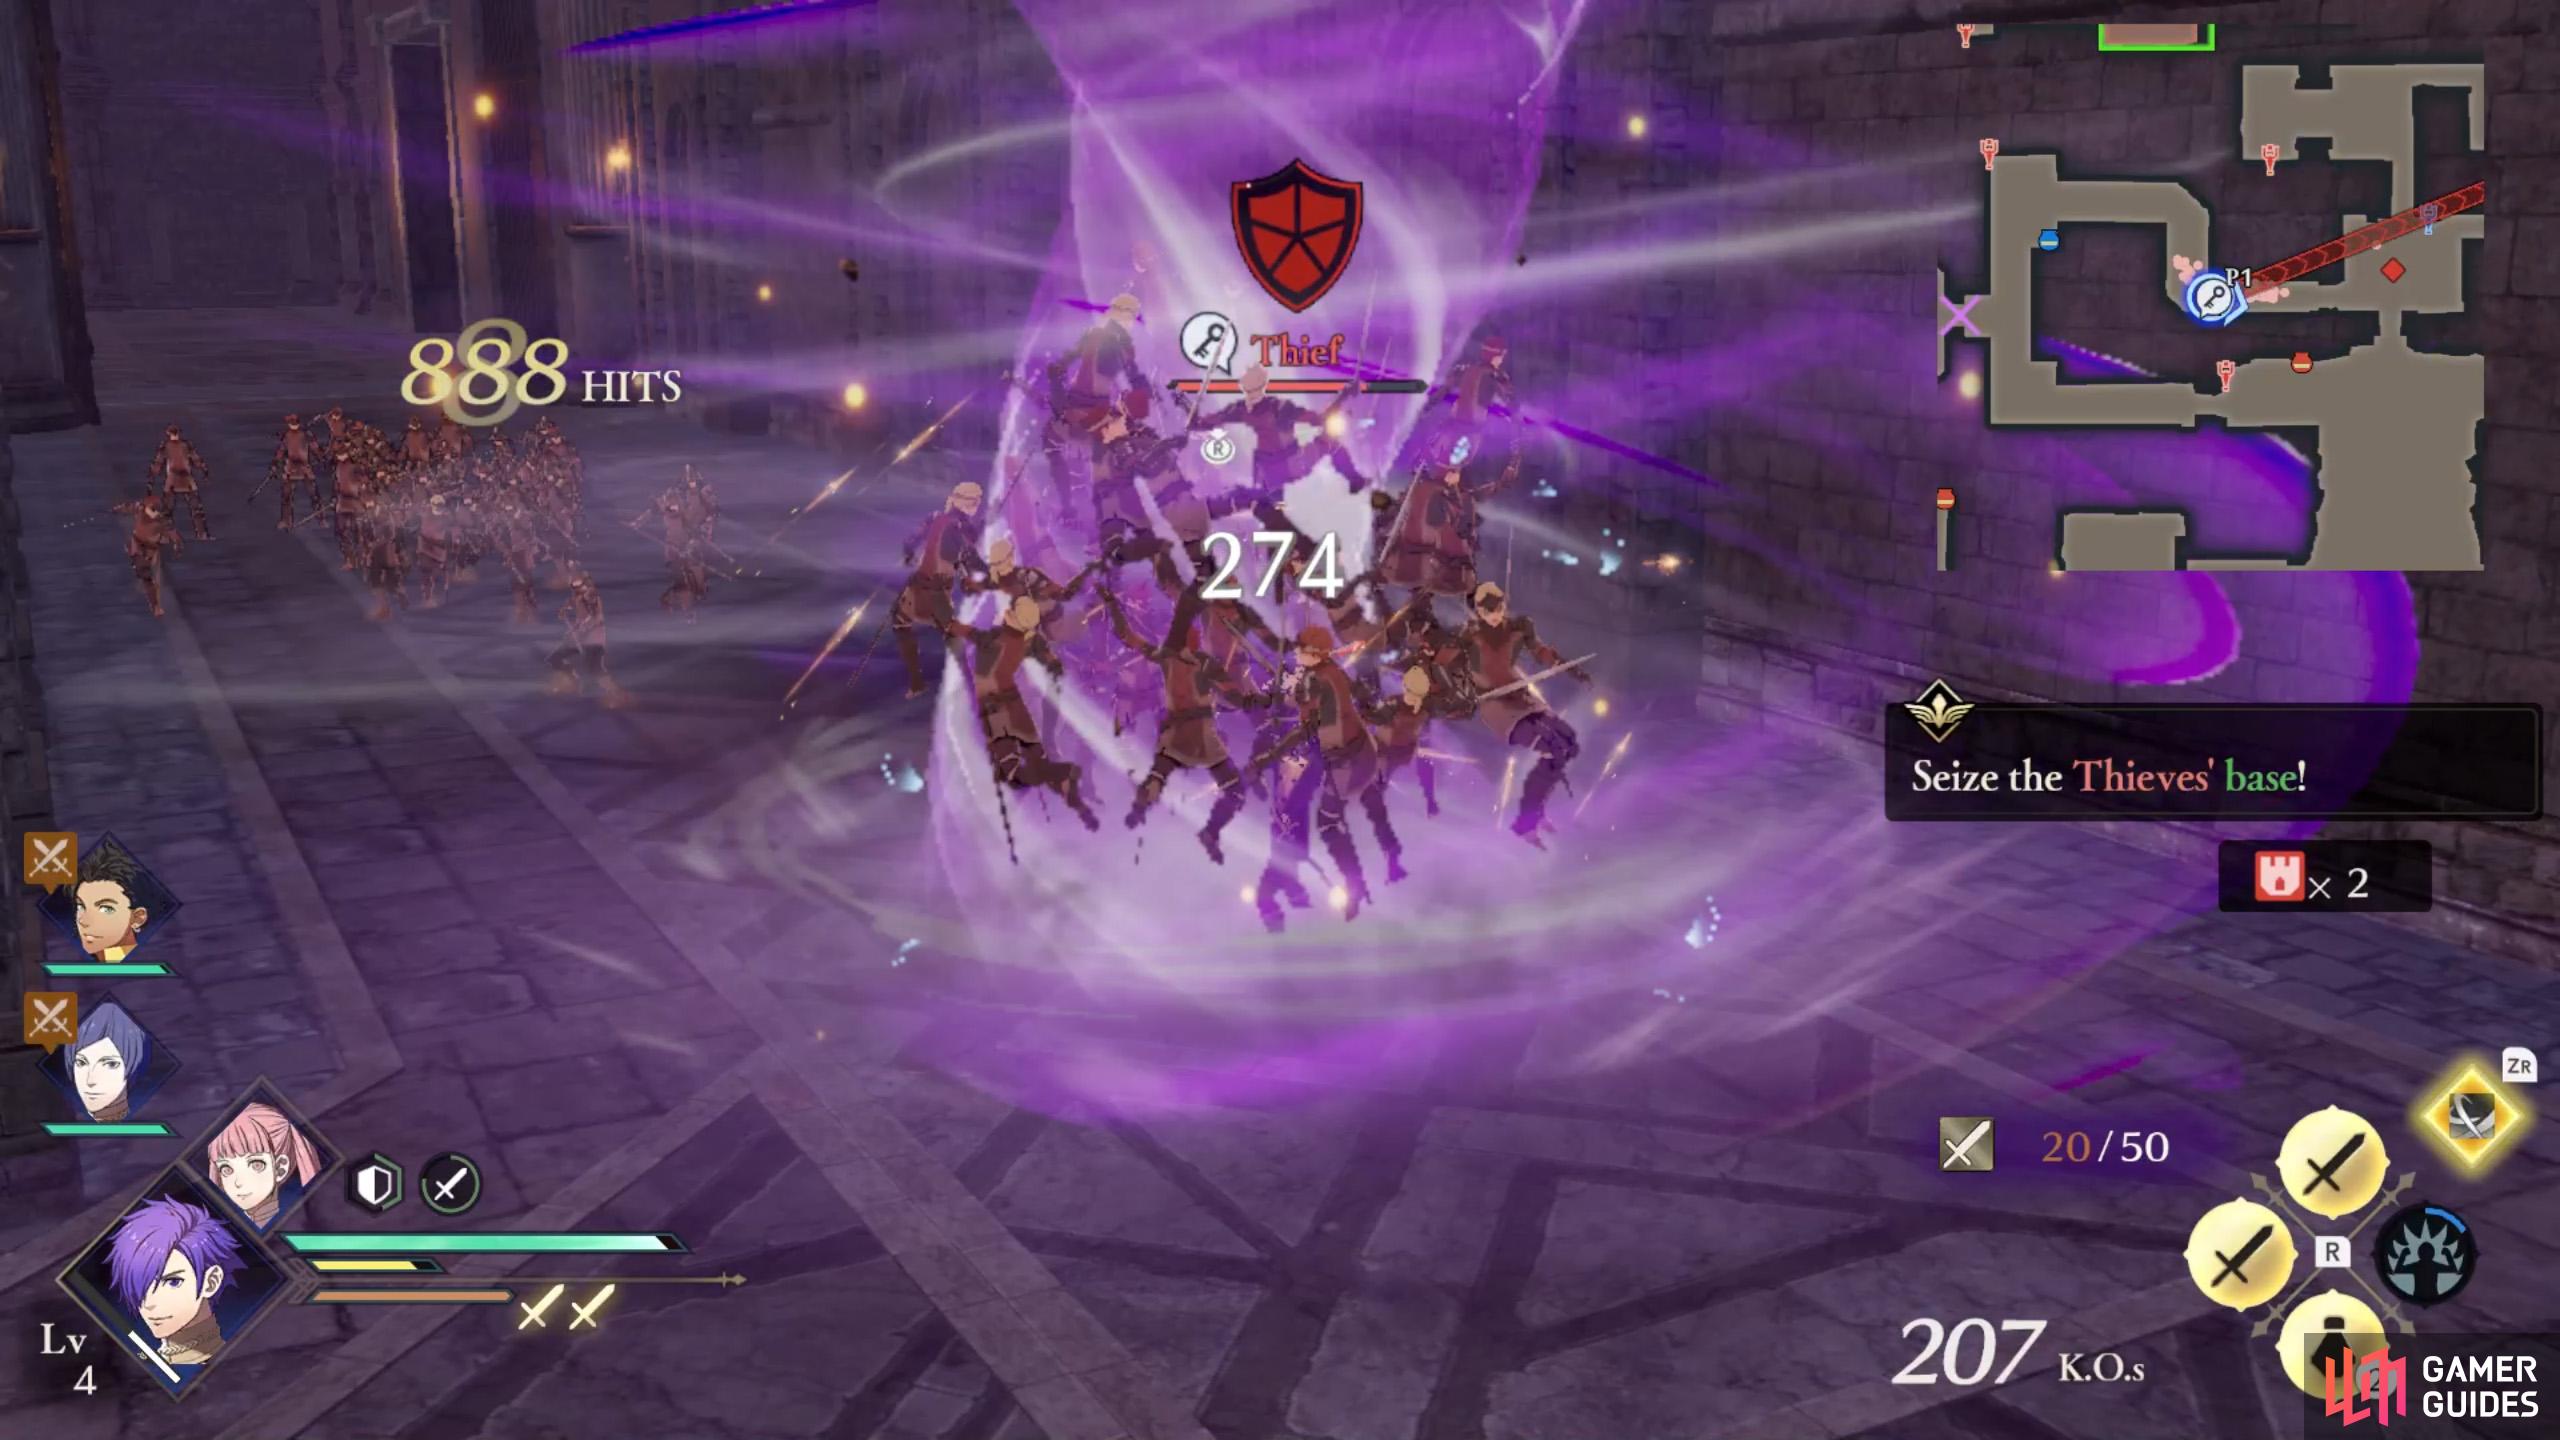
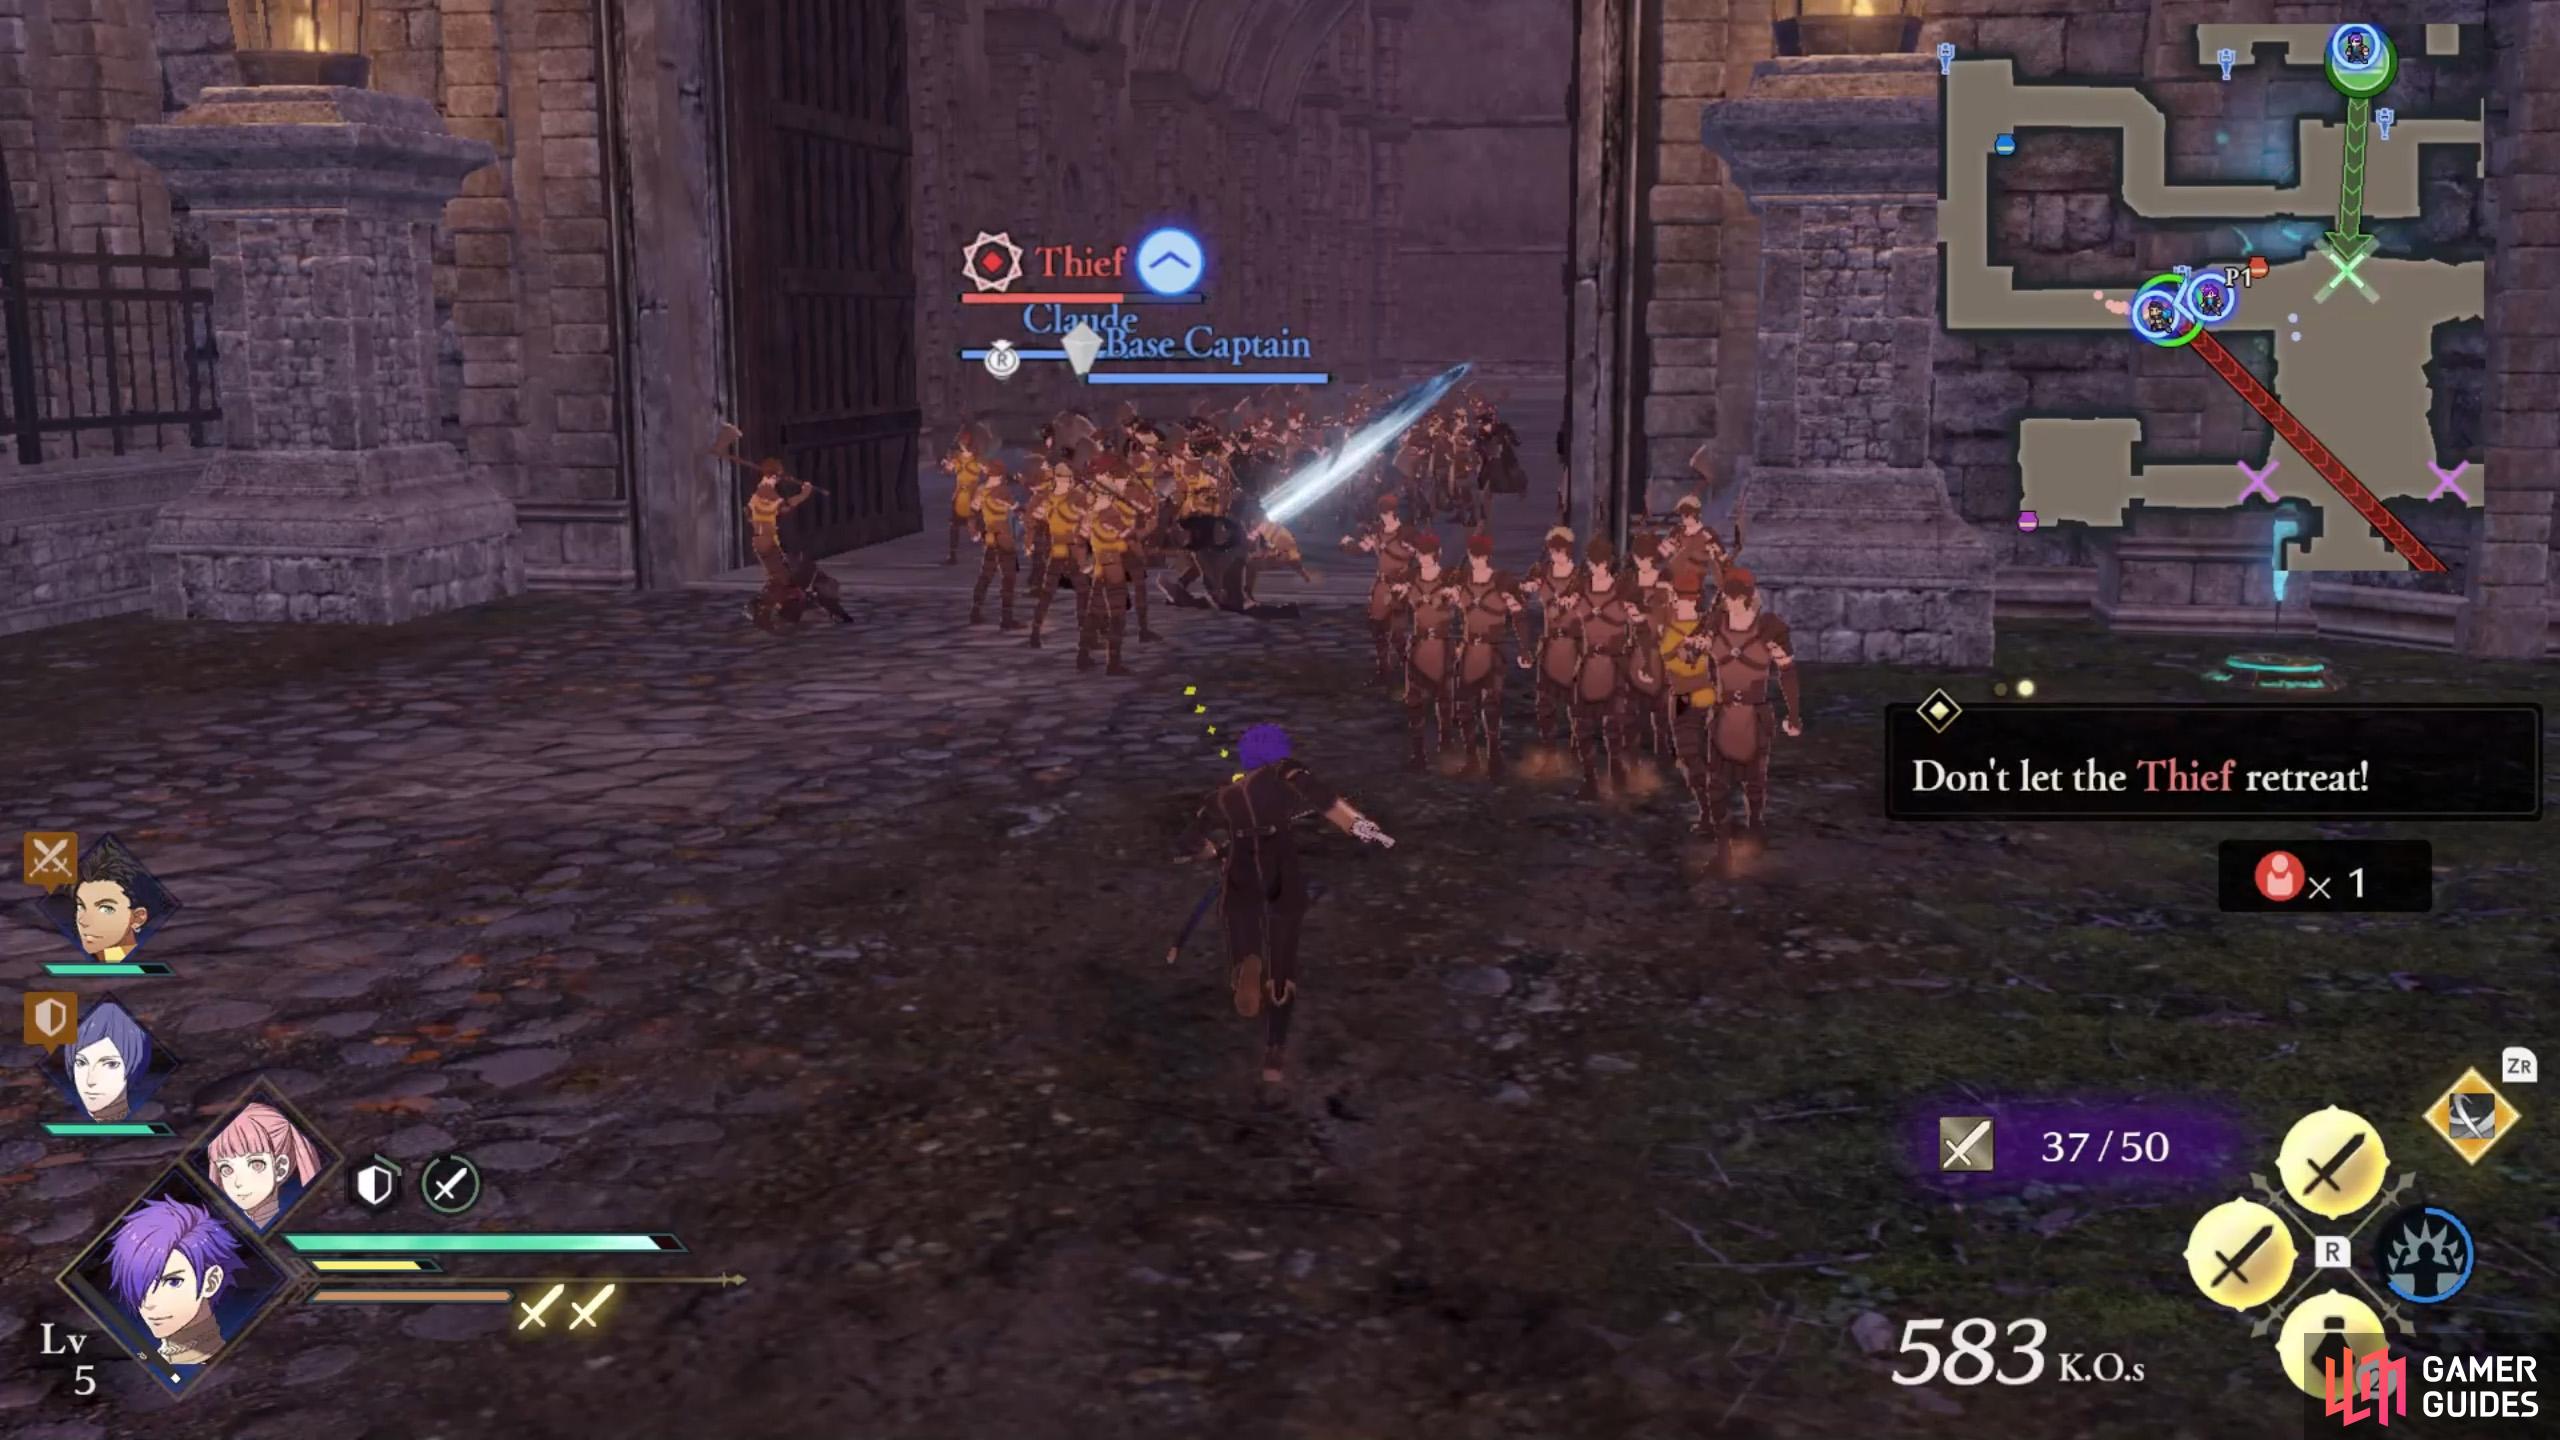
Pummel the Thief to steal its chest key.

Press Y to prise open the chest.
Partway through, a Thief with a Chest Key will spawn in the west corridor when entering from the northern front gate. They will try to head for the Chapel in the north-east corner. Try to intercept them before they reach the treasure chest and escape.
Once you’ve got the key, head to the Chapel yourself and open the chest for an accessory. By the way, you don’t need to reach the chest with the character who defeated the Thief with the key. You can switch to a character who’s near/at the Chapel instead.
Mission 3: Seize the Dungeon and rescue the student
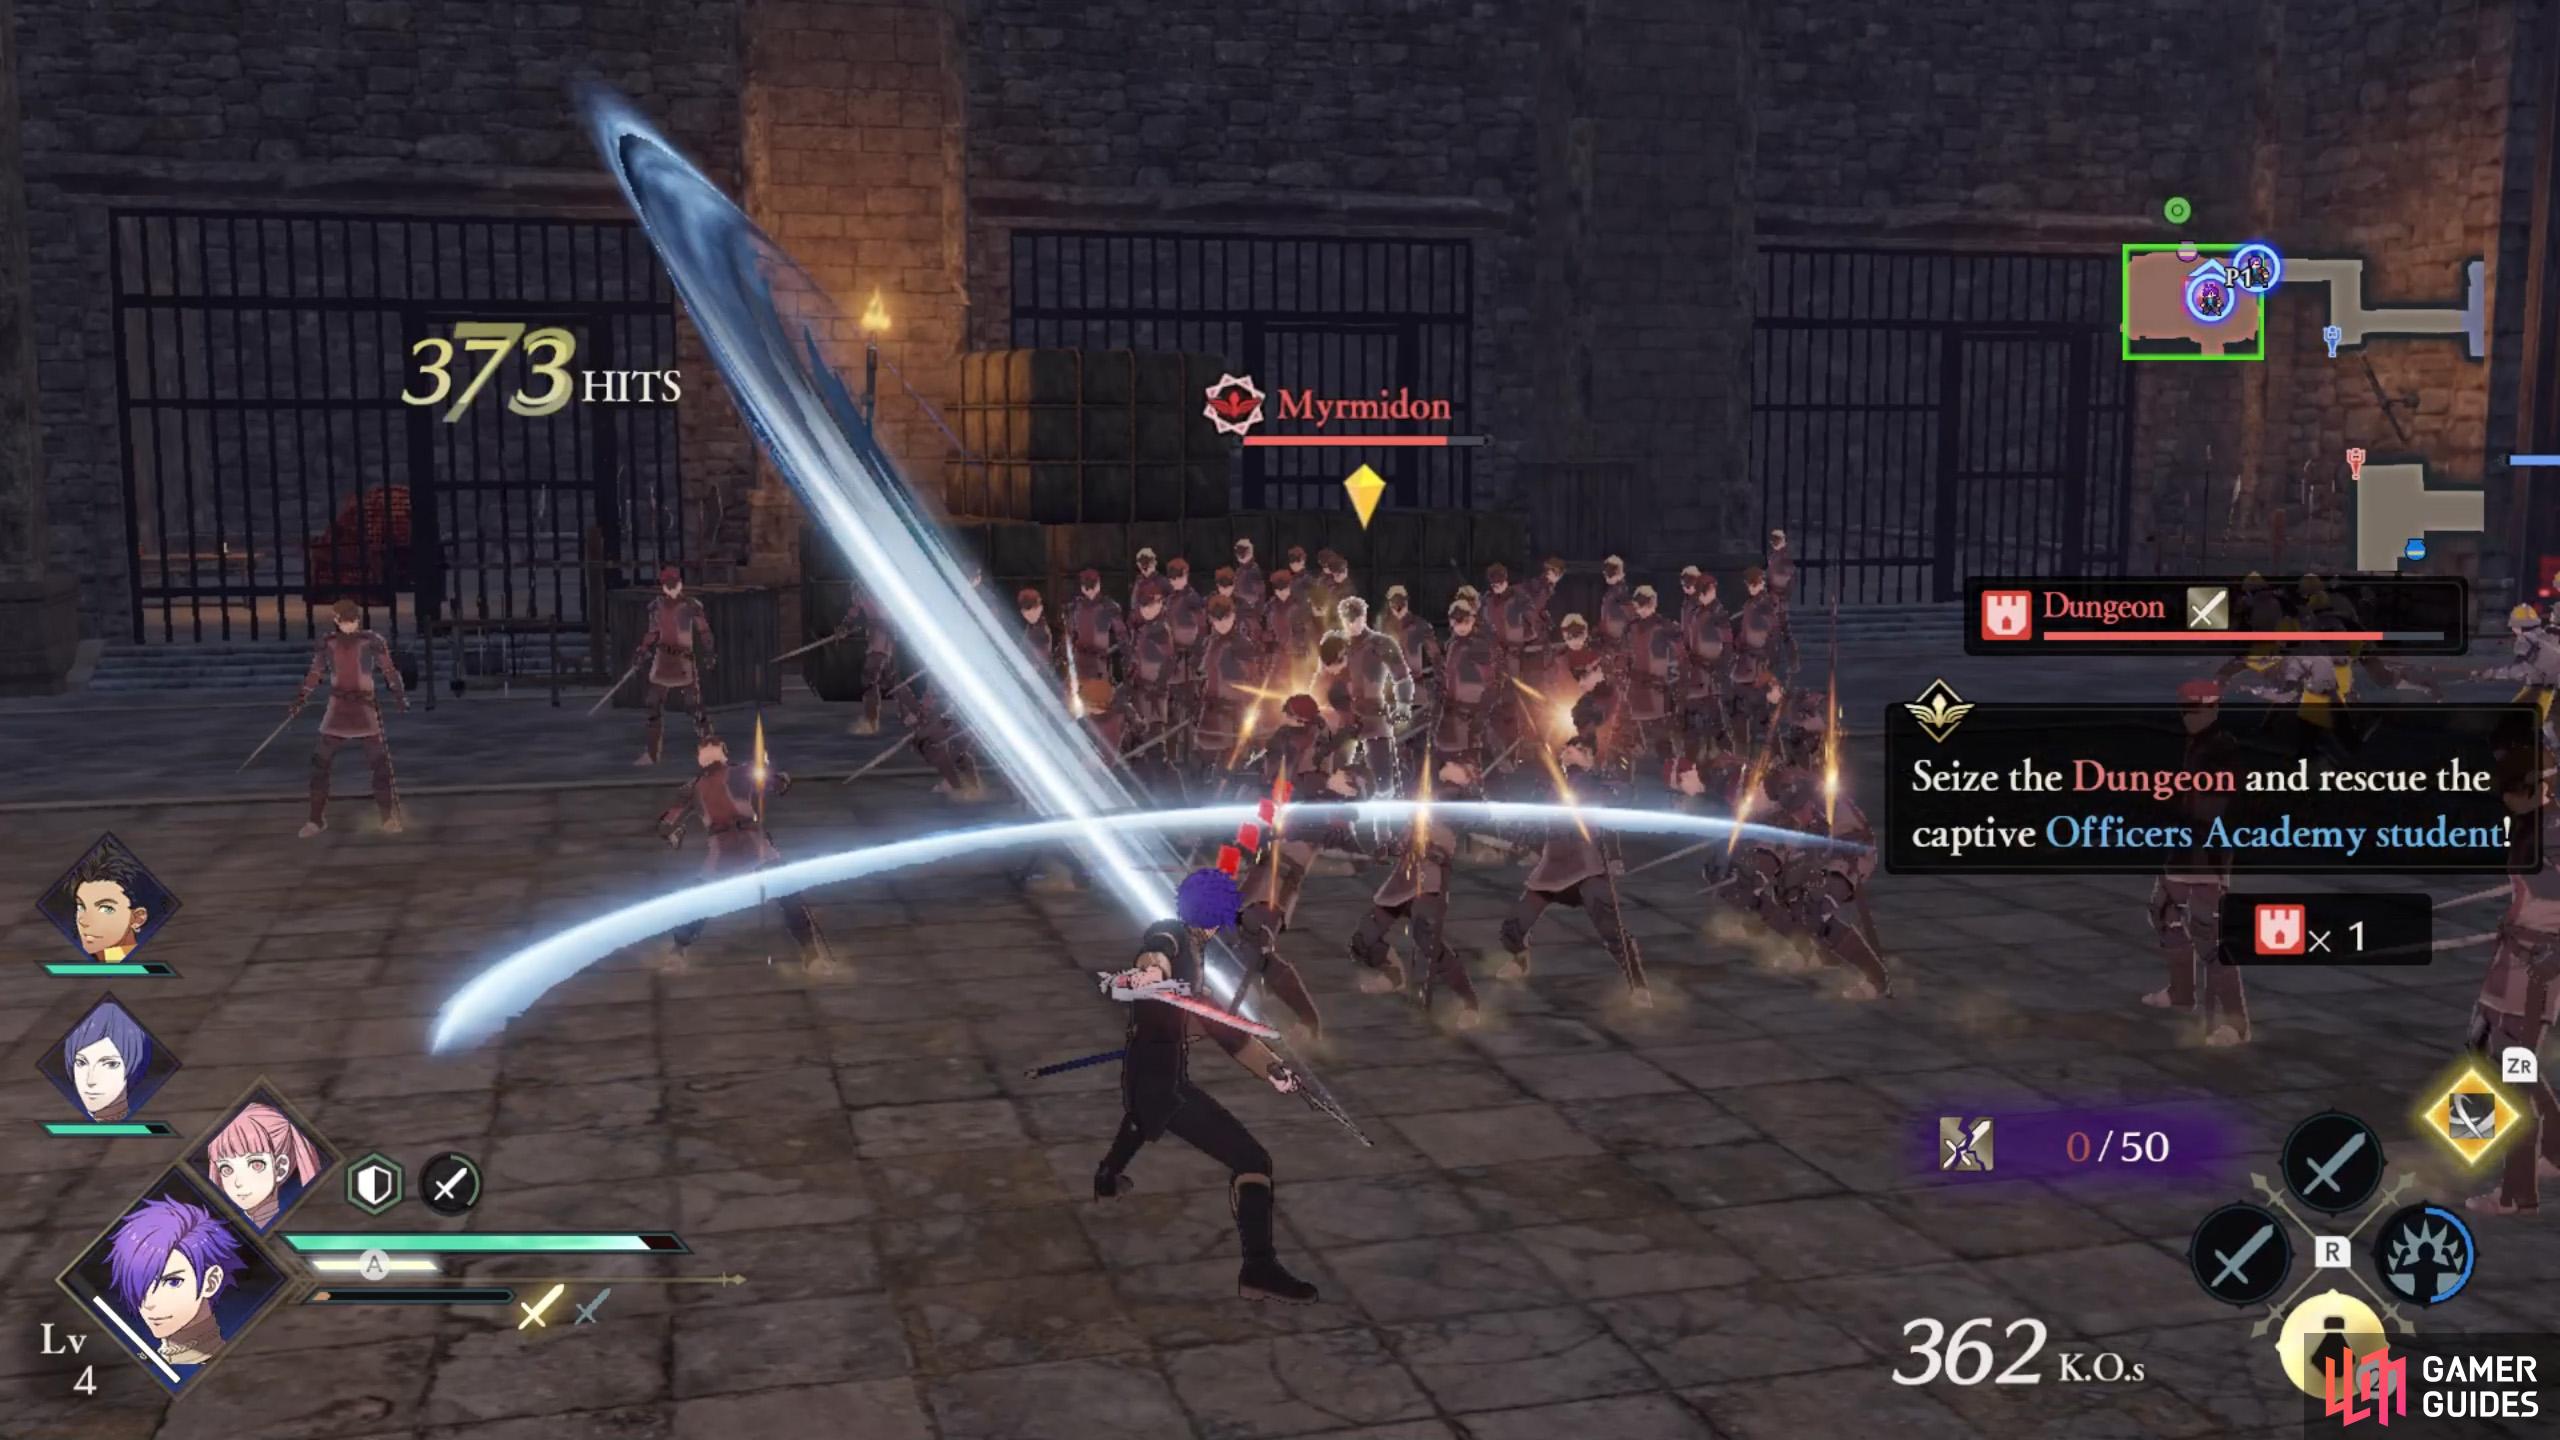
A lance user is recommended, although Shez can also put up a good fight.
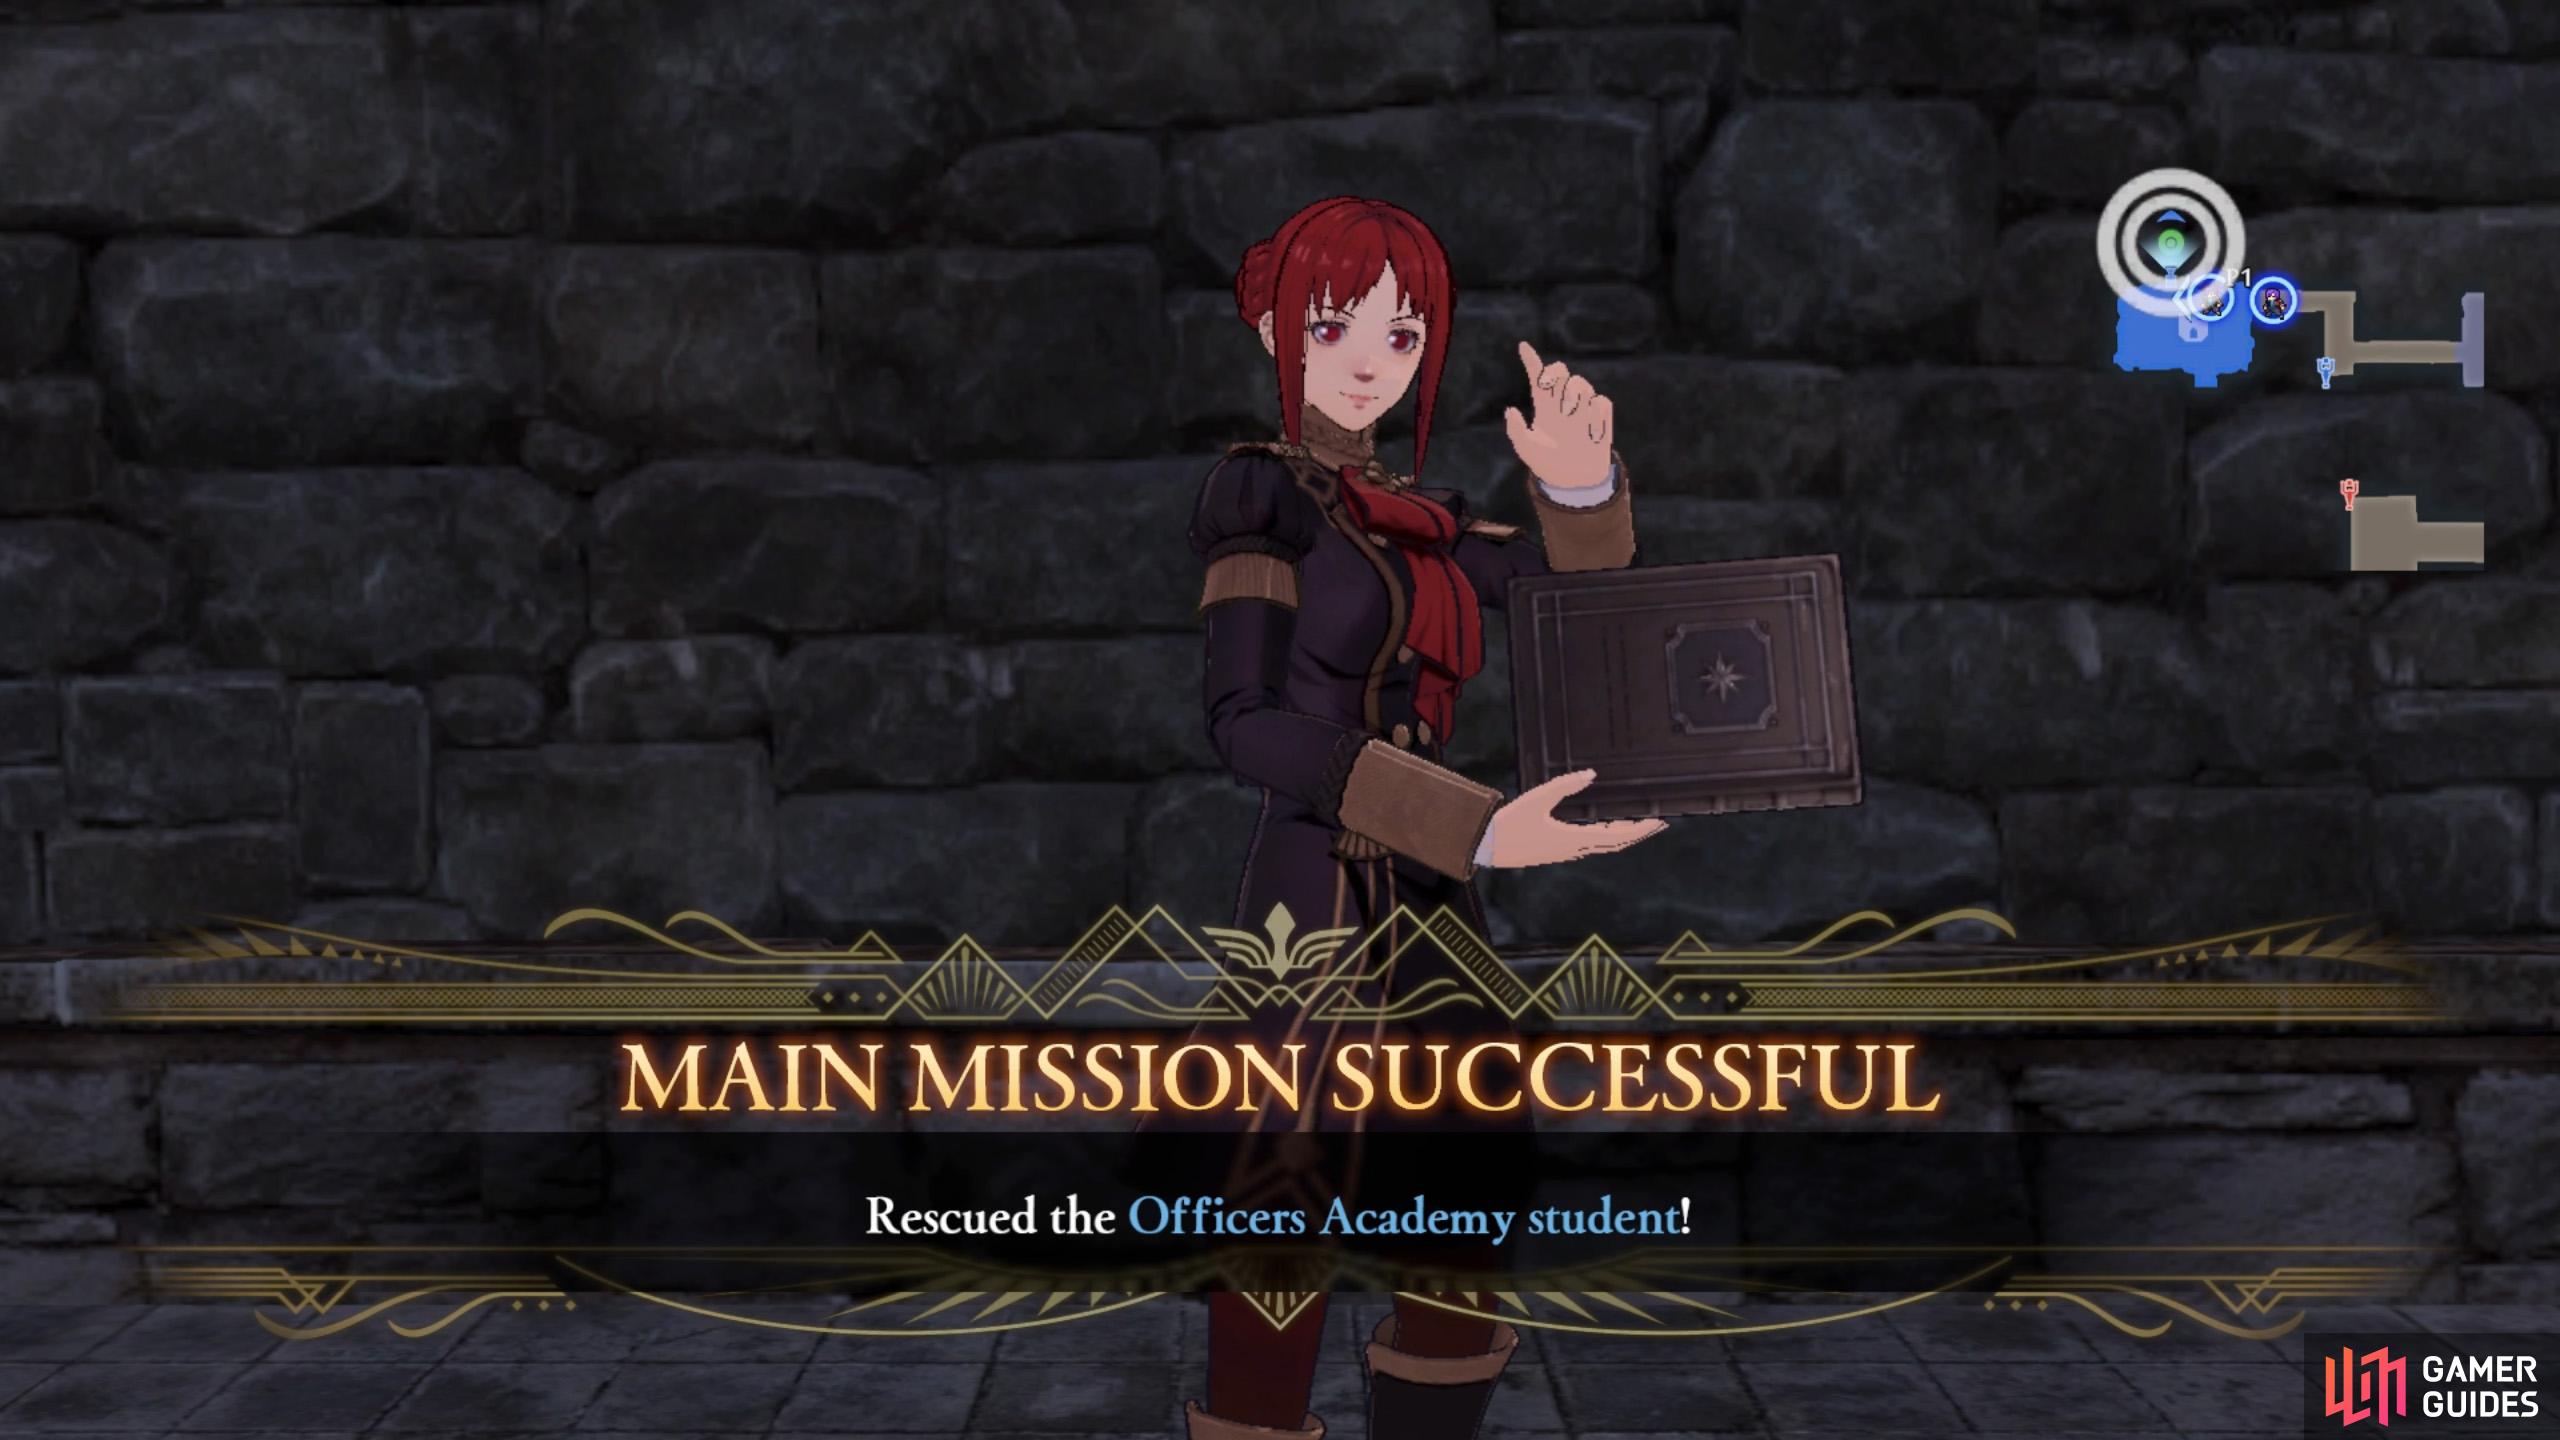
Conquer the Dungeon to rescue the imprisoned student.
After securing the first 4 strongholds, the final stronghold near the north-west corner will open up. Head there, ideally with your lance wielder (Ferdinand, Dimitri or Lorenz) as the captain is another sword wielder. Defeat the captain and you’ll rescue the Officer’s Academy who’s been imprisoned here.
Mission 4: Escort Monica to safety
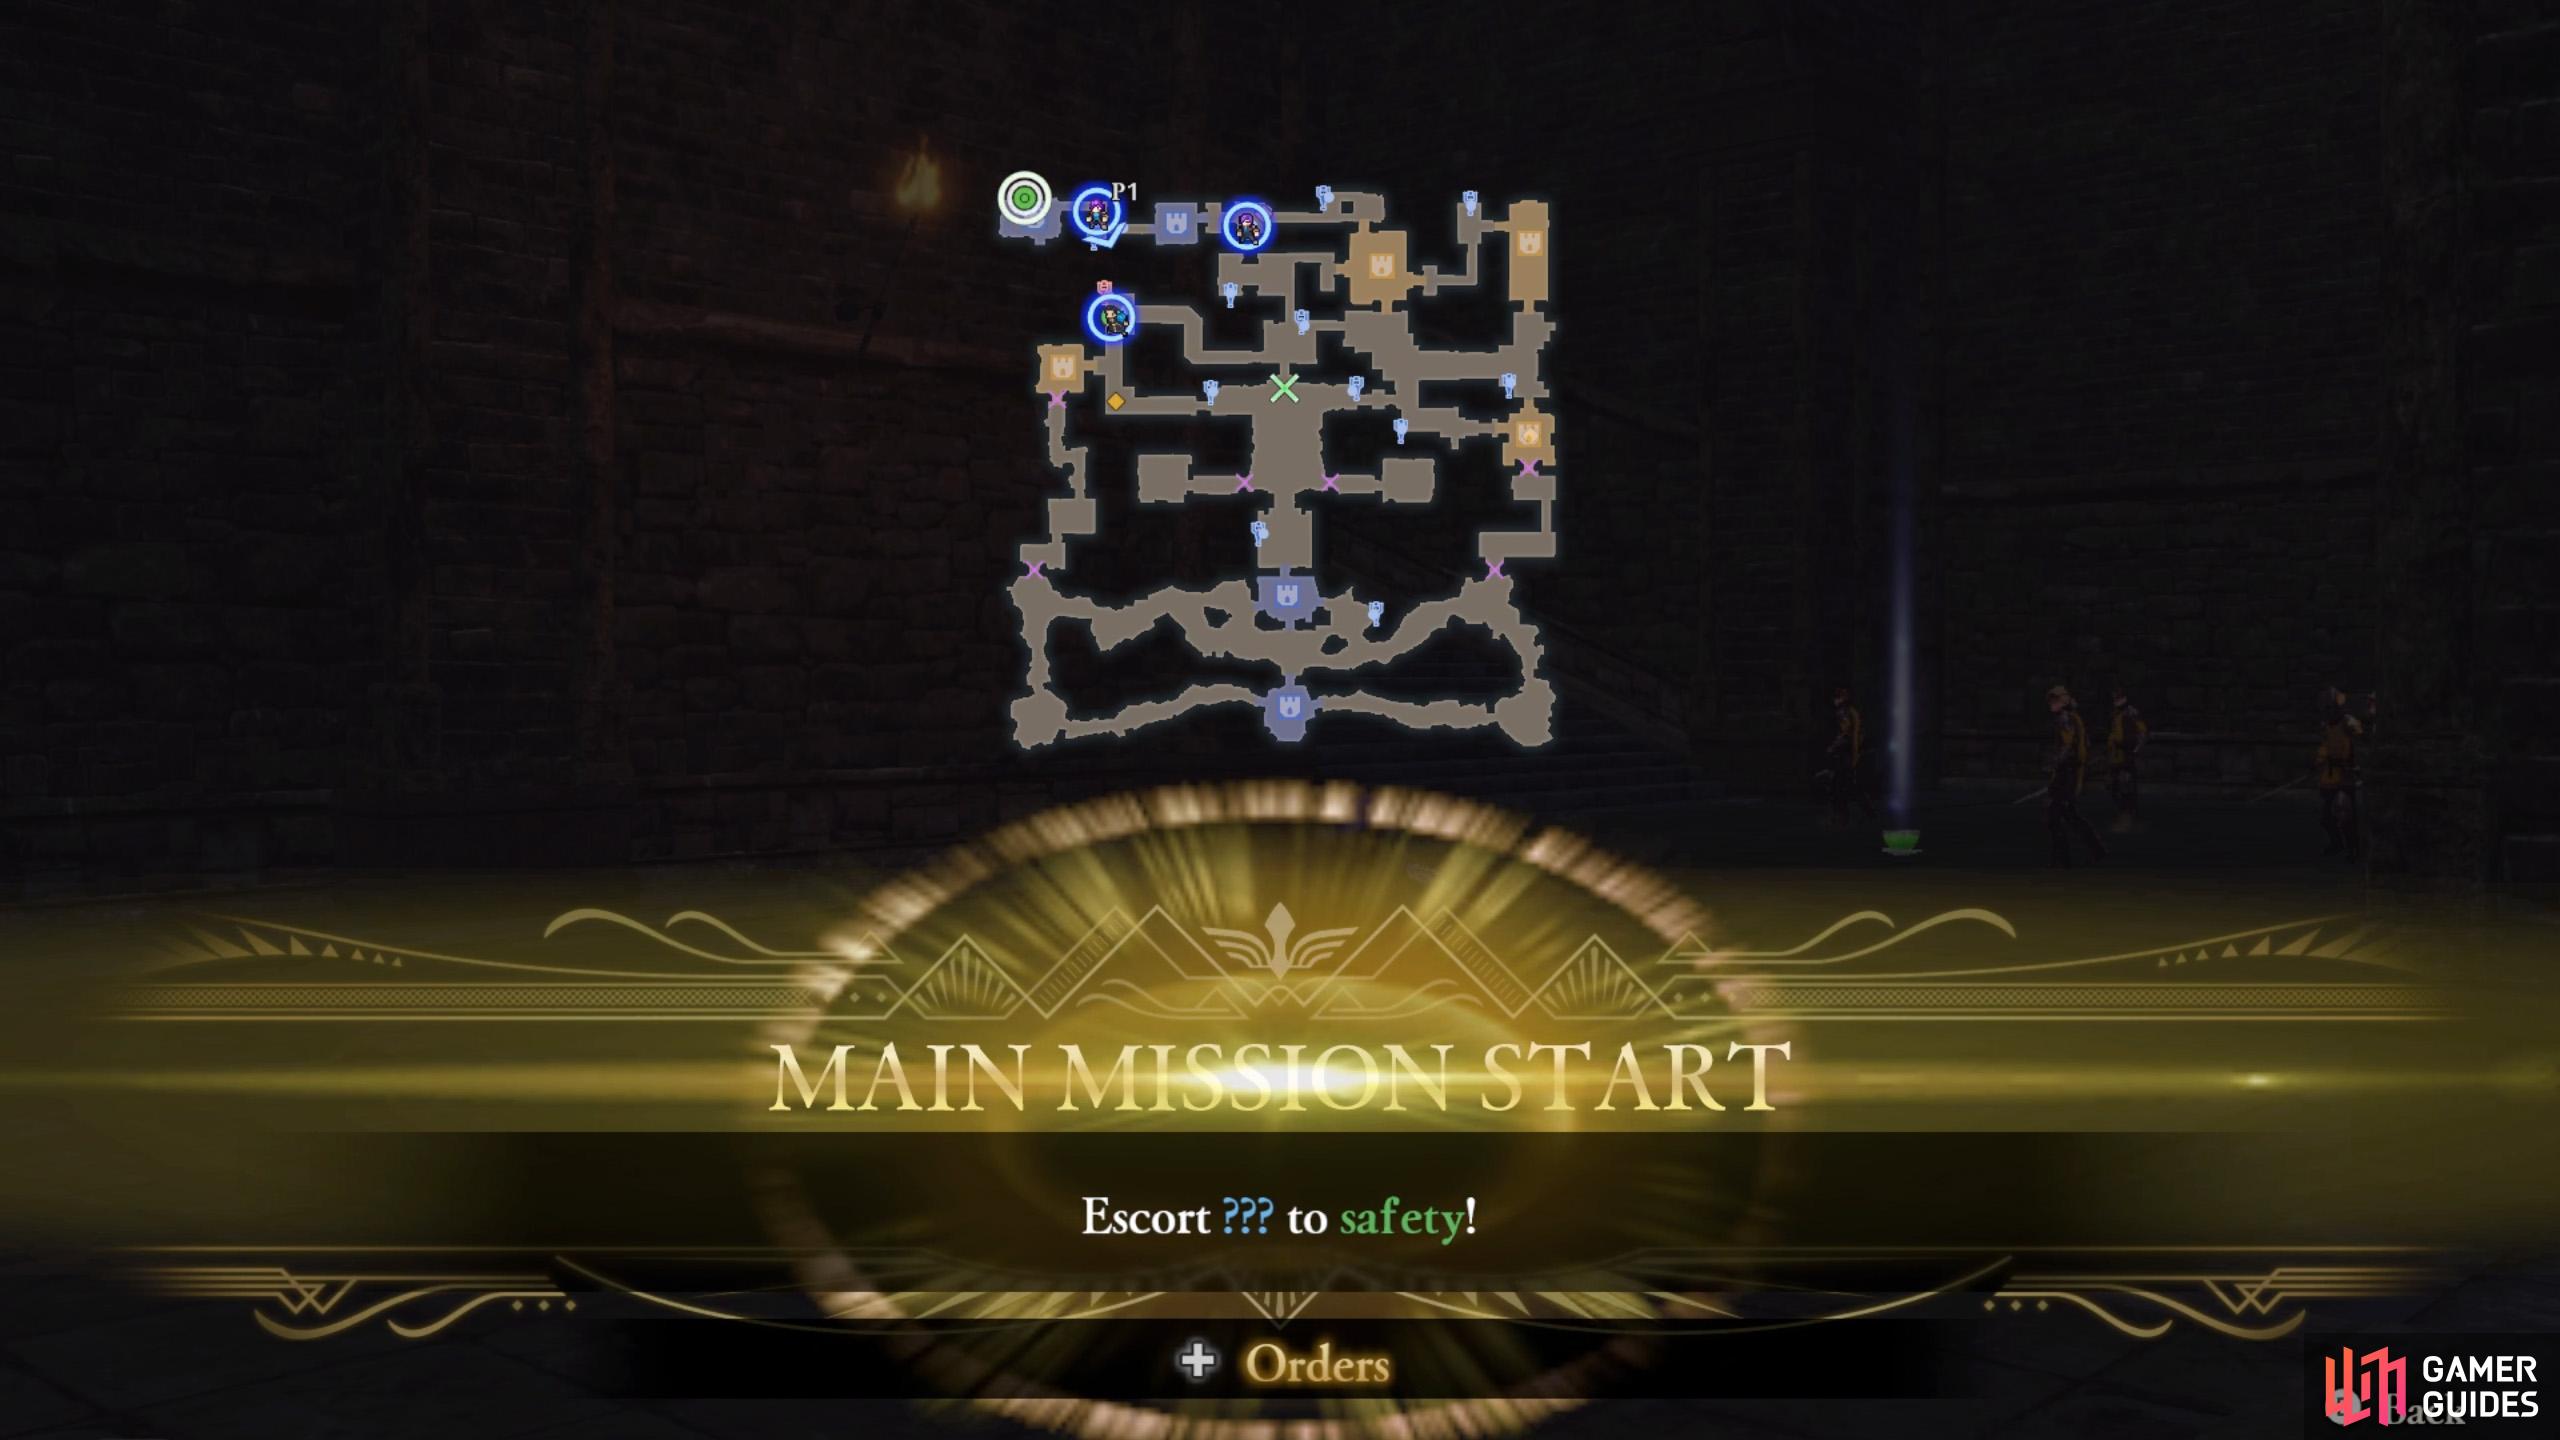
Uh-oh, it’s an escort mission.
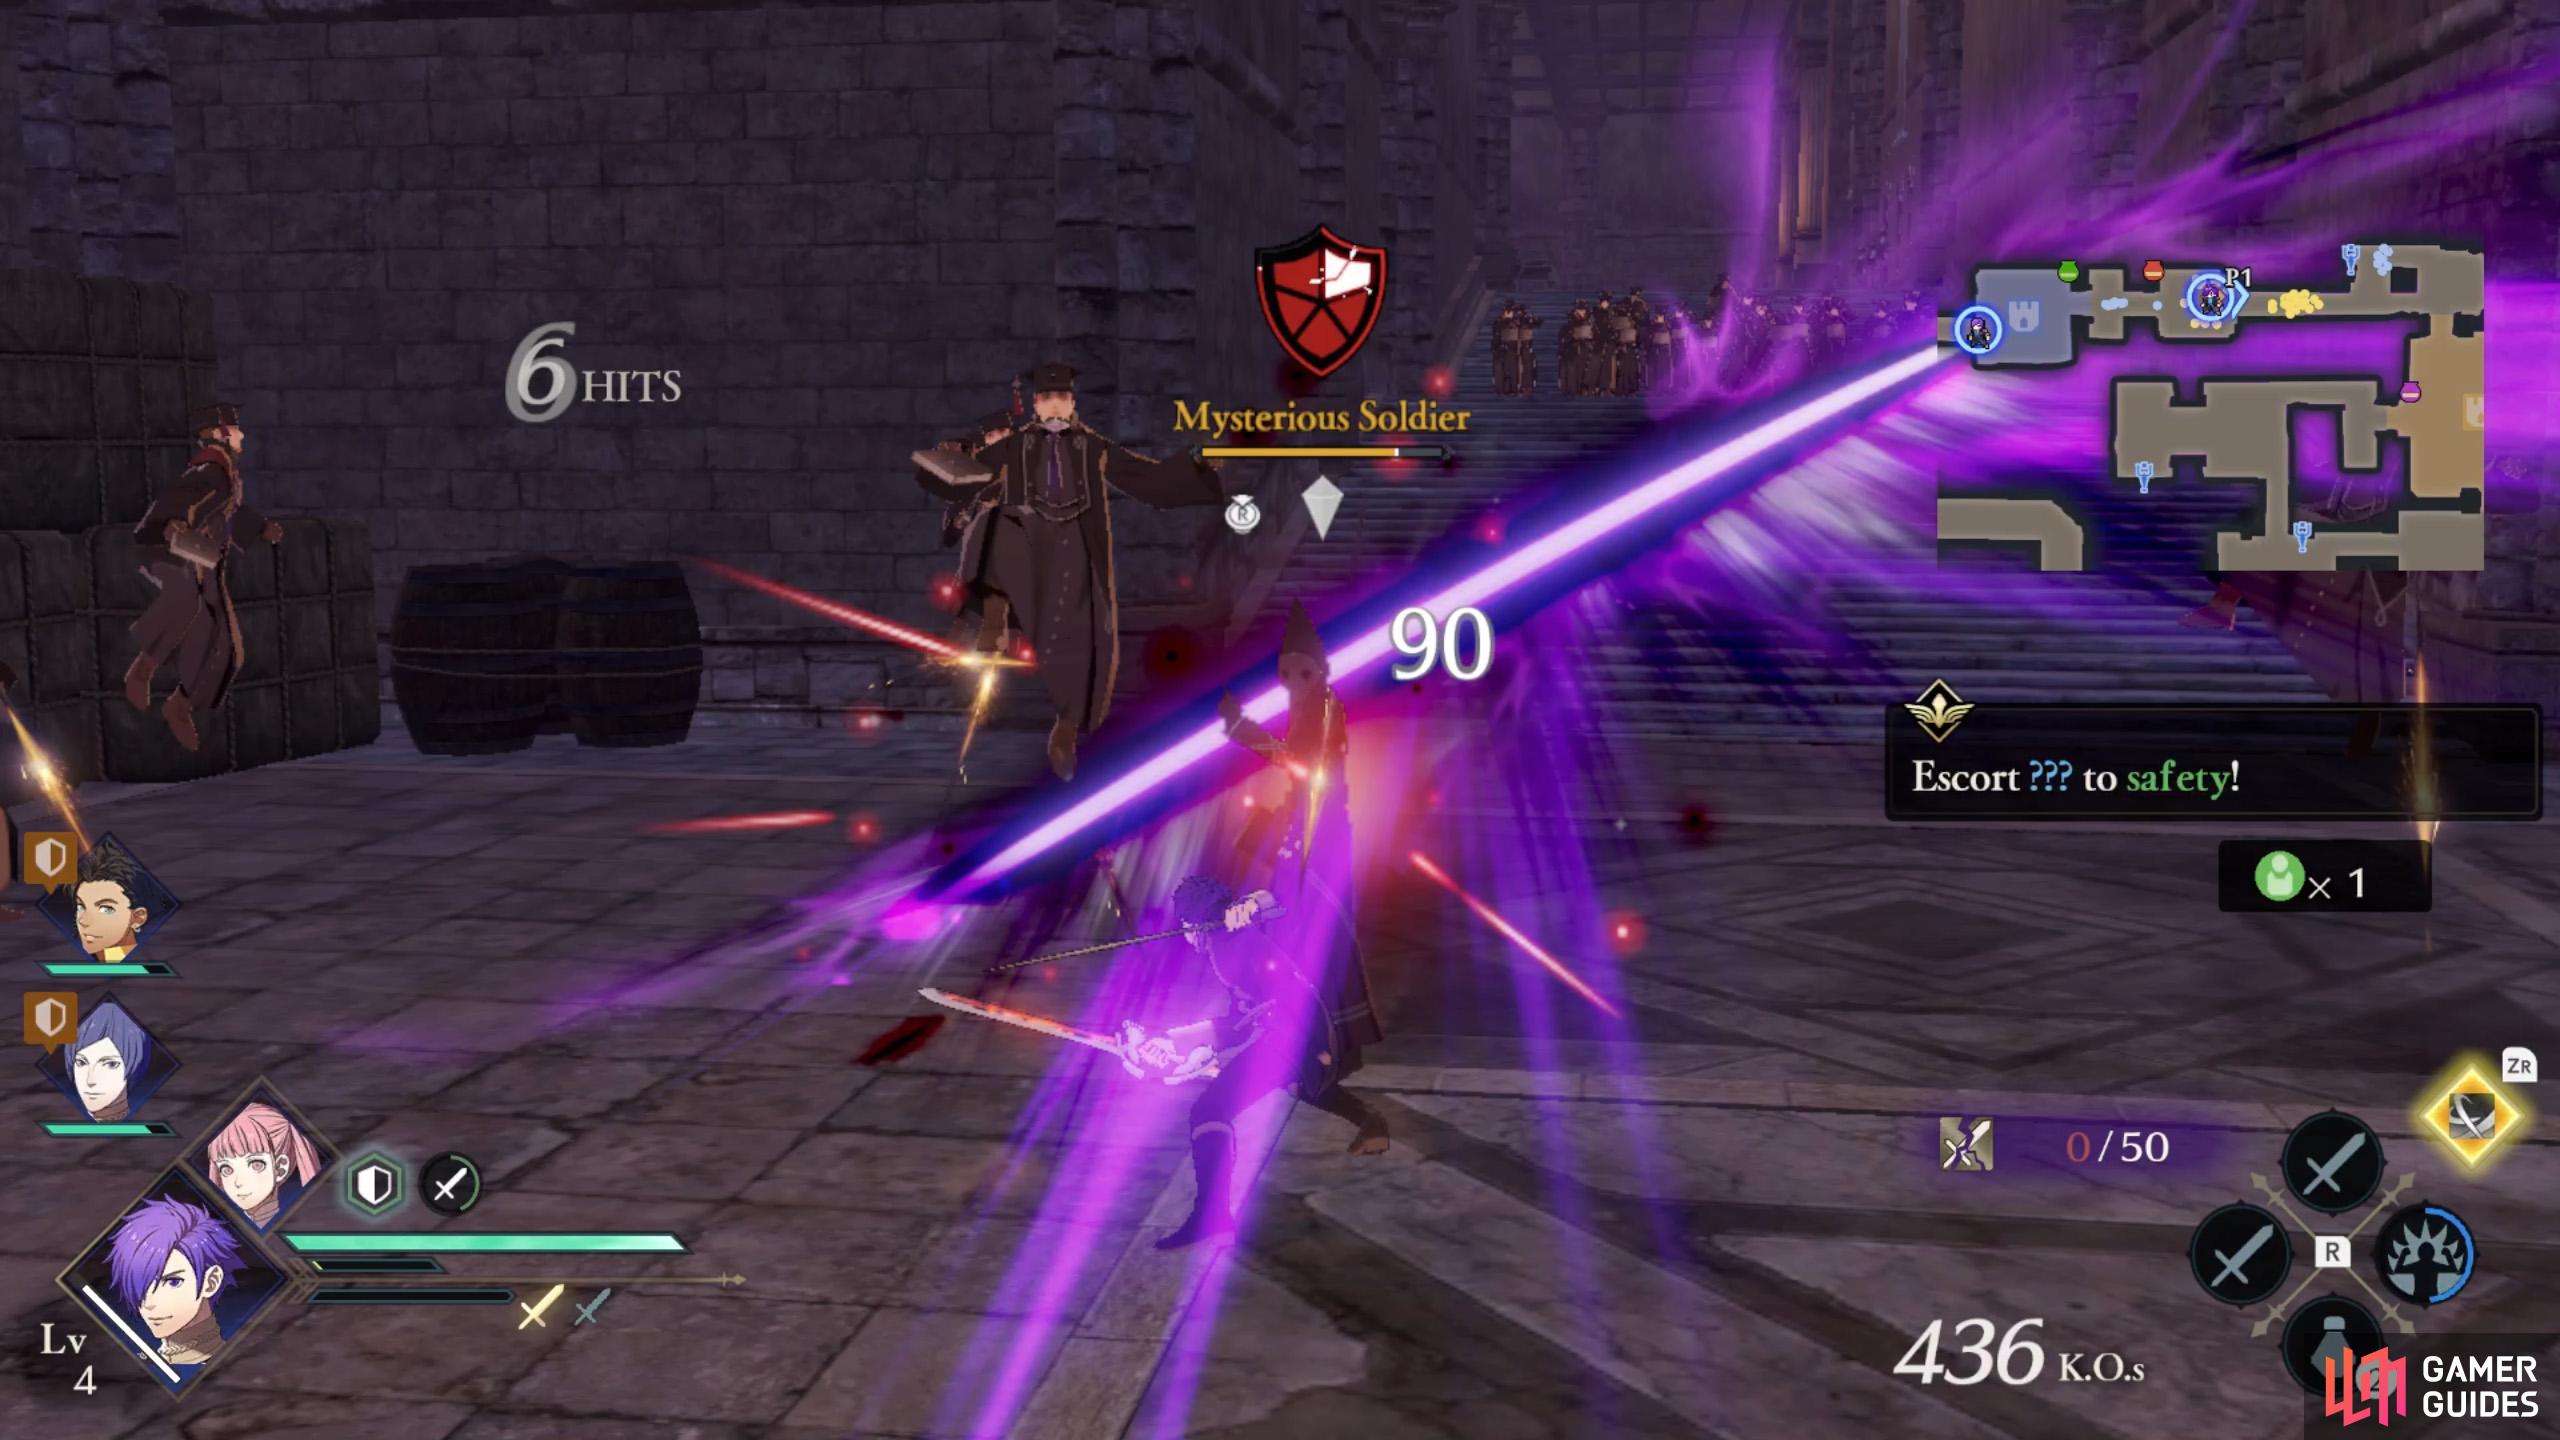
Slay the Mysterious Soldiers trying to get in the way.
Very minor spoilers, the student you just rescued is Monica (you’ll learn this very soon). She’ll begin leaving the Thieves’ base, in pretty much the opposite direction you came in, until she reaches the open area beyond the front gates.
Surprise, surprise, a bunch of enemies will show up to try and halt Monica’s escape. These yellow Mysterious Soldiers will also take over most of the strongholds you captured. Hey, cheaters. The first Mysterious Soldier you’ll encounter is a short distance east from the stronghold after the Dungeon. Another Mysterious Soldier will be at the first yellow stronghold you’ll reach: the Plaza.
Once you’ve defeated those two, Monica’s path should become clear.
Side Mission 1: Don’t let the Thief escape
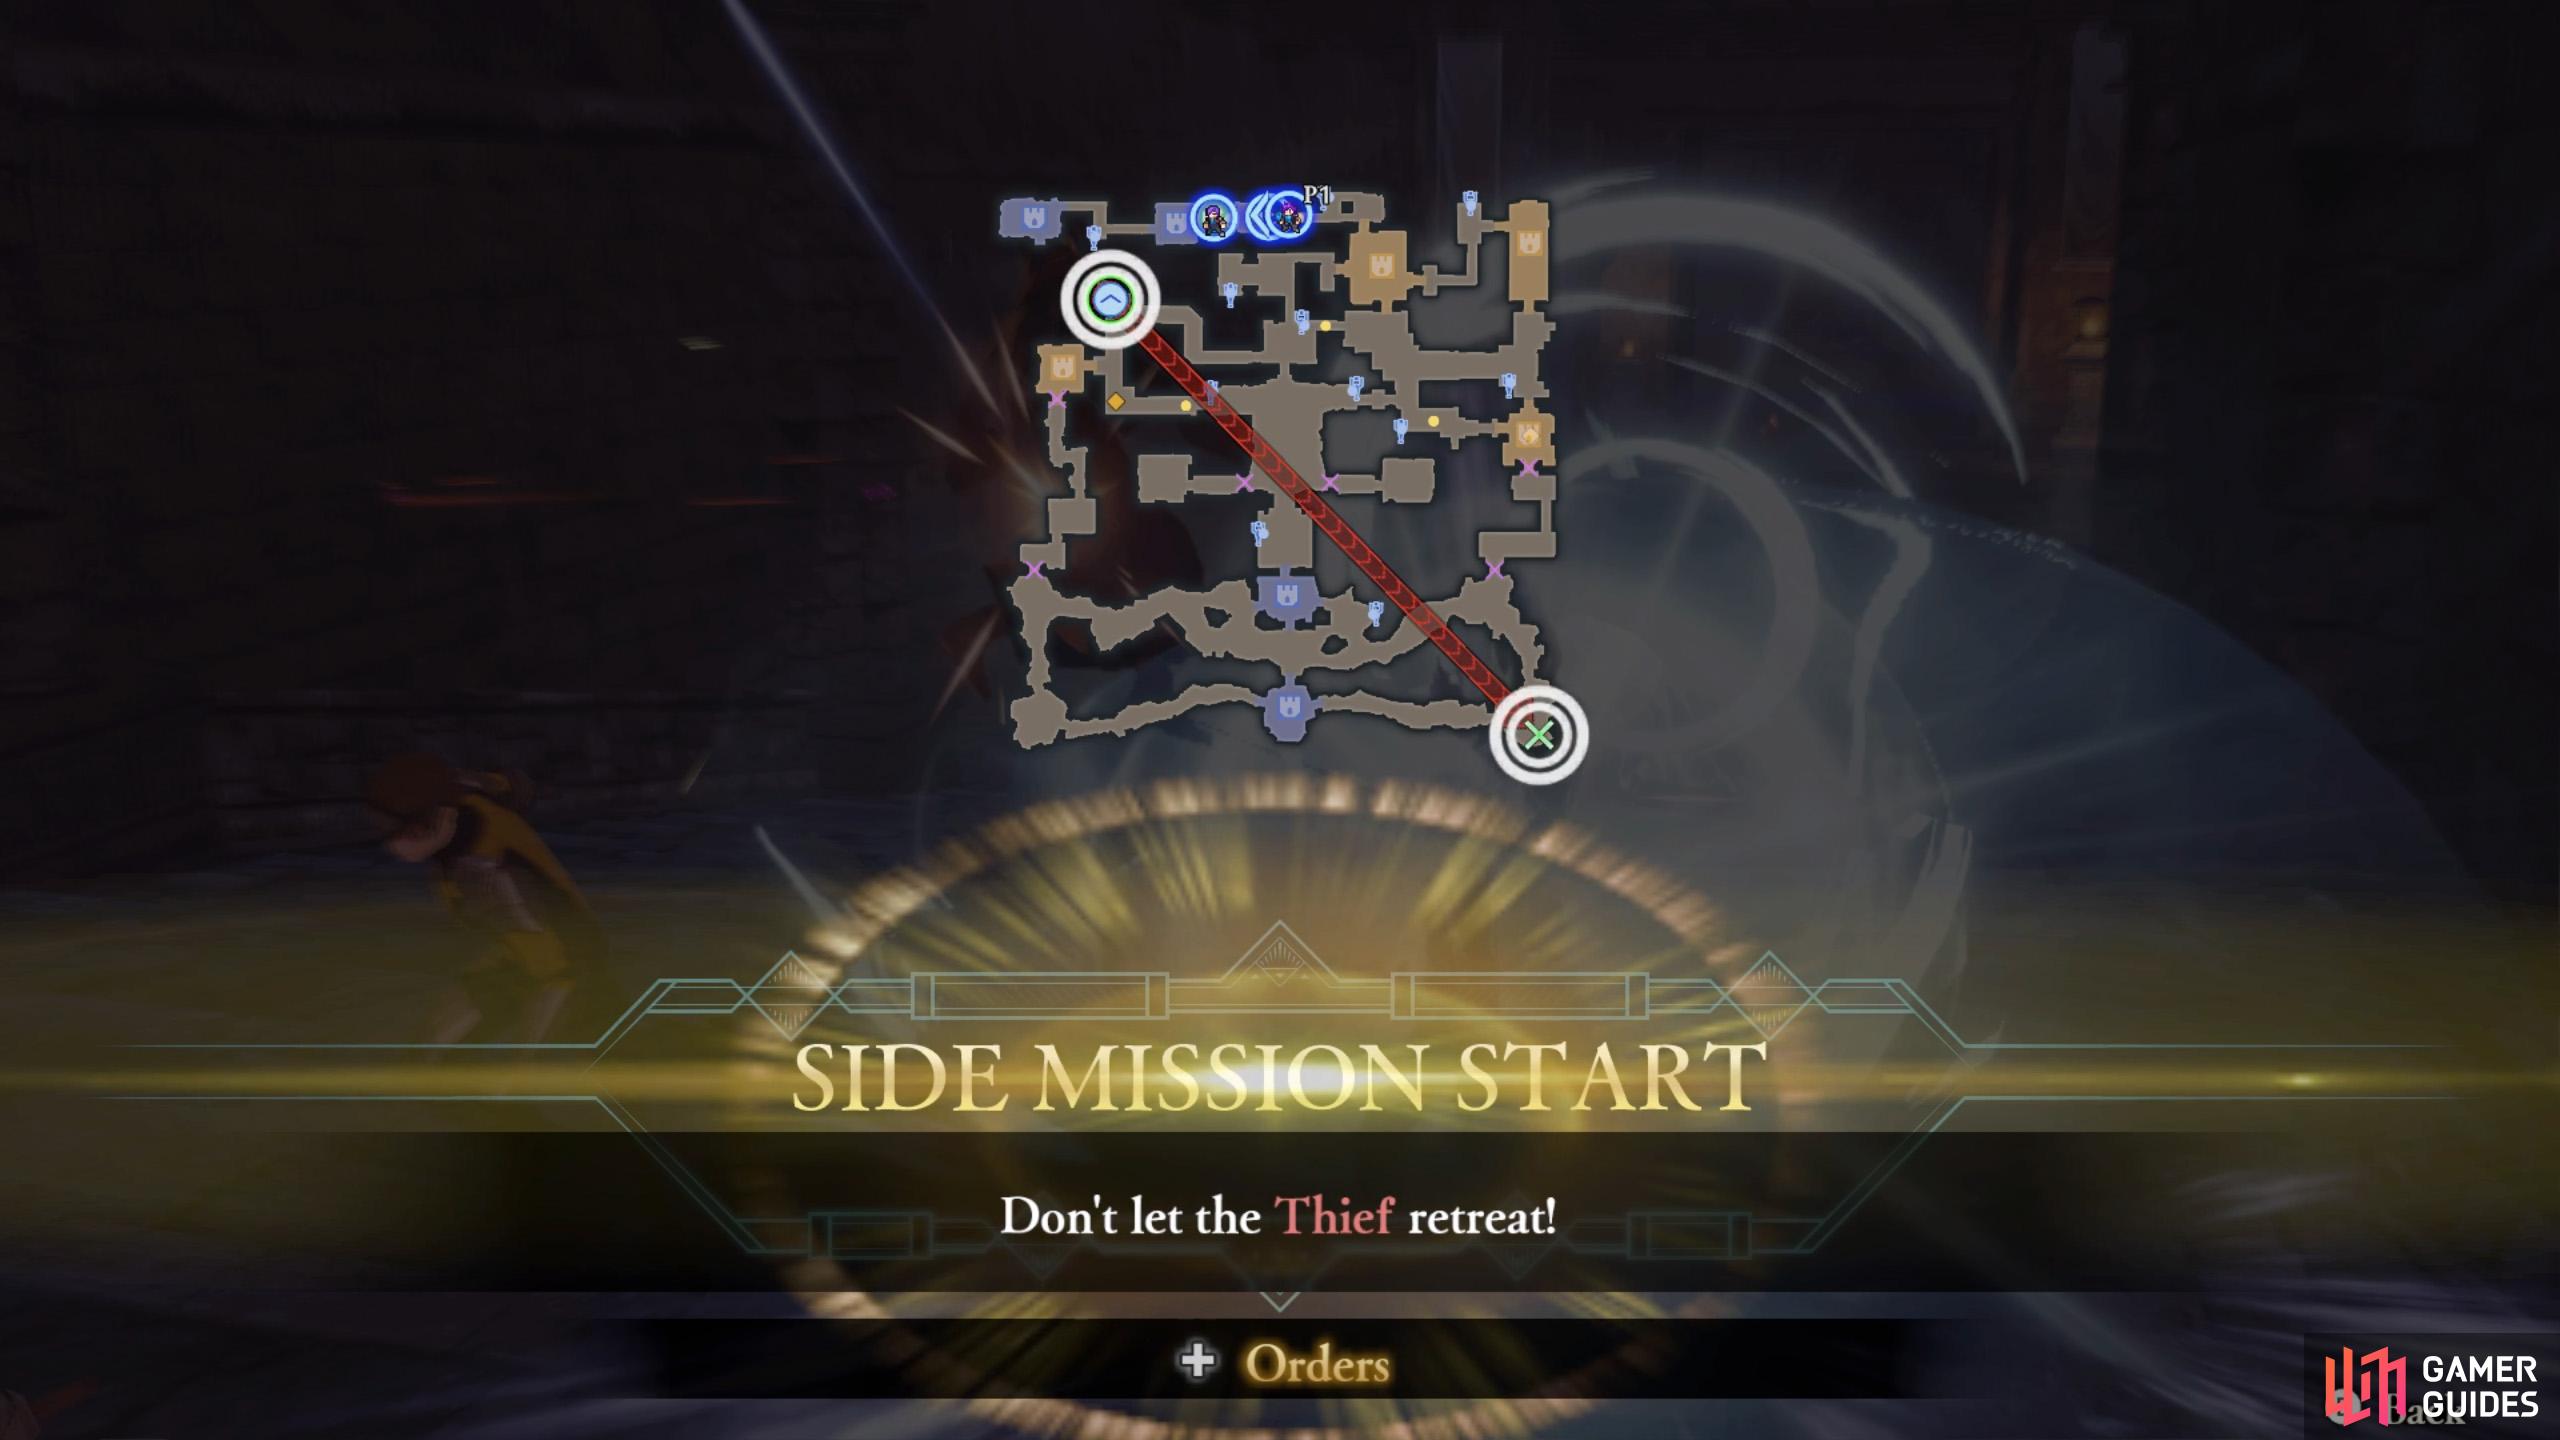
Side missions aren’t required, but can yield various benefits.
Sword users are recommended here.
Amidst the chaos, a rogue Thief will try to flee the scene. They will spawn a short distance south-east from the north-west corner (Dungeon). We suggest ordering a student with too much free time to dispatch the Thief. Shez would be ideal, while you control a different character to take out the Mysterious Soldiers.
Alternatively, if you’re quick enough, you can defeat the Mysterious Soldier at the plaza and still reach the front gates before the Thief.
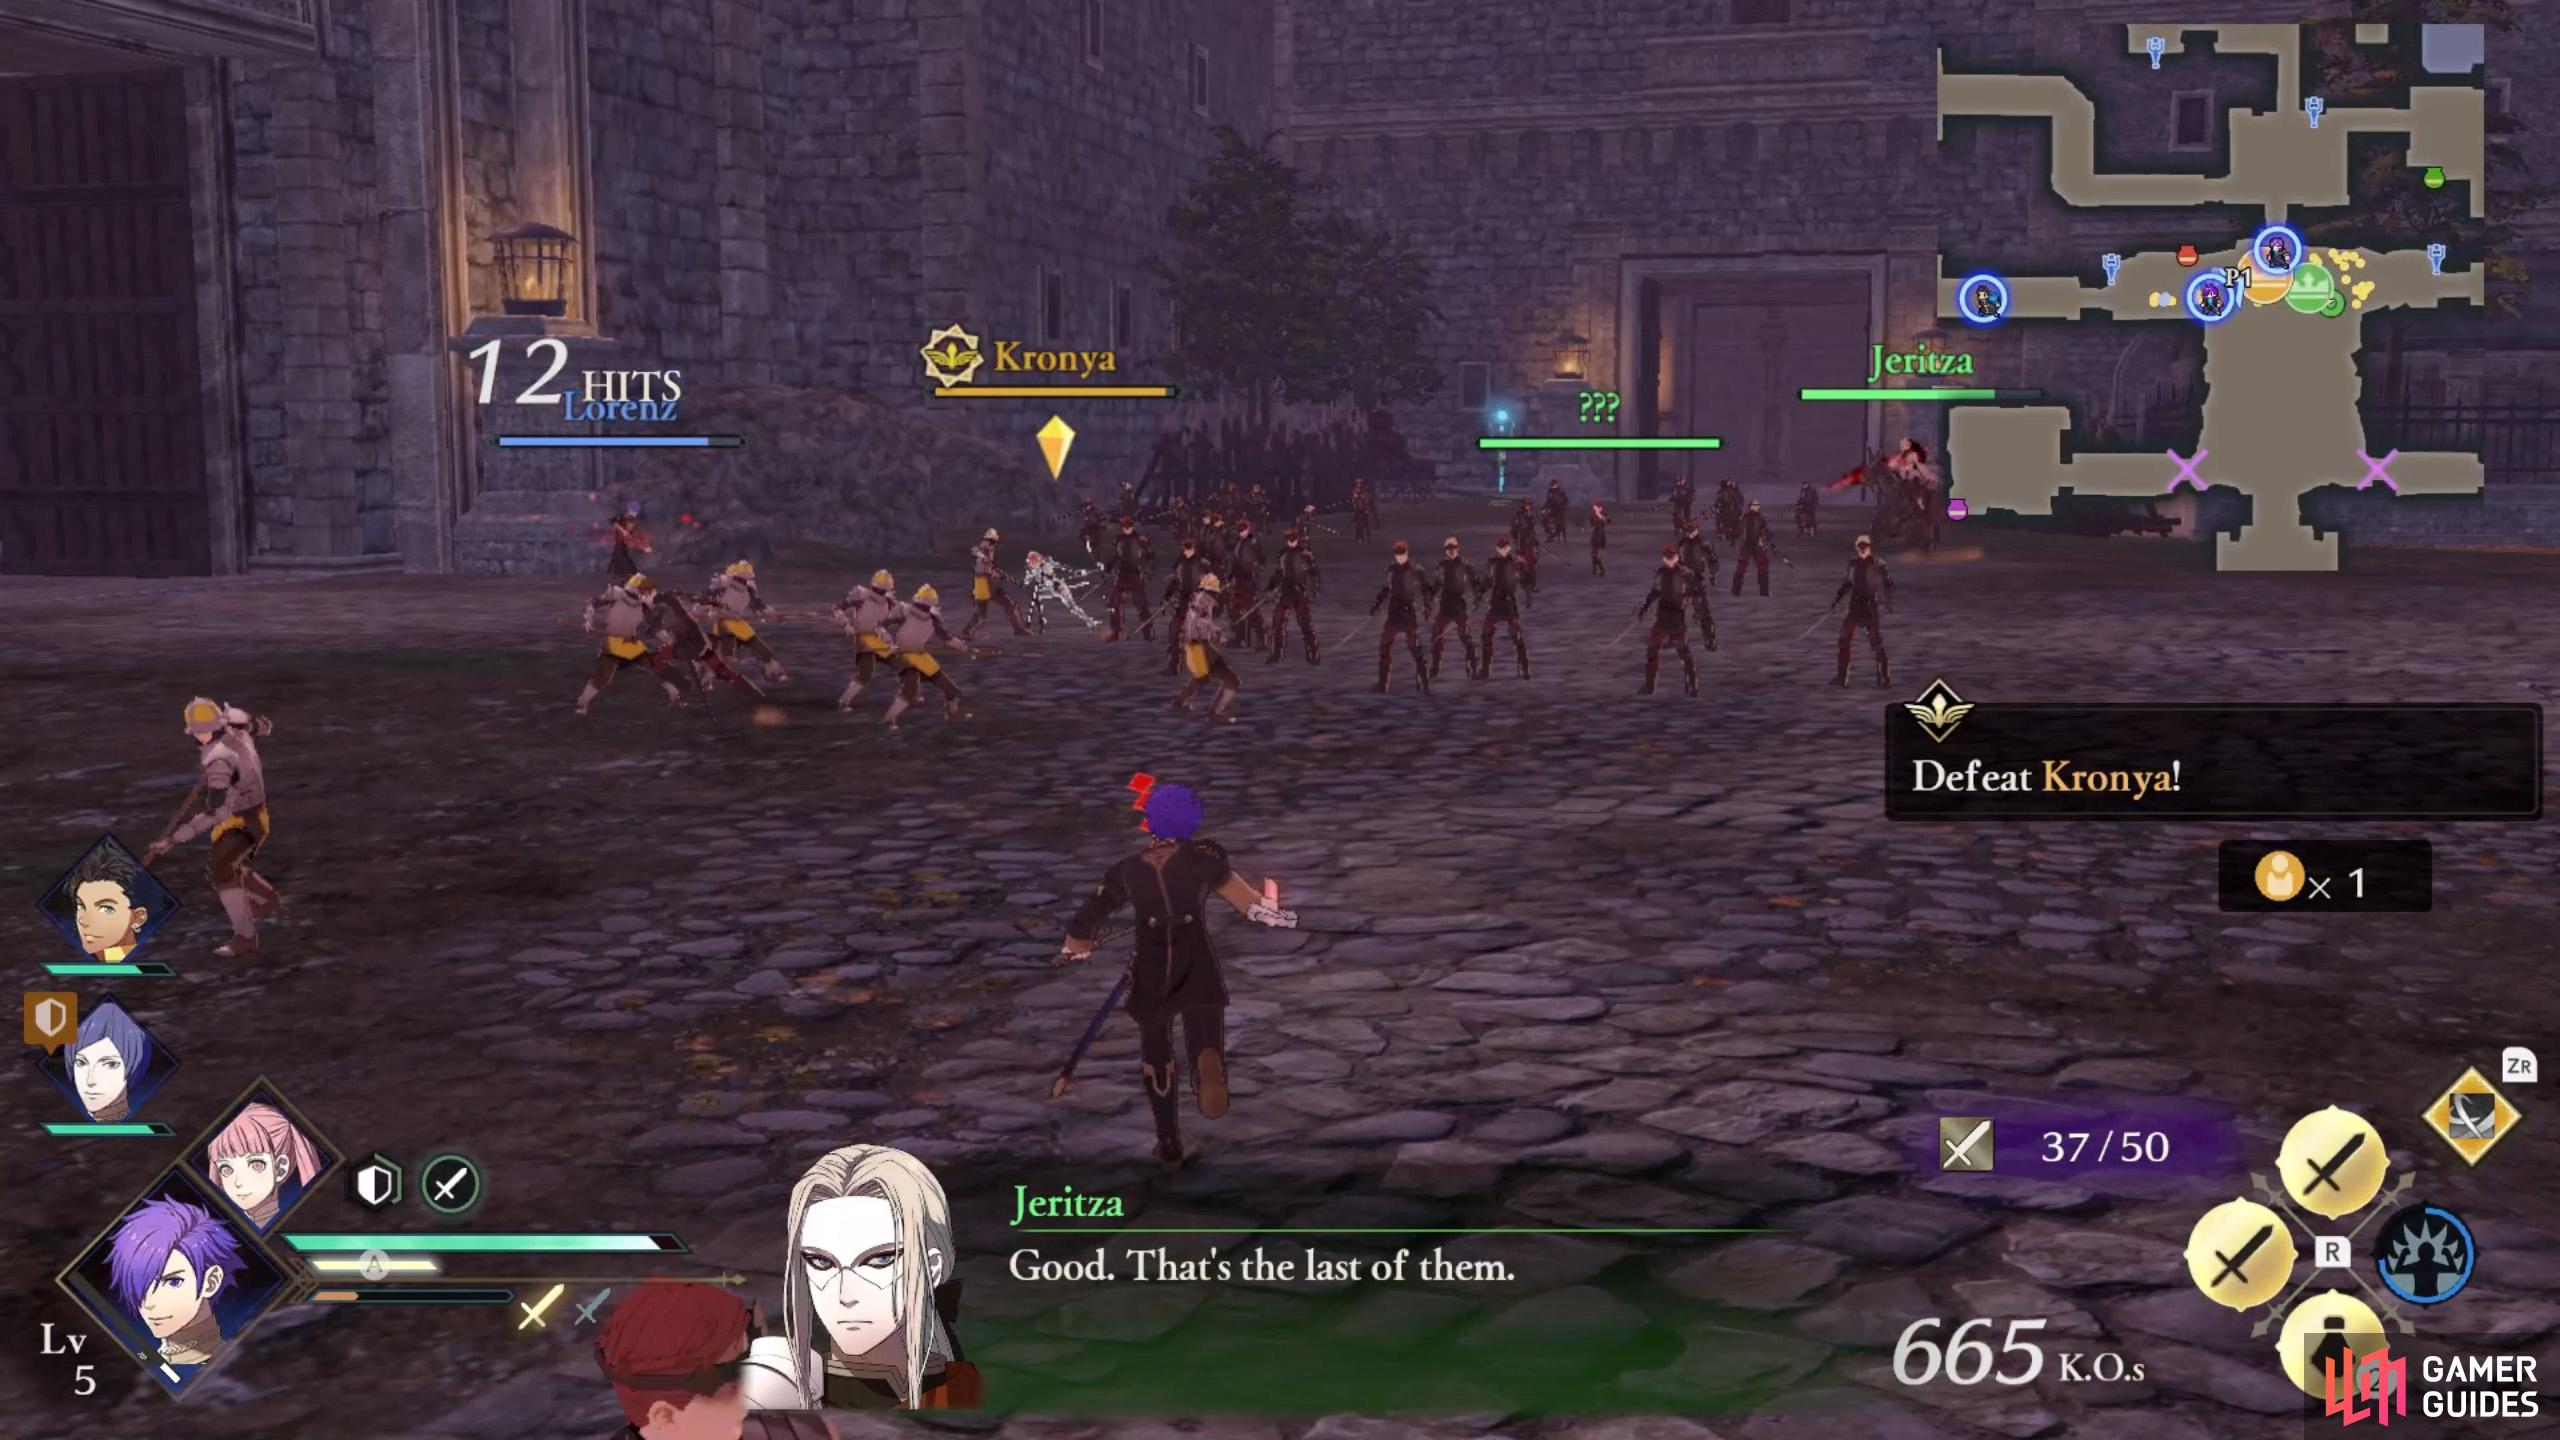
Mission 5: Defeat Kronya
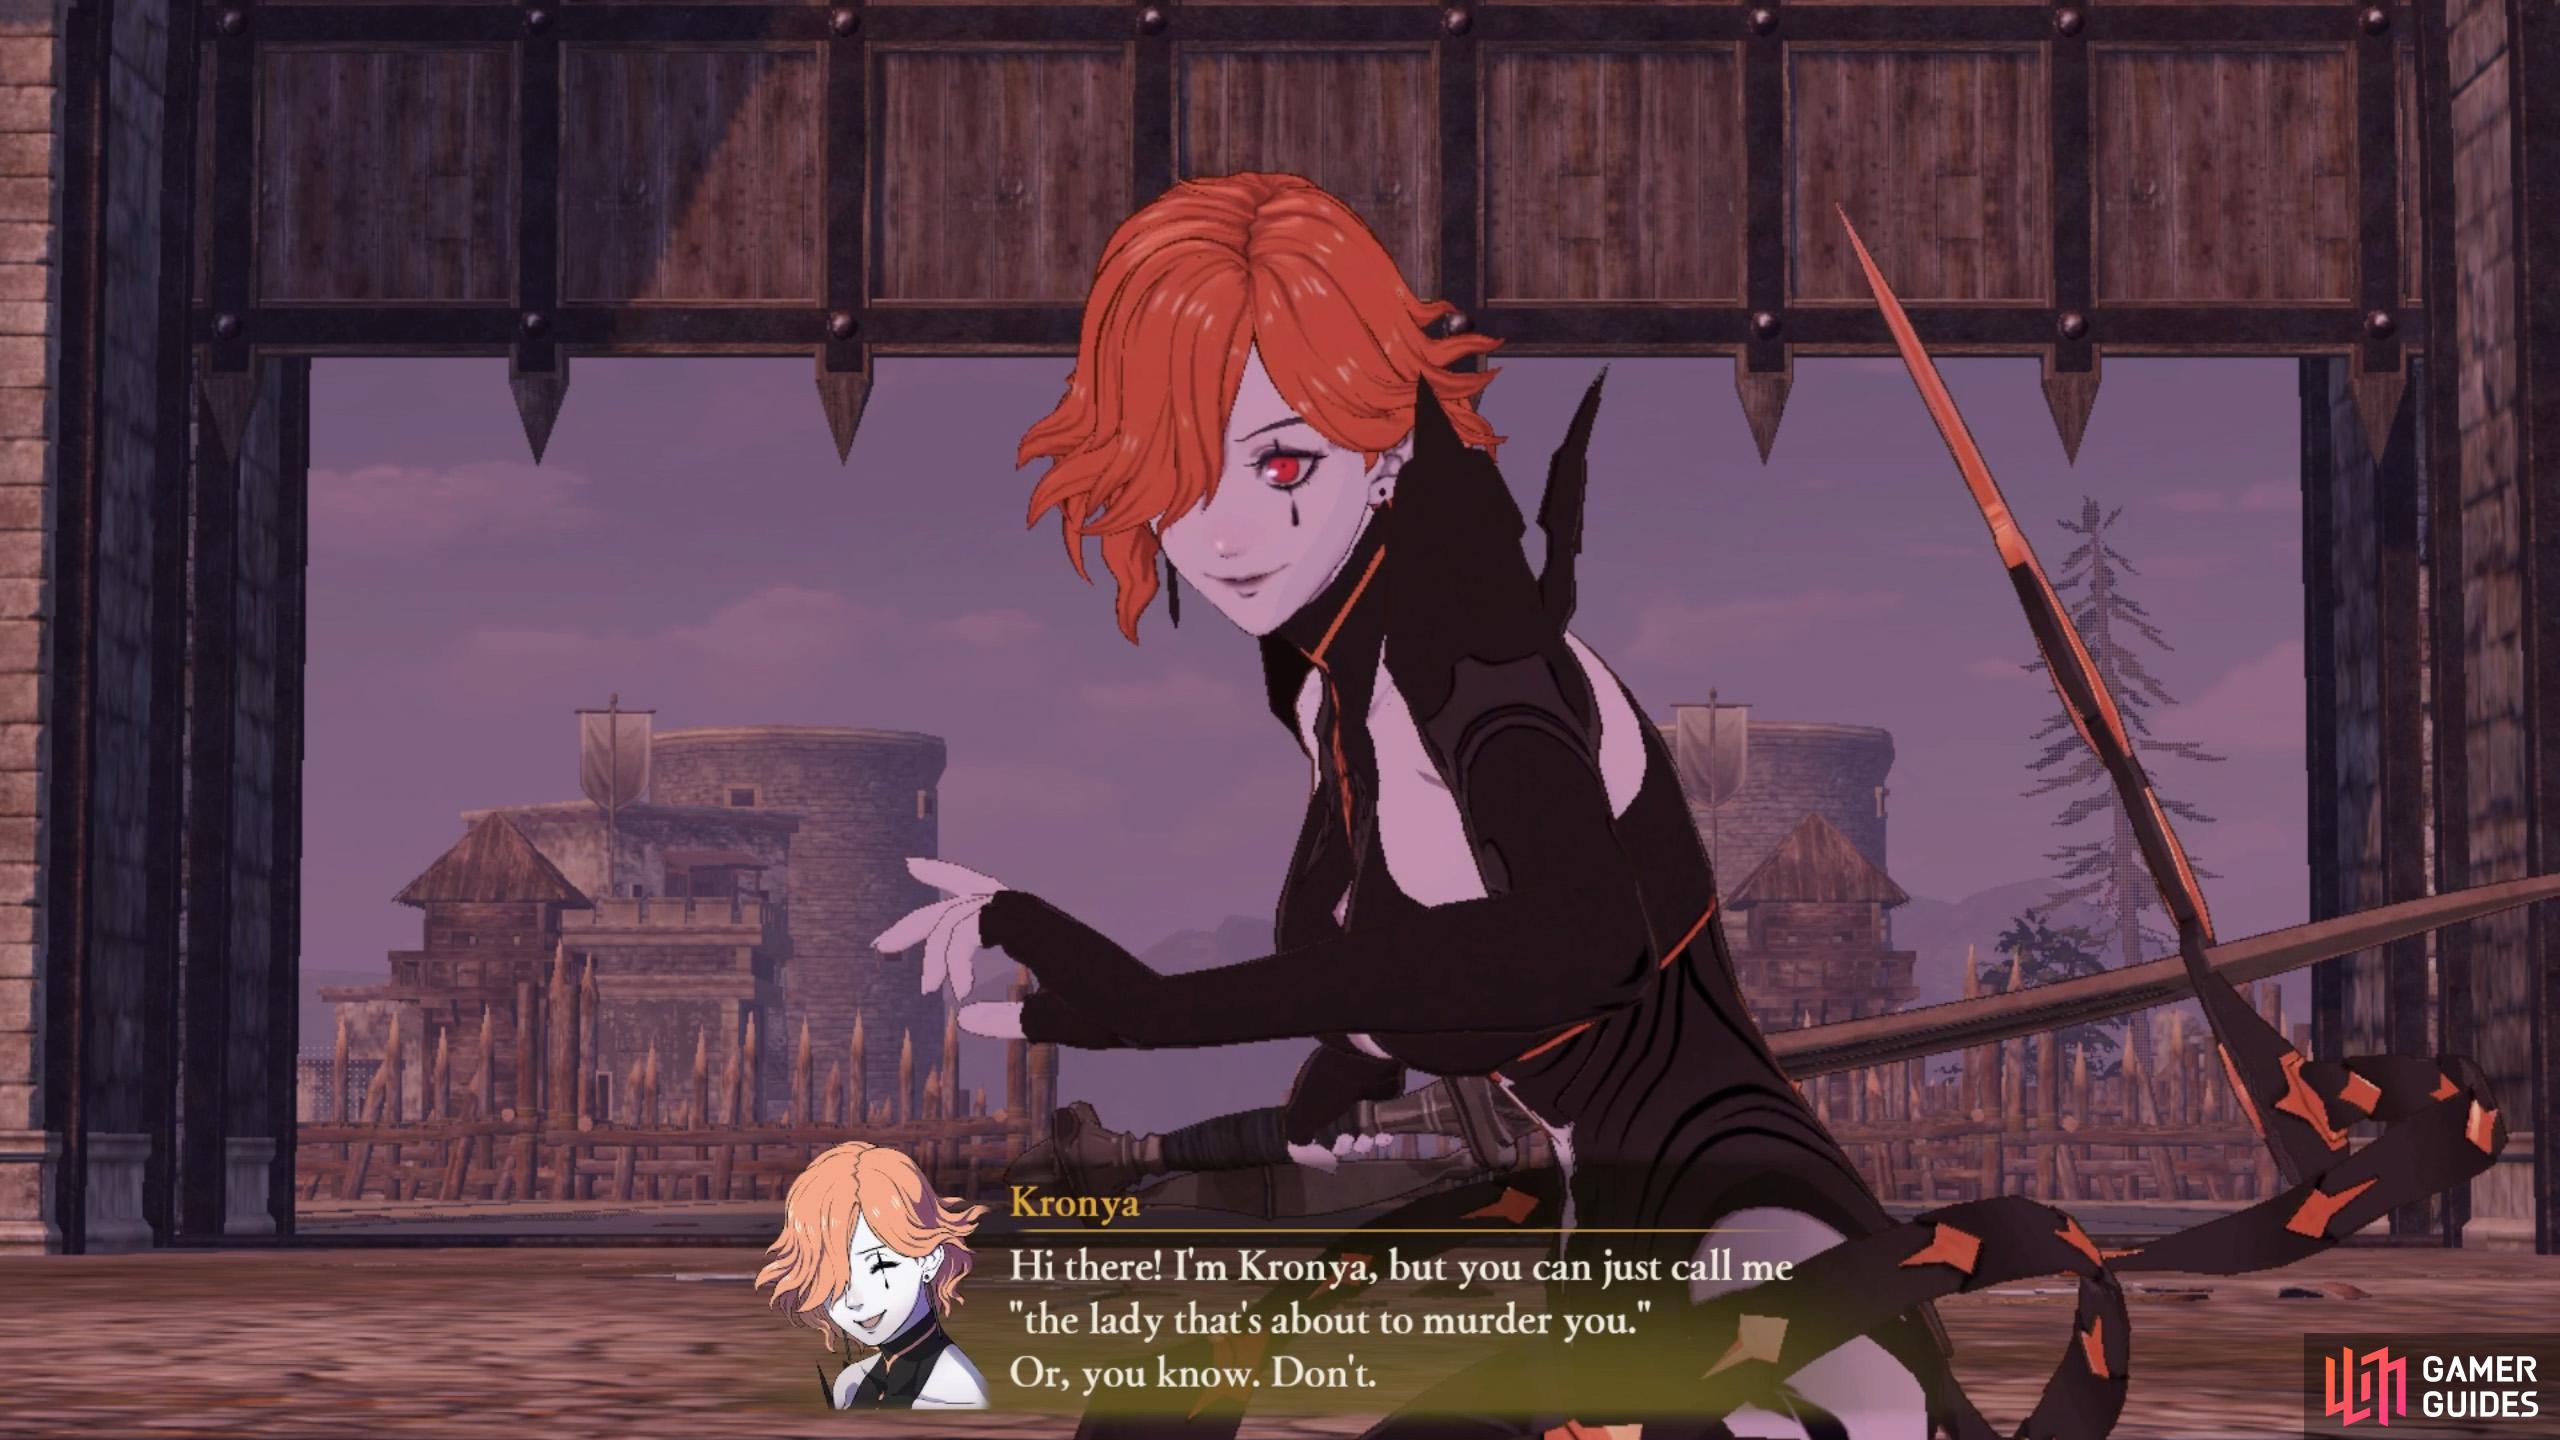
Scary words from a scary lady.
Kronya is bad news for Monica, so try to knock her out ASAP.
When Monica arrives outside, the danger isn’t quite over. Kronya will appear, serving as the boss of this stage. You can fight her normally with lance users or blast her with a Warrior Special if you saved one up. If you don’t have an adjutant assigned, do so now to transform your Warrior Special into a Partner Special.
Mission 6: Defeat the Wild Demon Beast
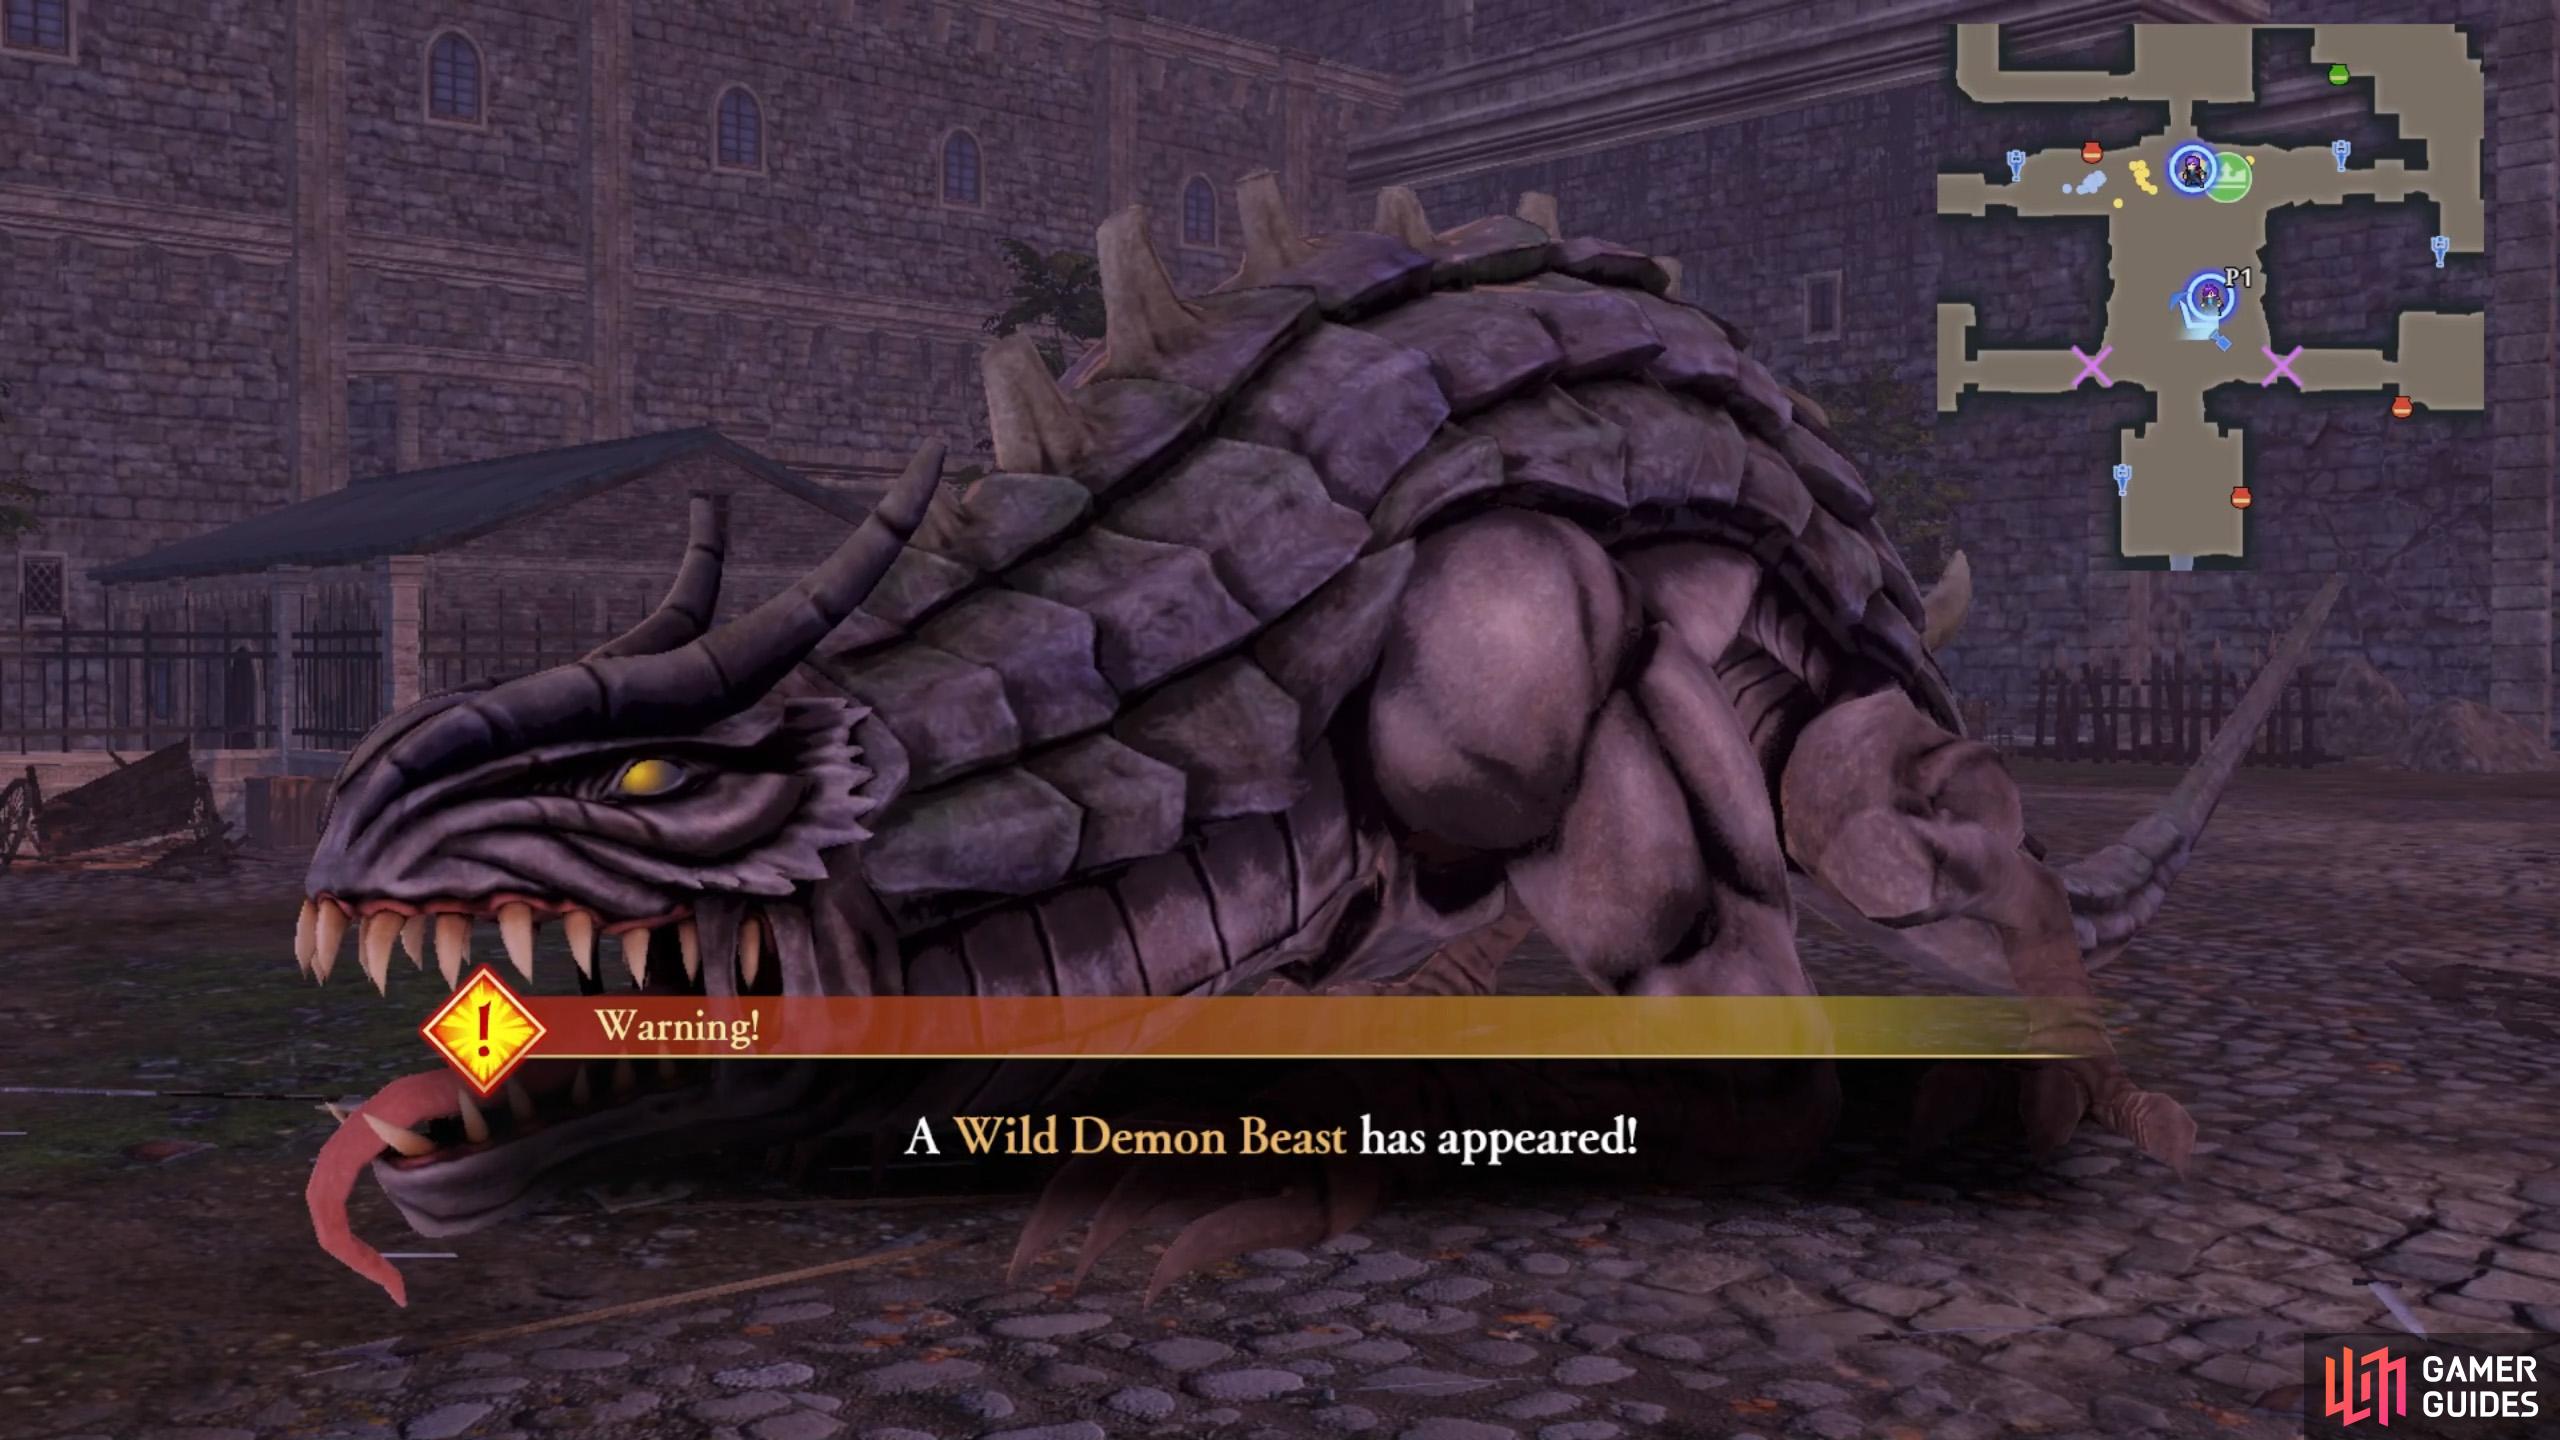
In desperation, Kronya unleashes a monster to stop you.

Get out of the way when you see the red AOE markers.
Send Kronya scurrying and she’ll reveal a trump card: a monstrous Wild Demon Beast. Unlike regular foes, monsters like this are tougher to take down since they have multiple HP bars. The red diamond next to the current HP bar indicates there’s a reserve HP bar. If there are multiple red diamonds, that’s a reserve HP bar for each.
To make them easier to slay, monsters have multiple weaknesses, indicated by the weapon icons beneath their HP bar. These are basically permanent stun gauges for those weapons. Right now, the monster is weak to sword, lance, axe and the light element. After destroying one of the gauges, you’ll get a Critical Rush chance with  .
.
However, once a gauge has broken, you can’t break it again. So after breaking the sword gauge, for instance, be sure to switch to a different character to break the other gauges. Very often, there will be red AOE markers on the ground, to indicate an incoming attack. Obviously try to move out of the way of these–Shez’s  dash is great for this.
After the Wild Demon Beast keels over, this battle will end.
No Comments