
| Level | Reward |
|---|---|
| 5 | 724 XP, $15 |
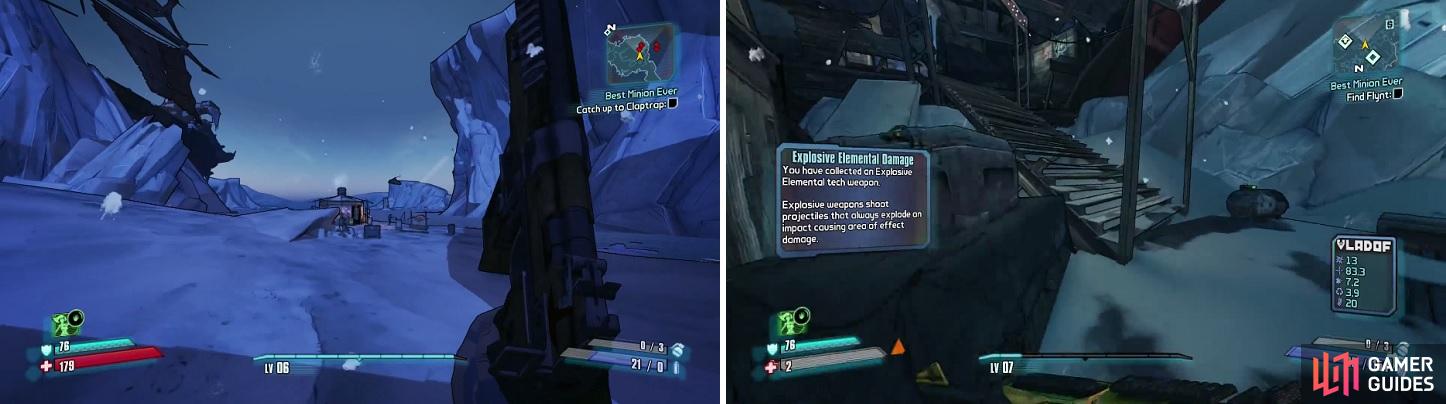
Talk to Claptrap to continue, then head to the waypoint to hit the switch that opens the nearby gate. Follow the path out of the gate to come upon a very small bandit encampment, which houses a few of said bandits. Despite the game saying to defend Claptrap, he can’t die and the enemies don’t attack him, so just concentrate on surviving yourself.
Continue moving, going up the hill and into the next encampment to find more bandits. Being mindful of any Psychos, kill them all and move to the raised bridge, which Claptrap will lower…revealing two Suicide Psychos. You want to be careful around these, as they will, well, suicide if they get too close by detonating the grenade in their hand. Also, they will drop a grenade if you happen to kill them normally. Anyway, drop into the hole and get ready for a boss!
Boss - Boom and Bewm
Both of them are Midgets, but Boom will be manning a cannon called Big Bertha. Bewm will be coming after you and get real close, before firing off his shotgun. For the first part of this battle, you will to hide behind something to avoid getting blasted with Big Bertha, letting you easily take out Bewm, who should go down quickly with criticals to the head.
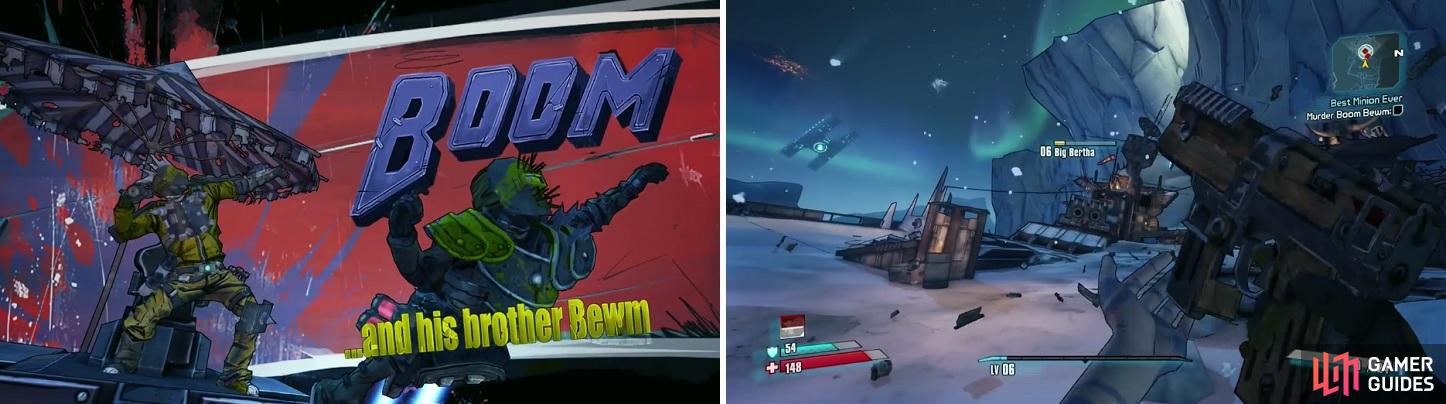
Boom and Bewm are some explosives-loving brothers. You will need to destroy the cannon, Big Bertha, before you can kill Boom (right).
With his brother out of the way, you can concentrate on Boom now, only he’ll keep bringing out a couple of crazy friends. You see, Psychos will keep spawning and coming after you while Boom is still alive, although you want to make him not alive. In order to do that, you need to destroy Big Bertha first, so peek out in between Psychos and let your hail of bullets hit it. You can speed up the process by getting critical hits on Boom.
When you’ve finally destroyed the cannon, Boom will pop out and start tossing grenades at you, which can prove troublesome with the Psychos still pressing up against your face. Boom is also a shotgun midget, like his brother, so be careful when getting too close. Defeat Boom and you will get a Grenade Mod as a drop. Equip it and clean up any remaining Psychos, then it’s time to get back to the mission.
Claptrap will eventually order you to get on the cannon, which you destroyed a few moments ago and is somehow repaired, to blast down the gate blocking your progress. Even though he survived the blast, you shouldn’t worry about him, as a wave of bandits will come rushing you, although your shiny new toy will wipe them out pretty much instantly.
Once you’ve painted the ground and landscape with itty bitty pieces of the bandits, step out of the cannon and move along the newly opened path. You’ll come upon some bandits doing battle with Rakks, who will come after you if you take out the bandits first. The next area is riddled with bandits, so you will want to slowly make your way through this, as you don’t want a ton of bandits on your tail.
Eventually, you will come upon some bandits beating down Claptrap, so sit back and enjoy the scenery if you happen to like seeing Claptrap get hit. When you’re finally ready to intervene, shoot the bandits and then continue on to fight even more bandits until you reach a point where Claptrap can’t continue, due to him not being able to climb stairs.
The Rakks and Bandits will do battle with each other, simply because (left). Claptrap’s biggest weakness will come into play in this mission (right)…stairs!
Unfortunately (not really), you will have to leave Claptrap behind while you try to find a way to bring him up above. Climb the tower, taking on the bandits as you go and making sure you don’t get too far ahead and spawn more bandits. You will eventually come to a switch that you can use to raise the lift and bring Claptrap up to where you’re located. Follow the rest of the path and drop down to the big, open area to confront your next boss!
Boss - Captain Flynt
Flynt is definitely the first, real troublesome boss in the game, since you not only have to worry about him, but you also have his minions and the actual arena. One of the first things you’ll probably notice is that there are vents on the ground in the arena, which erupt with flames every so often. Obviously, standing on these will cause you bodily harm, as well as setting you ablaze, dealing damage over time.
As far as attacks go, Flynt is equipped with an assault rifle, which is probably the least of your worries. He can also slam the ground using the melee weapon on his back, which shoots out a shockwave. He will do this three times in a row before stopping and moving on to another attack. The last attack isn’t really one, but he will erect a reddish-orange barrier around himself, which boosts his defense by quite a lot. His helmet protects against critical hits, but it’s possible to sneak some in between the opening, though.
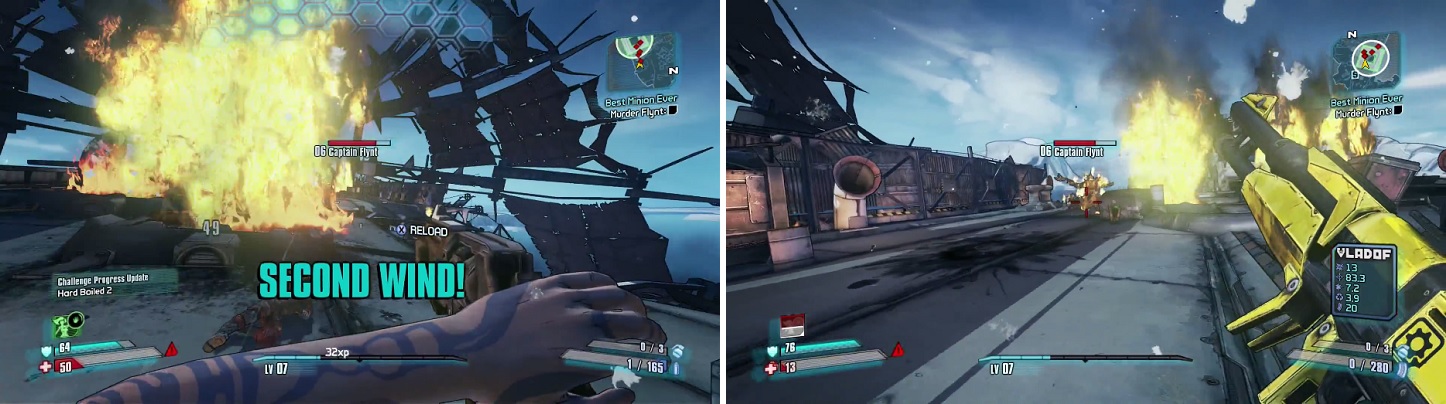
Be careful not to stand on the vents, or else you might get fried (left). When Flynt covers himself in fire (right), he will mitigate damage by a lot.
You will notice that there will be some bandits in the arena with you, starting out with Marauders in the distance. Use these for Second Wind chances if you stay in the middle of the arena. Periodically, some Burning Psychos will join in the fray, charging at you. Do not let them hit you, as their attacks have a chance to light you on fire, so quickly take them out before they get a chance to attack.
After the fight is over, follow Claptrap all the way to his ship, where you can talk to him to end this mission and begin the next.
No Comments