
| When | Level | Location | Rewards |
|---|---|---|---|
| Complete Shielded Favors | 5 | Liar’s Berg (Hammerlock; Sanctuary when he moves there) | 362 XP, $39, Head Customization |
If you wish to fight against a Midget riding on the back of a Bullymong, then this mission is for you! To get to Southern Shelf - Bay, you need to return to the spot where you found the fuse for Shielded Favors, then go past that to find some Bullymongs. Fight them or not, then go into the next area to find the Bay area. Just past the Bullymongs here is a bridge that you can cross, but it’s not a traditional one.
Hit the switch that’s nearby to activate a raft, then get on and pull the switch on the raft to get across the freezing waters. Follow the path up the hill until you come to another bridge, which has been raised, likely by the bandits just past the bridge. Pull the switch to lower it, then fight your way through the bandits until you reach Blackburn Cove.
This area is swarming with bandits and if you go too quickly, then you’ll get swamped and likely die. So, make your way through slowly, triggering a spawn group, then dispatching them before making more show up. Head all the way across the area until you spot some stairs leading up, so take those and head back the other way to find more stairs.
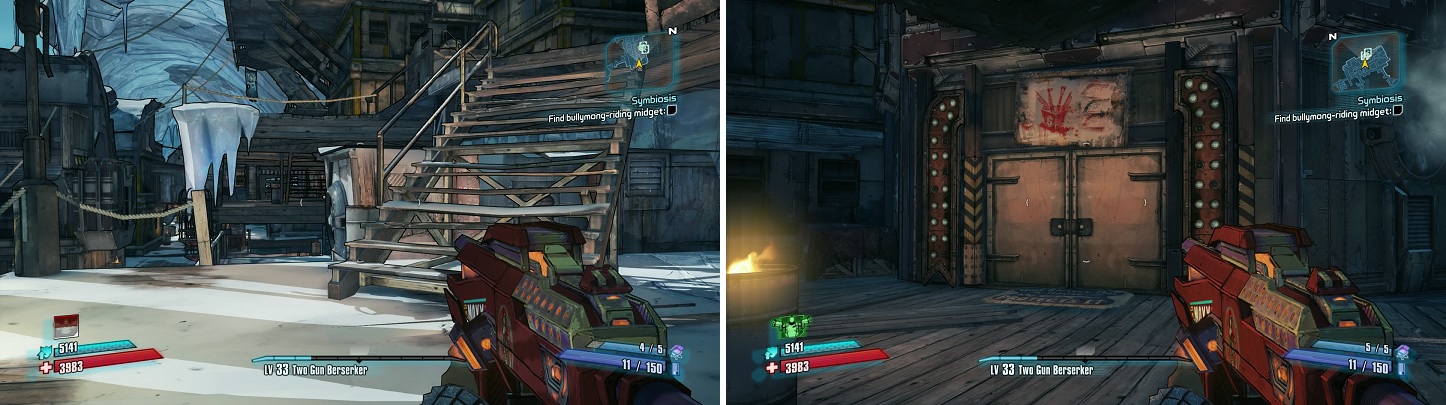
Just follow the stairs until you get to the double doors (right), which is where Midge-Mong will spawn.
Head up those stairs and find the ramp leading to the objective marker. Approach the door and they will fly open, revealing Midge-Mong, your target. They might be slightly stronger than normal and are two separate targets. Killing the midget first will leave the Bullymong behind, while doing the reverse will leave behind a Badass Midget. To complicate things, there are two Badass Marauders in the room that Midge-Mong came from, but if you’re lucky, you won’t catch their attention. Whichever you choose, kill both of them, then return to Hammerlock in Liar’s Berg to turn in the mission.
No Comments