
| Level | Rewards |
|---|---|
| 25 | 8574 XP, 4 Eridium |
Start off by fast travelling to The Dust and making your way to the travel point on the eastern side of the map, leading to Eridium Blight. You will encounter mostly Bedrock Bullymongs here (basically the Adult Bullymongs you encountered earlier) and a few patches of Loaders here and there. When you get to the bridge leading to the Info Stockade, it gets lifted up and becomes inaccessible.
Brick has a plan to get there, which pretty much involves blowing stuff up, so he says to go to Sawtooth Cauldron. When you arrive, Brick says that you will need to go through Guano Grotto to get to the explosives, so expect heavy resistance from the bandits in the area. Instead of going down the normal path, you can jump down to the objective marker near the entrance of Sawtooth Cauldron.
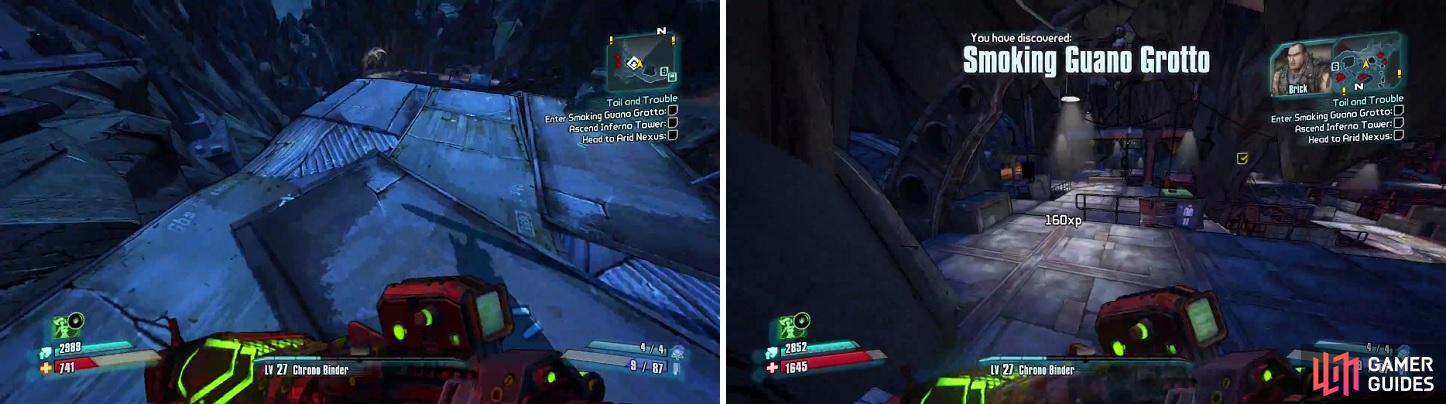
Jump off of this ledge (left) to land right outside of the entrance to Guano Grotto (right).
You should land right outside of Smoking Guano Grotto, although if you want more experience, then you can simply go the normal way. There are a lot of bandits here, so you want to make sure you go slow enough so that you don’t get overwhelmed. Try to use the elevator and it won’t work, but some enemies show up instead.
As the mission objective points out, you will need to kill four Ambush Commanders, who are nothing more than Nomad Taskmasters (Nomads with shields). There will be plenty of other enemies scurrying about, such as Marauders, Psychos, Goliaths and other Nomads. Once you’ve managed to take out the Ambush Commanders, Brick points out that the elevator isn’t working (thank you for that observation, Brick).
To coerce Mortar into riding the elevator down, you’re going to need destroy his prized Buzzard. To get to this area, you’re going to need to take the other entrance/exit for Guano Grotto, which puts you in an open area with a lot of water. Not only is there a bandit camp placed in the middle of this, but the water-soaked areas are homes to Threshers, a creature you might recognize from Bright Lights, Flying City.
Threshers like to burrow beneath the ground to avoid your bullets, then popping up and attacking before doing the same thing. The small eyes on their head are their critical hit points, and barring the specific Badass Pyre Thresher, the rest of them are weak to fire (which happens to be a weakness for bandits). Head into the bandit camp, minding the turrets, until you enter Cramfist’s Foundry.
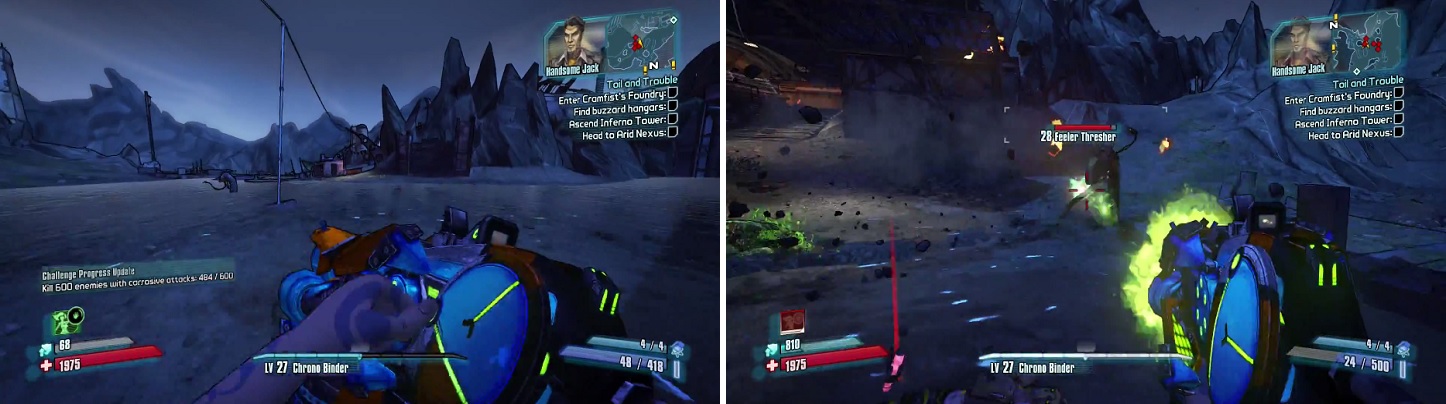
Threshers like to burrow underground and pop up to attack, before doing so again.
There will be some more turrets sitting on the roof near the switch, which you need to press to open the hangar, revealing Mortar’s prized Buzzard, Boombringer. It’s just sitting there in the open, not even moving, so why not just shoot and destroy it. Of course, this doesn’t sit too well with Mortar, so return to the elevator in Guano Grotto and he’ll make an appearance.
Whether you kill him or not is up to you, as it’s an optional objective, but he has a higher chance than normal mobs of dropping the Pandemic grenade mod. Take the elevator to the top and begin clearing out the enemies here, with a focus on the Buzzards, as Brick’s men can’t come in to steal the explosives with them in the air. You only need to destroy five of them, so once you do that, run around and mark the four crates so Brick’s men can grab them.
When they have finished, return to Eridium Blight and the bridge you couldn’t get across earlier. With those newly acquired explosives, Brick and his men blow it up and allow you to cross, granting access to Arid Nexus - Boneyard. As soon as you enter, you will be able to turn in the mission right there.


No Comments