
This is a guide for Chapter 3: The Shadows of Adrestia in Fire Emblem Warriors: Three Hopes.
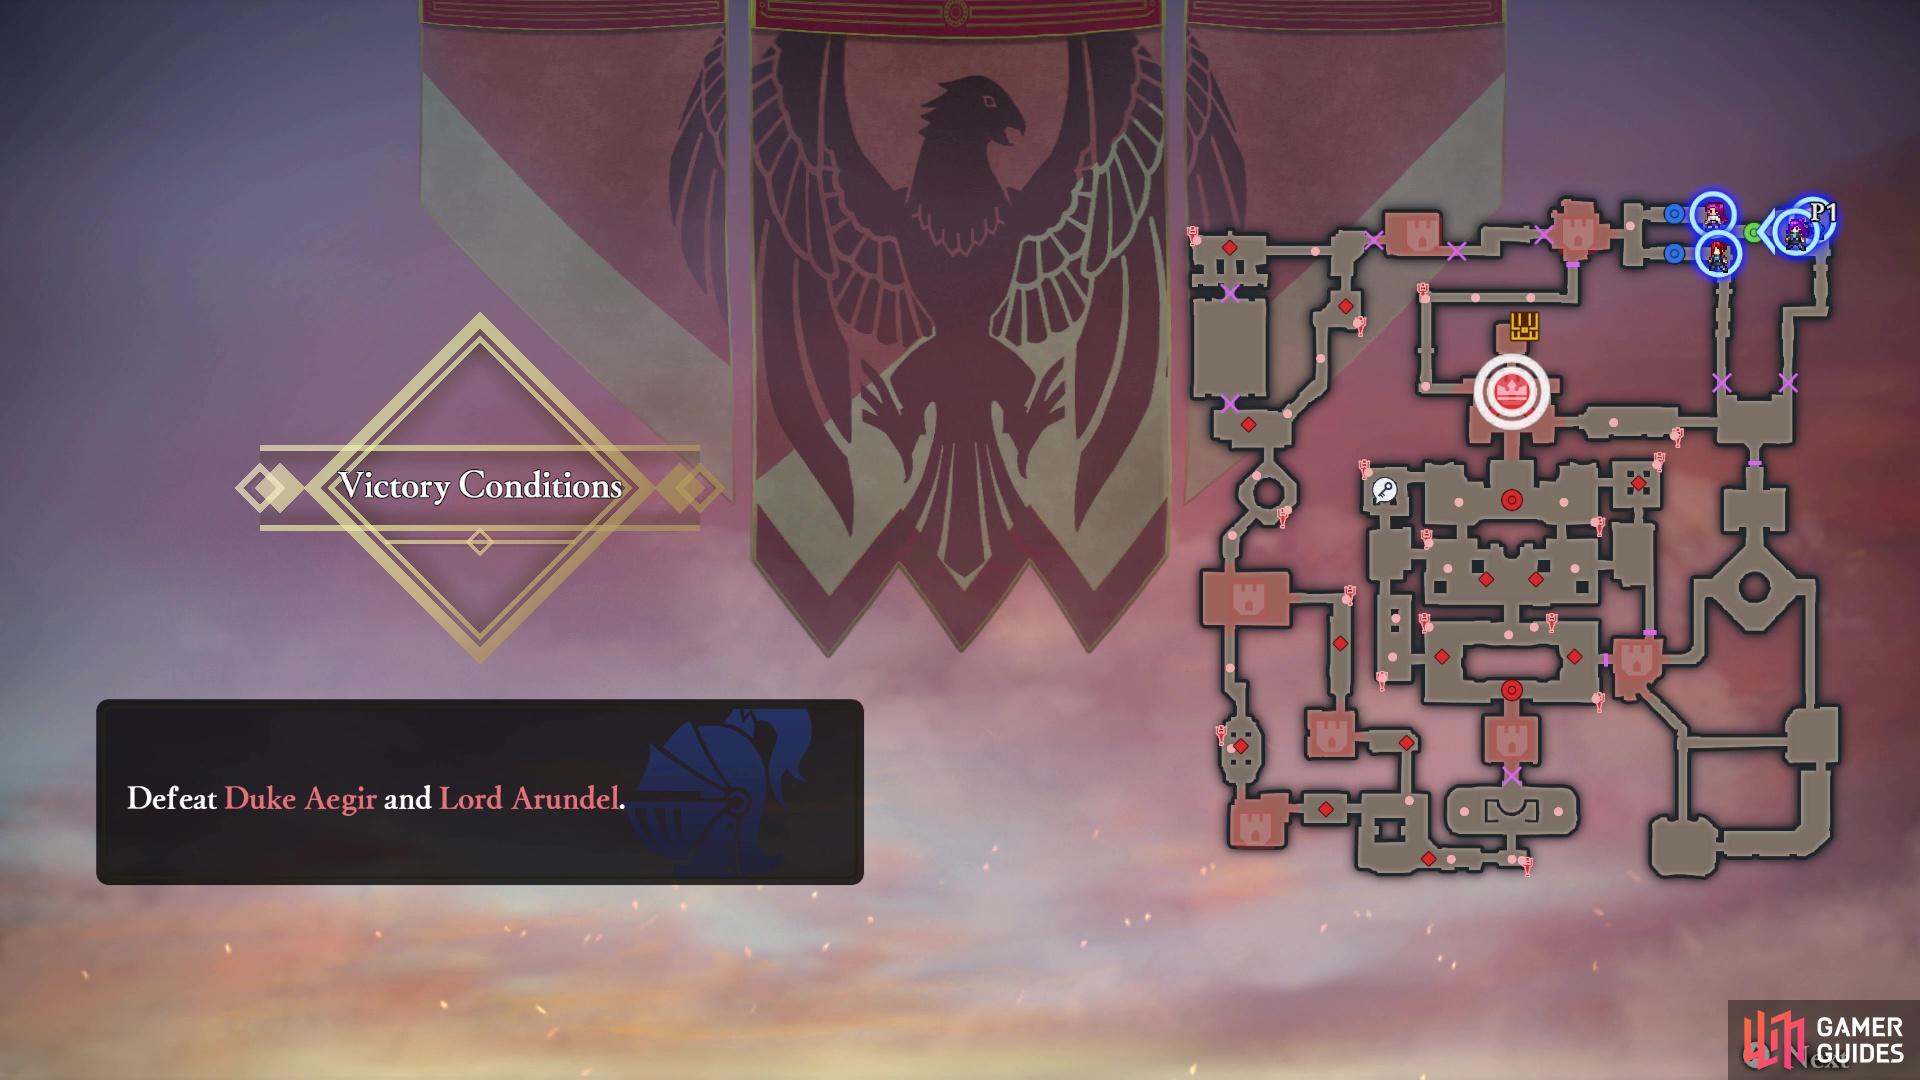
The battlefield for The Shadows of Adrestia
After a hectic first mission at the Officer’s Academy, your next task will be a secret mission commanded by Edelgard, to take down the puppet regime at Enbarr Palace.
Before the Fight
Prior to the battle, you can head around the camp and speak to your fellow students. Note that the ones you need to speak with are indicated by the scrolls on your map. You will get a choice of how to answer some of them, and picking the correct response will increase your Support rank with that character (see table below for the right answer). Once you’re done speaking to everyone, talk with Edelgard one more time to begin the mission.

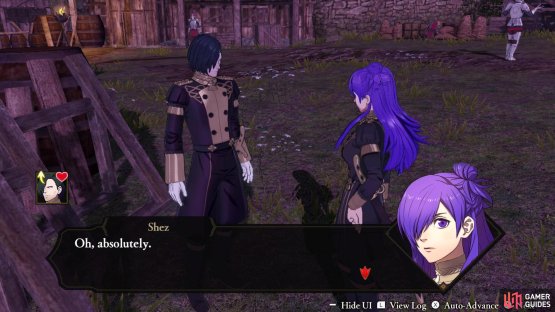
(1 of 2) You will be presented with a choice after speaking to some allies
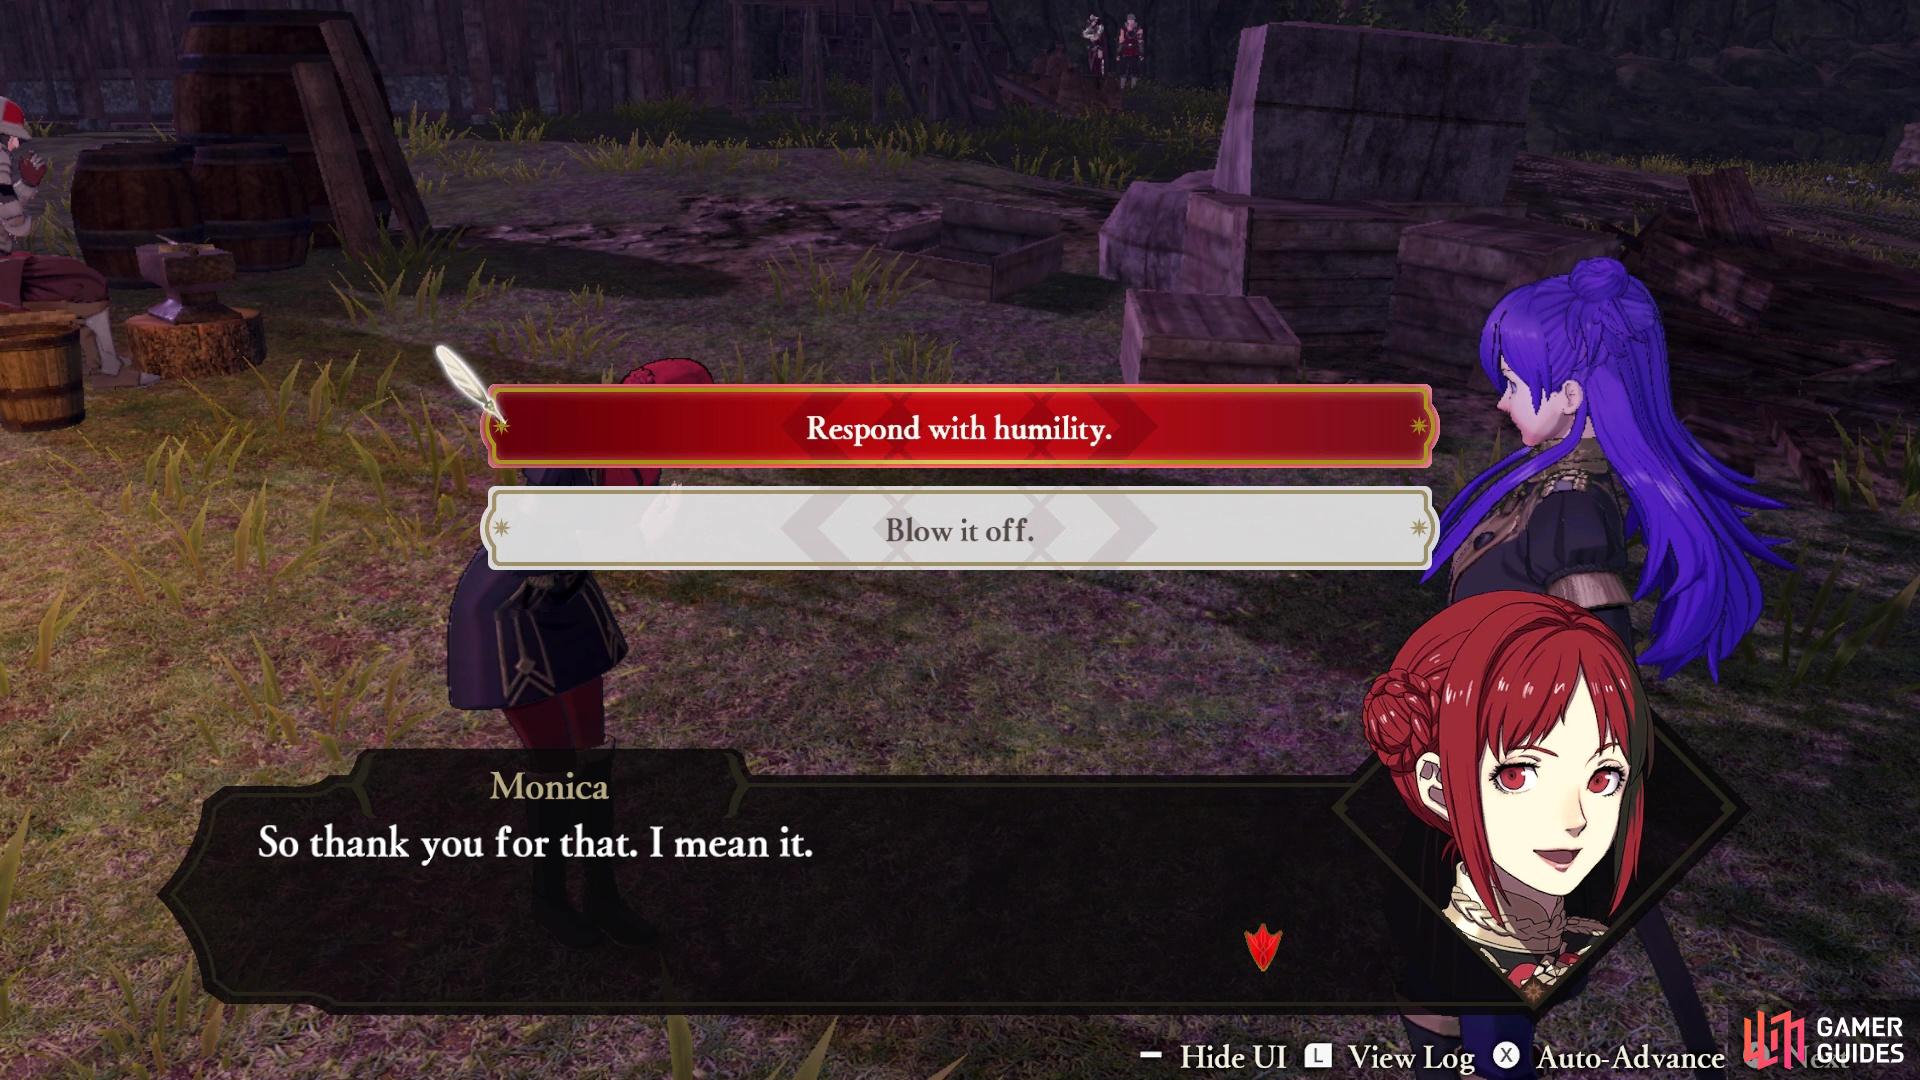

You will be presented with a choice after speaking to some allies (left), Choose the correct response to earn some support points (right)
| Character | Correct Response |
|---|---|
| Edelgard | Respond obediently. |
| Monica | Respond with humility. |
| Petra | Tell her you’ll fight just as hard. |
| Hubert | Nod despite having no idea what he means. |
| Jeritza | Ask if he’s working for someone outside the church. |
How to S Rank Chapter 3: The Shadows of Adrestia
| Completion Time | Enemies Defeated | Damage Taken |
|---|---|---|
| 13:00 | 1,000 | 40% |
The S Rank for Chapter 3: The Shadows of Adrestia is pretty straightforward, although the time is probably the biggest factor here in preventing it. There are four main objectives in the battle and only the third one will probably take up the most time, since you normally have to go after three different enemies. The best thing to do here is use Orders to instruct your allies to go after two of them, while you strike down the third one. You will also want to quickly take out the Fire Orbs, as they can cause a lot of damage.
Battle Preparations
At the battle preparations screen, there are a few things you can do. First, you can re-position your characters with  . This can be important for bigger maps, especially when the starting placements can be separated by a vast distance.
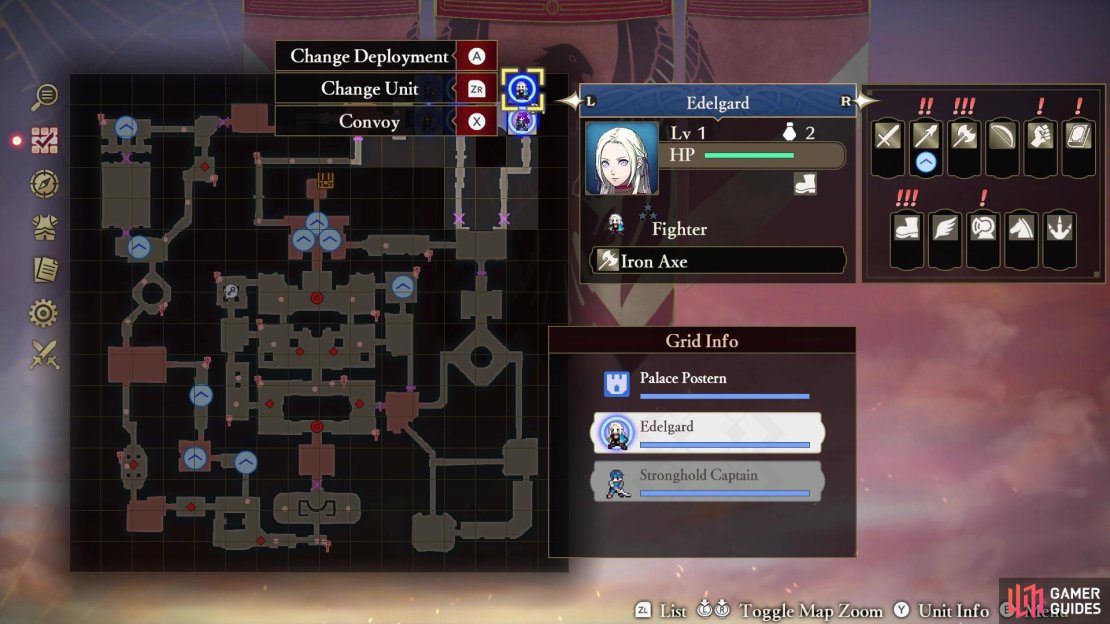

(1 of 3) You can move your units around when preparing for battle
Next, pressing  will let you swap in/out characters from your Roster. At the moment, all the characters from your Roster are already on the field. However, you can also use this to swap characters between controllable deployment spots (circle icon and dark blue grid) and non-controllable ones (diamond icon and light blue grid).
We suggest sticking to the default selection of controllable characters. You’ll want to look at your characters’ advantages and disadvantages for the enemies on the field, then choose accordingly. If you really want to, you can access the Convoy and change a character’s class to Mercenary (sword), Soldier (lance), Fighter (axe, bow or gauntlet) or Monk (tome). It’s best to stick with the default classes for now.
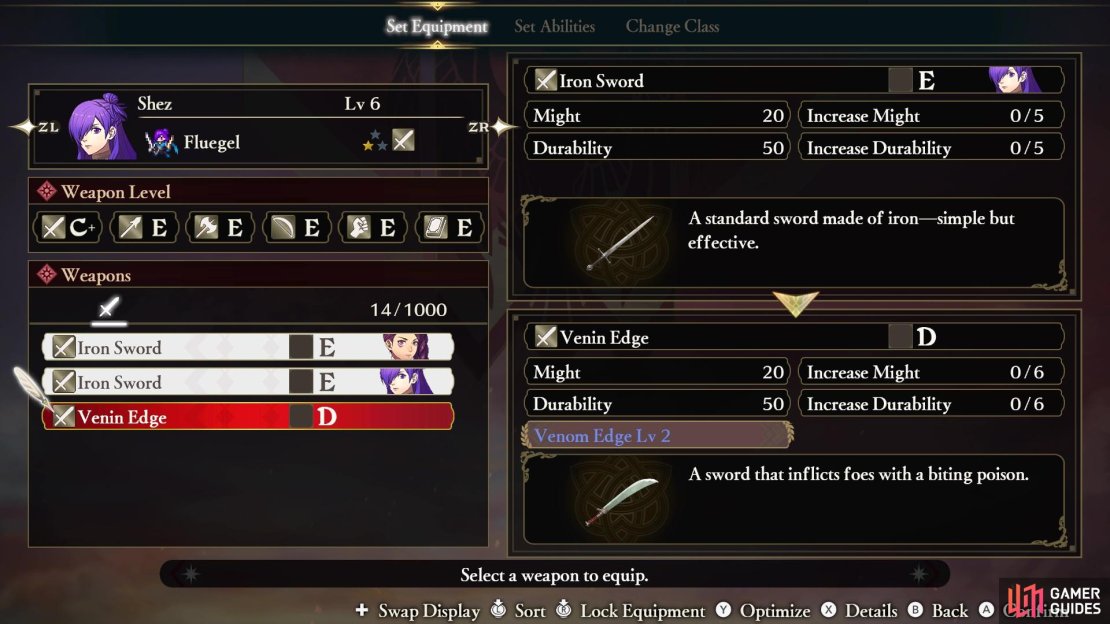
Finally, speaking of the Convoy, you received a Venin Edge from the previous fight. Select “Convoy” from the menu, choose a sword user (probably Shez) and give them this sword via the “Set Equipment” tab.
Mission 1: Advance on the Throne Room
You will begin the battle in the upper right corner of the map, with your first goal being to advance on the Throne Room. This is located to the southwest of your beginning position, and the paths to the south are blocked for now, so you only really have a single way to reach the Throne Room. Head west at the beginning, to the Material Storehouse, which is the first stronghold you come to on the map. Take out the Stronghold Captain here to seize it, opening the doors that lead south. The rest of the way to the Throne Room should be uneventful, with the main mission ending upon reaching it.
Mission 2: Pursue/Defeat Duke Aegir

(1 of 2) The path that the game wants you to take to reach Duke Aegir
The path that the game wants you to take to reach Duke Aegir (left), Magical characters will make short work of Armored foes (right)
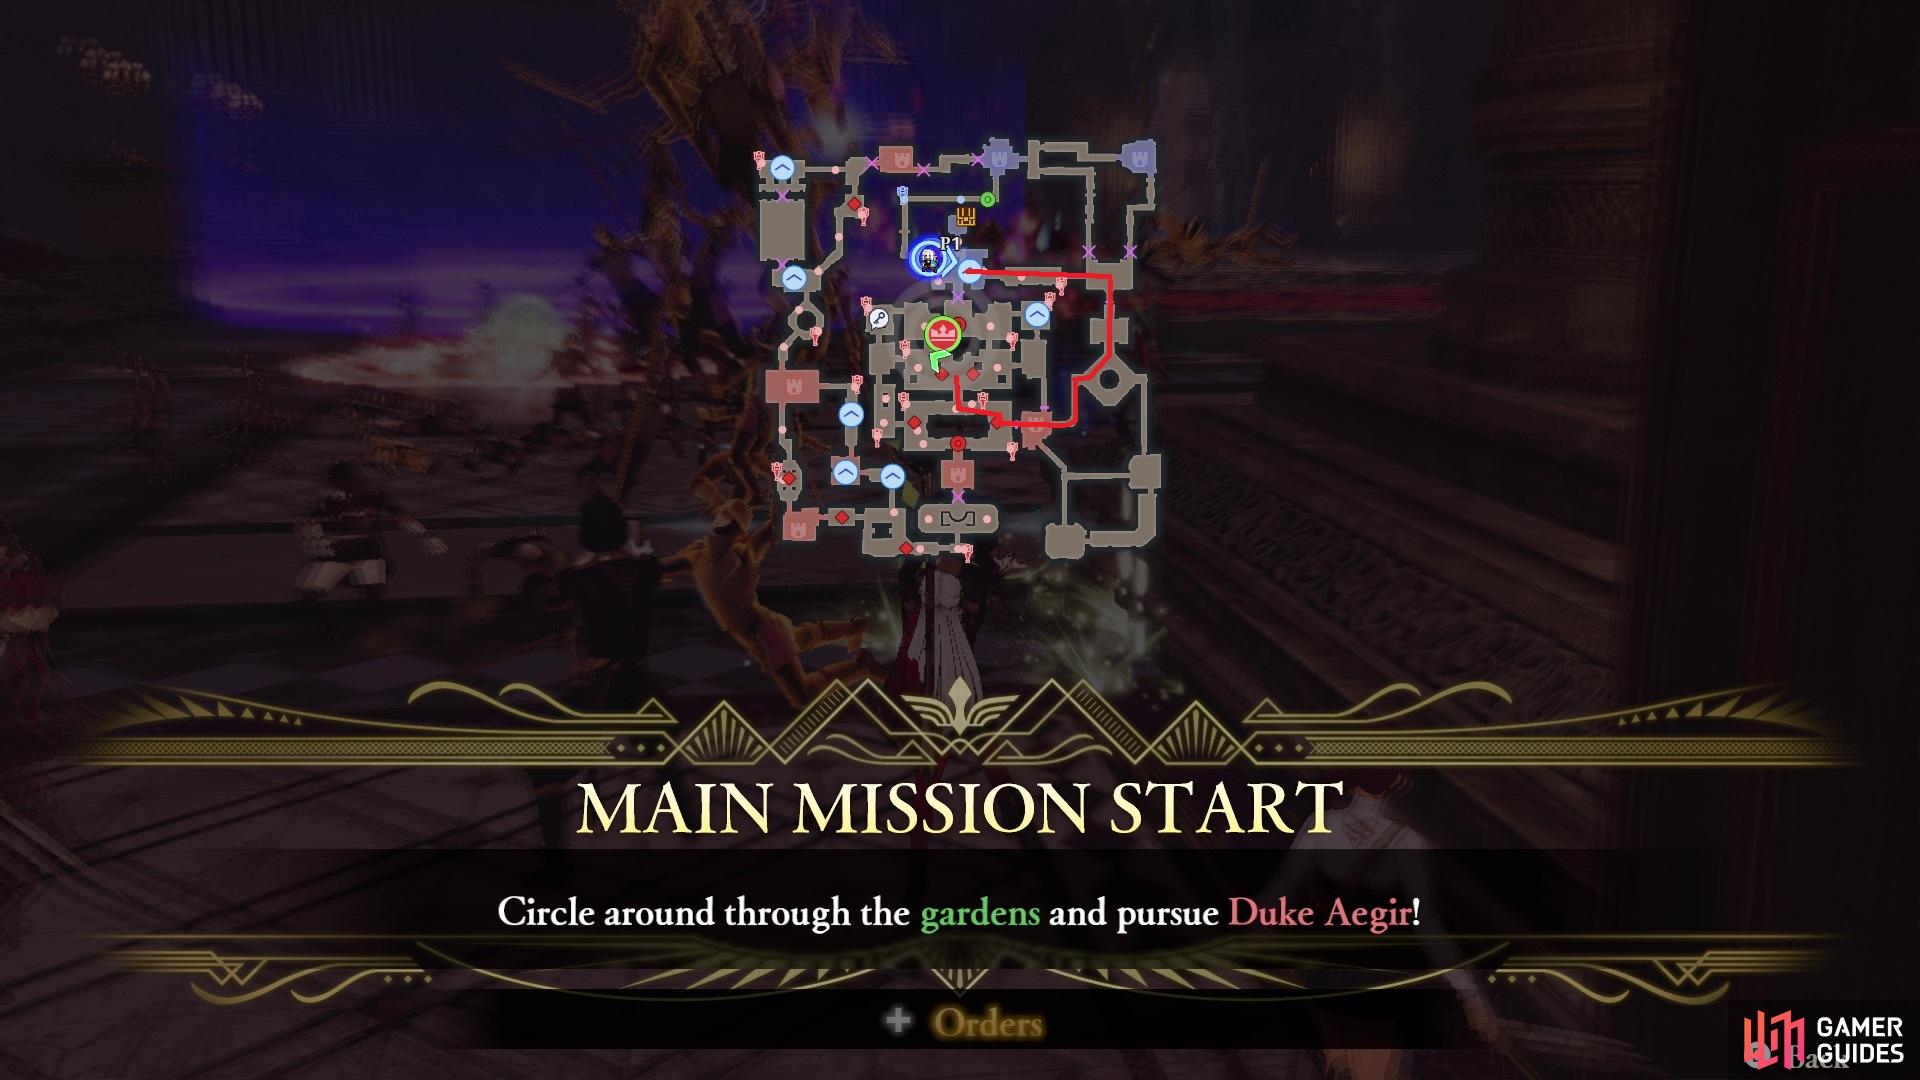
When you reach the Throne Room, Duke Aegir will run around and lock the main gate behind him, so you will need to find a roundabout way to get to him. If you leave the graphic of the main mission order on your screen, you should see a green arrow pointing out the path you need to follow. Basically, you will be going east, then south through the gardens, and west to the southern gate that leads into the middle of the map.
It is at this time you will probably see some tutorials pop up on your screen, some related to the characters themselves, since each character will have different properties to their weapons/abilities, as well as one on Physical and Magic Attacks. Basically, you have two different types of attacks in the game, Physical and Magic. All of the weapon types, sans Tomes, are physical in nature, while Tomes use your Magic stat as the main source of damage.
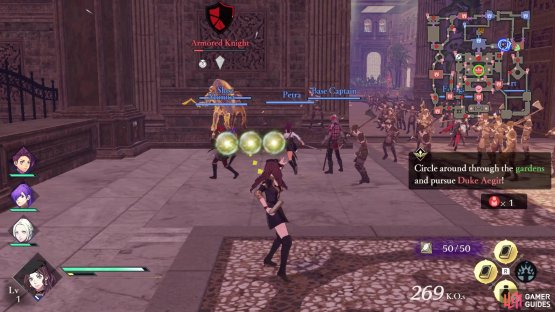
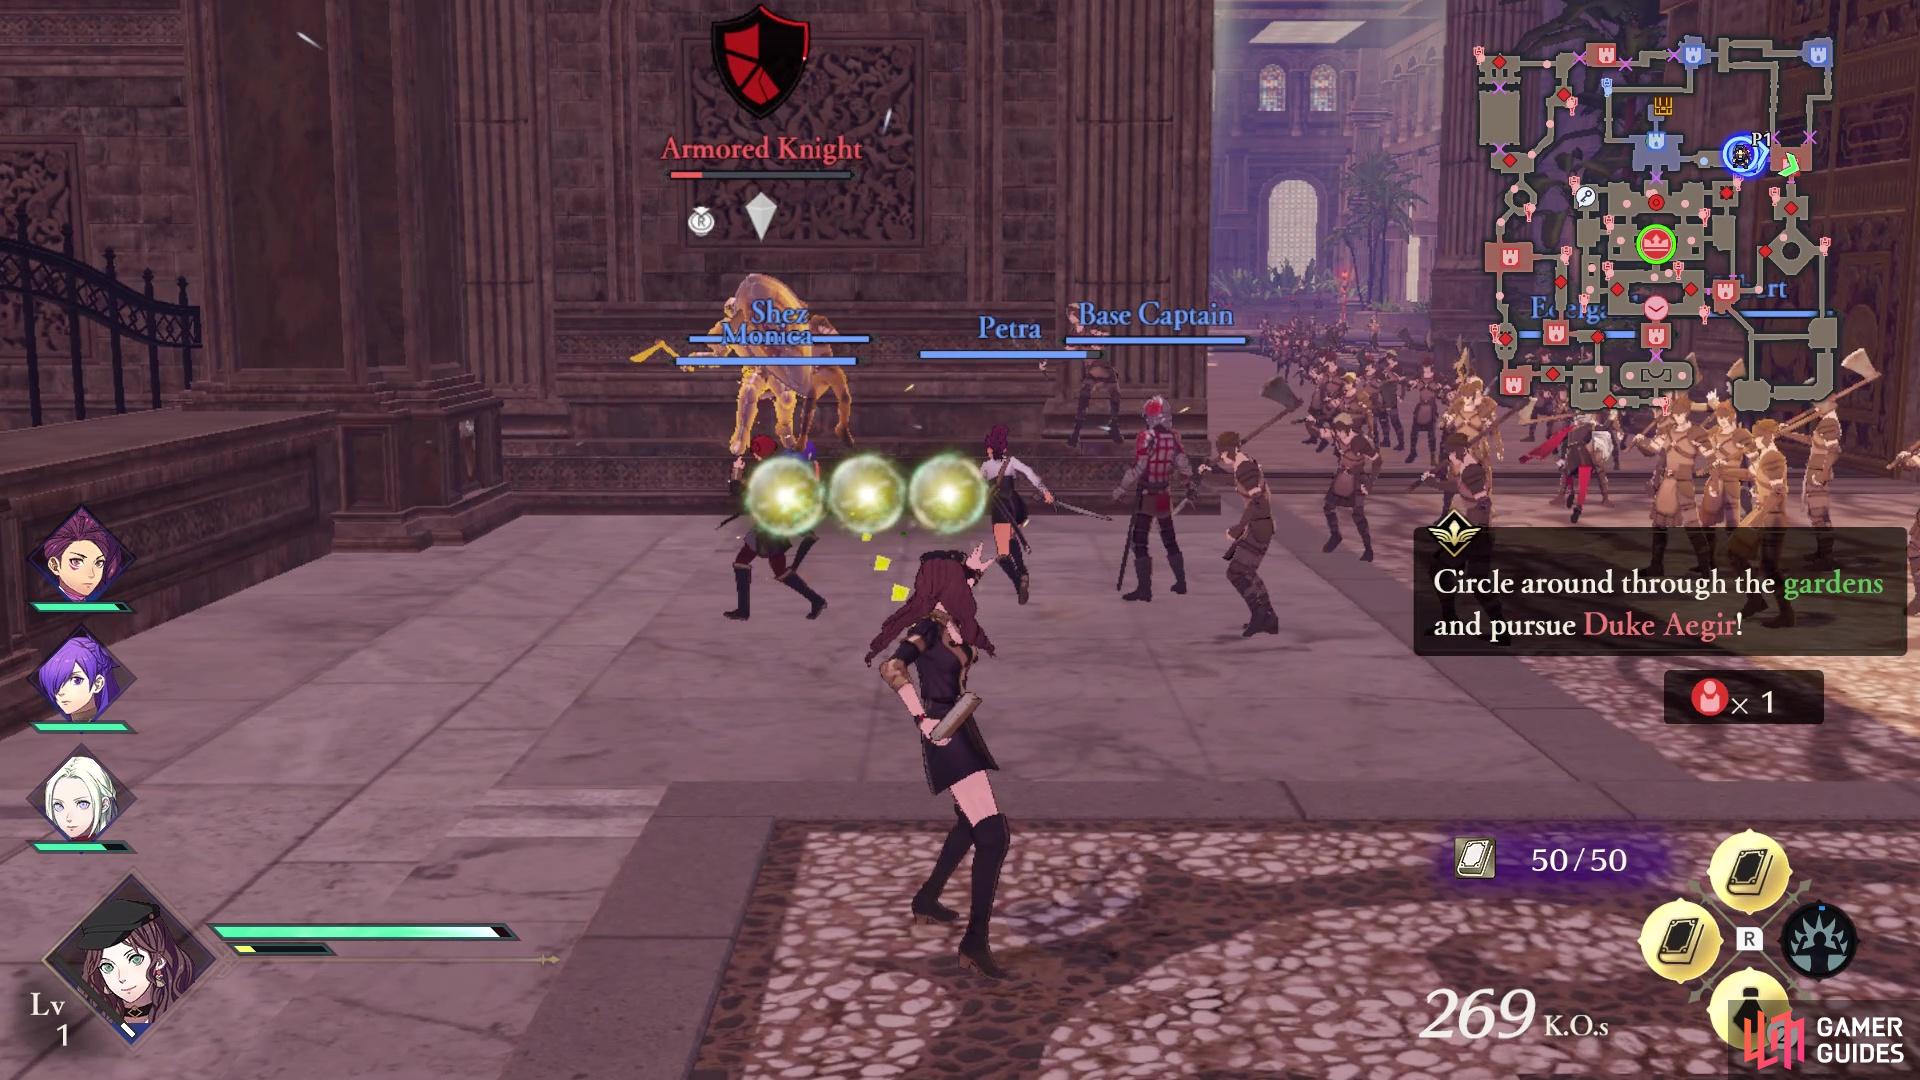
The reason this was brought up is because as you begin moving on the path to Duke Aegir, you will encounter an Armored Knight. To make things a little easier on yourself, switch over to one of your characters that is using a Tome, as they can chuck magic at the Armored Knight. As you continue along, you will witness the arrival of two allies, who will block the escape of Aegir. The main mission will change at this point, as you will need to defeat and capture Aegir now. As you go to attack Duke Aegir, he will activate some fire orbs, starting a side mission.
Side Mission: Seize the Strongholds to Stop the Fire Orbs
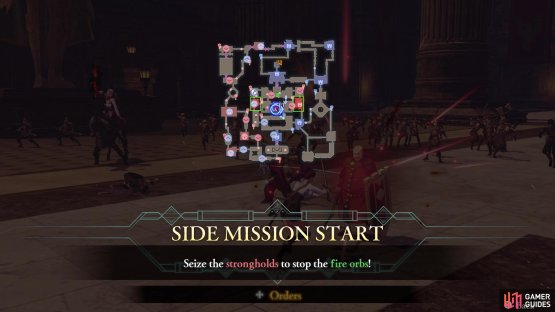

(1 of 2) The Fire Orbs will be to the sides of the area with Aegir
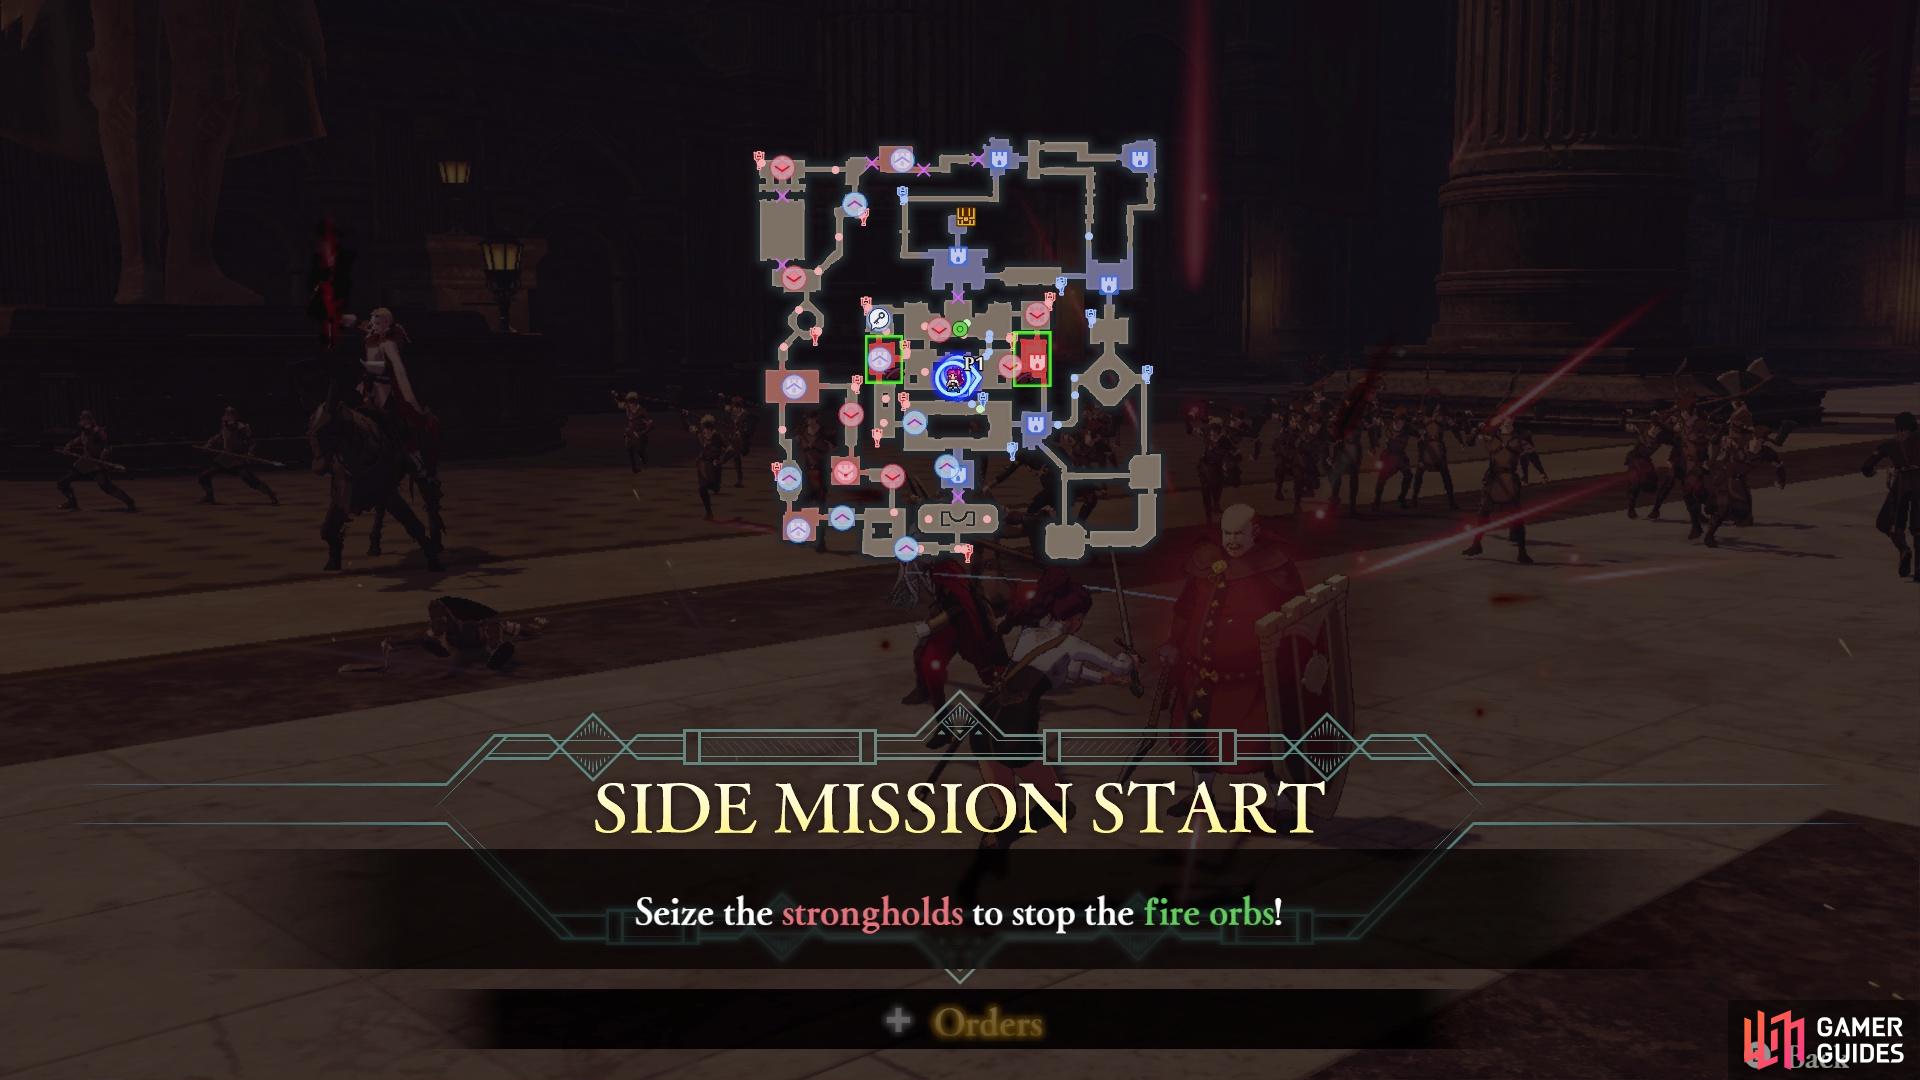

The Fire Orbs will be to the sides of the area with Aegir (left), It’s best to go after them right away, as they do big damage to your characters (right)
There will be two little areas to the sides of where you’re supposed to fight Aegir, which will be shooting fireballs at you. The fireballs have a big sign where they will hit the ground, but they hurt quite a bit, so it’s best to head straight for the two strongholds to get rid of them, as soon as possible. It’s simply a matter of taking out the Stronghold Captain in each area to stop the Fire Orbs. Once you do that, you can move on to defeating Duke Aegir.
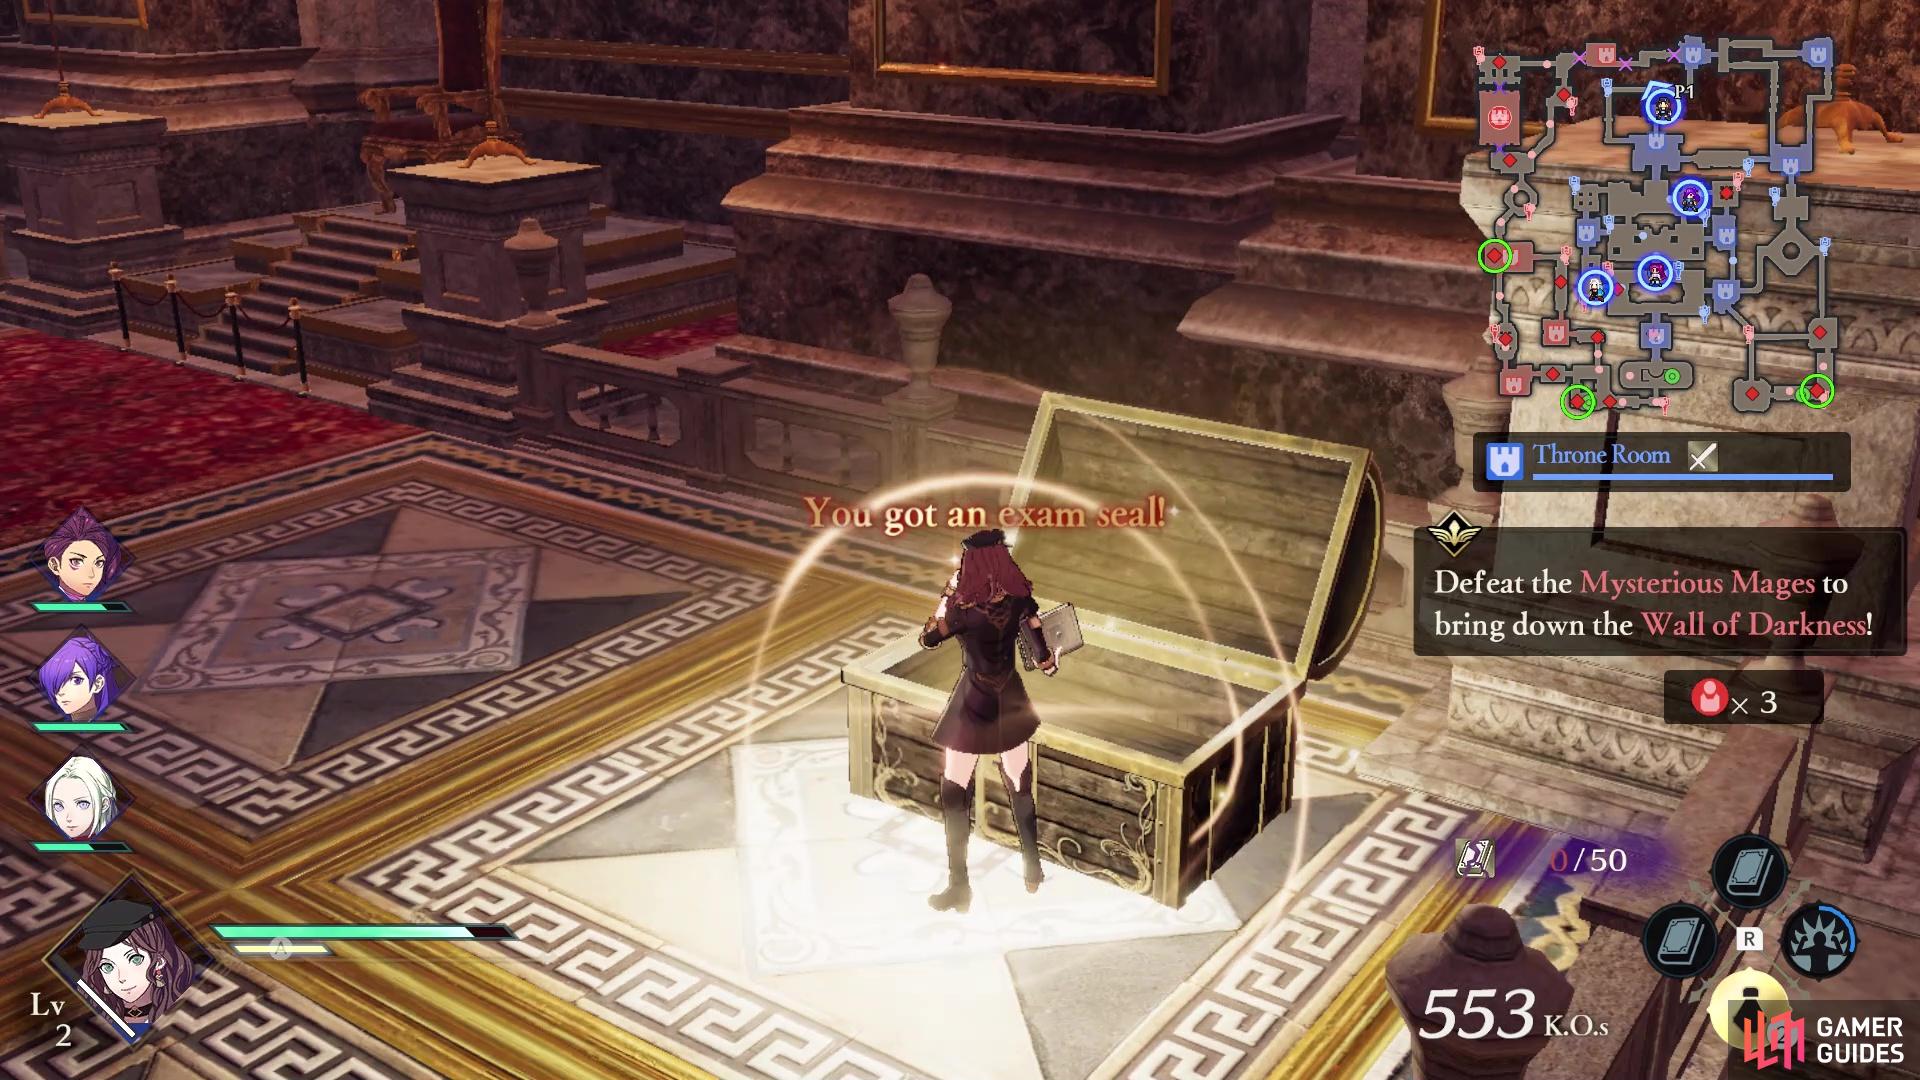
While not officially a side mission or anything, just north of the western Fire Orb stronghold, you should be able to notice a key icon on your map. This is the NPC that is holding the key for the chest on the map. If you don’t have someone who can open the chest without the key, go ahead and defeat the Fighter to obtain the key, then unlock the chest. The chest is located on the northern end of the Throne Room, and will contain an Exam Seal (Intermediate). These are needed to unlock Classes for characters, once you have unlocked that option a little later in the game.

(1 of 2) The location of the officer with the key

The location of the officer with the key (left), The chest will yield an item needed to promote a character’s class (right)
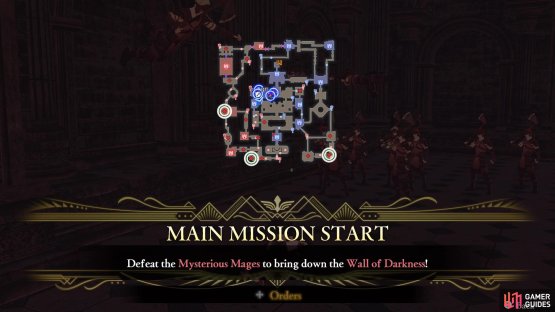
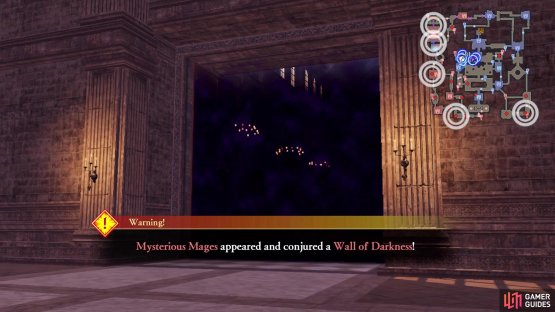
Mission 3: Defeat the Mysterious Mages to bring down the Wall of Darkness
After defeating Duke Aegir, Lord Arundel will show up and bring forth his wild card. Some mysterious mages will appear on the battlefield, causing a wall of darkness to appear around where Lord Arundel is located. There are three Mysterious Mages to be found and struck down. One is in the bottom right corner, another towards the bottom left corner, and the third will be on the western end. Since you have three mages to go after, now is a good time to issue orders to your other characters to go after them. Send them after two of them (or other officers), then head after the third one yourself.
Ideally, you should head towards the western one yourself, since that will place you close enough to head after Arundel once the other mages has been defeated. They may be a little more challenging than the normal officers, but they aren’t that much more difficult.
(1 of 2) The location of the three Mysterious Mages
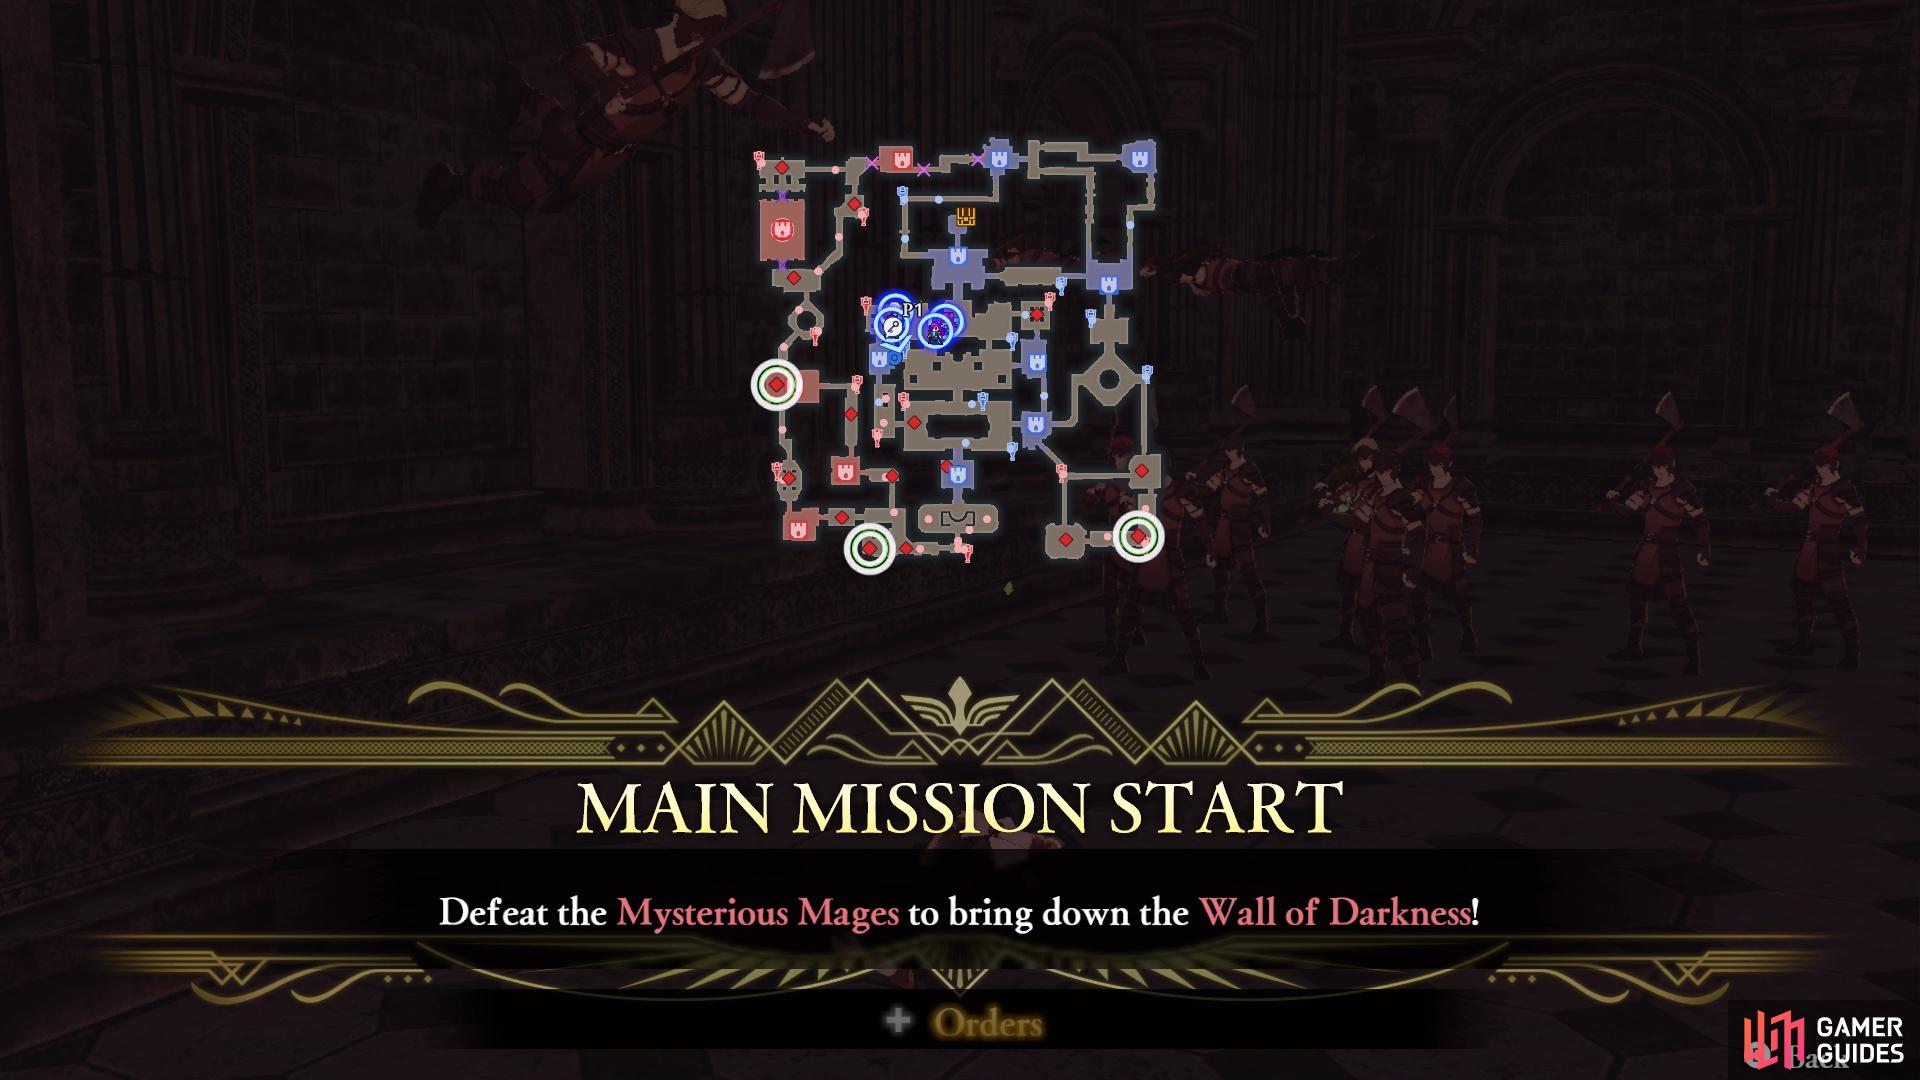

The location of the three Mysterious Mages (left), The Wall of Darkness will shut you off from reaching Arundel (right)
Side Mission: Seize all the Strongholds
Upon defeating the final Mysterious Mage, you will receive a side mission to seize all of the remaining strongholds on the map. How many you have left will depend on what you did while fighting through the map, so you simply need to go to the ones highlighted and defeat the officer there. Don’t forget that you can send your fellow allies to these strongholds to make it easier on you, so you don’t need to run around to do it yourself.
Mission 4: Defeat Lord Arundel
The only thing left now is to go after Lord Arundel, who should be close to the northwestern corner of the map. He shouldn’t really be any more difficult than the usual officer at this point, so just keep striking him until he goes down. Once he has been defeated, that will be the end of the battle.
No Comments