
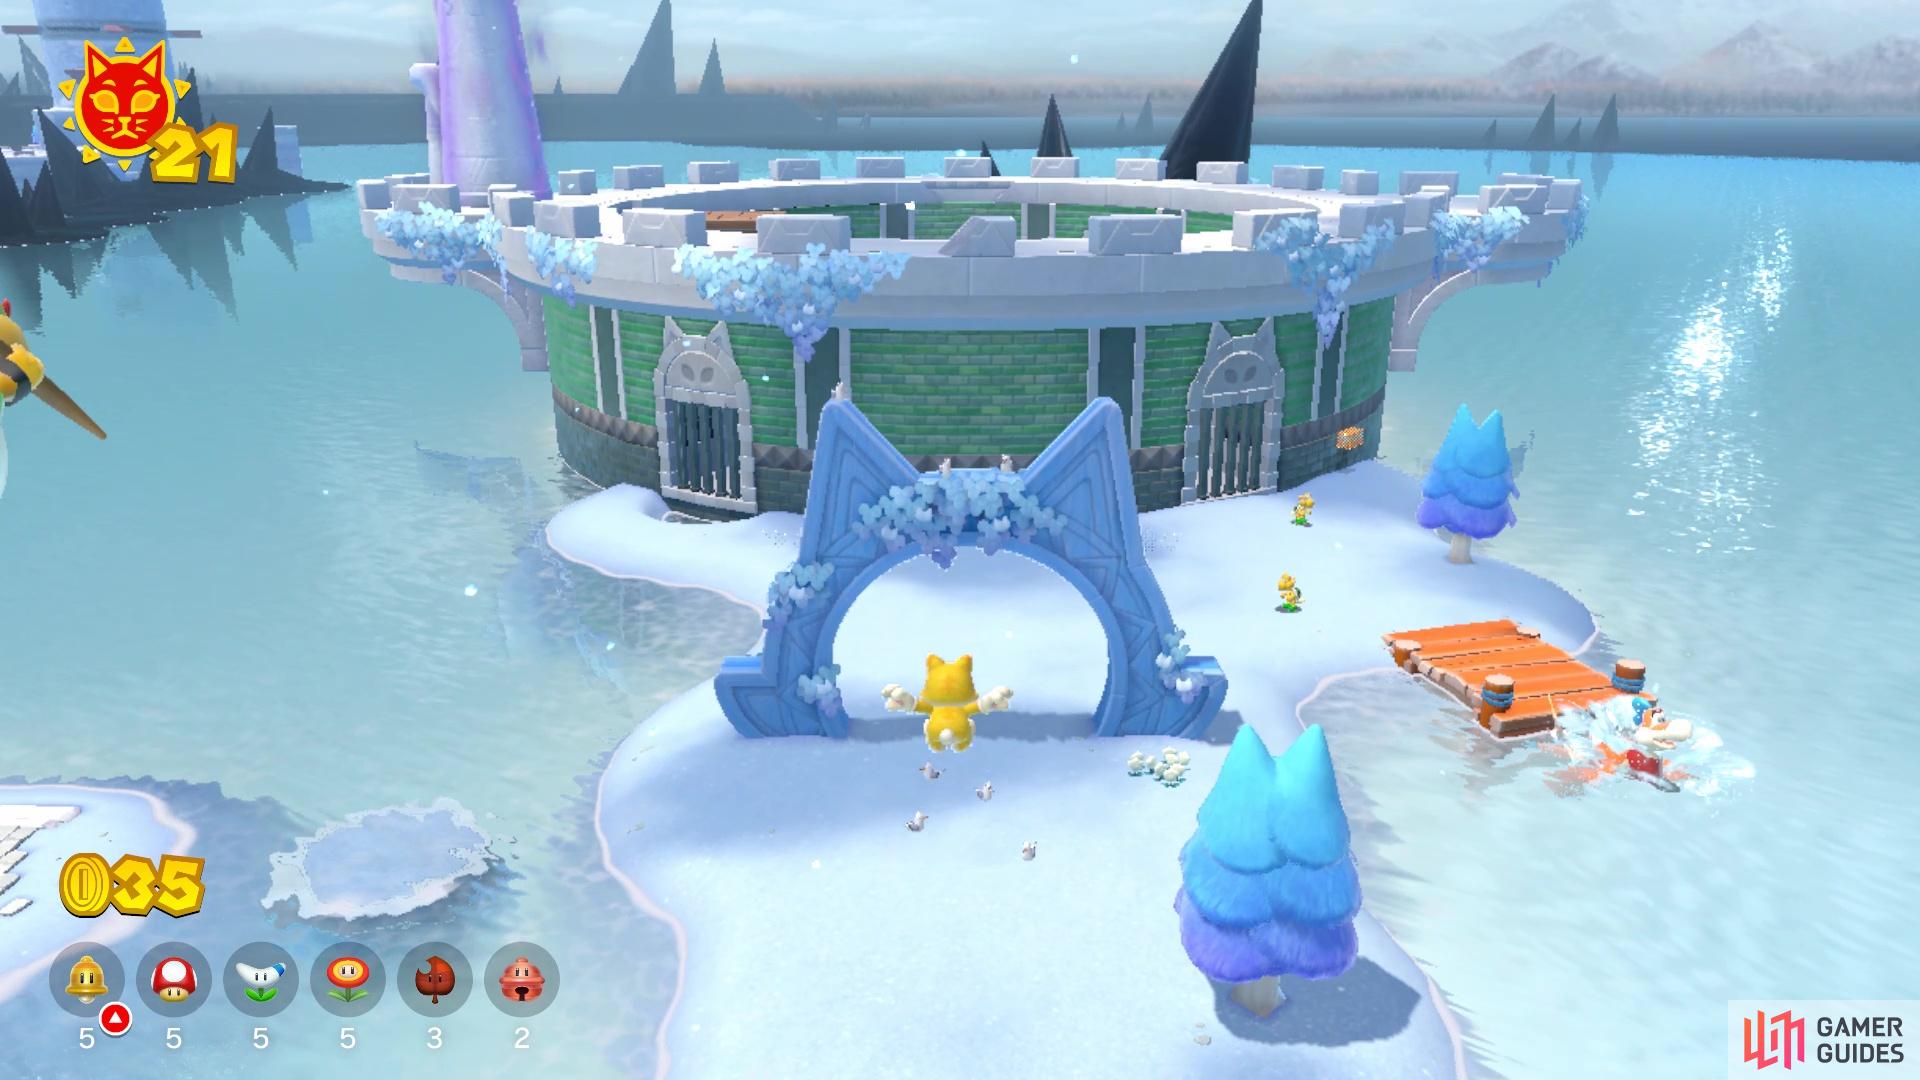
If you’ve already done Slipskate Slope, then you will be near this island. From the end of the former, simply jump off and north of there will be the Ruins Giga Bell, and north of the bell will be the entrance to Clawswipe Colosseum. There’s not much to this island, at least in terms of gimmicks, although you will need the Super Bell power-up at some point. The main portion of island is mini-boss fights, which will happen inside the colosseum, although the entrance will keep changing.
Clash with Cat Boom Boom Cat Shine
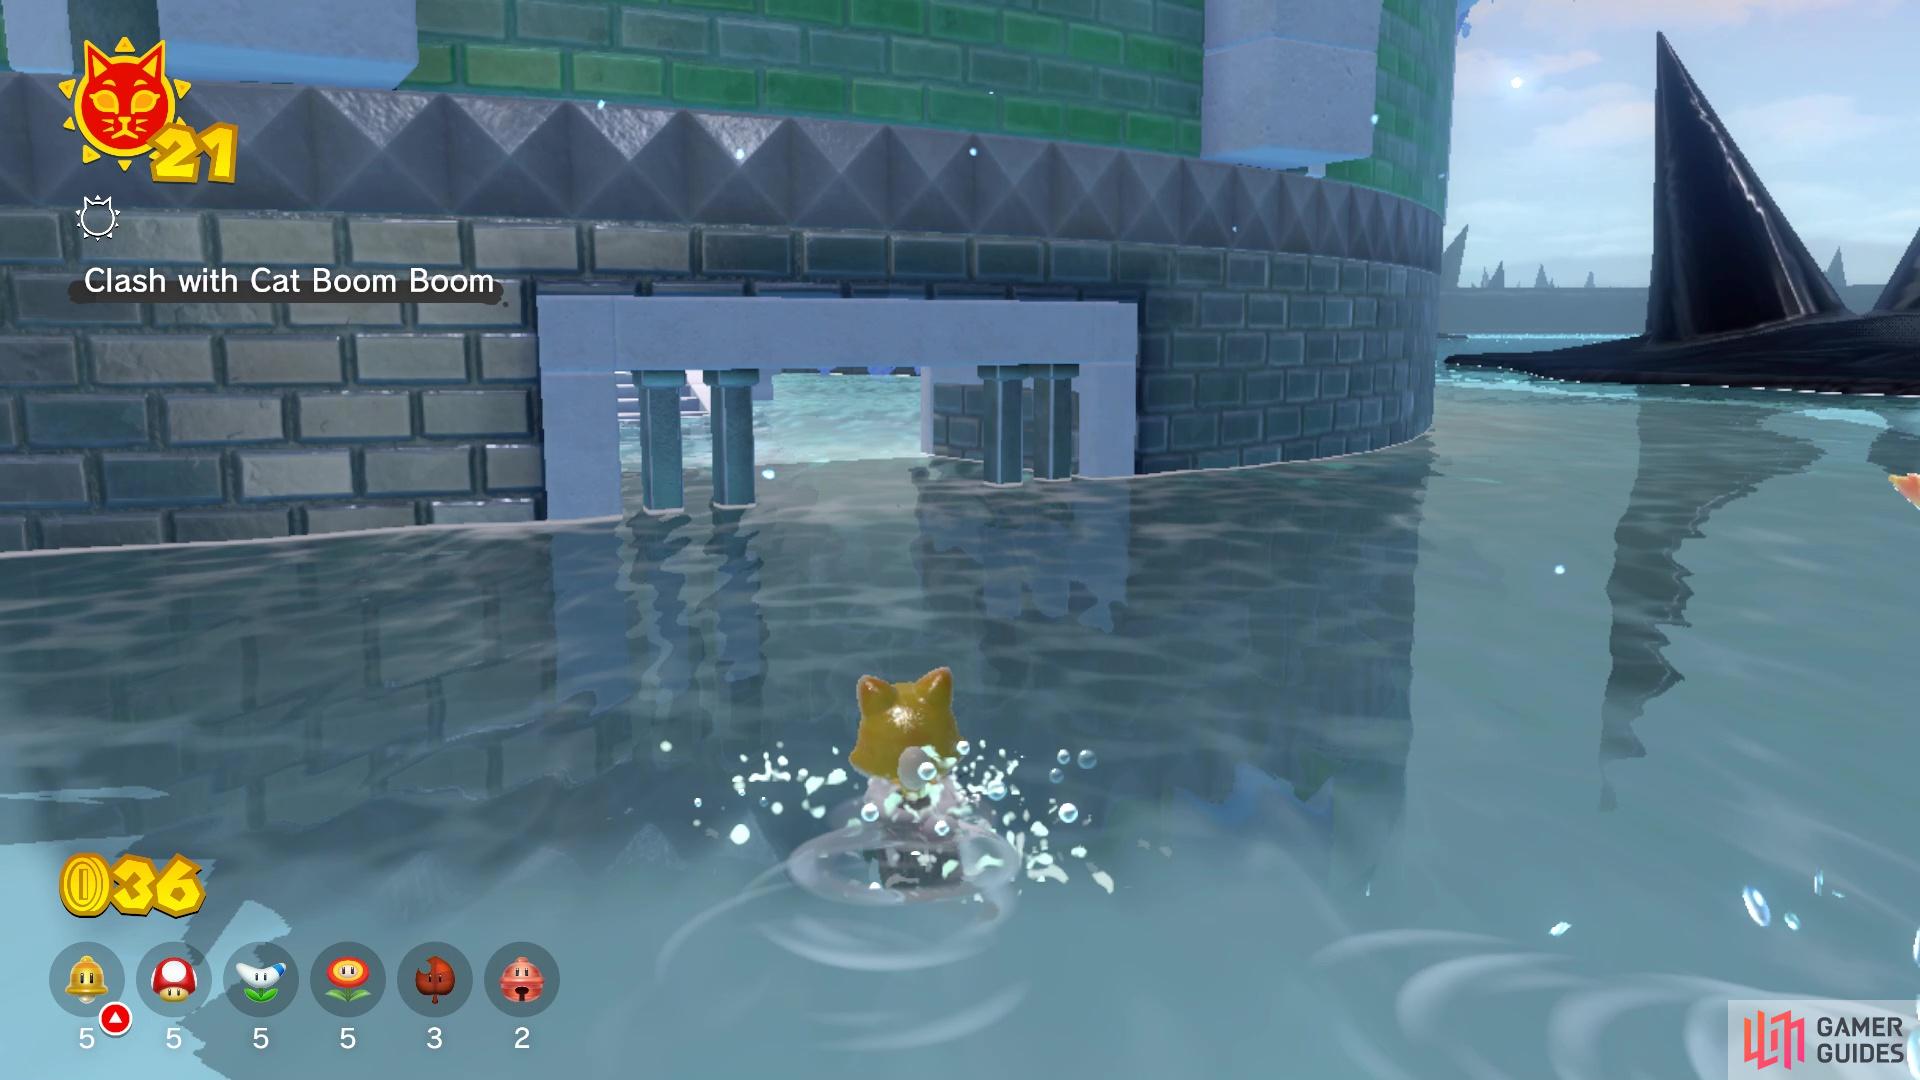
Upon reaching Clawswipe Colosseum, you see that there isn’t an actual entrance, so you will need to find a way inside. After passing through the gate and staring at the front of the building, go to the right and you should see a hole in the grating just underwater. So, swim through that hole and into the colosseum, where the arena will be right in front of you. As soon as you step foot on the arena, a barrier will be erected, blocking you inside of it. Boom Boom will be your opponent and if you’ve played Mario 3D World, then you know what to expect of him.
Boom Boom will start the battle by sticking his arms outward and spinning around. You can either wait for him to get dizzy and stop, or you can simply jump on his head while he’s spinning. After hitting him, he will retreat into his shell and bounce around the arena; you can’t do anything while he’s in his shell, other than avoid him. After the first hit, he will spin around again, but turn slightly invisible. He will do this after the second hit, too, even when he retreats into his shell. It’s rather easy to see where he is located, though, due to the fact he’s not completely invisible. When you deal the third hit, he will be finished and the Cat Shine will spawn.
Cat Pom Pom’s Counterattack Cat Shine
Upon going to the Giga Bell and back, you might notice that the Colosseum is taller, as it actually is. That means the entrance from the previous Shine is inaccessible as it was, so you will need to find a new way inside. At the front of the colosseum, you will see a larger question mark block and hitting him will cause another block to extend from it. If you perform a Ground Pound on it, then the blocks will fully extend in one go, making it much easier to do things with them. This block in front will lead to another question block that produces coins.
To get inside the actual building, head around the right side and you should eventually run into some ledges, one of which has one of those extendable question mark boxes. This will lead to more of them, then the open window from the previous Shine. Head to the arena for the second miniboss fight, this time against Pom Pom. She can be a little annoying, but she is definitely the easier of the two. Pom Pom will split up at the beginning of the battle, with two clones appearing alongside the real one. They will all throw a shuriken at Mario, which is easy enough to dodge.
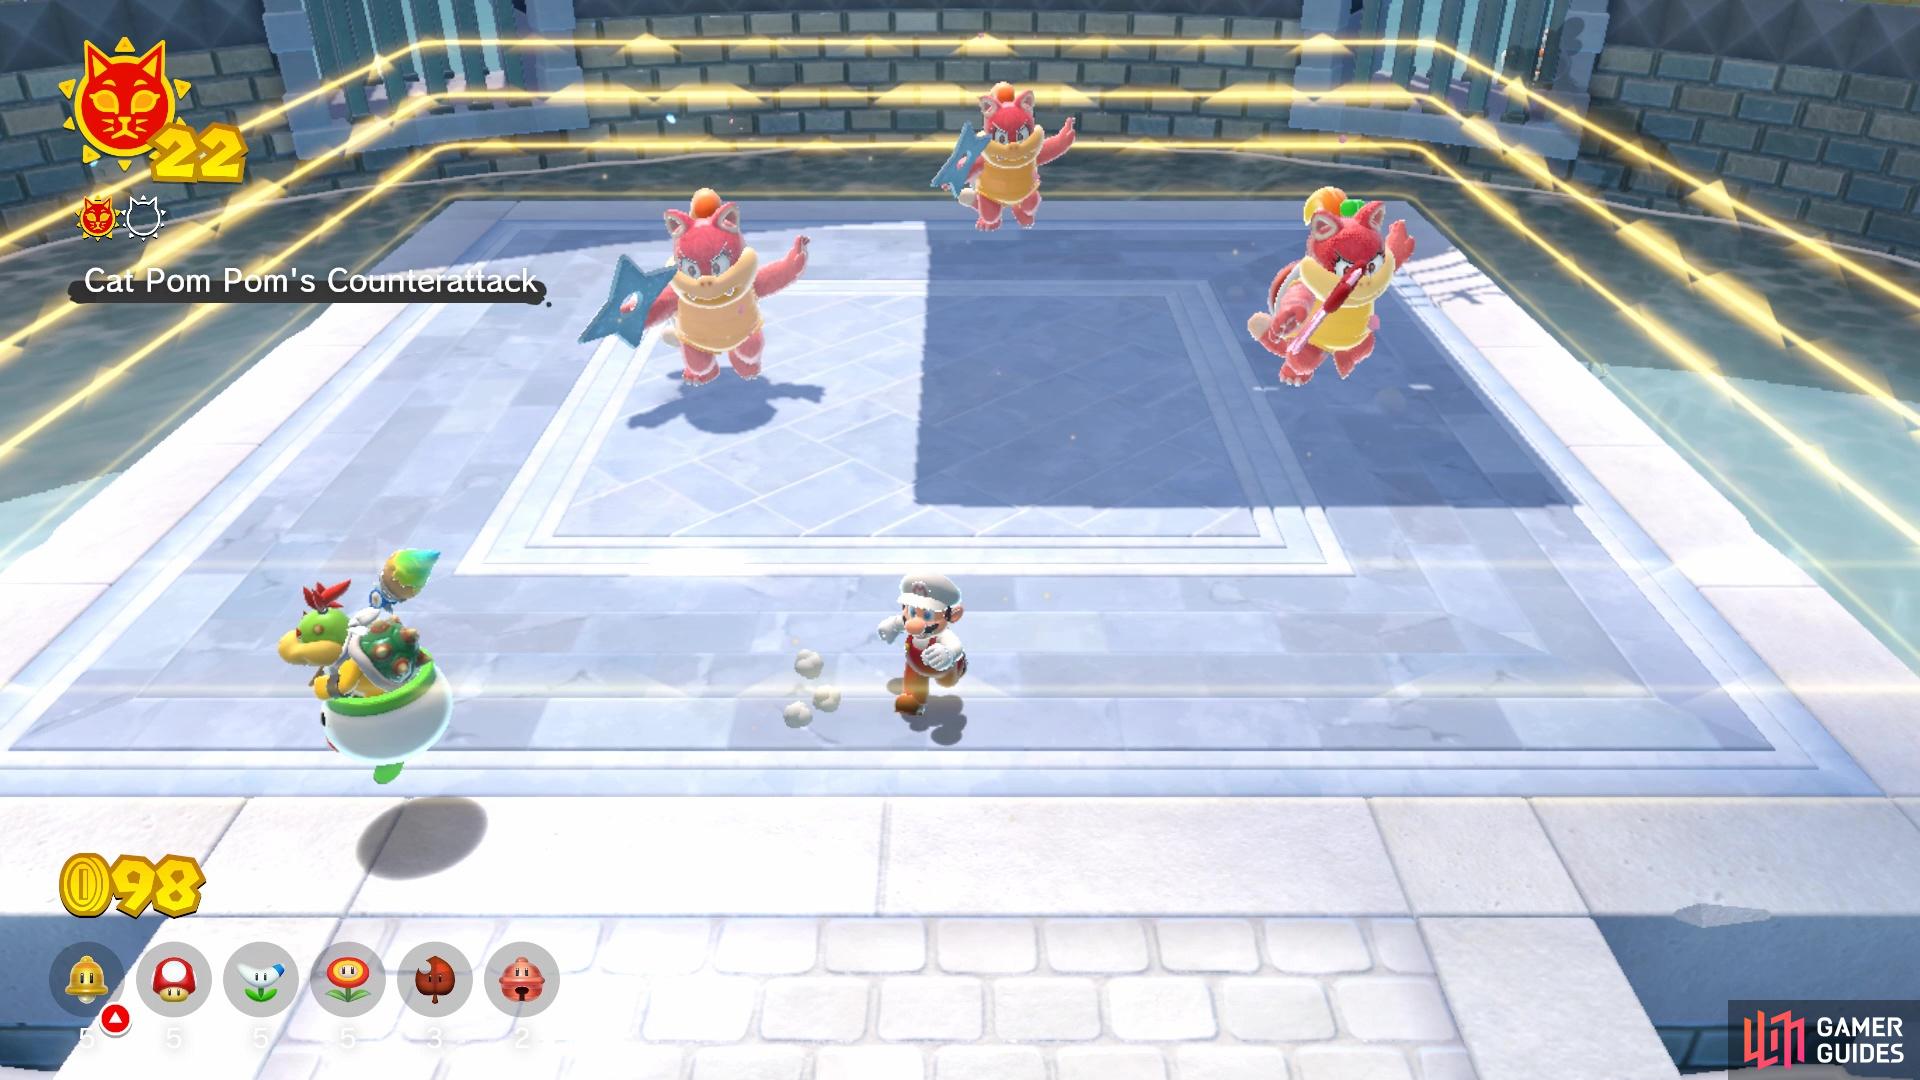
Pom Pom is more vibrant in color compared to her clones
You can also see that her shuriken is actually in color and not gray
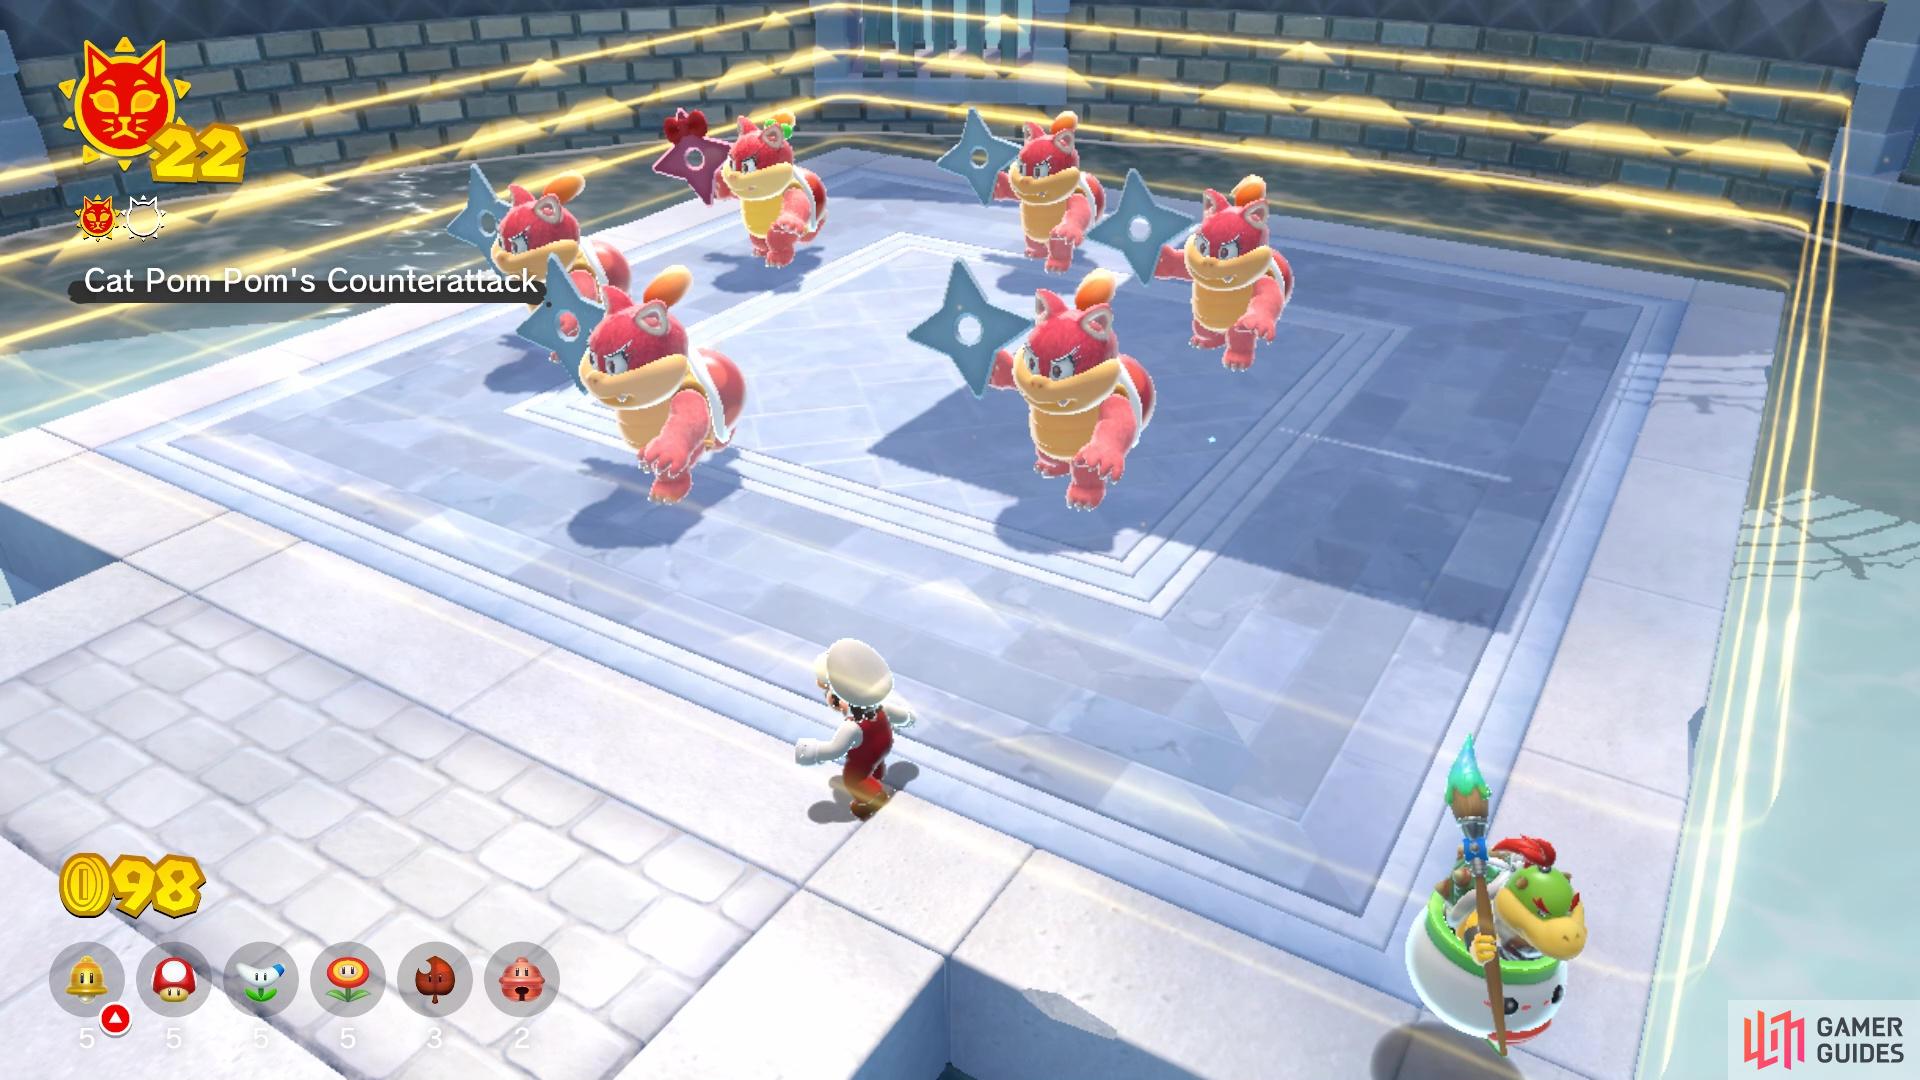
You simply need to jump on Pom Pom’s head to damage her. The second and third phases are the same as the first, except she will add more clones. You can tell the difference between the clones and her, since the real one will be a little more vibrant than the clones, plus her shuriken is the only one that’s a different color. This can be a little more difficult to see if Fury Bowser is present, but you will receive the Cat Shine.
Final Bout with Cat Boom Boom Cat Shine
On the third trip to Clawswipe, you will see that the building is fully risen, and there will be a box in front that shoots out Bob-Ombs. There will be a wall of bricks to the right of the dispenser, requiring a Bob-Omb to blow it up. To do this, hit/jump on the Bob-Omb to make it stop moving, then you will be able to pick it up. As soon as you do this, the explosive timer will begin, so you only have so many seconds before the Bob-Omb will blow up. The wall is only hiding some coins, so it’s not needed.
So, the way to get inside the Colosseum is once again on the side. with the extendable question mark blocks. When you get to the upper ledges, you will need to use the dispenser with the Bob-Omb to blow up a wall on a slightly upper ledge. The best way to get the Bob-Omb to the wall before it blows up in your face is toss one at the extendable blocks, then quickly grab another one to bring up to the brick wall. Once you do that, you will be granted entrance to the colosseum once more. Head down to the arena and get ready to do battle with Boom Boom again.
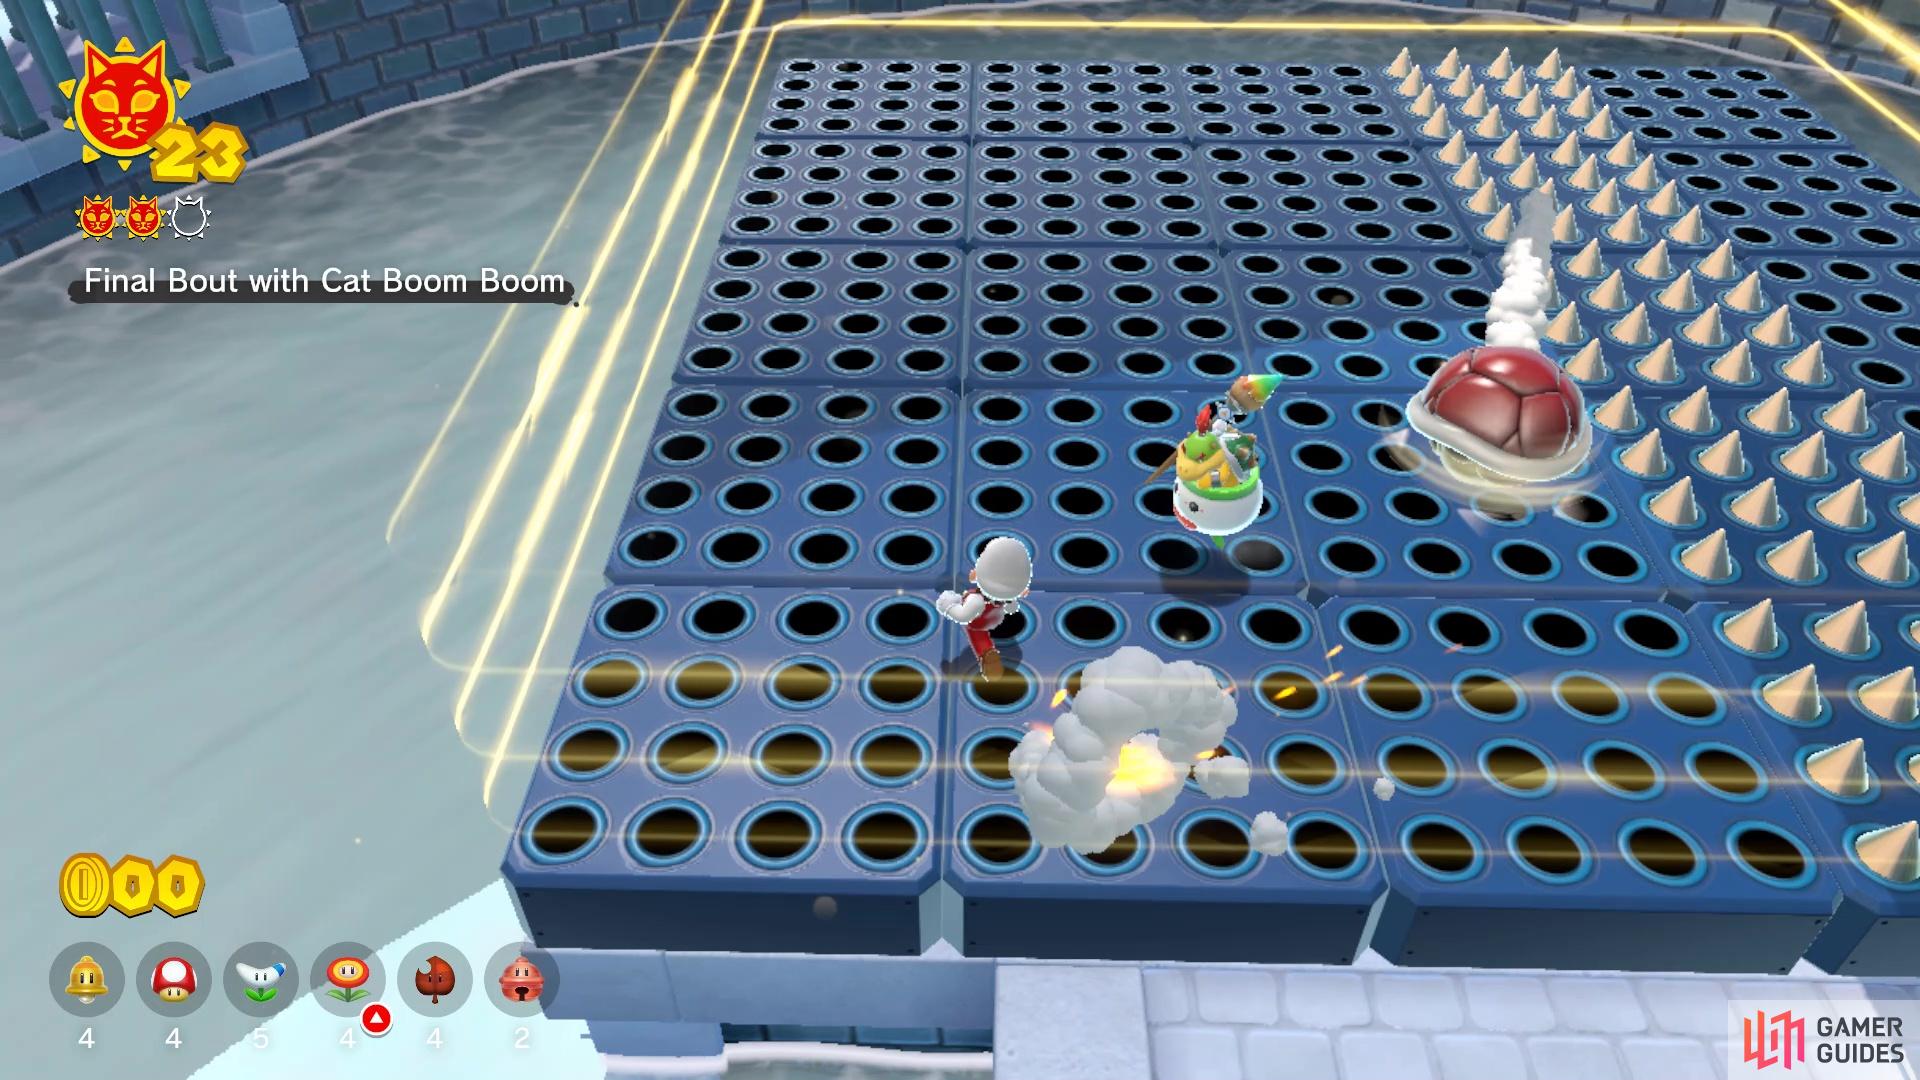
You have to contend with the spikes in the arena
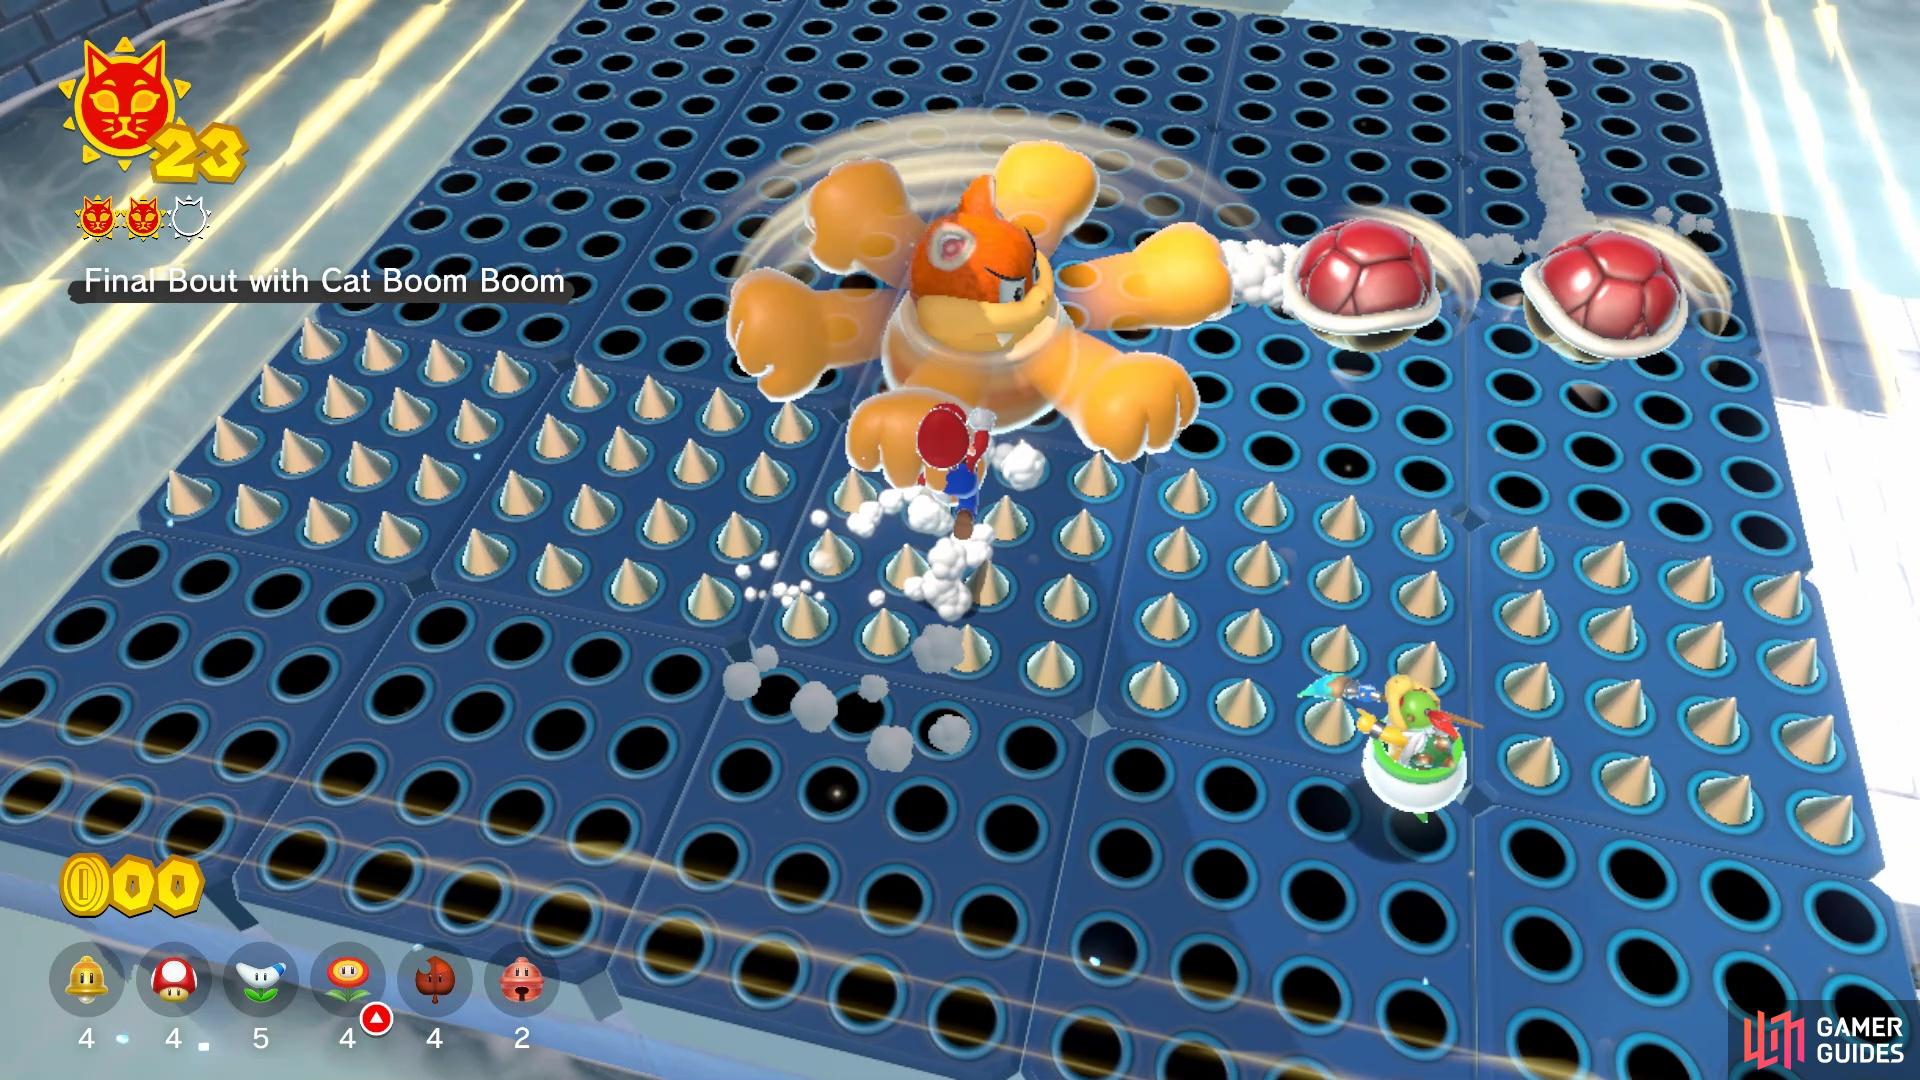
as well as the extra shells Boom Boom uses
The first thing you will notice is that the arena will have spikes that come out on it. Thankfully, the spikes come out in columns, from right to left, so it’s easy to distinguish the pattern. As for Boom Boom, he will still start out with the spinning move, then do the shell thing whenever you hit him. However, on the second and third phases, he will not go invisible, opting to spawn some shells instead that will bounce around the arena. It will be a single shell on the second phase, then two shells on the third phase. Once you deliver the third blow, you will win and get the Cat Shine.
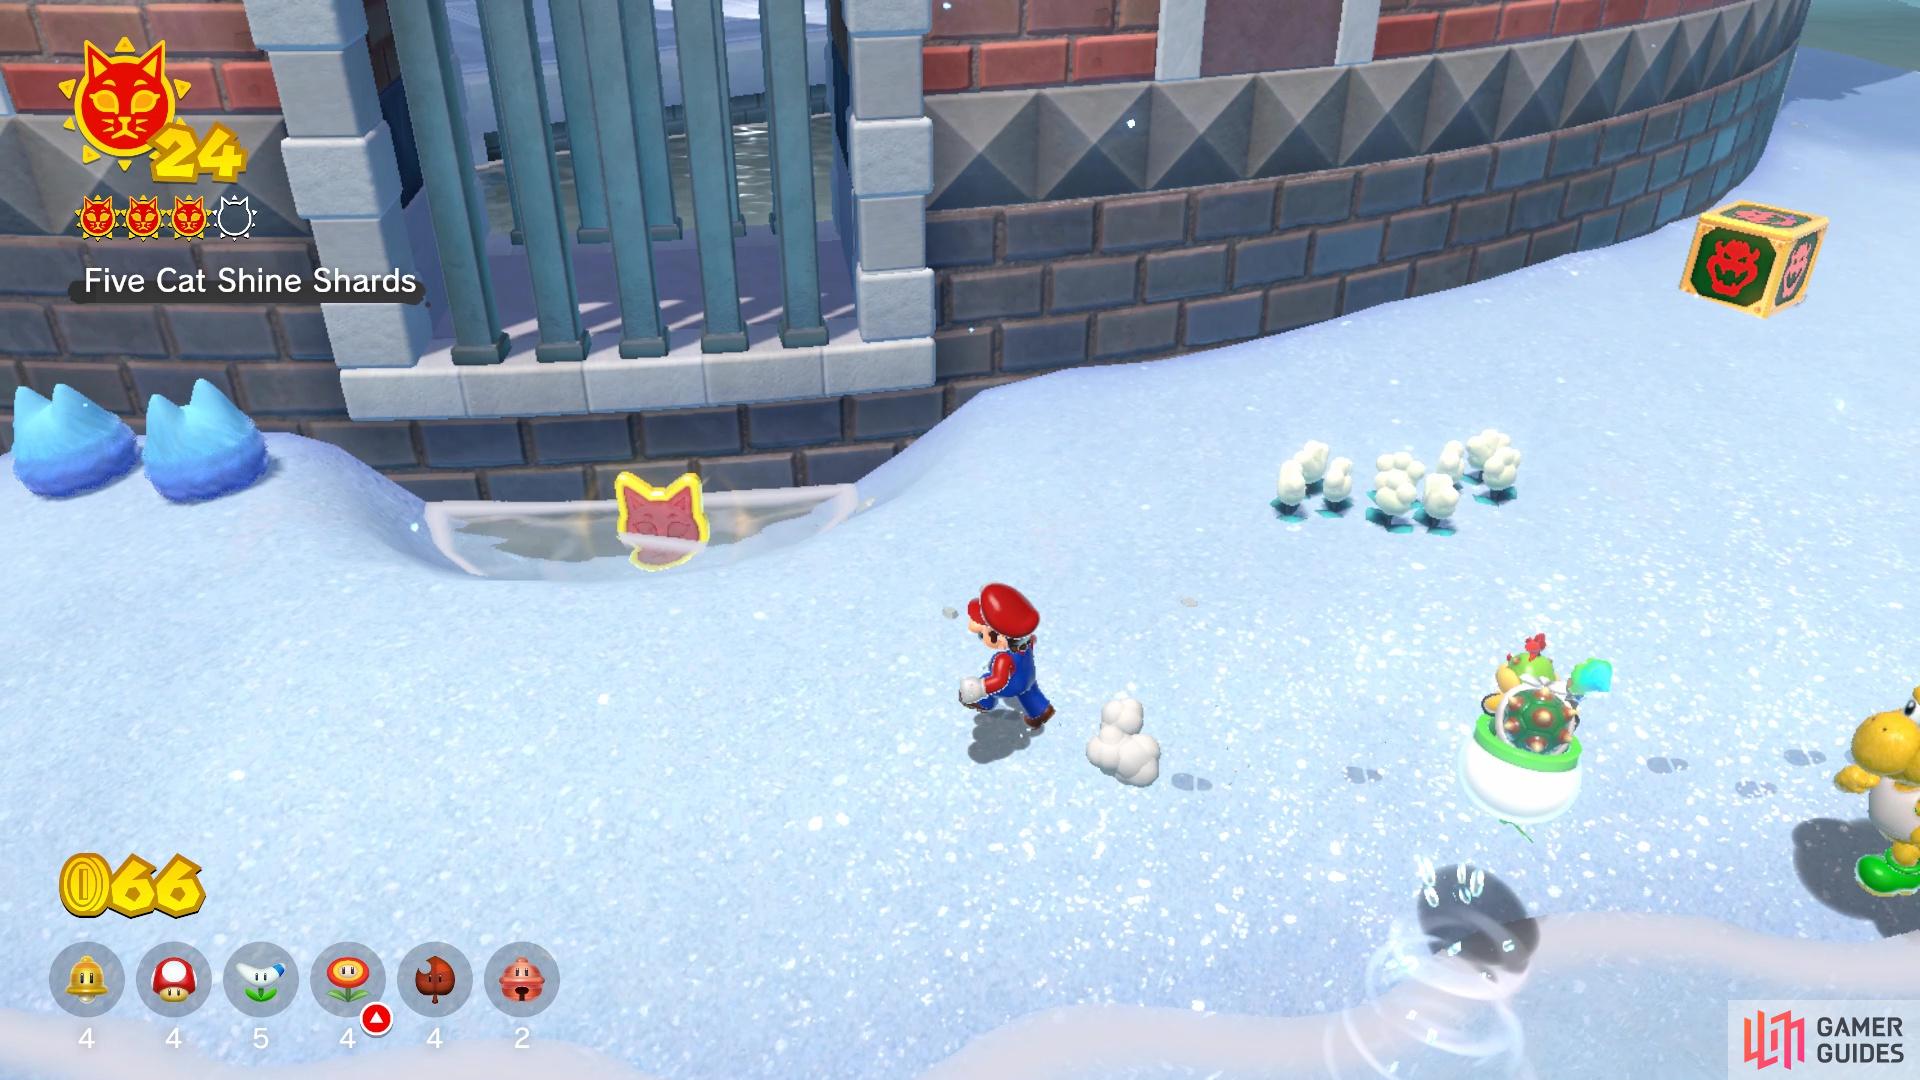
Five Cat Shine Shards Cat Shine
The Cat Shards in Clawswipe Colosseum can be gotten from the very beginning, where they are a little easier to obtain, but they can also be gotten at any other time. This walkthrough will treat things as if you are doing the Shines in order, so the building will be fully built. From the front gate of the building, there is a tiny pool of water on the left, which is housing Cat Shine Shard #1. Head inside the colosseum now, in the same manner as with the second Boom Boom fight, making sure you are Cat Mario, as it is needed. Once inside, there will be a little ramp with some pawprints on the side, so as Cat Mario, you can run straight up the ramp and wall to an upper ledge.
Continue climbing to the next spot and when you see the question mark on the wall that Bowser Jr. can activate, there will be a window next to it that has Cat Shine Shard #2. Drop back down to the waters below and look for a small, hidden alcove on the backside of the arena for Cat Shine Shard #3. Return to the cat ramps and head all the way to the top wall of the colosseum. On the opposite side of where you climbed up, you should see another Shard by a broken piece of the roof, Cat Shine Shard #4. The final one is up in the air, in the middle of the colosseum, so find the spring that can fling you over and grab Cat Shine Shard #5 (and the Cat Shine).
Blast the Fury Blocks Cat Shine
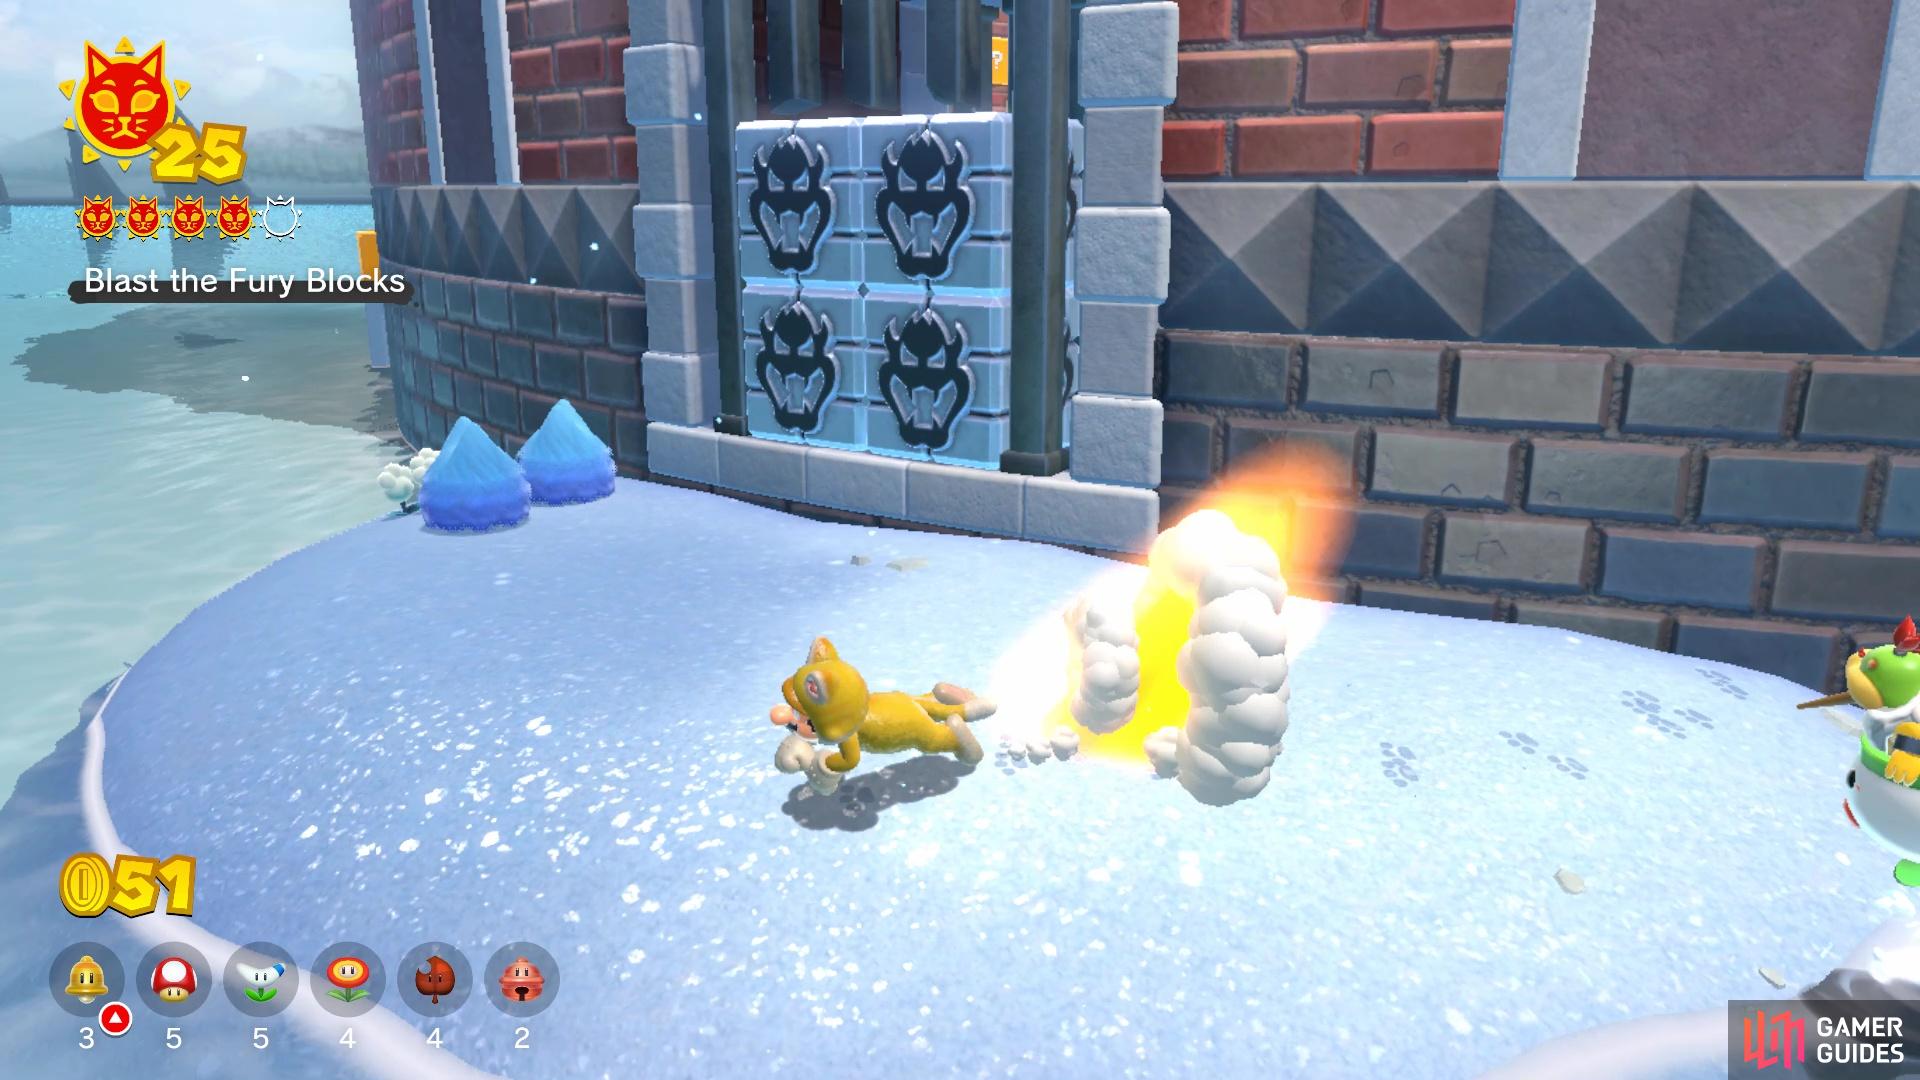
You can find the Fury Blocks on the side of the building
Thankfully, you don’t have to enter the colosseum to find the Fury Blocks, as they are on the outside of the building. When you are facing the front of the building, head to the left and swim around it until you happen upon a little piece of land. That should be where the Fury Blocks are located, so all you have to do is wait until Bowser wakes up and blasts them open, netting you another Cat Shine.
No Comments