
You only have 100 seconds to finish this course and you’re likely going to die a few times, due to the fact there are Dash Panels throughout the whole level, meaning you can’t really control your character fully. To alleviate the loss of lives a little bit, there is a hidden Coin Box Hat in the back right corner at the start of the level. There will be two different ways to go near the beginning, although neither have anything special and will both converge back into the same path. The left one has some spiked rollers, while the right path consists of donut blocks. Since you don’t need to do anything on the right side, it’s good to go that way.
Head down the right side in the first section to snag the first Green Star
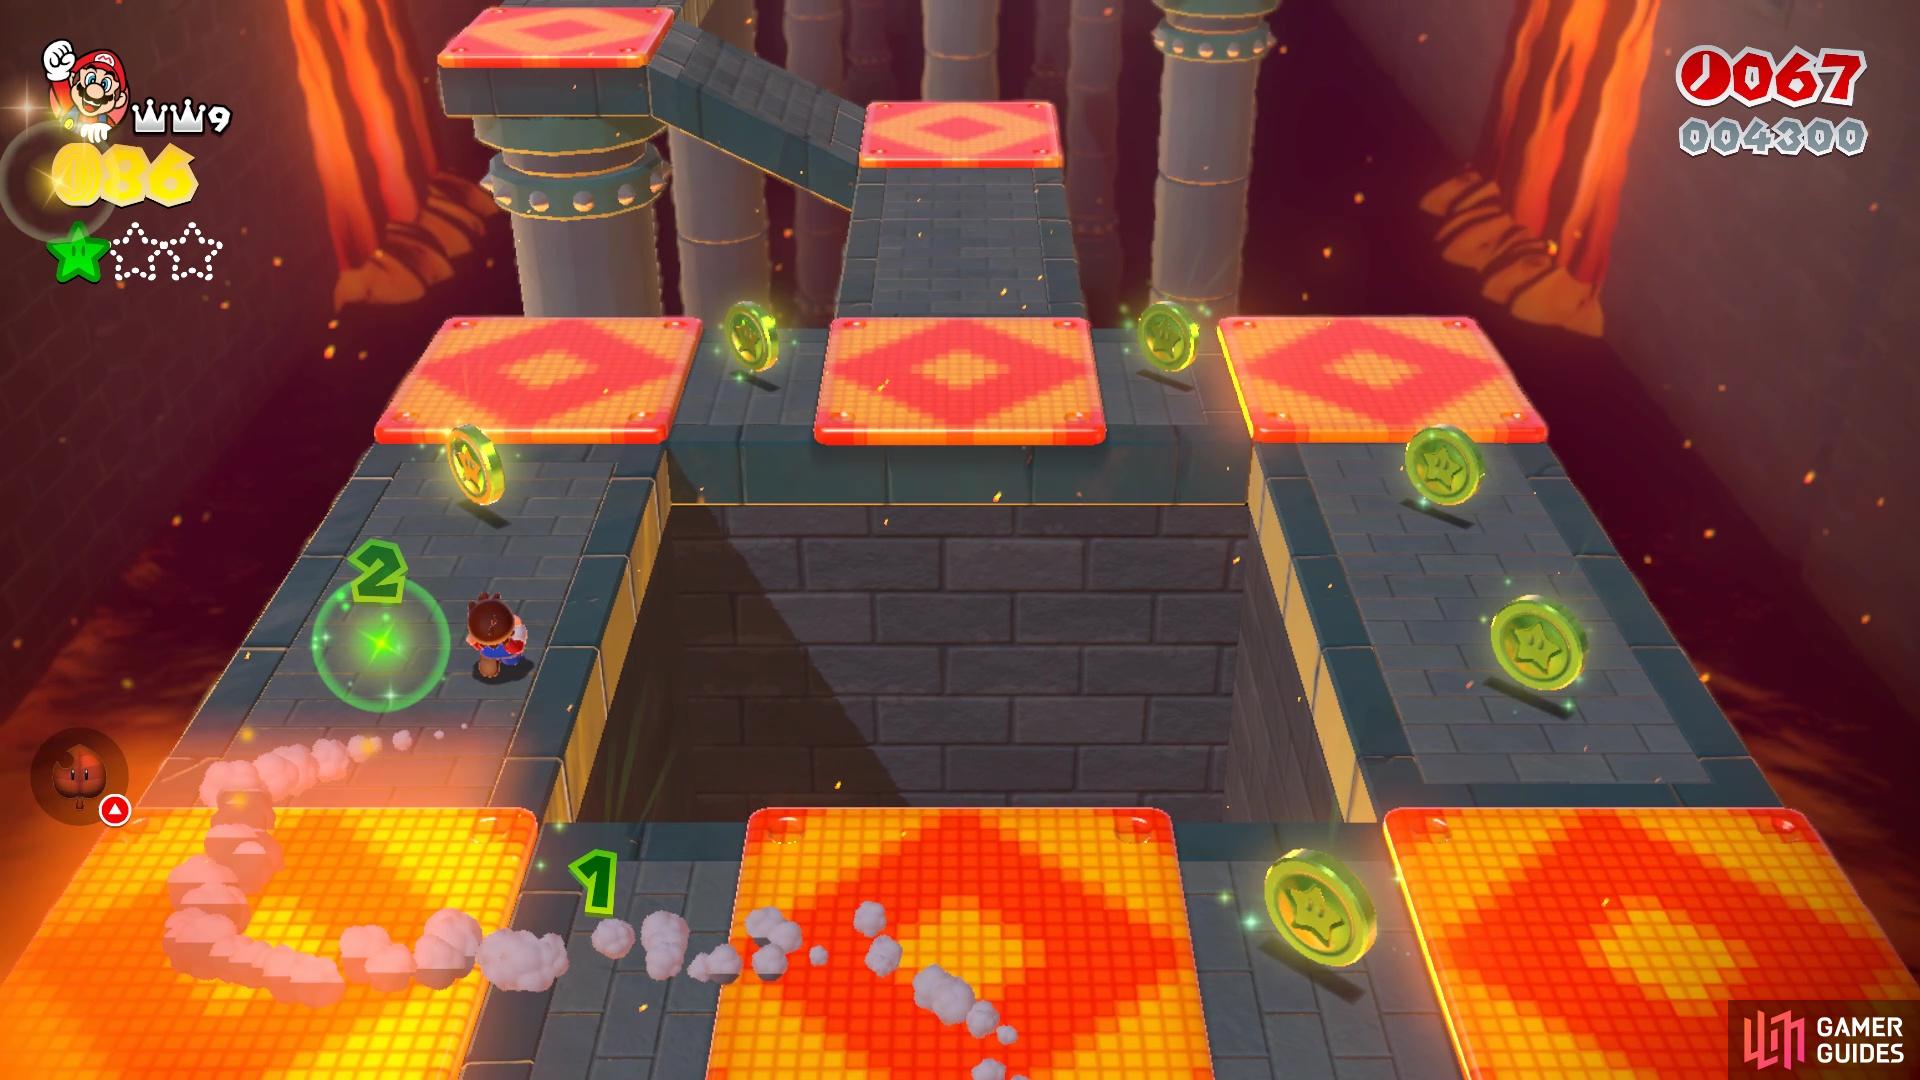
The second Green Star is found by collecting the green coins here
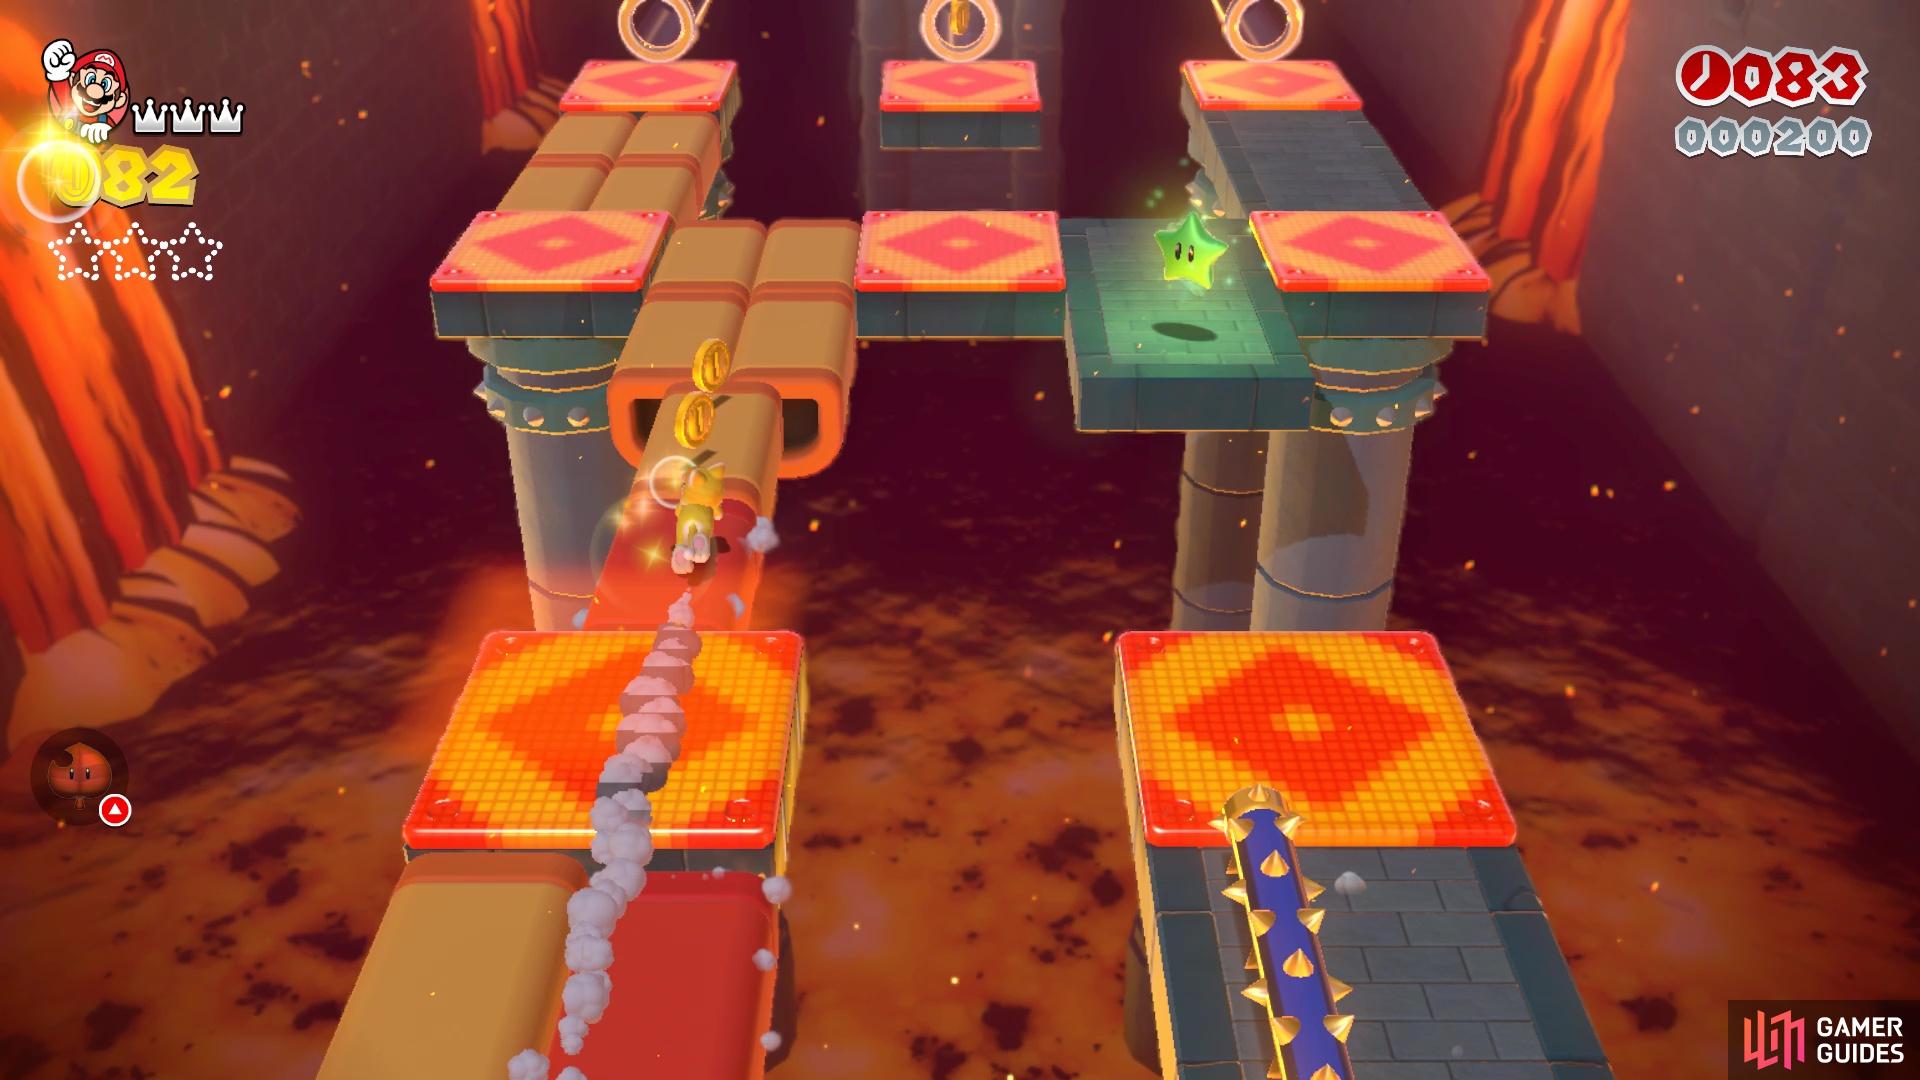
As soon as you converge into a single path, it will split again. You want to take the right path here, as you can time a jump over a gap and collect Green Star #1. Three clear pipes will be right after this and it doesn’t matter which one you take. Immediately after landing upon launching from the cannon, a Green Star Ring will be just ahead. Do the laps around the area here, collecting the coins, then grab Green Star #2. Although you can’t see it, there is actually a pipe in the center here, leading to a hidden room with some Goombas and a Super Star.
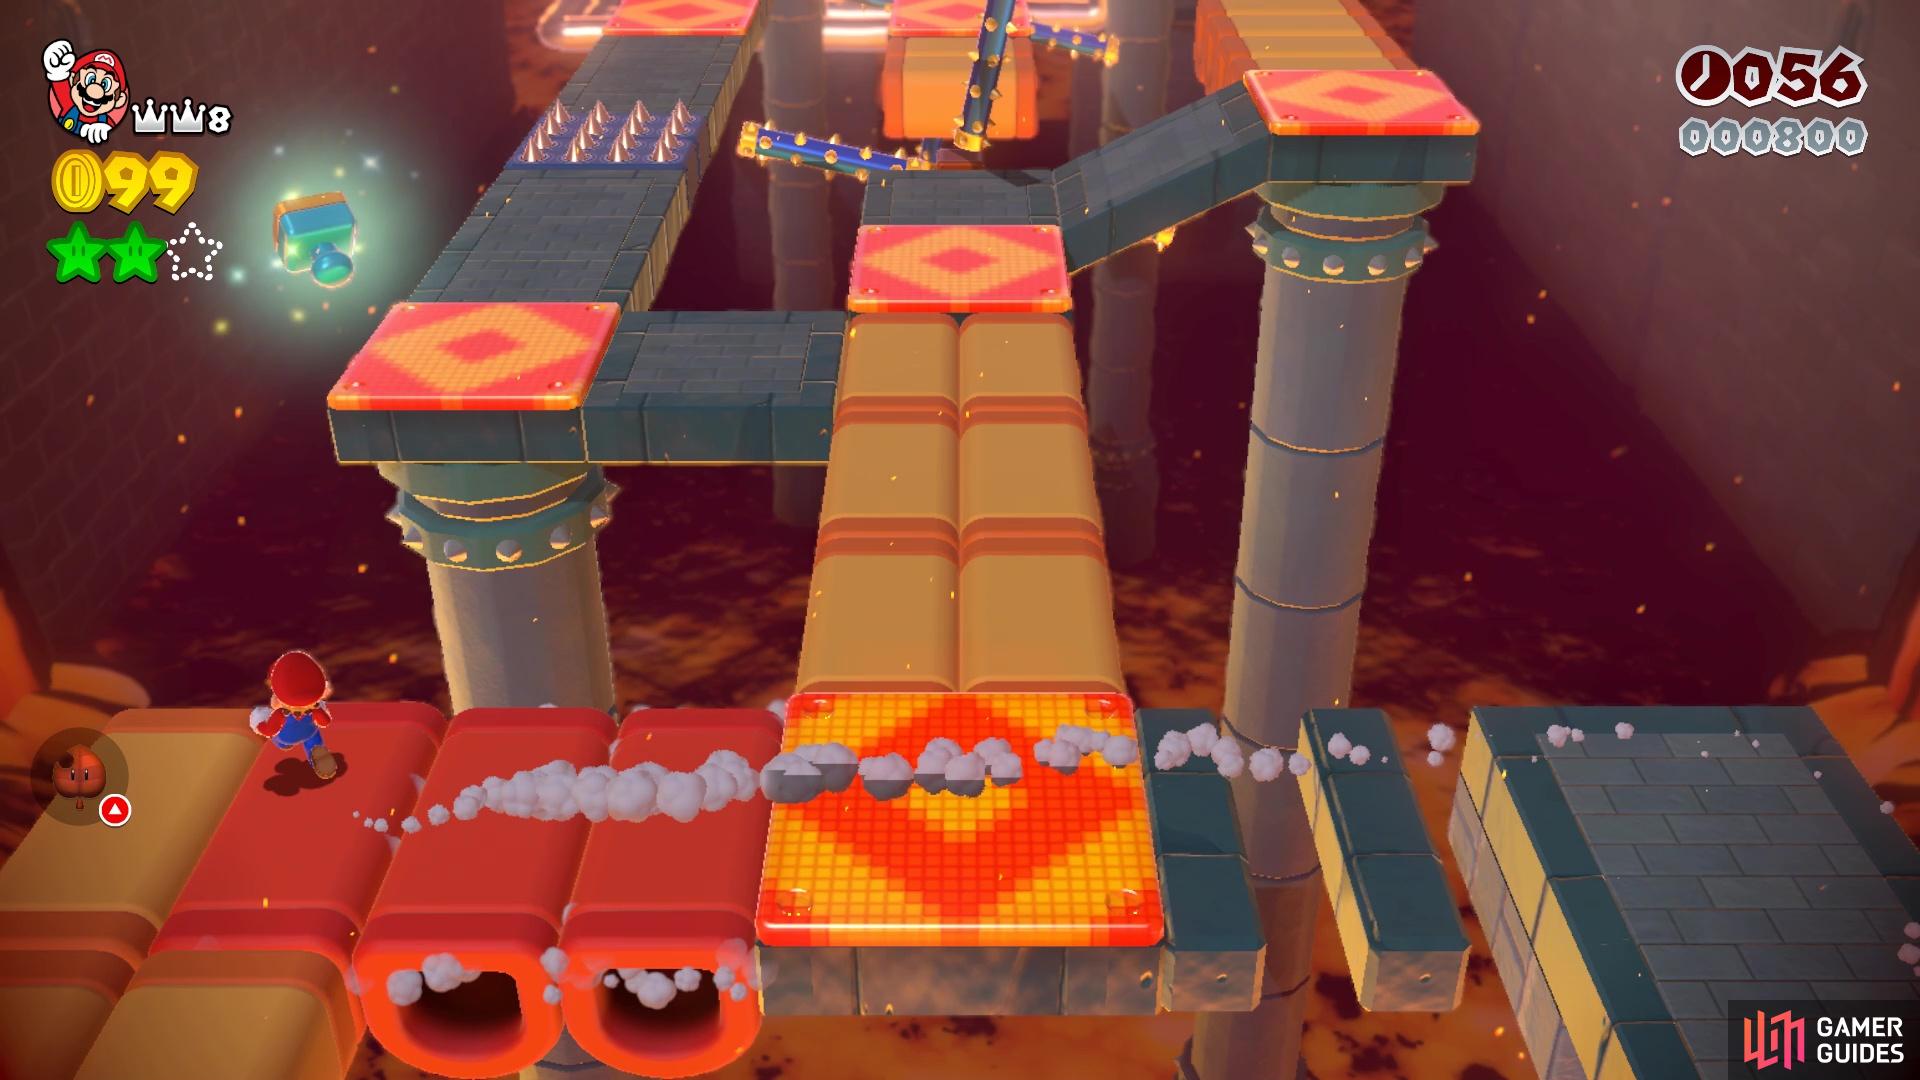
The Stamp is on the left side in the section section
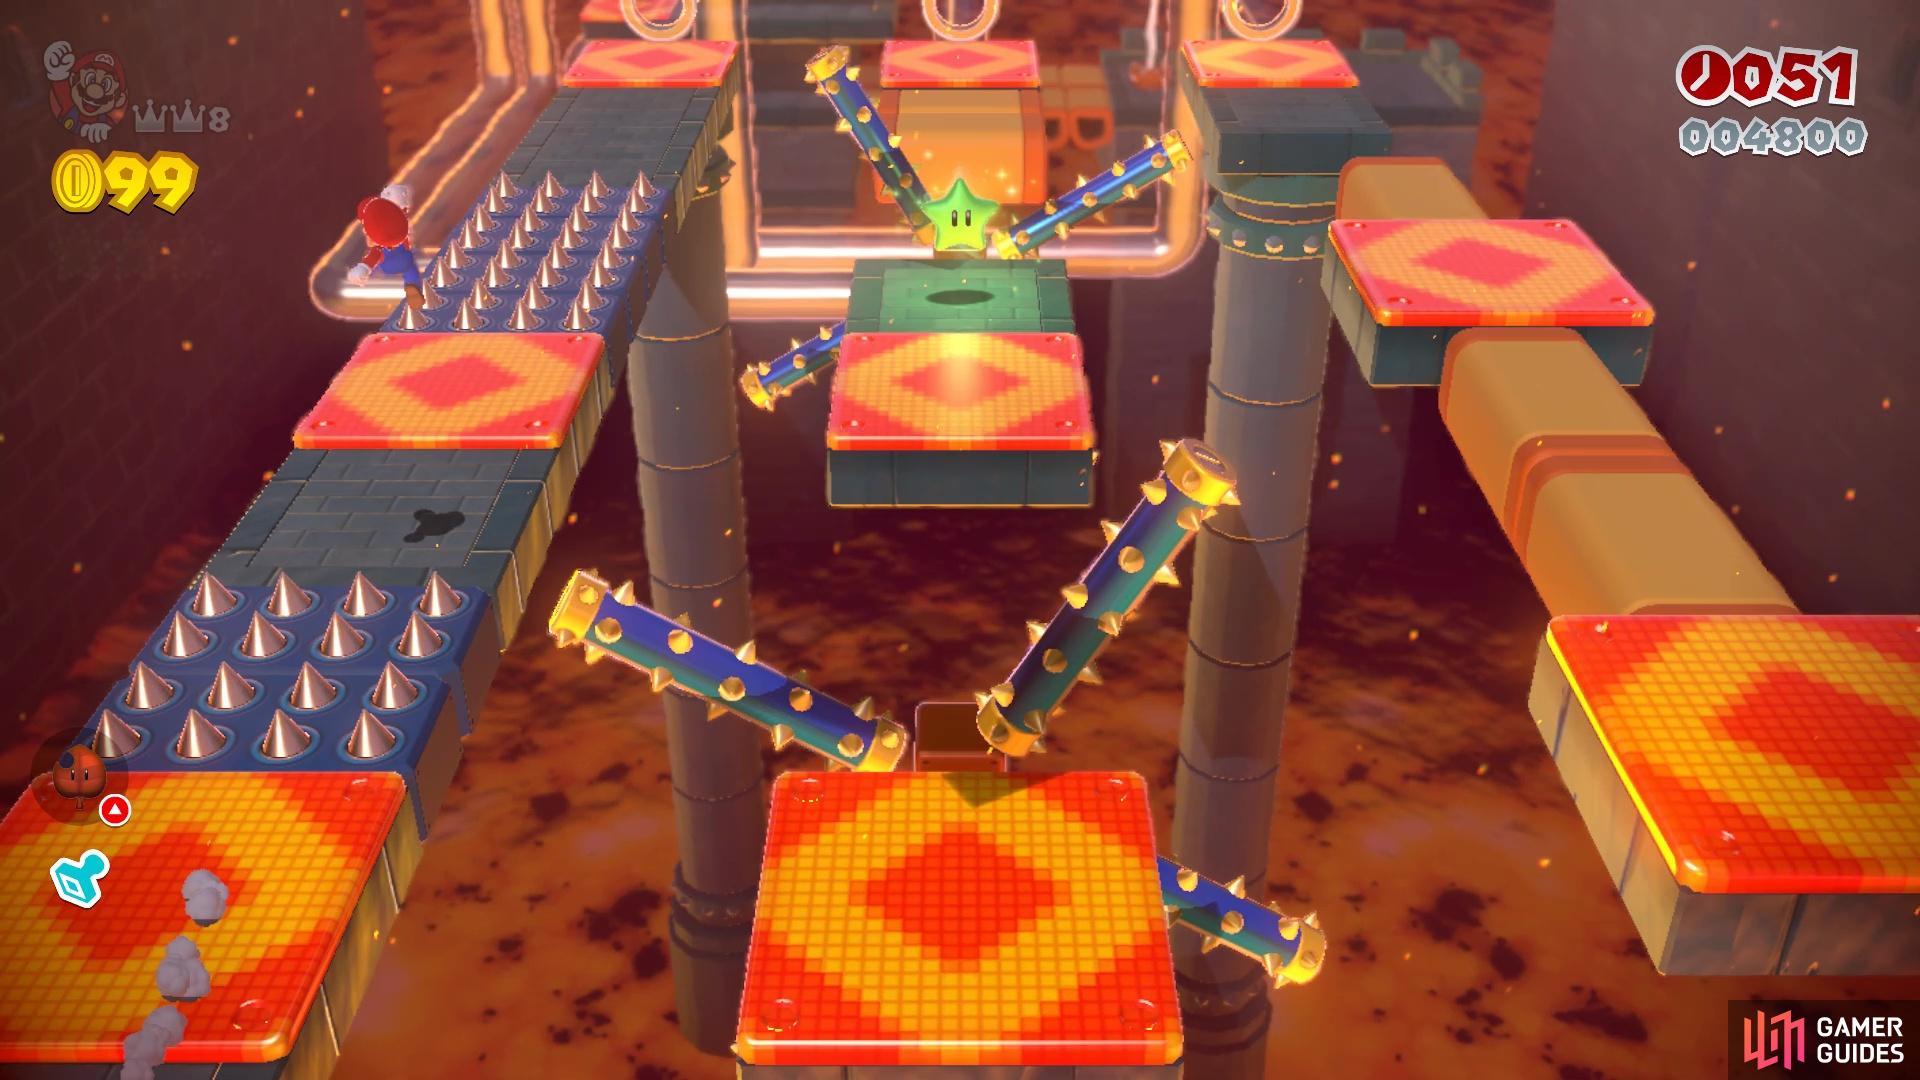
Go up the middle near the end to find the second Green Star
Continue past where you got the second star, jumping over some spikes and passing some grates on the floor. When you get to the next section with donut blocks, you want to stick to the left side, as you will see the Stamp hanging in the air. You’ll have to make some jumps over gaps in order to retrieve it, but with the speed boost, you should have no problem. As soon as you land from the Stamp, turn right and head down the middle. Hopefully, you don’t hit the rotating spiked rollers, but you will see Green Star #3 directly after the second one. Also, you will want to go down the middle here, too, since the pipe at the end will allow you to easily grab the top of the Goal Pole.
No Comments