
Scamper Shores
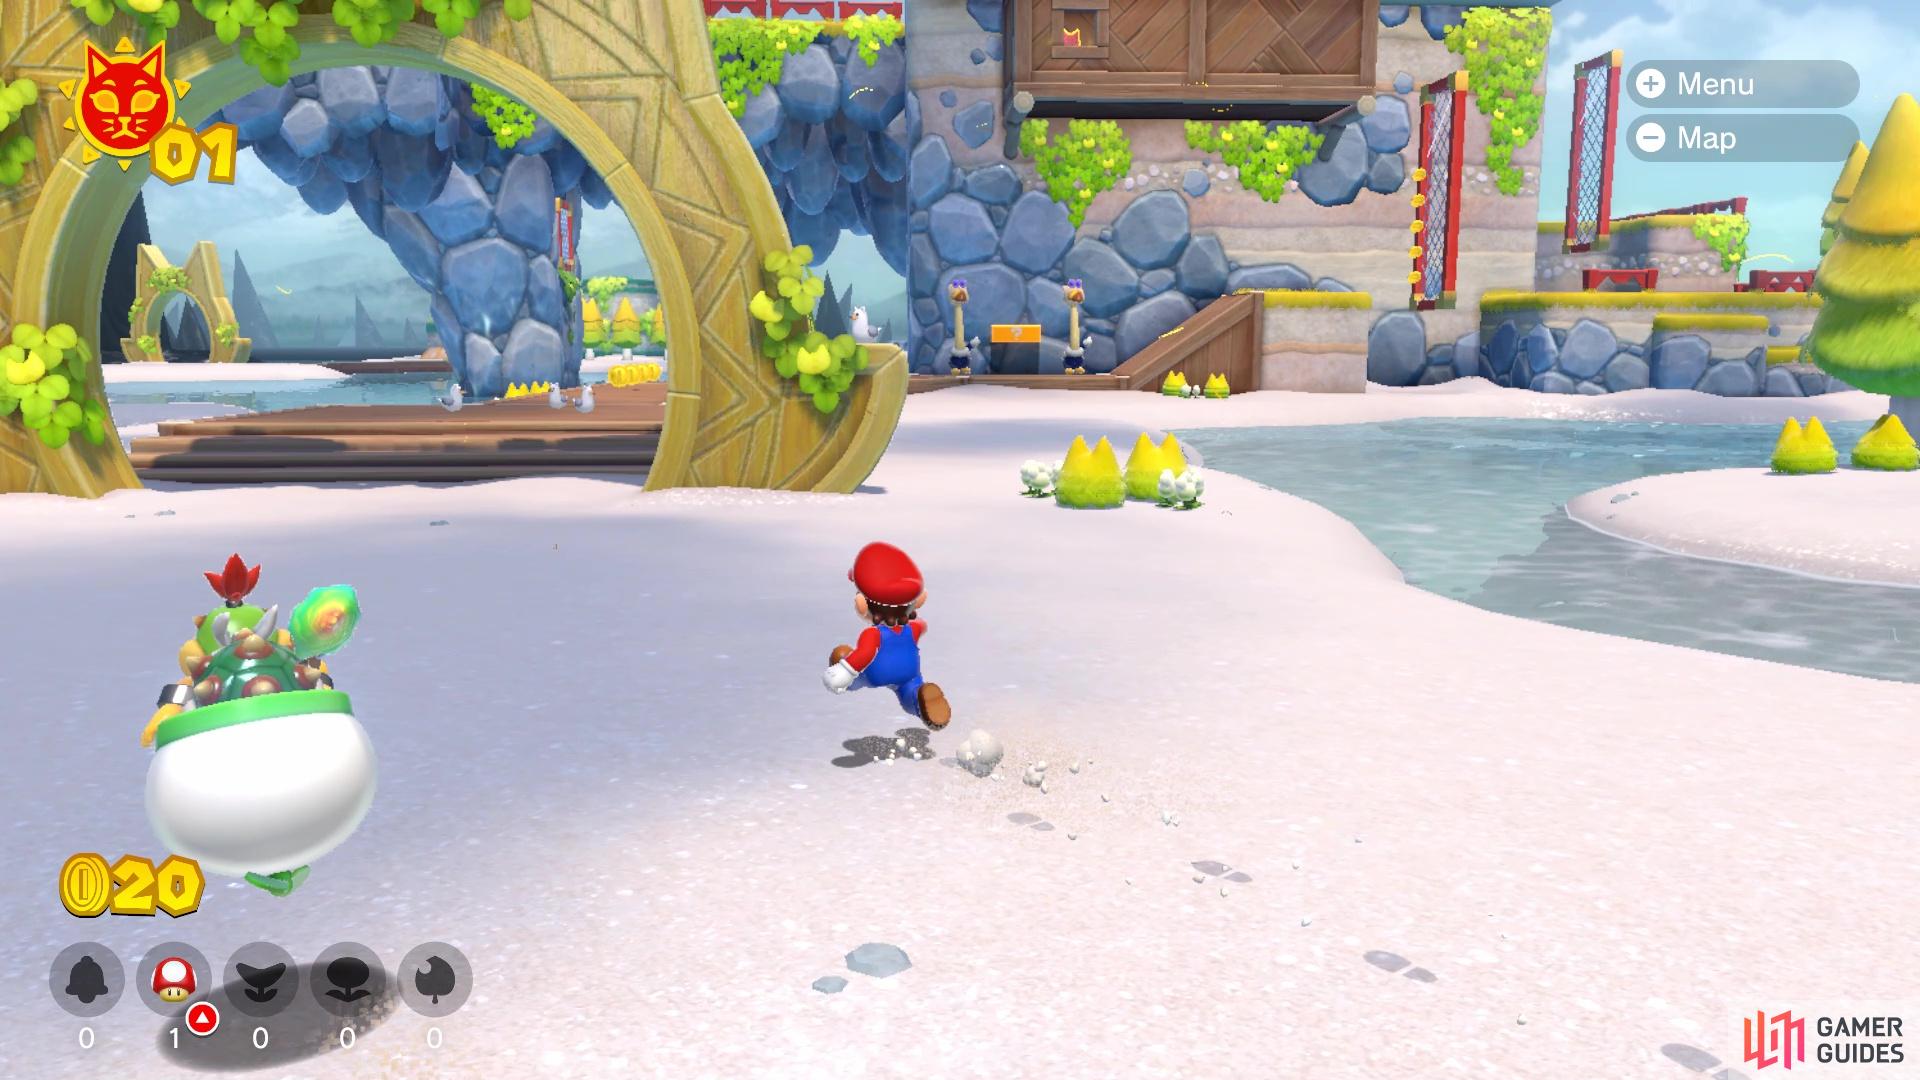
After doing the introductory sequence, you will have freeroam of the Lakeside Giga Bell region. Upon speaking to Bowser Jr., you will see an archway straight ahead and that will be the entrance to Scamper Shores. Overall, Scamper Shores is an introductory island for the game, with not a lot of things happening. The main obstacle here will be gratings that will rotate every few seconds, on which you can either climb with Cat Mario or wall jump. As you do later Cat Shines, you will encounter a lot more enemies, including Piranha Creepers and Fire Piranha Plants.
Make the Lighthouse Shine Cat Shine
Follow the wooden walkway at the beginning of the island, right under the giant archway, and you will pass by two Conkdors. If you never played Super Mario 3D World, which is where these enemies actually debuted, then they simply wait for Mario to get close enough, then slam their heads/beaks to the ground, attempting to hit him. You can either sprint past them, or get close enough to trigger their attack, then pounce on their head. You can get a power-up from the stretched out question block in between the two Conkdors, which should be a Super Bell if you are big Mario.
The Super Bell is definitely one of the better power-ups in the game
The game will store up to five of each power-up for you in the bottom left
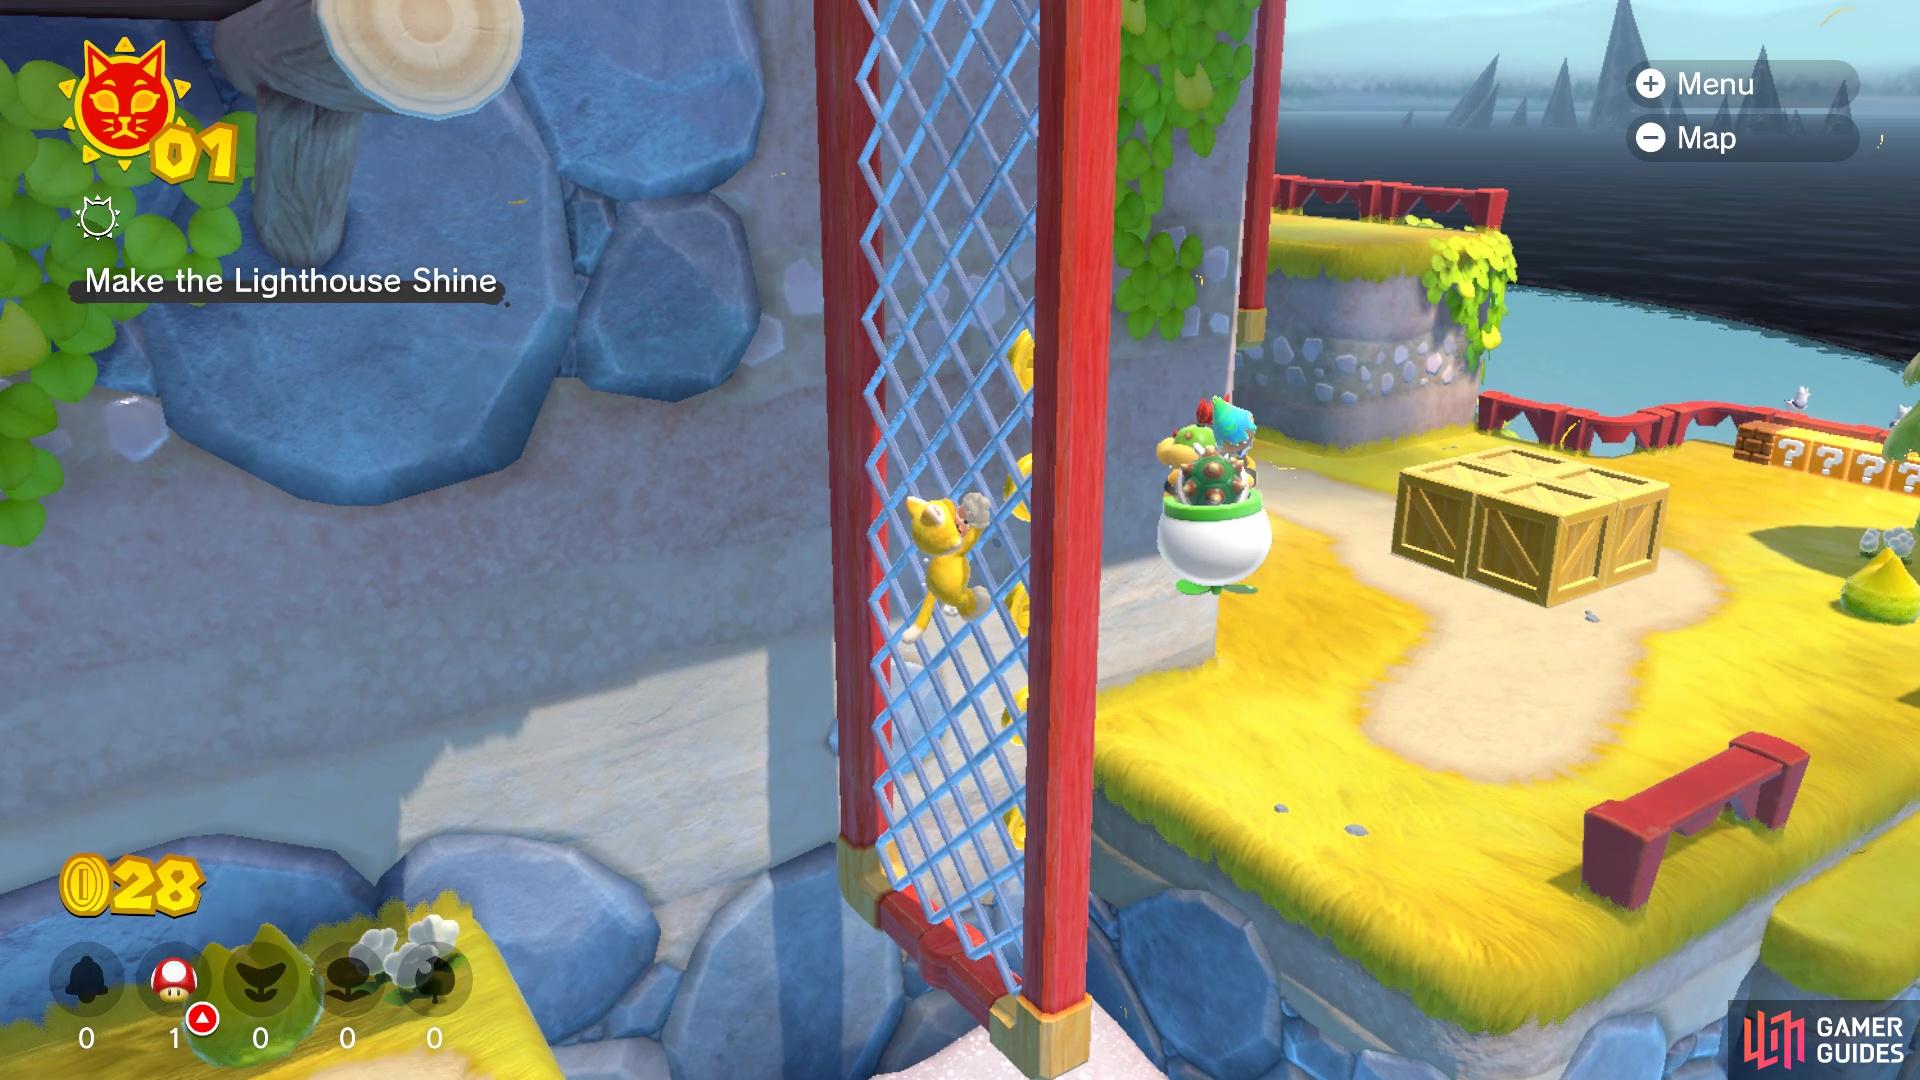
Continue up the hill and you will come to the first rotating pieces of fence. If you are Cat Mario, then you will be able to climb the fence. Otherwise, you will only be able to wall jump off of it. With the camera facing the wall/fence, you can actually find a hidden question block along the right wall underneath the fence. Of course, around the corner, there is also some steps to reach the same ledge, so it’s your choice on how to get up there. However you do it, there’s not much in that area, with a row of question blocks by the one edge. One of those question blocks, though, has multiple coins in it and a good way of getting the max amount is to Ground Pound on top of it and hold down the button.
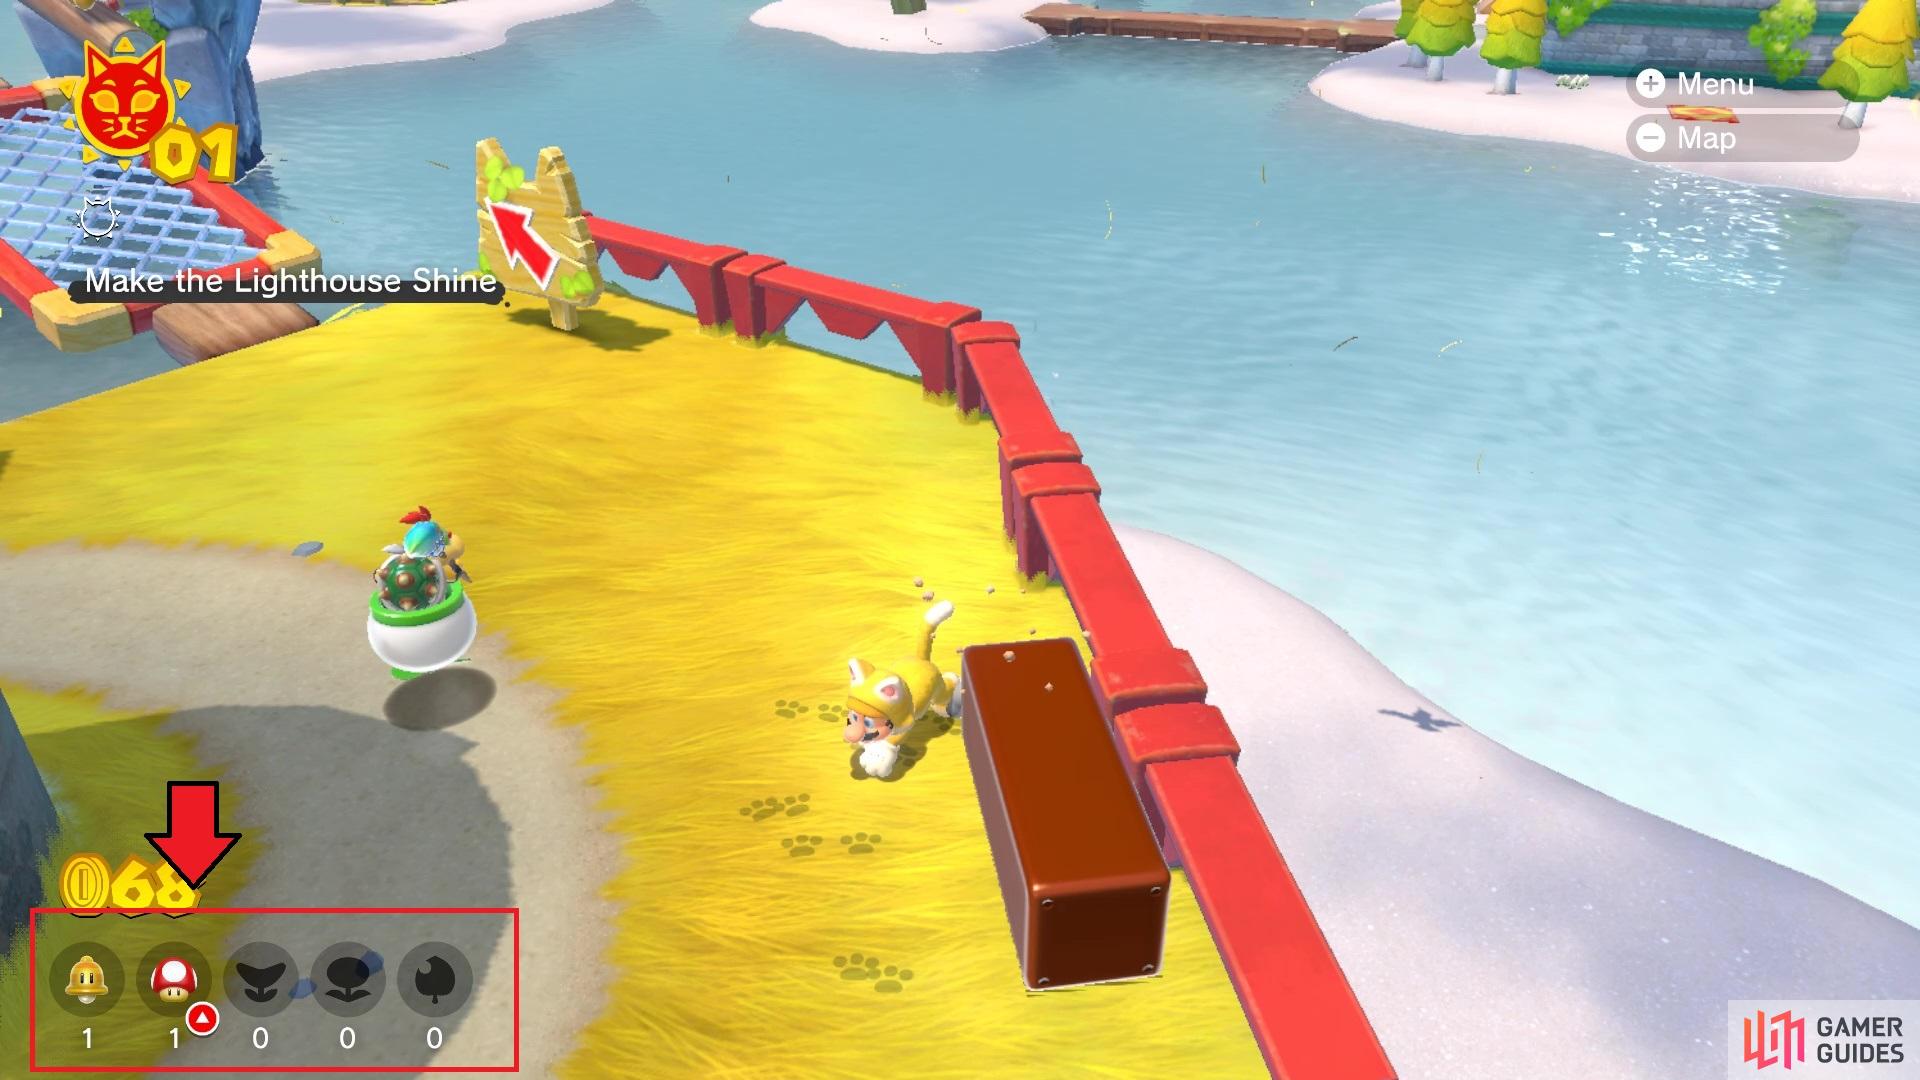
Wall jump/climb up to the next ledge to find some cats, who do nothing at all. They will run away from you, unless you are Cat Mario, in which they will run to you. There is a tower ahead of you, with paw prints on them, meaning to get to the top, you’ll need the Super Bell power-up; unfortunately, there’s nothing but coins up on the top. In the same area, there is another long question block that yields a power-up, as well as another rotating fence, although this one is horizontal. This will lead across a thin wooden plank that extends to the other side, with another horizontal fence, as well as Conkdors on either side.
Cross the Conkdor bridge and on the other side, ignore the rotating fences, as that’s not a good way to get to the very top. On the side, in this area, you will find some ramps, with some Conkdors hiding in little alcoves. Avoid them and at the top, you only have one more jump to reach the top, where the Cat Shine is waiting for you.
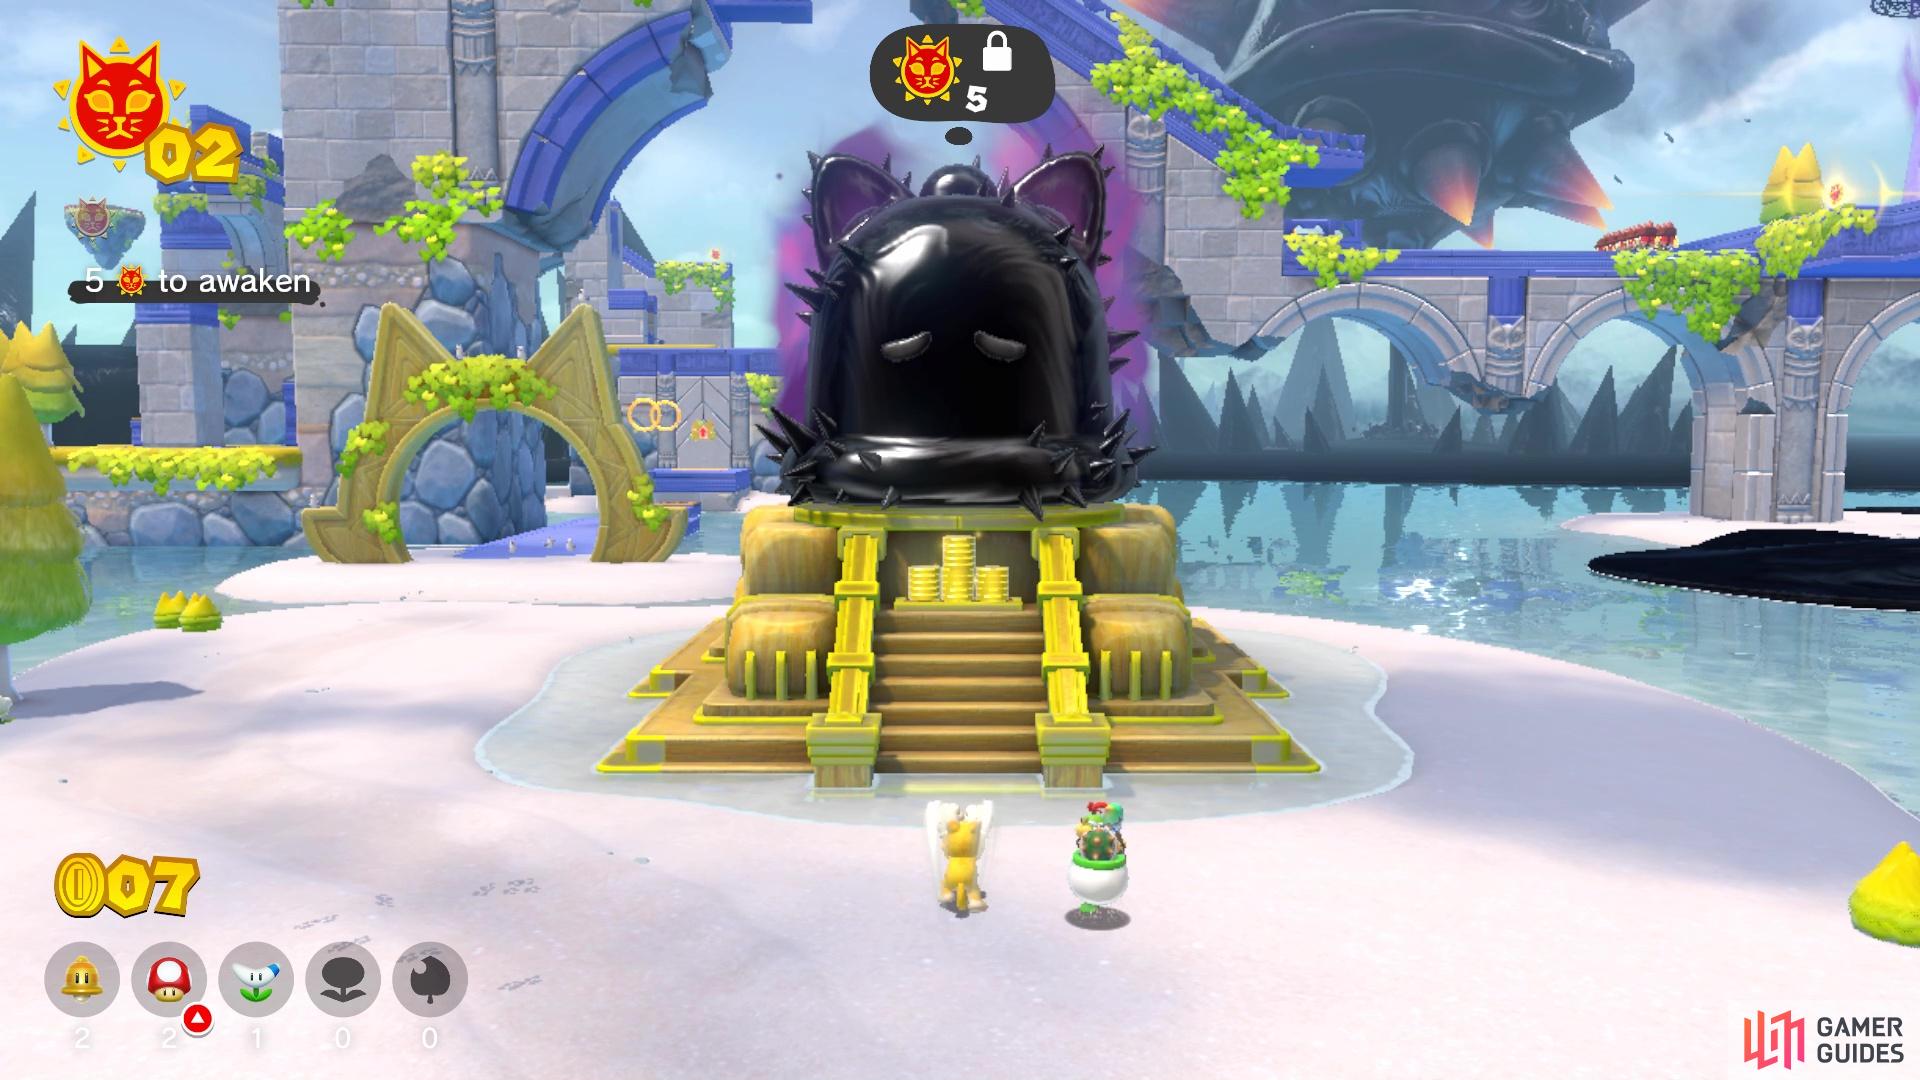
The Giga Bell will tell you how many more Shines you need to collect
After collecting the Cat Shine, there is a little wooden platform by the edge, leading down to the area below you that has a giant bell. This is the Giga Bell and approaching it will trigger a short conversation with Bowser Jr., who mentions a saying he once heard. Basically, whenever Fury Bowser will wake, the Giga Bell will also wake. However, right now, the bell is covered by the black goop, so you will need to collect enough Shines in order to remove that. Return to the archway for Scamper Shores to start the next Shine.
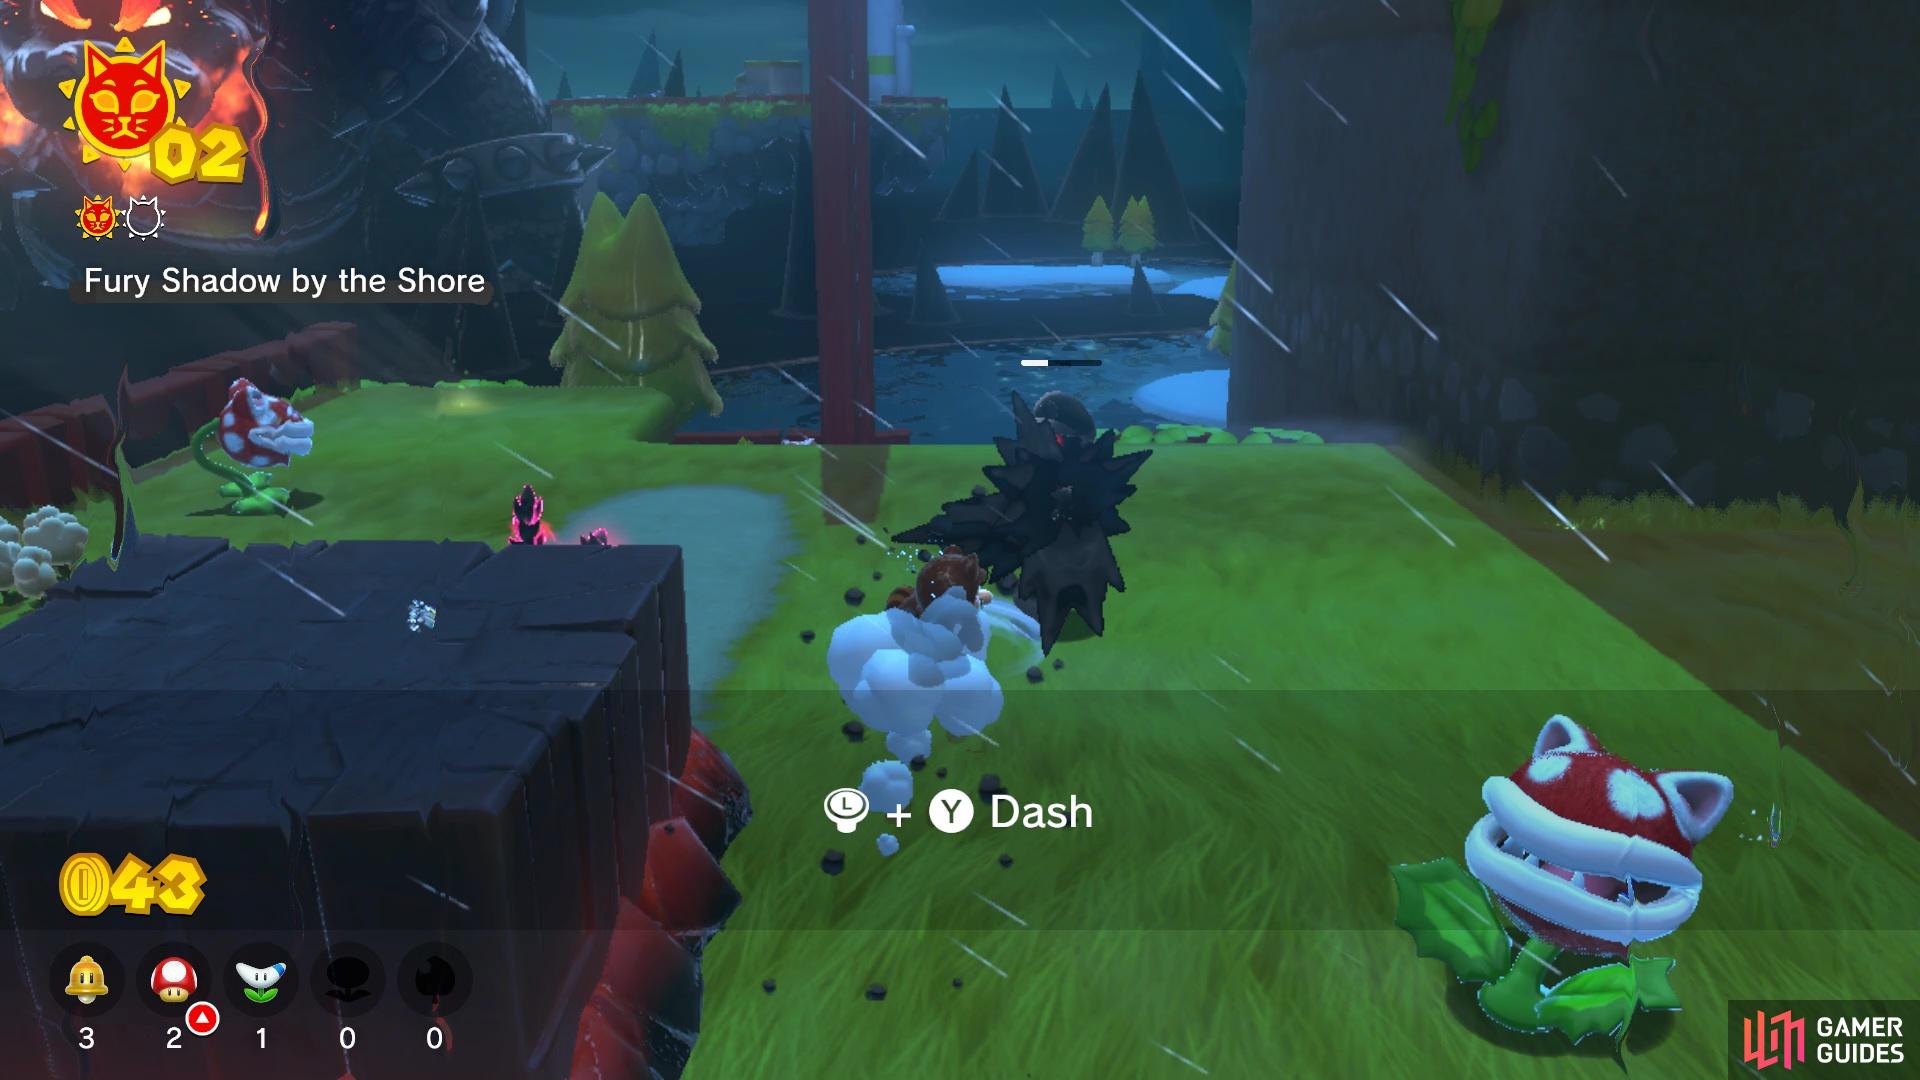
Fury Shadow by the Shore Cat Shine
Using the tip above, you can head to Scamper Shores’ gate and you should see a black goop ball, with some spikes protruding from it. Approach it and it will change shape into Luigi, then it will run off. You will need to chase after it here, then damage it three times in order to get the Cat Shine. To damage it, you can simply jump on it, but that makes it a little more difficult to actually hit the target. If you happen to have a power-up active, then it becomes much easier. In fact, before you go chasing it at the beginning, there is a clear box to the left of the gate, which will very quickly cycle through all of the power-ups.
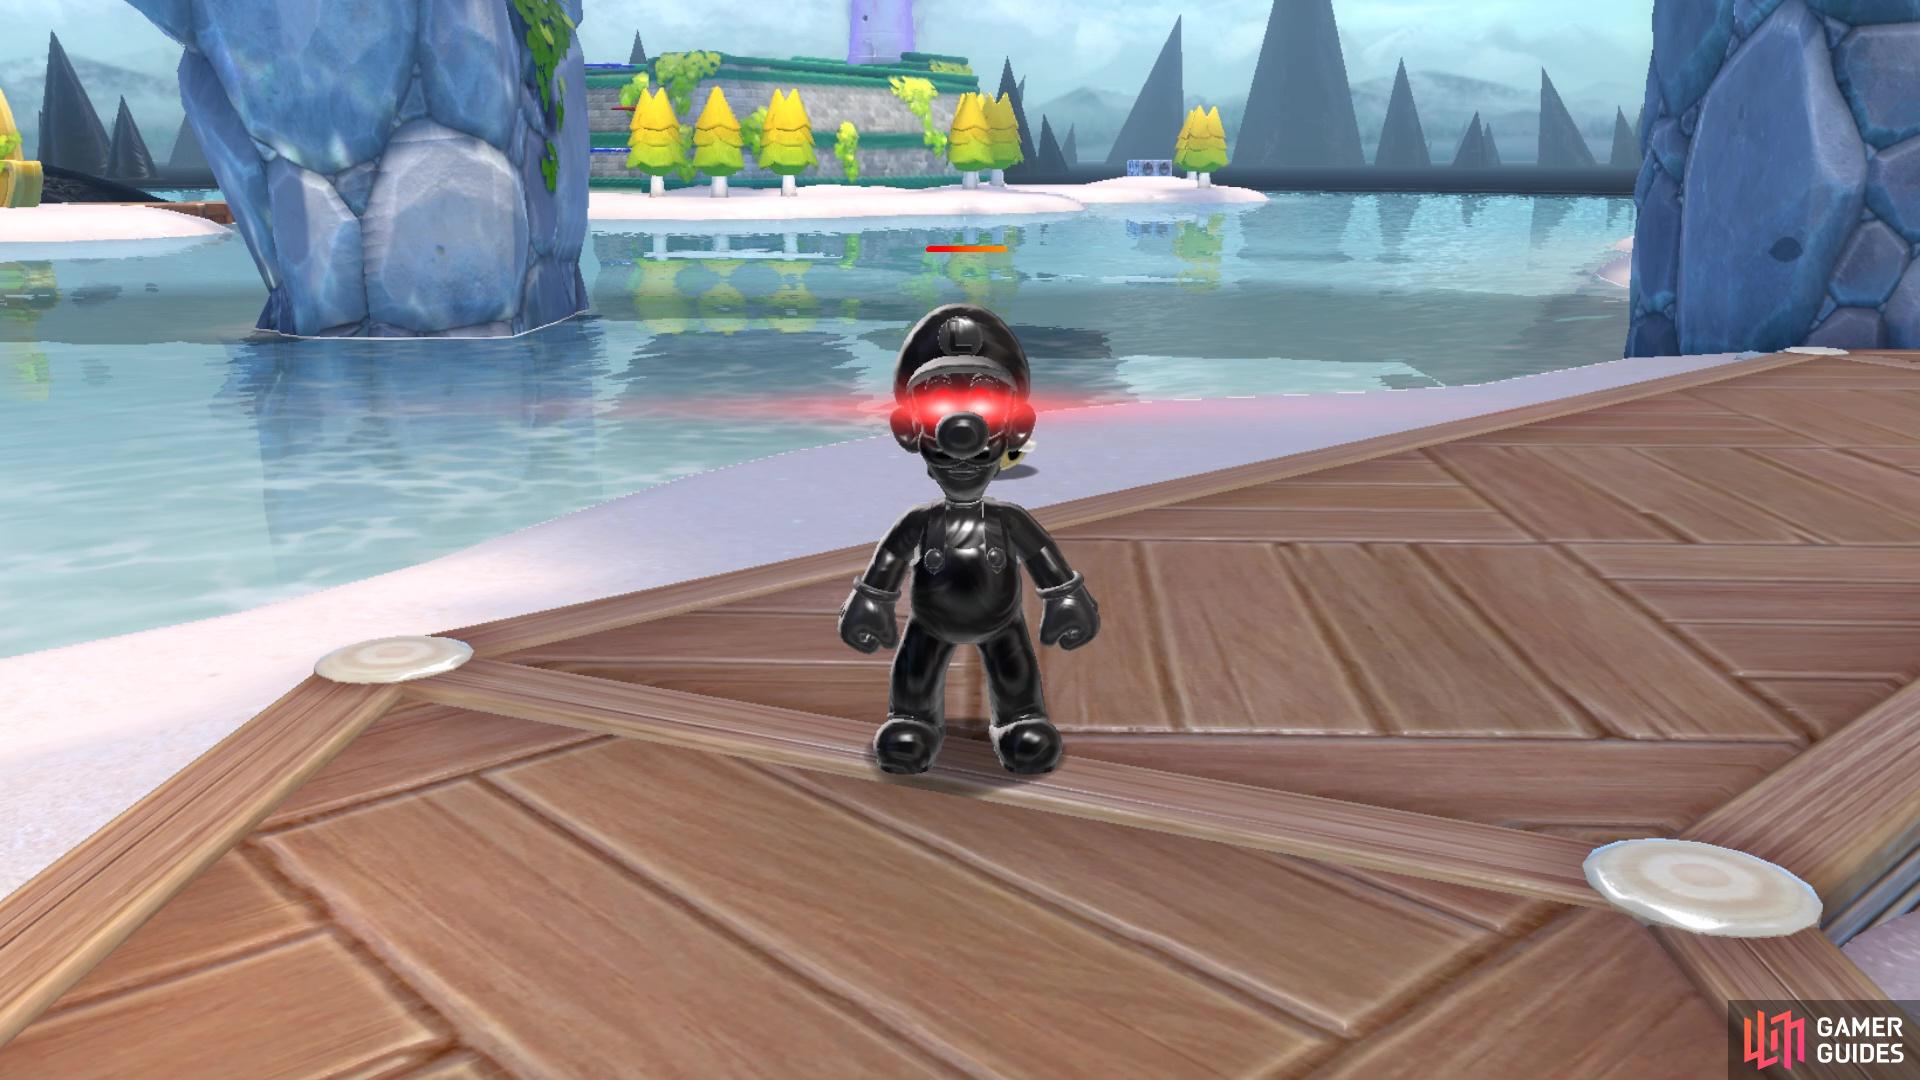
The Fury Shadow takes on a familiar appearance
Any attack will work on the Fury Shadow
Note that the Fury Shadow (as it will be called from now on) runs to the right and up the ledges, to the first area. It will then jump up to the second area, where the cats are located, and run around the pillar there. You should also notice some new enemies placed around the island, Piranha Plants. They will only snap at you if you get close enough, so it’s pretty easy to avoid them. As soon as you hit the Fury Shadow the third time, you will automatically collect the Cat Shine.
Key to the Cat Shine Cat Shine
Upon starting the third Shine, you will see a cage near the beginning of the island, with the Cat Shine encased inside. You need to find a key on the same island, then bring it back to the cage. The problem comes from the fact that you actually have to carry the key back and if you happen to have the key land in water, it will disappear, so you will have to take the trek back to the key’s location once more. In this instance, the key will be located near the top of the island, so you will need to do a little bit of platforming to get to it. Also, next to the cage at the beginning, there are three question mark blocks that are actually Propeller Boxes, giving Mario the ability to gain a large jump and float. While this can help immensely in getting to the top, you will lose it upon grabbing the key.
Along the way, you will notice some new enemies/obstacles. Throughout the island, there will be differently colored Piranha Plants, called Fire Piranha Plants. These things will shoot fireballs in Mario’s last position periodically, so you will need to be a little careful if you’re going to attack them. The other new enemy you will face is the Piranha Creeper, which is basically a biggr Piranha Plant attached to a vine. They will move along a predetermined path, heading back and forth to their point of origin. Jumping on their head or hitting them with a power-up will cause them to stop and retreat; hit them enough times in quick succession to defeat them.
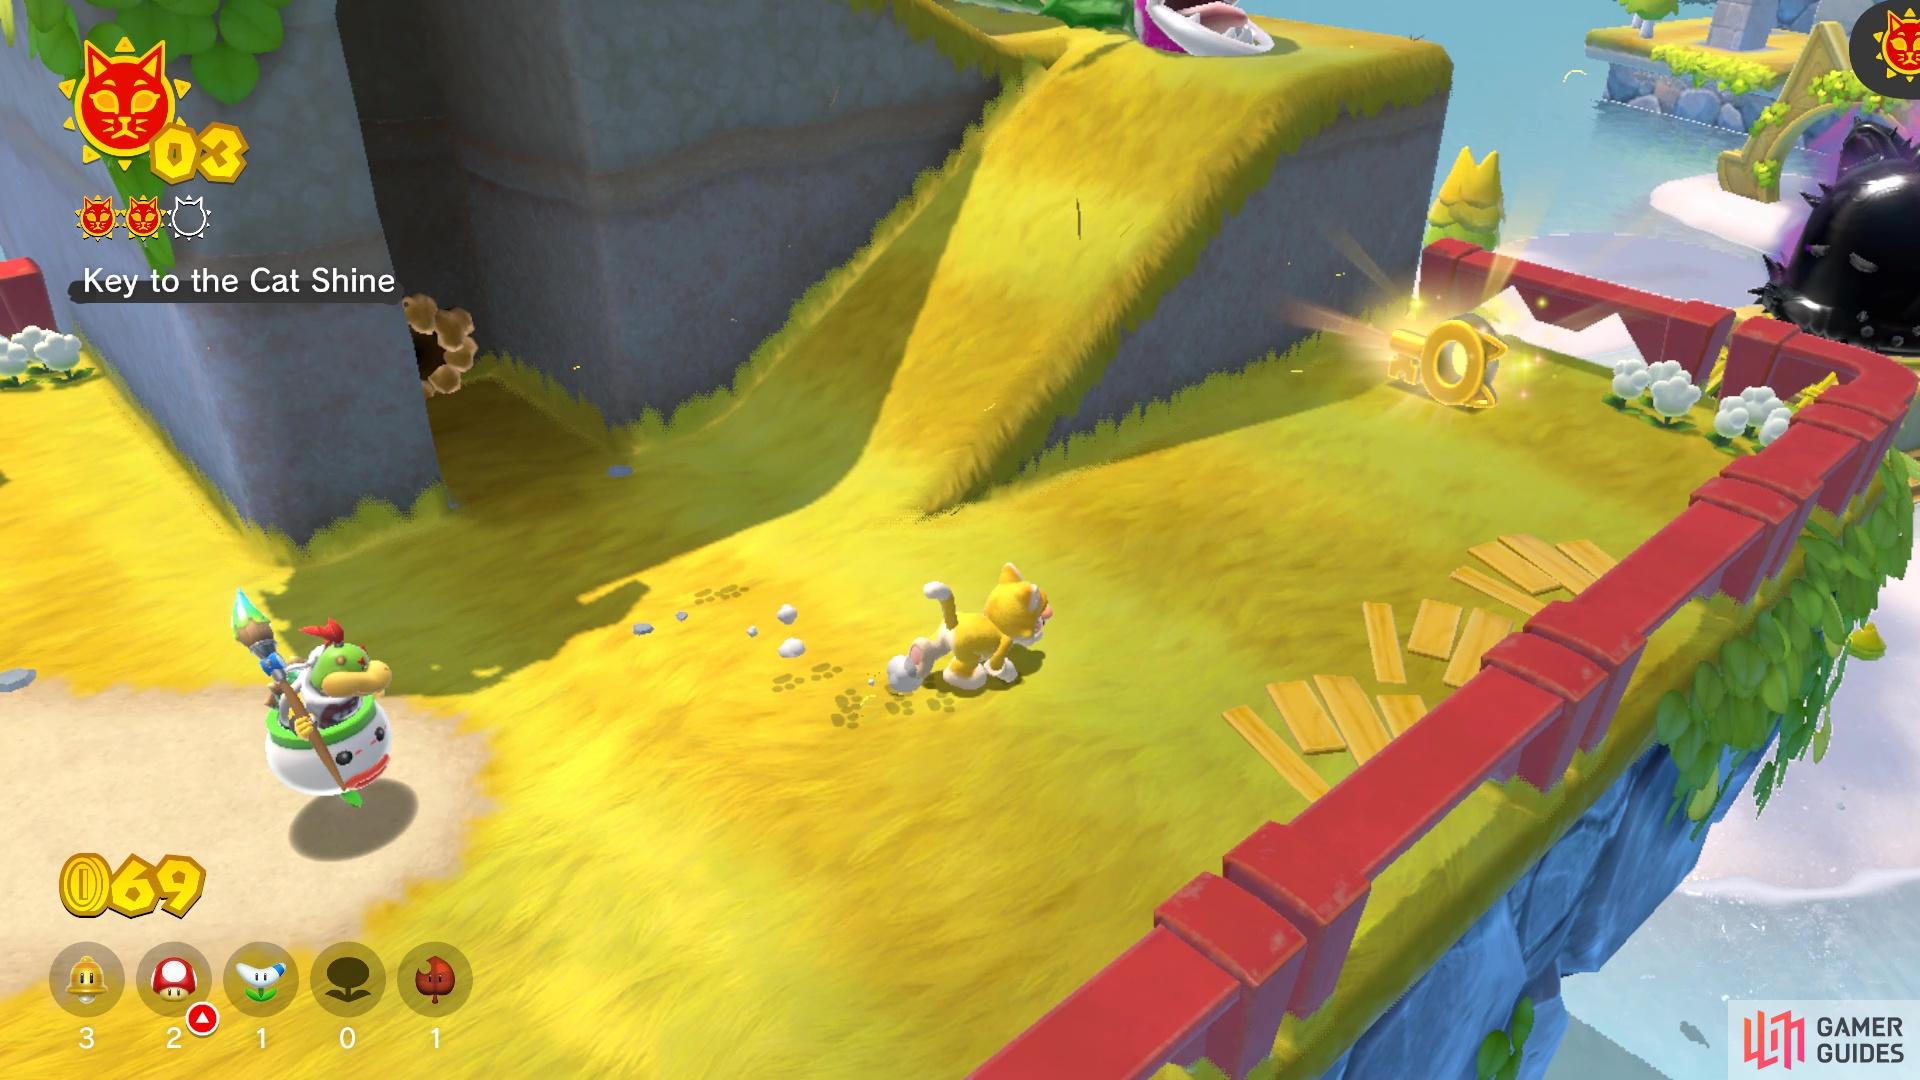
The location of the key for the cage
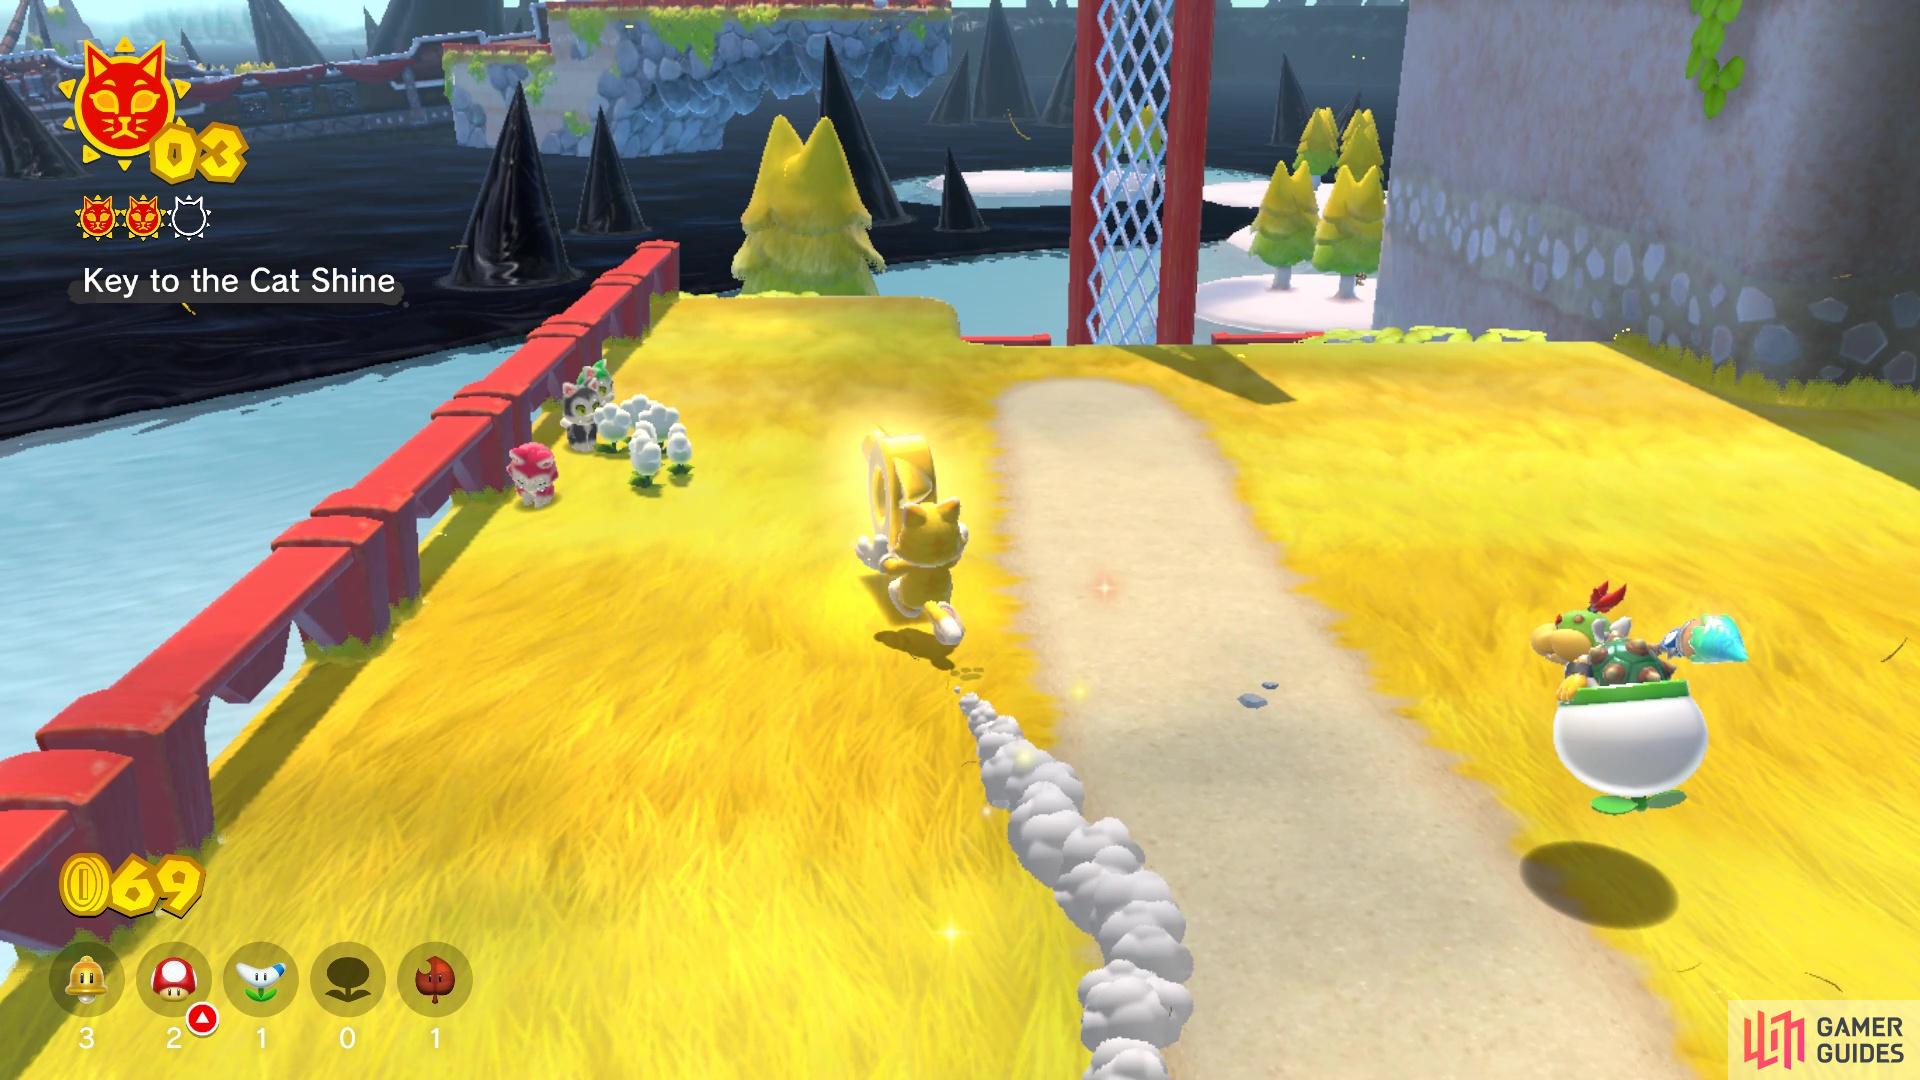
Taking the dry land route makes it much safer
For the most part, getting to the key is pretty easy, as you can avoid the majority of the enemies without having to confront them. The key will be located near the top of the course, by the little alcoves that now house Piranha Creepers, instead of Conkdors. Note that the thin wooden bridge will also have Fire Piranha Plants on the sides, but run right through them without even blinking an eye. Once you grab the key, you will want to avoid falling in any water at all, or else you’ll have to make the trek back up to this spot. You can either backtrack via how you came up, or jump down to a beach portion below, using the sandy path to return to the cage. However you get back, once the cage is opened, you will automatically collect the Cat Shine.
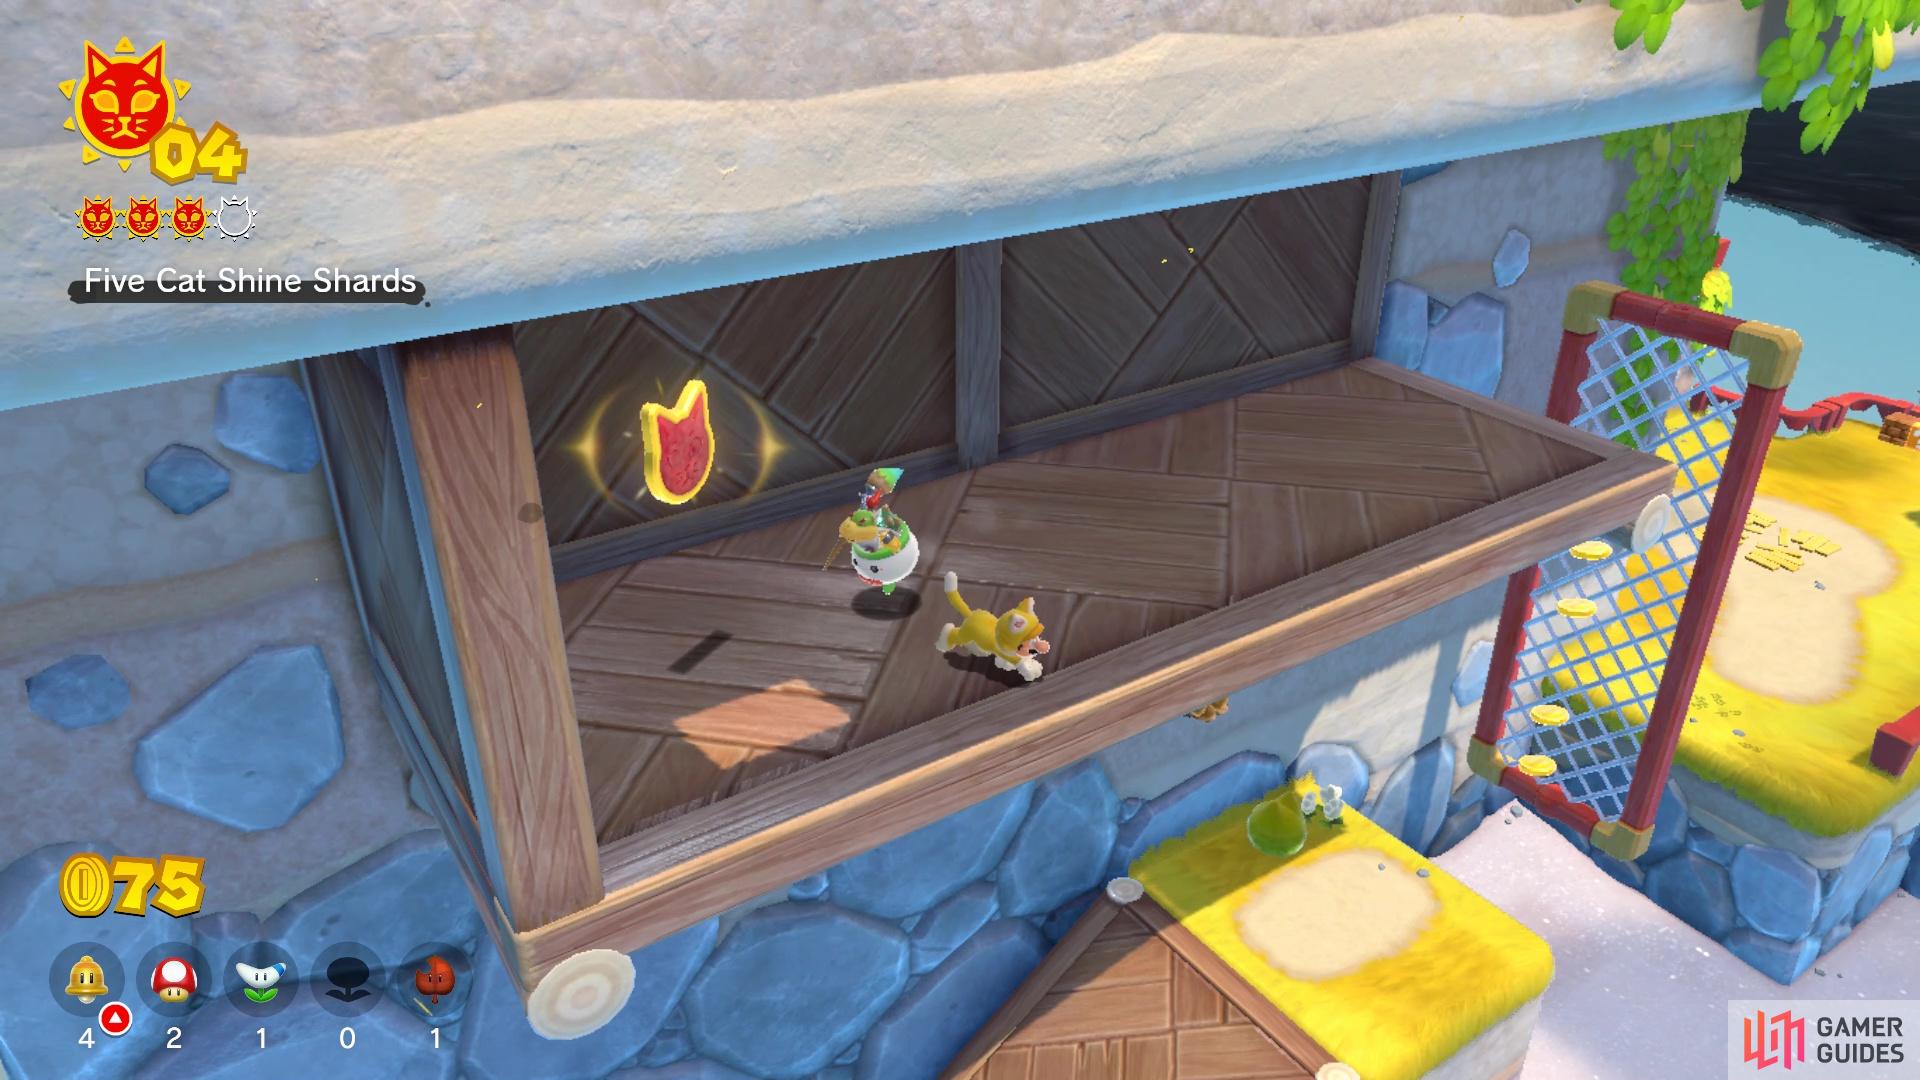
Five Cat Shine Shards Cat Shine
On every island (or at least, most of them), there will be five Cat Shine Shards that will be hidden. In order to get one of the Cat Shines, you will need to collect all five of them. It should be noted that the Super Bell (Cat Mario) is super good for this Shine, since you will need to use the rotating fences to get a few of the Shards. The Propeller Boxes near the beginning, which you might have seen from the previous Shine, are also extremely helpful. To start, head to the first rotating fence and get to the higher ledge from it, then stop. Above the rotating fence, there is a wooden structure that you can enter, but it requires either of the two things mentioned above, as wall jumping to it isn’t really possible.
Once you get inside of it, though, you will find Cat Shine Shard #1. Head to the second rotating fence and look in the air between the wall and the fence to find the second shard. You will either need the Super Bell or Propeller Box to reach it, but that is Cat Shine Shard #2. In the area with all of the cats, there are some crates off to the side, so break them and drop down to the ledge below to find Cat Shine Shard #3. Continue past the bridge with all of the enemies on the side of it, and into the final area right before the lighthouse.
You probably saw all of the rotating fences in the last section here, and lo and behold, the next Shard will be in the air between the fences. As before, you will either need to be Cat Mario or have the Propeller Box to grab it, as it will be above the highest fence; this will be Cat Shine Shard #4. For the final Shard, you will have to look underneath the final area before the lighthouse, so drop down into the waters there. You should see two stone platforms slightly submerged and if you can aim the camera on the wall in front of them, you should see a small piece of fence. The Shard will be behind that fence, so you will need the Super Bell in order to reach it; this should be Cat Shine Shard #5, netting you the Cat Shine.
Blast the Fury Blocks Cat Shine
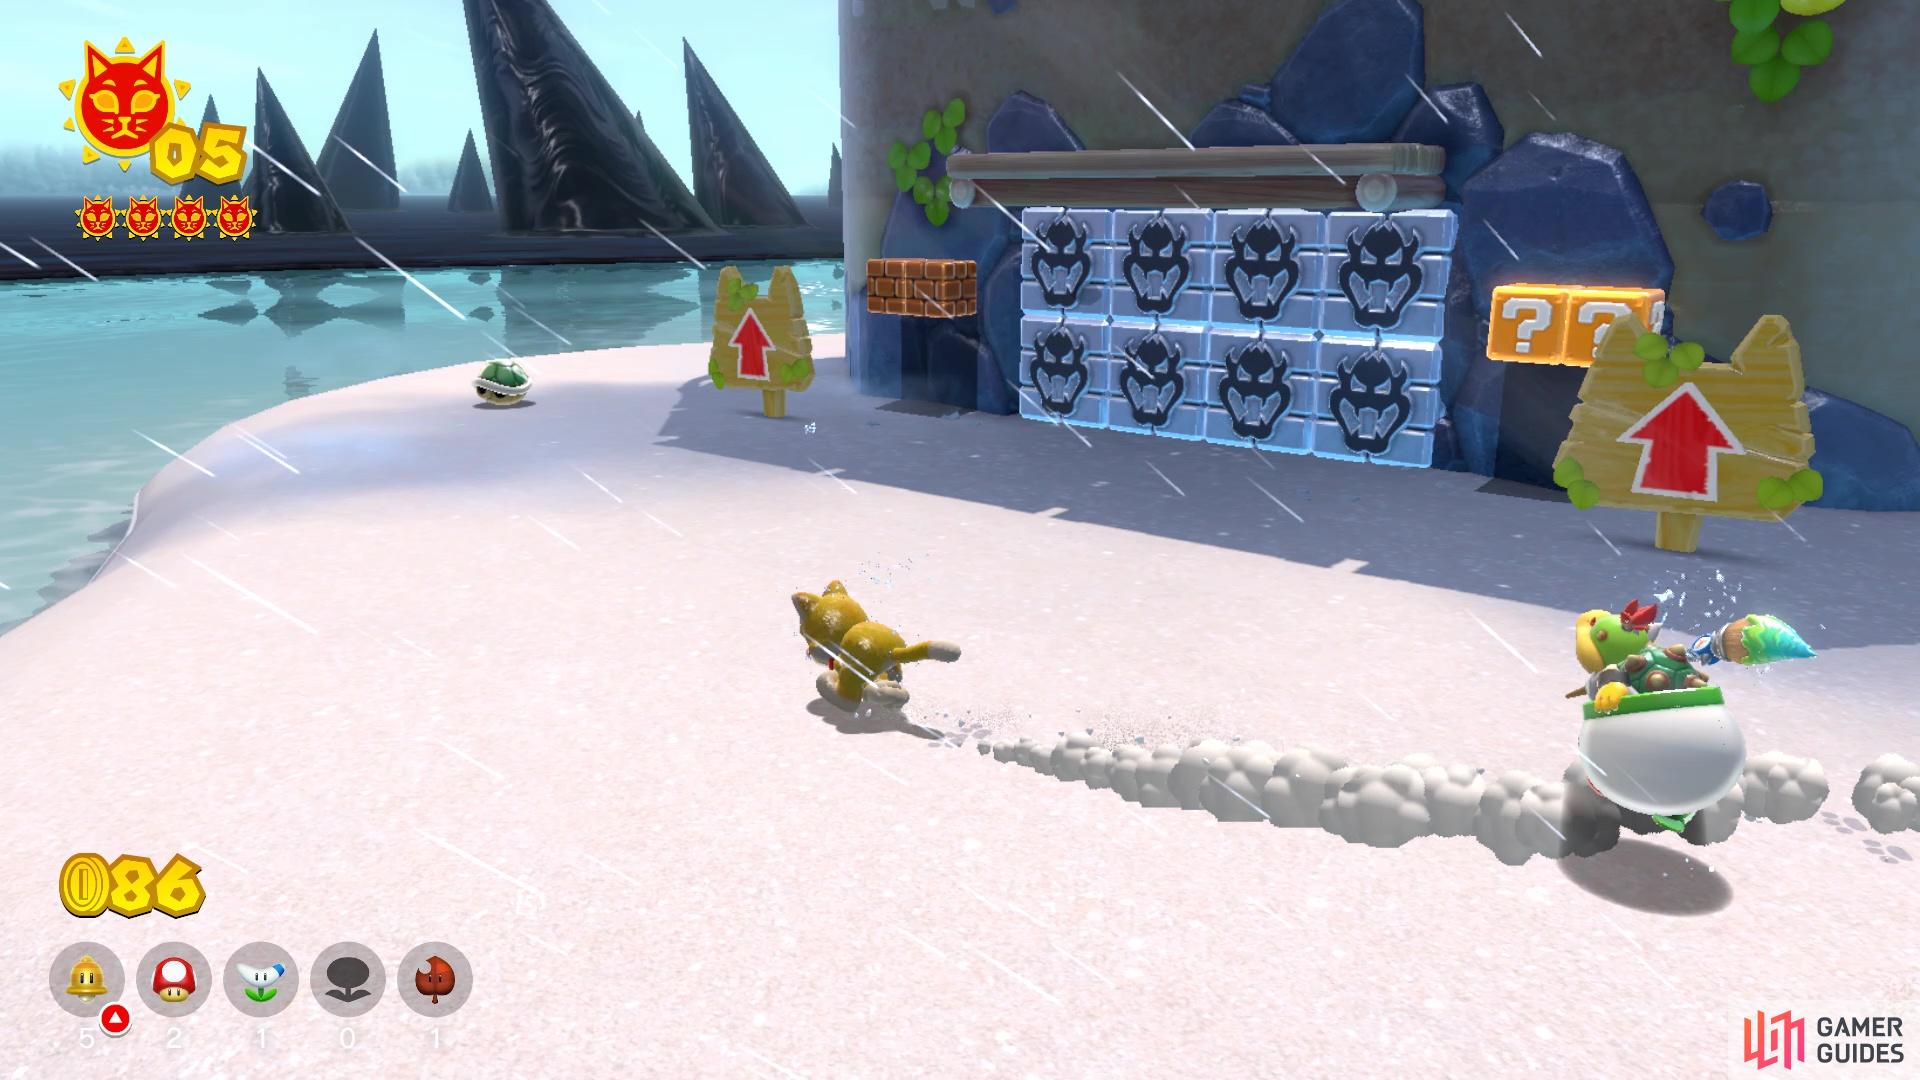
The location of the Fury Blocks on Scamper Shore
The final Cat Shine on Scamper Shores will require the help of Fury Bowser. If you remember from the prologue bit, you had Fury Blocks and you needed Bowser in order to break them. To find the Fury Blocks, at the beginning, instead of going up the wooden ramp, follow the coastline to the right of the ramp. Keep following this, past the single floating wooden platform and around the corner will be the Fury Blocks. If Fury Bowser isn’t active, then you will need to wait here until he does wake up. Once he is moving, stand in front of the blocks and wait for the fire breath, which will break the blocks and reveal the Cat Shine.
No Comments