
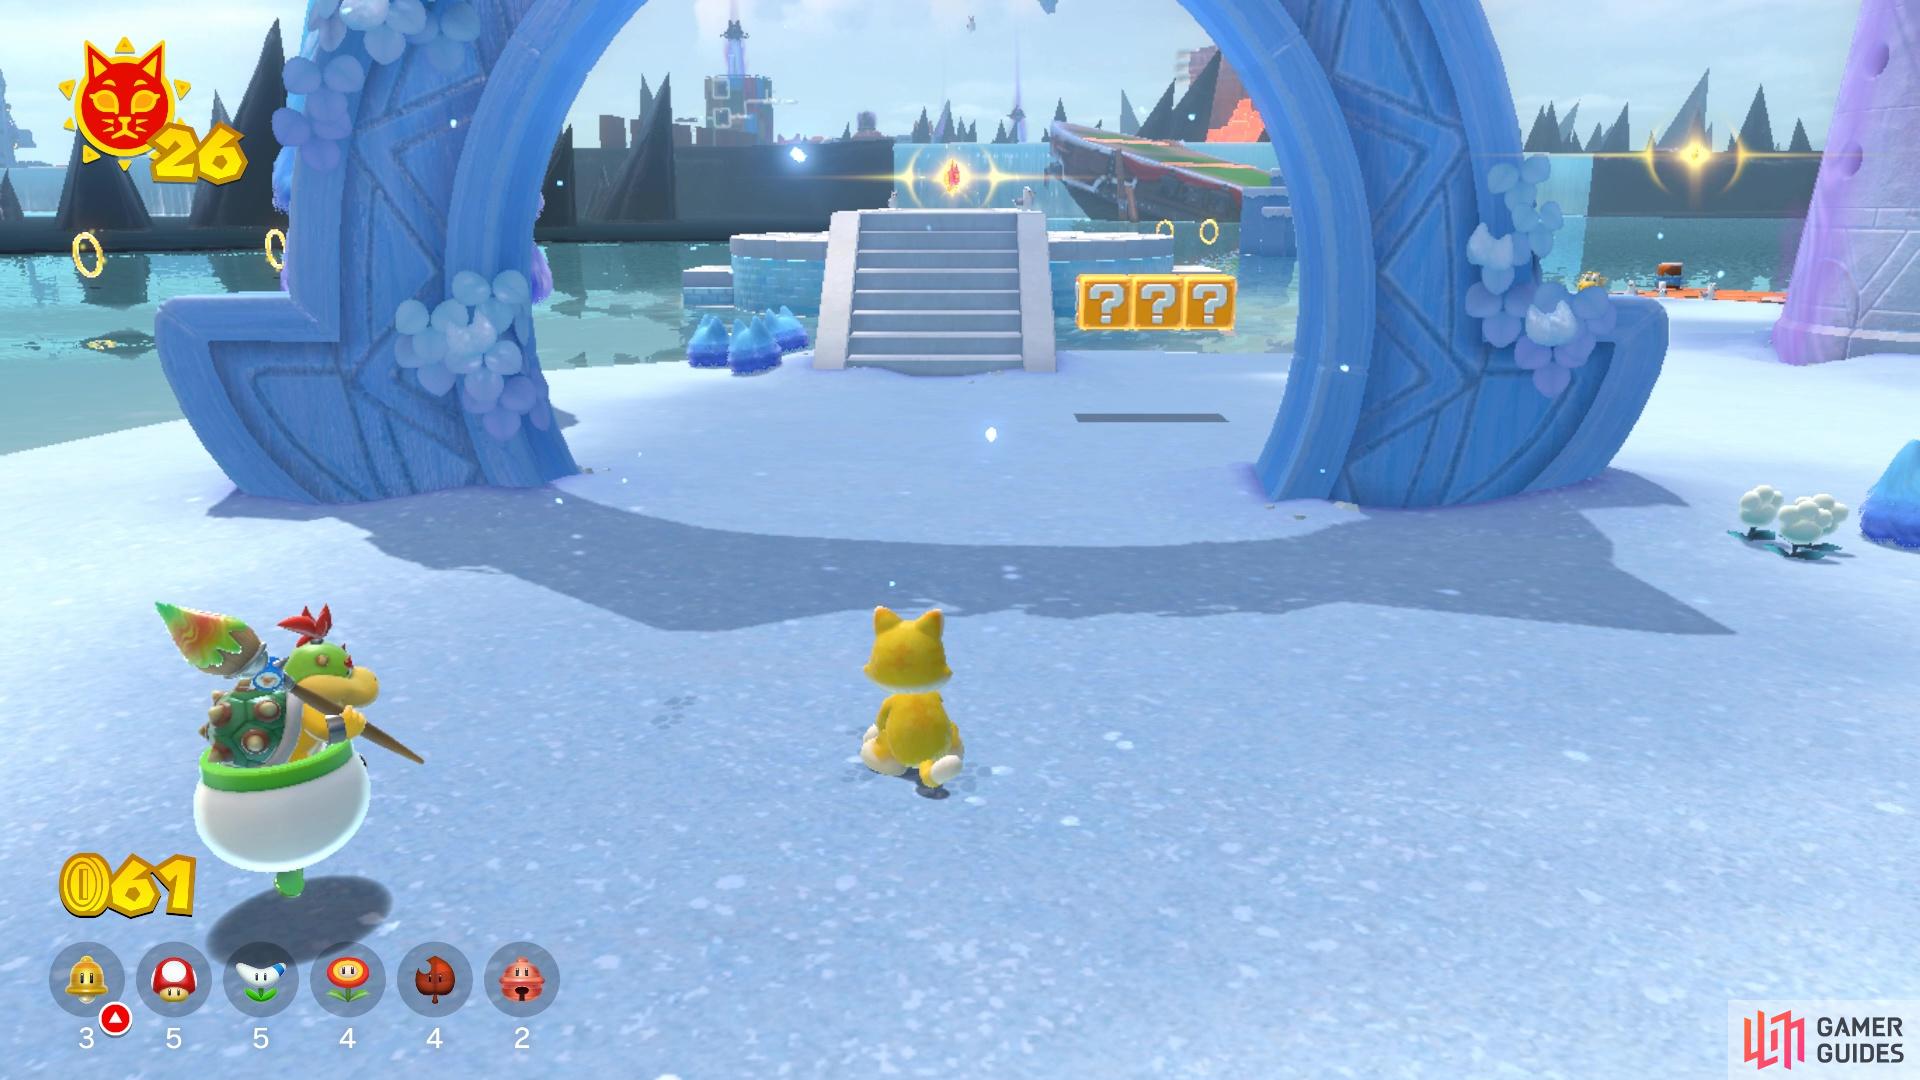
If you have found and completed Clawswipe Colosseum, then you should see another island right next to it. There is a bit of a path off to the side by Clawswipe’s gate, which has Rammerheads going across the gaps in between them. This will be Trickity Tower and it might not seem like there’s much to it. In fact, you will probably see a Cat Shine right away, but as you explore the island, you will notice something is definitely off with it. That’s because the main focus of Trickity Tower is that there’s a bunch of invisible platforms occupying it. You won’t know where the path is located unless you’re currently on it, but performing a Ground Pound will also reveal the path around the spot you hit.
So Close Yet So Far Cat Shine
There isn’t really much to this island, as the lighthouse is to your right, past the gate. You will also notice a Cat Shine out in the open straight ahead, but approaching it will reveal a hidden tower that blocks you from getting it. Go around to the other side, to where the wooden crates are “floating in mid-air” and you should see some spike trap rolling down. If you perform a Ground Pound on these invisible platforms, you will see the surrounding area of the invisible section. If you check the area just past those previously mentioned crates, then you should see the incline leading upwards.
An invisible tower blocks the way to the Shine
Be mindful of the Spikes tossing spike traps at you
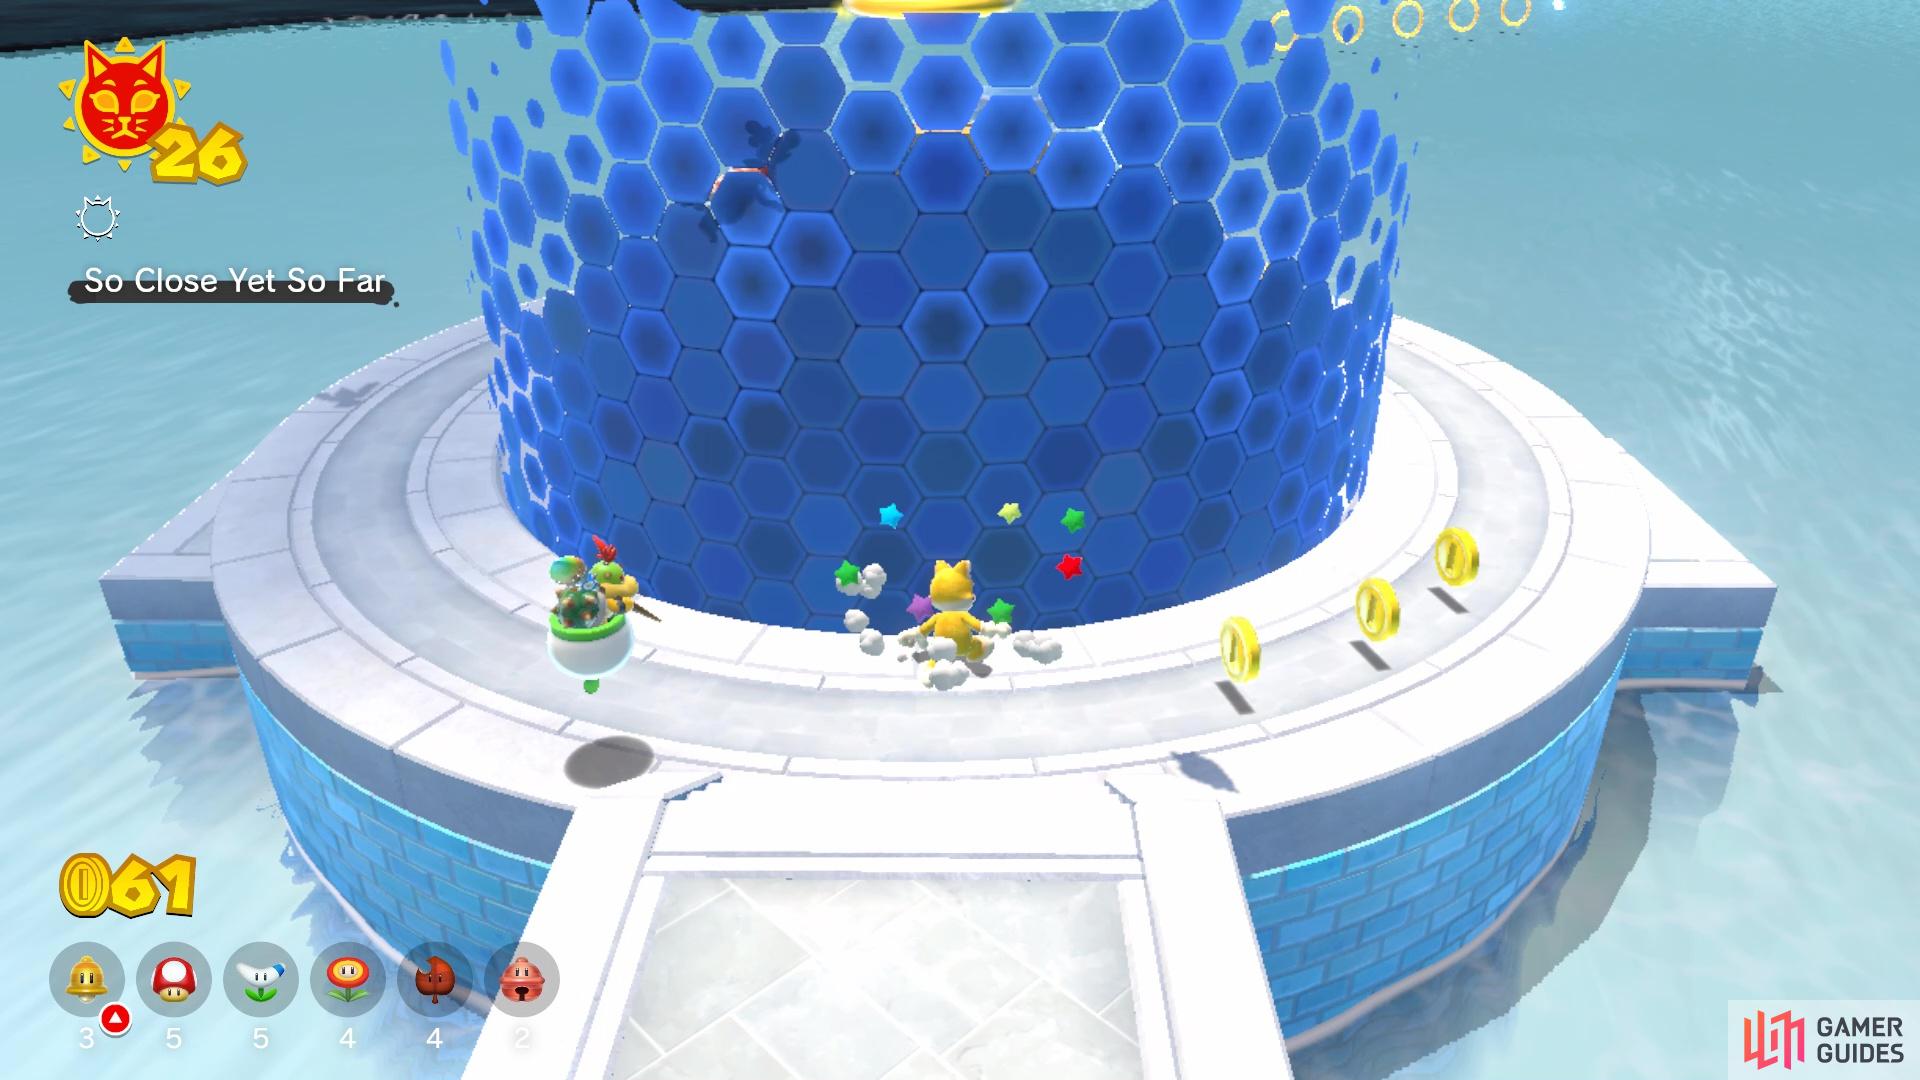
Also, you will need to jump over the spike traps sent down by the Spike enemy. Right before the Spike, another path will show itself, which leads to another trail with a Spike at the end. Just past that second Spike enemy, you will see some wooden crates. Get on top of them and perform a Ground Pound all the way down to another section of the course. The path here is linear and will bring you back to the main tower with the Shine, although you still can’t get inside. Find the next path for you to follow, taking you to two more Spike enemies tossing spike traps.
There is a bit of a delay between them, although it’s really just that one Spike is farther back than the other one, so they are releasing their traps at the same time. Just past those enemies will be the final bit for this Cat Shine, where you will see four spike traps circling around another hole, which will be at the top of the invisible tower. Avoid the spike traps, jump down into the hole and you will see the Cat Shine right in front of you. After collecting it, a pipe will appear that will take you out of the invisible tower.
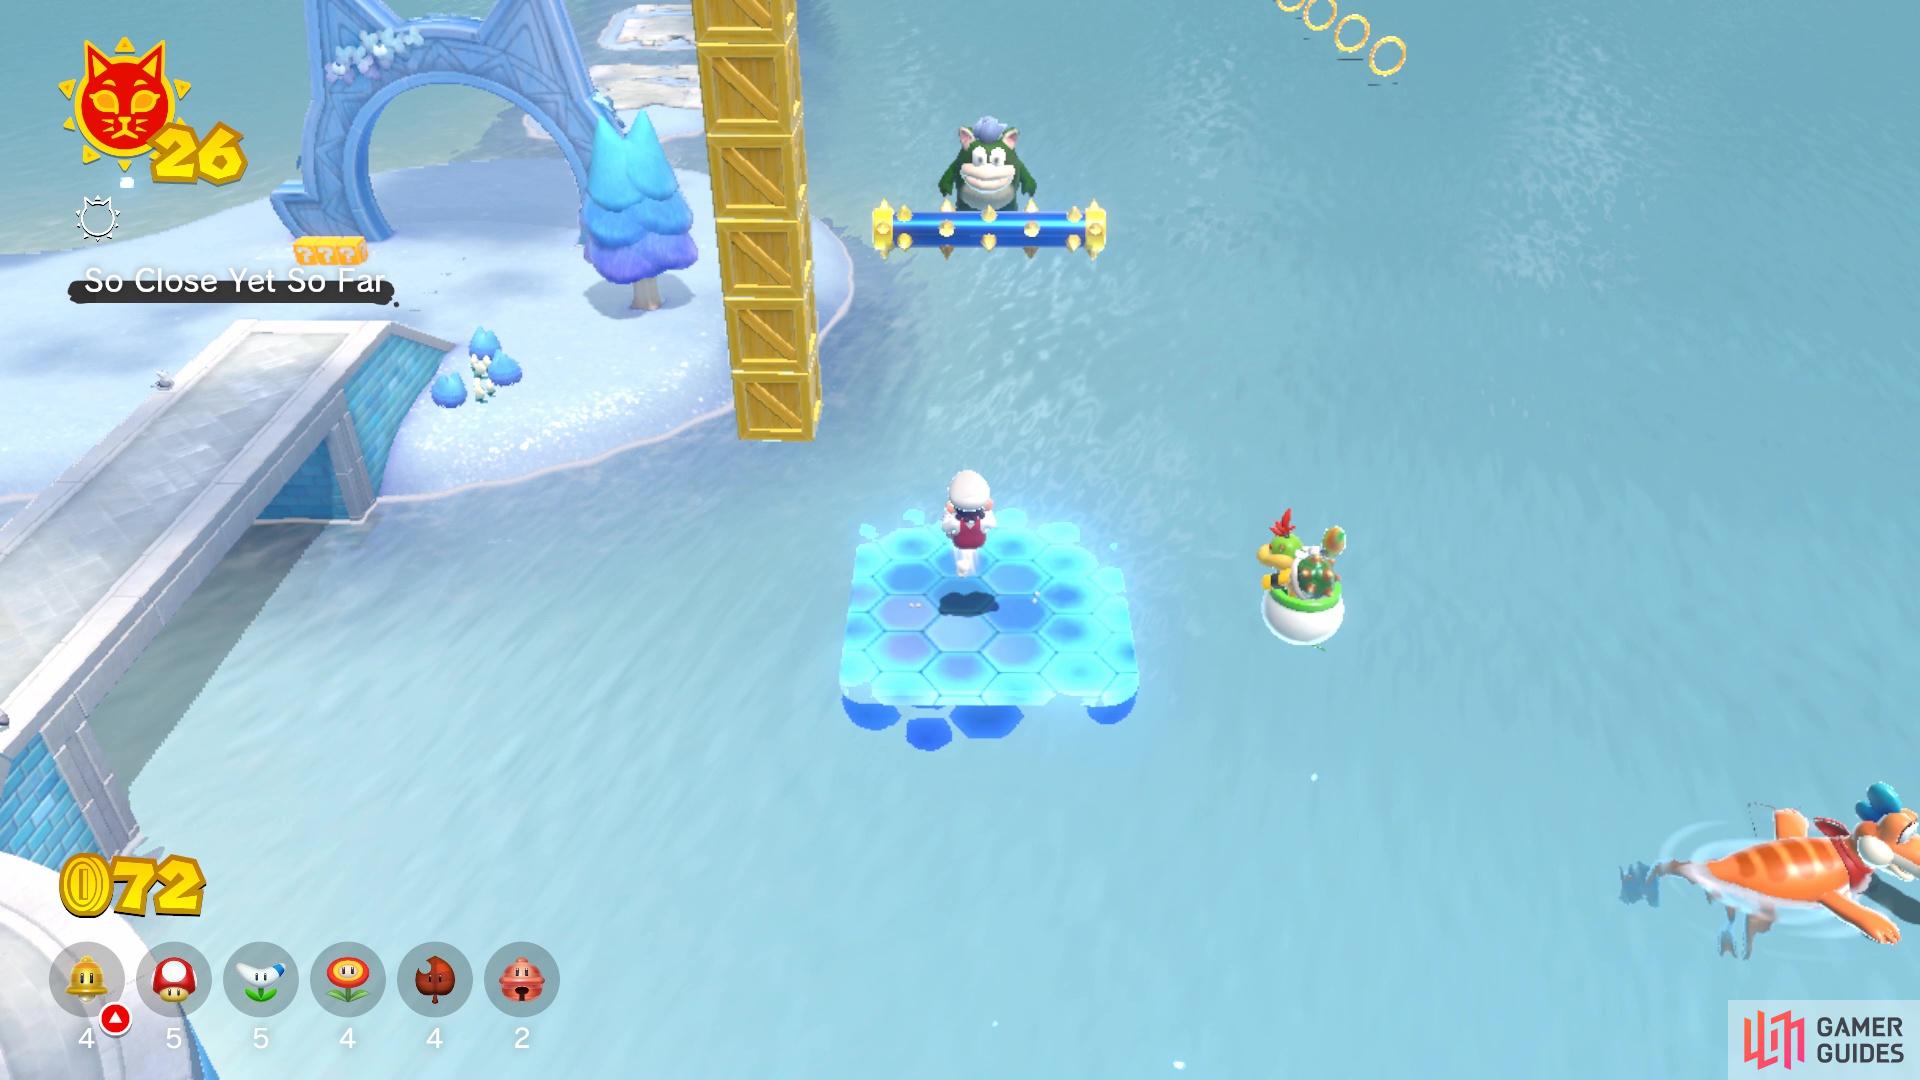
Blue Coin Bustle Cat Shine
Upon returning to the island after finishing up the first Shine, you will see a familiar P-Switch right past the gate. This Shine might take a few tries, as you might not be familiar with the layout of the invisible paths. The majority of the blue coins will be a straight path and you will only need to jump over tiny ledges, with no gaps in between them. When you start, run straight and collect the coins, then go around the invisible tower to collect the second portion of the first set. The second set of coins will appear, on the first ramp, but they show up in a pattern that causes you to run back and forth.
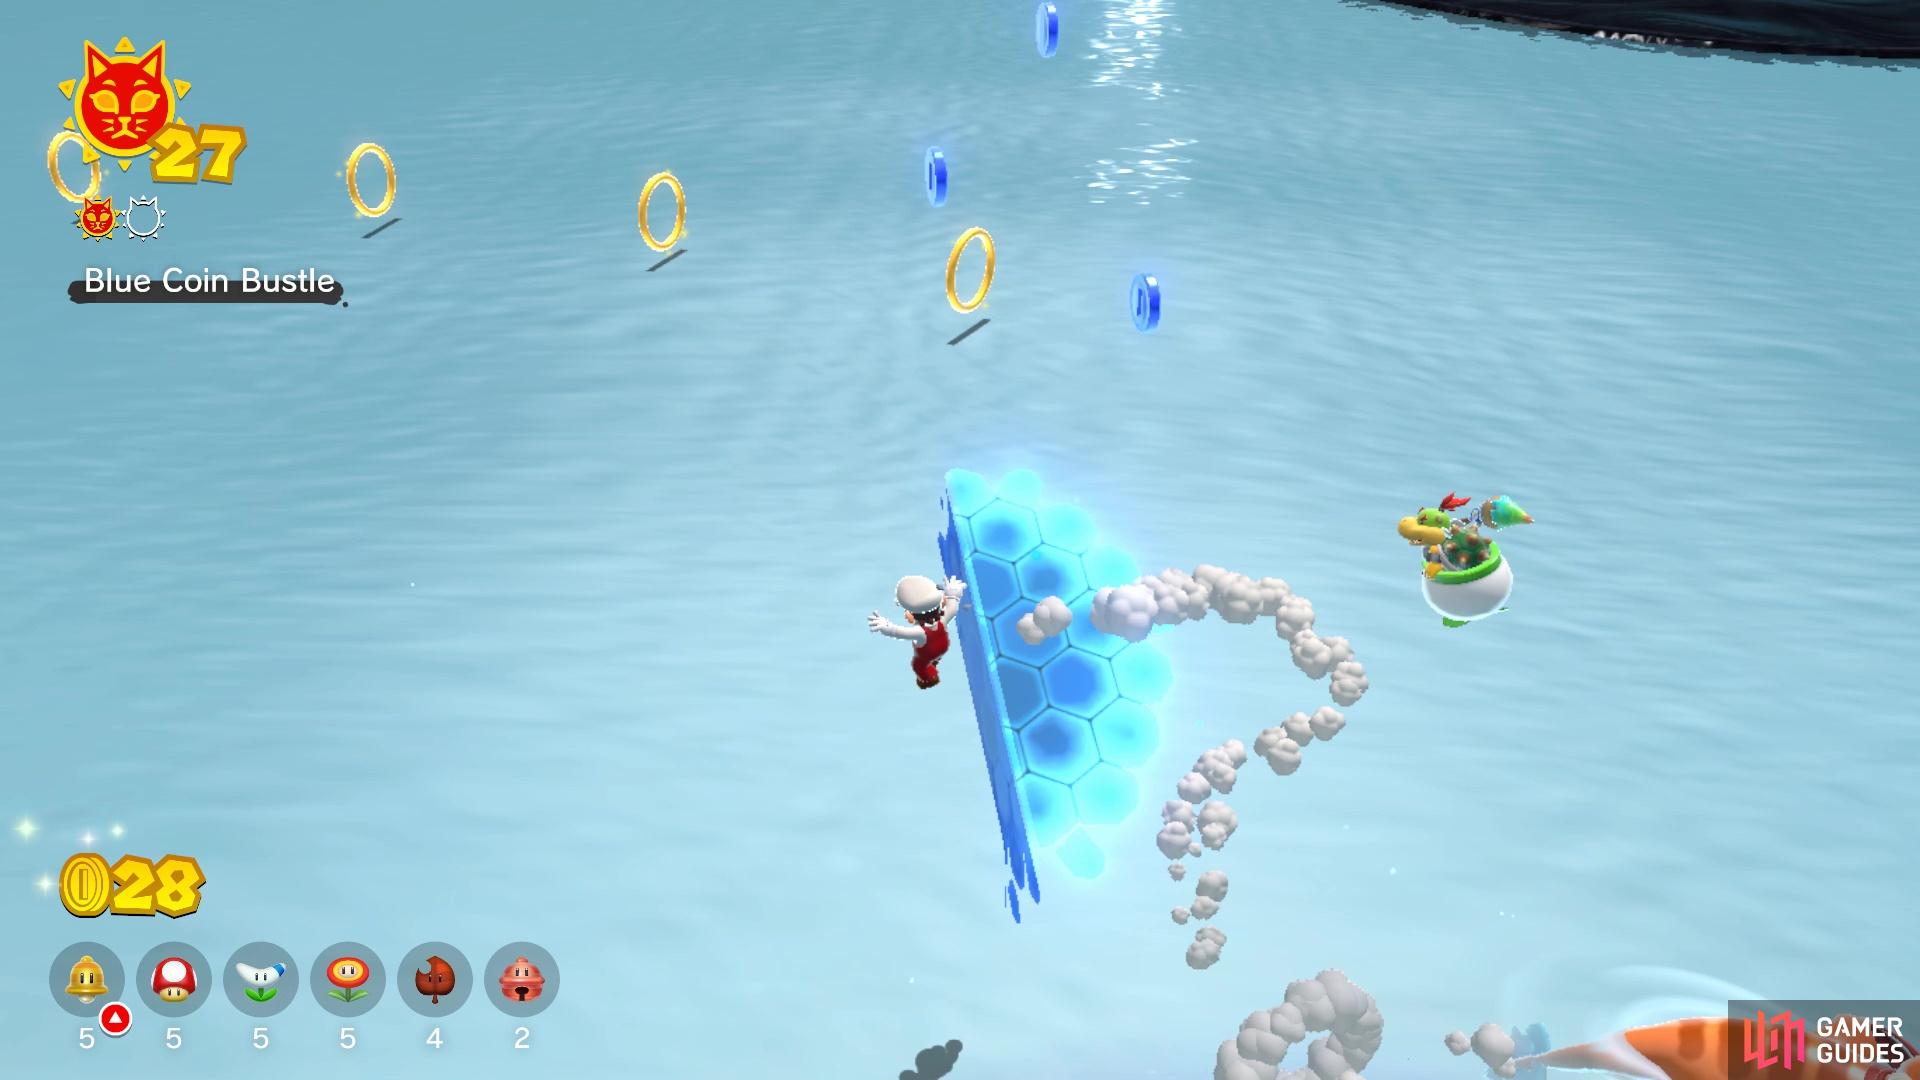
It can be easy to fall off the invisible path when you’re not familiar with it
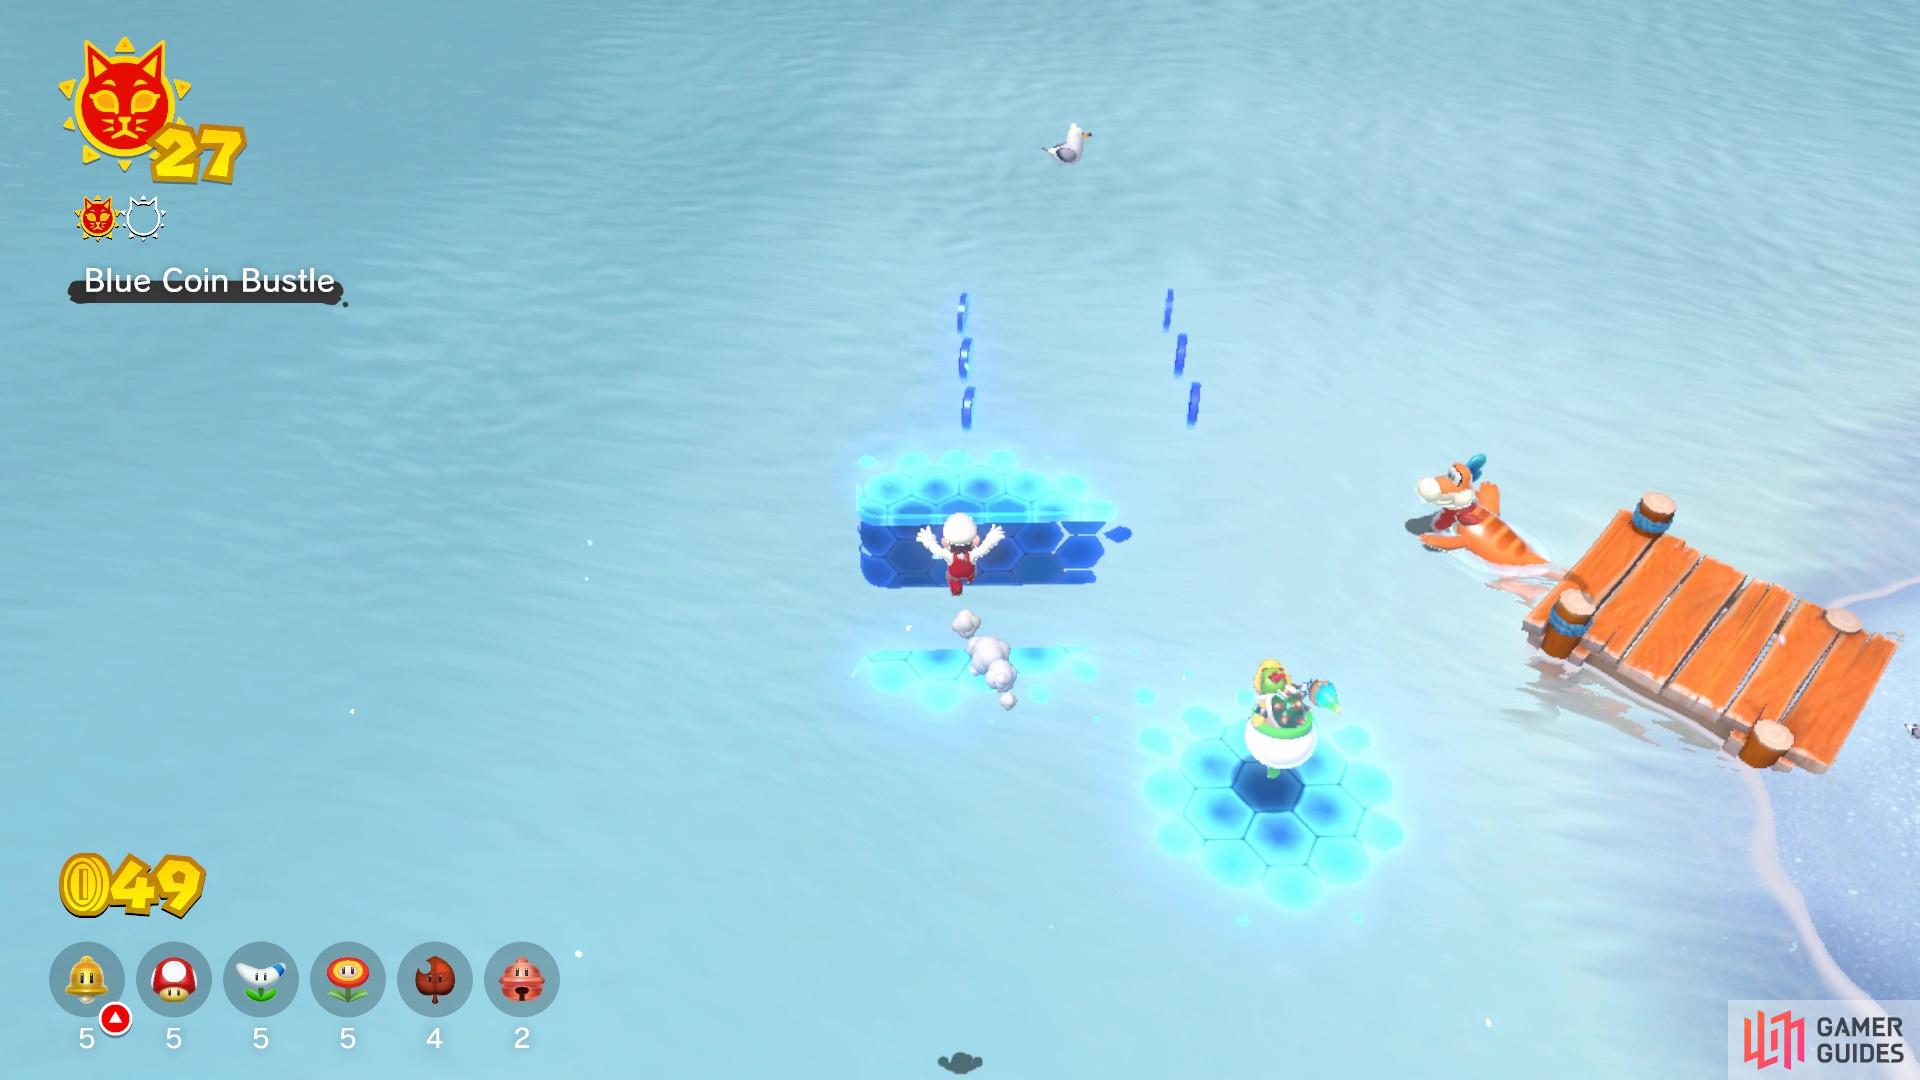
There is a gap right before the final blue coins
As soon as you collect the final coin on the ramp, immediately turn and run along the next path, collecting the coins along the way. This will lead you to the hole that was occupied by wooden crates before, so drop down it, trying to stay in the middle because of the coins. You will need to be quick at the bottom, since there will be more coins to collect, including some on an upper ledge off the beaten path. For the final set of coins, you will need be to careful not to fall off before the final six coins, as they are across a small gap. Collecting the final blue coin will cause the Cat Shine to spawn back near the P-Switch.
Hurry! Watch Your Step! Cat Shine
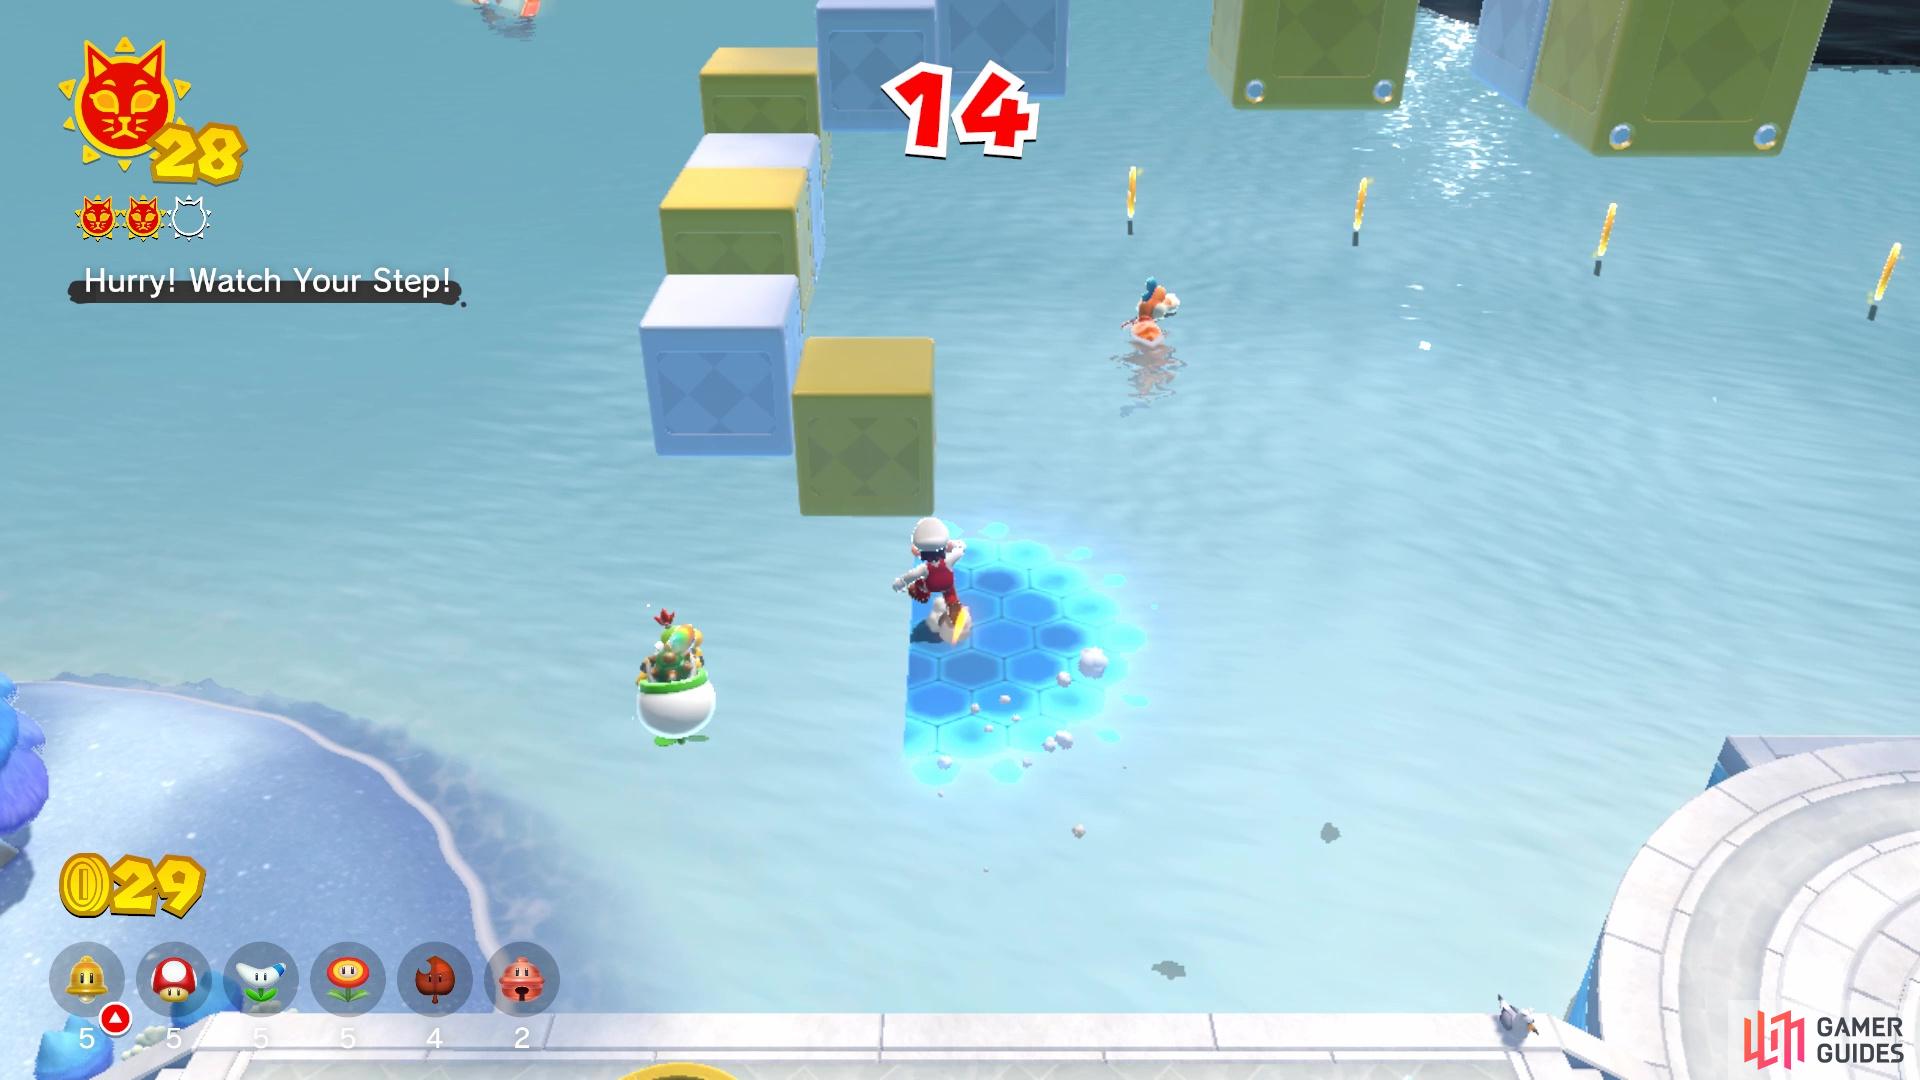
There are invisible paths connecting the blocks leading to the Shine
Similar to the previous Shine, you will notice a Ground Pound button near the start of the course. Hitting it will cause a series of platforms to appear, which will require you to traverse them and get to the Shine at the end before time expires. Note that the Cat Shine is also tied to the timer, so you will need to collect it before the 20 seconds are done. Of course, still fitting the theme of the island, you will have invisible paths connecting the blocks you have to traverse, so this will highly likely take you a few tries to get down before you can get the Cat Shine at the end.
Five Cat Shine Shards Cat Shine
It’s time to collect the five Cat Shine Shards in Trickity Tower, which can be a little confusing because of the invisible platforms/paths. Start off by going to the opposite end of the course, where the path leads you upwards. You probably saw this Shard before, but it is off to the side of the main platform/tower, underneath the walkway that begins your ascent; this is Cat Shine Shard #1. Get on the main invisible path and begin climbing the first ramp, where you will see Cat Shine Shard #2 off the main path at the top of the ramp.
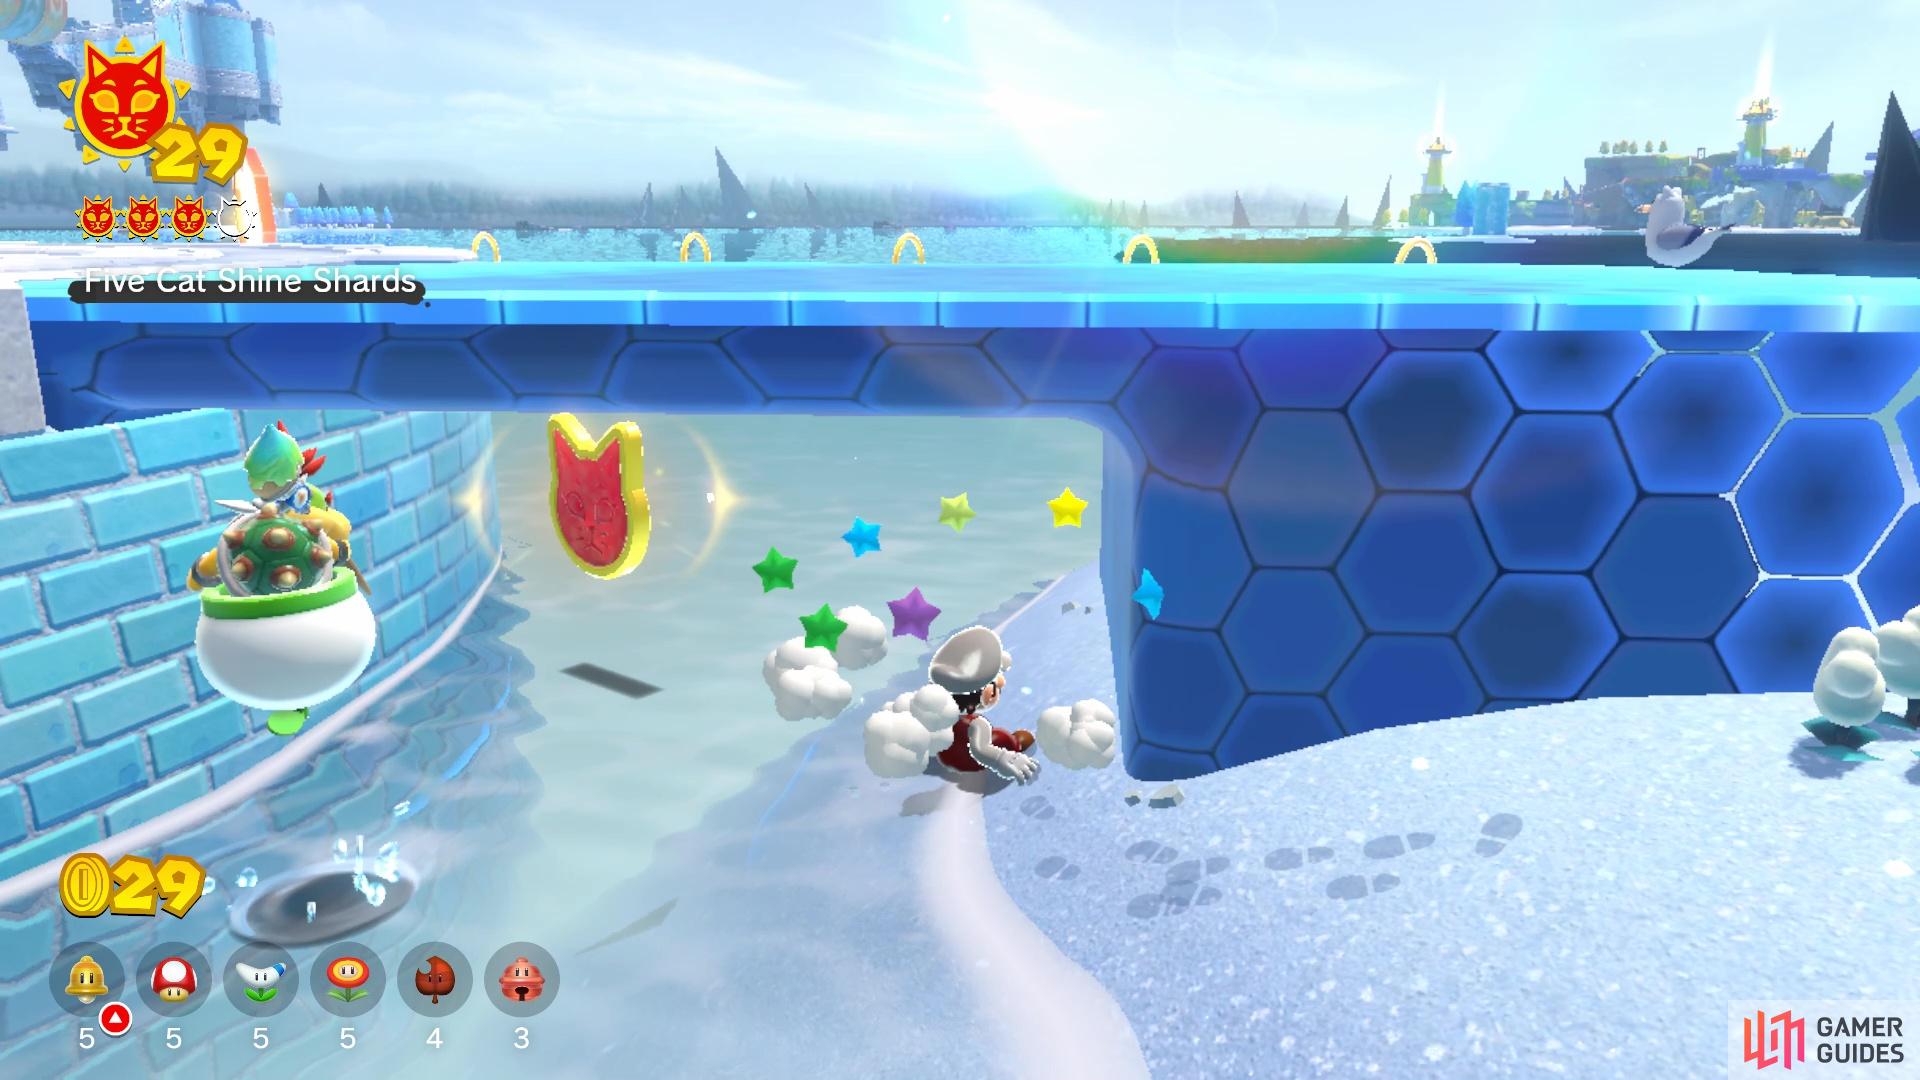
For the next Shard, it’s a lot easier to get it if you happen to have the Super Bell power-up. Right by the hole where the stack of wooden crates is/was located, there is a tall wall behind it. Use Cat Mario to climb to the top of this wall to find Cat Shine Shard #3. Drop down the hole now and continue past the second floor of the tower, to where you should see Cat Shine Shard #4 off to the side just a little past the tower. Continue up the next ramp and at the top, you should see a different platform. This path will lead underneath the main one and straight to Cat Shine Shard #5, netting you the Cat Shine.
Blast the Fury Blocks Cat Shine
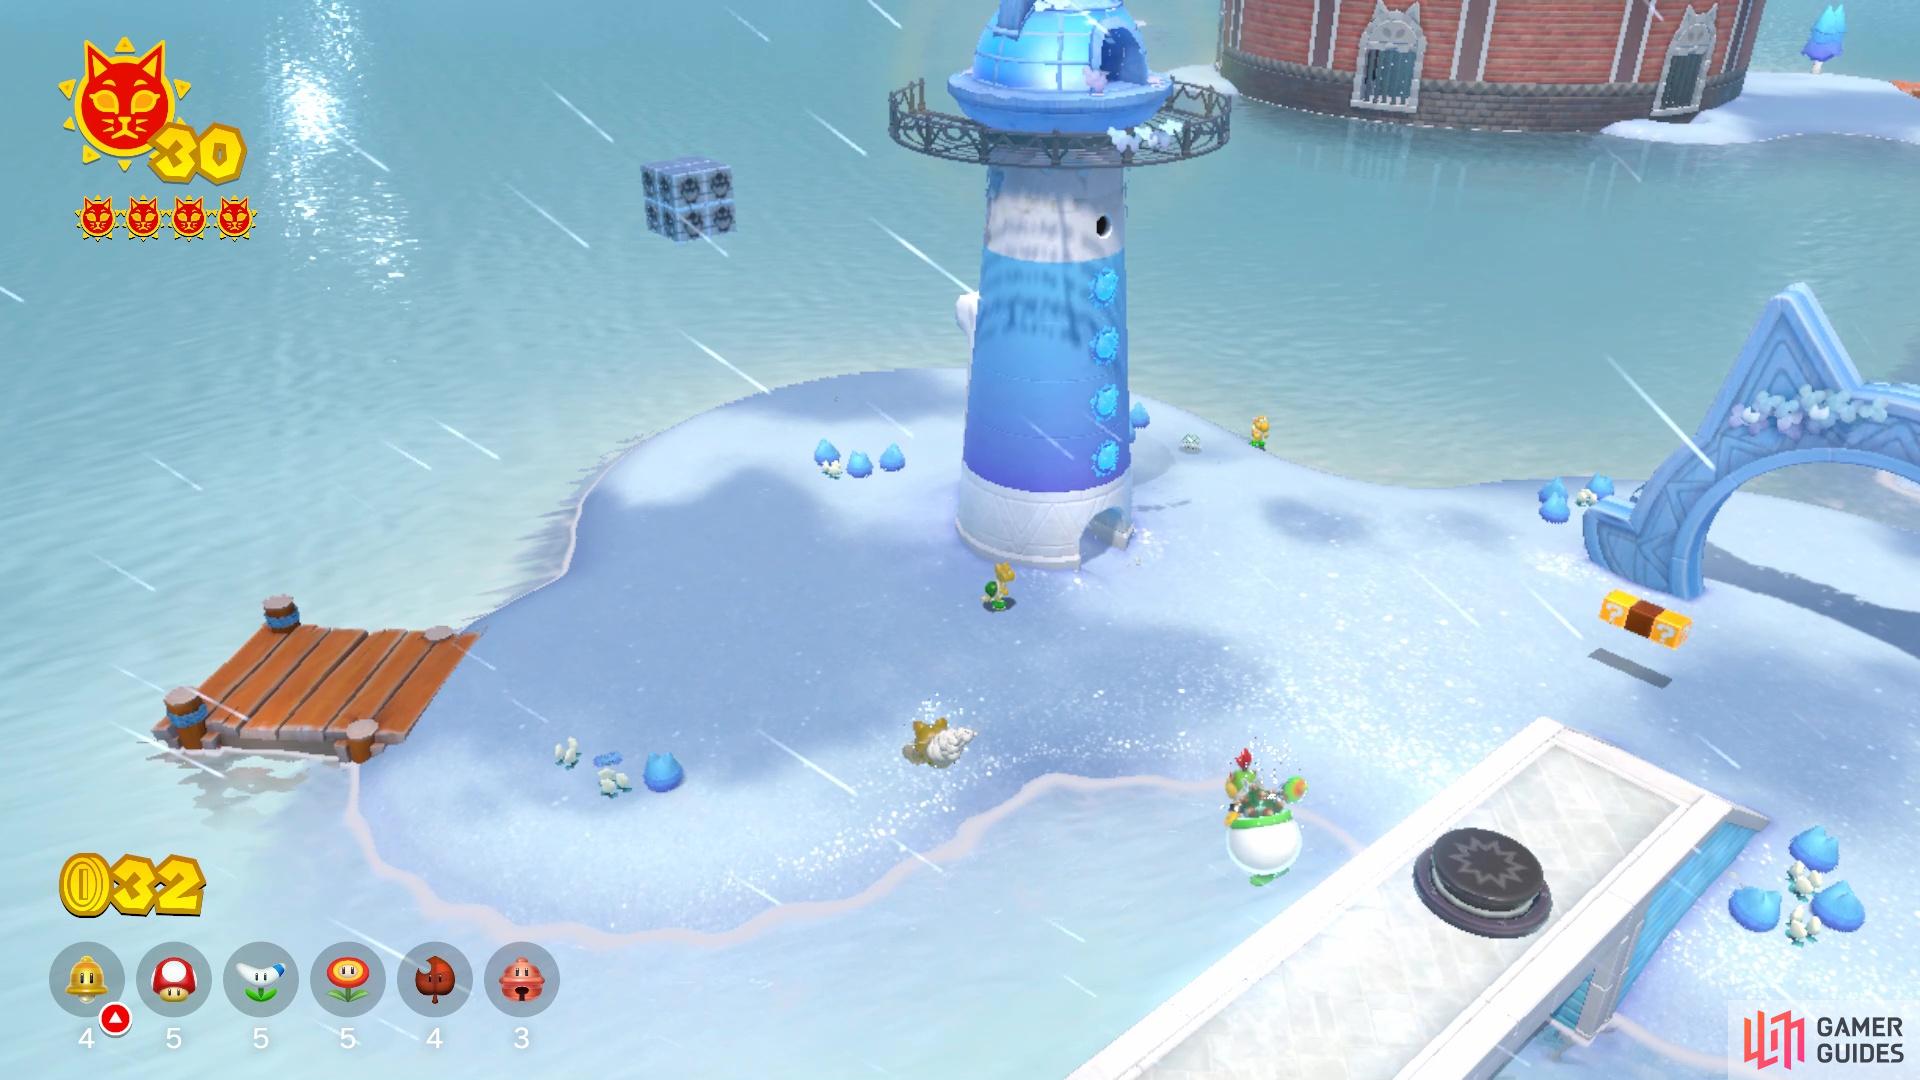
You can see the Fury Blocks behind the lighthouse
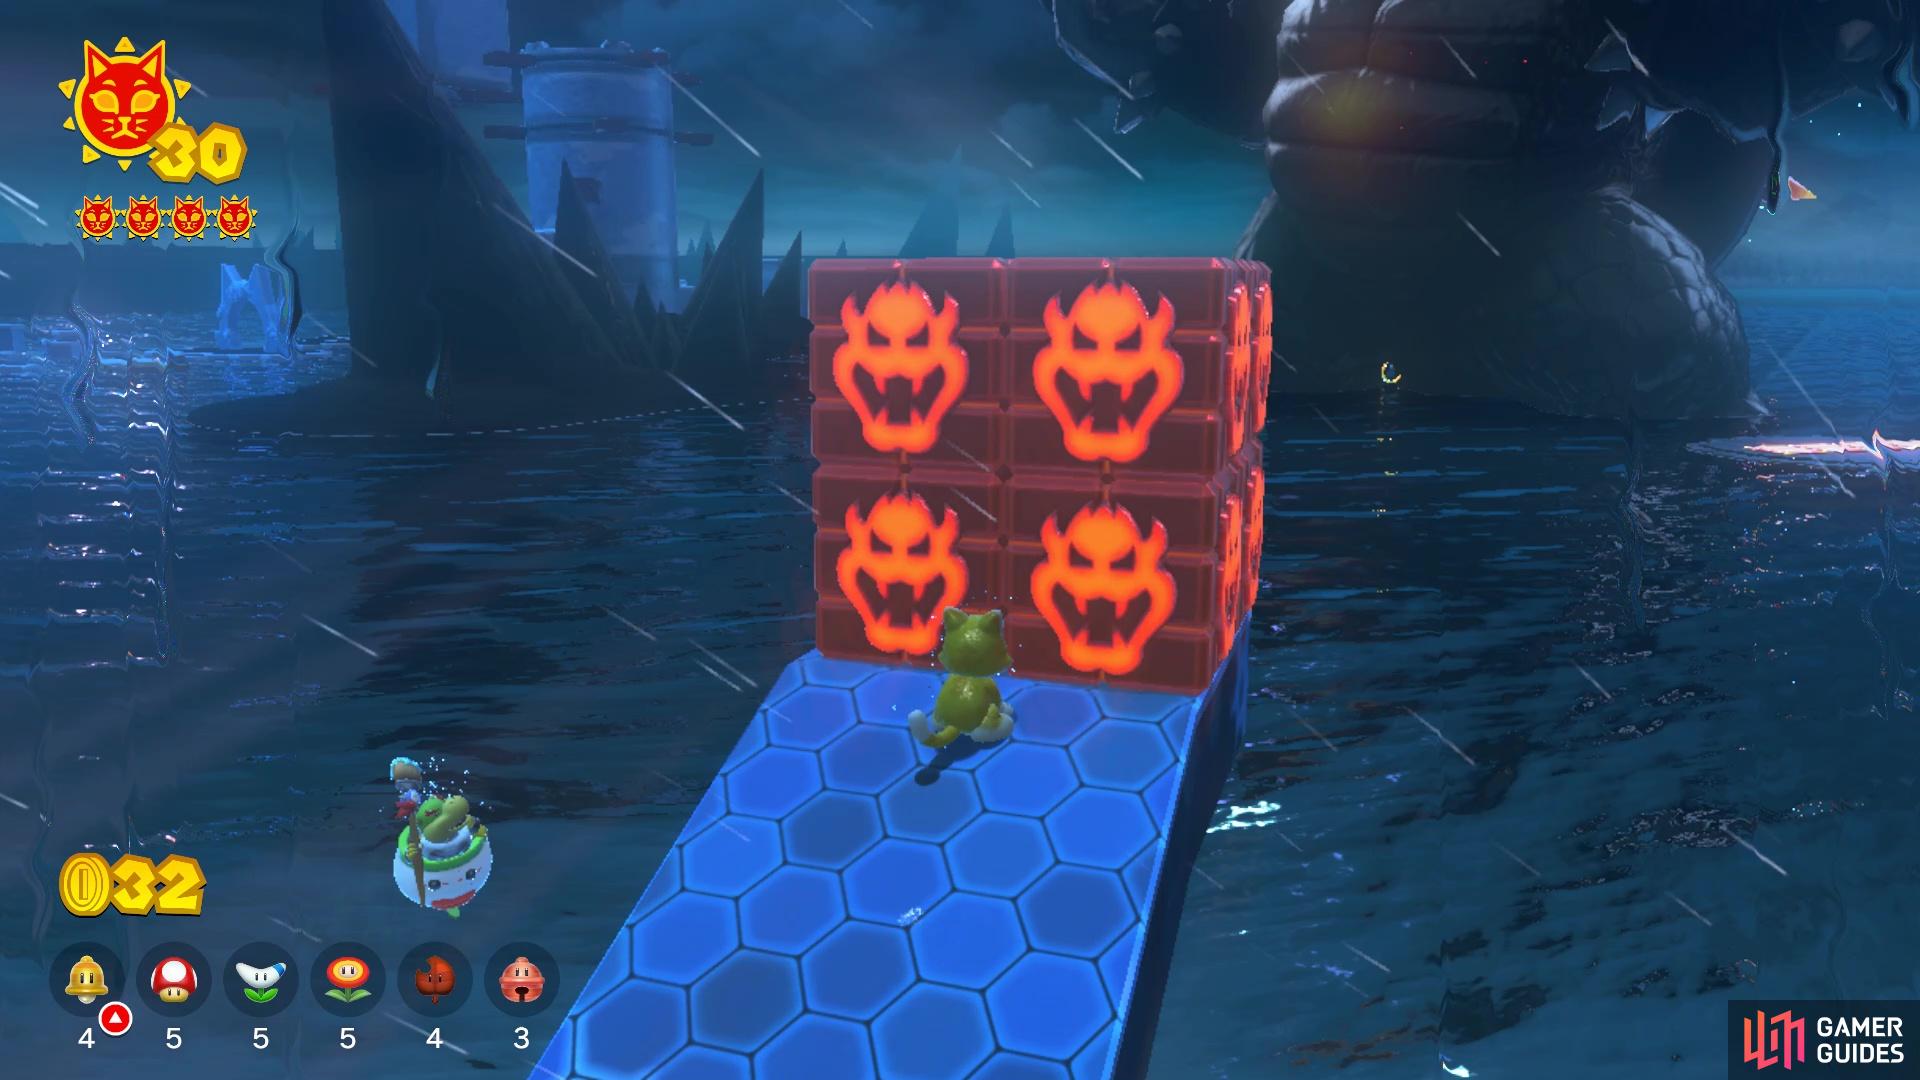
An invisible path will lead you to them
The Fury Blocks for this island aren’t located on the main path, so you won’t find them there. In fact, if you look behind the lighthouse back at the start, you should find the Fury Blocks sitting in the air. Of course, due to the nature of the island, it is on an invisible path. You can simply wait next to the blocks for Fury Bowser to do his thing, meaning you don’t actually need to hide, as the fire breath shouldn’t hit you here. Once the blocks are destroyed, you can grab the Cat Shine.
No Comments