The focus of this level will be on trampolines and a new enemy, the Hop-Chop. The latter is basically a springboard that moves around on its own, with some sharp teeth. They will chase after your character, but a simple jump on them will destroy them. Note that sometimes, a Hop-Chop will turn into a regular spring after being defeated, which can be carried around by your character. In the first little area, you can just run past the trampolines and hit the blocks as you go for some coins.
When you get to the other side, climb the wall ahead. Up top you’ll find a Red Ring and collecting the eight Red Coins will reward you with a Fire Flower.
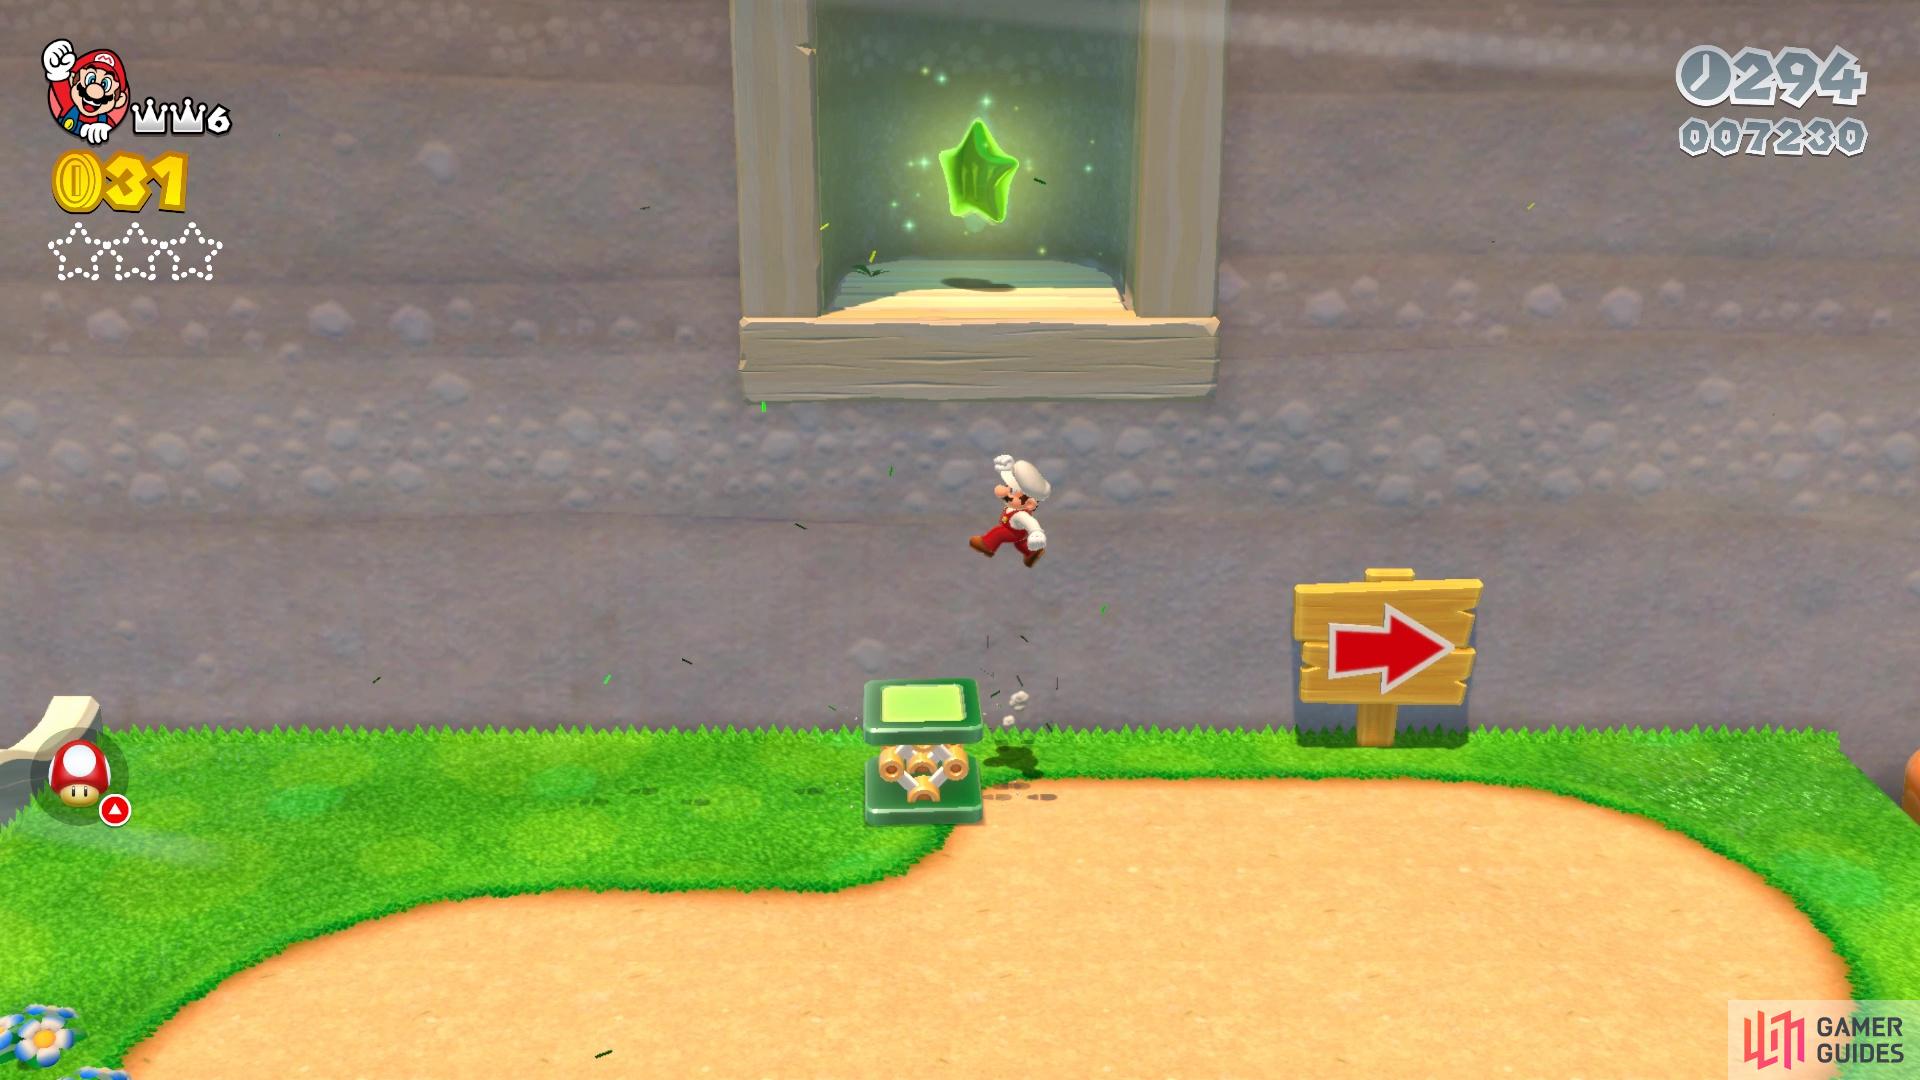
(1 of 2) Use the Hop-Chop that turns into a spring to collect the first Green Star
Use the Hop-Chop that turns into a spring to collect the first Green Star (left), The second Green Star is up the small stairs right after the checkpoint (right)
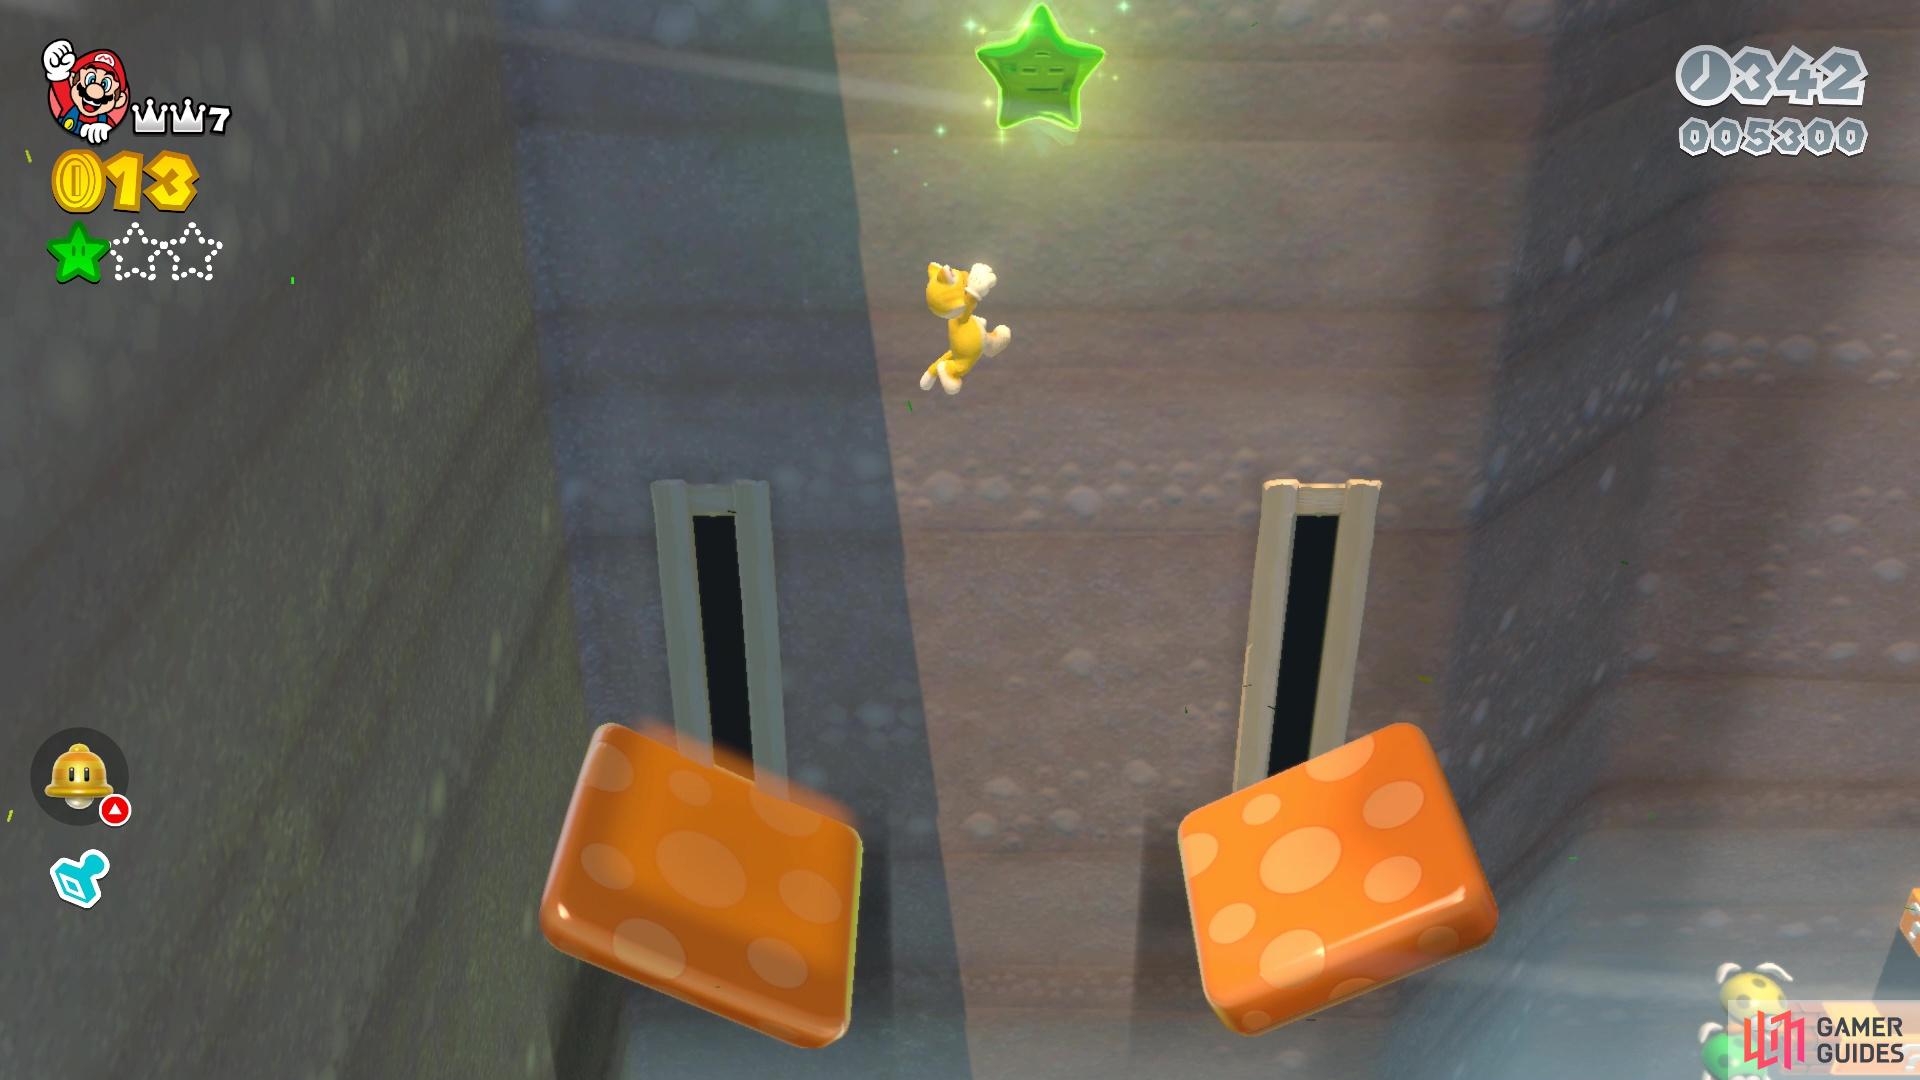
Continue to climb, jumping up the trampolines to the left side, where some clocks can be found. At the top, defeat the three Hop-Chops to find that one doesn’t disappear and instead becomes a portable trampoline. Position it against the back wall and launch yourself up to a nook with Green Star #1. Pick up the Hop-Chop again and quickly run across the trampolines to the Checkpoint Flag. Go up the steps and position the Hop-Chop underneath the moving trampolines, then bounce up and use the trampolines to reach Green Star #2.
(1 of 2) The Hop-Chop on the far right is the one that turns into a spring for the third Green Star
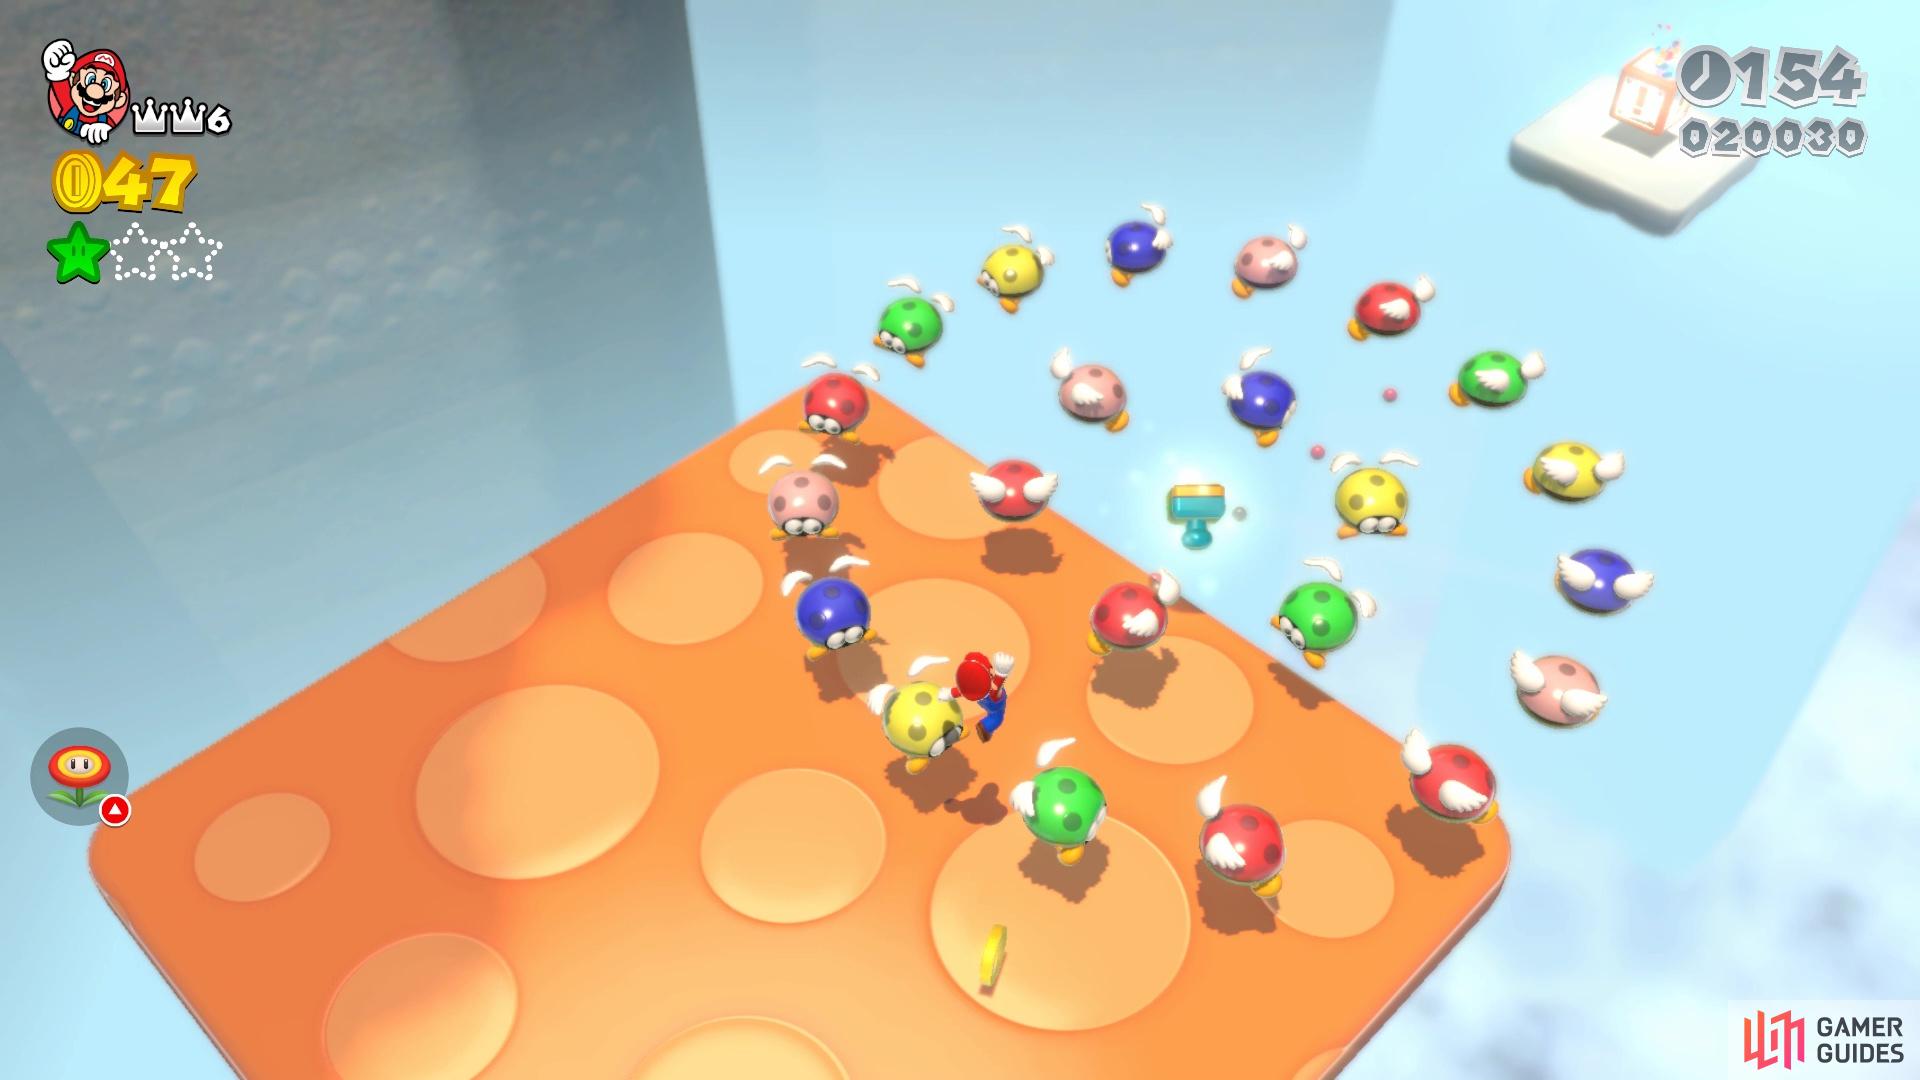
The Hop-Chop on the far right is the one that turns into a spring for the third Green Star (left), The Stamp will be found in the middle of a plethora of Biddybuds (right)
Clear out the Biddybuds along the back wall, then check the upper ?-Block for a power-up. After collecting it, bounce up to the next ledge and enter the Mystery Box. Here, you must quickly defeat the Hop-Chops and bounce up to Green Star #3 before the 10 seconds expires. The Hop-Chop furthest away from you seems to be the one that turns into a normal spring, which helps to save on time. After exiting from the Mystery Box, you’ll find a large trampoline in front of you, which will start moving and take you through some Para-Biddybuds. The first ledge has a Coin Box, then the trampoline takes you to a large swarm of Para-Biddybuds, with the Stamp at the center. At the end, hop into the Warp Box to go to the Goal Pole area, where you can use the Hop-Chop to reach the top of the pole.


 Sign up

No Comments