
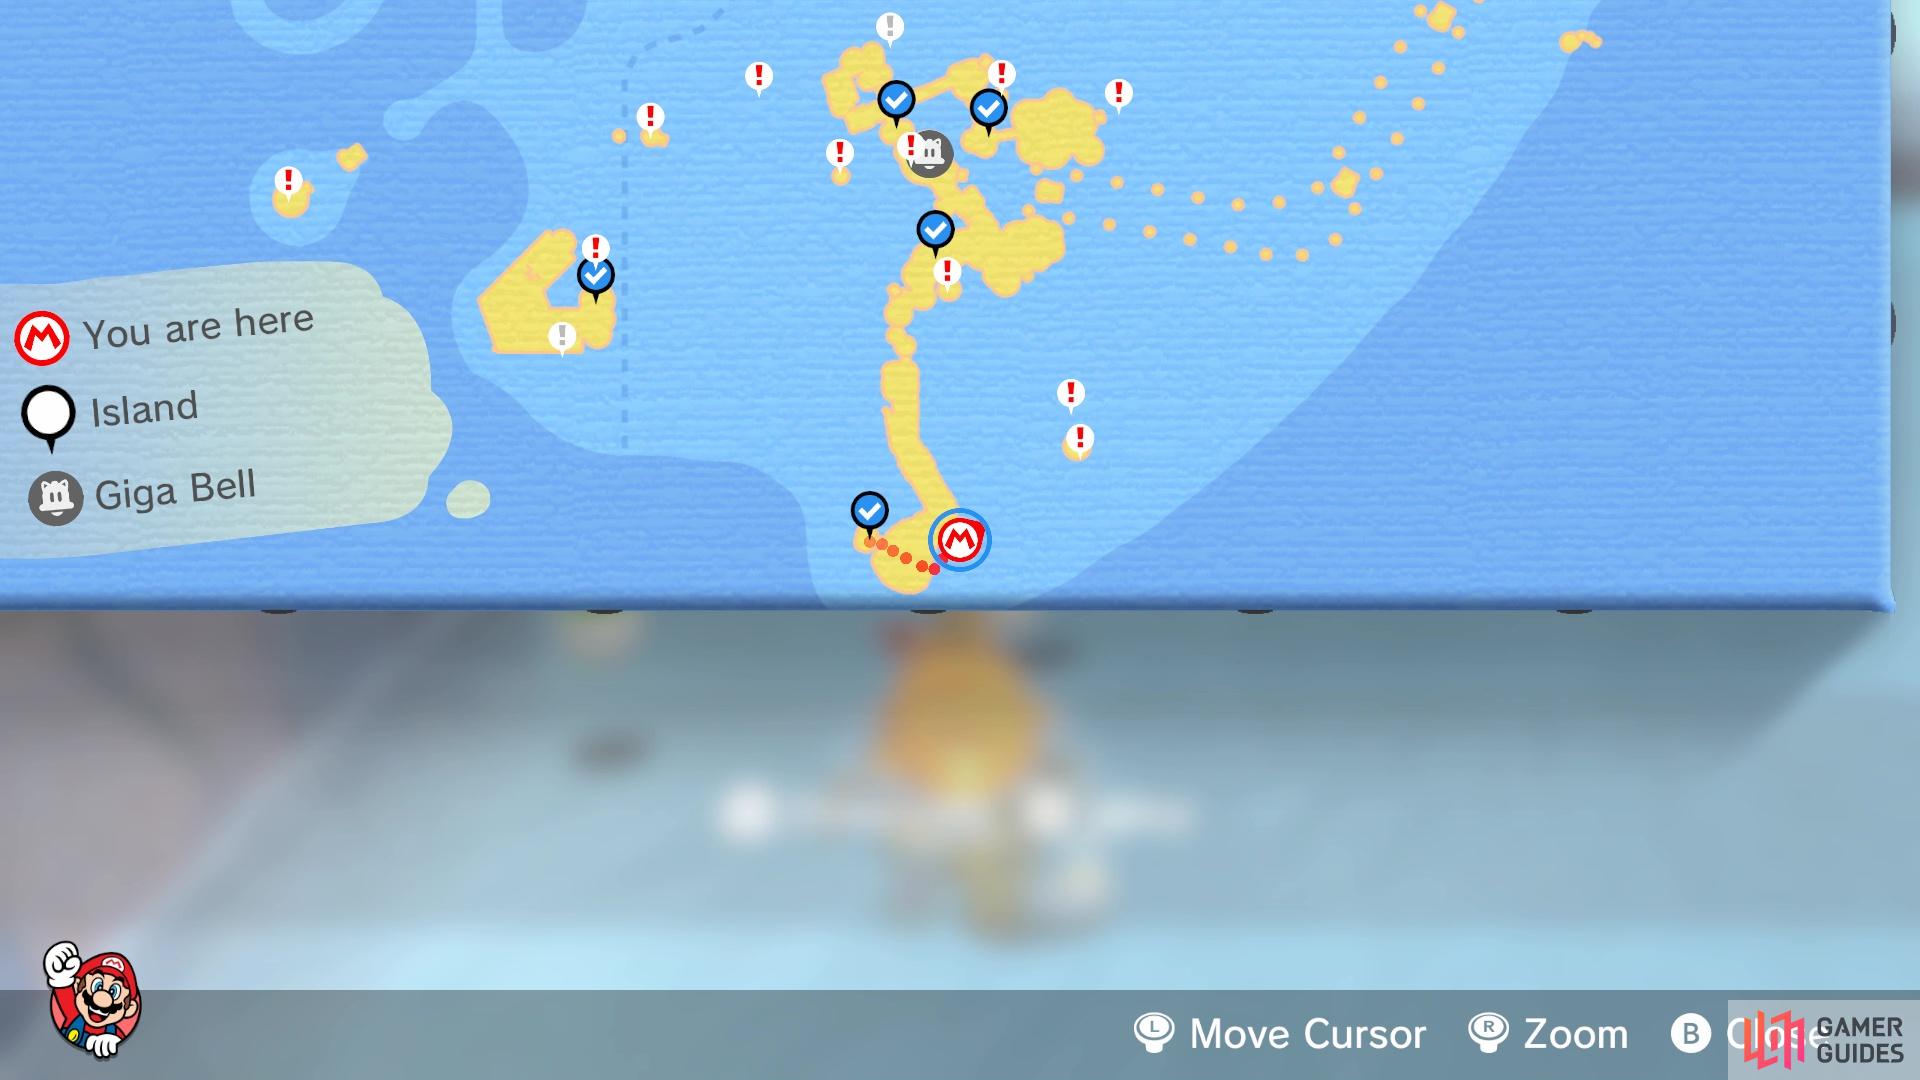
Bowser Jr marks all remaining Shines on the map after clearing the main game
There are a total of 35 Shines not associated with any of the actual islands in the game. Some will be available as you progress on the main islands, but some won’t be available until you clear the main story, which happens after defeating Fury Bowser upon collecting 50 Shines. Since the map is mostly divided into three separate areas, the extra Shines will also be divided into those areas, too. This page will deal with all of the Shines in the Lakeside Giga Bell region.
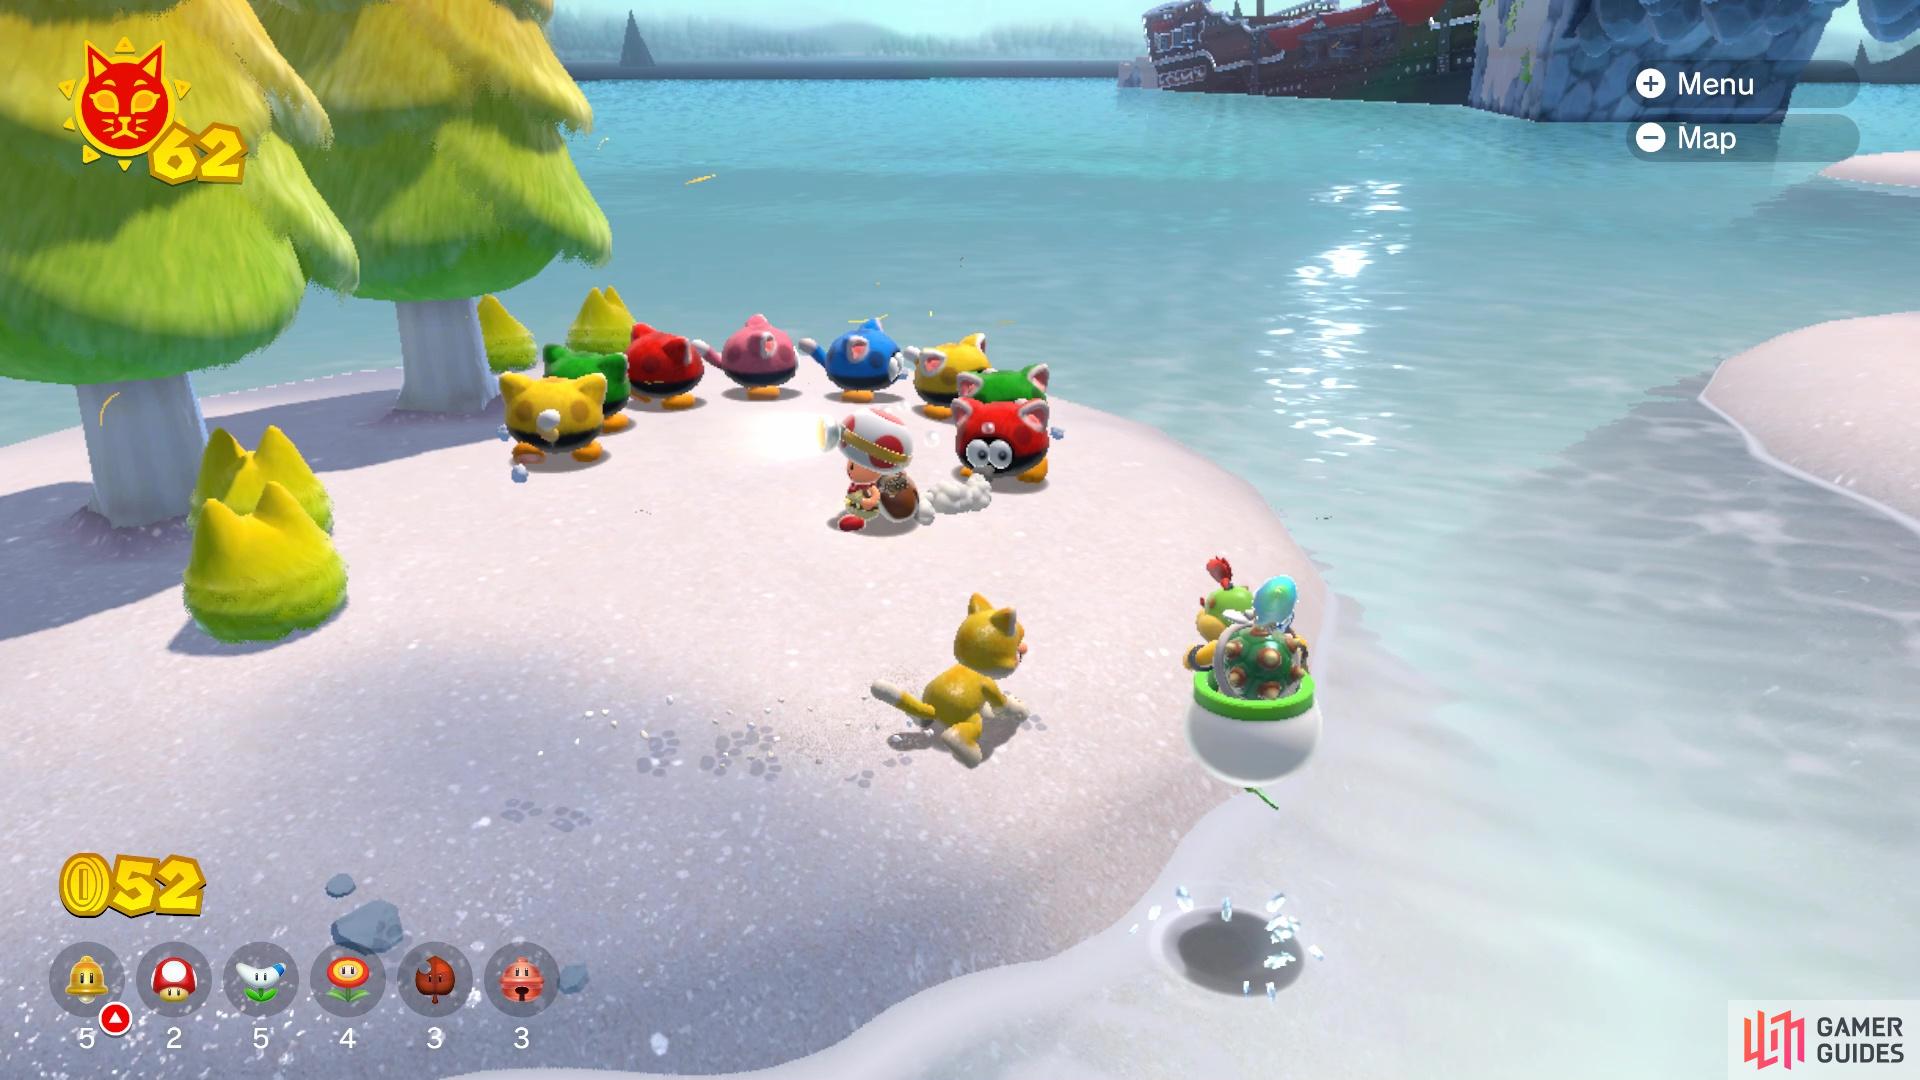
Bounce and Trounce in the Clouds
The first one that will be listed in this walkthrough is located northeast of the marker for Fur Step Island. There are two listed there, but this one is actually on the tiny island there. When you get to the island, you will find some Biddybuds circling a trampoline. Hop onto the trampoline and perform a Ground Pound to bounce up to some invisible cloud platforms. You should see a cloud right in front of you, which acts as a launcher to a bonus area. Your objective here is to defeat all of the Biddybuds, with the game giving you a few Super Stars to do it.
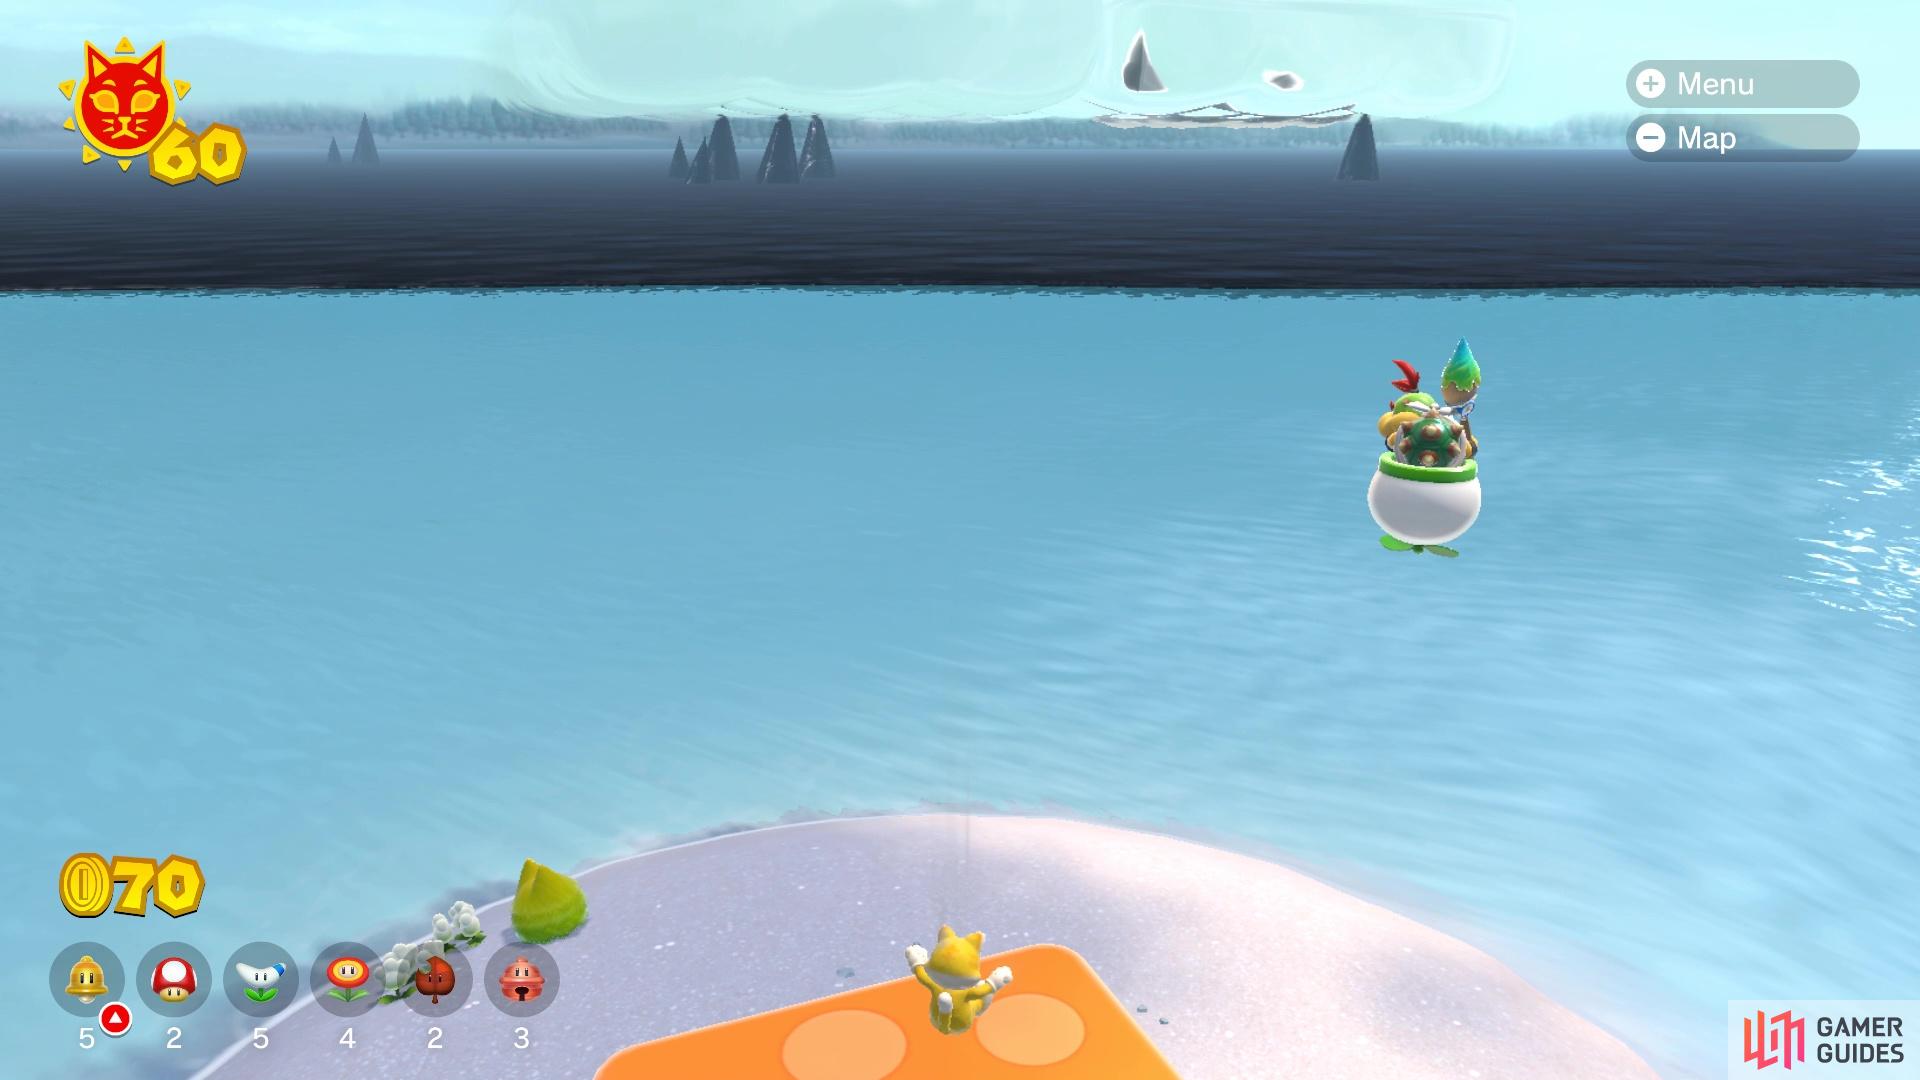
Perform a Ground Pound on the trampoline to get to the clouds above
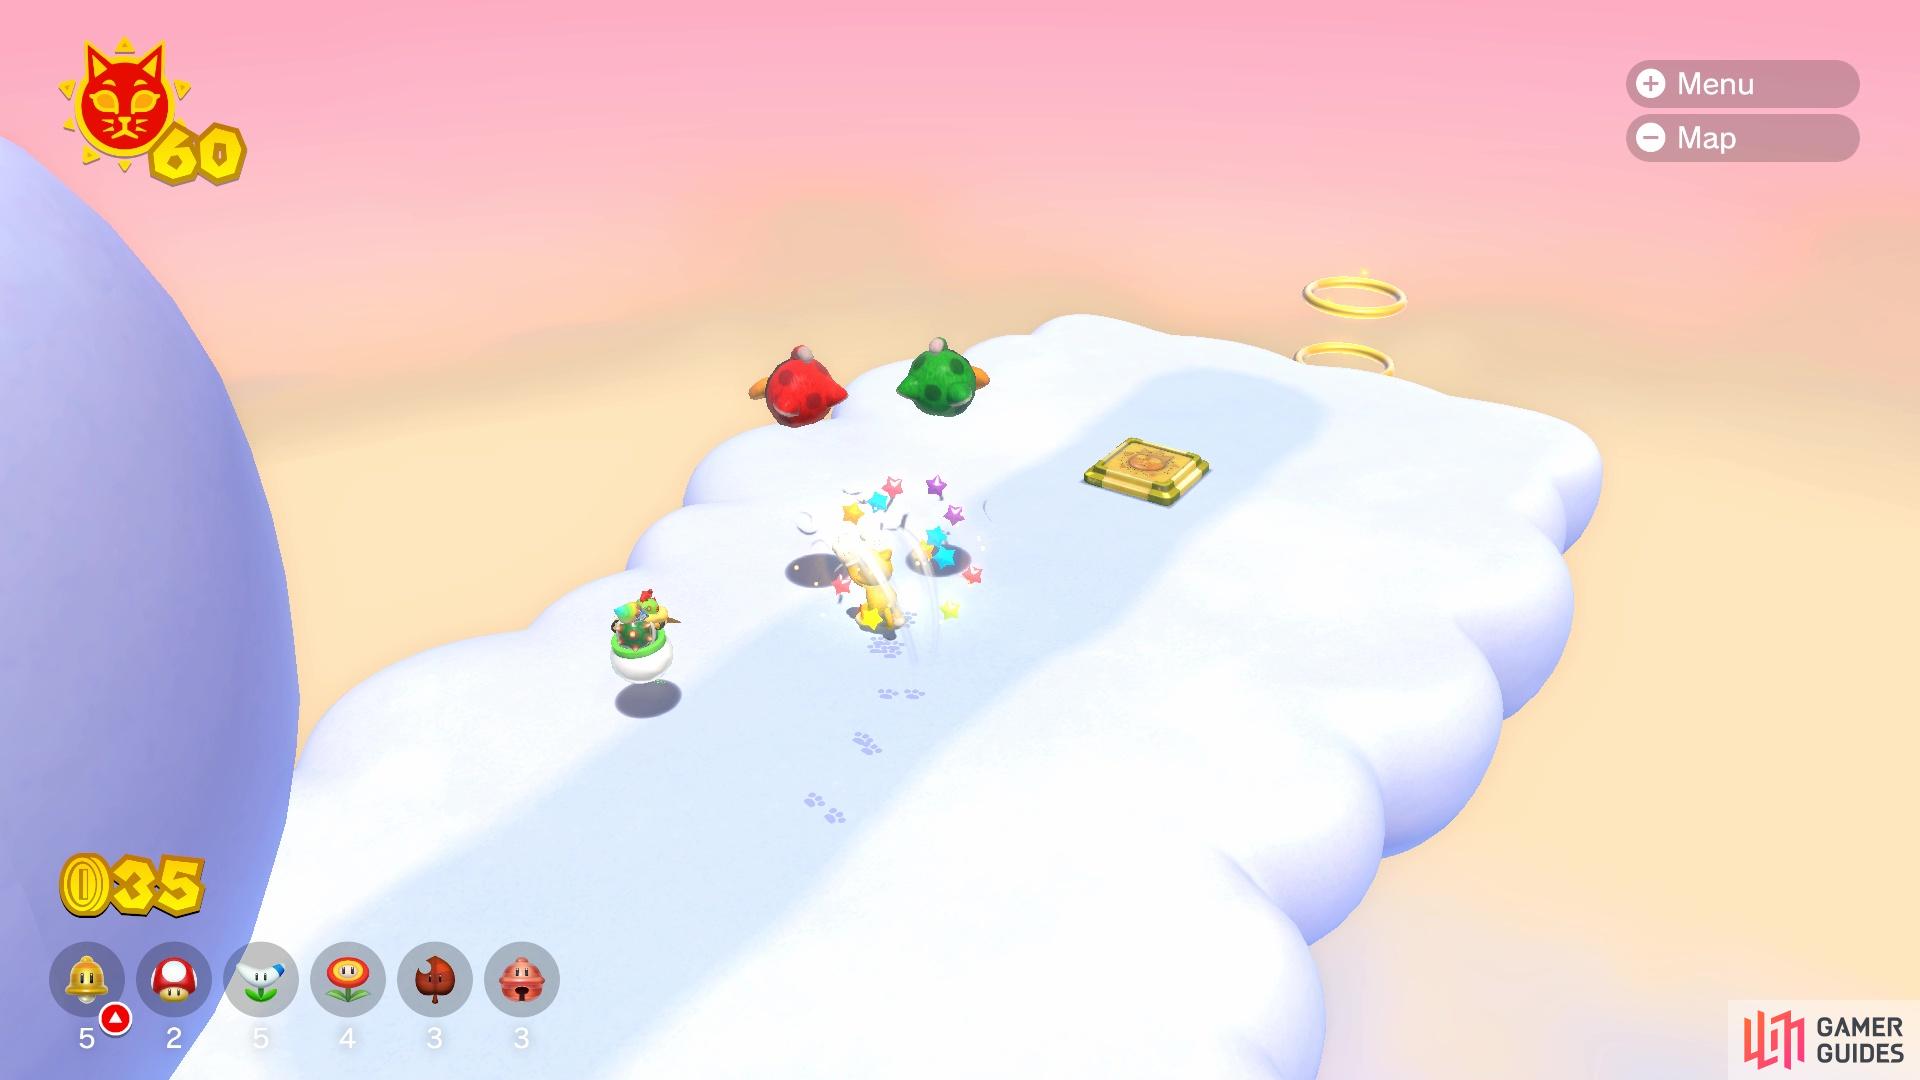
You don’t need the Star to defeat the enemies and get the Shine
Despite these Stars, you don’t actually have to use them if you don’t want, which is a good thing as your invincibility might run out before you can get all of the enemies. It’s pretty hard to miss any of the enemies, as none of them are actually hiding, since the bonus area is linear. Just make sure you hit all of the Biddybuds before dropping down to the final set of platforms, as there is no way back up without having to restart from the beginning. Upon defeating all of the enemies, the Cat Shine will spawn on the little pedestal at the end.
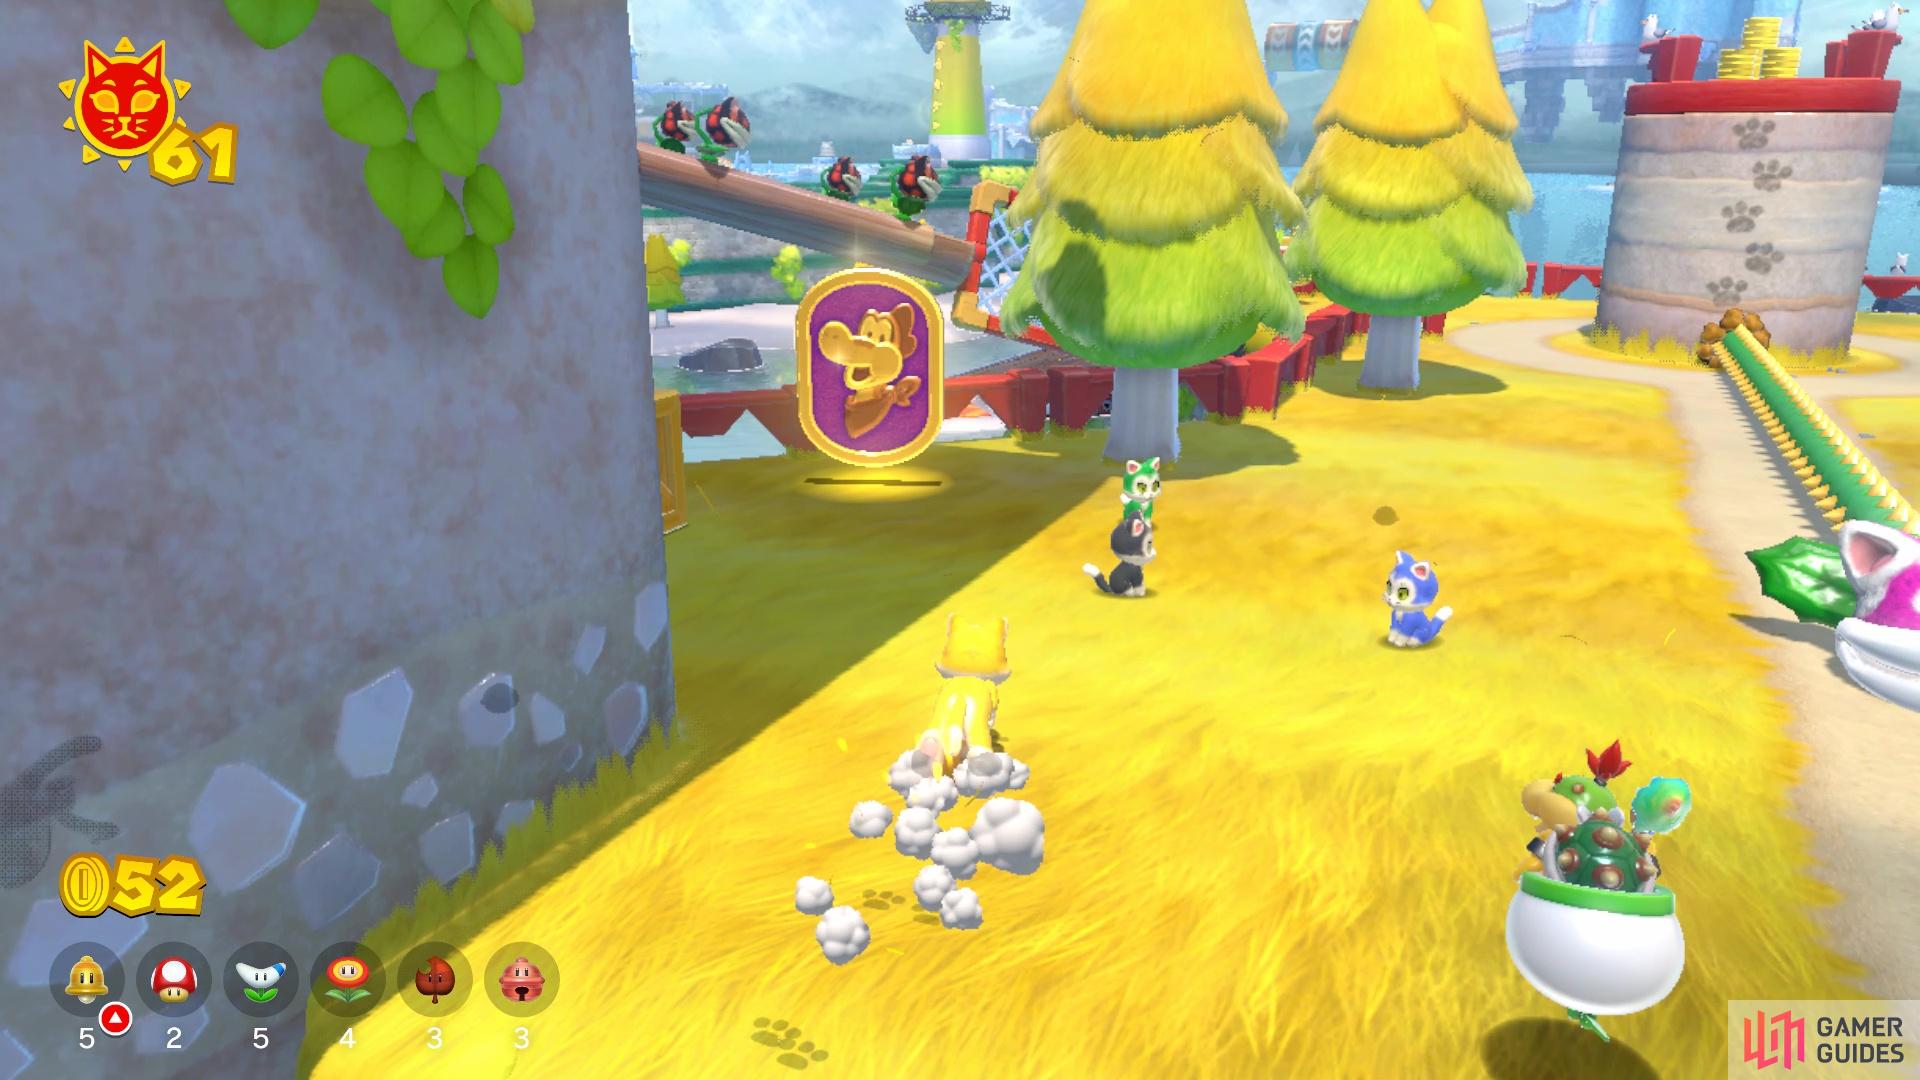
Plessie Medal Collector
Right next to the tiny island where you got the previous Shine, there is a medal spinning right above the water. Jump on Plessie and collect the medal to have it appear elsewhere nearby. You will be on a timer here, so you will need to be quick. The second medal will appear on the Scamper Shores island, as well as the third one, too. You will need to get off of Plessie to get these two, since you can’t really reach them while riding her. From the third one, drop down to the beach to find Plessie again and begin moving towards the fourth medal, which will be right next to the Lakeside Giga Bell. The last medal will be right by where Fury Bowser wakes up, then the final piece will be the Cat Shine.
Some of the Plessie medals will appear on land
Rescue the Toad Brigade member by defeating all of the enemies
Toad Brigade: Lost Leader
Travel to the gate for Scamper Shores and on a small, nearby island by the gate, you will notice a Toad being circled by some Biddybuds. This is one of the Toad Brigade members, who got separated from one another. Defeat all of the Biddybuds and you will earn a Cat Shine from the Toad Brigade member.
Hurry! Climb the Falls!
Teleport to Pounce Bounce Isle and head to the westernmost Shine on the map, in the Lakeside region. You know you’re in the right spot when you see a small island with a dock, that has a purple button on it, and is right next to some waterfalls. You will need the Cat Suit for this Shine, though, as it’s not really possible without it. Hitting the purple switch will cause a bunch of platforms to appear, one of which has a cat ramp at the bottom of it. The goal is to use the Cat Suit to run up that ramp, then traverse the donut blocks to reach the top of the falls and grab the Cat Shine. Note that you can simply climb the walls straight up without needing the donut blocks, too.
Hurry! Dash and Dive!
Nearby where you previously started the last Shine, there is a large ring that has an image of Plessie in it. Passing through that ring while riding Plessie will show you where to go and also start a 20-seconds timer. You will be going through a tunnel behind a waterfall, which will have giant wooden gates as obstacles. The gates don’t cover the entire width of the tunnel, but are large enough to be a distraction. Each of them will have a slot that allows you to dive underneath them, though, which is kind of needed, as there will be a speed boost pad on the other side. This is definitely a tight timer, but make it to the end to get another Cat Shine.
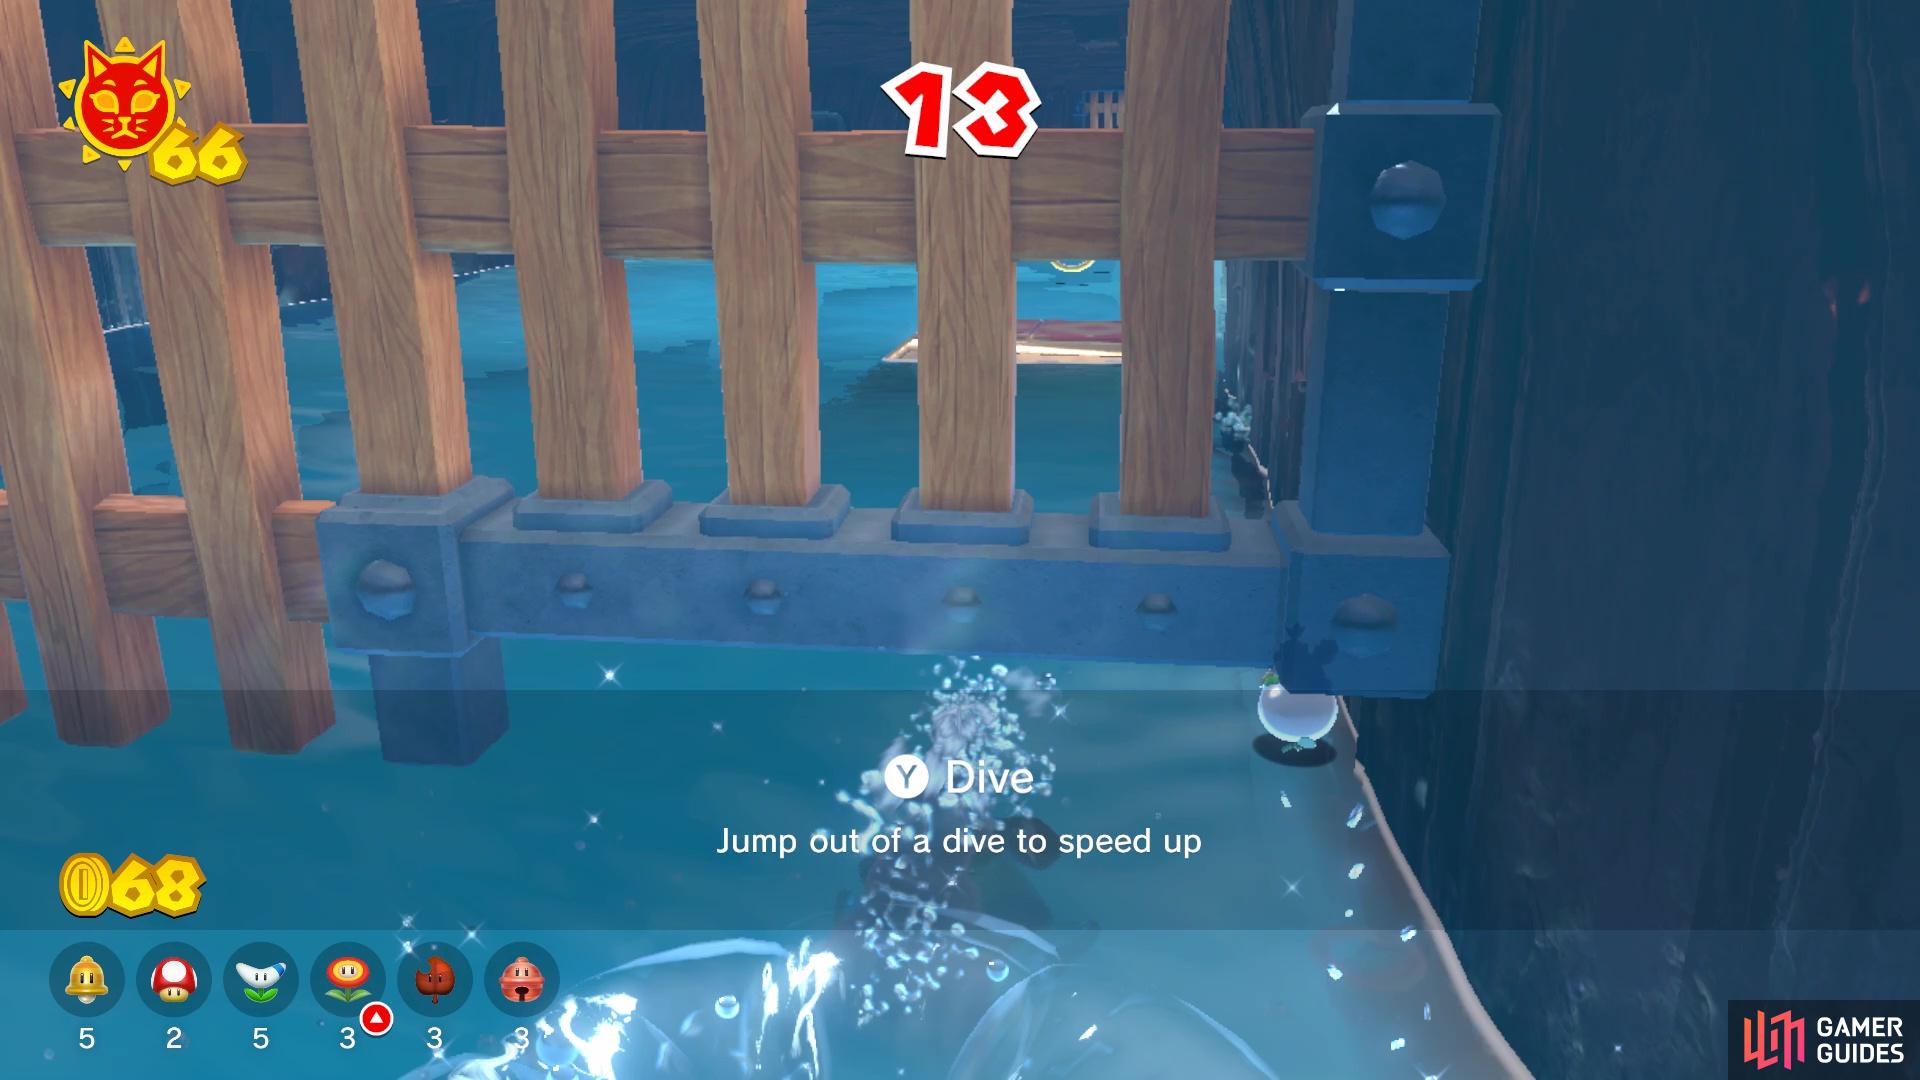
Make sure you dive underneath the openings for each gate to have easier access to the boost pads
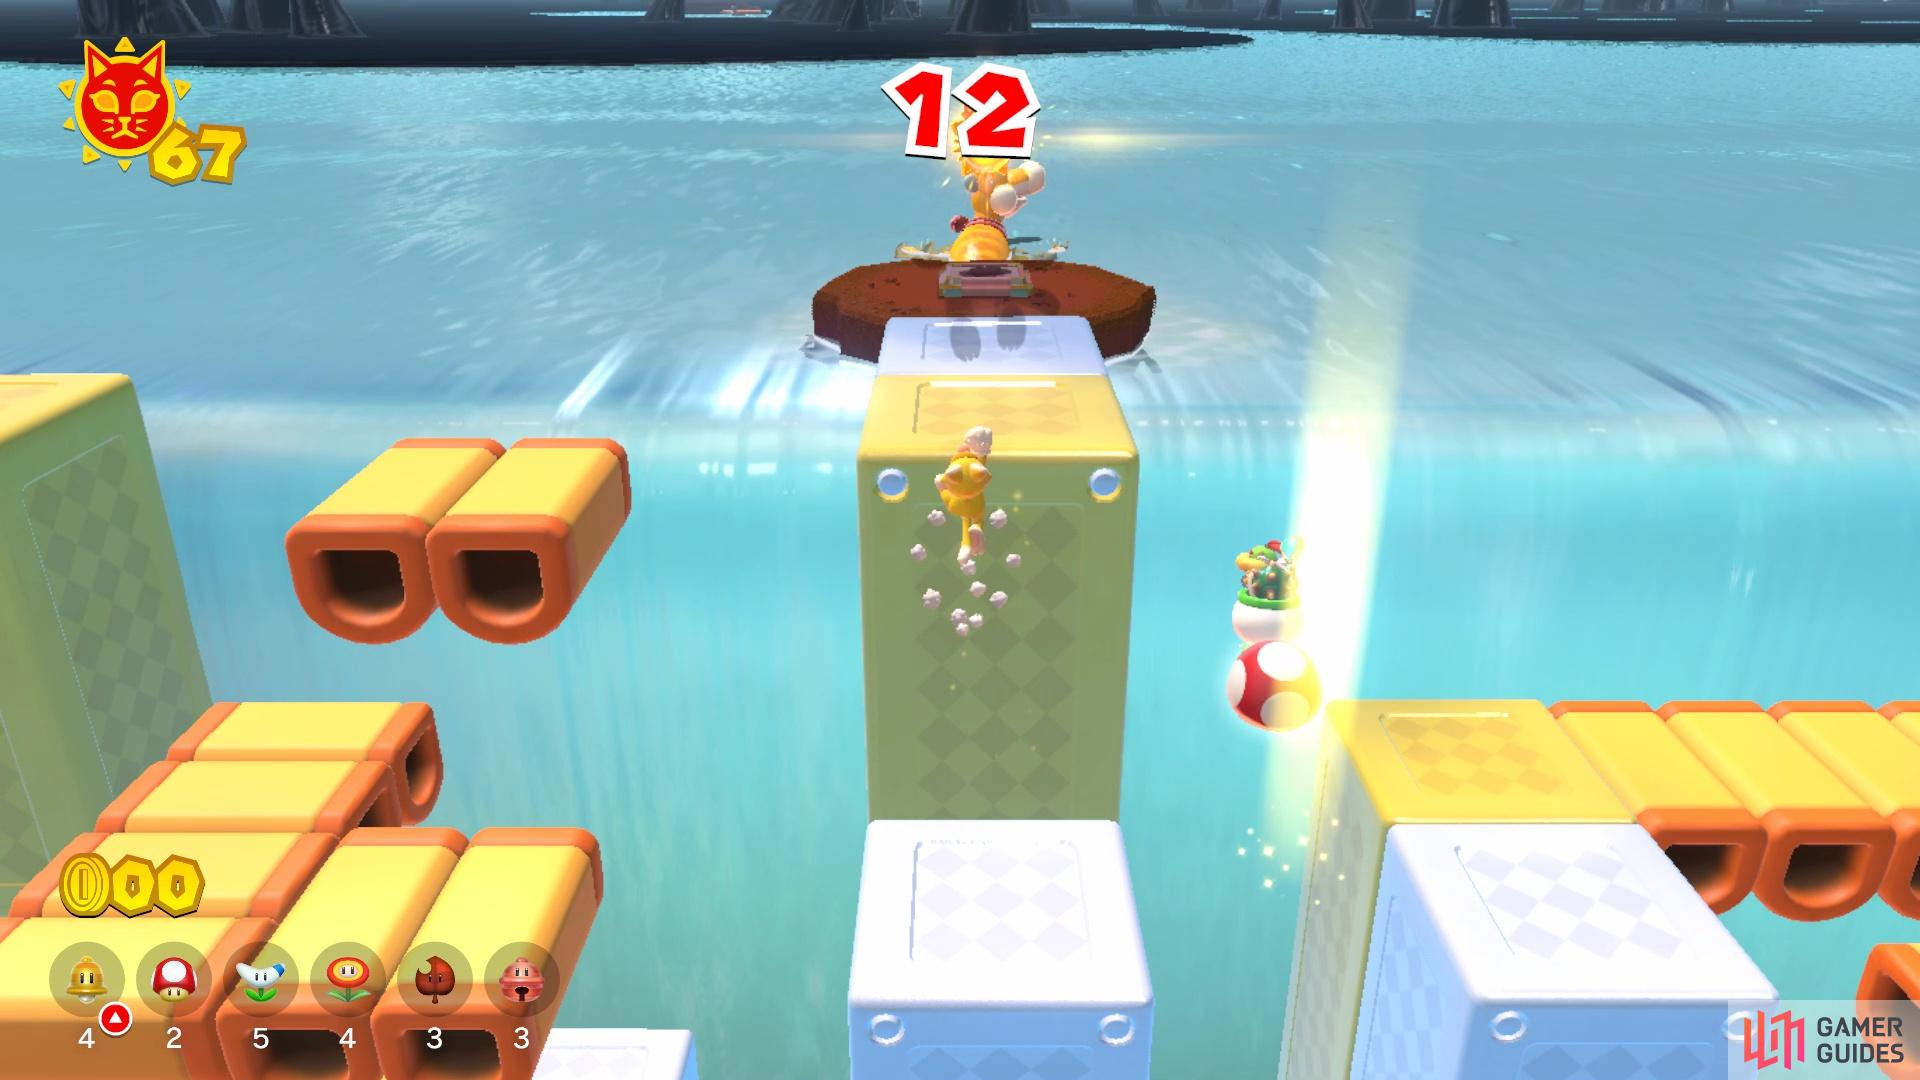
With the Cat Suit, you can climb straight up the walls
Shoreside Rabbit Plays Tag
By where the ring was that started the previous Shine, you will see a rabbit on an island. As you approach the rabbit, it will run away and you will have to chase it. The goal of this is to simply touch the rabbit and upon doing so, you will earn another Cat Shine. Note that there is really no way to speed up while riding Plessie, as you will naturally gain ground on the rabbit. Of course, taking sharp turns can slow you down some, but it’s not too difficult in catching up to the speedy rabbit.
Lost Kitten by the Shore
Head on over to the island with the Lakeside Giga Bell and you will see a large cat on the one side that is looking a little sad. The reason it’s sad is because one of its kittens got lost. Thankfully, you won’t have to look far for this kitten, as it is on the other side of the Giga Bell, playing with a baseball. While you could lure it over slowly with the baseball, the easier thing to do is just grab the kitten with the Y button, and bring it back to its mother. Upon doing this, you will earn another Cat Shine. Note that the kittens are attracted to Mario, too, with the Cat Suit on, so that’s another option.
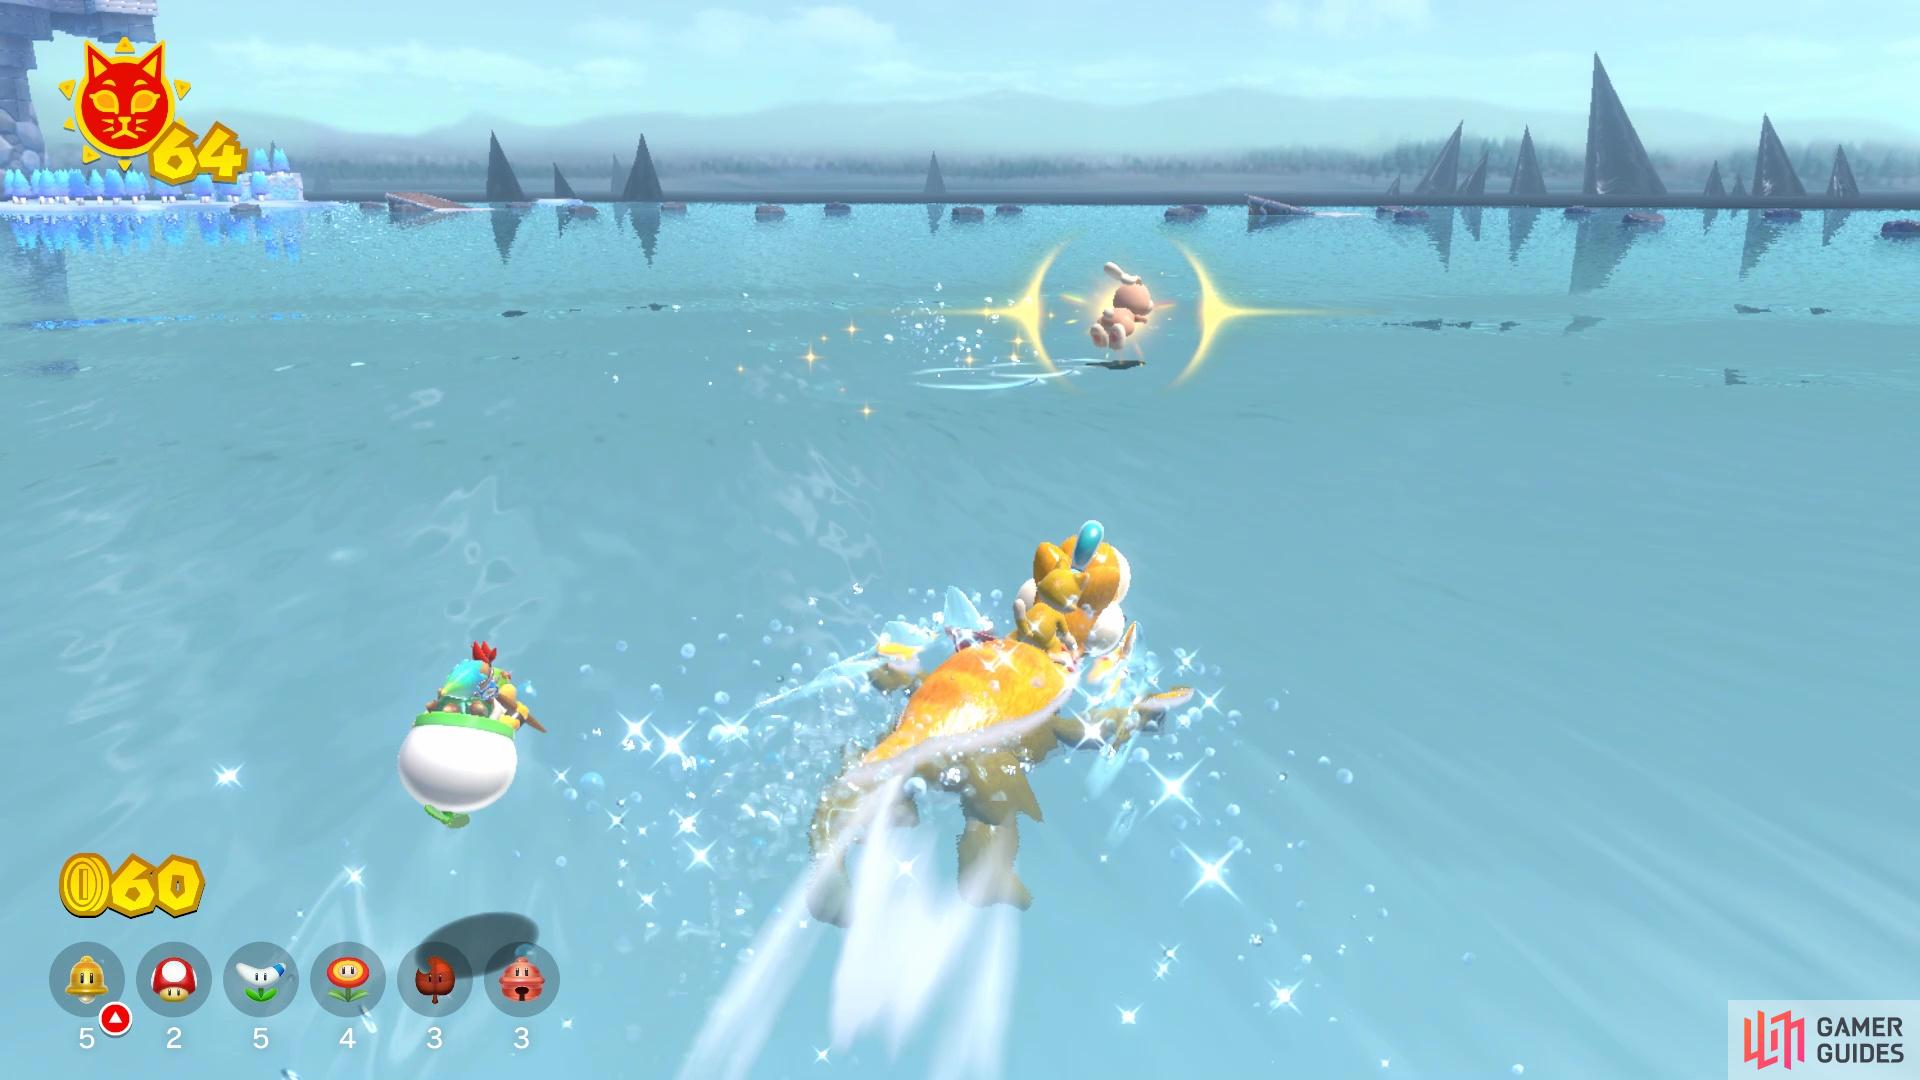
Try to cut the corners a bit to gain traction on the rabbit
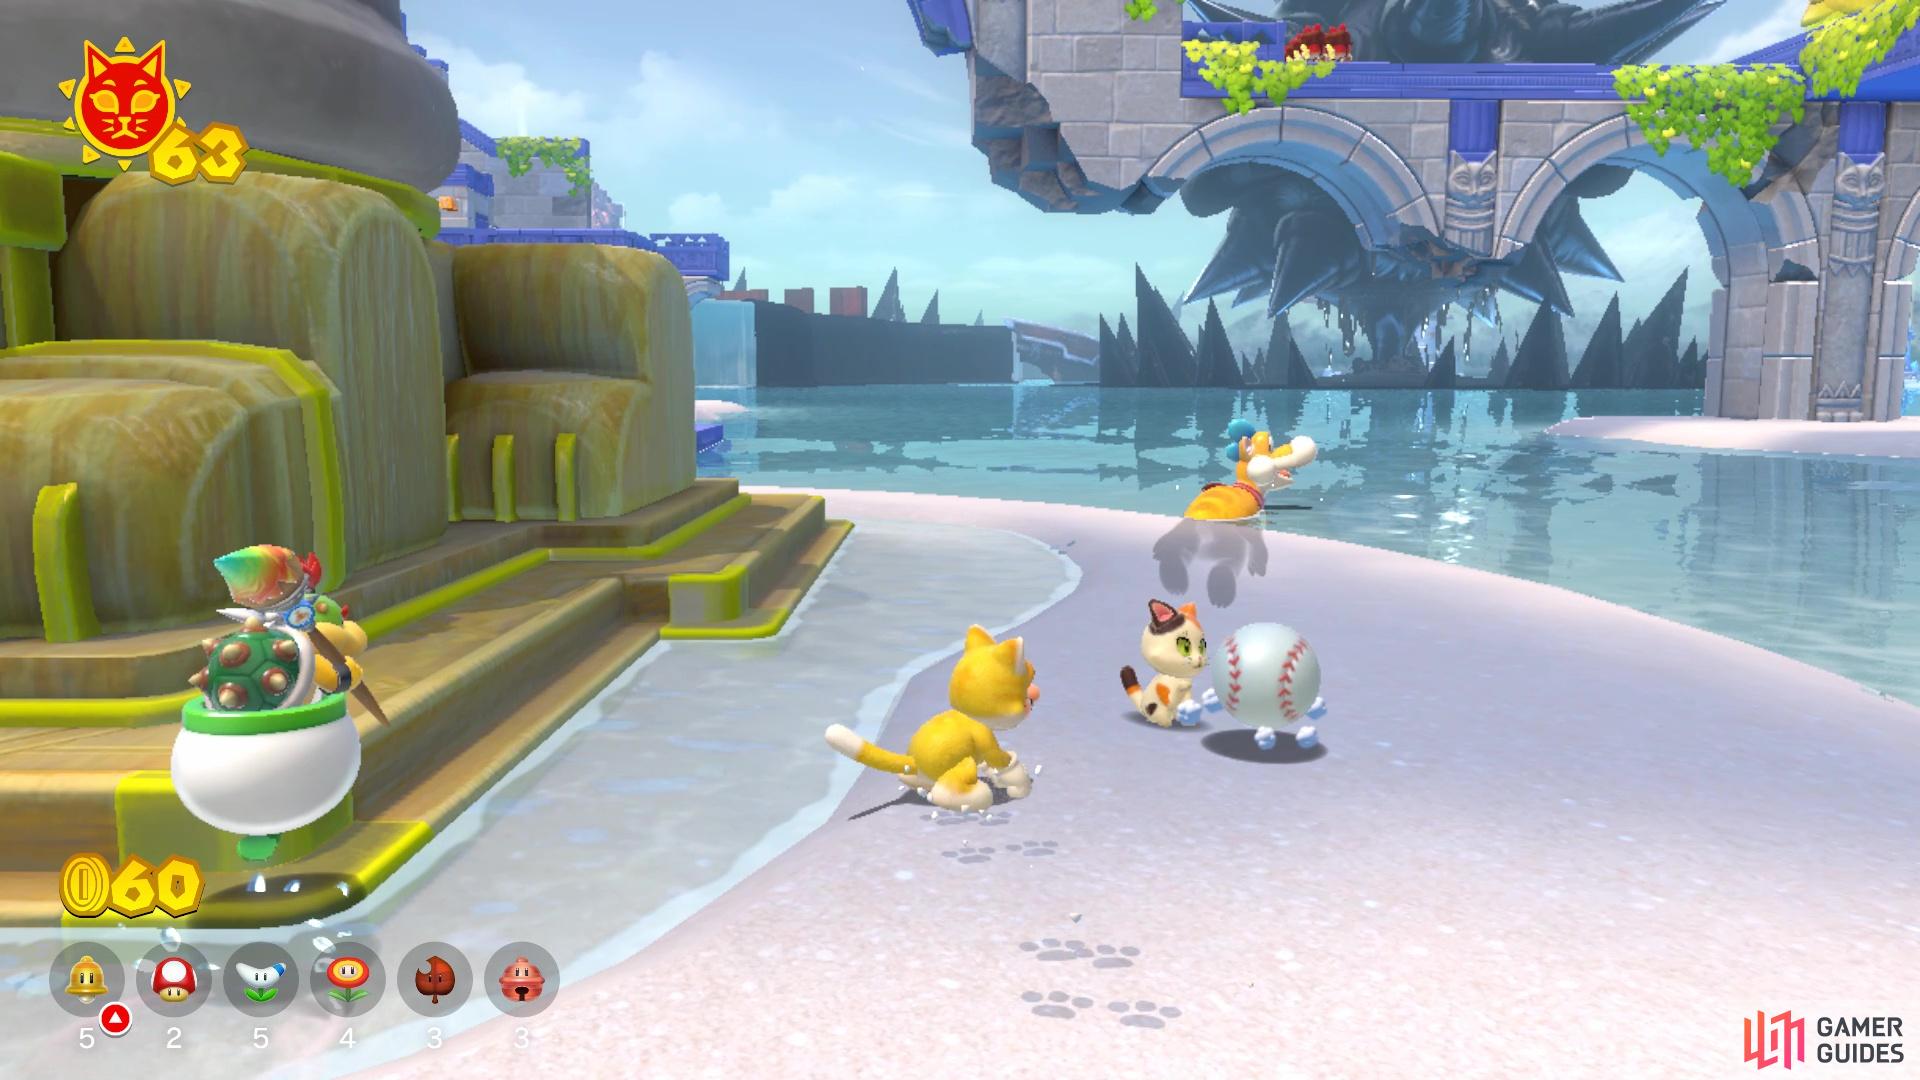
The lost kitten is right on the other side of the Giga Bell
Climb to the Shine
To get this Shine, you will need to be Cat Mario. By the gate leading to Fort Flaptrap, there are some stone platforms in the water and on one of them is a wheel, with a paw print on it. By attacking the wheel with the Cat Suit, it will spin and cause a pillar to rise out of the ground, making it much easier to grab the Cat Shine in the air. Note that the pillar will sink back into the ground after a few seconds have passed, so move quickly. It is also possible to float down from the nearby bridge that belongs to Pounce Bounce Isle, landing on the Shine, with either the Tanooki Suit or the Propeller Block.
Plessie Medal Catcher
Grab Plessie and head around to the back of Fort Flaptrap, where you should find another of those medals. This one is a little easier, although you will still need to head on land at the base of Slipskate Slope. Thankfully, the timer for the medal after that one is quite generous, so you have plenty of time to get back on Plessie and make it to the next medal. Once you reach the final bit, you will be able to collect the Cat Shine.
No Comments