
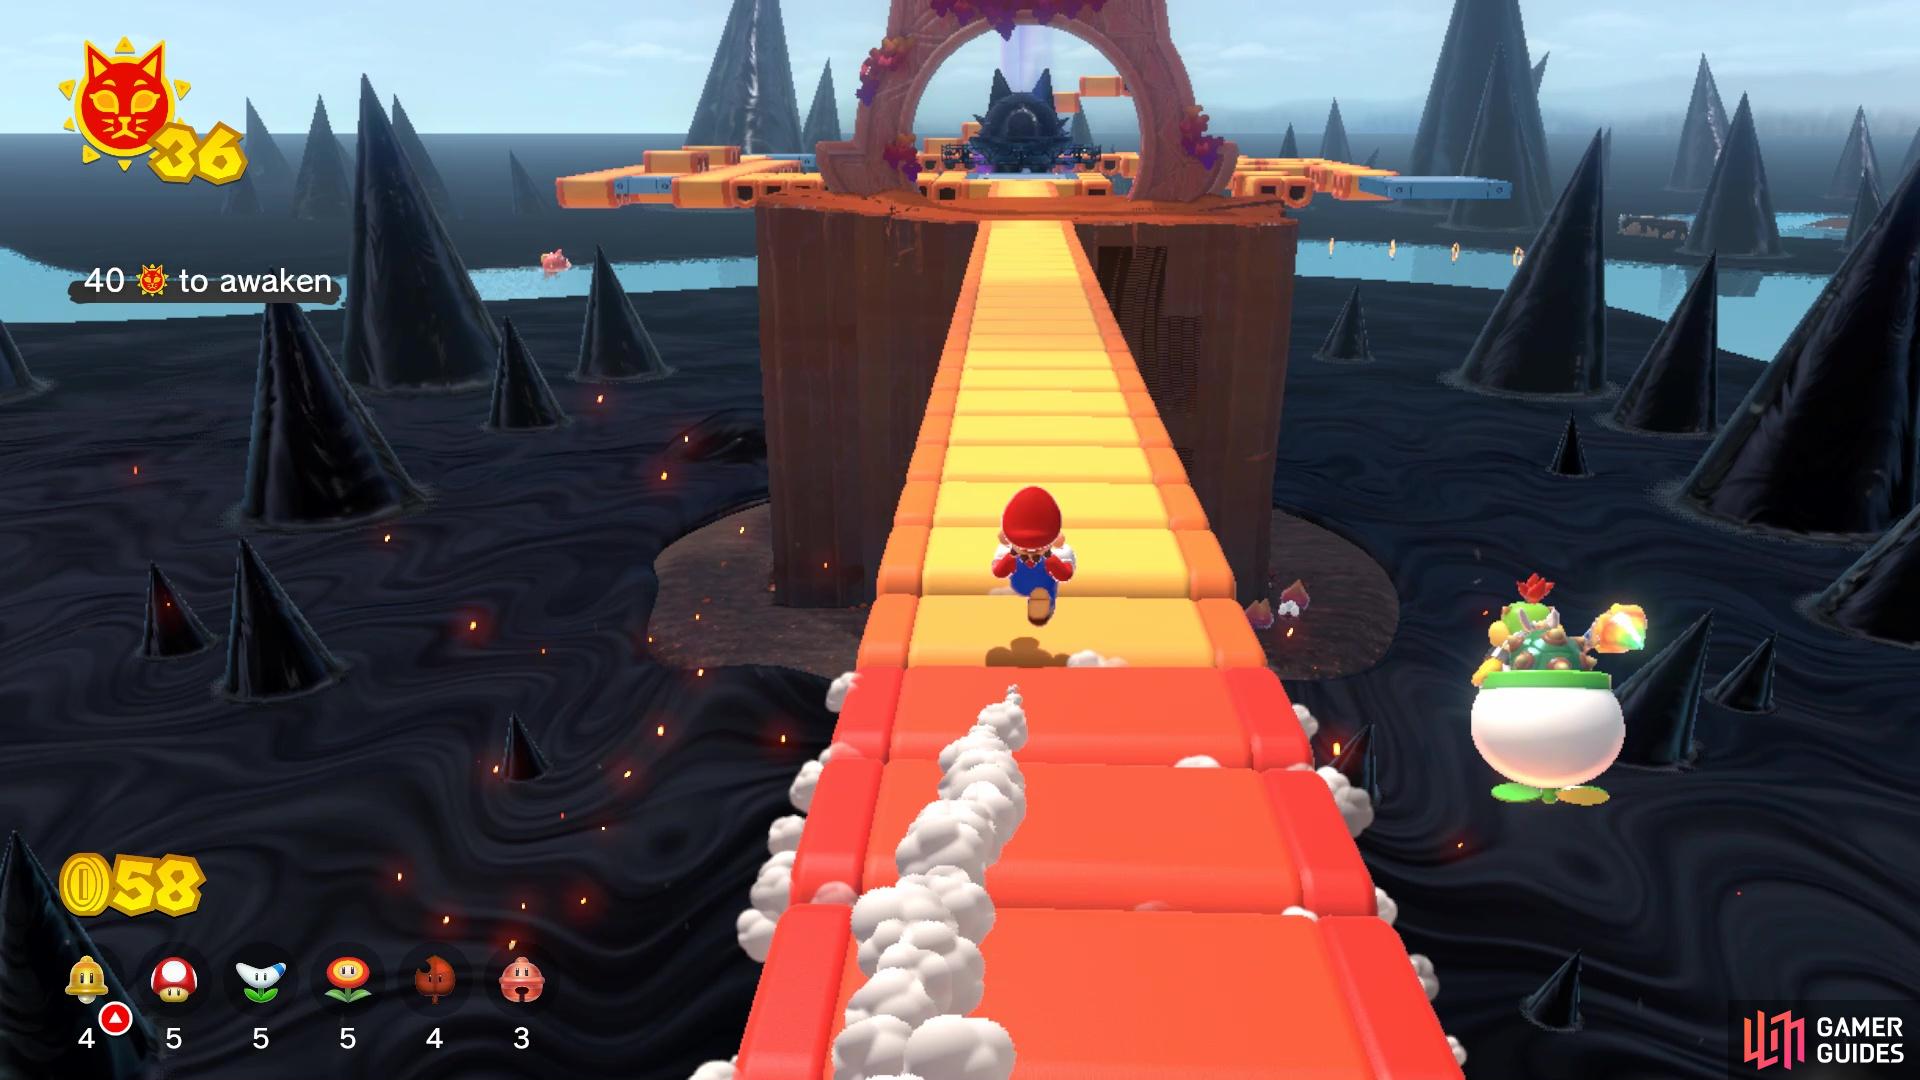
Risky Whisker Island is located in the Wasteland Giga Bell area of the map. To reach this area, after defeating Bowser for the third time, a ship that acts like a ramp will appear near Crisp Climb Castle. Use this ramp to head to an upper section of the map, where you will see a wall with a bunch of Fury Blocks. This is more of a shortcut to the actual islands you need, so if you wish to wait for Bowser to appear, then do so. Otherwise, follow the trail of golden rings, which will take you on a scenic tour, through Splounders. Eventually, you will reach a large dock that has some sprint boost pads on it.
This will lead to a red Jump Pad that brings you to the Wasteland Giga Bell. Look for the level gate with some donut blocks, as that will be Risky Whisker Island. You will find that this level is pretty barren, as far as complexity goes, as it’s mostly made up of those donut blocks. These will fall as soon as you step on them and underneath them will be some of that black ooze (until you collect the first Shine). There is also an area underneath the first set of donut blocks, although there’s not really much down there.
Fury Shadow Hops to It Cat Shine
The first Shine on Risky Whisker Island will have you chasing down the Fury Shadow that looks like Luigi. Due to the nature of the course, ranged power-ups will work really well here, although it’s not really required. Since the donut blocks fall once you run over them, you might be faced with having to wait a few seconds until they reappear. There’s not really much more to say about this, since the Fury Shadow will tend to stick to the same level, although it can head up the “donut stairs” on the one side. Once you hit it three times, you will earn the Cat Shine.
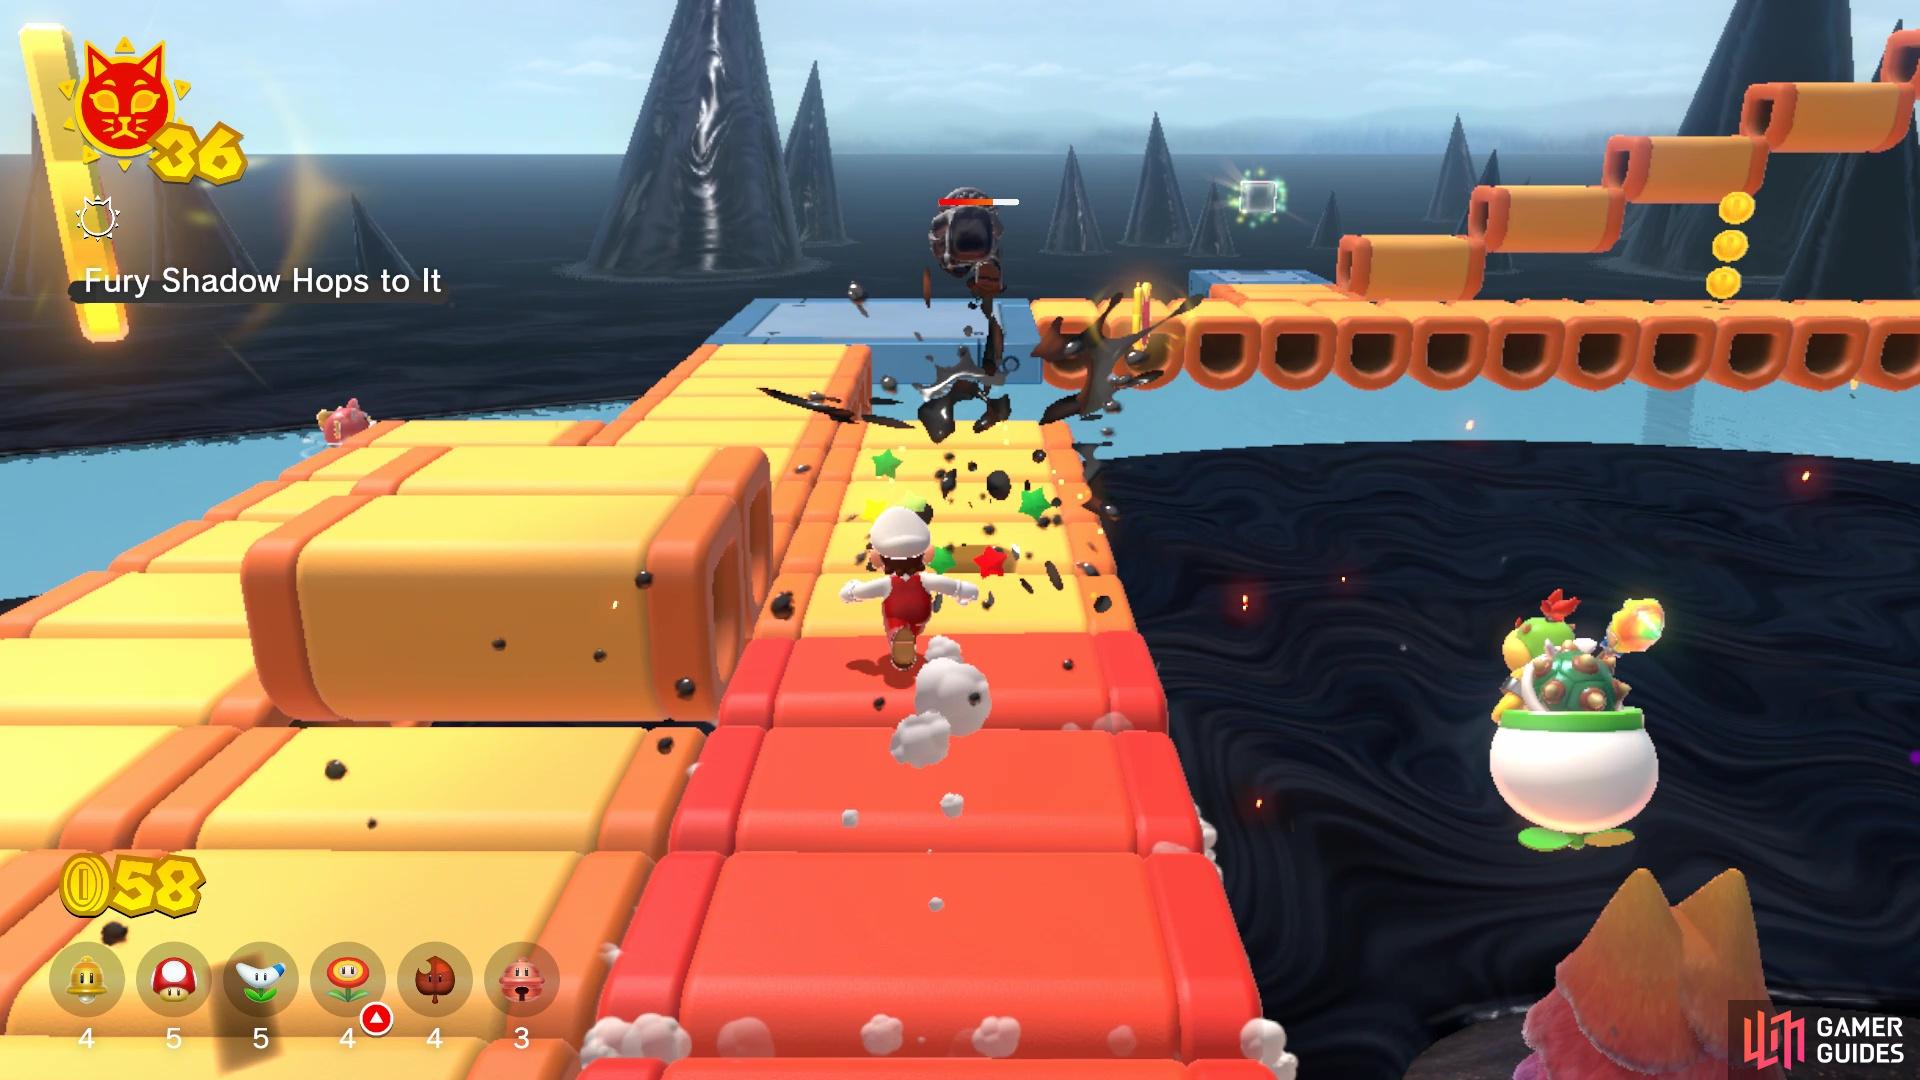
Ranged power-ups work well in subduing the Fury Shadow
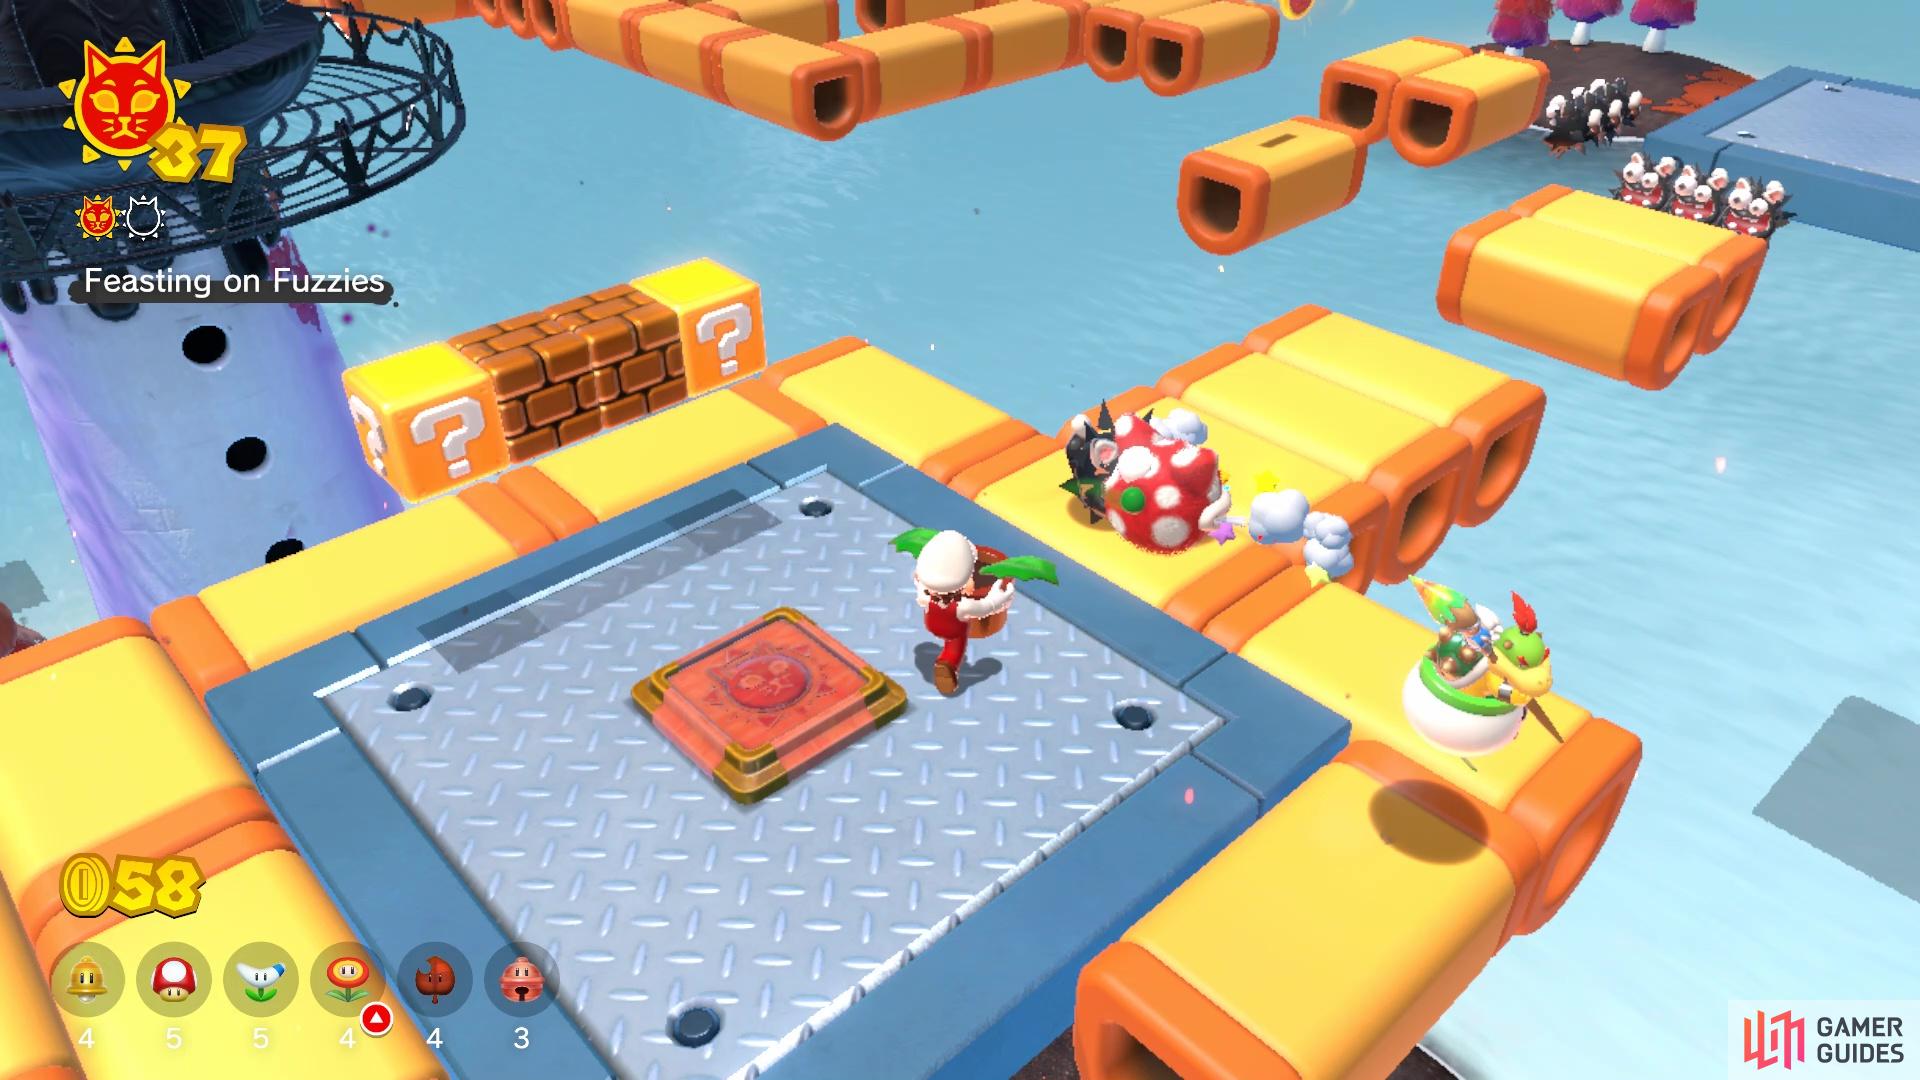
Simply have the Piranha Plant eat all of the Fuzzies for the second Shine
Feasting on Fuzzies Cat Shine
The second Shine on this island is definitely something you haven’t really experienced. Right past the gate for this island, you will see a potted Piranha Plant, which you can actually grab. You will also notice that there’s a bunch of Fuzzies moving about in the stage area. Whenever you carry the Piranha Plant close enough to a Fuzzy, it will lash out and eat it. Your goal is to defeat all of the Fuzzies in this manner. It doesn’t matter if the Piranha Plant perishes, as it will pretty much respawn after a few seconds. Also, all of the Fuzzies are in plain sight, so you don’t have to search for any hidden ones. Once you get rid of all the Fuzzies, the Cat Shine will spawn near the start.
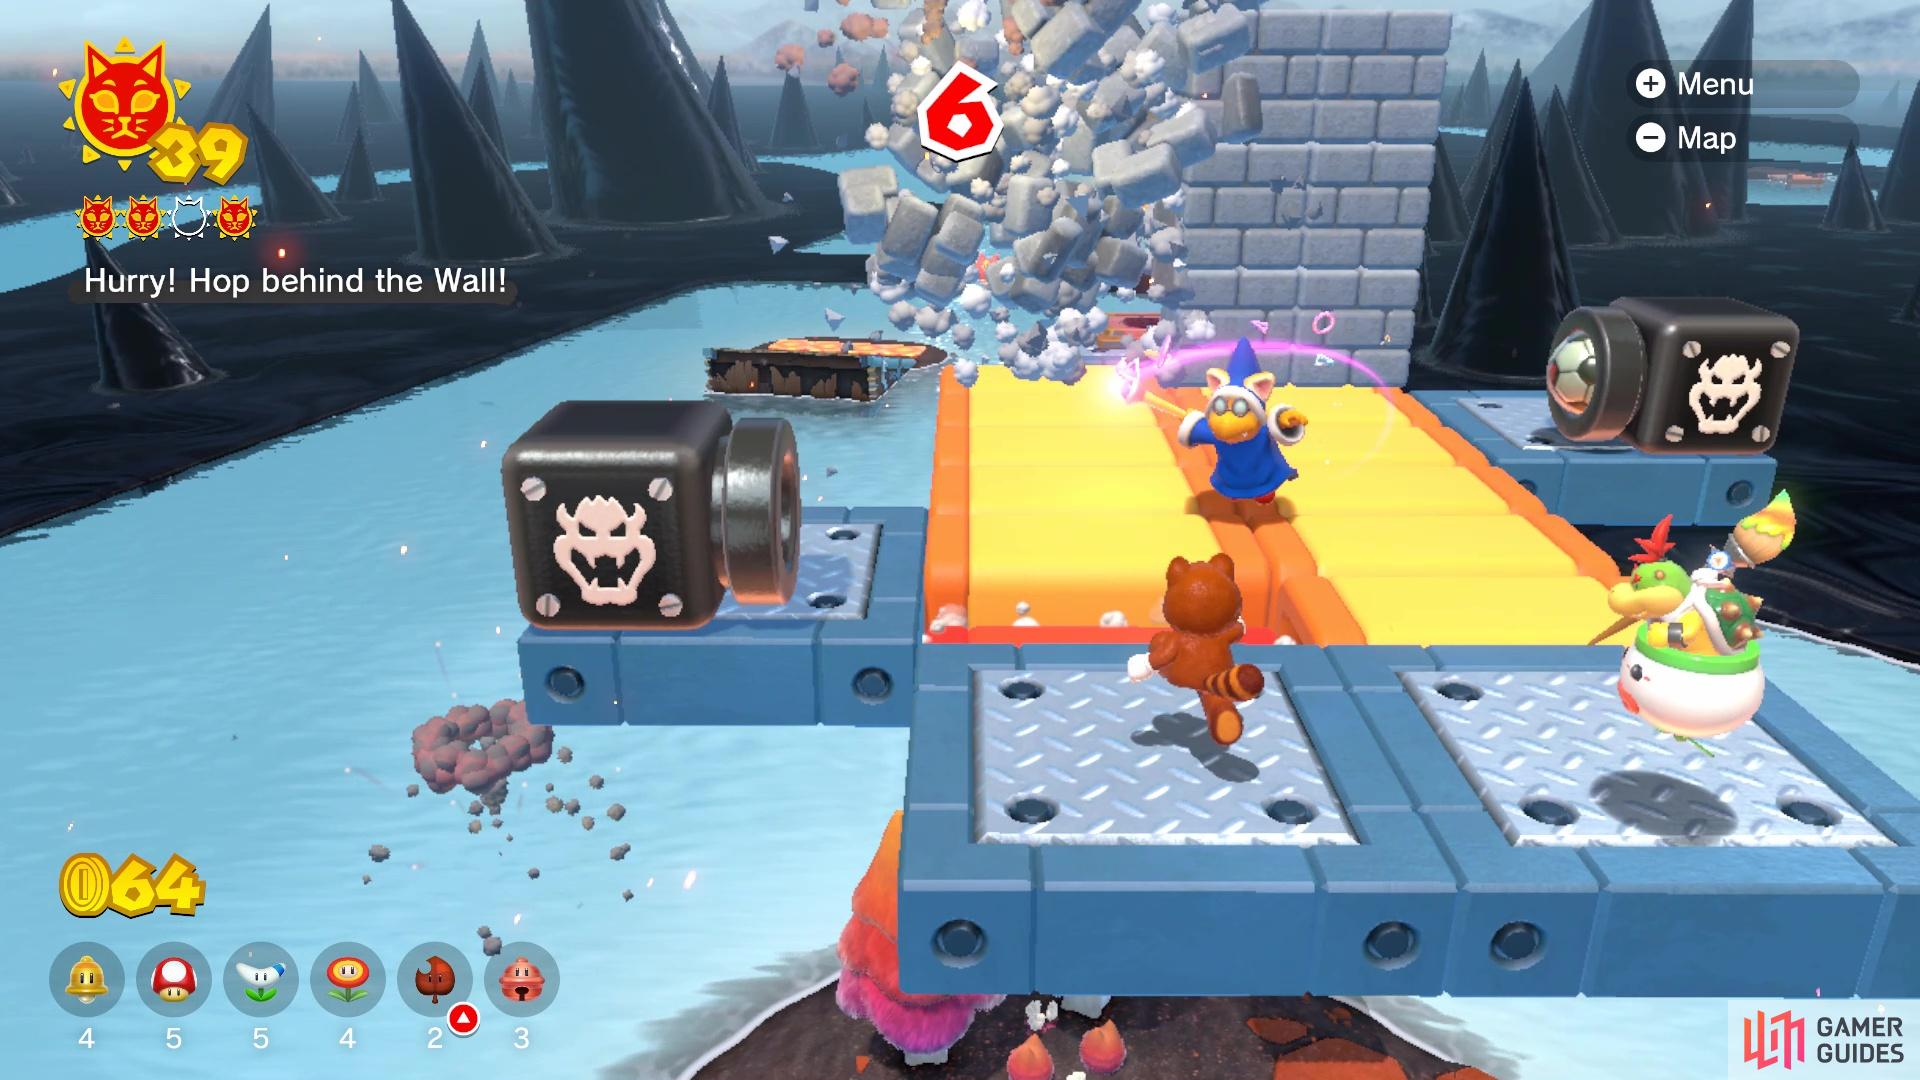
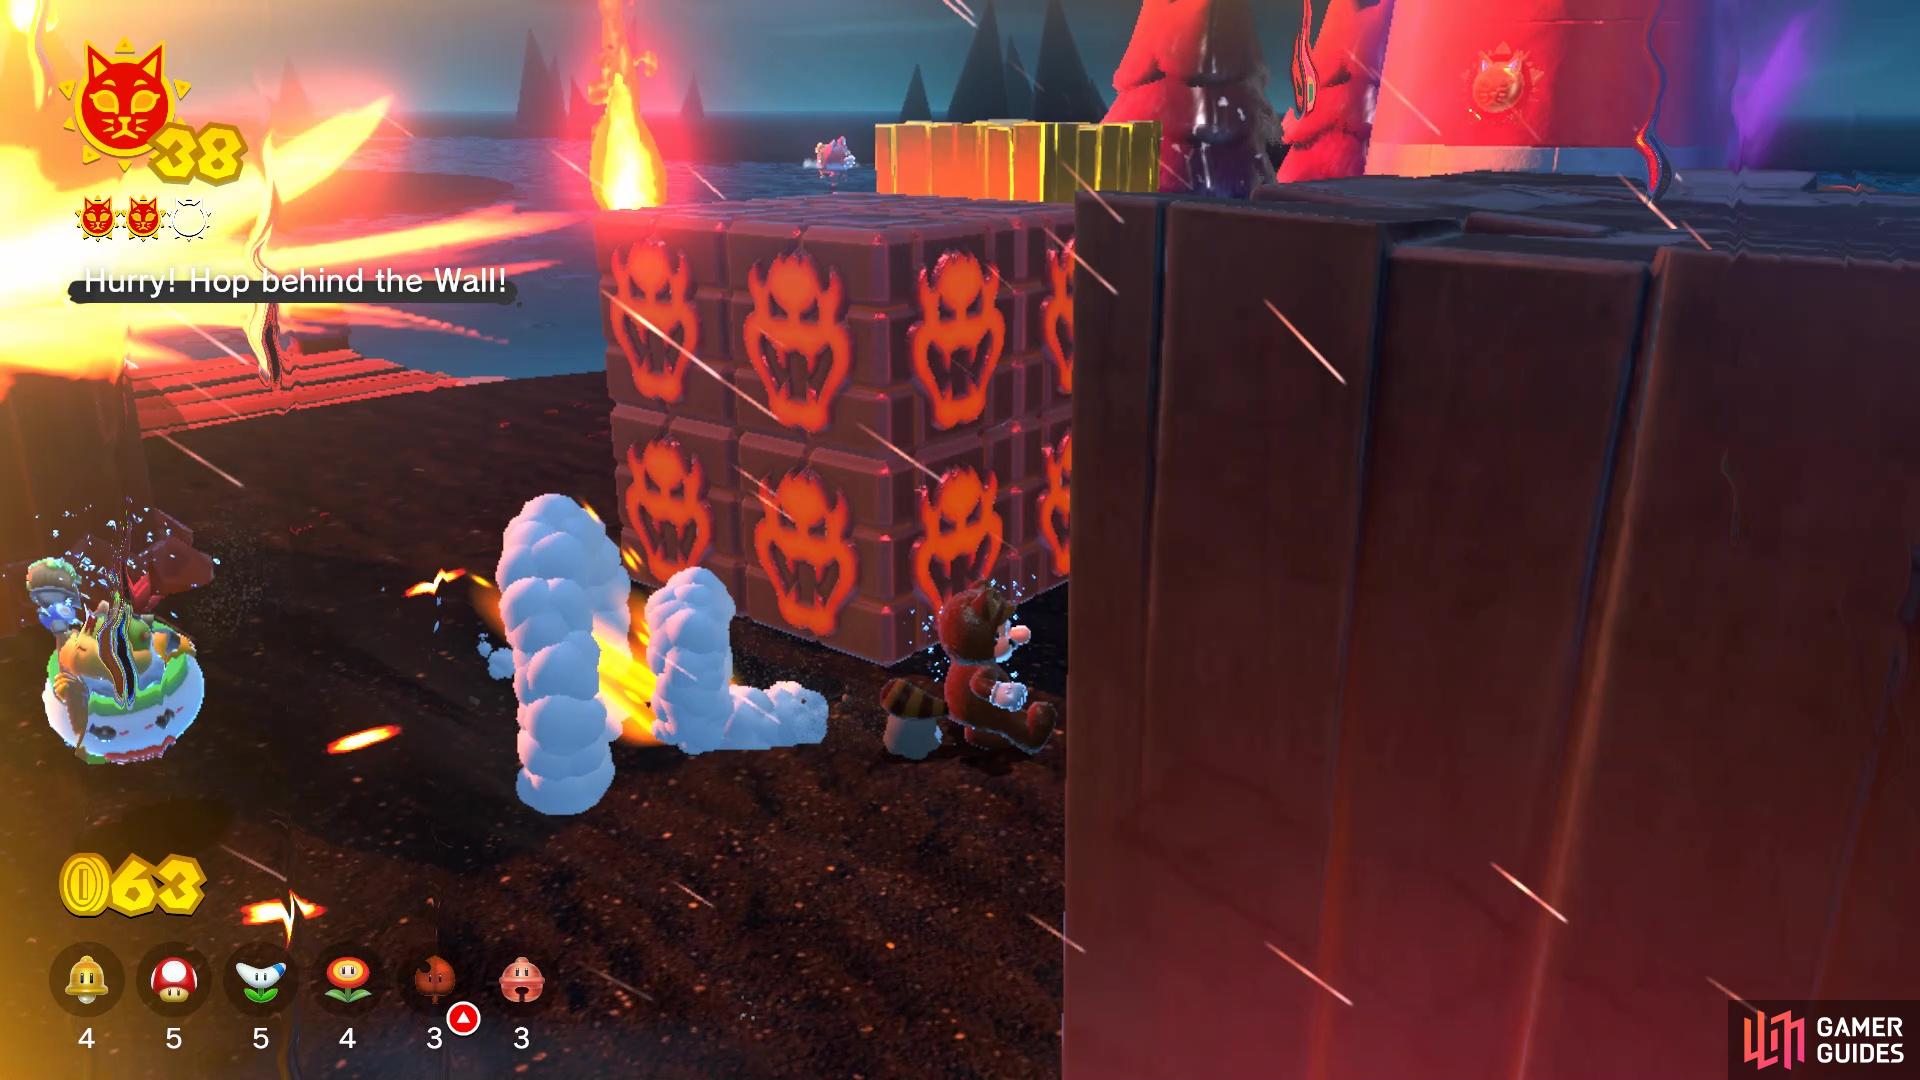
Hurry! Hop behind the Wall! Cat Shine
Upon reaching the first stable platform on the island, you will see a big button for you to Ground Pound. This will cause some extra bits of the course to show up, as well as start a 20-seconds timer. If you have a Super Leaf power-up stored, it will make this little timed course a lot easier, as you can simply glide over the bigger gaps. This should hopefully give you enough time at the end, as there is a grey brick wall stopping you from grabbing the Shine. Also, there are a few Magikoopas that will be firing magic blasts at you.
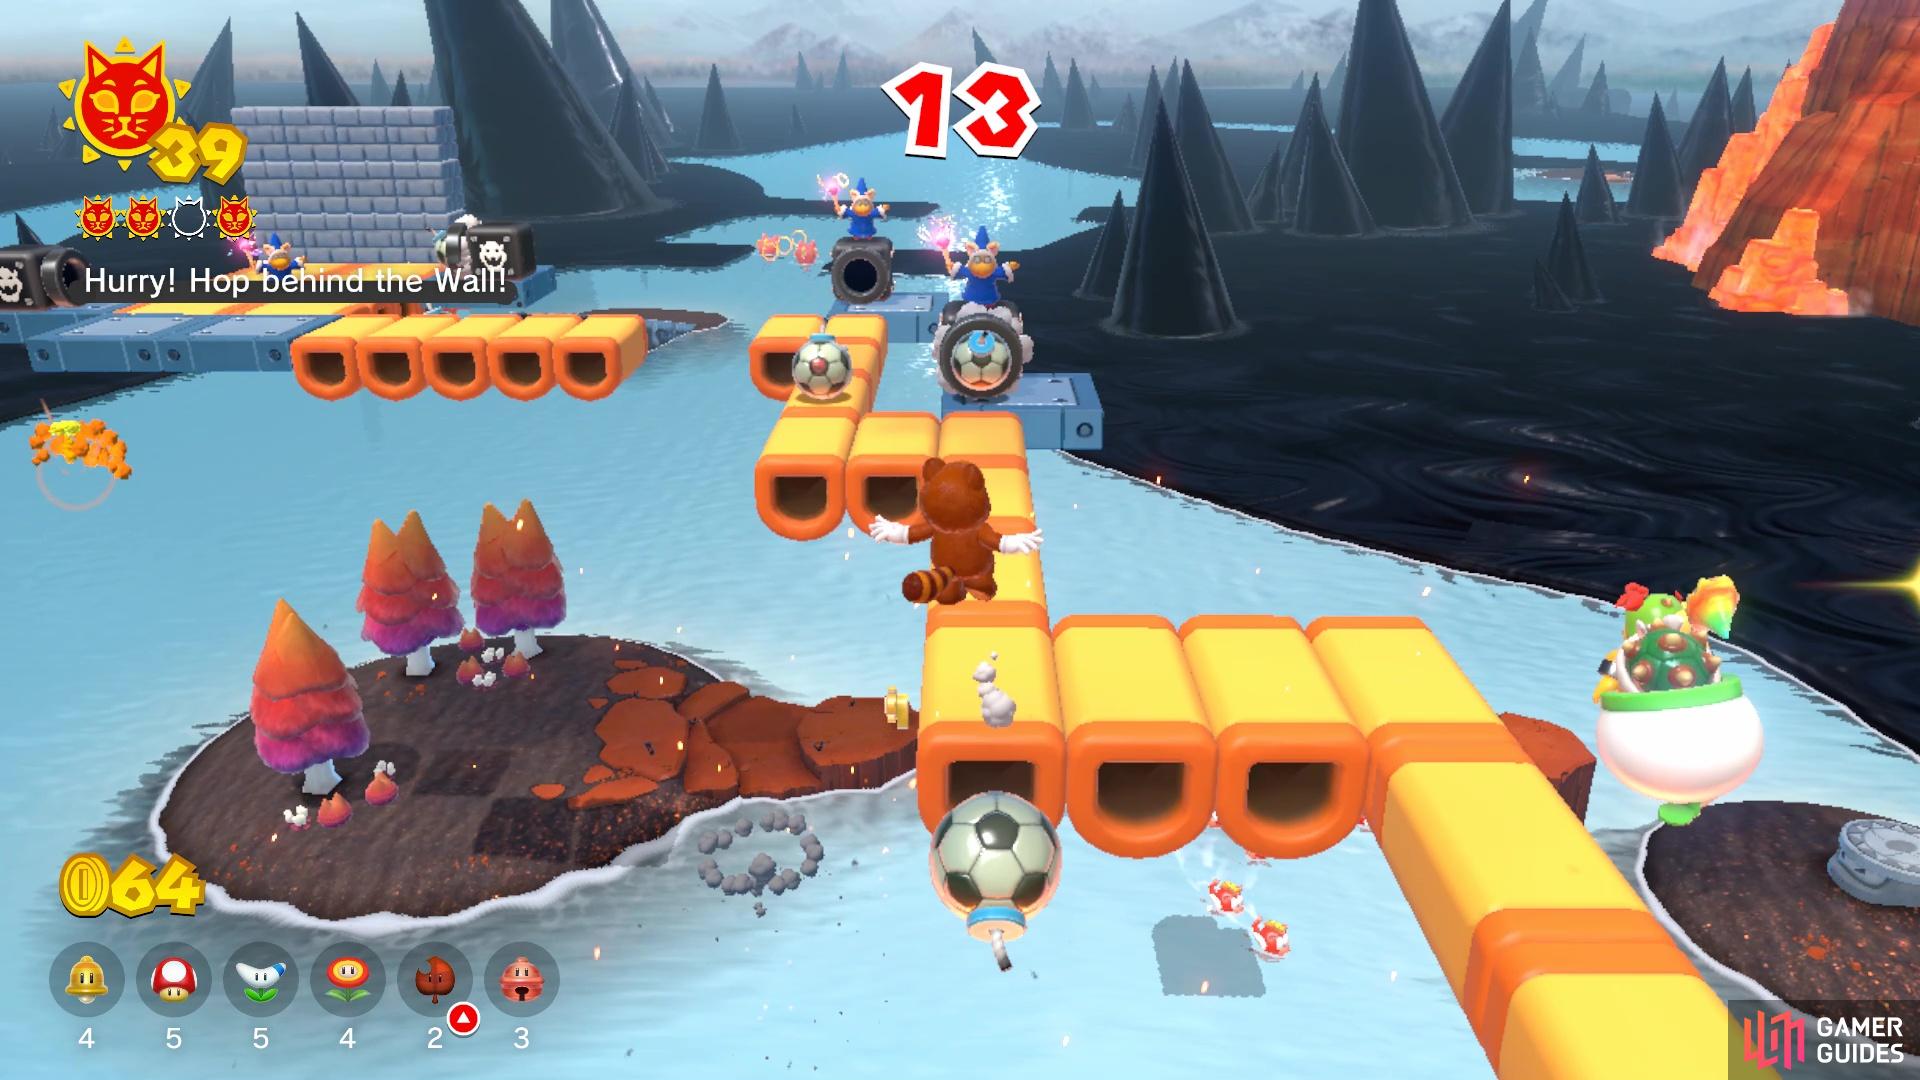
The Tanooki Suit helps a lot in skipping some sections
Knock a bomb into the wall to get the Shine behind it
In addition to this, you will notice cannons shooting out soccer ball-looking bombs. Of course, there’s an annoying Magikoopa near the end that might block you from knocking one of the bombs into the brick wall and destroy it, which is the intended way to do things. Of course, due to the timer and the fact that the bombs might not get knocked in the way you want, you could also use the Super Bell to climb the brick wall and over it. Either way, the Cat Shine will be behind the brick wall.
Five Cat Shine Shards Cat Shine
You won’t really have much trouble finding the five Cat Shine Shards on Risky Whisker Island, since they are pretty much in plain sight and none of them are really hidden from you. With the gate to your back, start off by going to your left and heading clockwise to collect them in the “game’s order.” Cat Shine Shard #1 will be in the air in between the two elevated donut blocks, while Cat Shine Shard #2 will be on the corner. While it looks like it’s not on anything, the second Shard is on an invisible cloud platform.
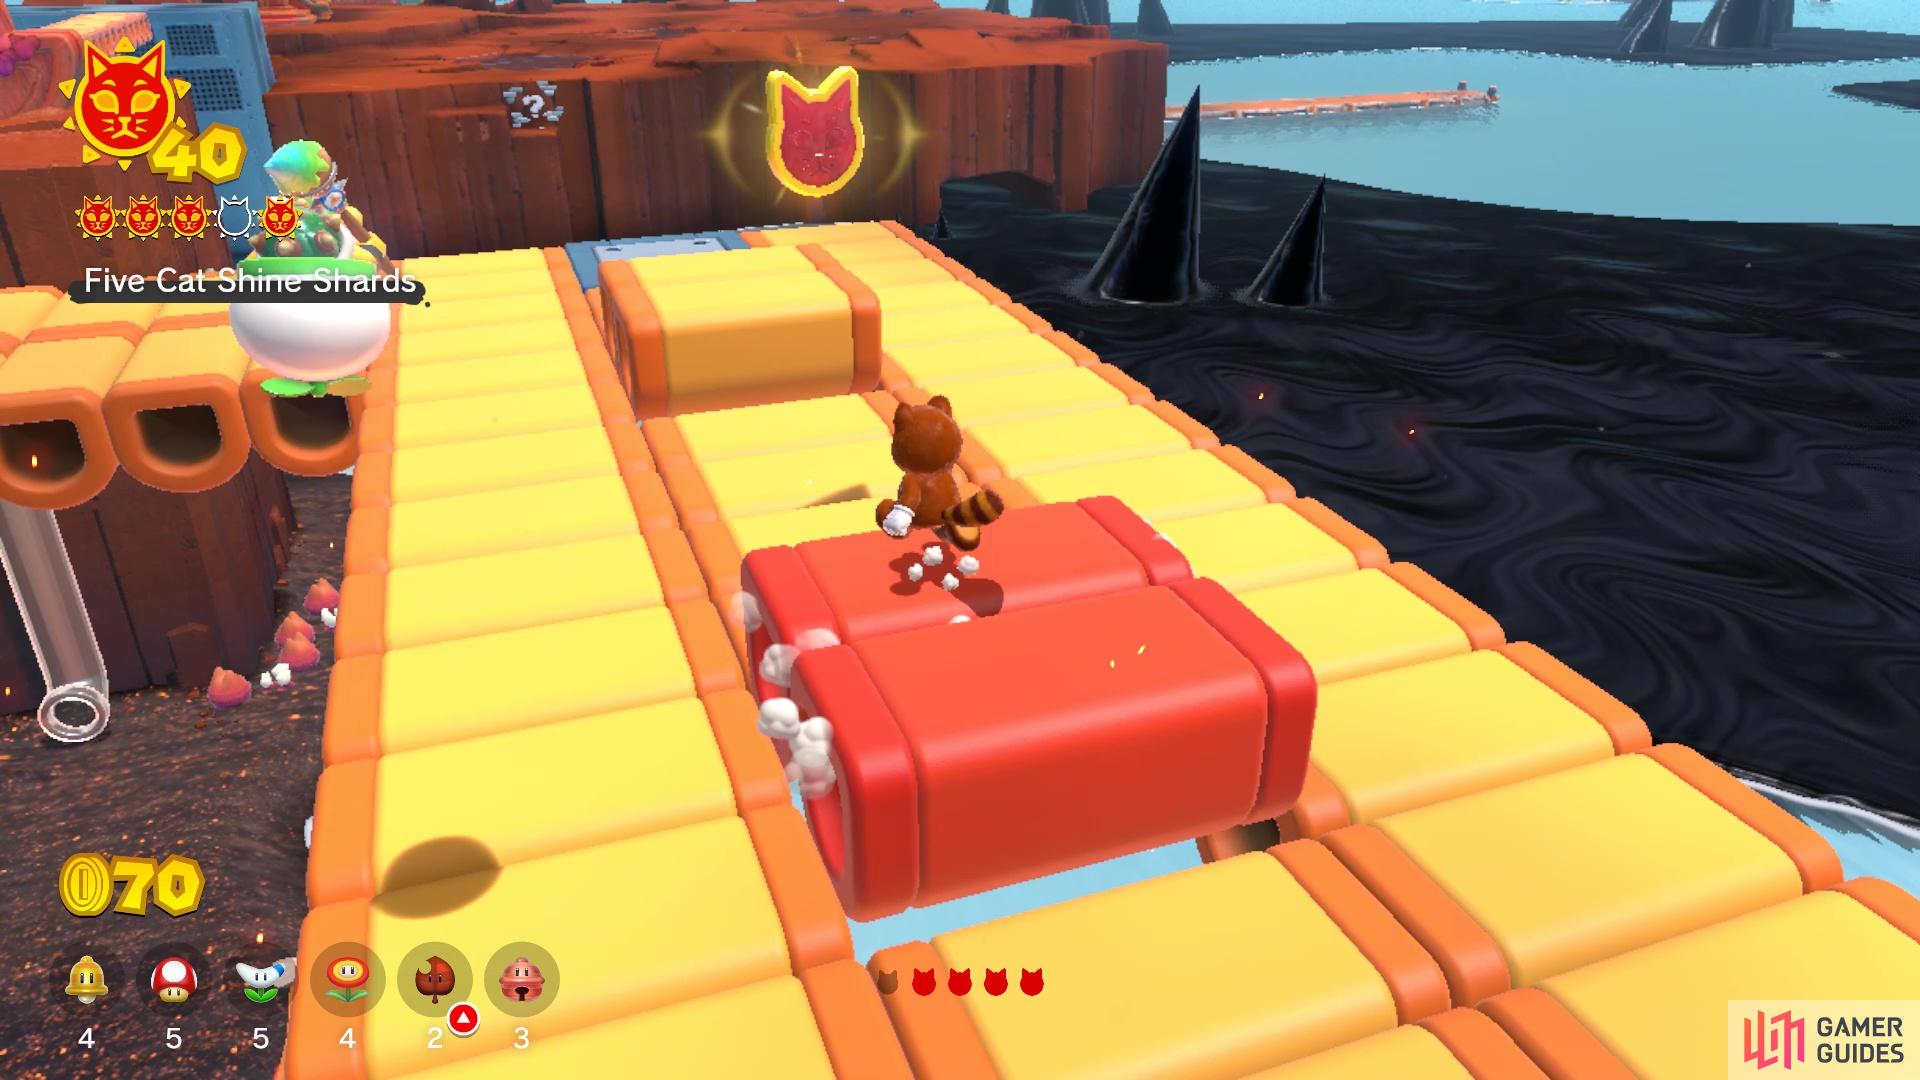
Around the corner, you should see some stairs that are made out of donut blocks, so head up them and you will find Cat Shine Shard #3 on a platform at the top. Drop down back to the main section, then head to the next corner. Cat Shine Shard #4 is in between two donut blocks, which can be made a little easier if you have Tanooki Mario. A little ways away from the previous Shard, you will find Cat Shine Shard #5 above some donut blocks that are not connected to one another. Once again, the Tanooki Suit helps a lot, since you can float down. After collecting all five Shards, you will get the Cat Shine.
Blast the Fury Blocks Cat Shine
The Fury Blocks can be found underneath the main area
You’ve probably already seen the Fury Blocks out of the corner of your eye, but if not, then it’s underneath the donut blocks of the main portion of the course. You can get to them whenever you want, since it’s on normal land, but the surrounding waters are black goop until you collect the first Shine here. Whether you want to wait or not is up to you, depending on whenever you have Bowser show up. Once he does, stand next to the Fury Blocks and have him break them to get the Cat Shine.
No Comments