
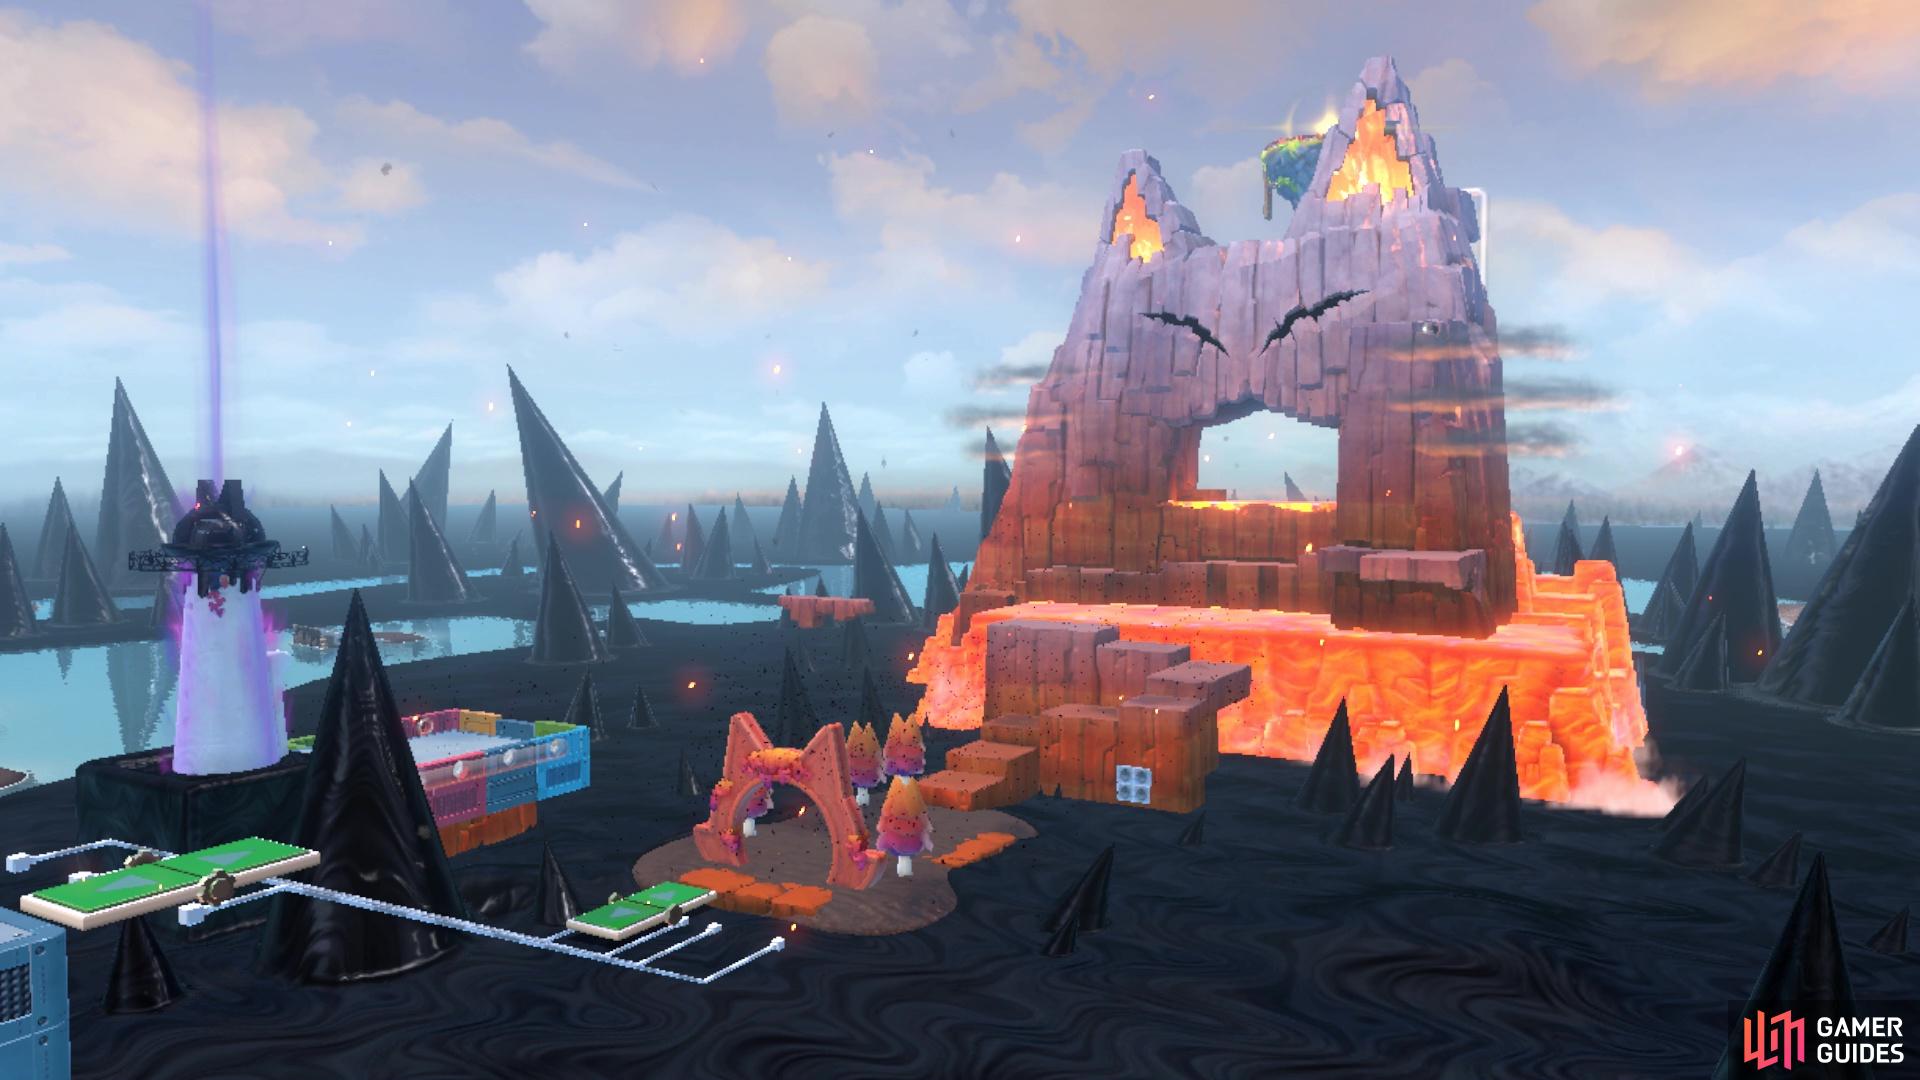
Mount Magmeow is an island that is located in the Wasteland section of the map and is in the same portion as both Risky Whisker Island and Pipe Path Tower. After clearing at least the first Shines from each Pipe Path Tower and Risky Whisker Island, you will be able to access this island. You can’t miss this island, due to the mountain in the shape of a cat towering over it. The gimmick for Mount Magmeow is the Switchboard platform, which are platforms with two arrows on them. By standing on an arrow, they will move in that direction until they hit the end of their track.
Back Off, Cat Prince Bully! Cat Shine
Upon passing through the main gate, jump up the initial ledges, avoiding the Fire Bros. Past that will be another Fire Bros, as well as some Fire Bars, the latter of which should be familiar to anyone who played the first Super Mario Bros game. Continue to a Switchboard and use that to ride to the next section, making sure you avoid the Fire Bros and Fire Bar along the path. You will want to avoid falling in the lava here, as it is instant death and doesn’t just do damage. You will now be travelling along a thin ledge, with some more Fire Bars.
After the first one, you can either roll underneath the cliffside to bypass the second Fire Bar or jump over the gaps. There will be another Fire Bros in the corner past the two Fire Bars, then another Fire Bar just past that enemy. The green pipe you see there will just take you back to the beginning of the island, so ignore it and jump on the nearby Switchboard. Ride this past the one ledge you see that has a triple Fire Bar, then jump off on the next Switchboard you find. This one will ride past some more Fire Bars, then lead you to one final Switchboard. As you ride this one, it will fall onto another track and bring you to an arena.
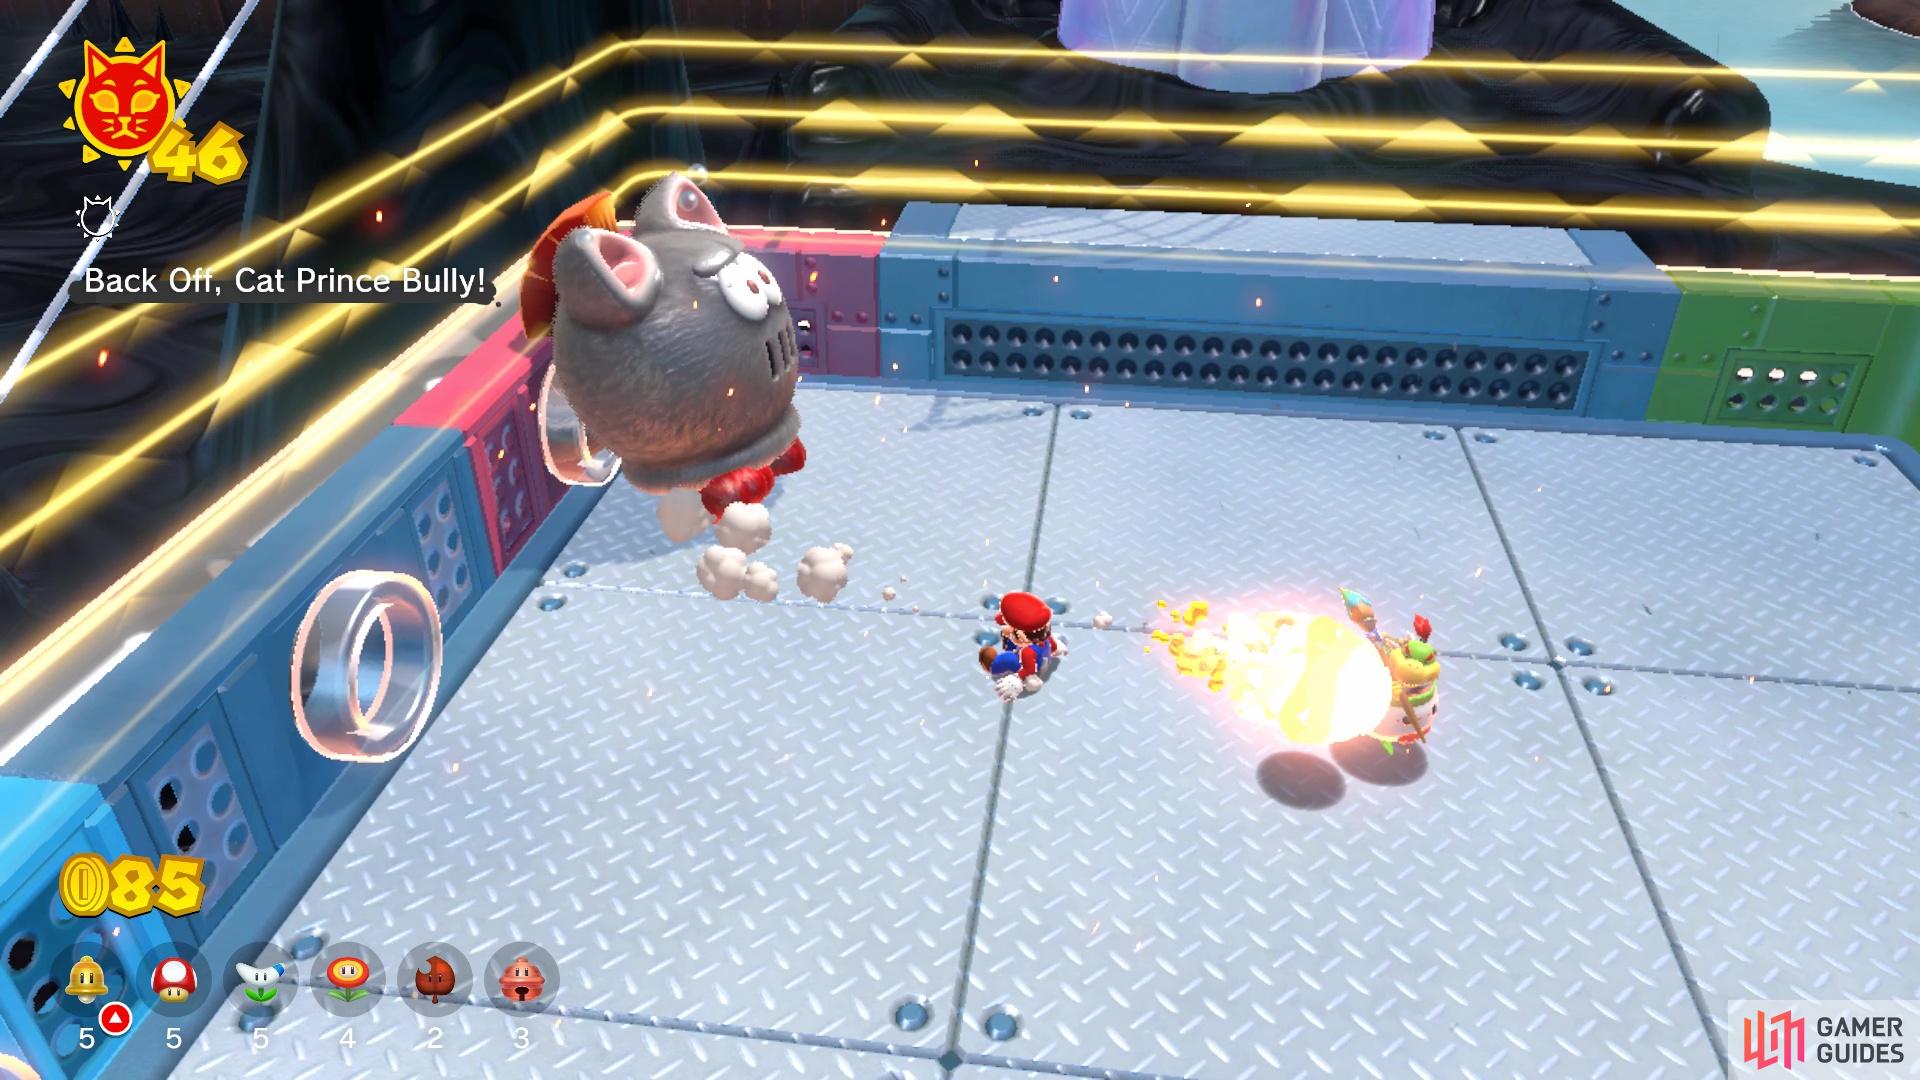
Push the Prince Bully into the pipes
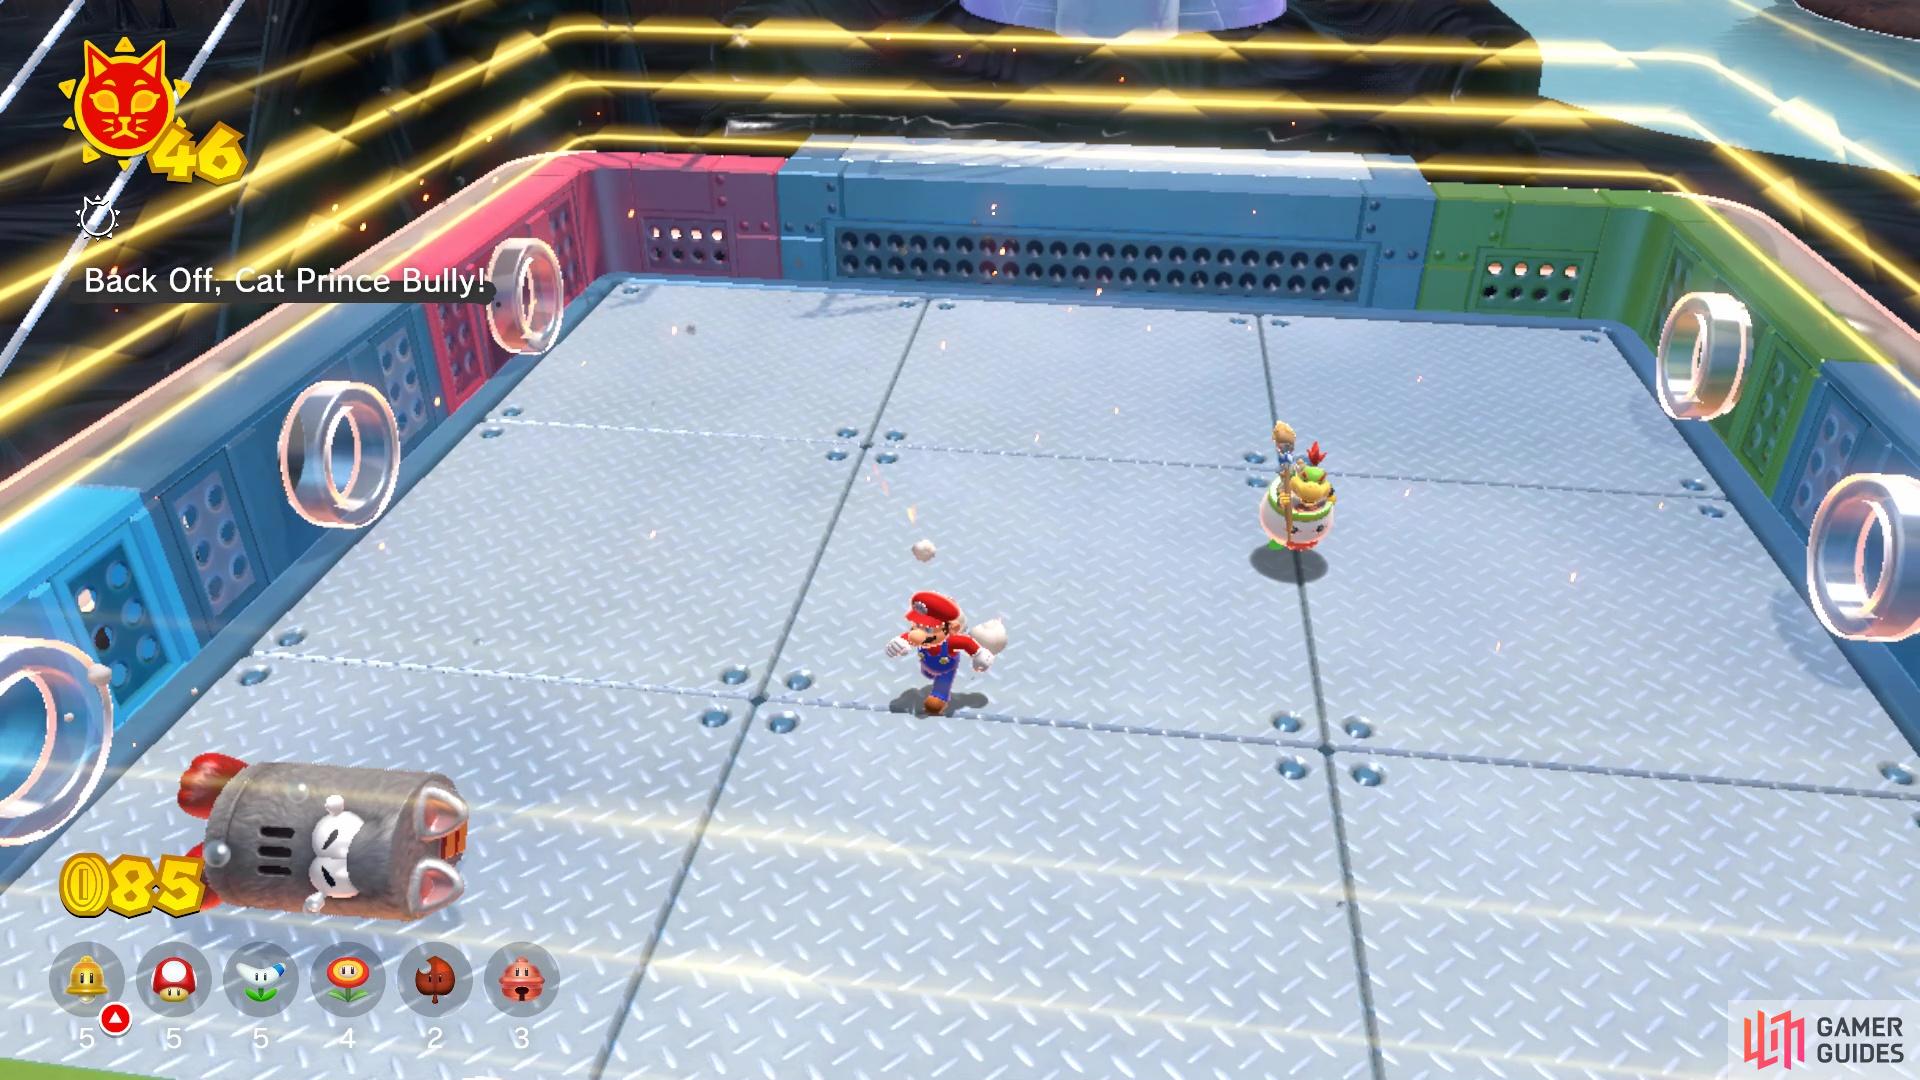
causing him to be small enough to damage him
This arena will be home to a miniboss fight against the Prince Bully. If you are familiar with the Bully enemies, then you know they can’t directly hurt you and neither can you directly hurt them. All the Prince Bully will do is either charge at you, or spit a singular fireball in a straight line. So, you shouldn’t really be getting hit at all with this miniboss. In order to harm him, you will need to knock him back until he gets stuck in a pipe, then give him one little push to have him get sucked in completely. He will come out another pipe, all compacted, and that’s your cue to run into him again to cause damage. Do this three times to beat the Prince Bully and gain another Cat Shine.
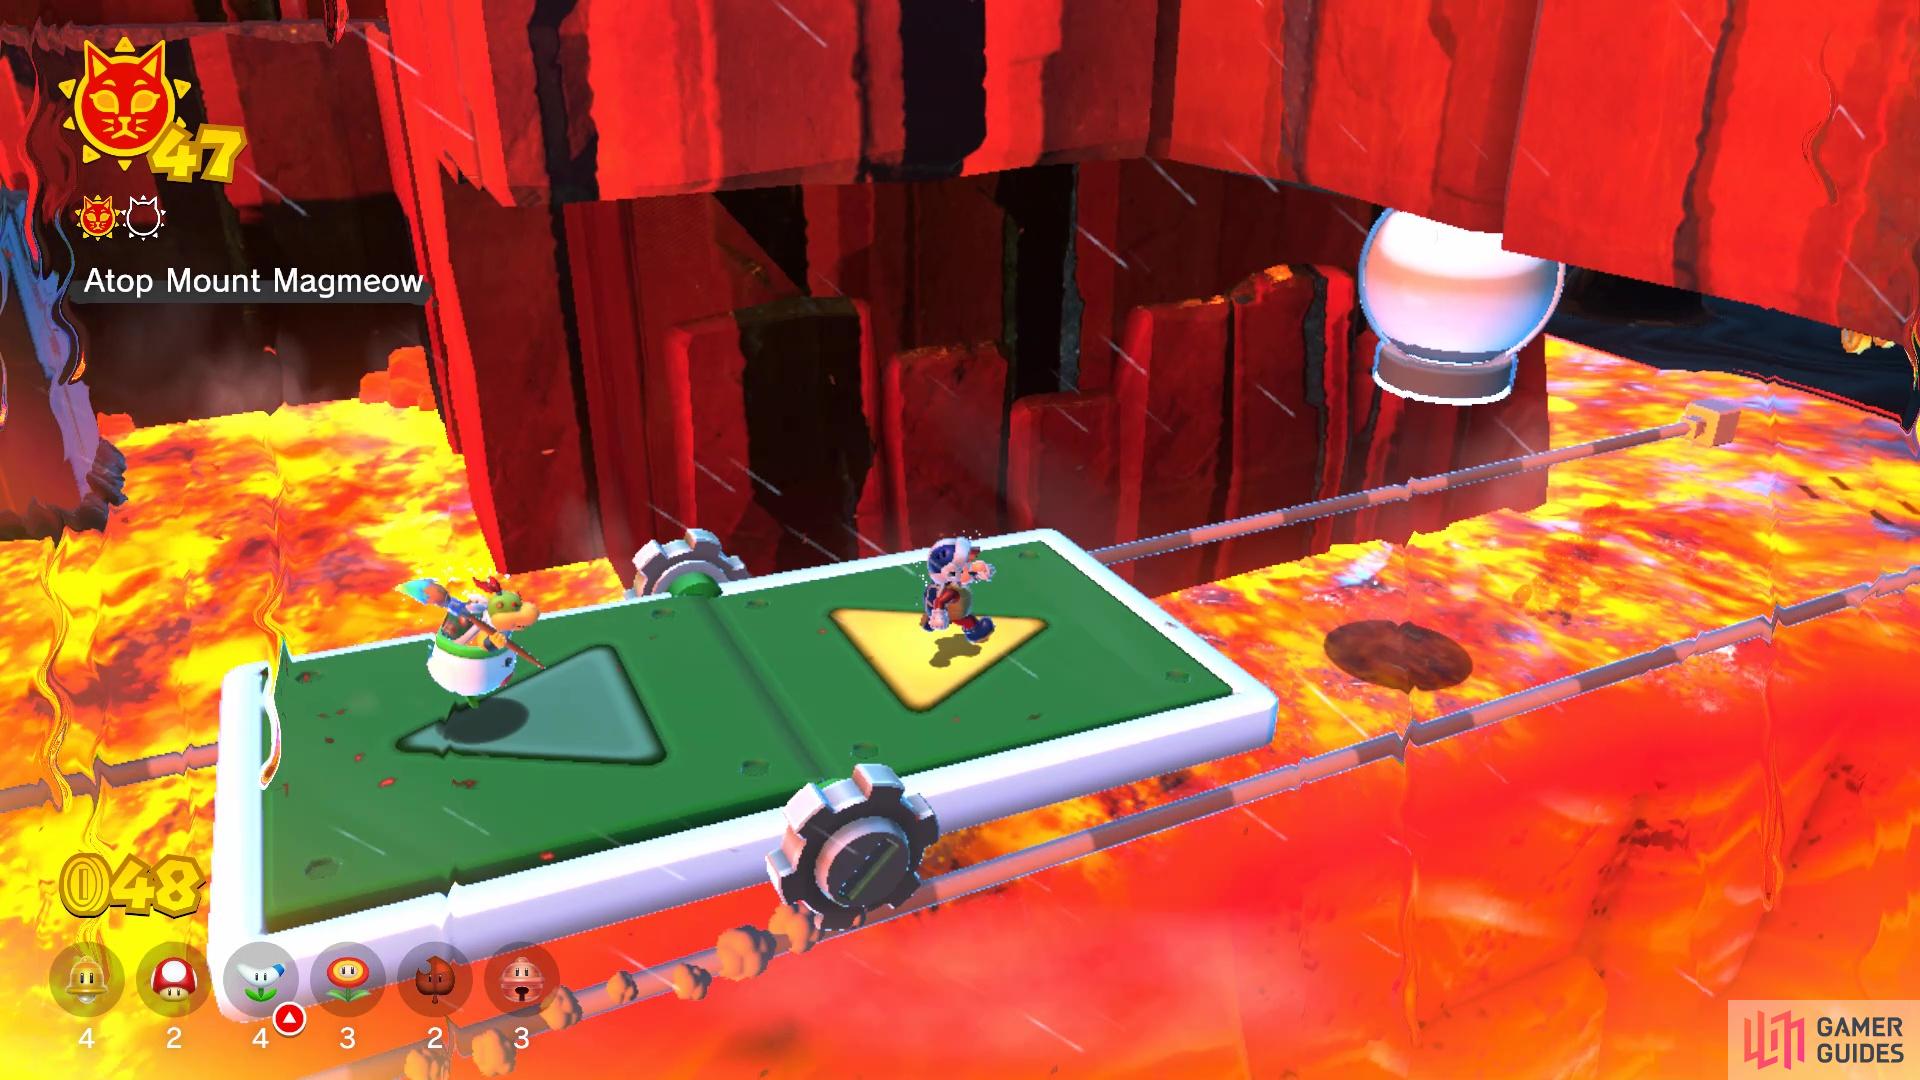
Atop Mount Magmeow Cat Shine
The island has been changed a little bit from the previous Shine, with there being a clear pipe at the beginning. This won’t take you far at all, though, as it just bypasses a few jumps. As you get past the pipe, you will notice that the question mark blocks with Fire Bars attached to them now have three Fire Bars instead of just one. Continue and you will run into a red block with an exclamation point on it, which is the main gimmick for this Shine. Hitting this block will change its color to blue, but it will also change the track for the nearby Switchboard.
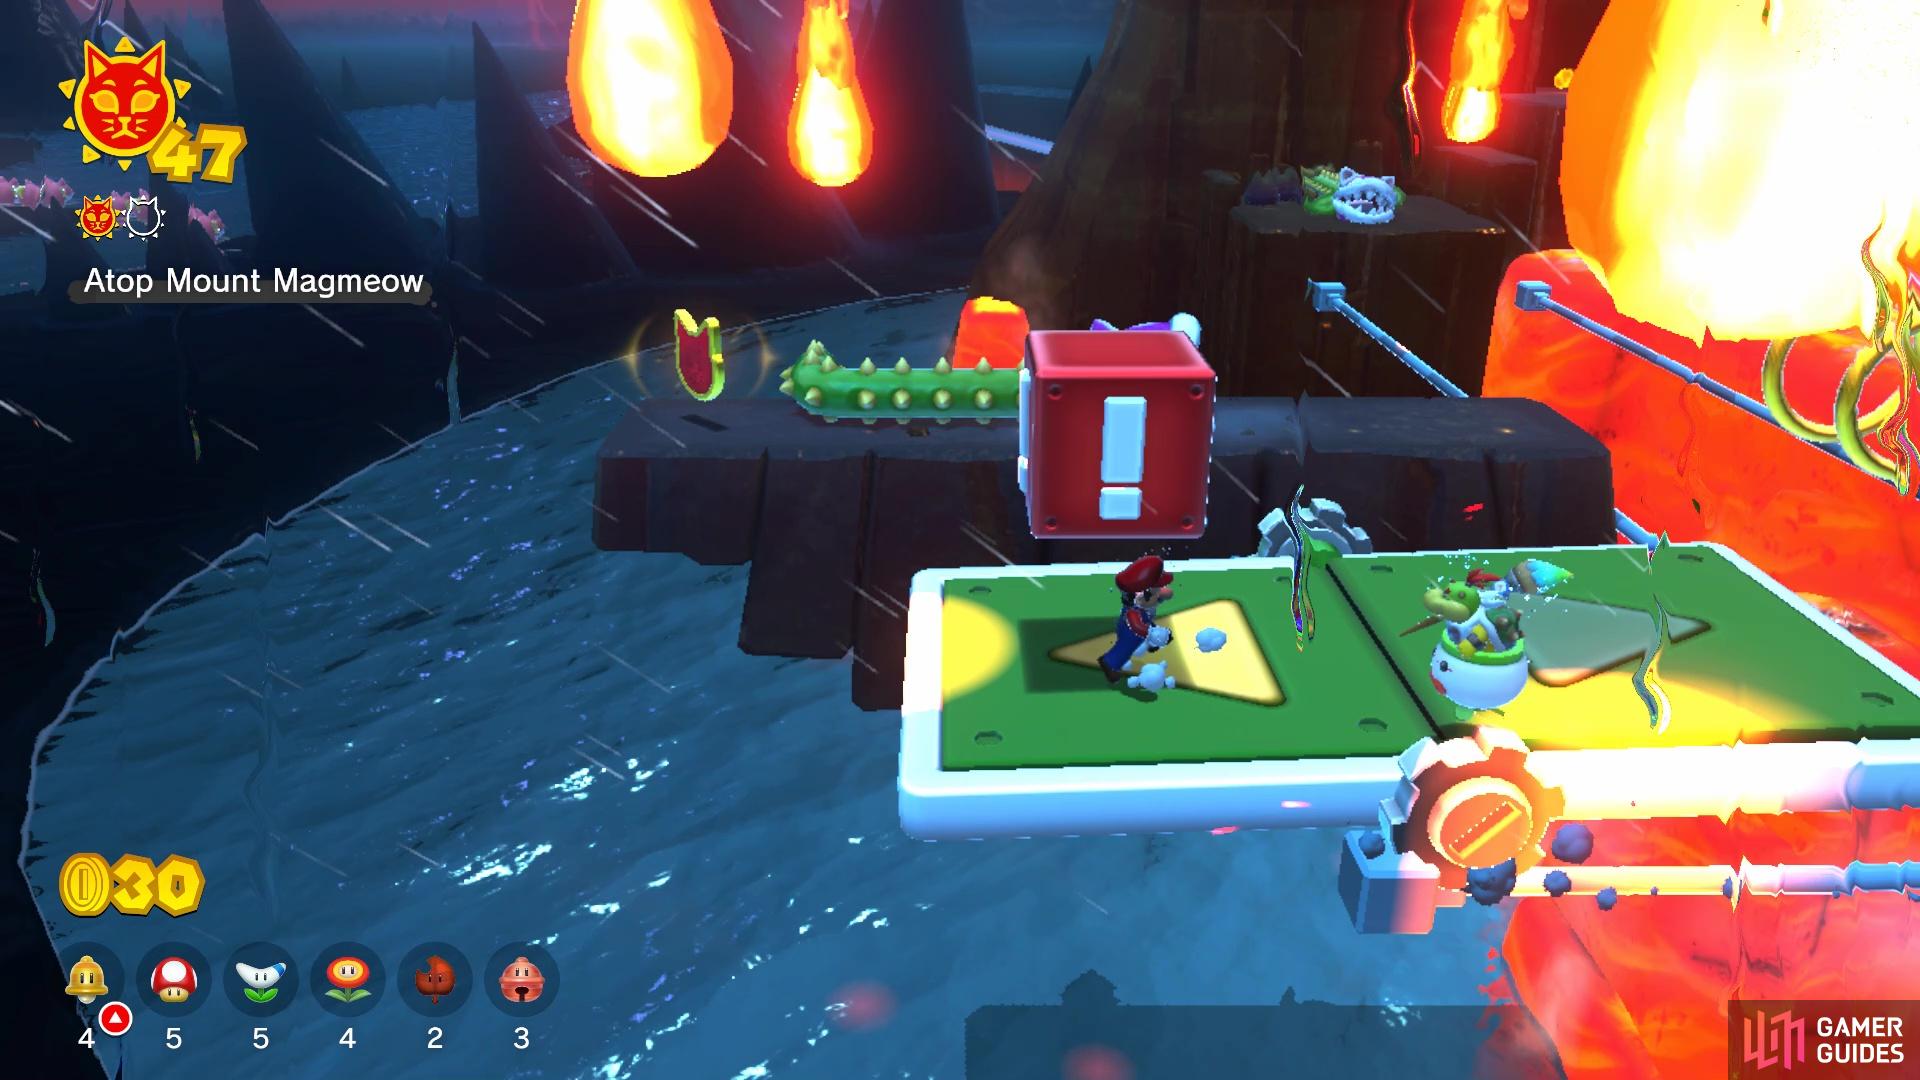
The colored blocks will change the layout of the Switchboard tracks
You will need to jump into the pipe at the end to reach the top of the mountain
So, to continue, change the color to blue, then ride the Switchboard to the end of the line and another colored block. Hit this to return the track to normal, then ride the Switchboard to the cliffside. Follow the trail here until you reach another Switchboard, but keep watch of the Fuzzler on the track. You can’t go in the one direction, so you will have to go the long way around to reach the next colored switch. Note that you will need to hit the switch before the Switchboard drops back down to the lower portion of the track. As you keep going, you will have to jump over two Fuzzlers, then get off onto the next Switchboard.
At the end of this track, hit the switch, then keep an eye out for two things. A Fuzzler will be chasing you, but as you pass underneath the actual mountain, you should notice a clear pipe/cannon sticking out. You need to jump into the pipe, but if you happen to miss it, then you can backtrack with the Switchboard, as it doesn’t fall off into the lava. Once you get into the pipe, you will be brought all the way to the top of the mountain. Jump up the last few ledges and you can snag the Cat Shine.
Hurry! Steer the Switchboards! Cat Shine
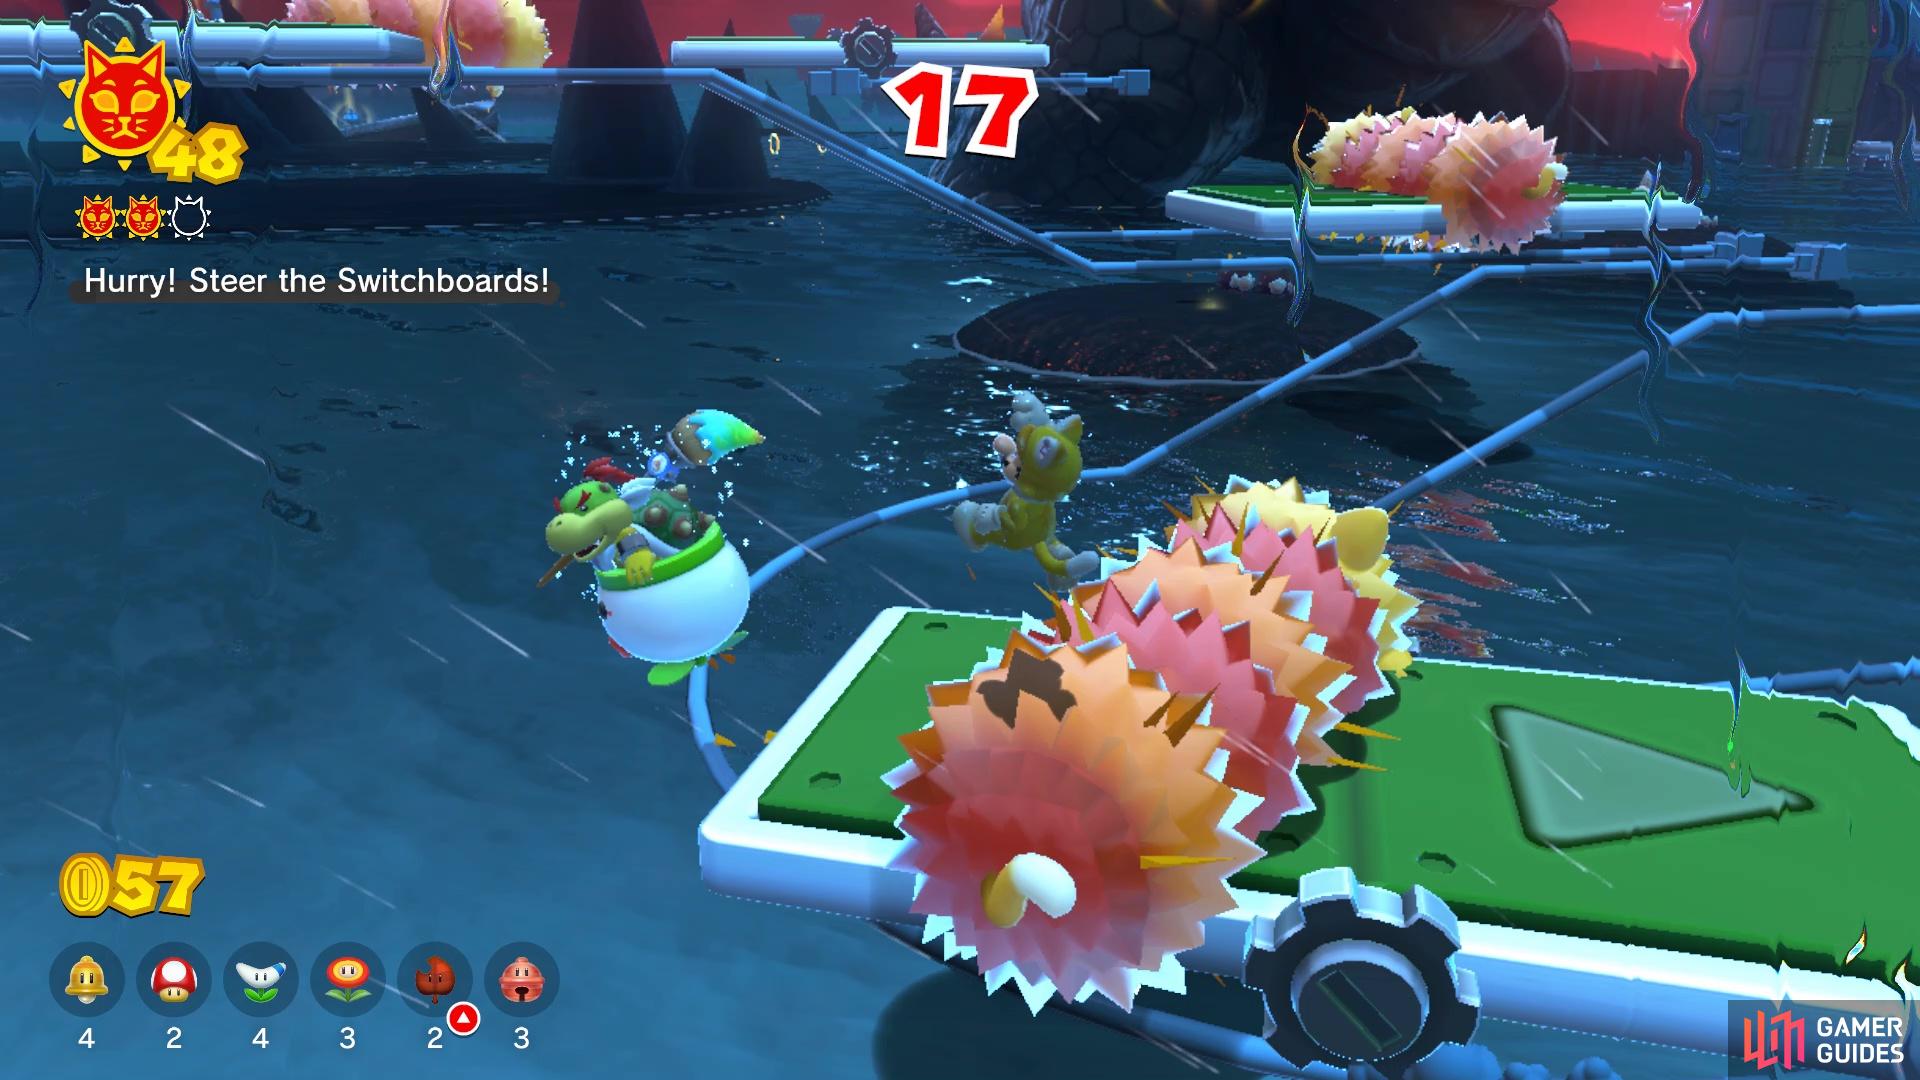
Watch out for the Fuzzlers during this Shine
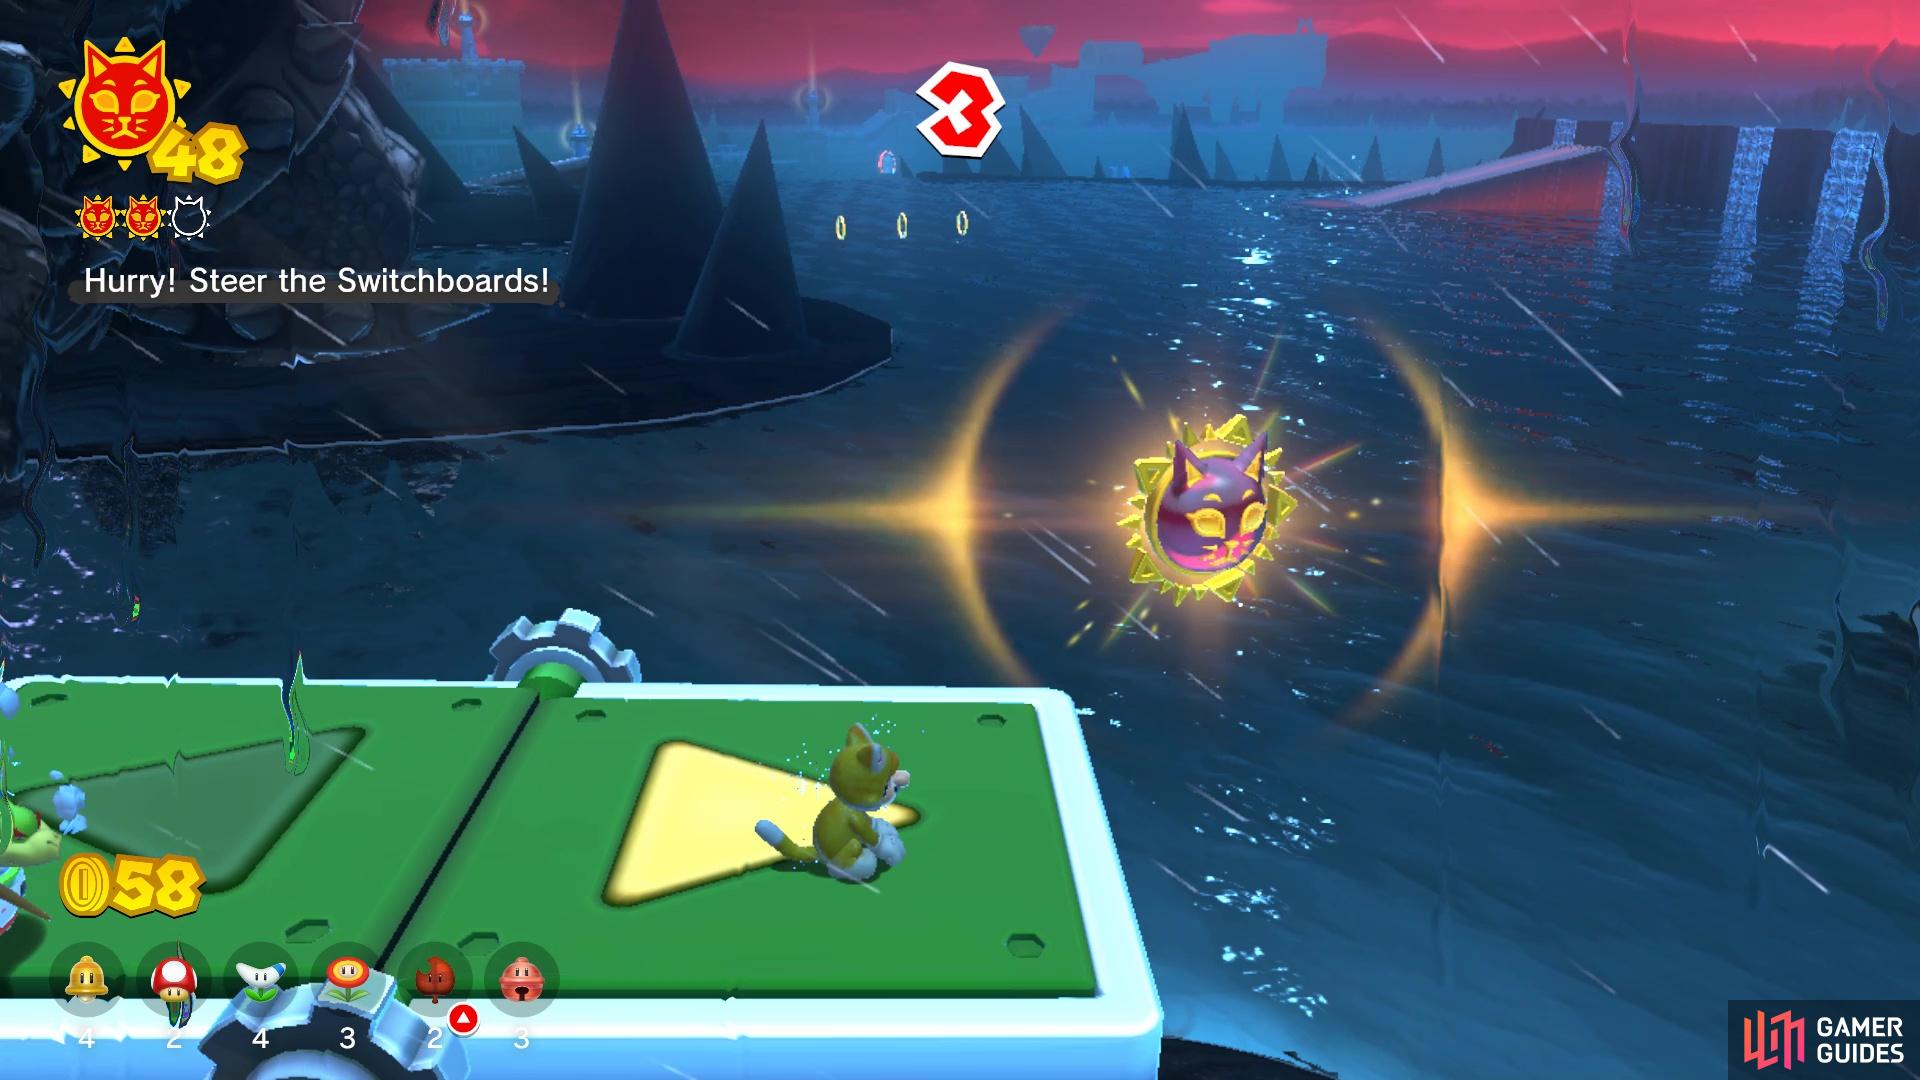
You will probably not have a lot of time to grab the Shine
You will find one of those shiny purple buttons at the beginning of this island, which can only mean one thing! You will need to traverse a small obstacle course within 20 seconds and grab the Shine at the end. Naturally, you will be using Switchboards here, with there being some Fuzzlers to try and hinder you. Due to the layout, you will probably be finishing with less than five seconds on the clock, so there’s not much room for error. If you need to take a hit from one of the Fuzzlers, do so and at the end of the final Switchboard, you will be able to grab the Cat Shine.
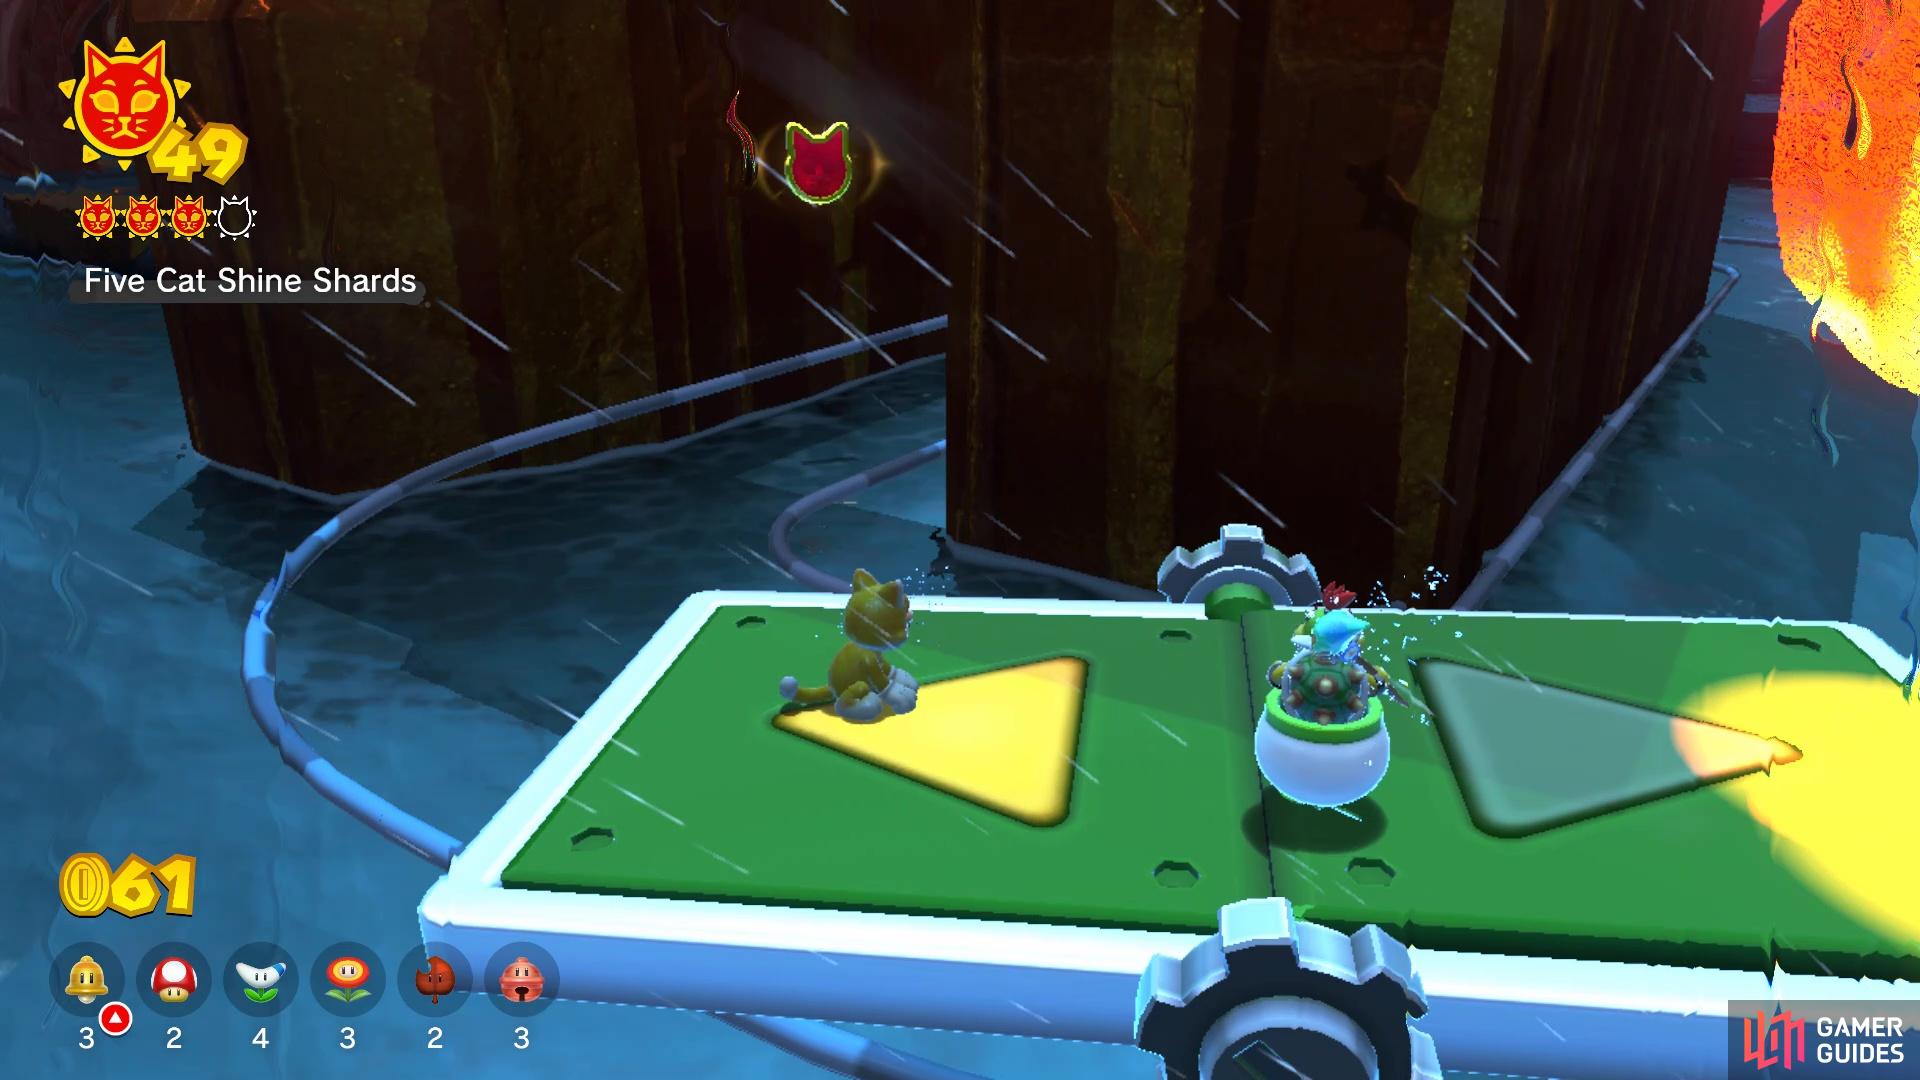
Five Cat Shine Shards Cat Shine
Being a pretty decently sized island, the five Shards are going to be a little spread out and are probably the hardest to find in the game. When you begin, jump in the water and swim towards the mountain itself to find a slightly hidden Switchboard track. Follow it around to the back, where you should find the actual Switchboard itself. Hop on it and ride it around to find Cat Shine Shard #1. Return to the main path and make your way past all of the initial set of Fire Bars, where you will end up by the first Switchboard. As you ride it, you will see the thin platform that has a Fire Bro on it; Cat Shine Shard #2 is on this same platform.
Return to the Switchboard and ride it to the next section. As you’re traversing the ledges here, continue past the two Fire Bars and before the third one, you will see Cat Shine Shard #3 floating above the lava in between a gap. Hug either wall and slide down to grab it, then wall jump back up to the safety of land. Hop on the next Switchboard and ride this one all the way past the next one. You will need to crouch to get underneath the wall, then wall jump over the next wall and back onto the same Switchboard. At the end here will be Cat Shine Shard #4.
Return to the main path, reversing the directions you used to get to the fourth Shard. Whenever you jump onto the next Switchboard, immediately hop off onto the nearby platform. You should see some brick blocks here, with some POW Blocks as well. Behind this makeshift wall will be Cat Shine Shard #5. Once you have collected all five Shards, you will get another Cat Shine.
Blast the Fury Blocks
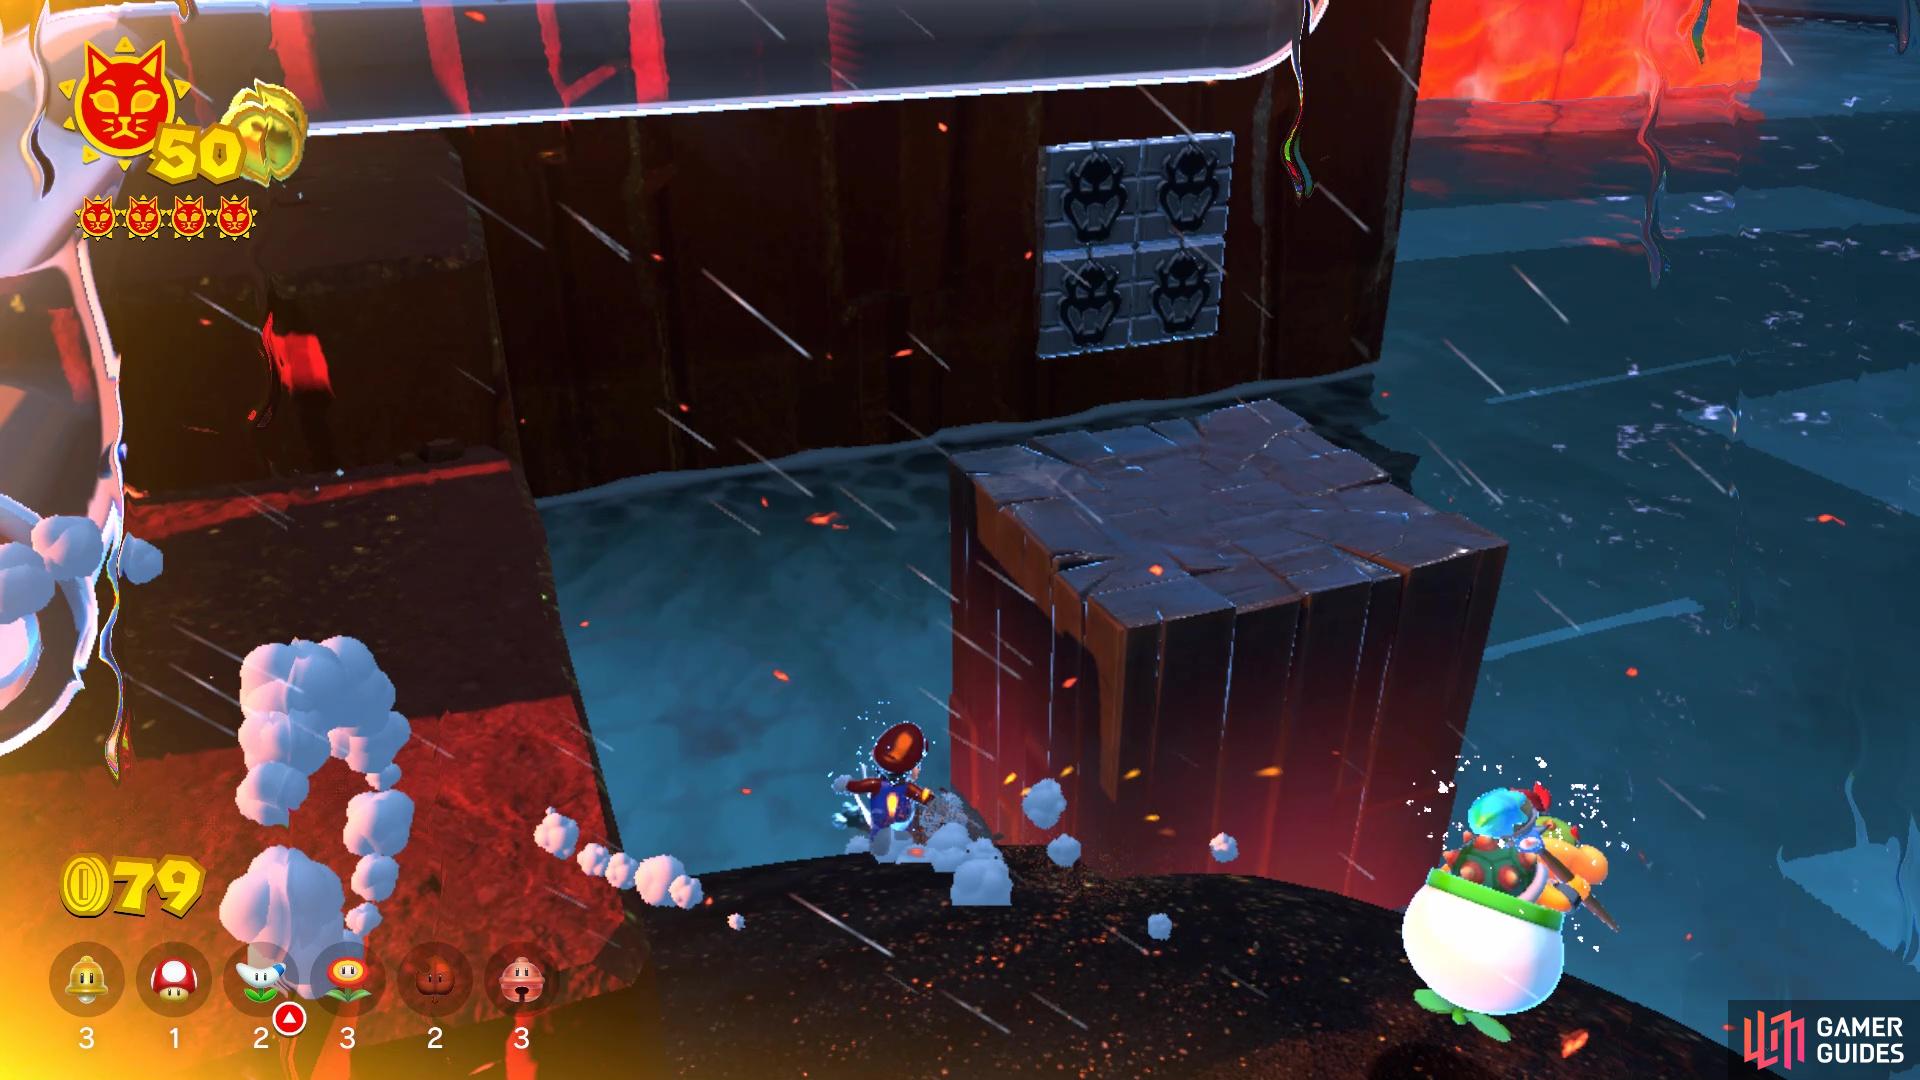
The Fury Blocks are right by the start of the island
It’s very difficult to not see the Fury Blocks on this island, as they are right in your face as soon as you step foot on Mount Magmeow. At the beginning of the island, they will be to the right of the main path, along the wall there. Wait by the blocks until Bowser makes an appearance, then let him do his thing to grab the Cat Shine hidden behind them.
No Comments