
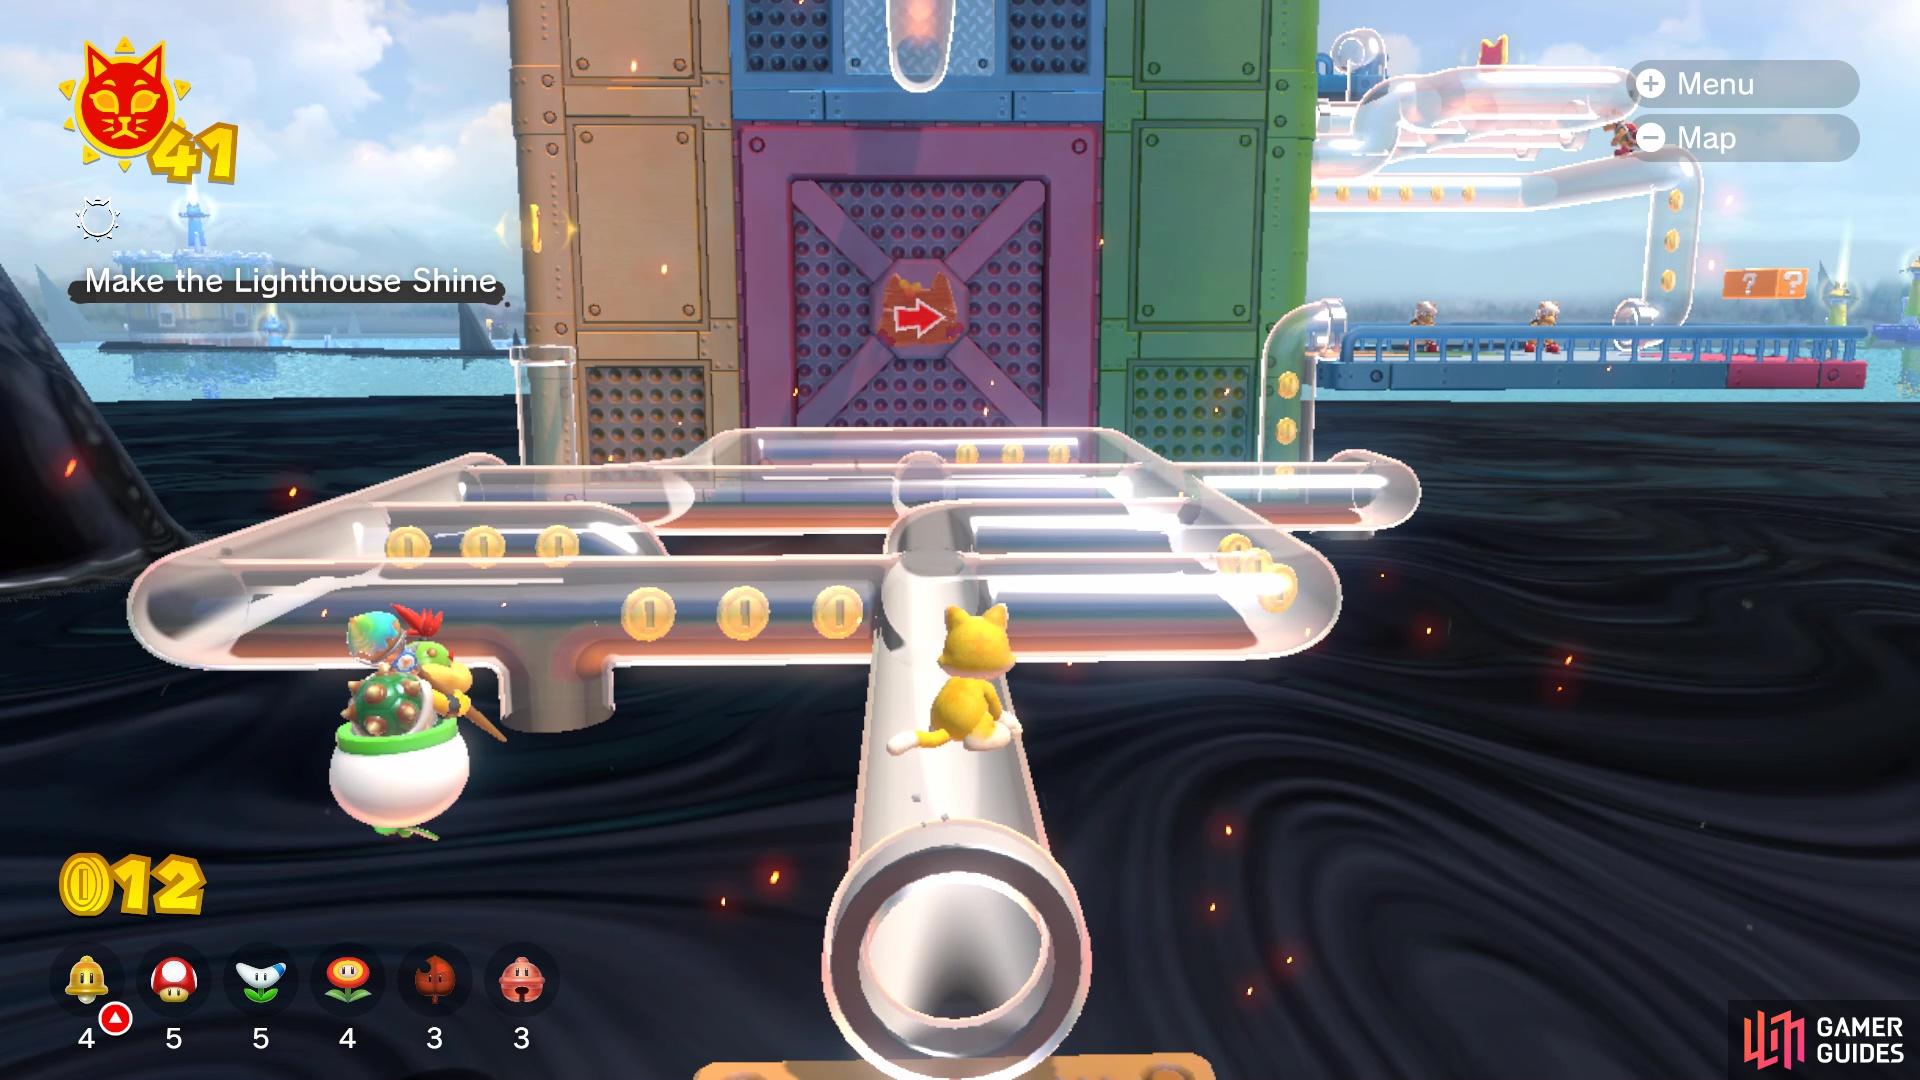
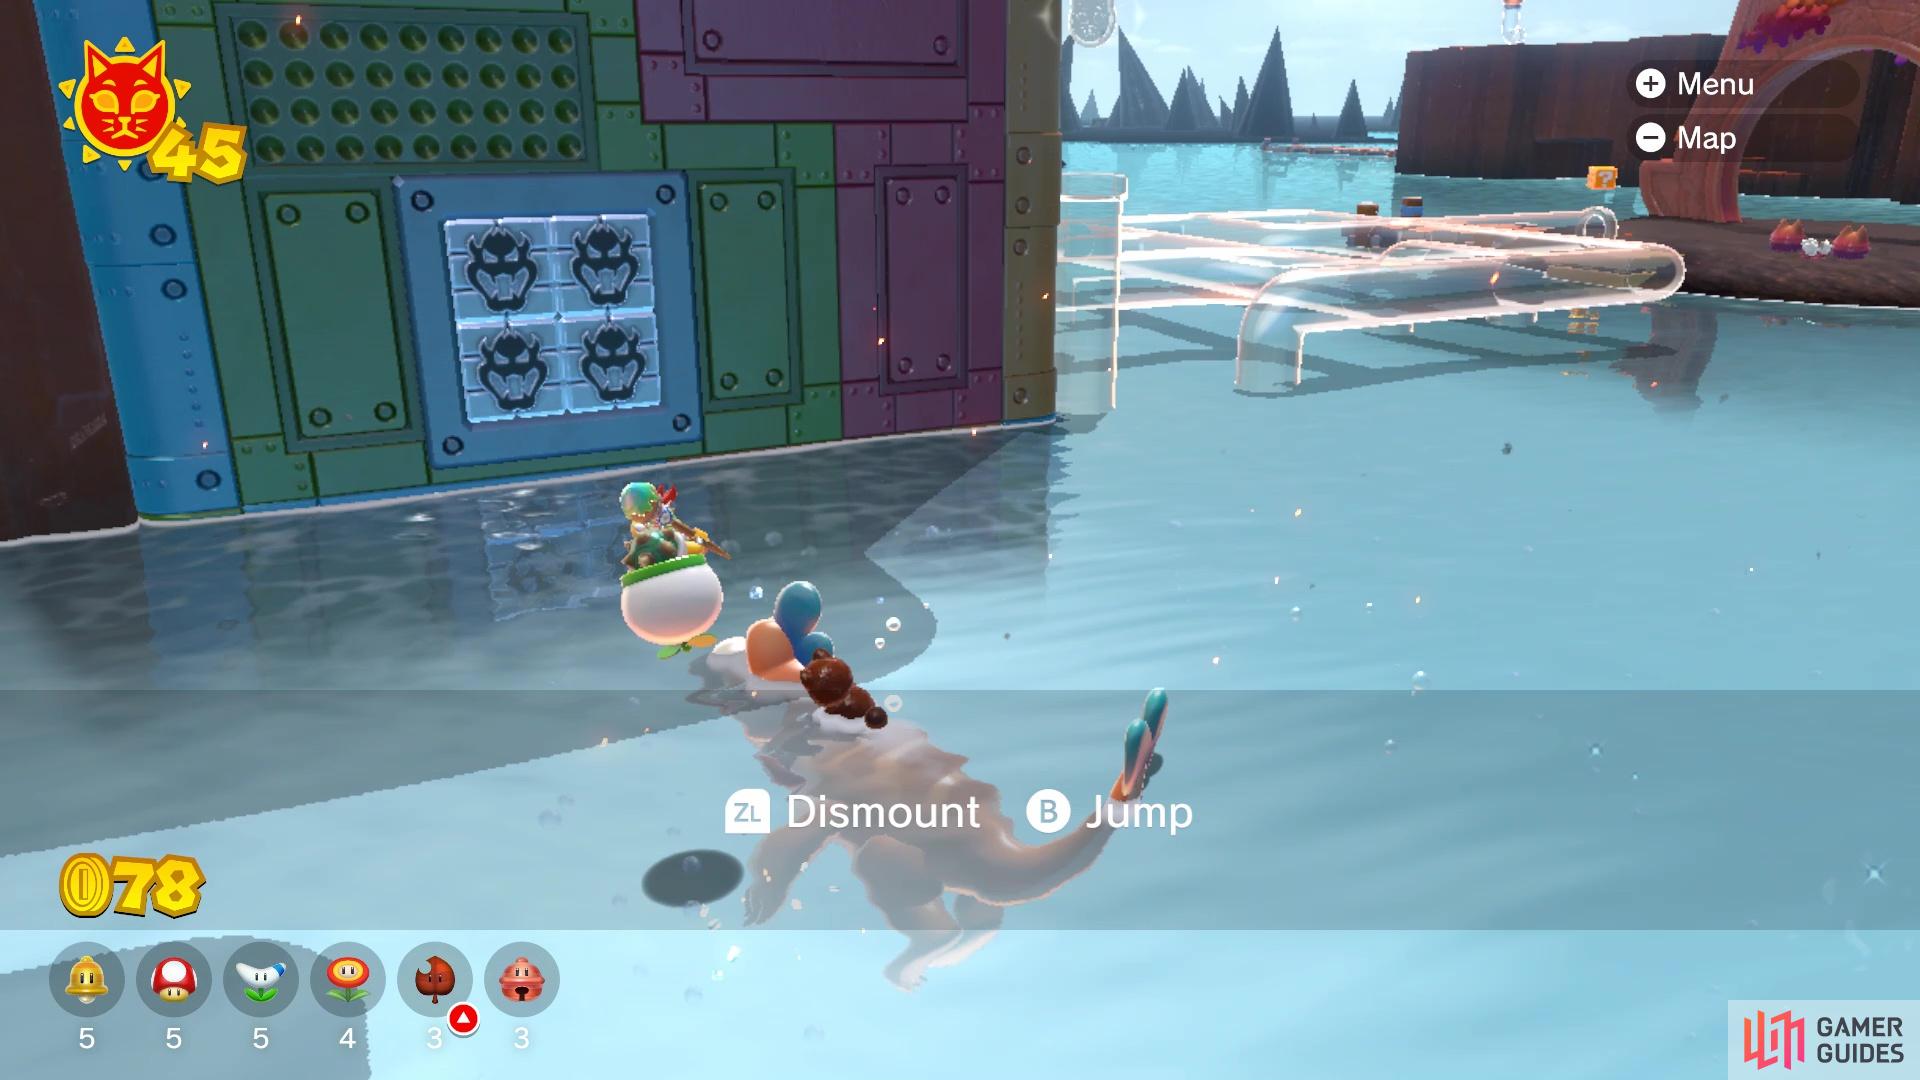
Pipe Path Tower is one of the islands in the Wasteland Giga Bell region of the map, and is actually opposite of where you find Risky Whisker Island. You take a clear pipe to get to the island’s entrance and living up to the name of the island, the majority of it will be made up of the clear pipes. The pipes will make up little mazes of sorts, although only the first one is a little confusing, as the exits of the pipes will go underneath the black goop (water once you clear the first Shine), so you won’t be able to see where they go.
Make the Lighthouse Shine Cat Shine
Upon beginning the island and taking the initial clear pipe, you will see a series of pipes before you. You will also notice that some of the pipes head underneath the black goop, but they won’t deposit you there, but rather take you to another portion of the little pipe maze here. Feel free to grab the Shard you see, if you want, but this walkthrough will ignore it for now. The important part to remember is to hold the analog stick in the direction you want, whenever you are approaching a turn. For the first set of pipes, you want to navigate over to the right side, as that will bring you to the next area.
There will be two Fire Bros here, so move past them and into the next pipe section. You will notice two sections here, with the lower one bringing you straight to the upper portion. However, crossing to the other side will require some timing, as two Fire Bros are shooting fireballs into the pipes. Fortunately for you, they take a second or so to jump into another position, so that’s your chance to cross over and enter the next area. After passing the Shard, you will enter another section where the exit is blocked by some spike balls. Navigate over to the other hole you can exit, where there will be a POW Block. Hitting the POW Block will destroy the spiked balls.
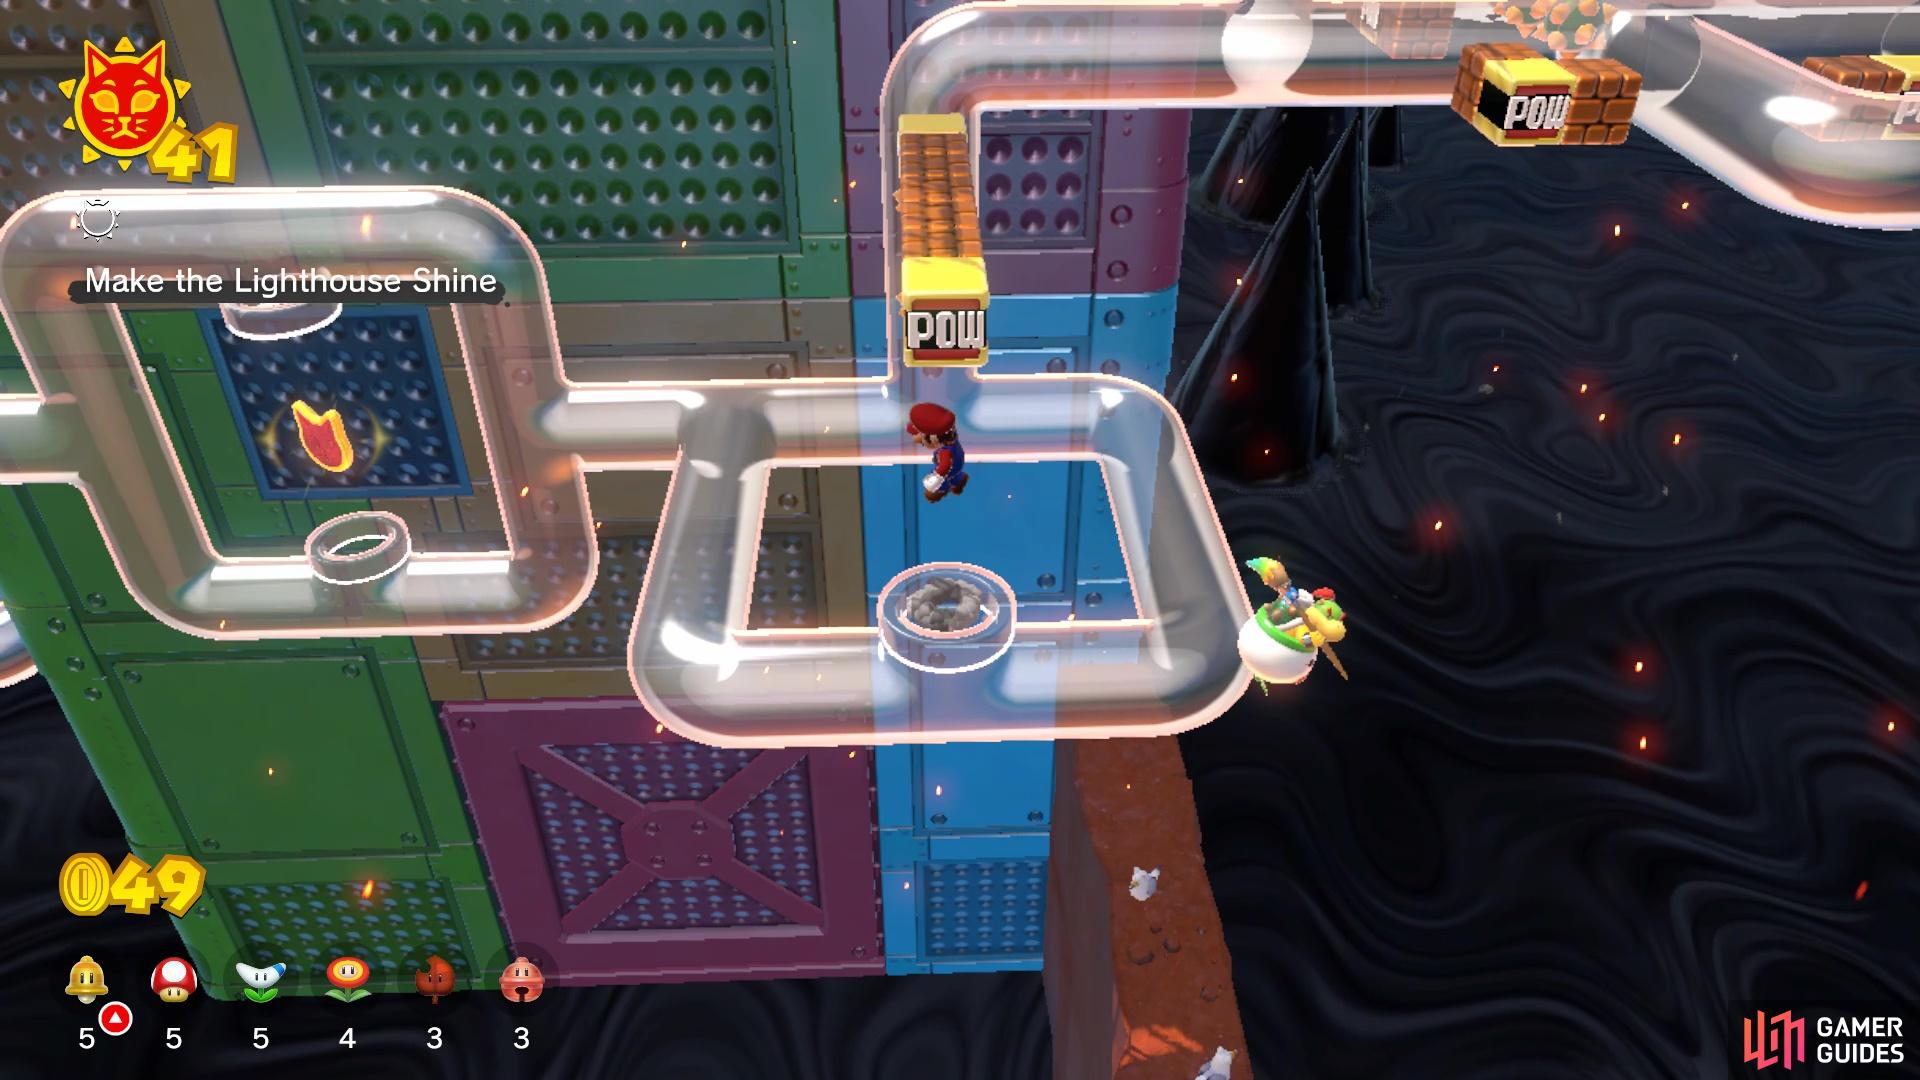
Hitting these POW Blocks in the latter portion is key
as they will destroy the spiked balls blocking your way
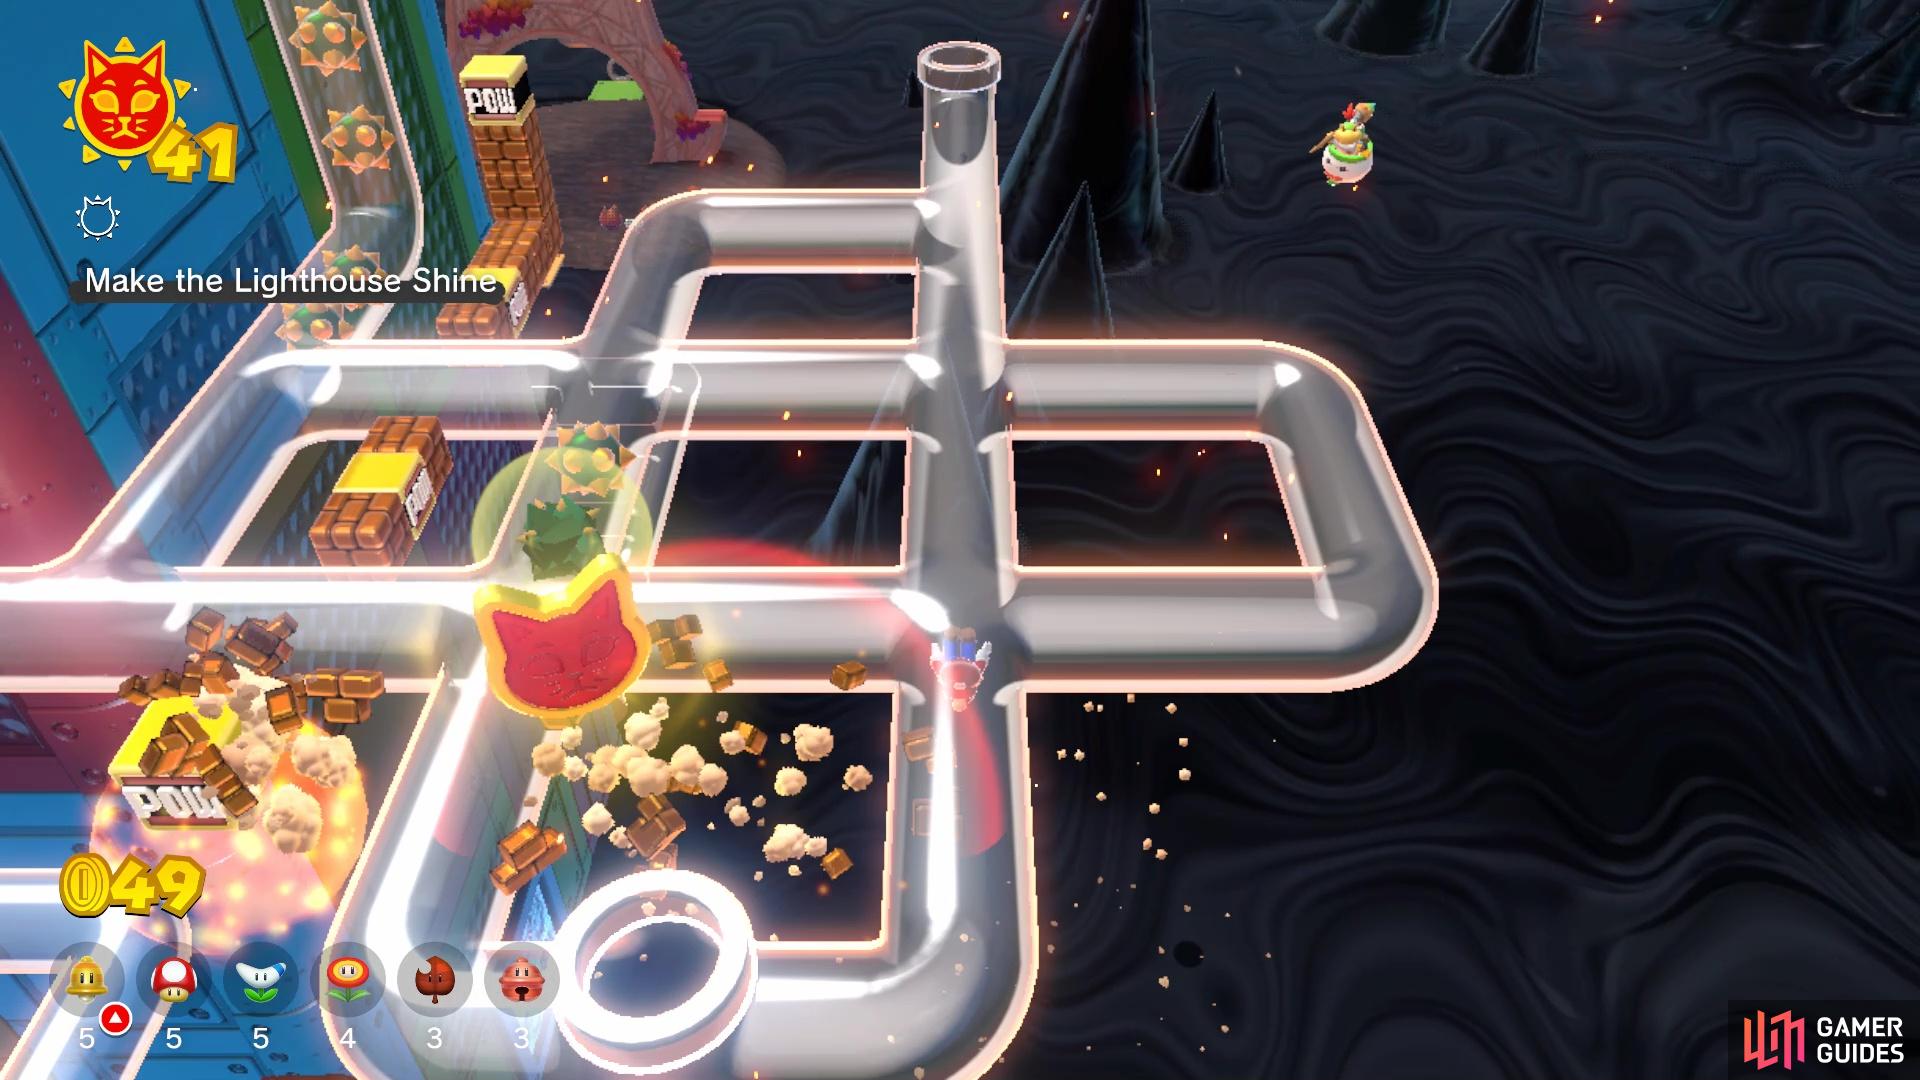
The next pipe section will have even more spiked balls, so move to the northern portion and “jump” out of the pipes there to hit the next POW Block. This will destroy all of the spiked balls, granting you free access to the exit. That is the final bit here, as the clear pipe will drop you off into a cannon. Press the button to shoot yourself to the top of the tower, where the Cat Shine is waiting for you.
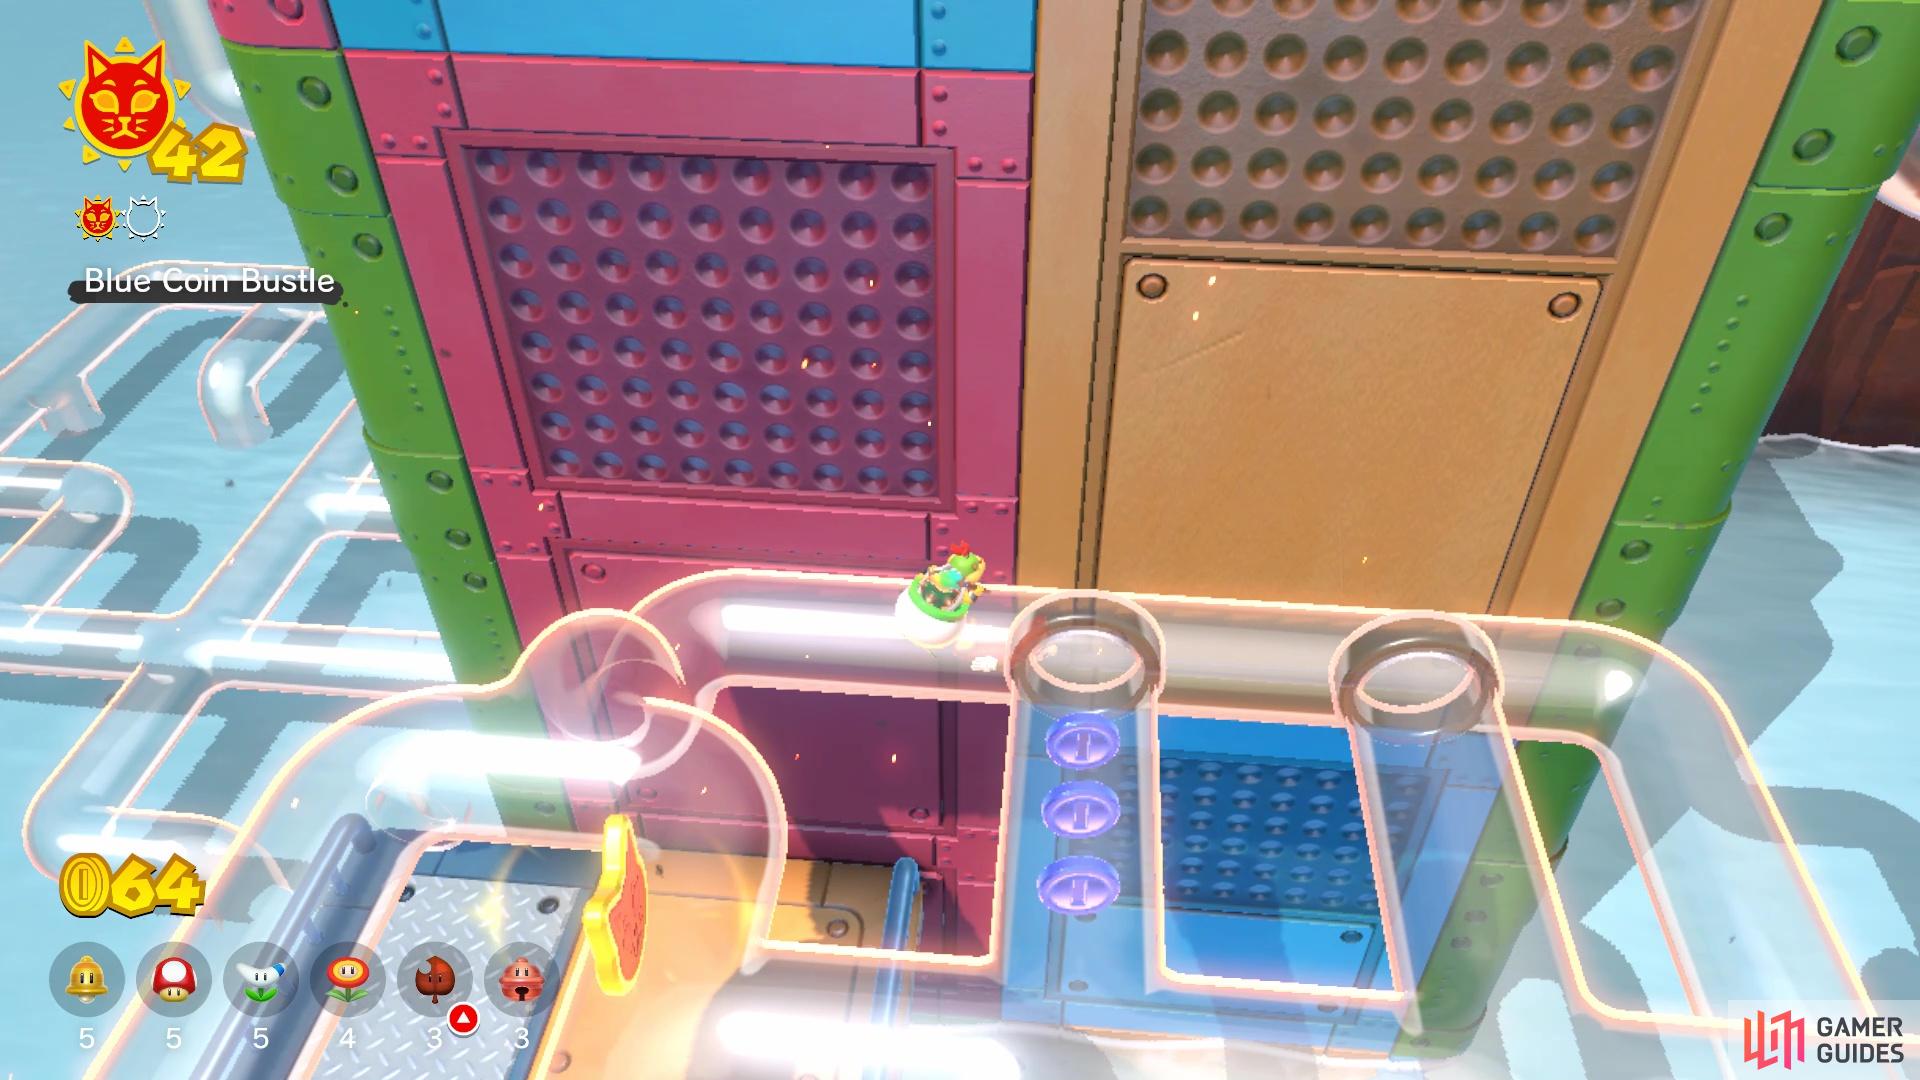
Blue Coin Bustle Cat Shine
The second Shine for this island will have you collecting blue coins while traversing all of the pipes. You will need to be quite quick in grabbing the coins, as they don’t stick around for too long. That means you will probably need to do things a few times in order to create a nice route in order to get all of the coins in the single go that’s needed.
- First Section - Go left, then hold down to take the first shortcut in that direction. After emerging from the shortcut, go up and then left to reach the next section.
- Second Section - The path here should be laid out for you perfectly and you shouldn’t really need direction.
- Third Section - As soon as you collect the final coin of the second set, keep going south to collect those blue coins. Go left, then up when needed to move onto the next set.
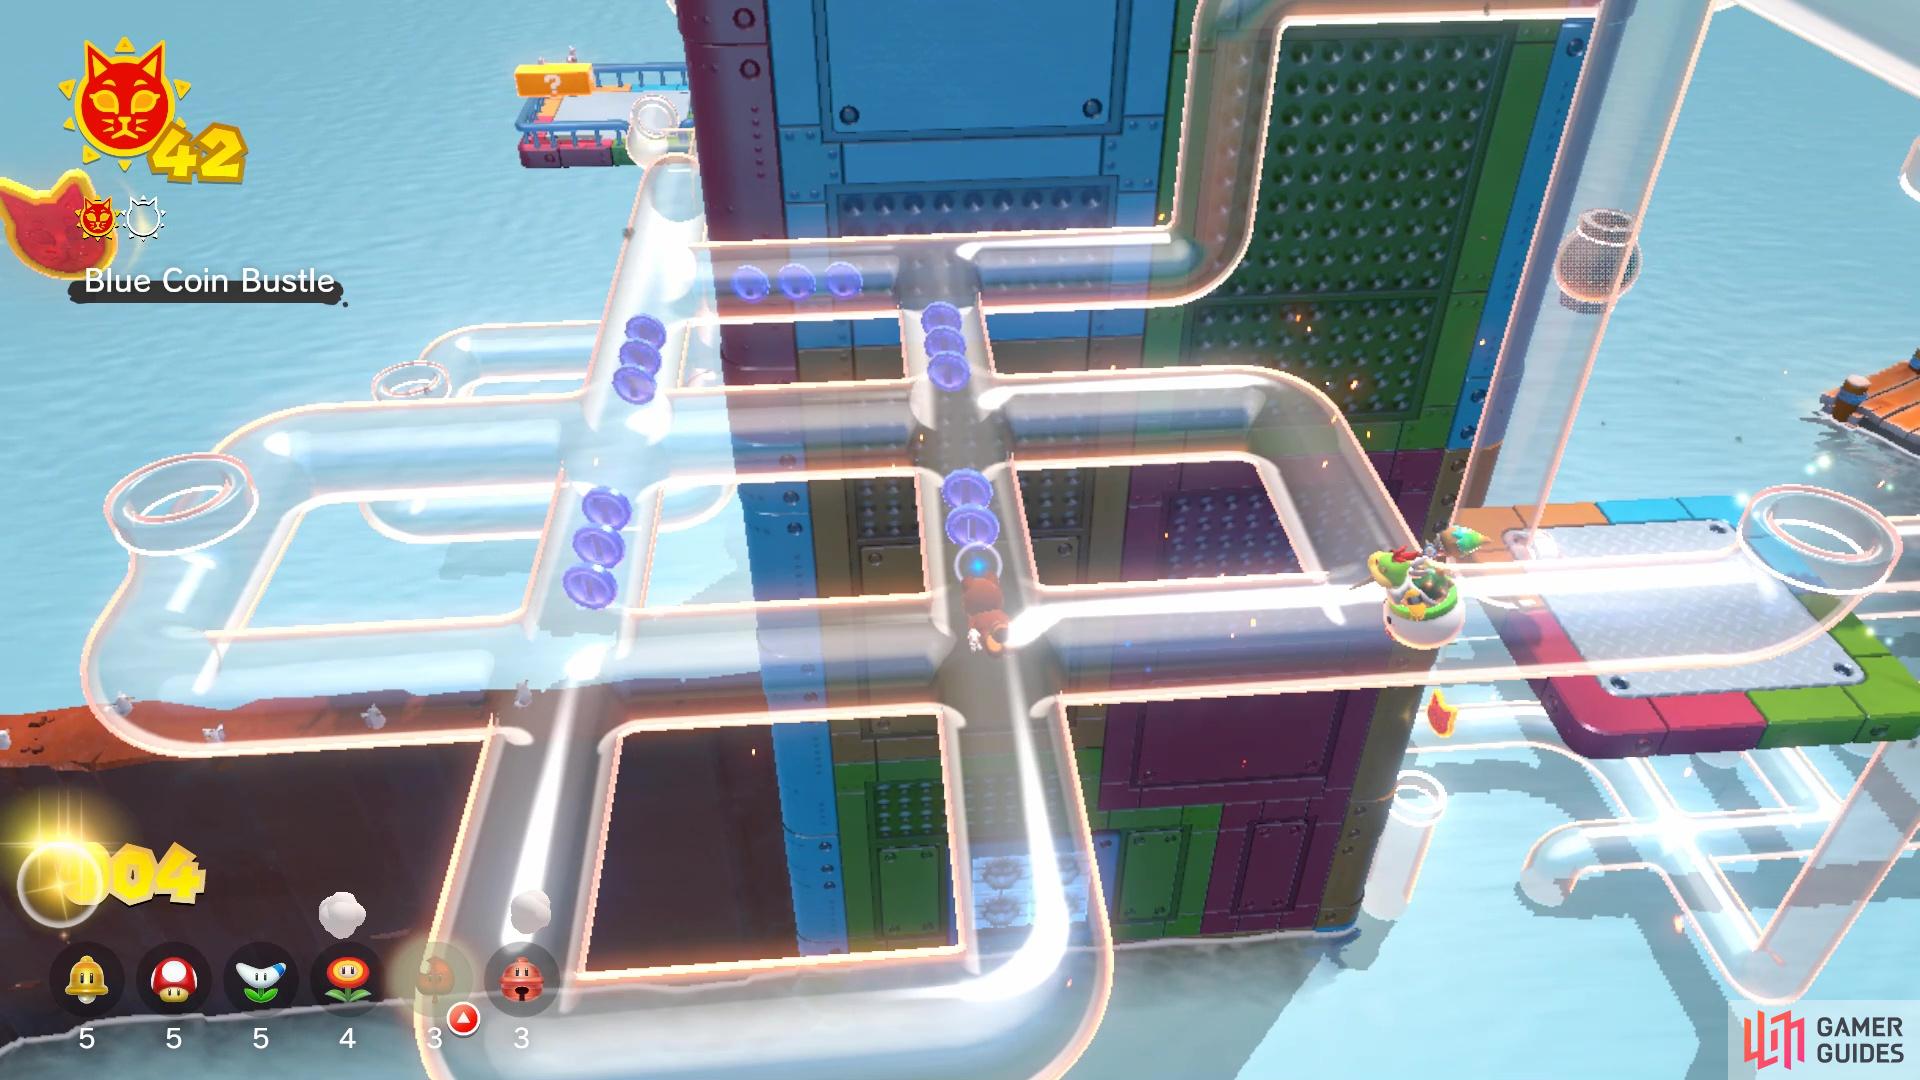
You will want to follow a specific path in order to collect the blue coins
The final bit can be confusing and annoying if you miss some
- Fourth Section - Leave the controller alone until you reach the loop, which has two sets of coins. The idea is to collect the bottom first, then quickly go through the shortcut in the middle, but you should have enough time to do a full cycle around the loop and make it to the last bit of coins on the left.
- Final Section - This is where things can get messed up, as the game tricks you a bit. You will want to go straight left, then up at the second pipe that exits to collect those coins. As soon as you do this, quickly go back inside and left to collect the final coins in the loop. If you leave things alone, it’s possible Mario will head to the lower portion here and miss those coins, forcing you to start over.
The Cat Shine will spawn on the platform below the final set of coins.
Key to the Cat Shine
The key to the cage will be on a platform in the last pipe section, not too far from the top. The path is the same as the first Shine, although there are more enemies in the way. Before you start, there will be some Fire Bros on top of the pipes in the first section and you will probably want to clear them, as they will be a nuisance after grabbing the key. The Tanooki Suit is ideal for this, as will be pointed out shortly, but leave it in your power-ups bank. Also, there are some question mark boxes to the right of the entrance, which are Propeller Blocks. These could help you reach the key much quicker than going through the pipes.
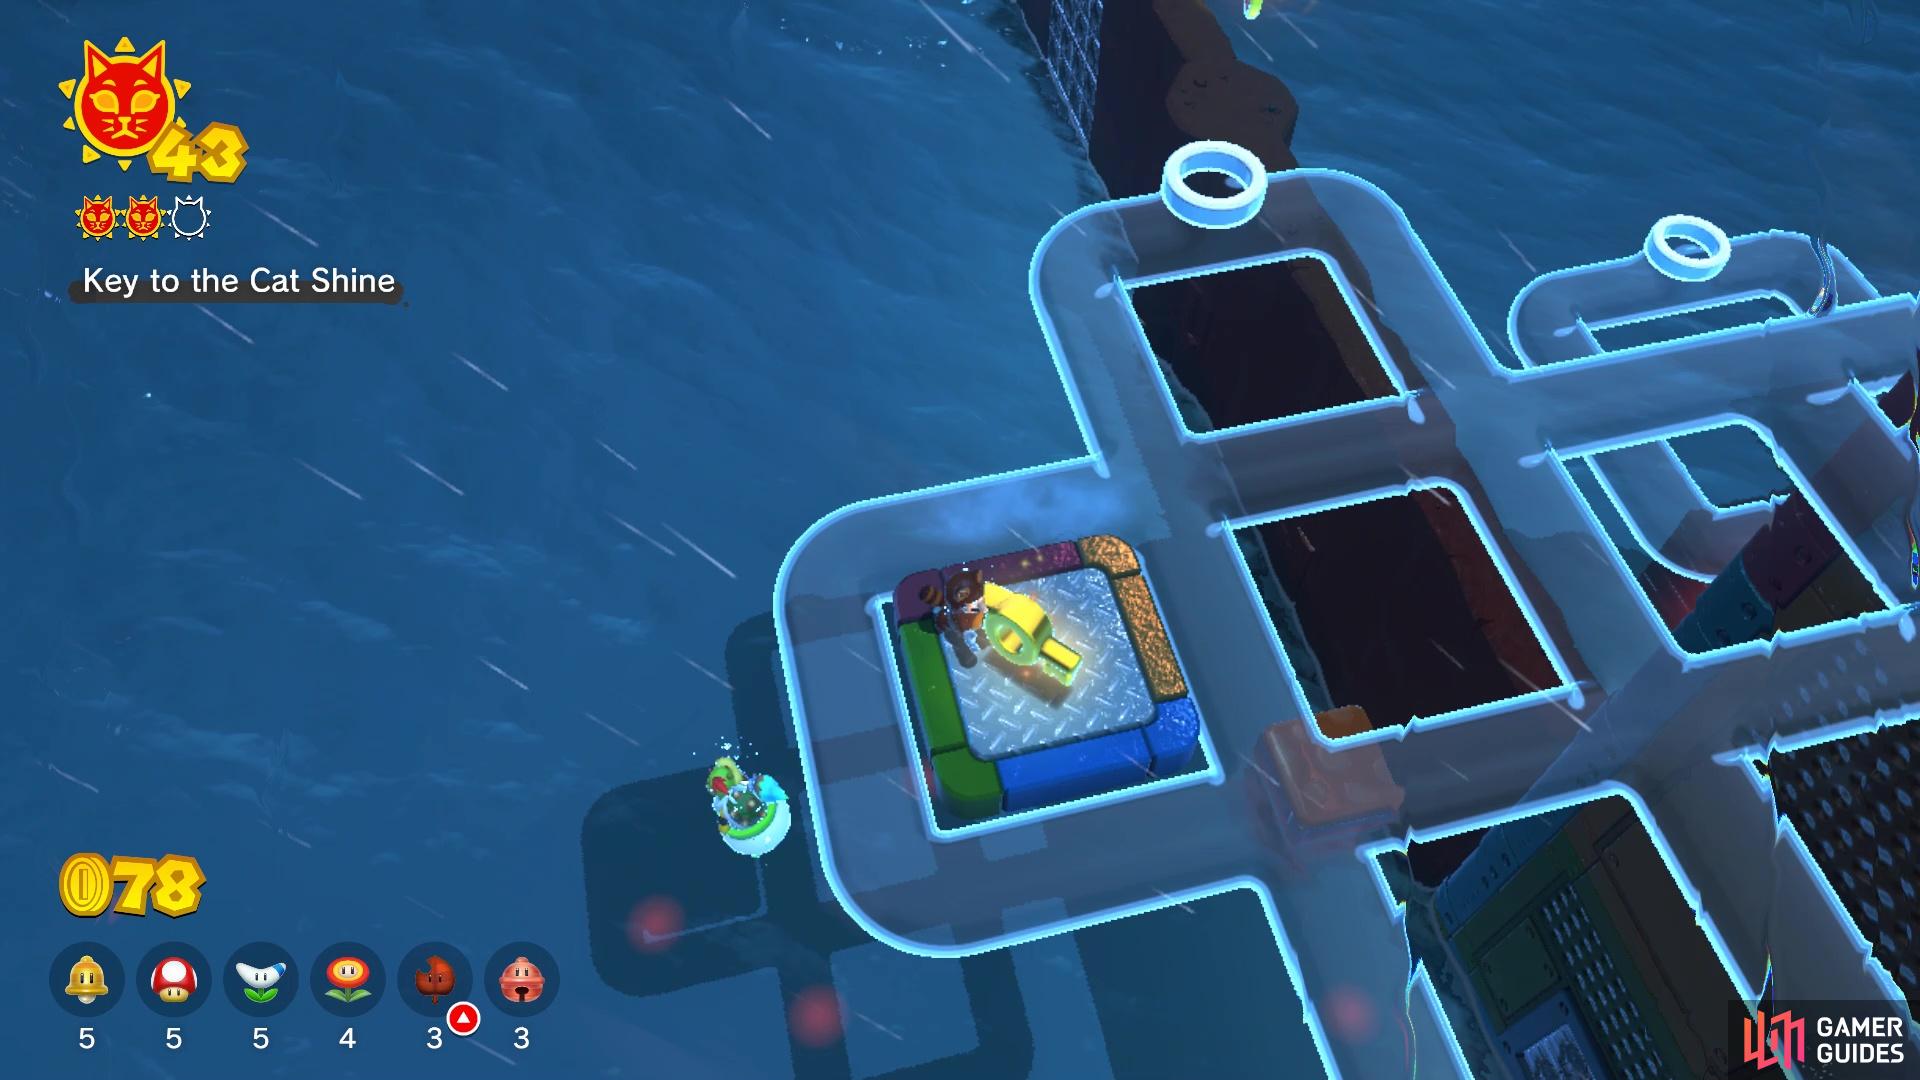
The location of the key for the cage
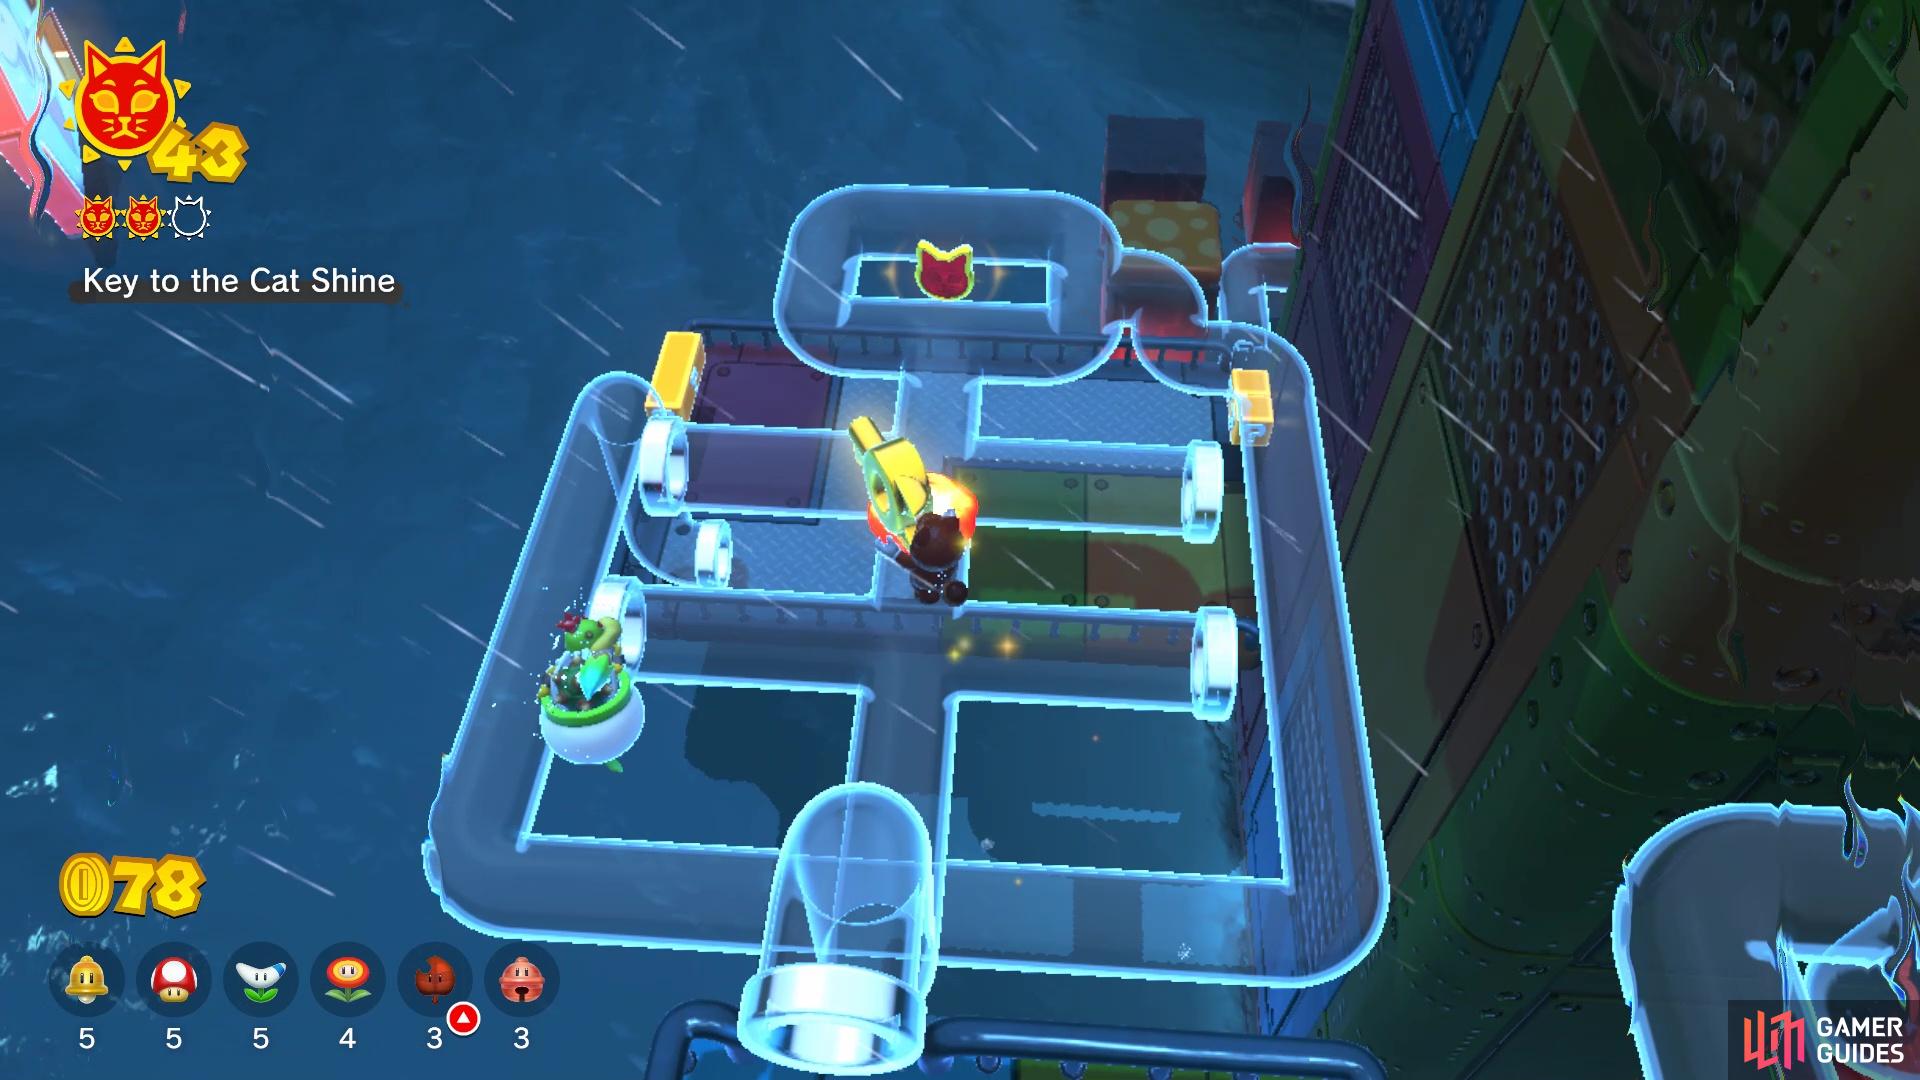
The Tanooki Suit helps immensely in bringing the key back to the cage
If you use the Propeller Block, then you won’t need to go to the lighthouse and can drop off right at the key. Should you use the pipes, then you will have to go to the top of the course, then drop down from there to reach the key. Once you have grabbed the key, you will need to bring it back to the beginning of the level. The problem here is that you can’t bring the key back through the pipes and you should already know that the key disappears upon touching the water. So, if you use the Tanooki Suit power-up as soon as you grab the key, you can float down to the pipes near the beginning. If you don’t have one, then you will have to go back the long way. Once you bring the key back to the cage, you will earn the Cat Shine.
Five Cat Shine Shards Cat Shine
You undoubtedly saw the majority of the Cat Shine Shards while doing the other Shines, and you may have even collected one or two of them by accident, due to the nature of the pipes. When you begin, enter the first set of pipes and navigate yourself to the back, where the central underwater exit will pop you up and collect Cat Shine Shard #1. From there, head to the next pipe section and you will see the second Shard on top of the pipes. In order to get it, move Mario to any of the four exits you see shooting out to the sides. This will place on top of the pipes and allow you to grab Cat Shine Shard #2.
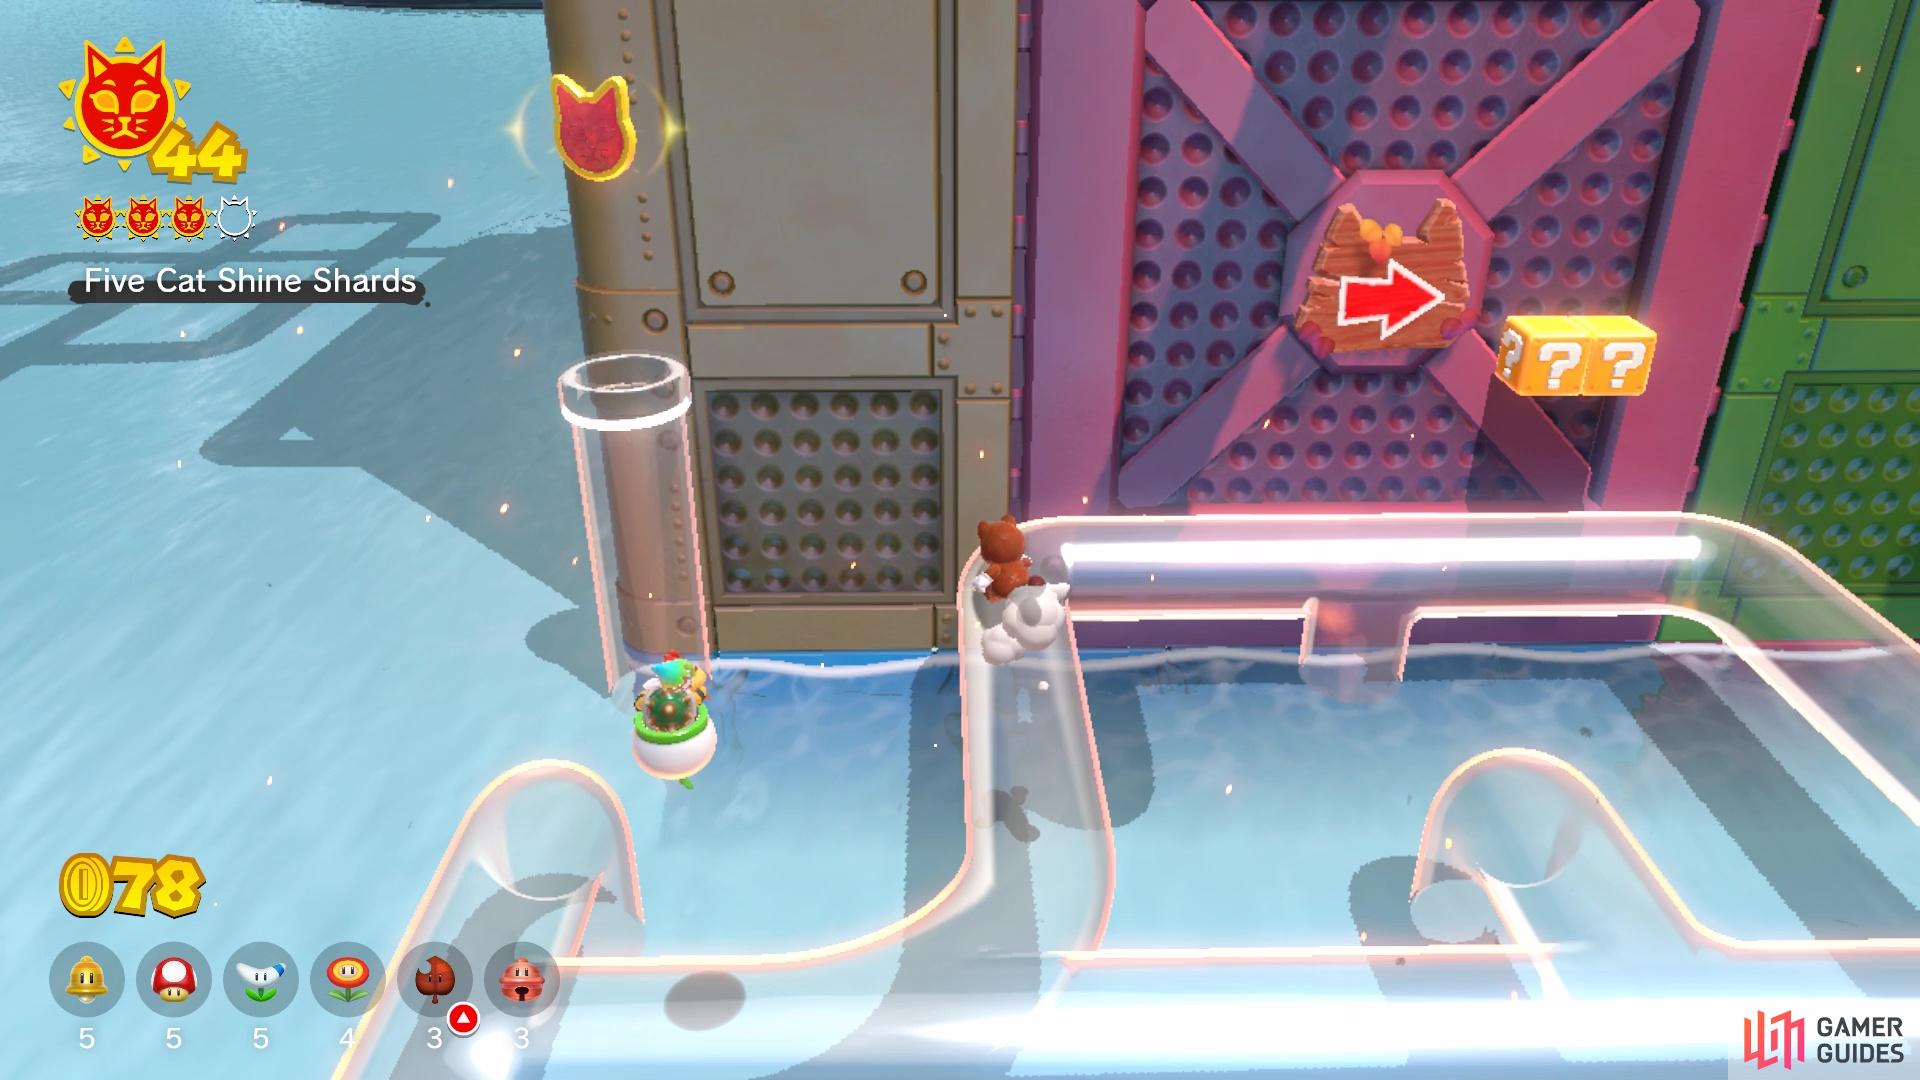
Continue up to the next pipe section and you will find the third Shard in a small looping section right before the larger section. Simply get to it and as you’re doing the roundabout thing, press down or up to shoot across and collect Cat Shine Shard #3. In the last section before sending you off to the cannon that blasts you to the top of the course, you will see the fourth Shard. Navigate over to it and shoot out of the pipe to collect Cat Shine Shard #4. Once you’ve gotten those, head to the top of the course, with the lighthouse. There will be another pipe up here, blocked by some spiked balls. You can destroy them with the Fire Flower, so do that and in that small pipe section will be Cat Shine Shard#5. Collect all five Shards to get the Cat Shine.
Blast the Fury Blocks
The location of the Fury Blocks for Pipe Path Tower
You probably didn’t see the Fury Blocks as you collected all of the other Shines for this island. That’s because the Fury Blocks are on the side of the tower. When you are facing the actual course after passing through the main gate, head to the left side of the tower and you should see the Fury Blocks there. Of course, you don’t really have any way to protect yourself from the fire breath, since you’re in the water. However, if you can time it right, you can actually go underwater by performing a Ground Pound. Either way, have Bowser destroy the blocks and you will get another Cat Shine.
No Comments