
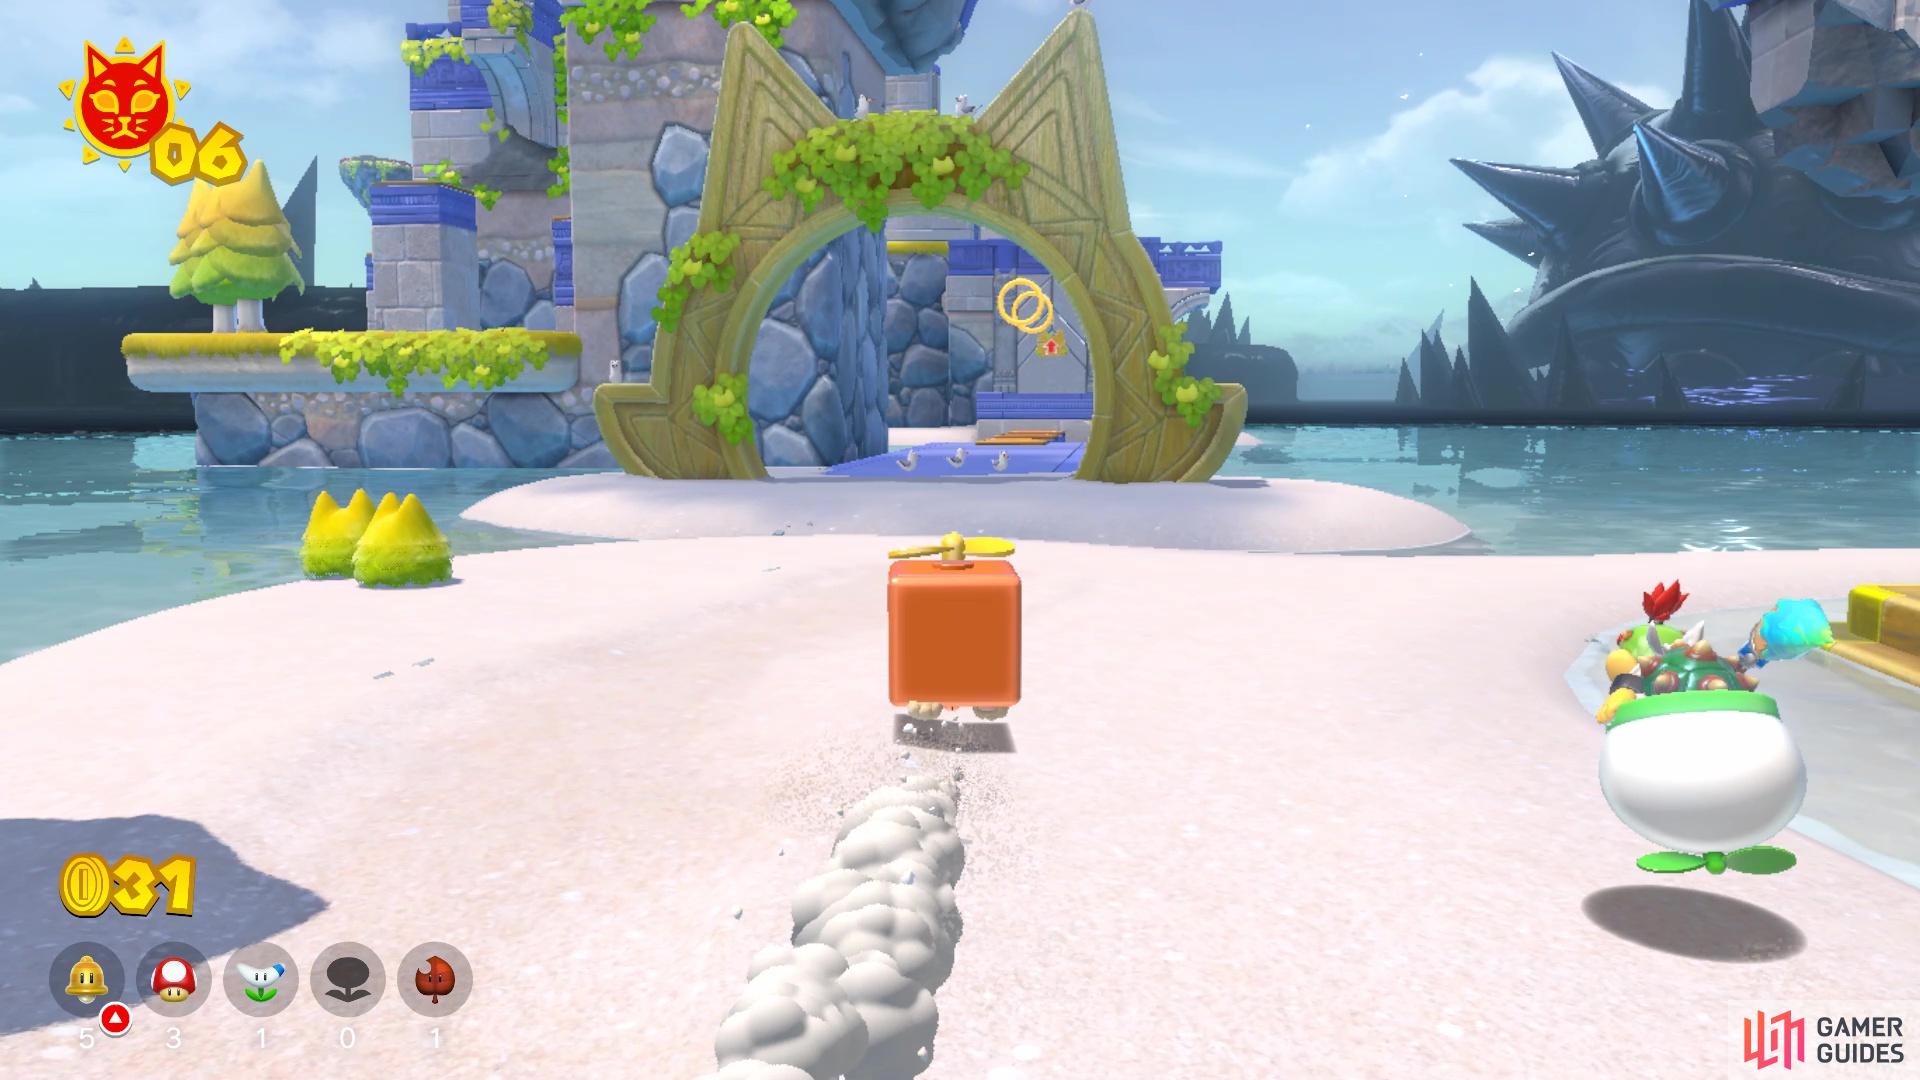
Pounce Bounce Isle
You will find Pounce Bounce Isle accessible from the small island with the Lakeside Giga Bell. It will be the island with the tallest pieces of land, so it’s pretty easy to spot. Pounce Bounce Isle is largely known for the Jump Panels, which will launch Mario into the air when he jumps while standing on them. The Super Tail power-up can be very nice here, as you can slow the descent of Mario while he’s in the air.
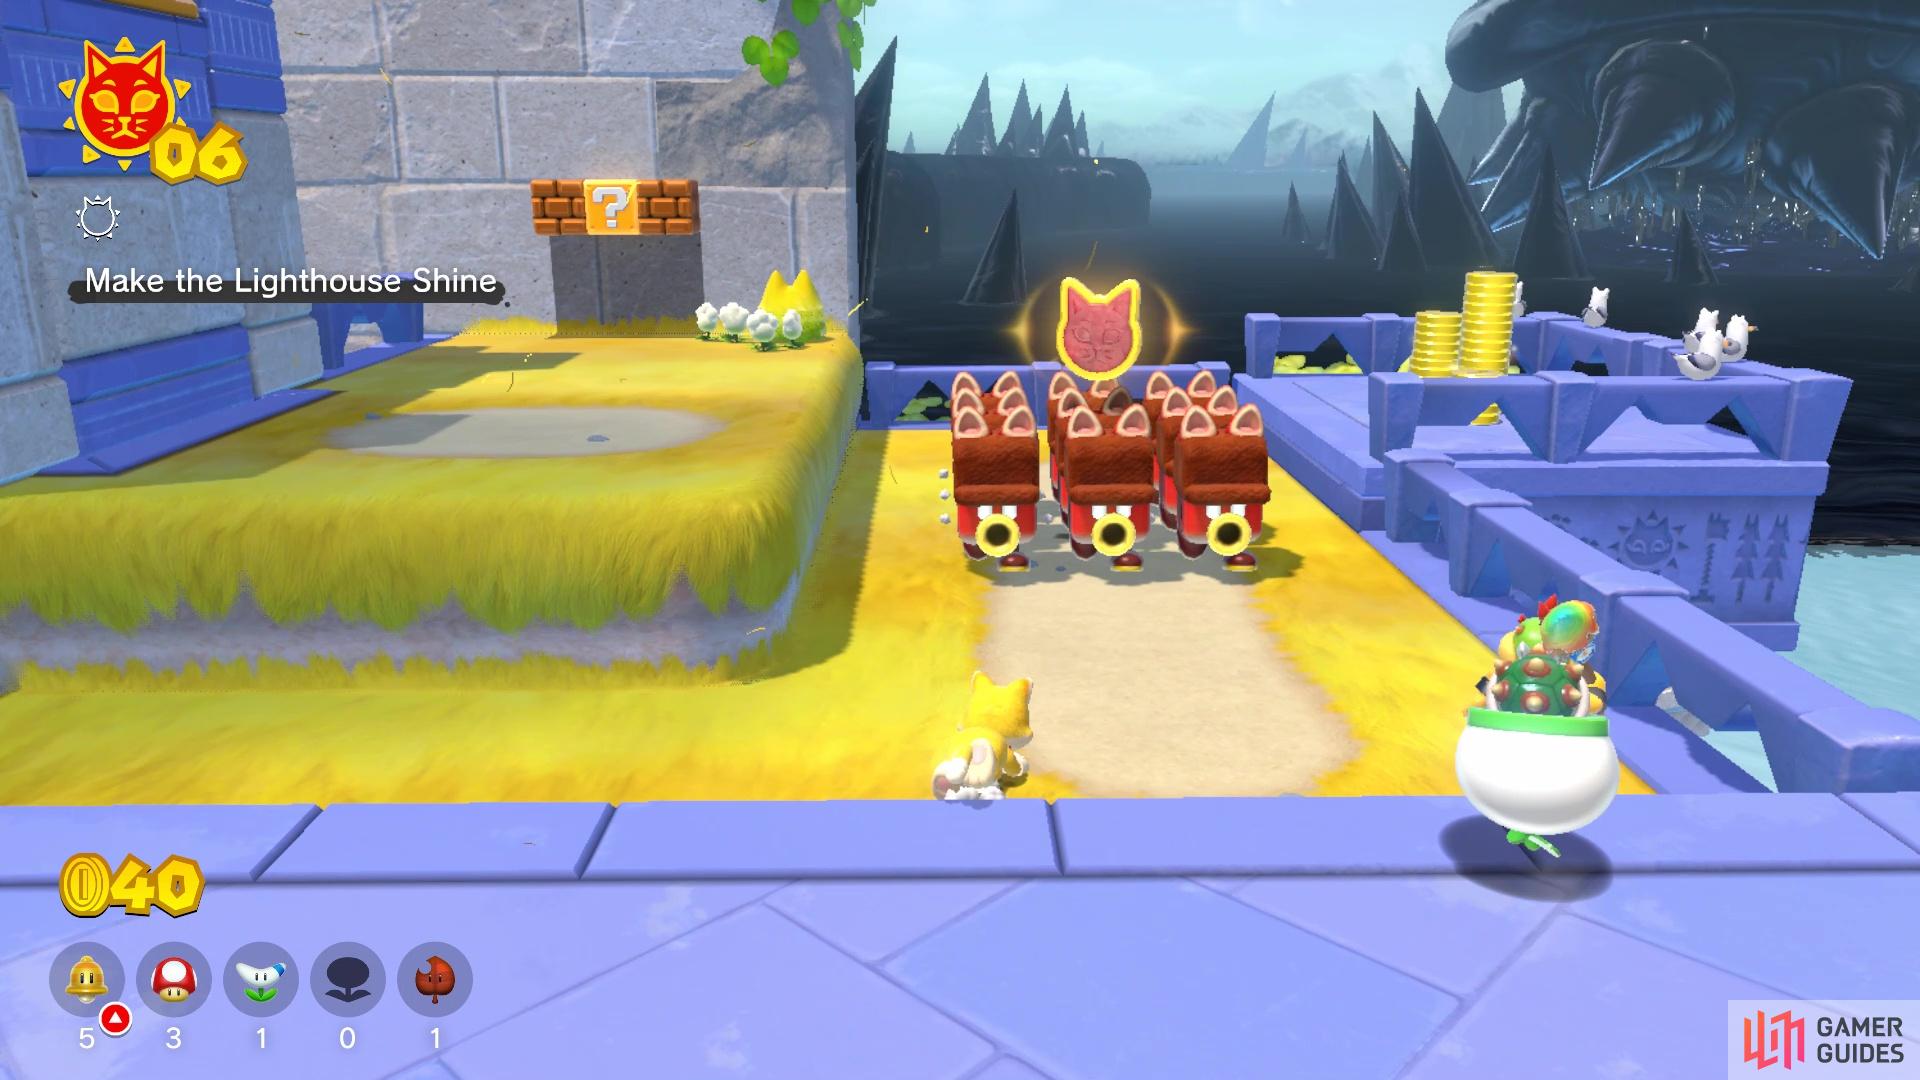
Make the Lighthouse Shine Cat Shine
After passing through the main gate that leads to the island, use the Jump Panels to cross over to the other side, although it’s possible to just swim across if you wanted. On the other side, you will see a bunch of wooden crates you can break with a Ground Pound, so do that and underneath them will be a red Jump Panel. This one will launch Mario higher than the others, so use it to reach the ledge above it. Just ahead will be some Blocksteppers, enemies that don’t do much of anything if you leave them alone. Defeat even a single one and they will all scatter, then come after you.
Along the wall will be a question mark block that contains a power-up, if needed. Also in the small area will be a piston moving up and down, which will have another Jump Panel on top of it. Wait until the piston is at the top of its pattern to use the Jump Panel, letting you gain access to another. From here, you can use the second Panel to reach the ledge, producing a slide that takes you down into the next area. There will be three Boomerang Bros. here, so you will want to be careful of their projectiles as you cross to the other side. Of course, the main power-up on this island is the Boomerang Flower, so you can also use that against them.
The Jump Panels will bounce you up in the air when jumping from them
with the red Panels giving you a huge boost into the air
Either way, move past the Boomerang Bros. to find another Jump Panel. Use this one to launch yourself to the area below, where you will find a lot more pistons and panels. You will see a small ledge with some more Blocksteppers, which has nothing but another power-up block, so you can safely ignore it. Use the various Jump Panels to reach the top, where there will be a bunch of crates. Destroy them to find another red Jump Panel, that doesn’t do anything but launch you straight up through some coin rings.
On the far end is another moving platform with a Jump Panel, so wait until it’s extended out all the way and jump to another slide. You can either use the red Jump Panel on the slide to get some more coin rings, or just fall off at the bottom, where you will find more Blocksteppers. All that is left for you to do is move to the lighthouse and grab the Cat Shine that’s out in the open.
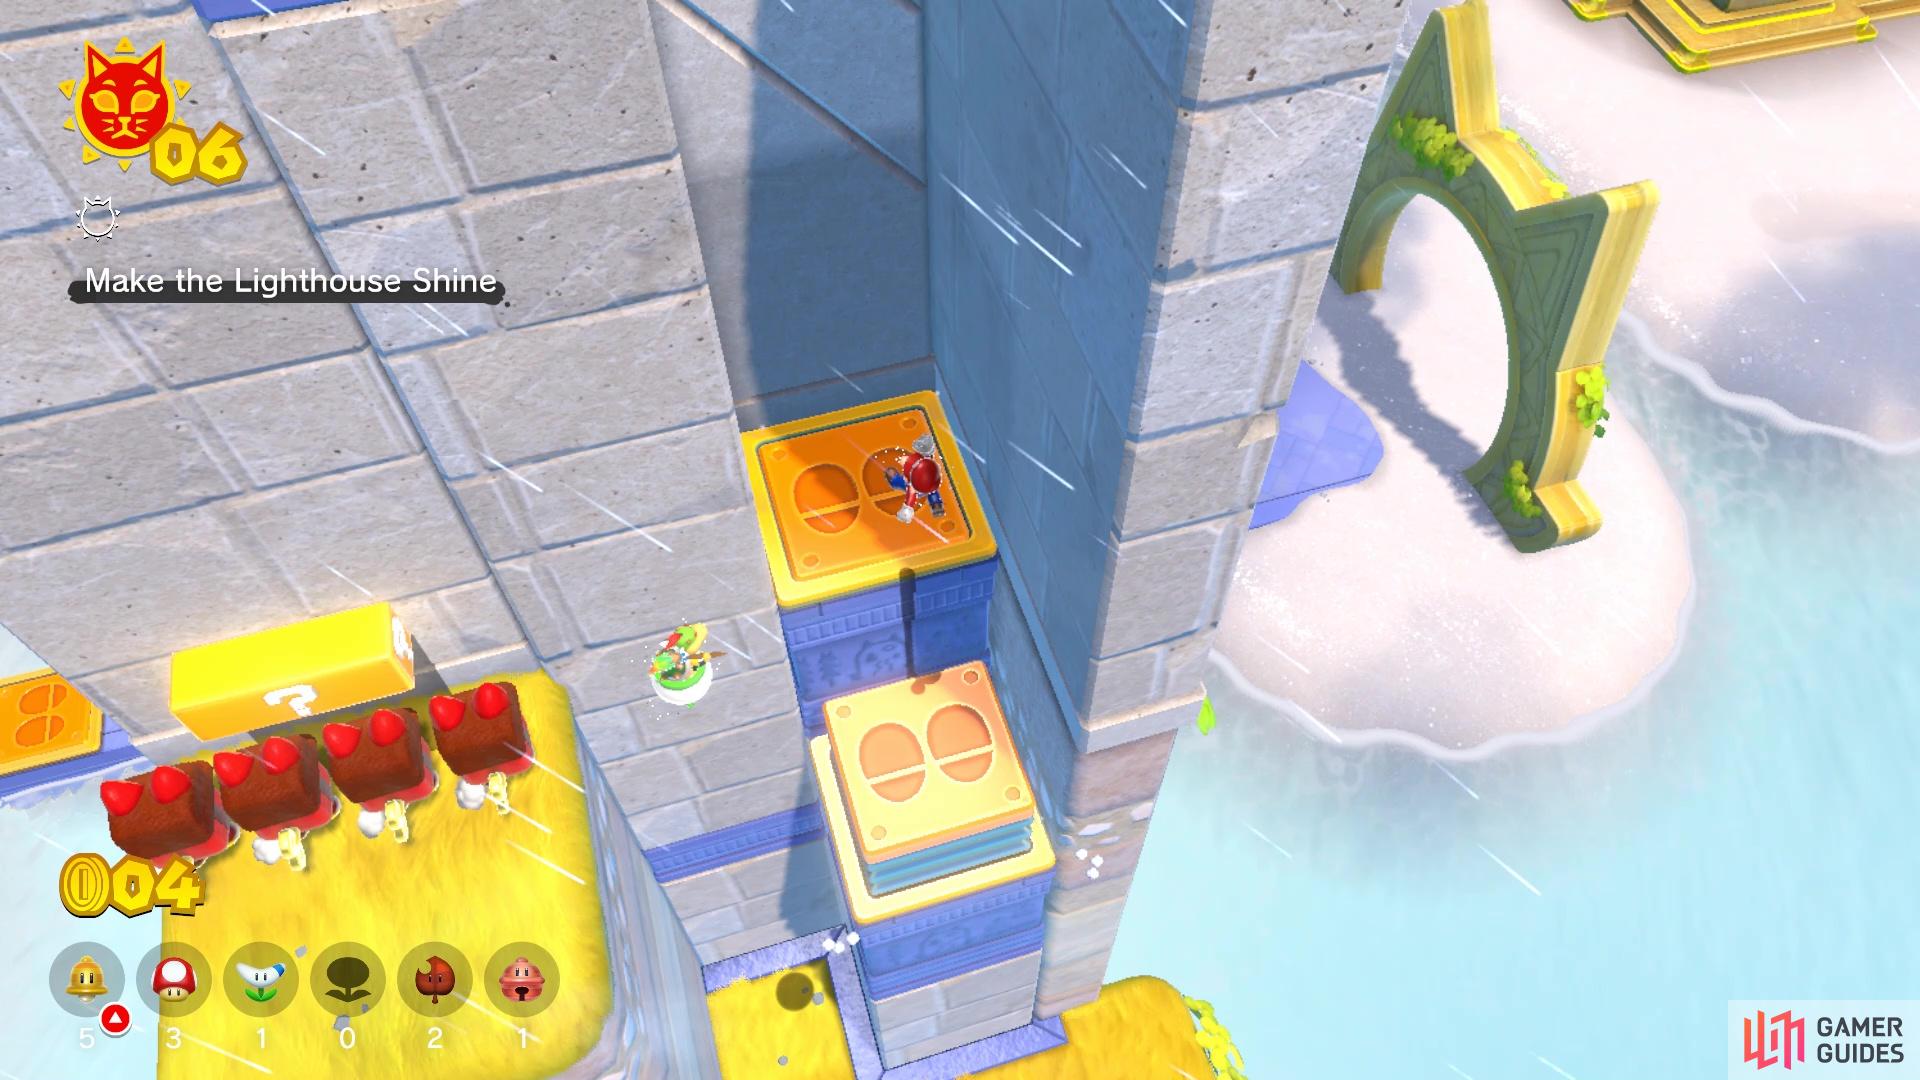
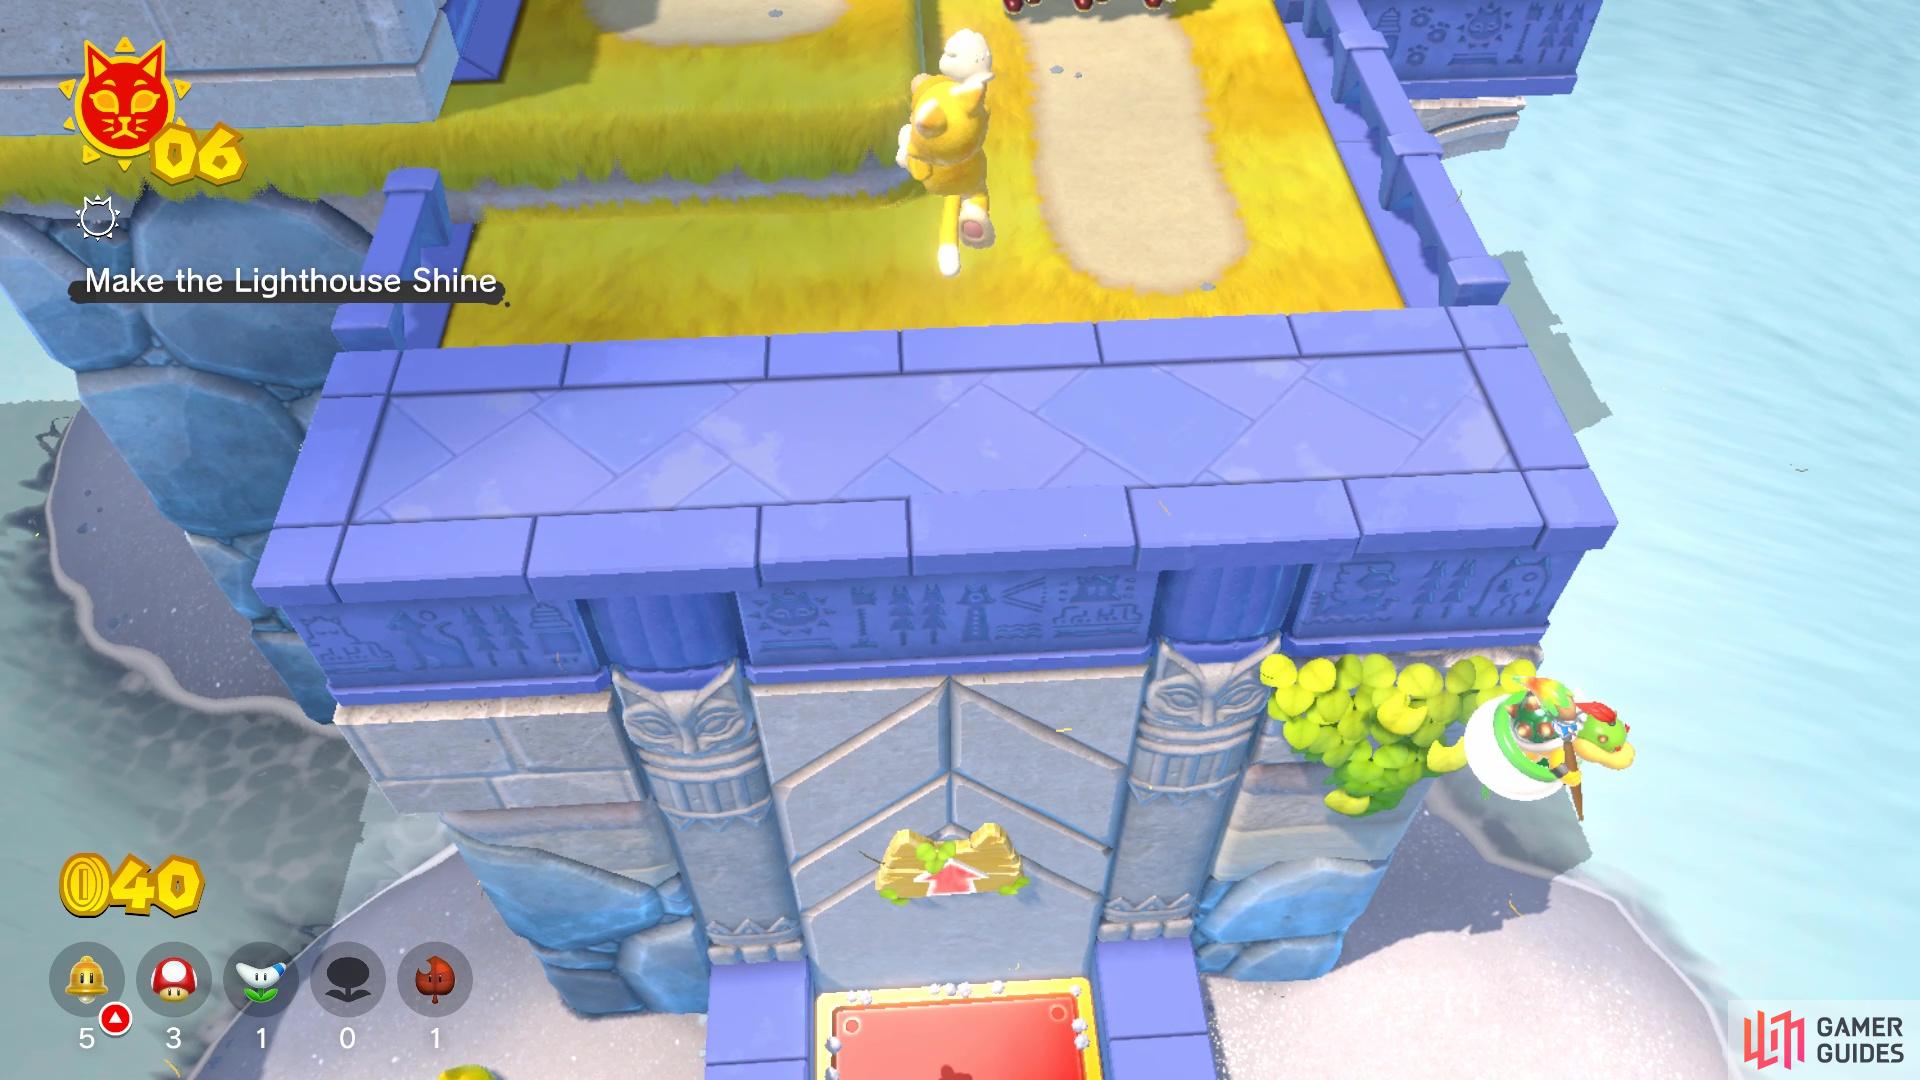
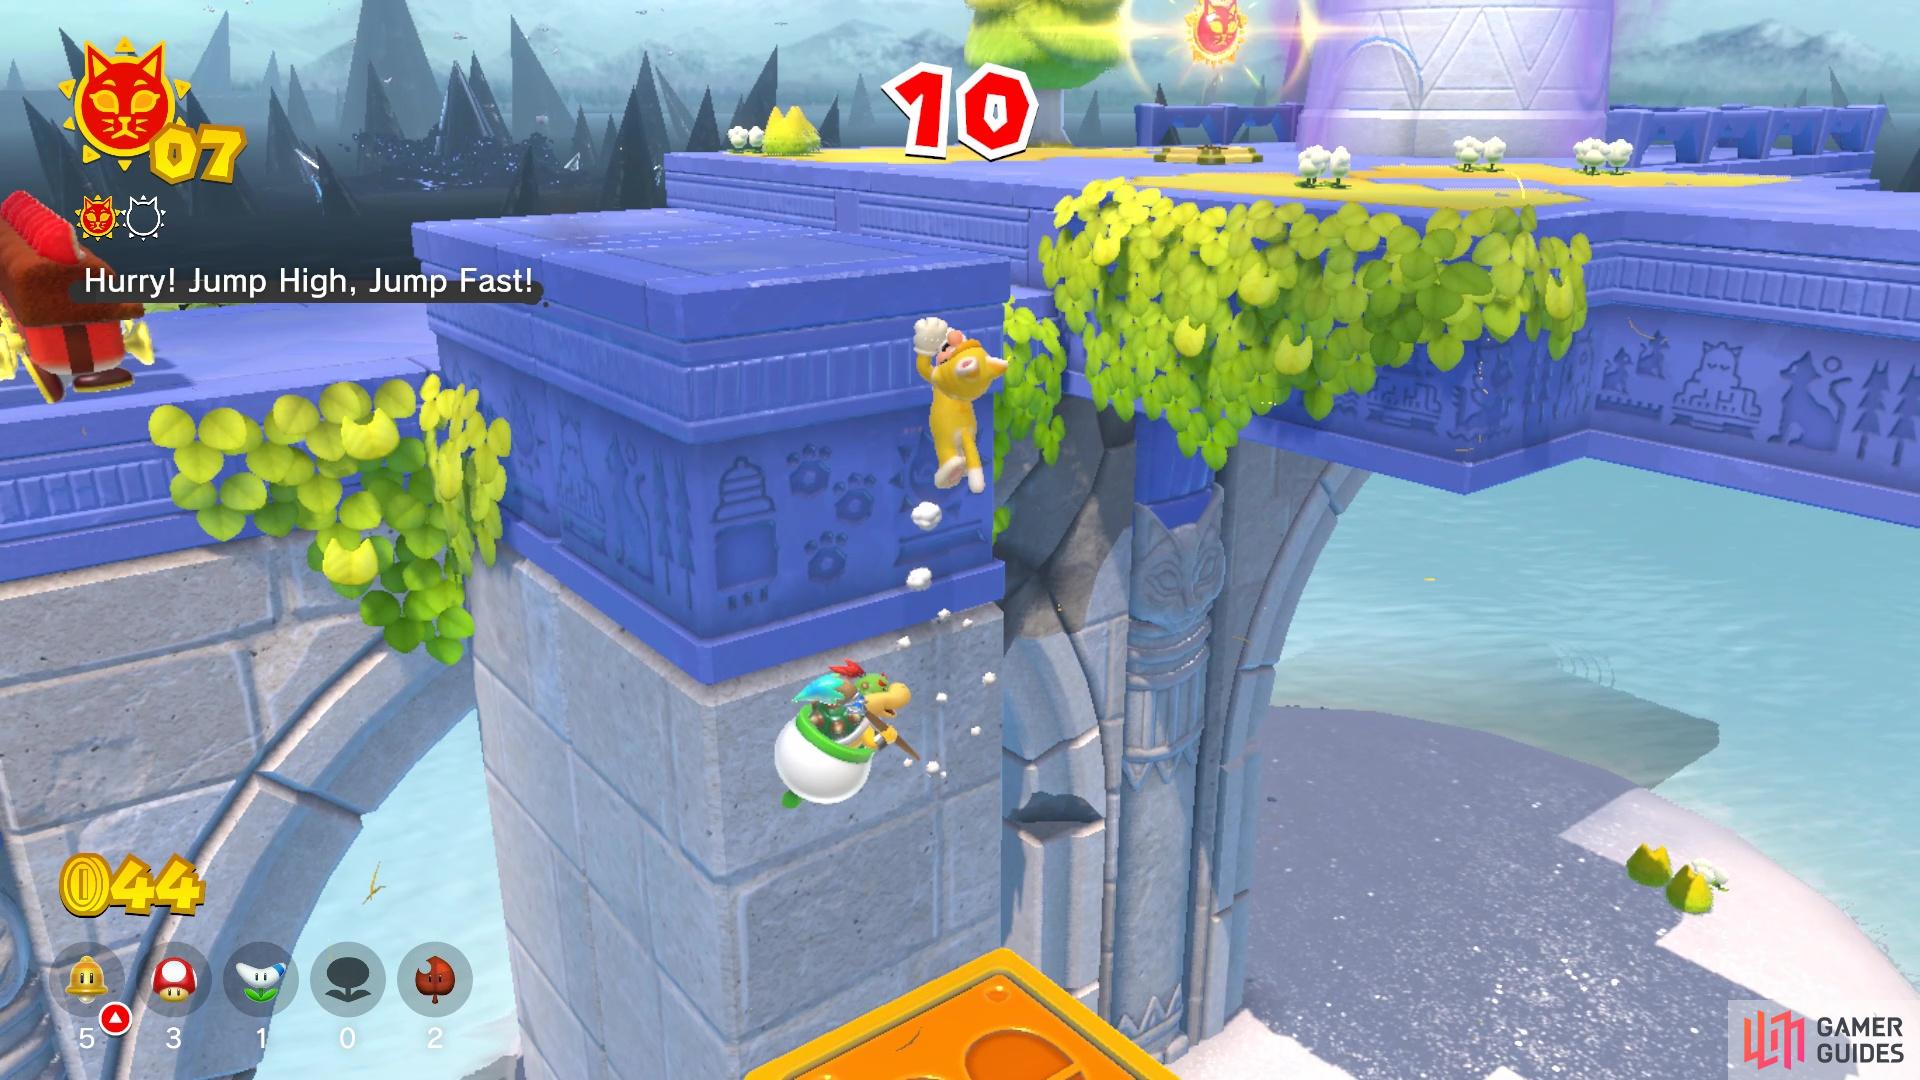
Hurry! Jump High, Jump Fast! Cat Shine
At the beginning of the island, after passing through the main game, you will notice some signposts with arrows on them. These will be pointing you towards the right, where there is a platform with a purple button on it. Ground Pounding this purple button will cause a bunch of platforms to appear out of thin air, as well as produce the Shine in the same spot where you collected the first one. Naturally, you’re on a time limit, with there being only 20 seconds in order to reach the Shine before it despawns.
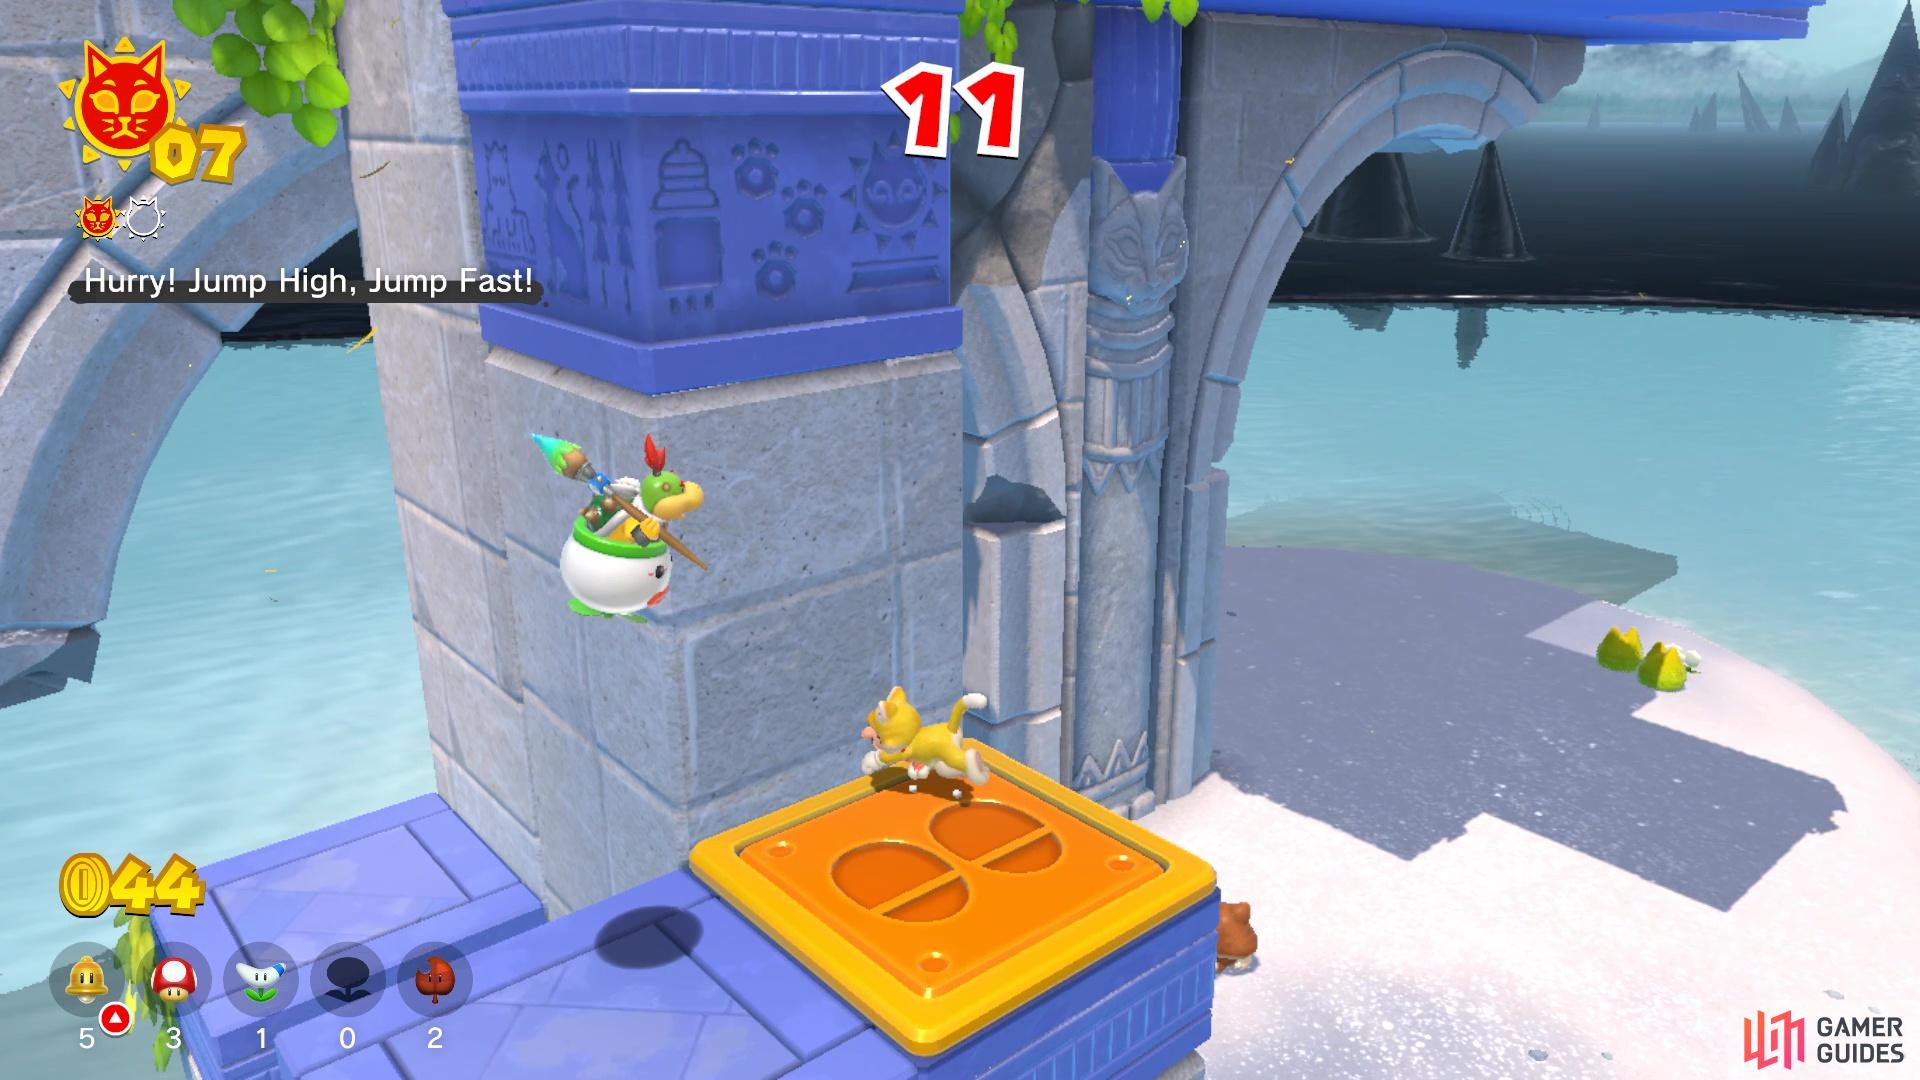
You have a timer to run against for the second Shine
The Super Bell power-up helps a lot in making this Shine easier
As soon as you can move after hitting the switch, quickly move across the platforms, using the Jump Panels. When you get to the towering structure, you can make things a little easier on your end with the Super Bell power-up. This will allow you to quickly climb the pillars, instead of having to wait for them to get into position. If you can reach the top with like 7-8 seconds left, then it’s simply a straight shot to the Cat Shine.
Key to the Cat Shine Cat Shine
It’s time for another Shine, where you need to retrieve a key hidden on the island and return to the cage at the beginning. There’s a little more room for error here, as there’s more water between the key and the cage. Whenever you’re ready, you will notice that there are some Bullet Bill launchers on the island now, starting from this Shine. You will be taking the same path, though, so start off by using the Jump Panels at the beginning to reach the first ledge via the red panel. Here, you will need to be careful of the Blocksteppers (if they’re still there), as well as the one Bullet Bill launcher.
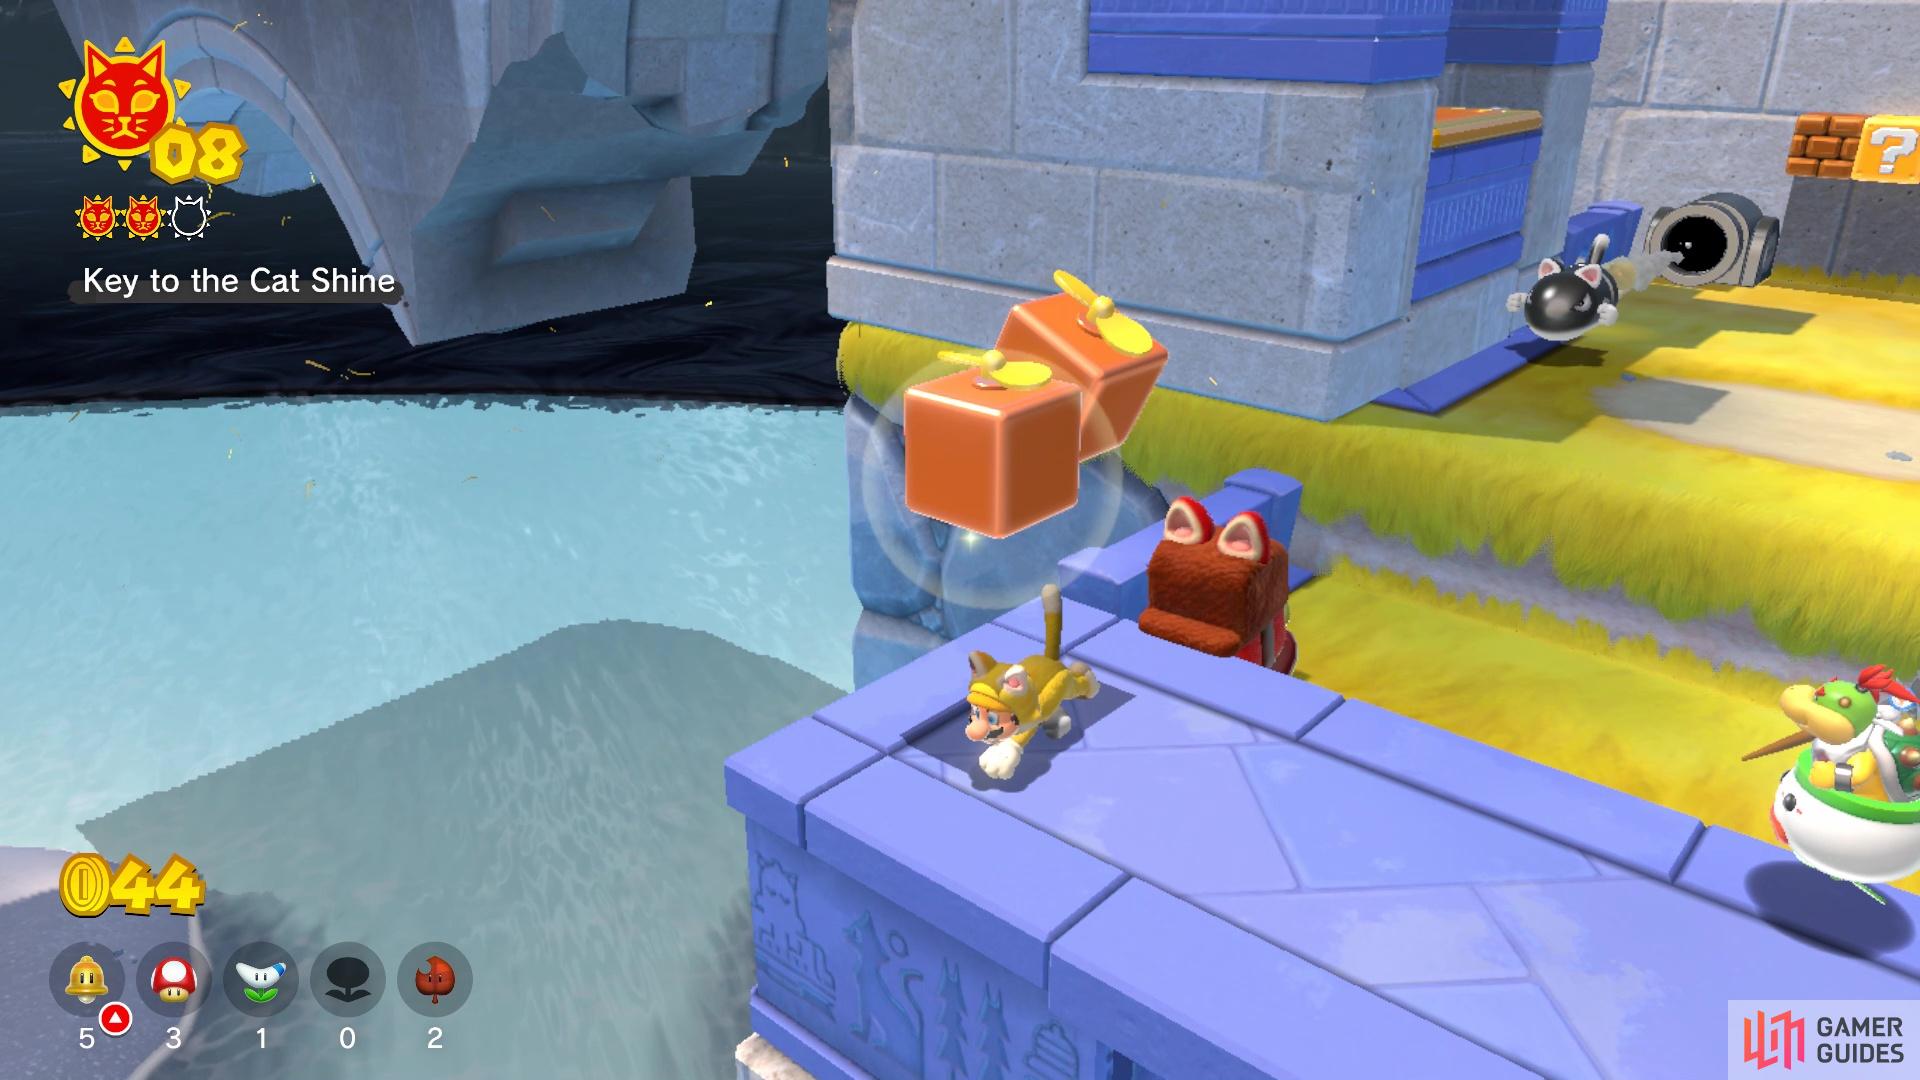
The Propeller Block is very helpful here
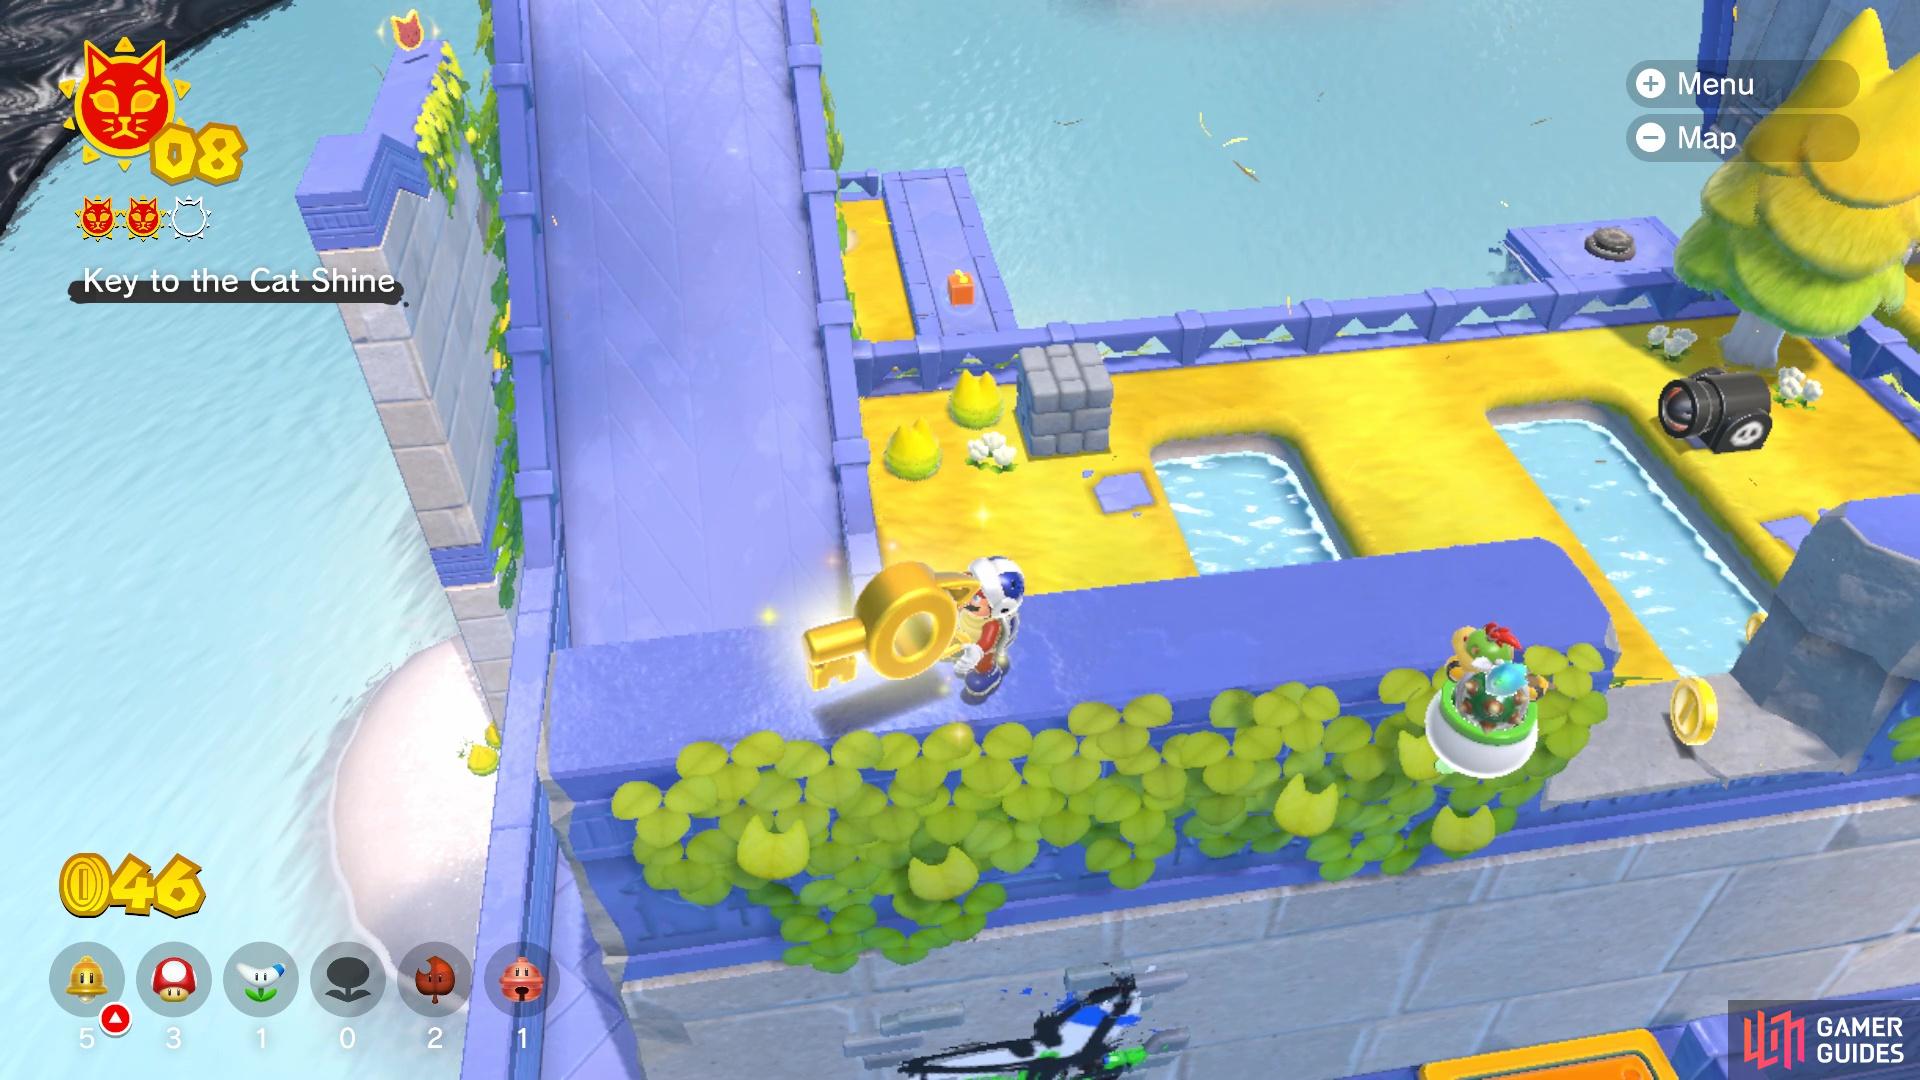
The location of the key needed to unlock the cage
At the top of the pistons, head down the slide and into the area that previously had Boomerang Bros, but will have Bullet Bill launchers now. However, at the bottom of the slide, if you turn your camera around, you might notice a hidden path behind the wall in front of you. Go there, avoiding the Bullet Bill launcher, and use the Jump Panel to get on top of the wall. There will be another Bullet Bill launcher on top of the wall, but so will be the key. Grab the key, then head back to the slide. You can actually quickly spam the jump button to get back up the ramp, where you can begin making your way back to the cage. Remember to avoid the water, or else the key will disappear. Once you get back to the cage, you can unlock it for the Cat Shine.
Five Cat Shine Shards Cat Shine
Some of the Cat Shine Shards on this island will be a little more difficult to collect, although you make things easier on yourself if you have some Boomerang Flowers available in your cache. At the beginning of the island, head past the Bullet Bill launchers and initial set of Jump Panels. When you get to the red panel, use it to launch yourself up to the next section, where you should see some Blocksteppers. These enemies are holding Cat Shine Shard #1, so either get rid of them all or jump on top of them to grab it. On the edge of this area, you should see two question mark blocks away from anything else.
These are actually Propeller Blocks, which can be extremely useful, so grab one. In fact, it will be of use to you right now, as in the same area as the Blocksteppers, use the Propeller Block to reach the wall behind the Bullet Bill launcher, where you’ll find Cat Shine Shard #2. If you don’t use the Propeller, then you will either need the Super Bell to climb to the top, or simply jump down to the wall from the section above. Make your way up and down the slide, then head around the wall, to where the key was located for the previous Shine. When you stand on the Jump Panel behind this wall, you should see the Shard off to the right.
Since the Shard is out in the open, it’s a little difficult to collect it without falling into the waters below. However, the Boomerang Flower will allow you to actually grab it with the boomerang, which is the main power-up on this island. Use the panel to jump into the air, then shoot a boomerang to the side to collect Cat Shine Shard #3. Return to the main area and continue to the section with the multitude of pistons and Jump Panels. There are more Propeller Blocks here, if needed, but head to the top of this section.
You will either need one of those Propeller Blocks, or the Boomerang Flower power-up, to get the next Shard. Once you’re at the top, there will be two Bullet Bill launchers here, and next to one of them is a break in the railing. Of course, there will be the next Shard in the open, similar to the third one. The easiest solution is to just throw a boomerang to collect it, netting you Cat Shine Shard #4. Head down the last slide, but don’t use the red panel near the bottom. Instead, drop off at the end and avoid the Blocksteppers. Once you slide off to the platform below, turn around and you will see Cat Shine Shard #5, earning you another Cat Shine.
Blast the Fury Blocks Cat Shine
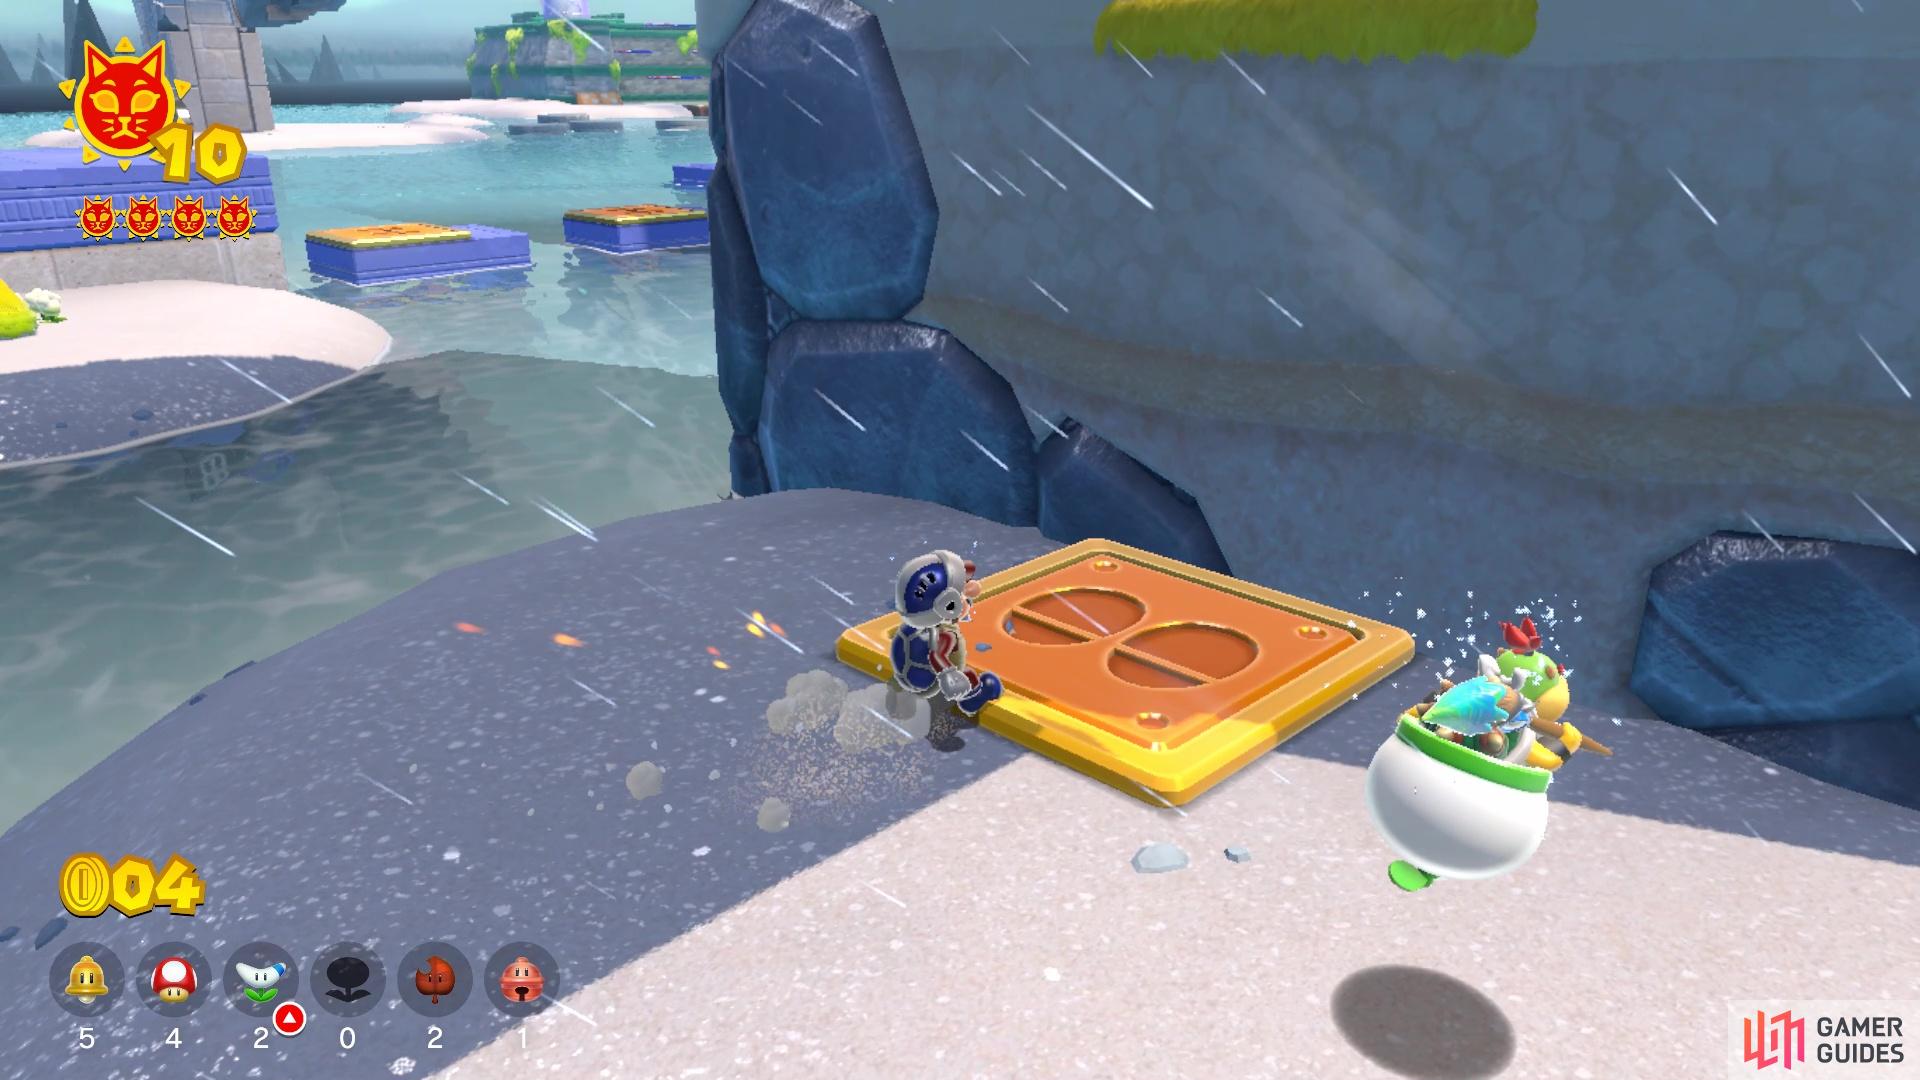
You will need to find this spot in order to find the Fury Blocks
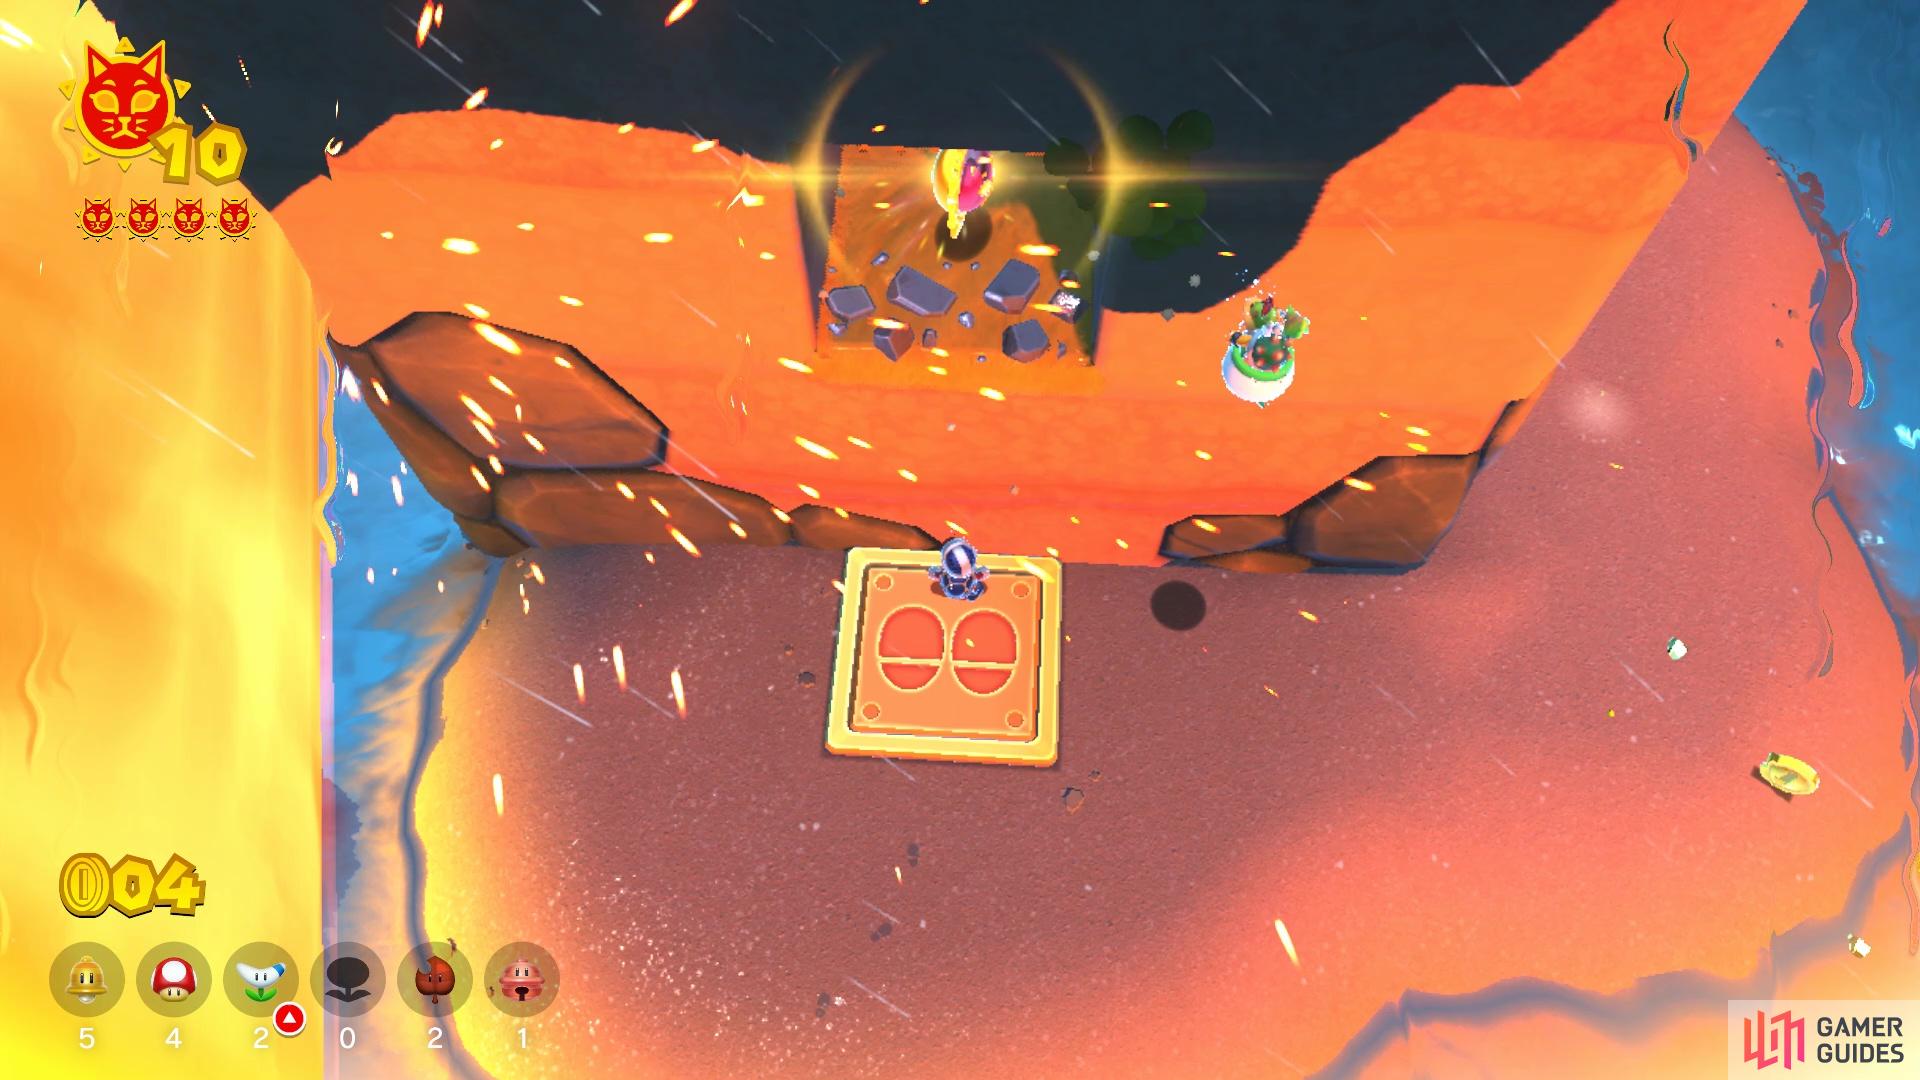
Use the Jump Panel there to aim Bowser’s breath
The Fury Blocks on this island might be a little challenging to find, but you don’t have to actually traverse the island at all to find them. When you get to the first red Jump Panel, drop down to the beach to the left of it and look over to the nearby pillar to spot a Jump Panel on the beach there. If you go over to that panel, you will see the Fury Blocks. Now, all you need to do is simply wait for Bowser to show up, but you will also need to utilize the Jump Panel, as you will need to be in the air slightly for Bowser’s fire breath to hit the blocks. Once you get this done, collect the Cat Shine hidden behind the Fury Blocks.
No Comments