
If you’ve been following this walkthrough, then Roiling Roller Isle should be the last main island you will be visiting (apart from a revisit to the first island). It is located in the Wasteland Giga Bell region of the map, a little ways away from the big dock that you stopped by for the other three islands. Looking at the map, it is located to the south of those three islands. Roiling Rolling Isle can be a very dangerous place, as there is quite a lot of lava involved, which is instant death in this game. The main gimmick of the island involves the main pieces of the island fully rotating, so you will need to be constantly moving.
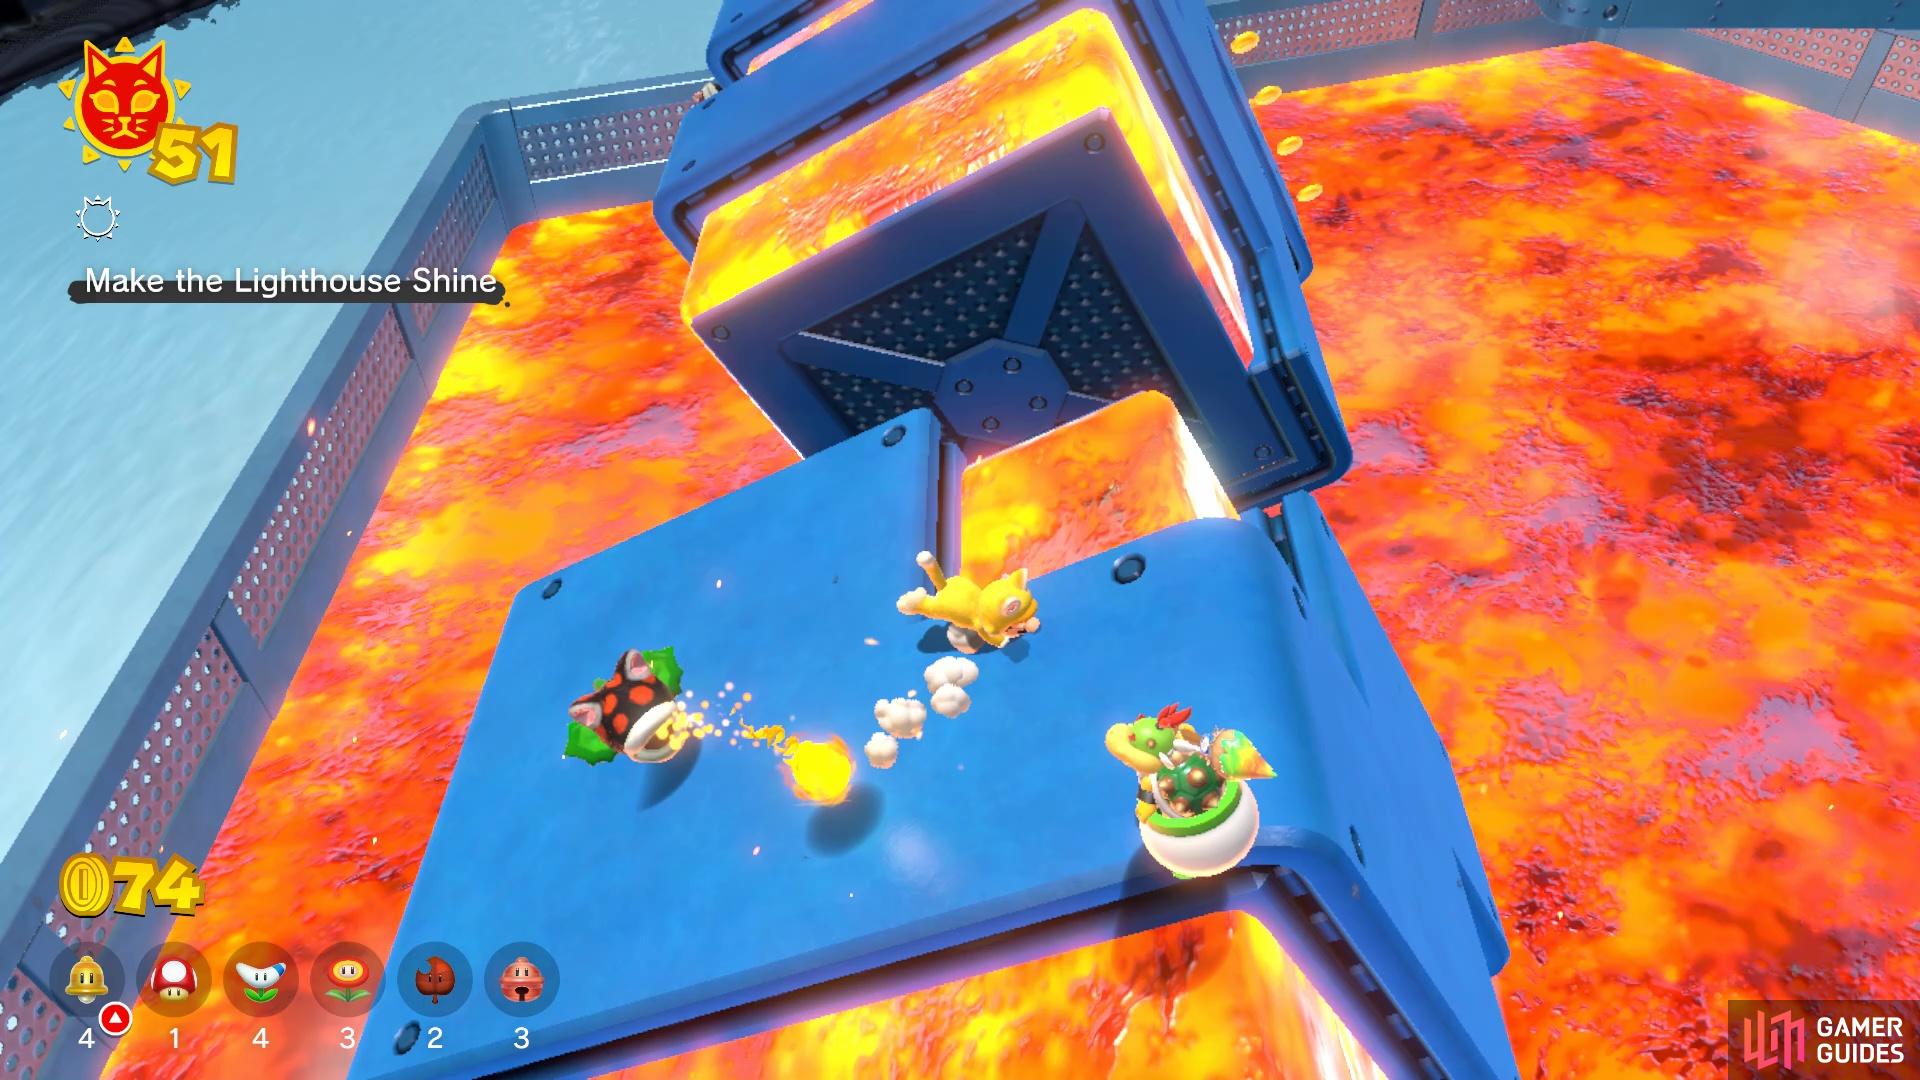
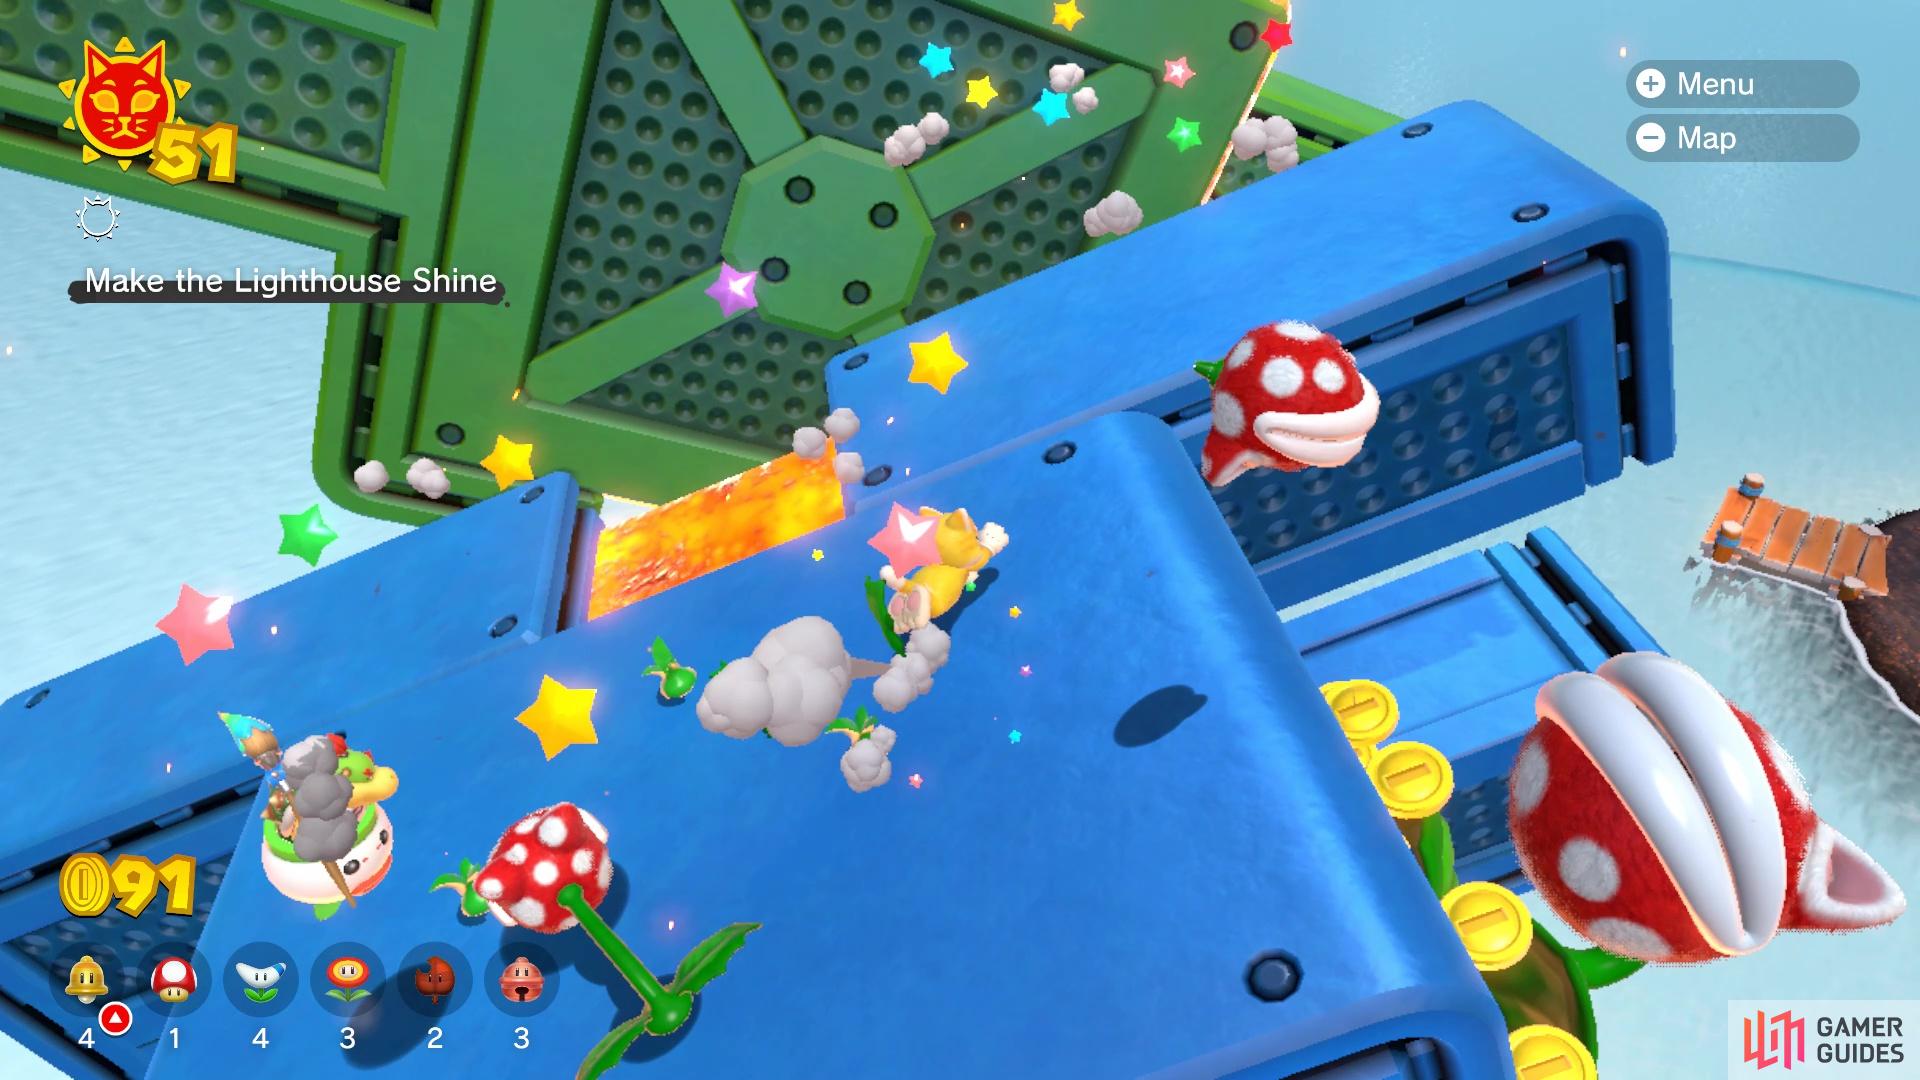
Make the Lighthouse Shine Cat Shine
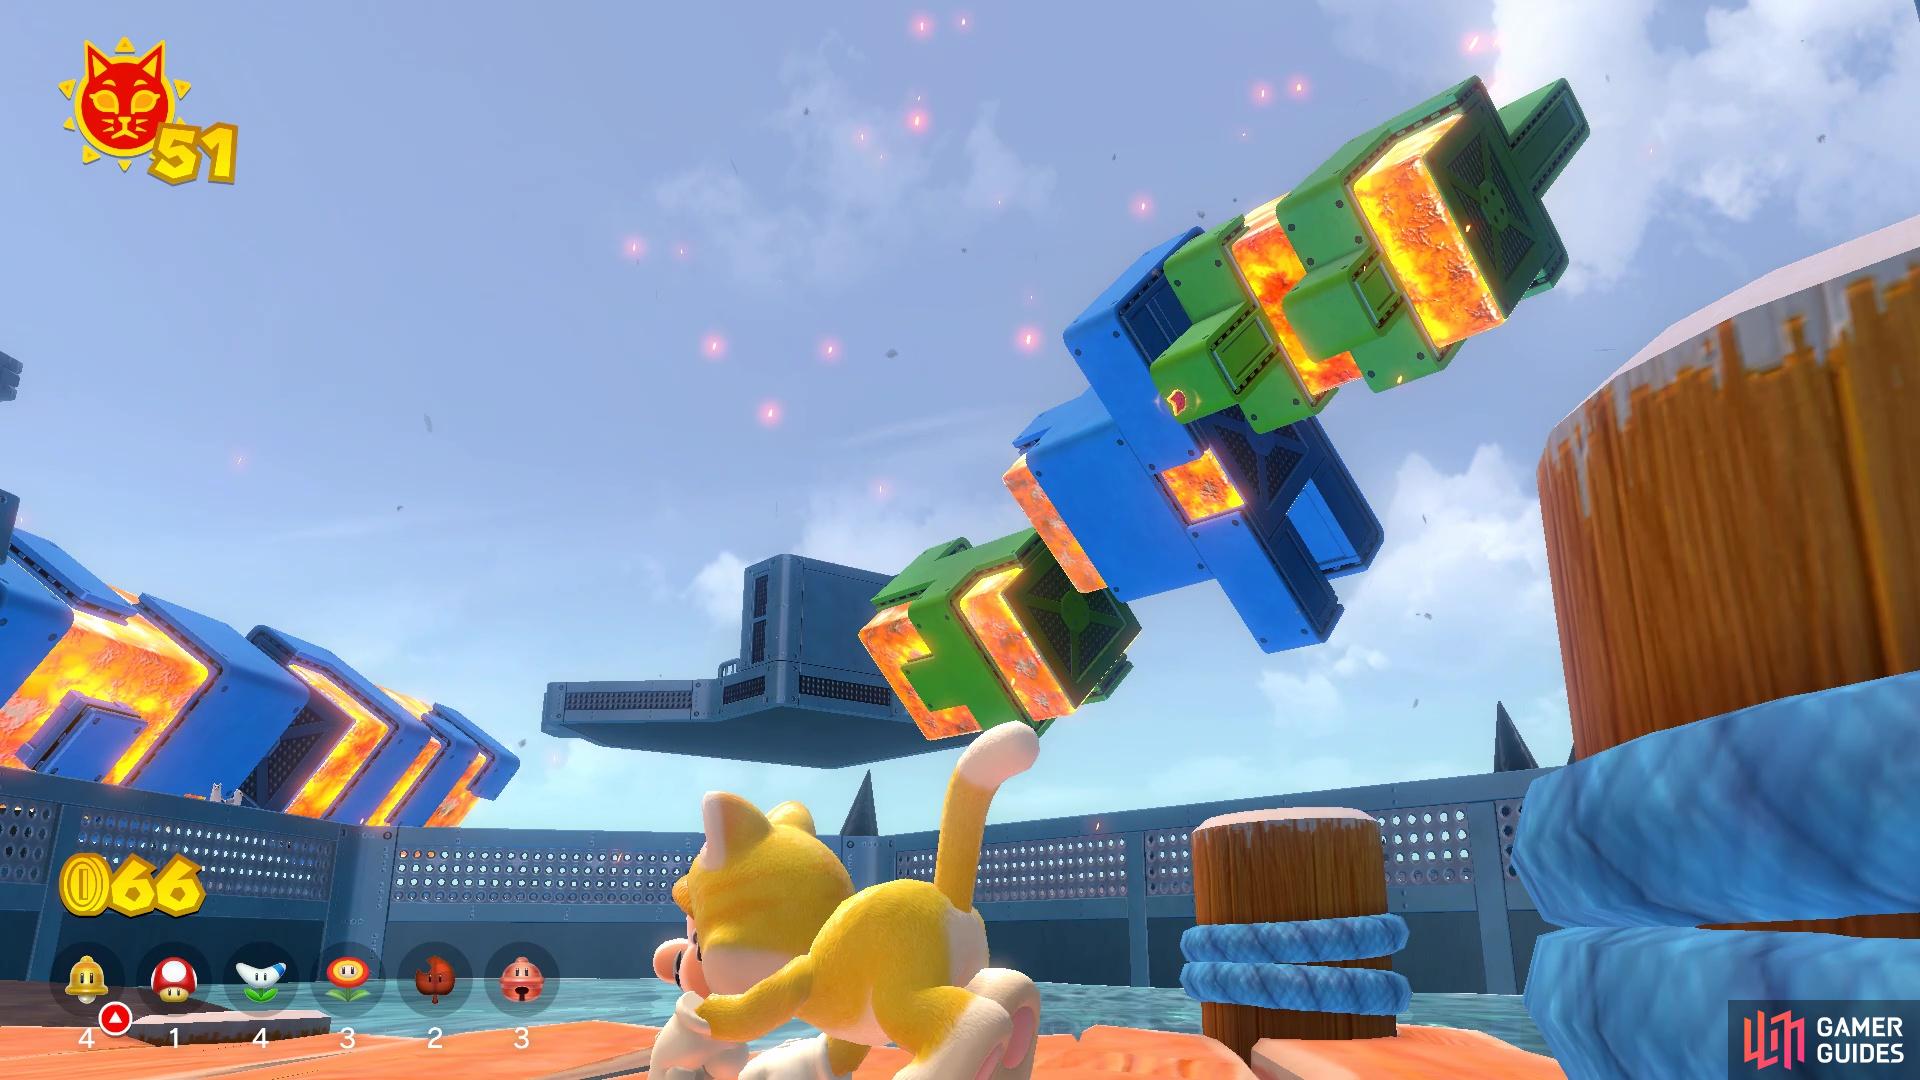
Upon passing through the main gate, you will see a few Piranha Plants on the ground level, but they’re not going to do any harm, so continue past them and onto the main level. After riding the carousel, you will come to face a brick wall, with a Baddie Box right there spewing out Bob-Ombs. The stack of question mark blocks nearby will contain a power-up, if you need one (progressive one is a Tanooki Suit, which is one of the better ones for this island). Blow up the wall and you will reveal the first rotating set of platforms for this island, which is definitely dangerous, as there will be lava filling in the spots where the platforms aren’t located.
Not only do you have to contend with the sections rotating
but you also have to deal with enemies on them, too
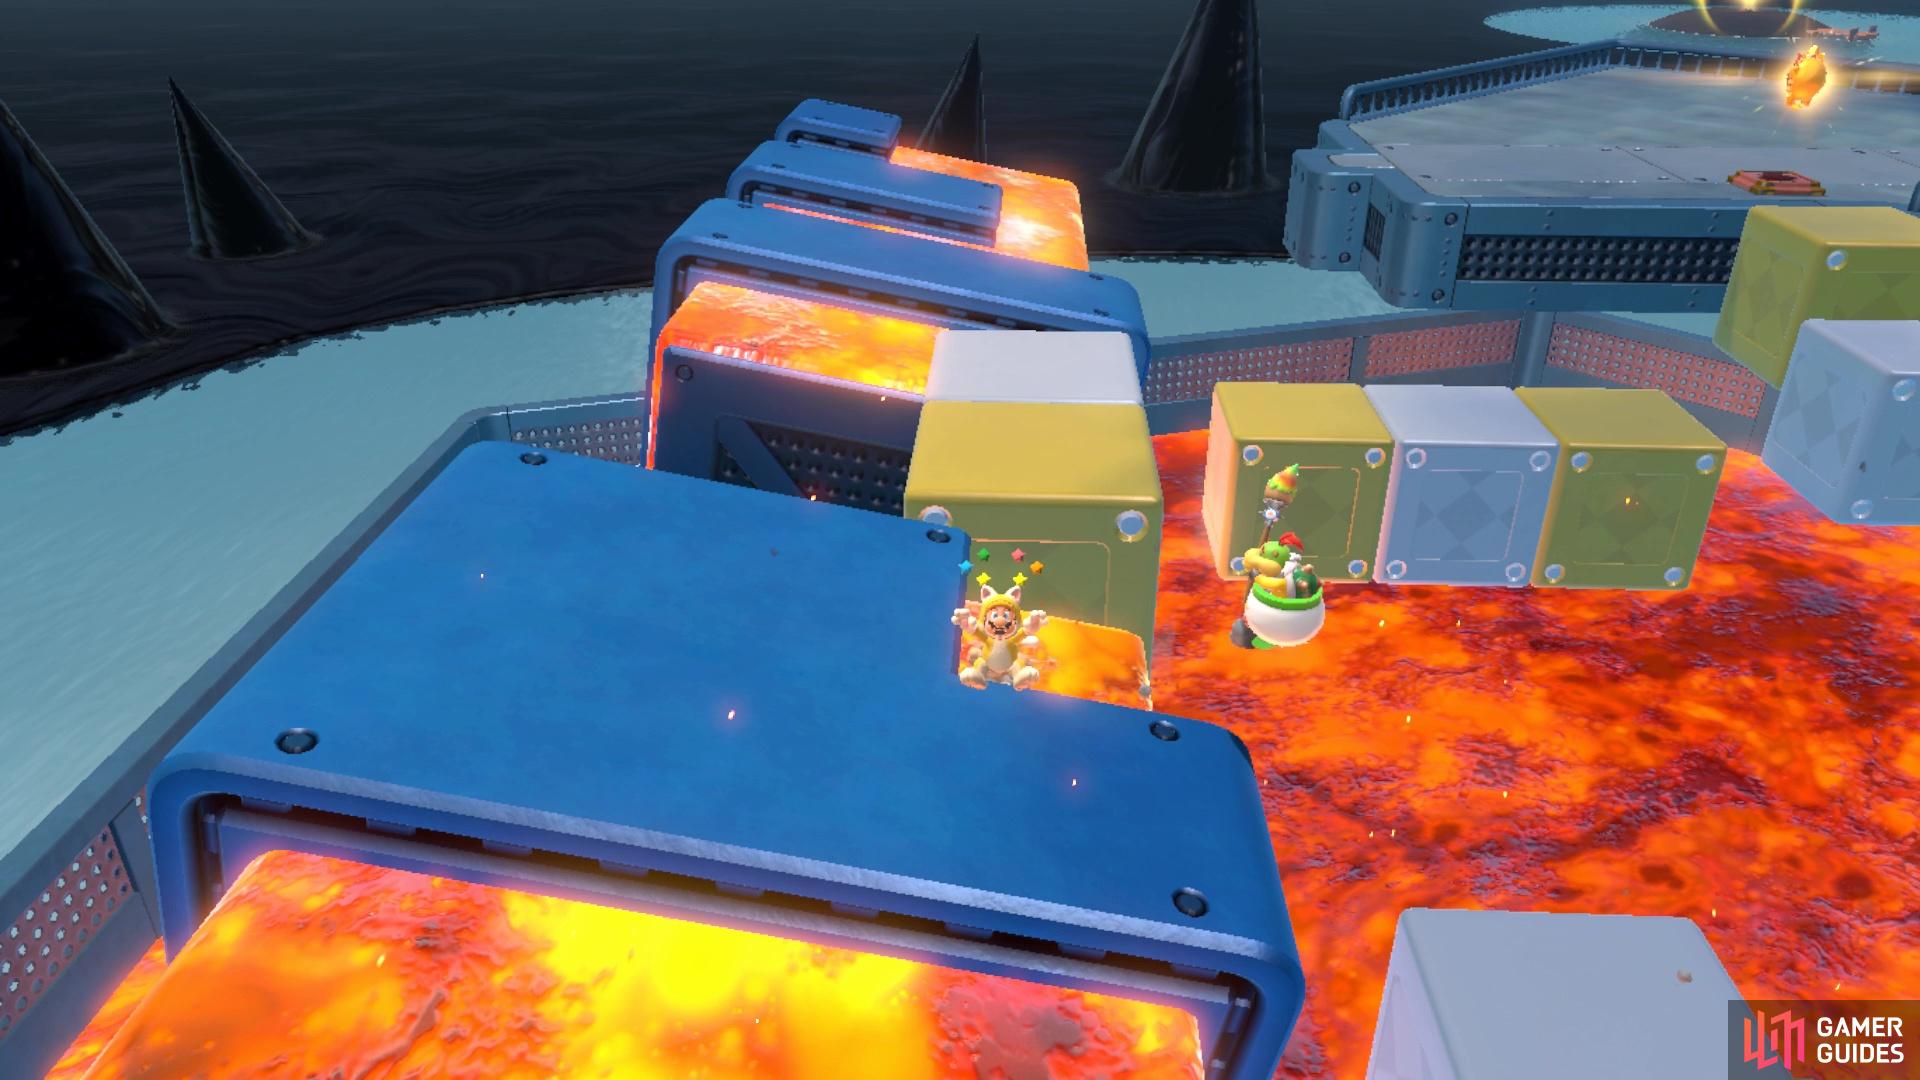
There will be a few Fire Piranha Plants positioned on this first rotating set of platforms, so be wary of their locations as you move across them. On the other side, jump to the next section to find some Goomba stacks, as well as another Baddie Box dispensing Bob-Ombs. Use a Bob-Omb to blow up the bricks that are blocking the stairs to the top (the ?-blocks at the base have another power-up), where another Baddie Box awaits, as well as the next sets of rotating platforms. Taking a quick glance, there is a Magikoopa floating in the air, as well as some Piranha Plants on the platforms.
This can be a dangerous section, as you have to deal with three sets of rotating platforms, back-to-back. If the enemies get in your way, get rid of them, but you will probably have to wait on the higher ledges to appear on the rotating bits. Once you manage to make it past them all, you will find the Cat Shine waiting for you in front of the lighthouse.
Hurry! Hot Cross Run! Cat Shine
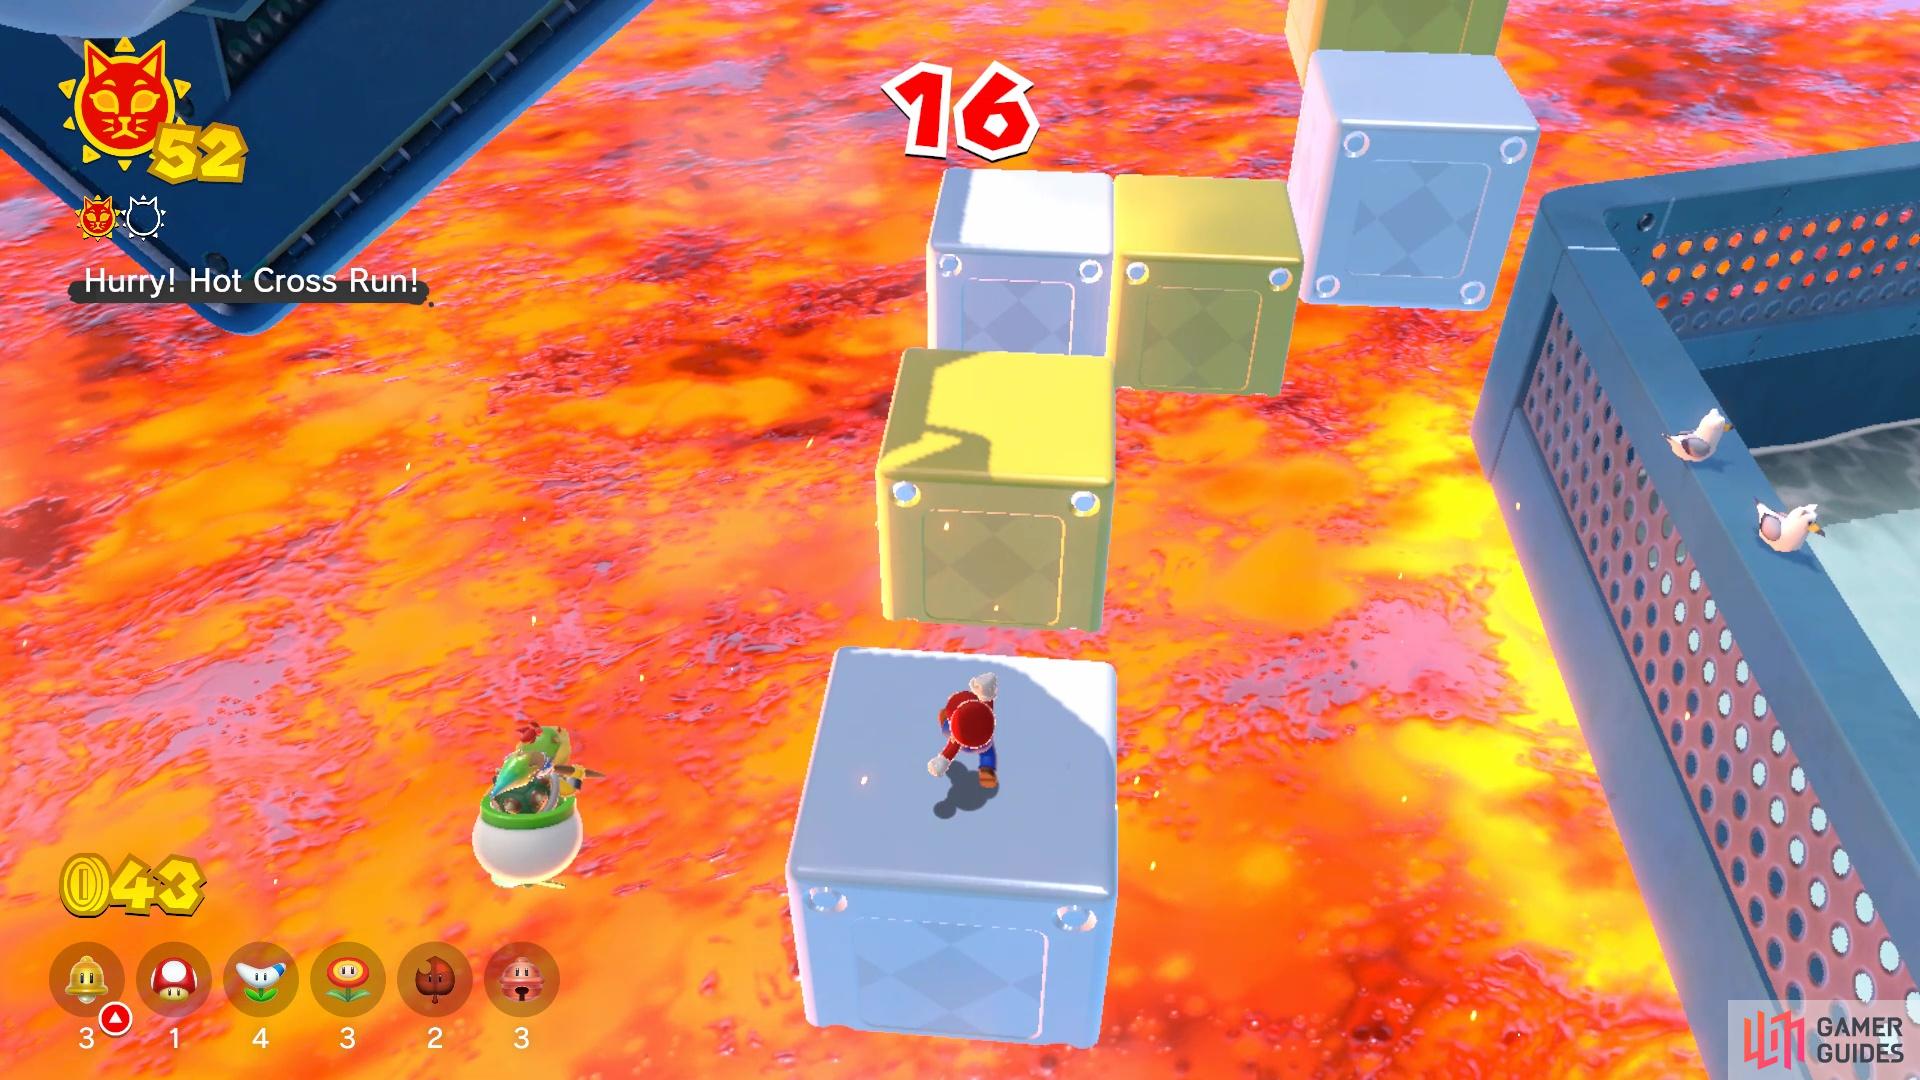
The platforms will appear right above the lava
You will have to run over a rotating section for a tiny bit, which can be a bit unpredictable
Just past the main gate of the island, you will spot the familiar big button switch. Hitting this will cause a bunch of platforms to appear, with the Shine showing up on one of the stable sections of the map. The platforms will be sitting over the lava, so a misstep can mean having to start over from the beginning. At one point, you will need to use the one rotating set of platforms to get farther, so there’s a tiny bit of unpredictability here. The Tanooki Suit for Mario is ideal for this Shine, as it lets you skip a bunch of platforms with its ability to float downward after a jump. It might take one or two extra tries to get there, but this shouldn’t really be a difficult Cat Shine to obtain.
Key to the Cat Shine
There will be the familiar cage with the Shine in it at the start, so you will need to find the key and bring it back there. As you might have guessed, the key to the cage will be right at the top, in front of the lighthouse, but this Shine is actually a lot easier than it seems. Having a Tanooki Suit is ideal for this, as it makes it a whole lot easier than without one. Thankfully, the two power-ups you can secure from the ?-blocks will be Tanooki Suits if you manage to stay big. Also, next to the cage will be some question mark blocks that turn out to be Propeller Blocks.
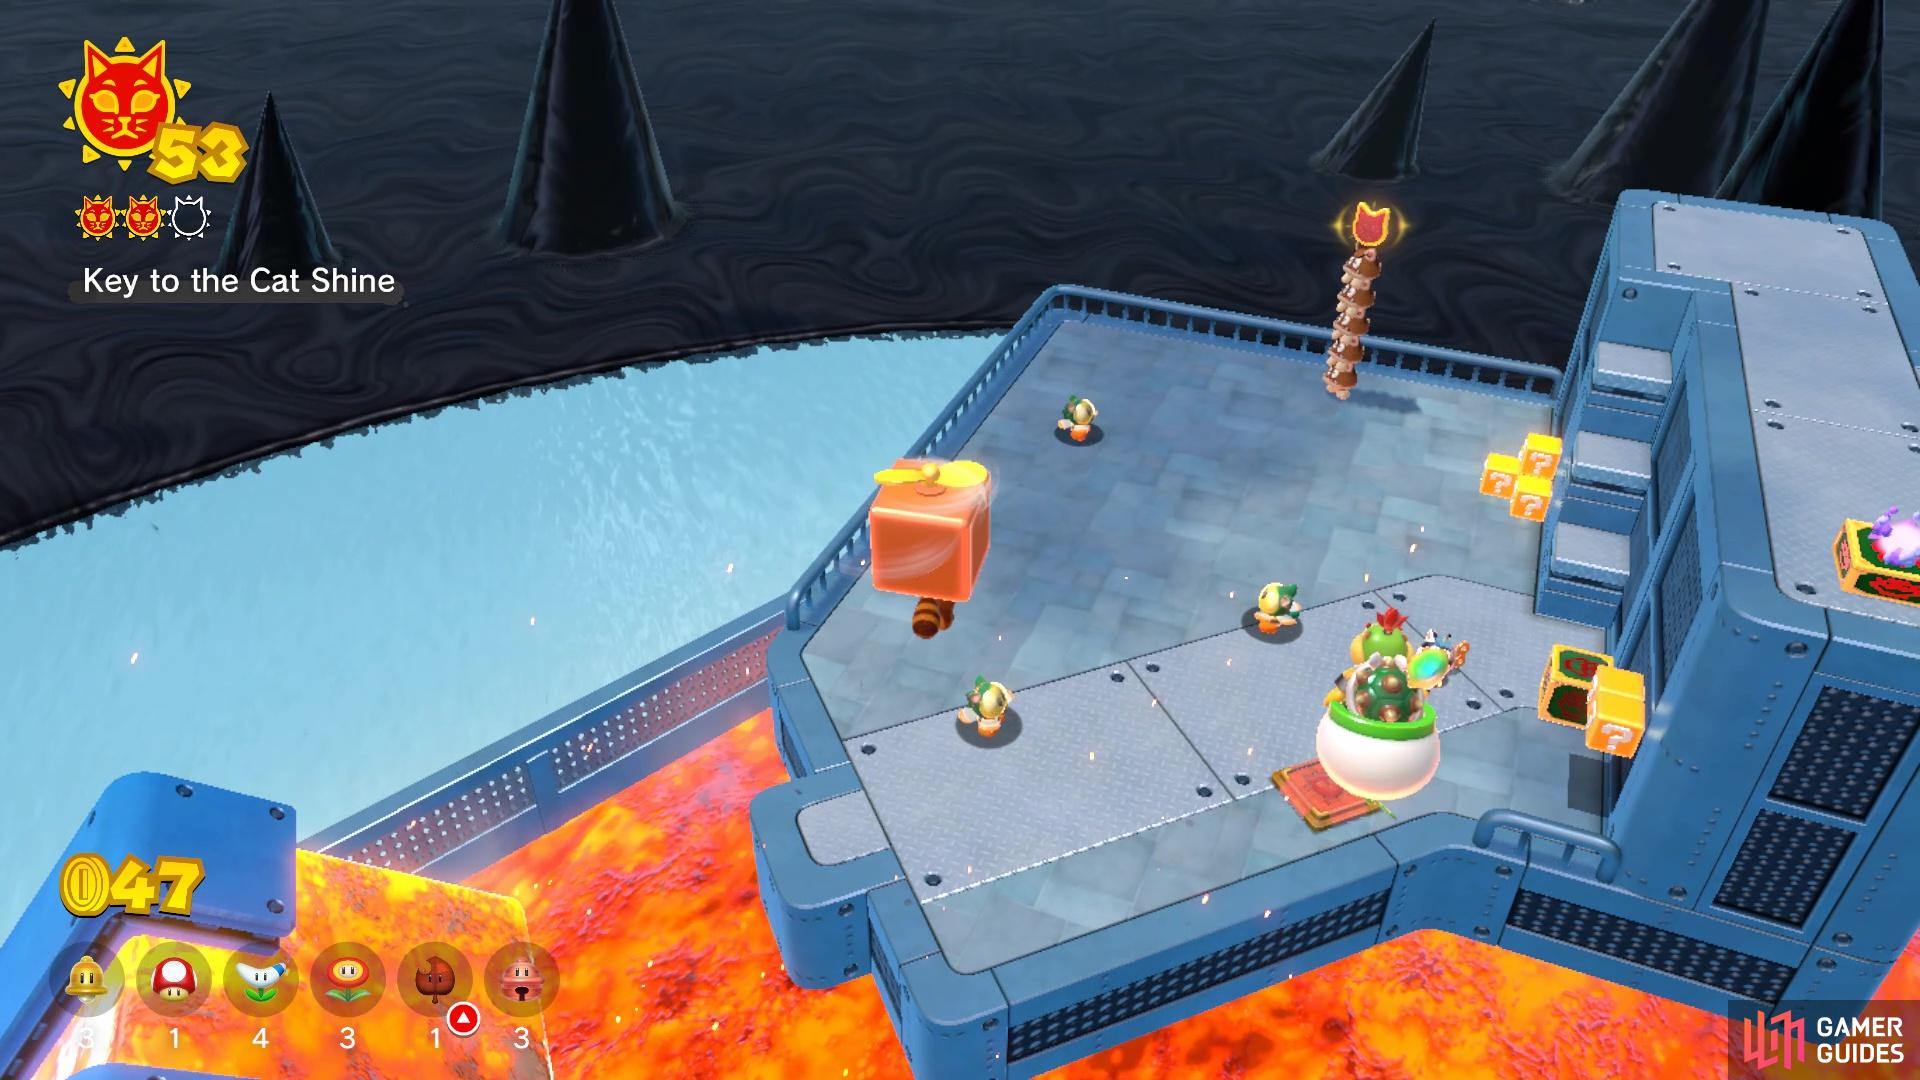
The Propeller Block helps immensely in getting to the key

while the Tanooki Suit will help a lot in getting back down
So, your ascent to the top will be less painful than without it, as you can bypass a lot of the rotating sets of platforms. Rather than having to backtrack through the normal course, you can actually jump off towards the entrance of the island with the Tanooki Suit. If you lose the power-up or just don’t have one, then you will need to carefully backtrack through the main portion of the stage. Remember that the lava will instantly kill you, while the water will instantly make the key disappear. Once you can manage to return to the cage, you will get the Cat Shine within it.
Five Cat Shine Shards Cat Shine
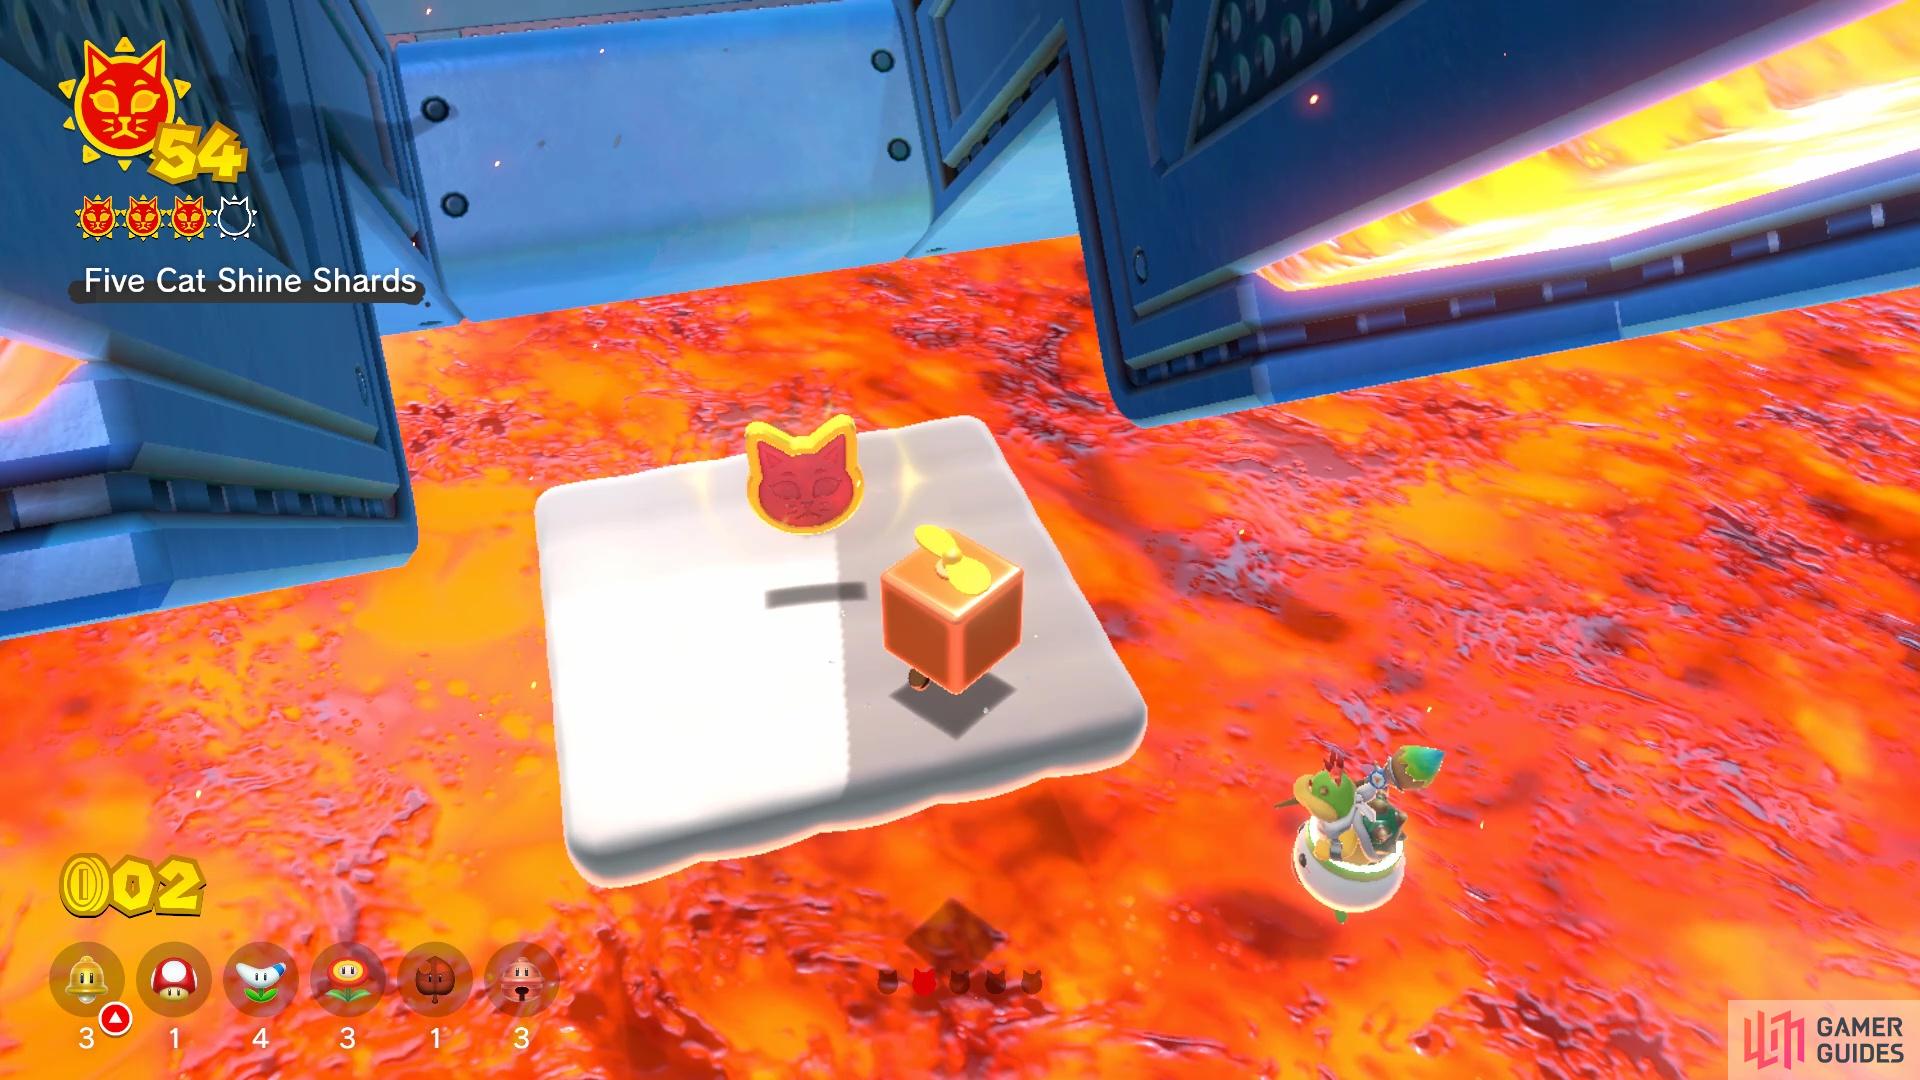
The five Cat Shine Shards for Roiling Roller Isle can be a little challenging to find, as some of them are hidden well. The Propeller Blocks from the previous Shine are still there and can be extremely helpful in getting to some of the Shards. As usual, the Tanooki Suit is also a good idea to have because you can float down to safety. At the start, get on the first set of rotating platforms and in the middle, you should see a gap. If you look down in that gap, you should notice a Shard just floating there. You can jump down and grab it, as Cat Shine Shard #1 is sitting on an invisible cloud platform.
Use the tall platform to get back up top, then head to the section with the Baddie Box. Ignore the one Goomba stack, though and wait for the rotating section you were just on to spin around, as Cat Shine Shard #2 will be near the end there. Return to the stable platform and drop the tall Goomba stack to get Cat Shine Shard #3. Up the stairs, you will see the Baddie Box there, which will be needed to get the next Shard. There will be a brick wall on the side of the middle rotating section, so you will need to grab a Bob-Omb to blow it up; behind it will be Cat Shine Shard #4. The final Shard will be on the last rotating section, so collect Cat Shine Shard #5 and once you collect all of them, you will have another Cat Shine.
Blast the Fury Blocks Cat Shine
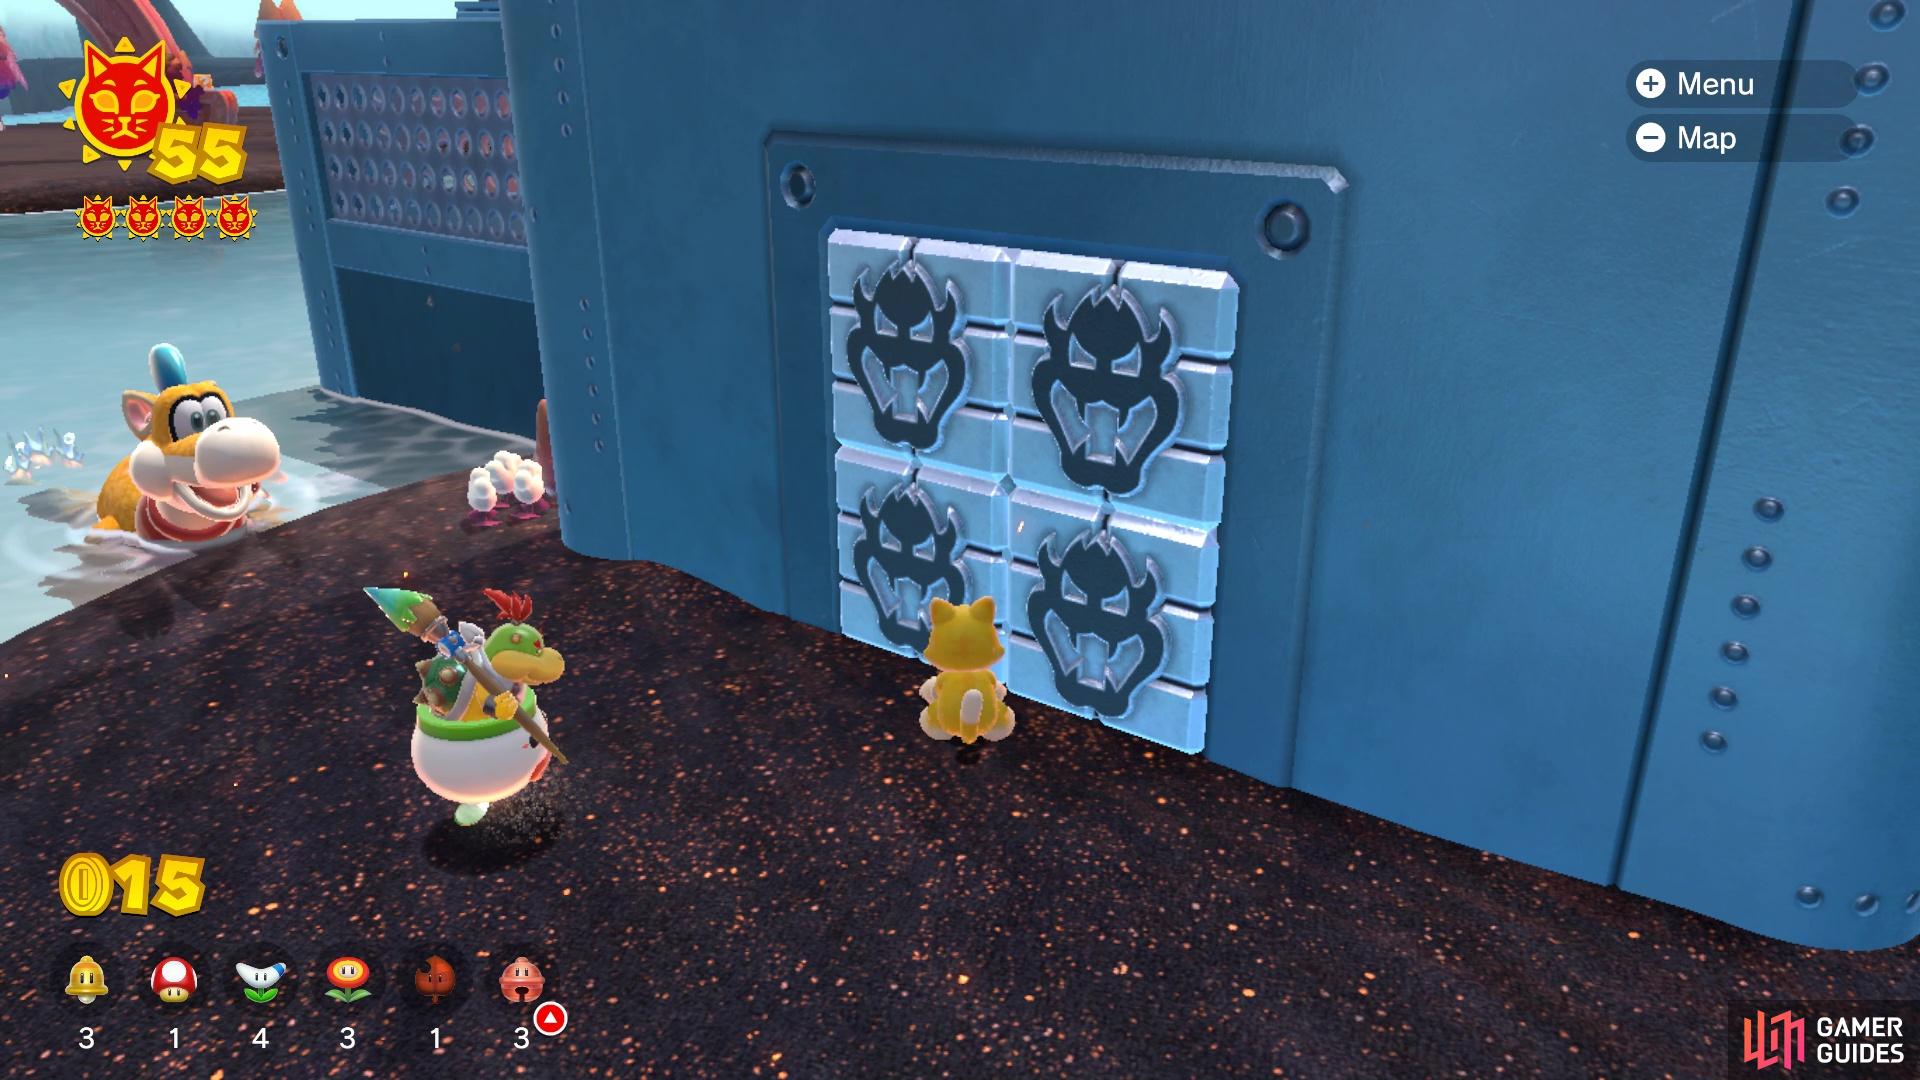
The location of the Fury Blocks for Roiling Roller Isle
You probably saw some Fury Blocks on the way to the actual island, which were at the base of the one tower in which the lighthouse is located. That’s not just extra Fury Blocks, as that is where you will find the Shine. So, sit there and wait for Fury Bowser to wake up, then have him blast it open to grab the Cat Shine inside.
No Comments