
Crisp Climb Castle is an island that is found northwest of Trickity Tower and Clawswipe Colosseum. It contains a pretty tall structure, which is where the lighthouse is located, so it will take a bit to get there. The bottom portions of the island contain icy platforms, where Mario will actually slide while running on them. The main way of getting around on Crisp Climb Castle will be the Propeller Box, since there is a lot of verticality to this island.
Make the Lighthouse Shine Cat Shine
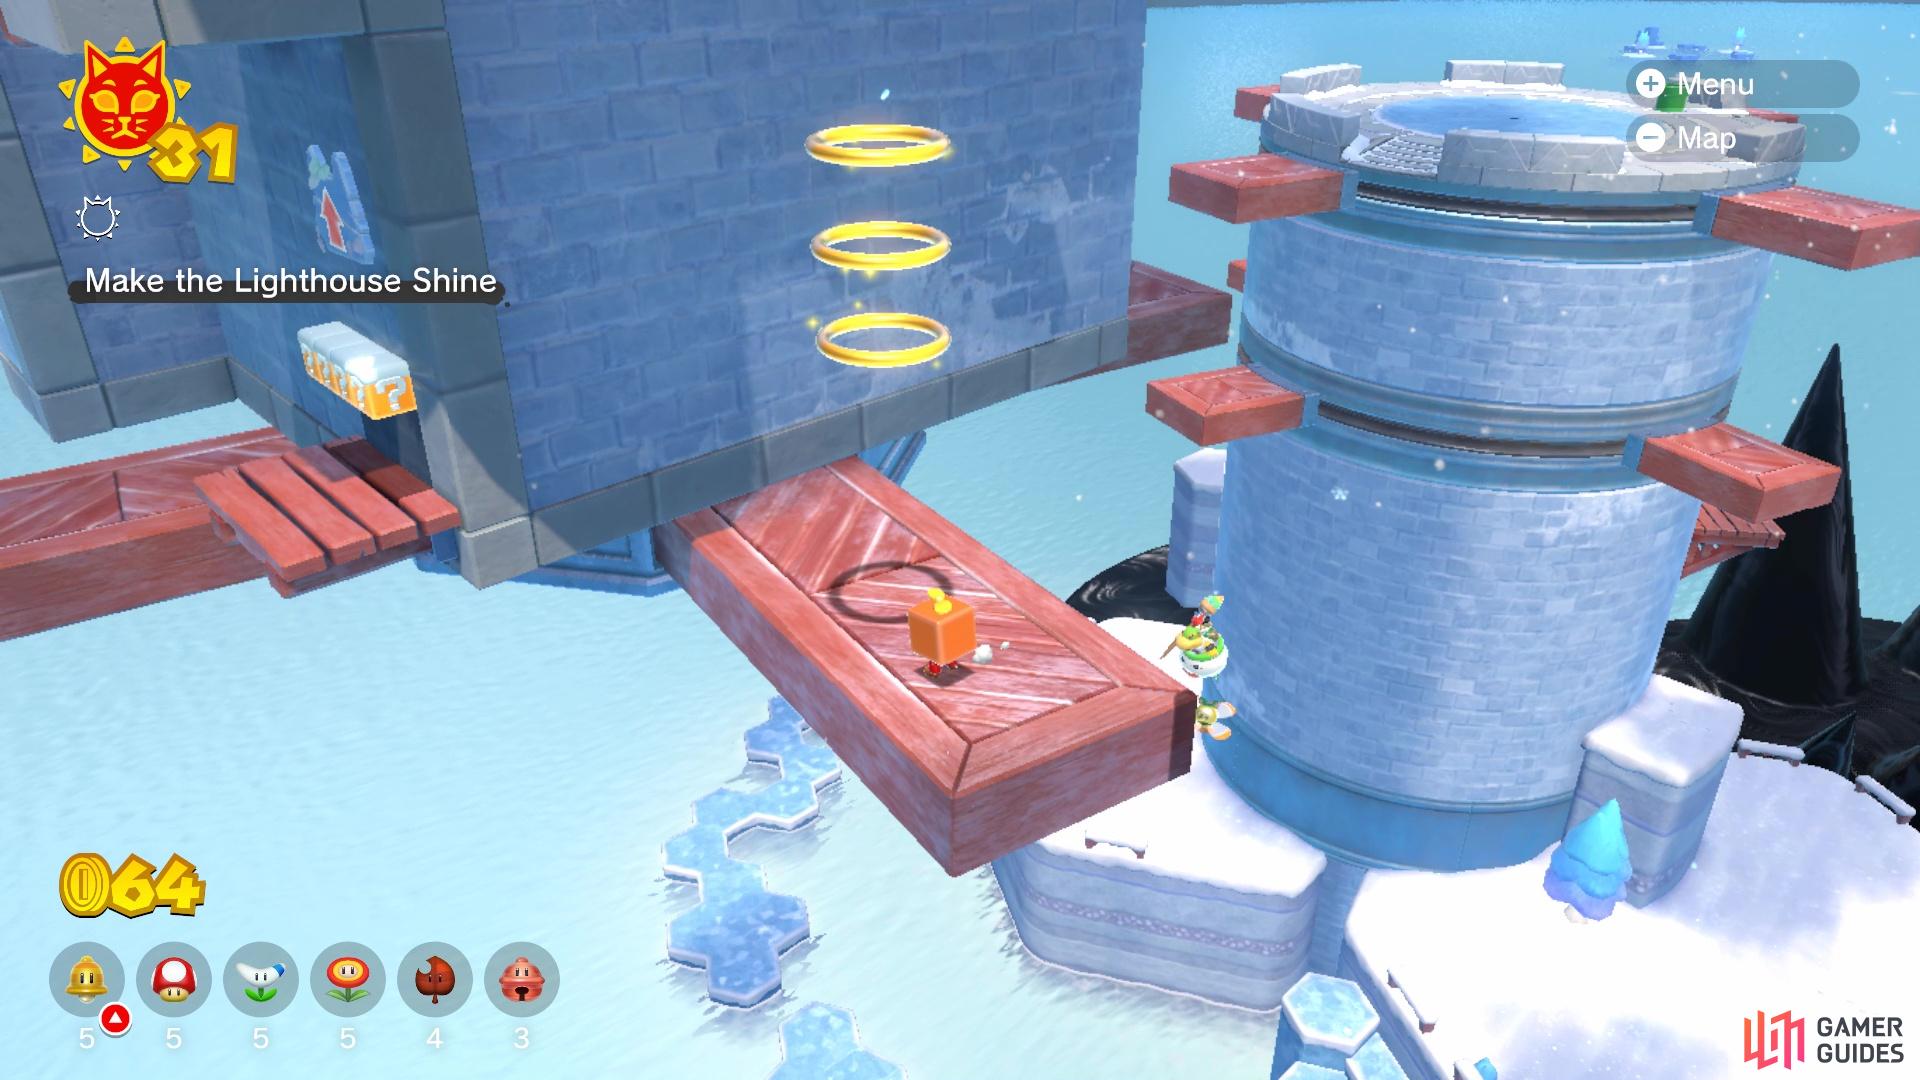
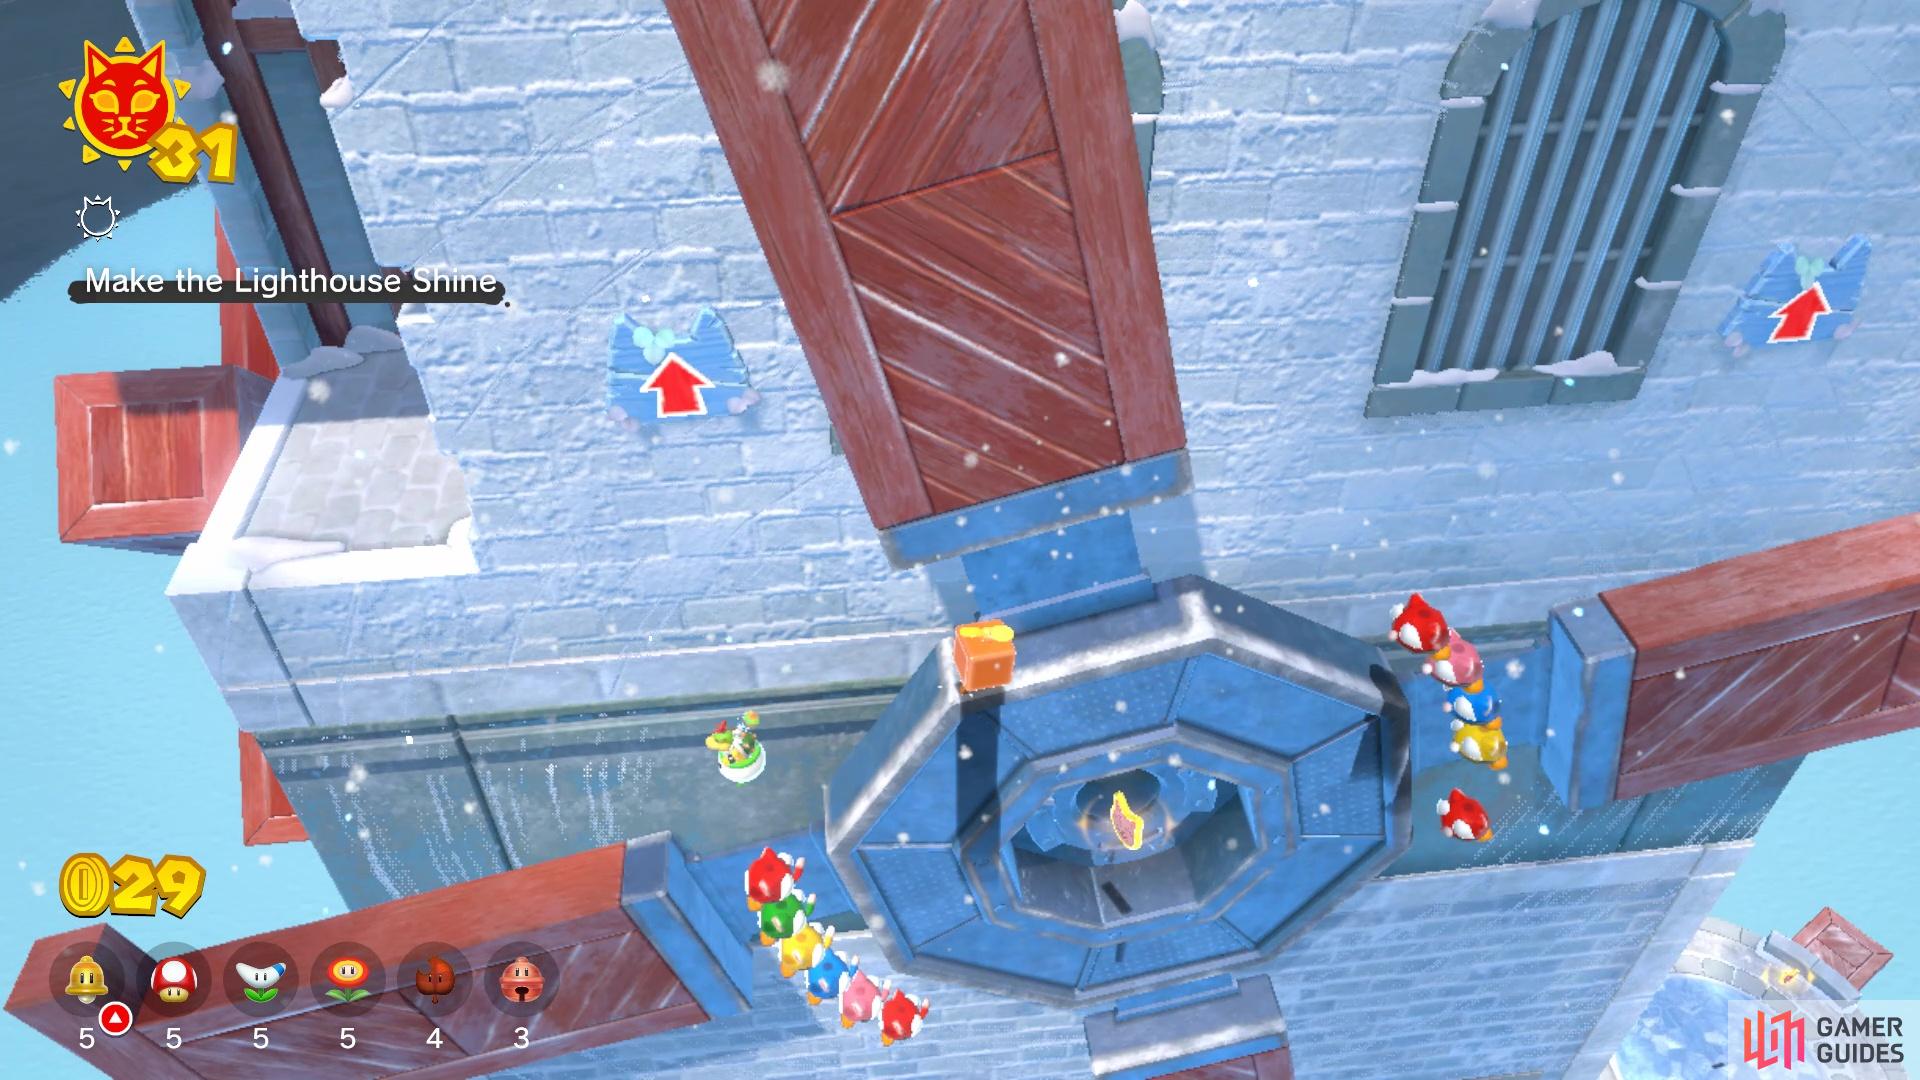
From where you find the main gate that designates the beginning of the level, go straight ahead across the icy platforms to find some question mark blocks. These will be Propeller Boxes, which will be needed to get to the top of the course, where the lighthouse is located. Fly up to the next section and there will be a sign with an arrow pointing up on the wall right in front of you. Fly up to the next ledge, then to the wooden platform sticking out of the wall. From there, you should see more wooden platforms that are rotating around the tower here.
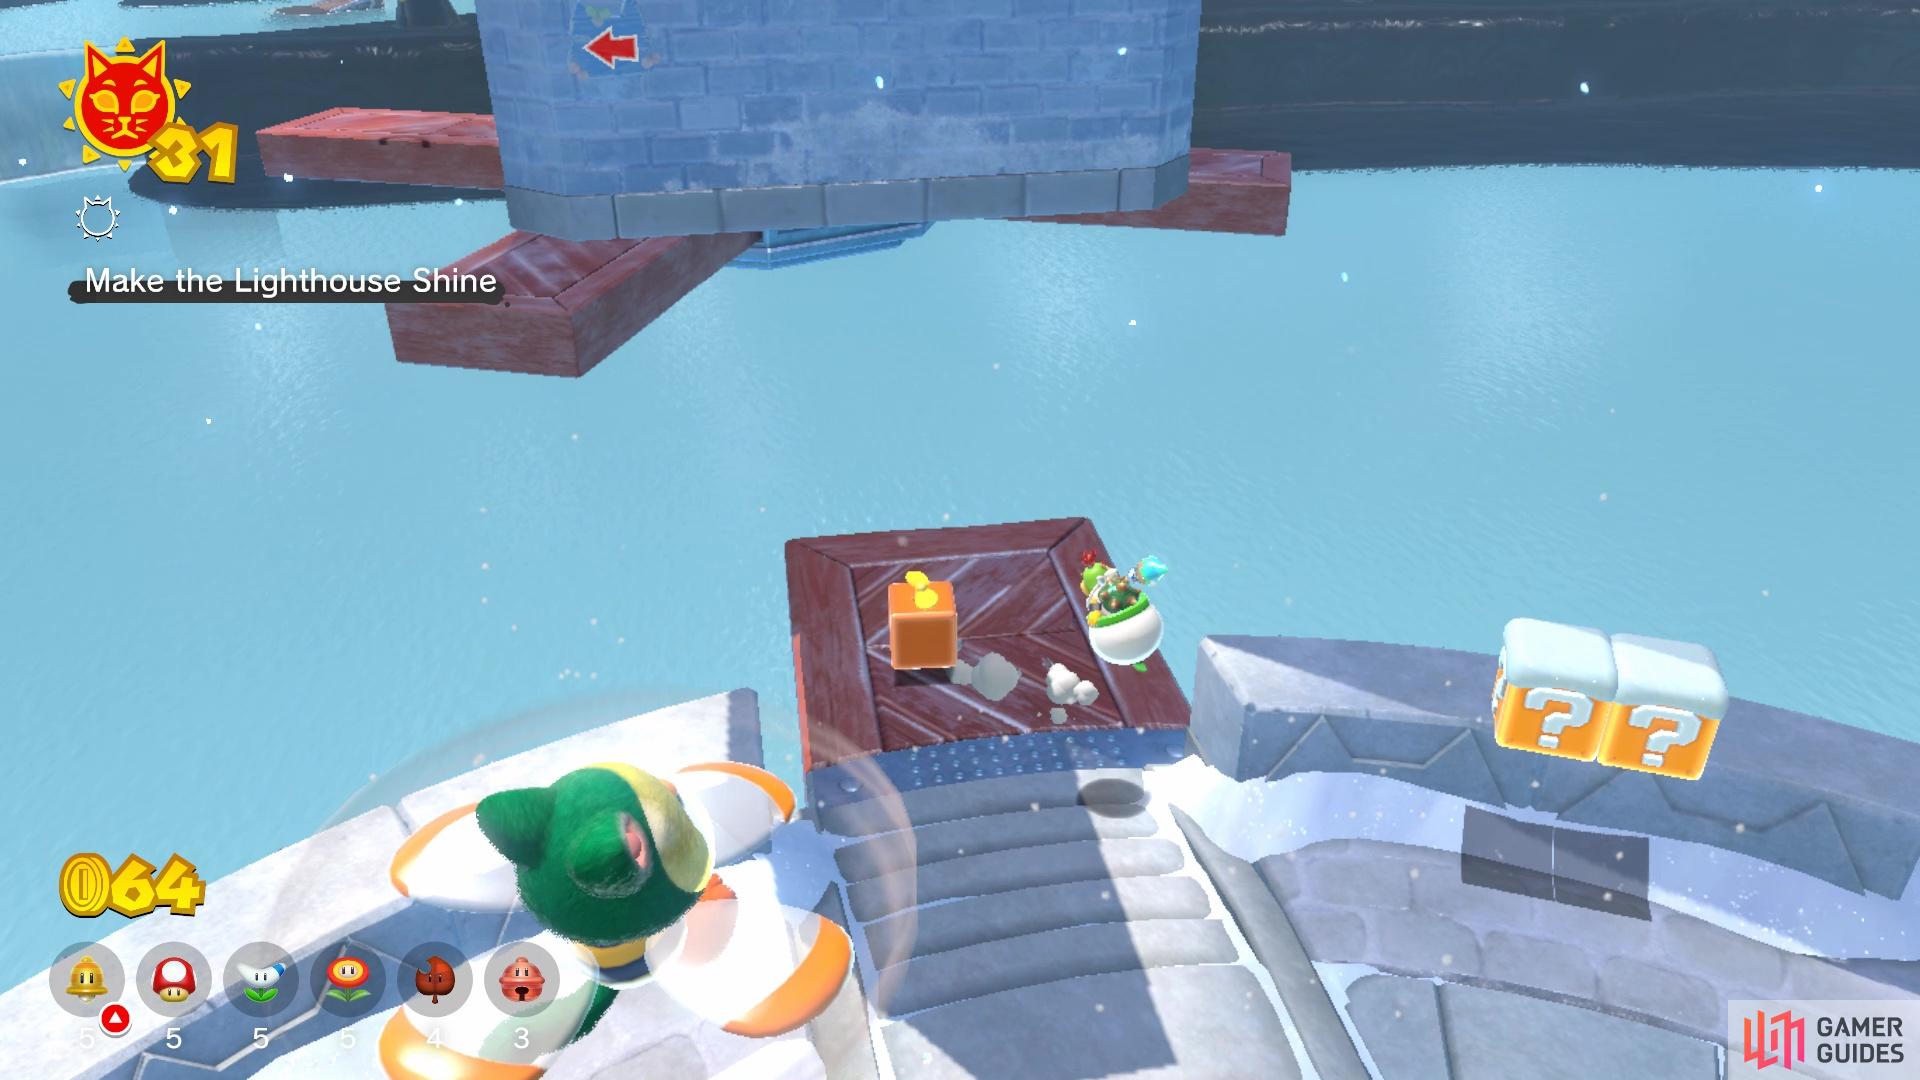
There will be another set of these above the first one, so you will need to time a jump and fly off of the first set. From there, you will be at the top of the first tower, where you will find some ice, a green pipe and Flopter enemies. The green pipe is nothing more than a shortcut to bring you down to the base of the tower. To continue, you will see more rotating wooden platforms across the way, at another tower, although this one is floating in the air. Time your Propeller Jump fly (you can hold the jump button to float) across to those platforms, then get off when you find the lone wooden platform with more question mark boxes.
You will need the Propeller Block in order to make it to the top
You will need to fly over to the rotating platforms at the base of the second tower
There is another arrow sign above those, pointing upwards, which is the direction you need to go. The wooden platform above you, though, is a little in the way, so straight up is not an option. You can either move to the left when flying up or jump off of one of the rotating platforms that brought you here. There will be a formation of Biddybuds waiting for you, so wait for them to move before flying up to the next ledge. Around the corner will be a tall stack of more Biddybugs, so either flying over them or use the space to duck under them.
Don’t worry if you get hit by the tower of Biddybuds, as there are more Propeller Boxes around the next corner. Use the Propeller Box to get up the next set of wooden ledges and to the top, where you can find a power-up in one of the blocks there. The next obstacle can be a little troublesome, as those rotating platforms from before are back, but they are vertical now, like clock hands. This and the next one are both rotating clockwise, and you need to drop onto the first to allow yourself to easily get to the second. When you reach the second, try to get on top of one of the hands and fly up to the next ledge.
You’re almost there, but it’s not going to get any easier. For the next obstacle, you have another of those vertically aligned rotating platforms, but there is a large wall in the way right before it. So, the plan is to jump down and go underneath the wall, using the Propeller Box to reach the rotating object. If you fall, then you will pretty much need to start from the beginning, but if you land on it, you can safely jump to the next ledge. The next obstacle will be the final one before the top, and there’s some enemies involved, so it might be the trickiest yet.
Drop down under this wall, then fly to the spinning platforms
You can go in between the blades and the central portion here
It will be a large set of rotating wooden blades, like those before you, except there is an opening around the central pivot point. The blades are spinning counterclockwise, but there are two sets of Biddybuds going clockwise in that opening. To get past this obstacle, you have to drop down and go through the opening near the center. From there, on the right side, get to the top of any of the blades (two of them have a flat bit extending from the top) and you’ll be able to fly to the top of the island. You will find the lighthouse at the top, as well as the Cat Shine.
Hurry! Fly through the Frost! Cat Shine
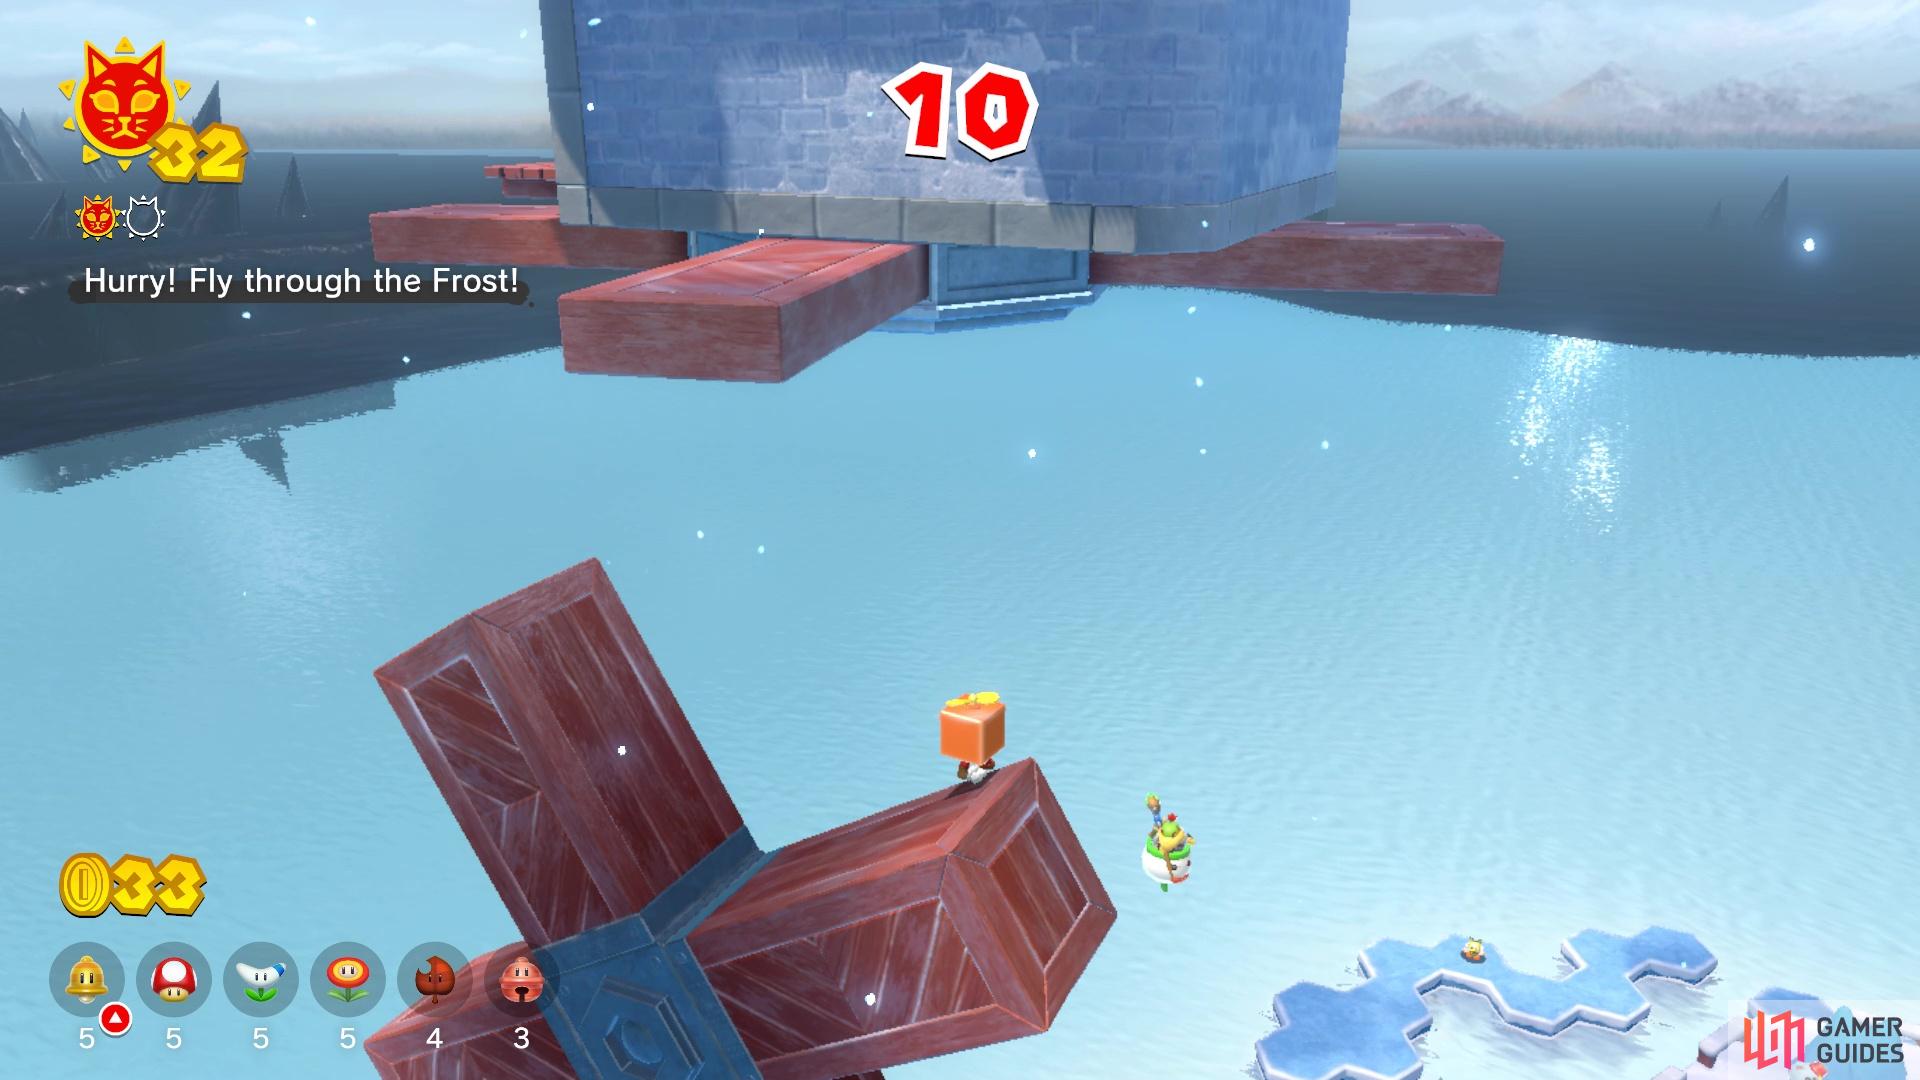
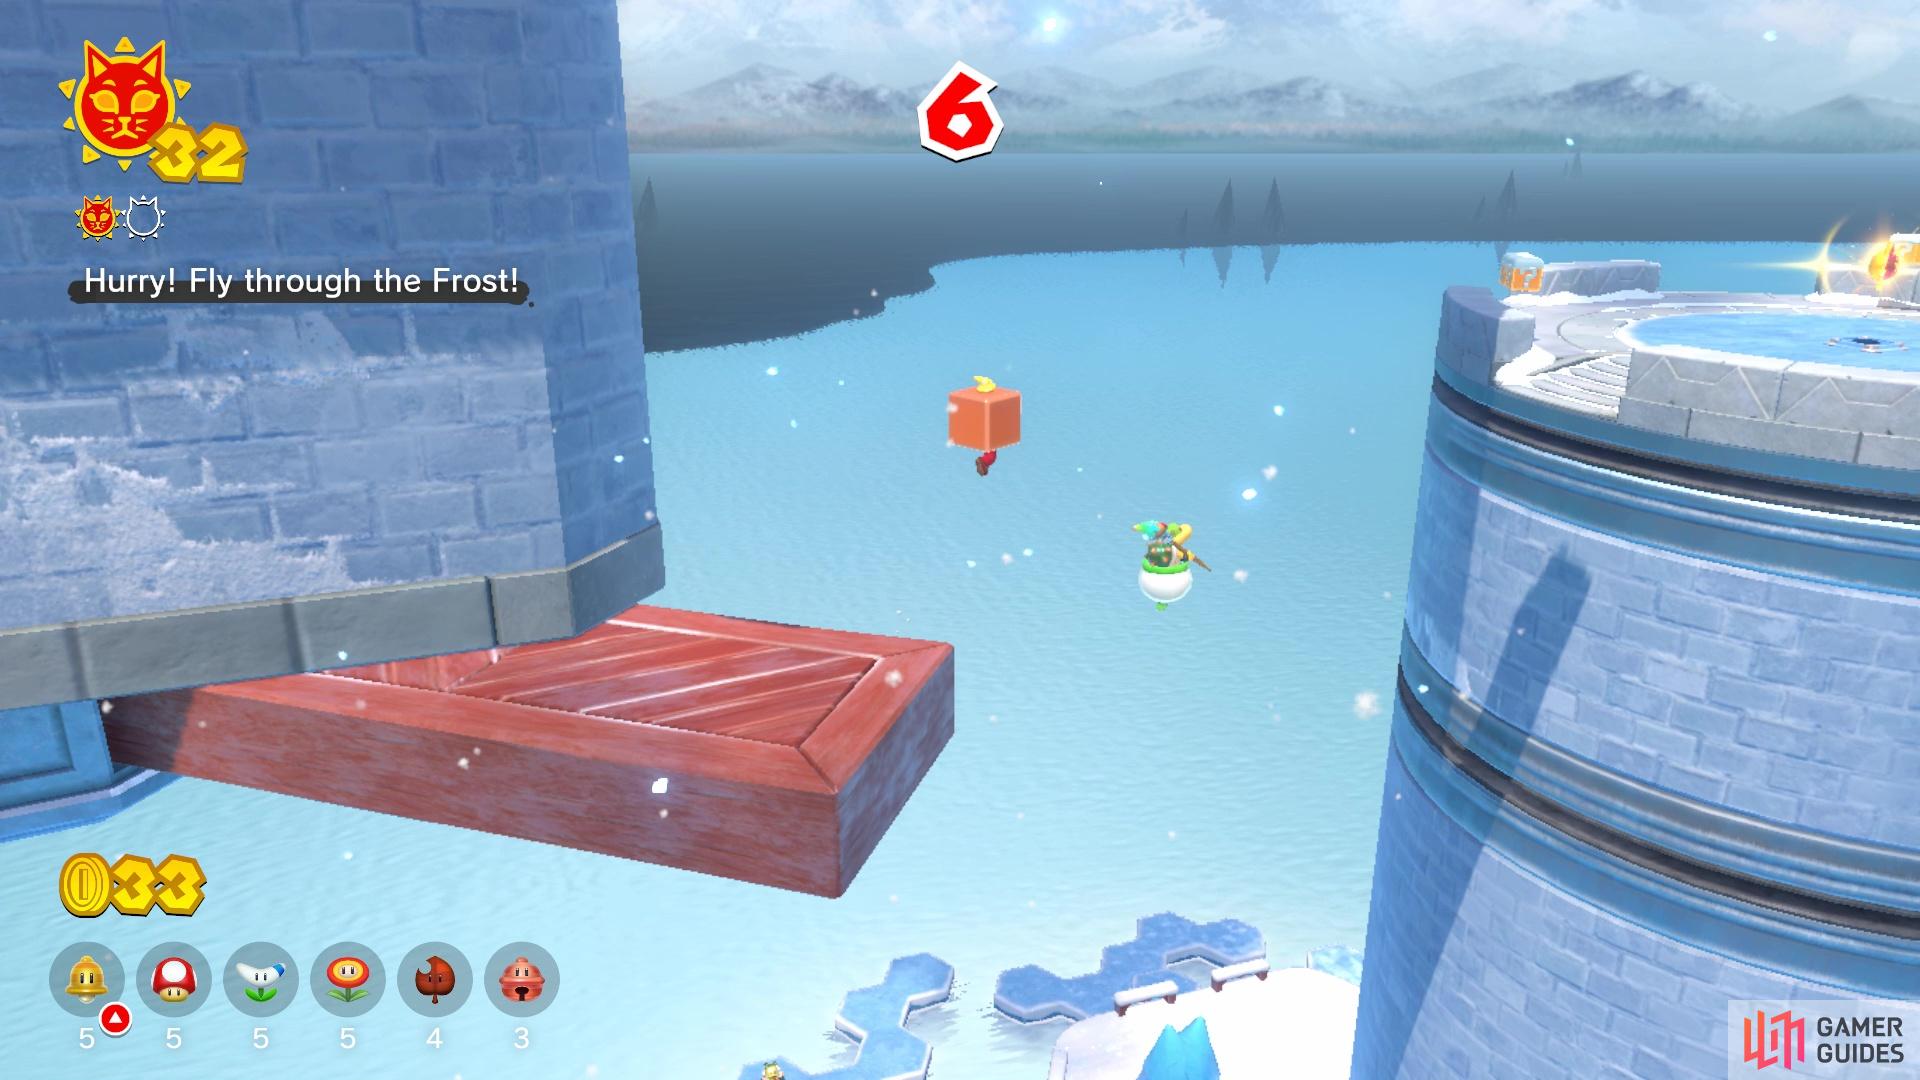
Once you arrive back at the gate, go forward and grab a Propeller Box, then fly up to the main area. You should see a large purple button, which means that once you Ground Pound it, a timer will start and you’ll have to hurry to the Shine. The actual Shine is on the first tower, but the normal way of getting up there is gone. So, you will need to find an alternate way of getting on top of the tower. Upon pushing the purple button, some wooden rotating platforms will appear, so fly up each one until you get to the final one.
Try to jump off the top of the rotating platform here
The last jump will be a long one and requires the Propeller Block
Whenever you get there, fly over to the rotating platforms at the base of the second tower. From there, you should have enough room to fly into the air and float over to the first tower, with hopefully enough time to grab the Cat Shine. There is an alternate way, though, of getting to the Shine, but it requires both a Propeller Box and that you’re Cat Mario. Upon hitting the switch to start the timer, fly up to the wooden platform as if you were going up the normal path. From there, fly up next to the wall, then hug it to begin climbing it as Cat Mario. As soon as you stop climbing, jump off and immediately dive back towards the wall with Y or X to get another climb from Cat Mario. If done right, you should have more than enough height to get to the Cat Shine.
Fury Shadow on Ice Cat Shine
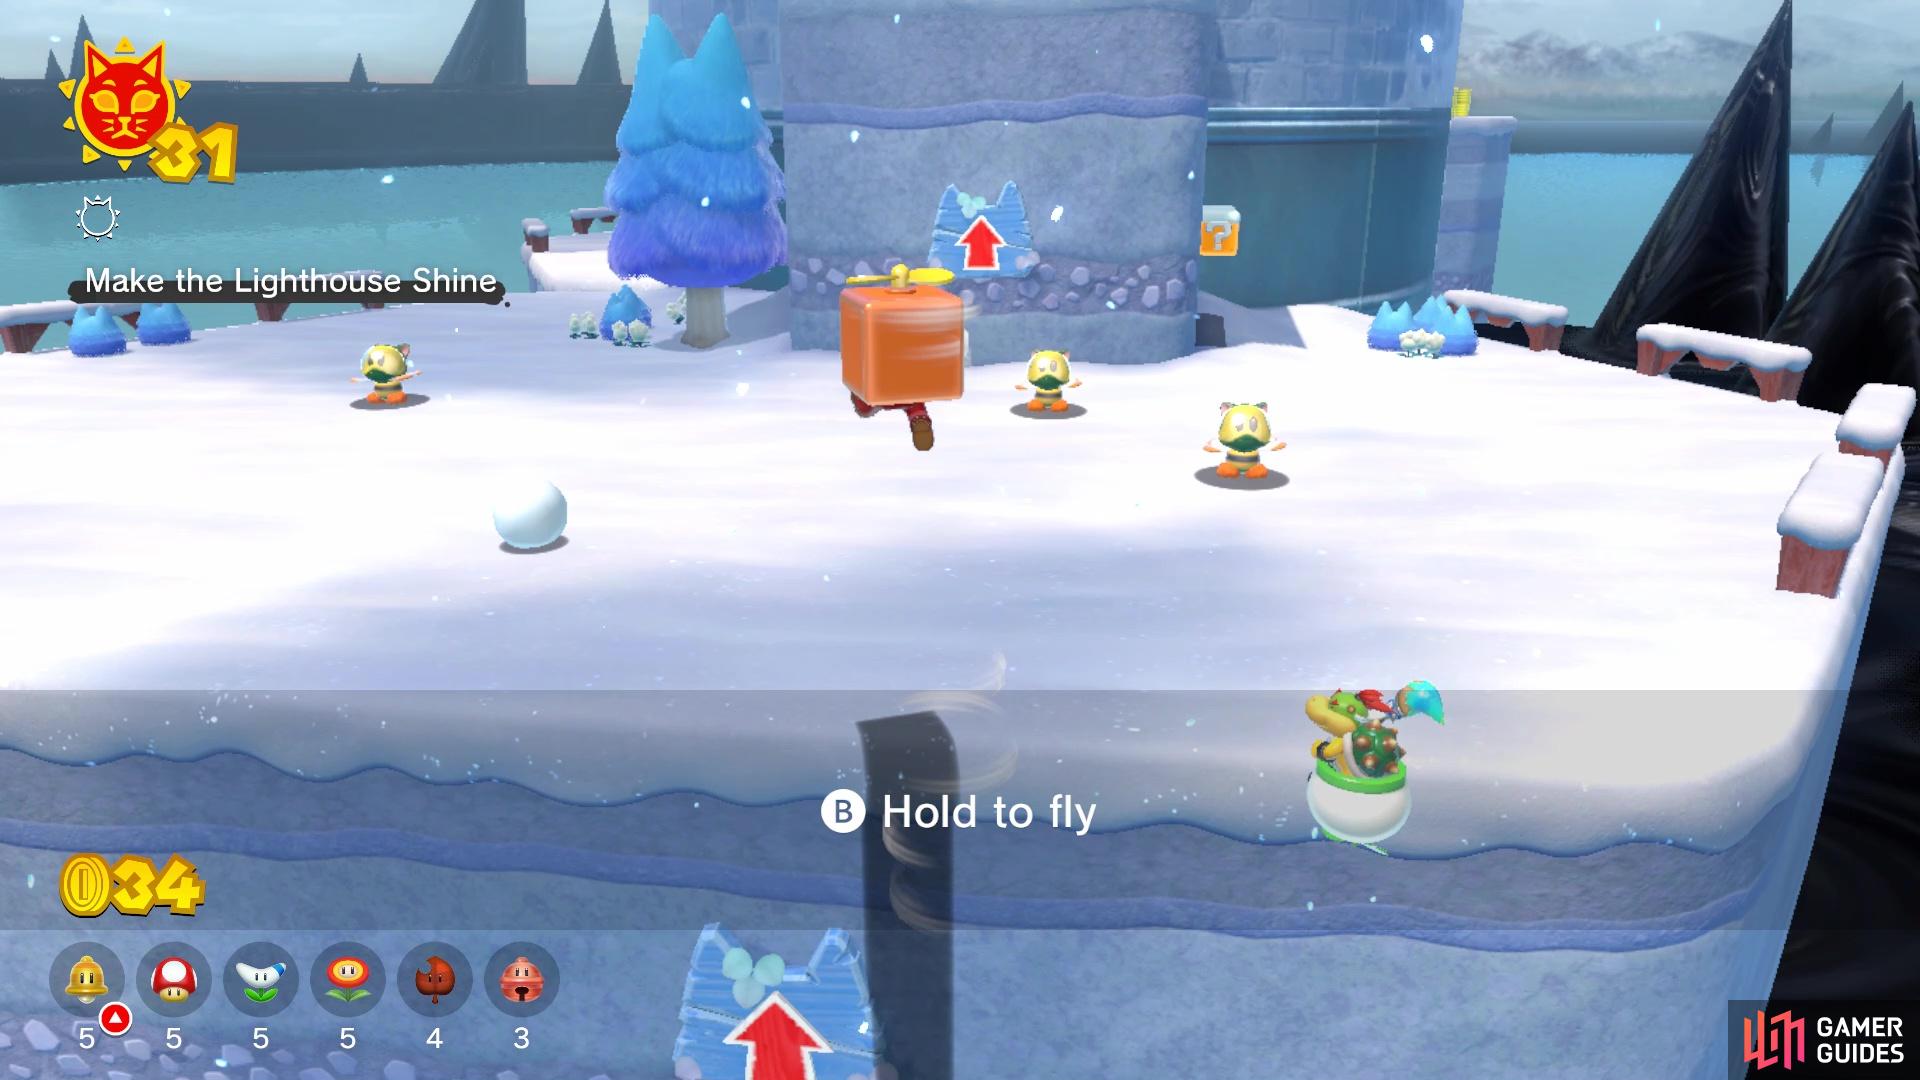
Upon coming back to this island, you will see that a familiar entity is present, the Fury Shadow. It will be right before the ledge leading to the main area and getting close enough will trigger it to start moving. Thankfully, you don’t need the Propeller Block for this Shine, so don’t bother getting one. That’s because the Fury Shadow will stick to the icy platforms on the sea level, so you won’t be required to do any flying at all. Since you’re on ice, Mario will be a little bit more difficult to control sometimes, as he won’t go the way you want. Also, while moving on ice, Mario will perform a spinning jump as opposed to his normal one, giving you a little extra height and distance.
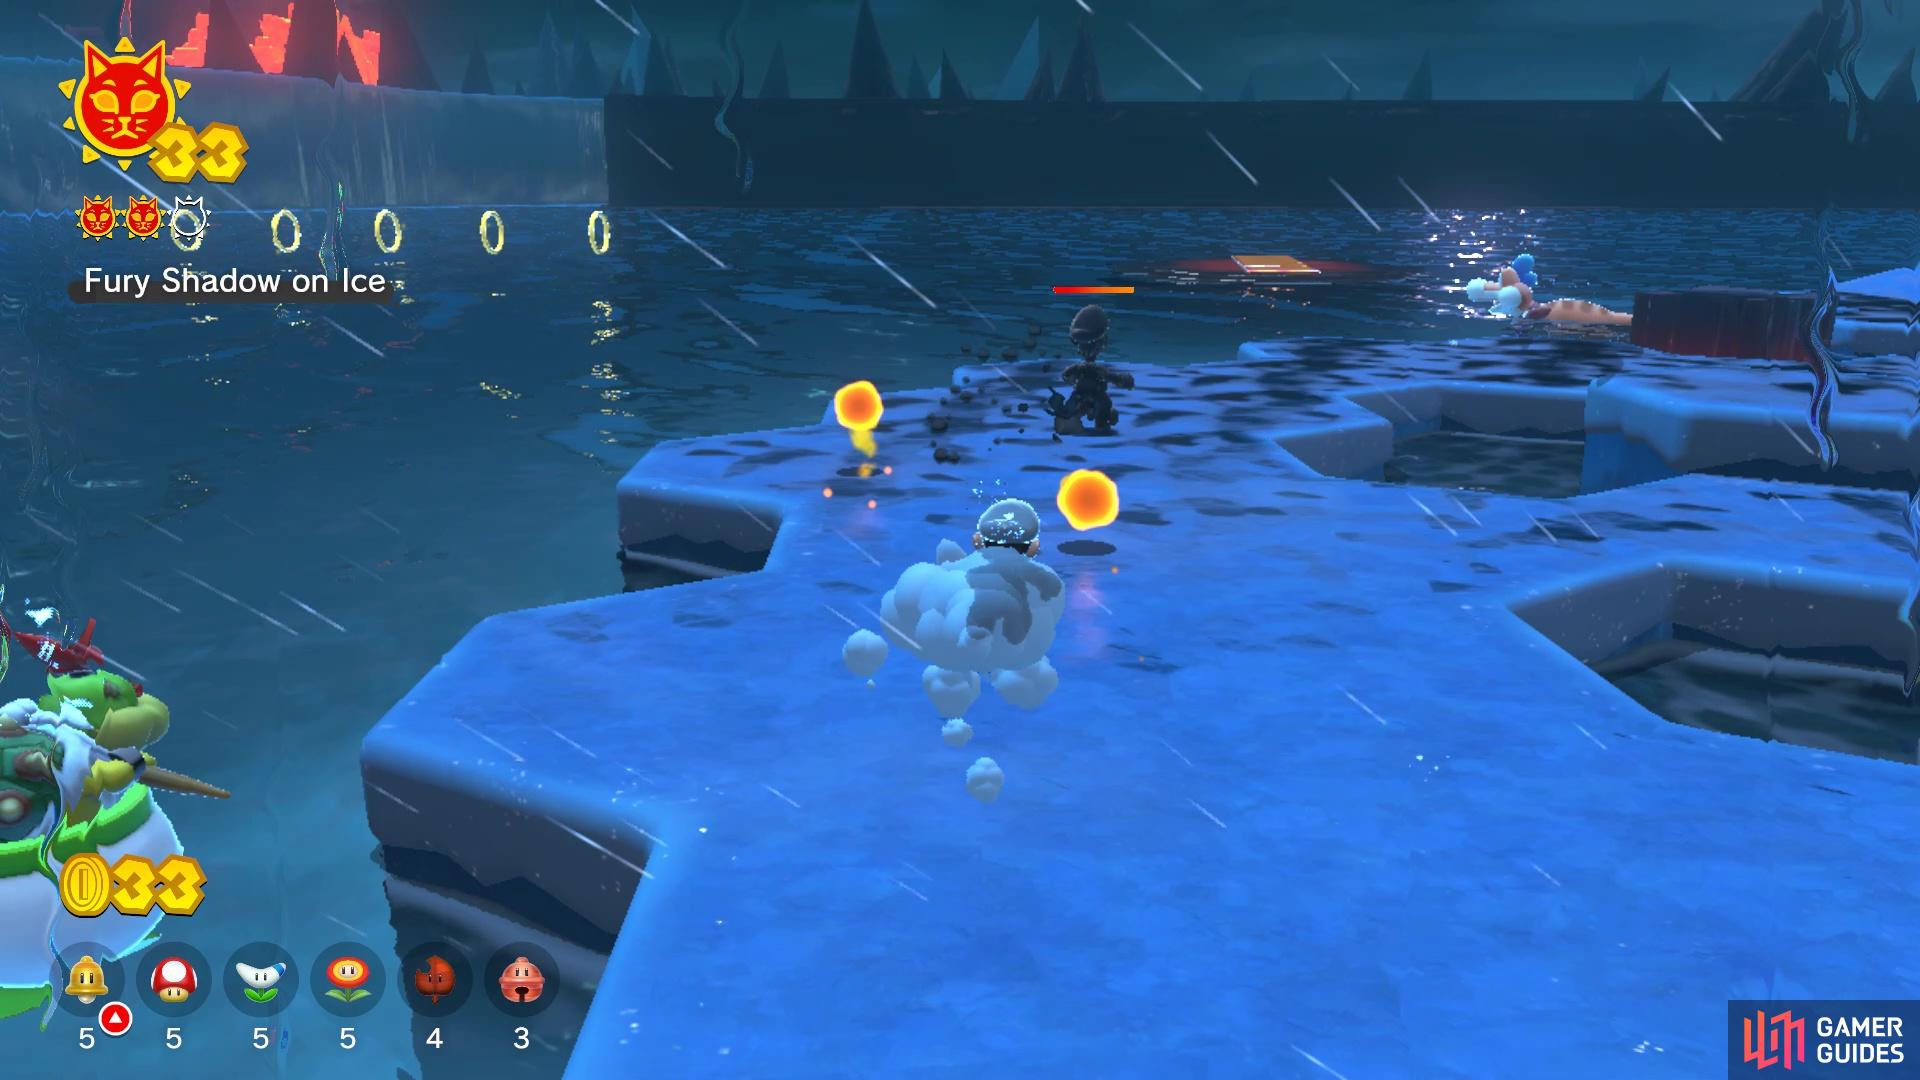
The ice can make it a little difficult at times to get attacks in
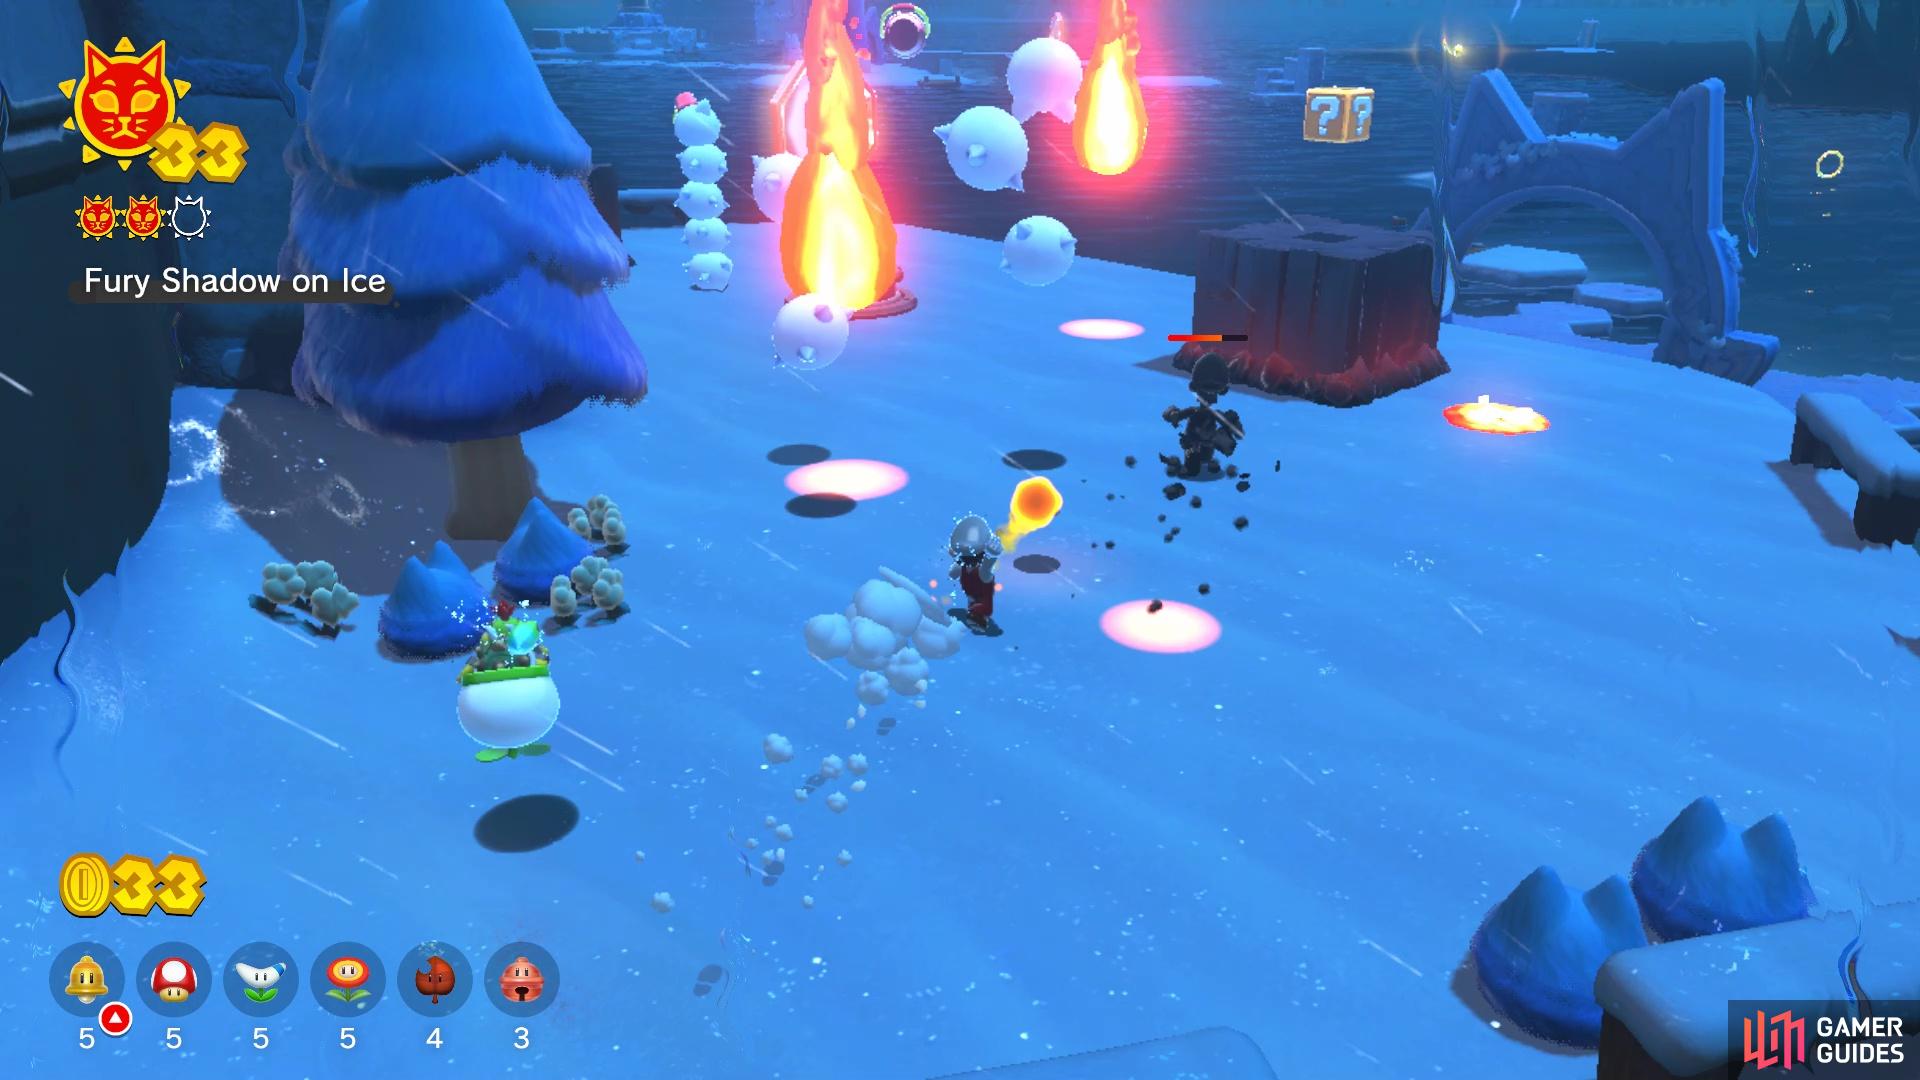
A ranged power-up will probably be best for this Shine
Keeping that in mind, you will still need to hit the Fury Shadow three times in order to defeat it. It might be a little more challenging to hit the Fury Shadow with ranged attacks, due to the nature of the platforms being more split up. That makes the other power-ups worth a little more, especially the Tanooki Suit, since you can float down to possibly skip some platforms. Once you have hit the Fury Shadow three times, you will earn another Cat Shine.
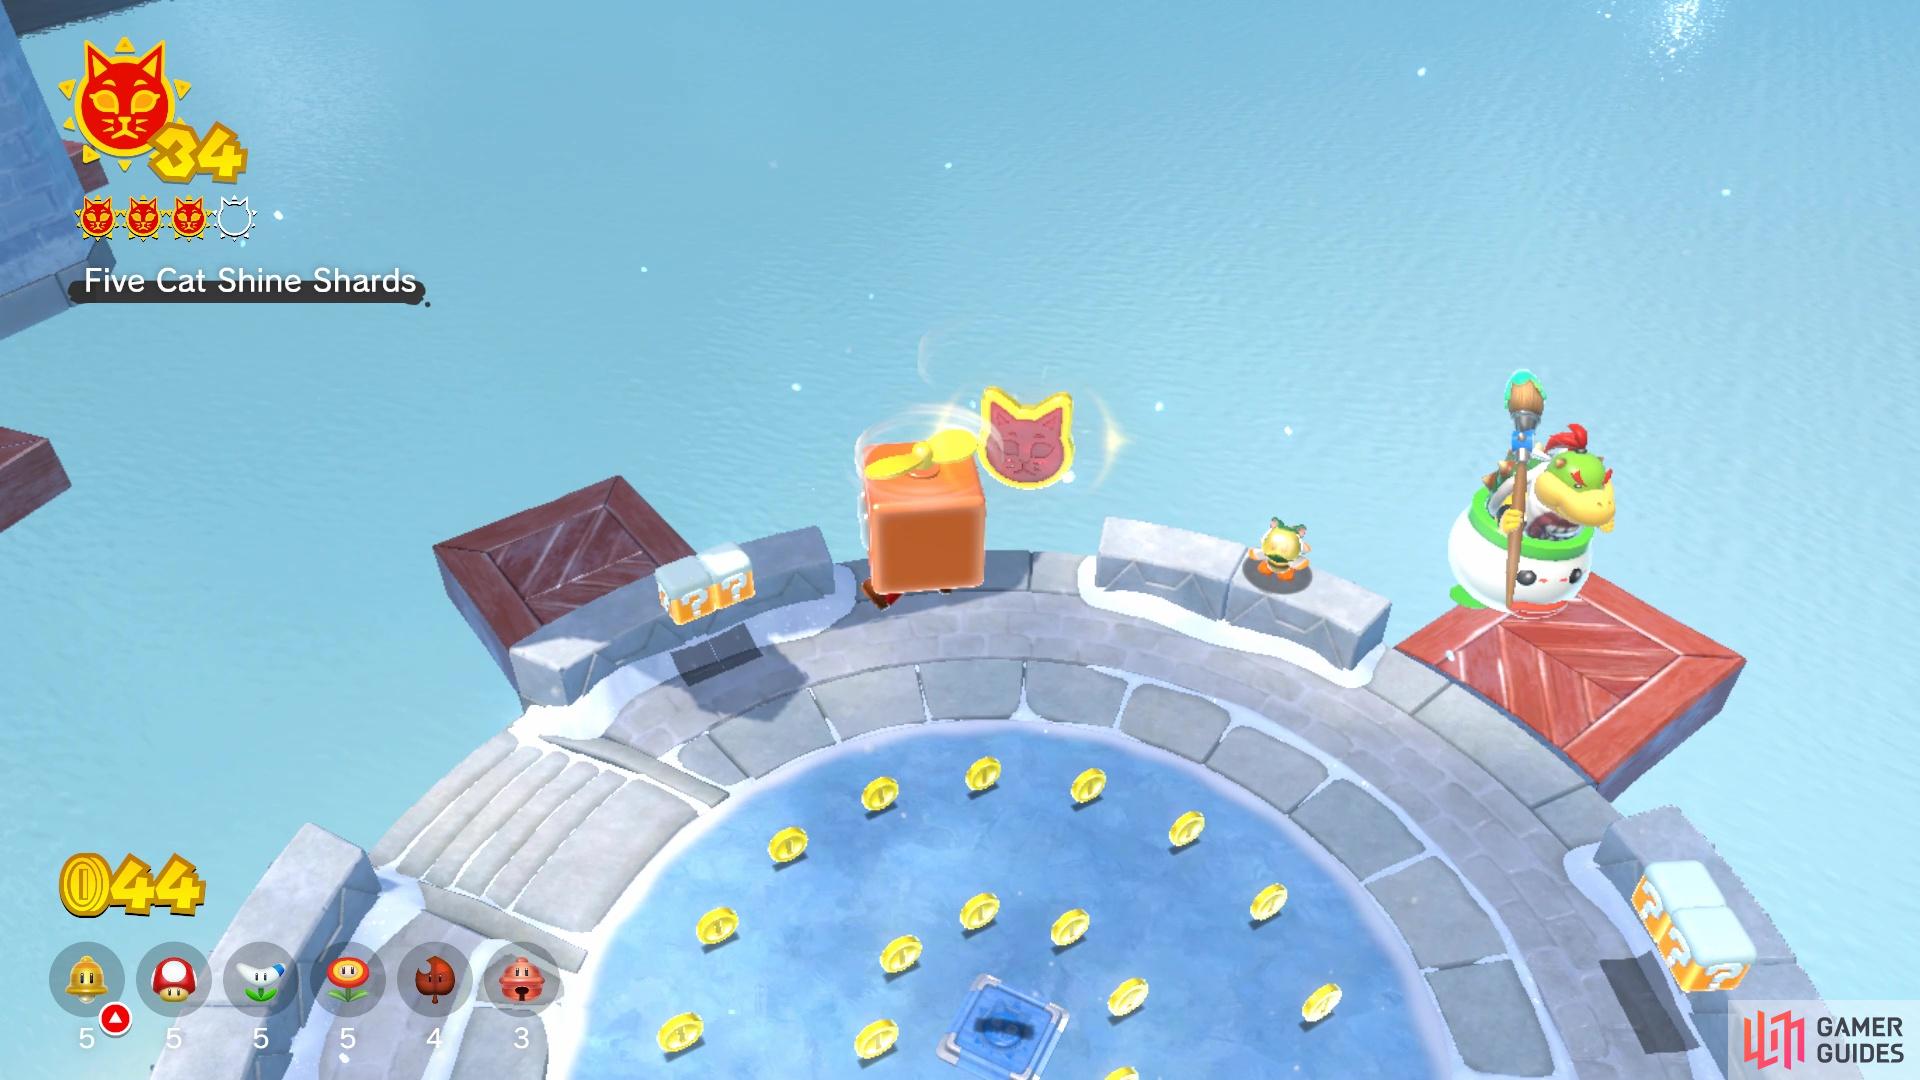
Five Cat Shine Shards Cat Shine
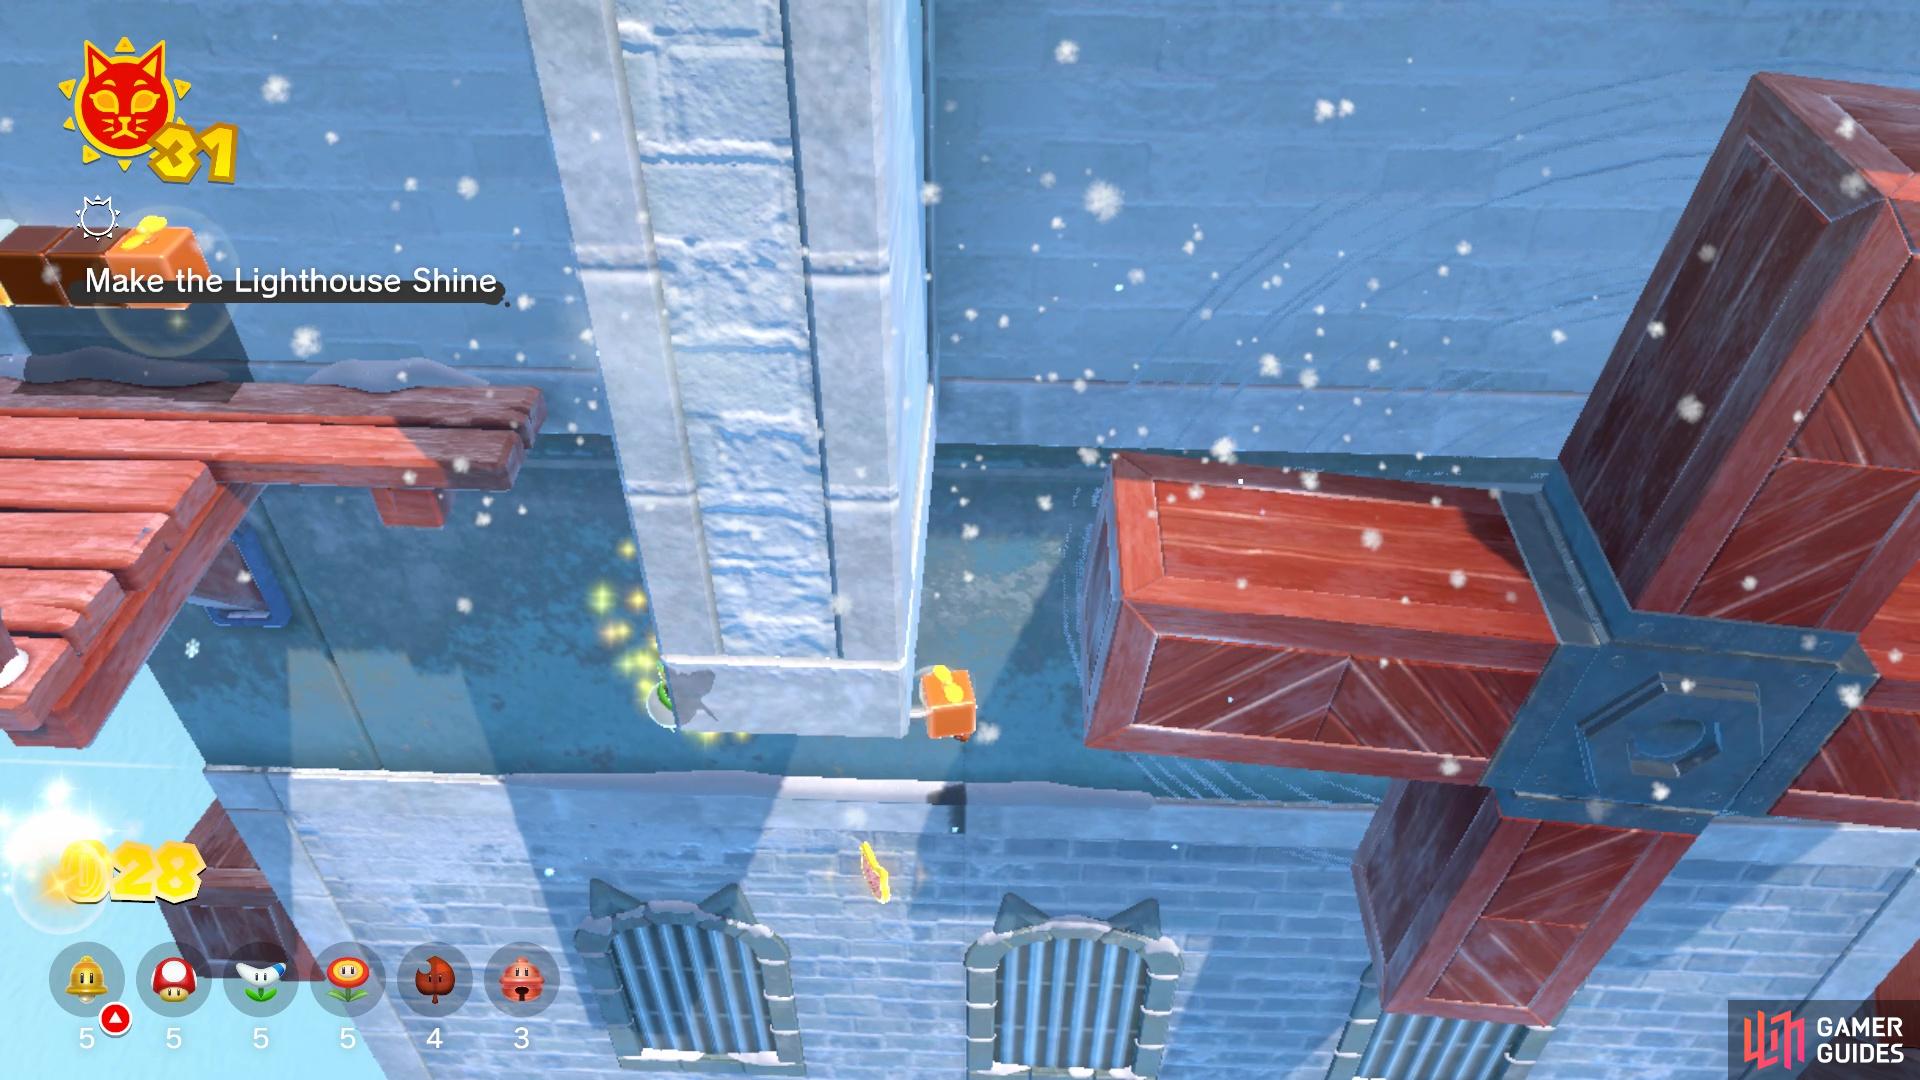
The five Shards in this level can be a little elusive, as some of them are pretty well hidden. To begin, you will need a Propeller Box, so grab one at the same and begin your ascent to the first tower. When you get on top of it, look at the ground in the middle of it to see a shadow. This will be Cat Shine Shard #1, in the air. For the next Shard, head on over to the rotating blades at the base of the second tower. Instead of getting off at the designated spot, stay on the wooden platform as it heads around to the backside of the tower, where you will find Cat Shine Shard #2.
Continue climbing the tower as you normally would, until you pass the two sets of Biddybuds. Right after them will be a set of some normal wooden platforms, then you’ll fly up to a ledge. There will be another ledge on the left side here, which is a bit mysterious, as there’s nothing there. However, if you stand on this ledge and fly upwards, you will discover a hidden alcove with Cat Shine Shard #3. Not far from there, you will have to drop down, then fly back up to a rotating set of wooden platforms. When you drop down, you should see Cat Shine Shard #4 there.
For the final Shard, continue to the big set of rotating blades, then have a quick look at the very center of where it’s attached to the tower. There is a little hole there and Cat Shine Shard #5 is sitting in it. The best way to get to it is to just float down with the Propeller Box after taking off with it. Once you collect all five Shards, you will gain another Cat Shine.
Blast the Fury Blocks Cat Shine
Look for this little piece of land on the side of the base
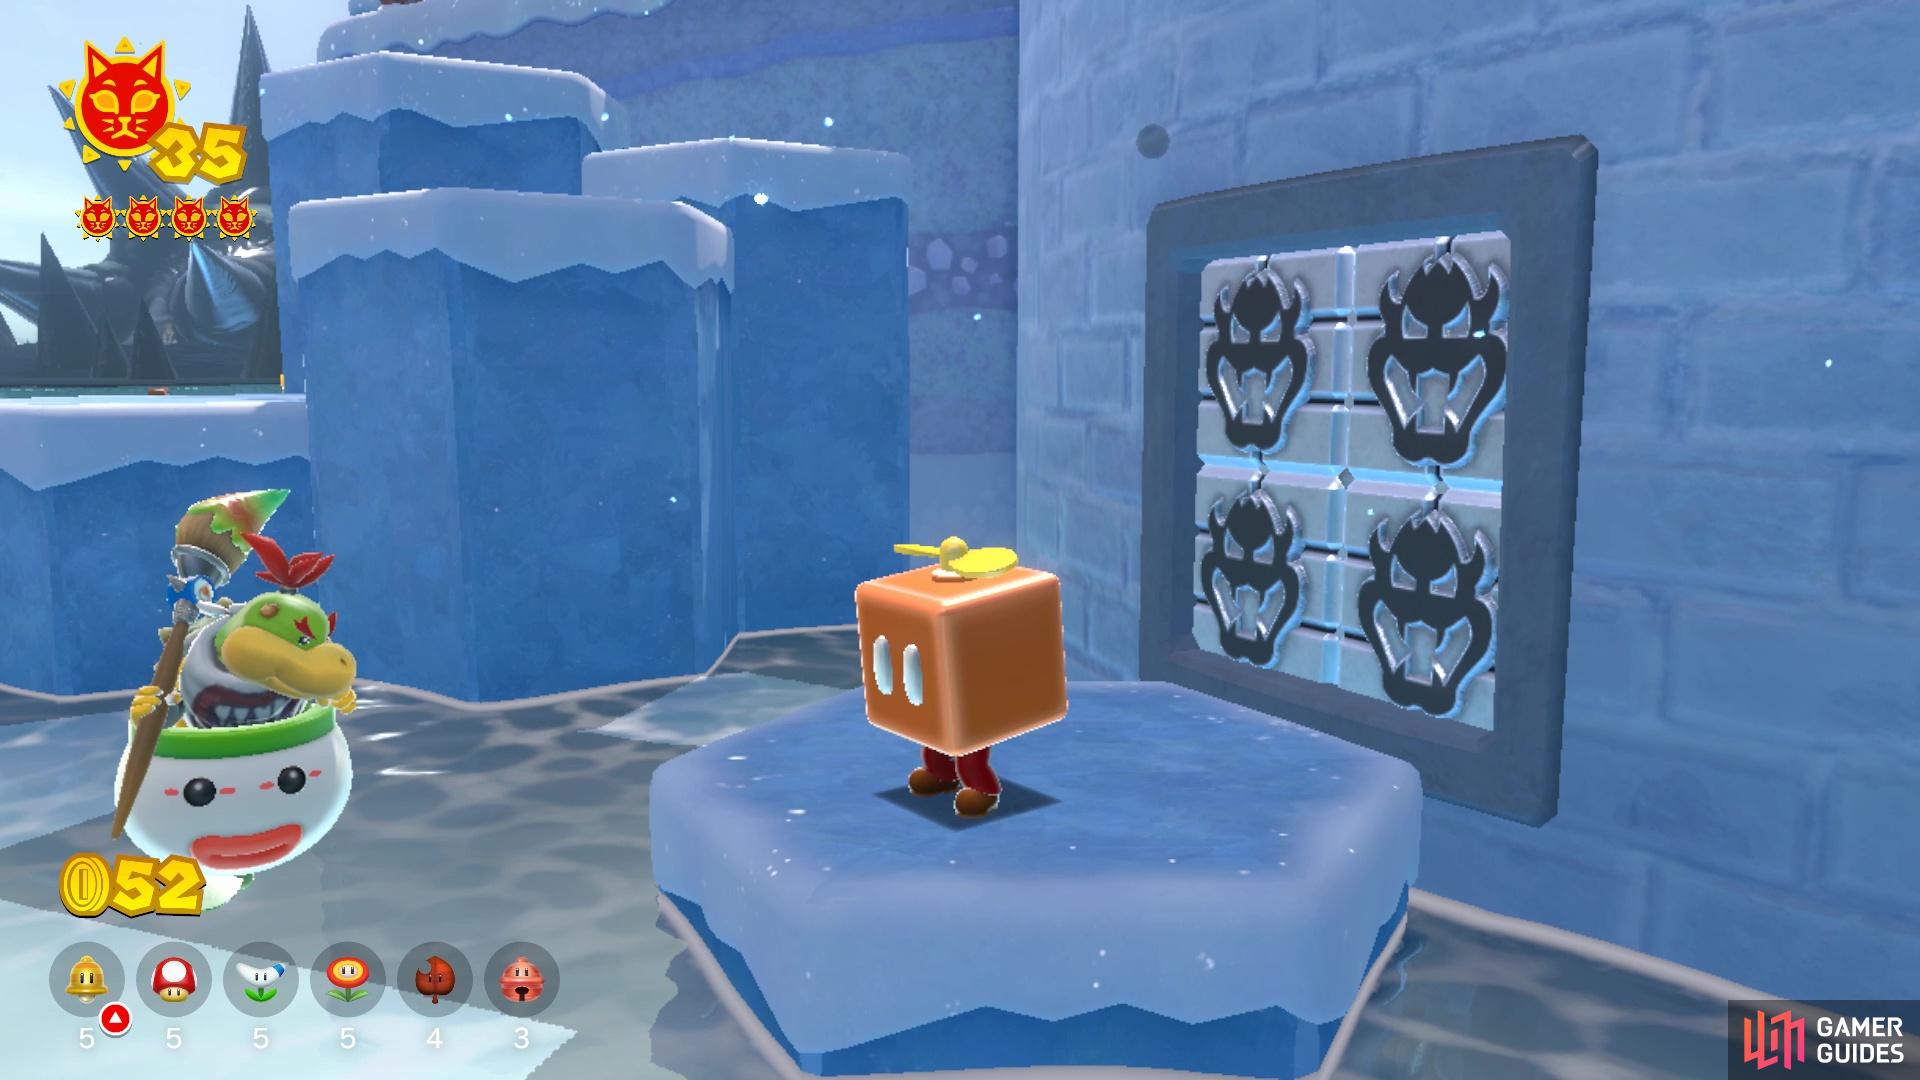
where you’ll find the Fury Blocks in the wall
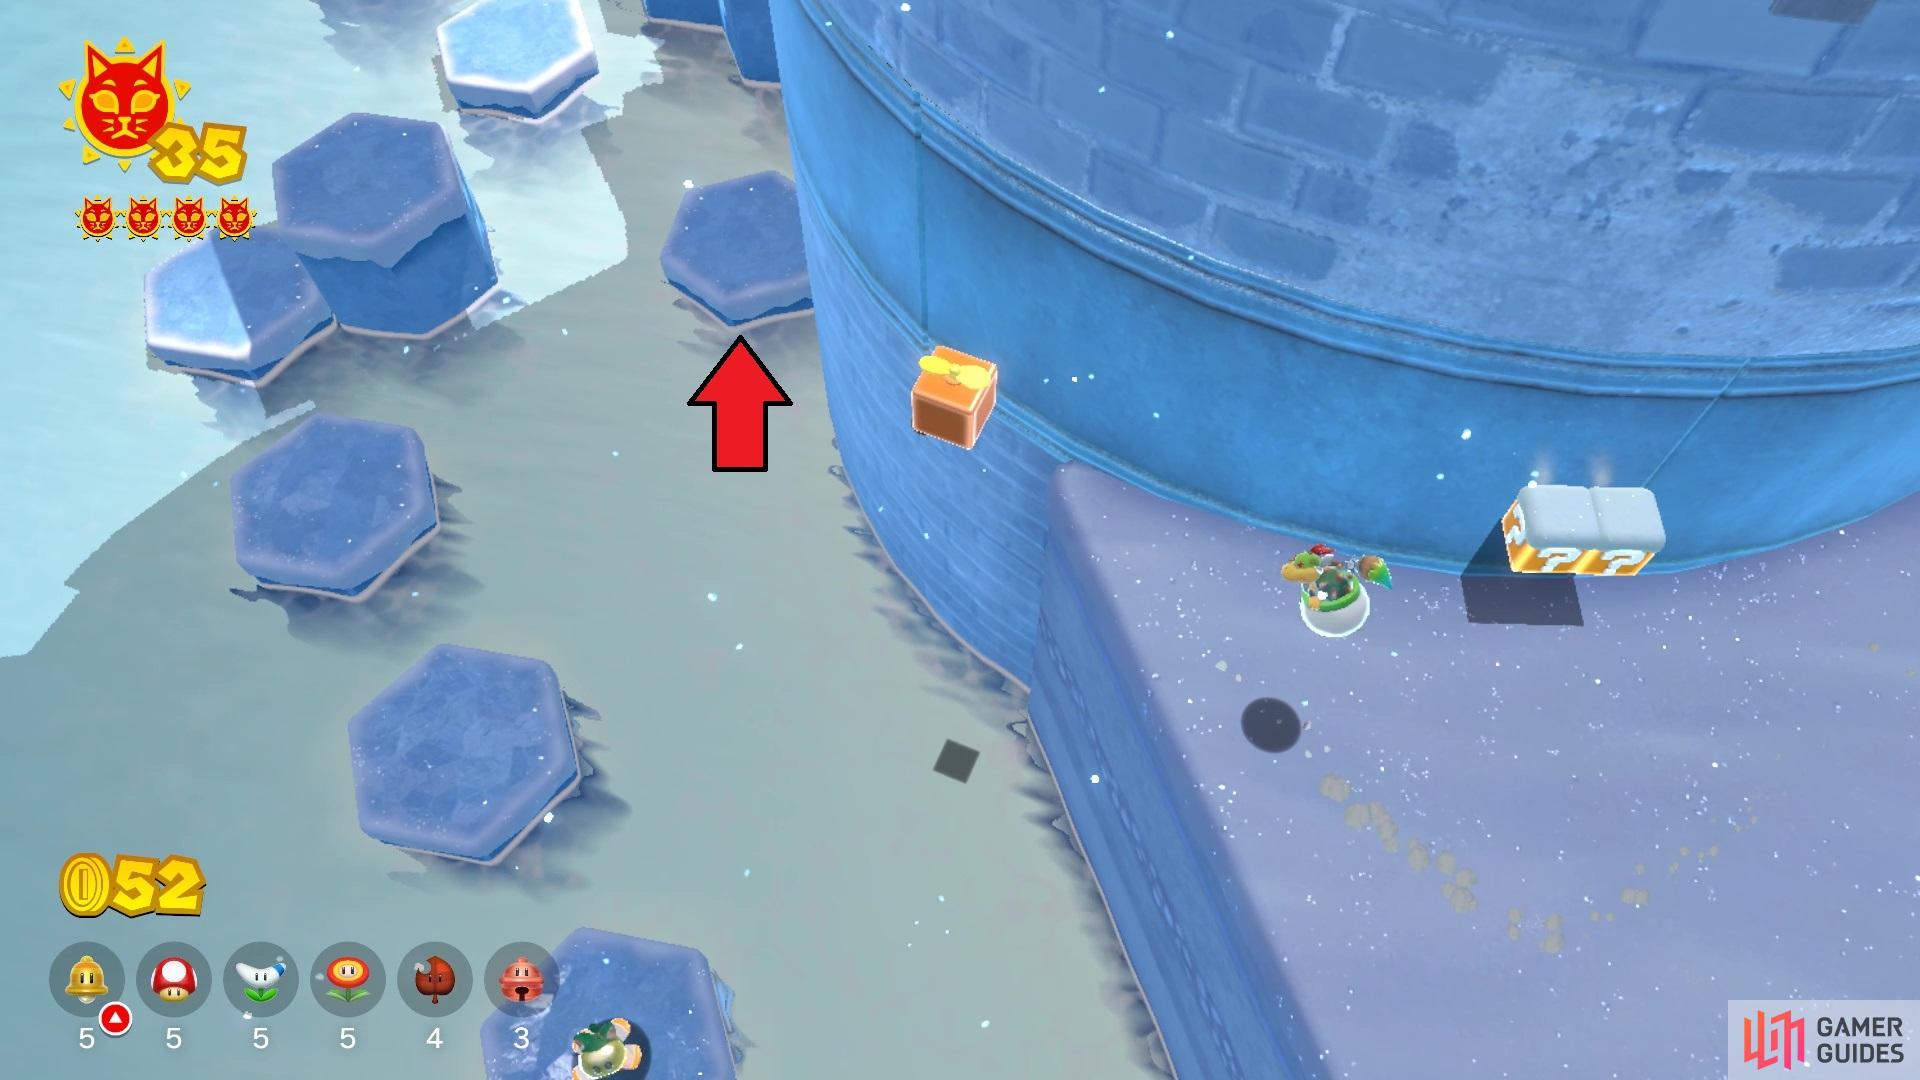
Thankfully, you don’t have to climb the towers to find the Fury Blocks in this level, as they are at the base of things. After passing through the main gate, take a Propeller Box (or as Cat Mario) and get to the ledge with the main snowy area. While facing the wall straight in front of you, which has the arrow sign on it, head to the top right corner and jump down into the water. There should be a little island that is not connected to anything else but the main piece of land, which is where you will find the Fury Blocks. Wait for Bowser to do his thing and you will have another shiny Cat Shine.
No Comments