
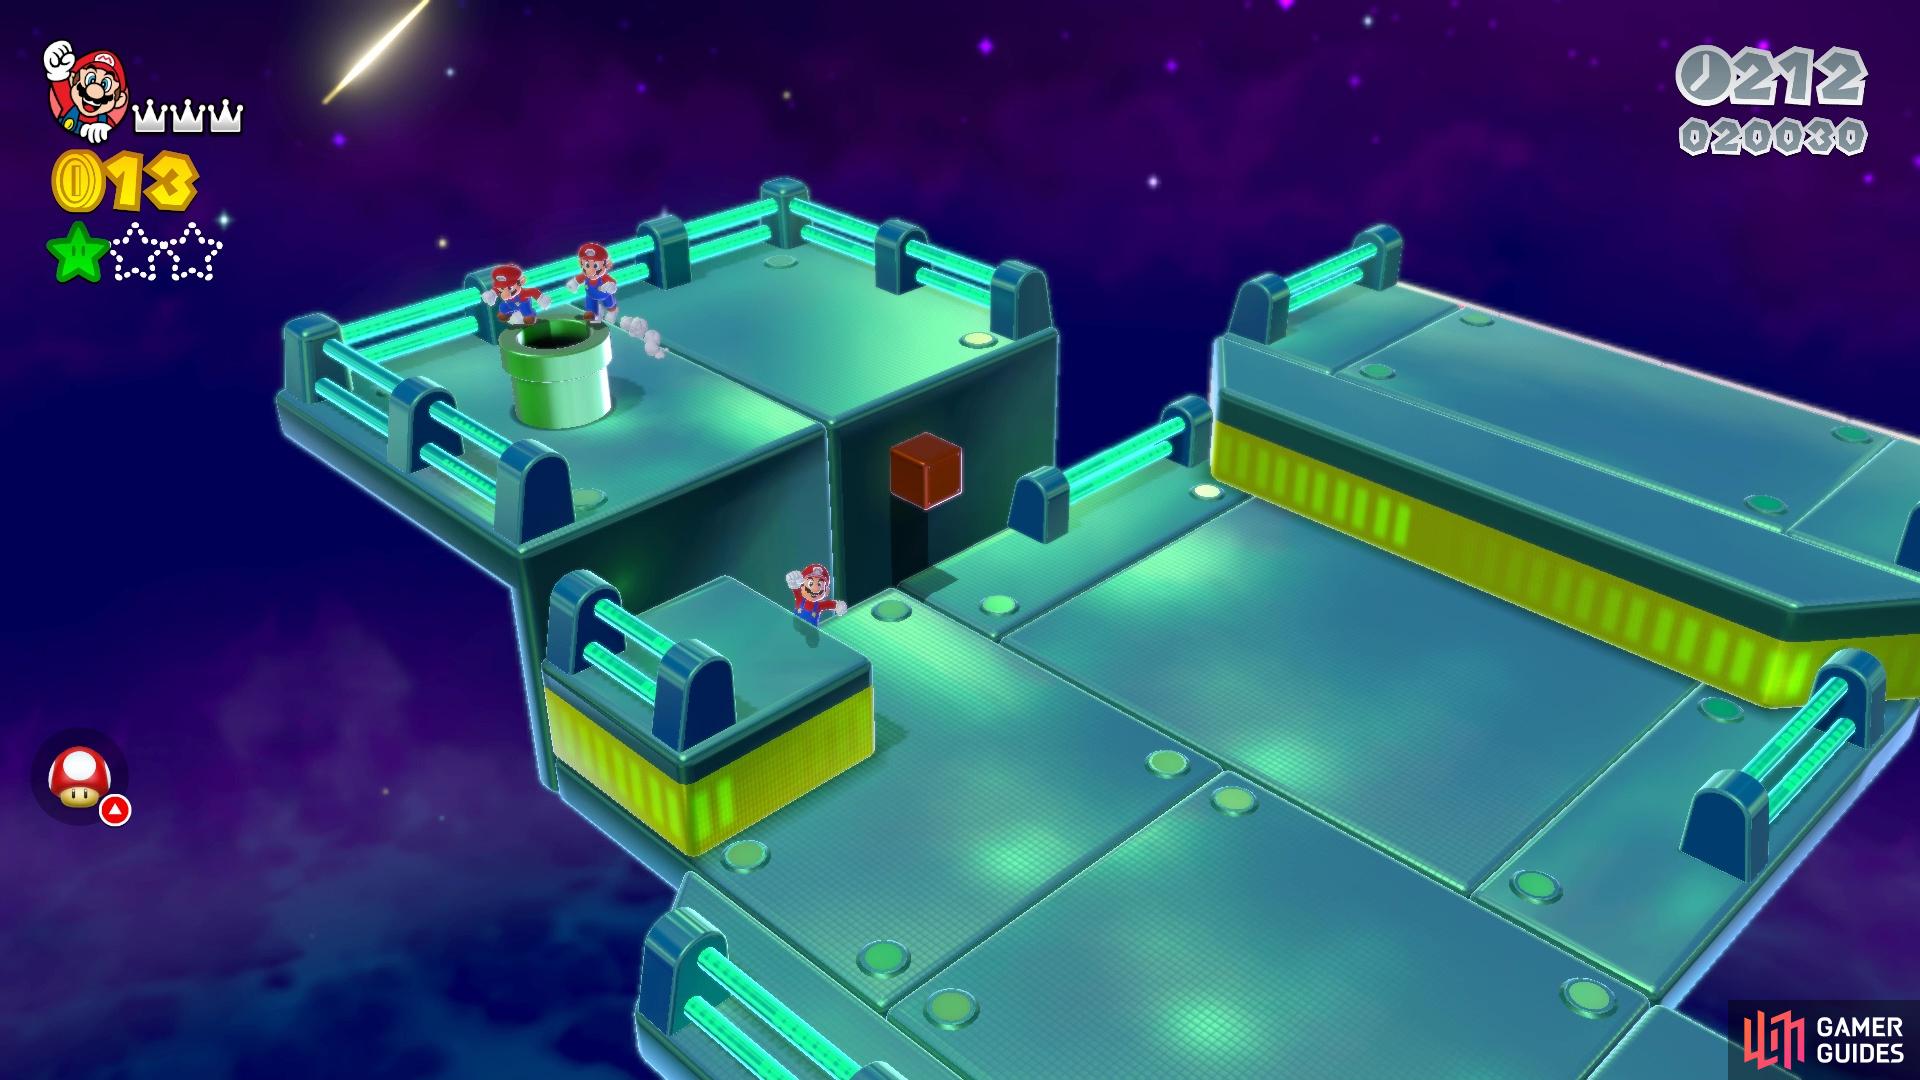
Beep Block Skyway will introduce the Beep Blocks to the game. These multi-colored blocks will alternate between the two colors, meaning one will be visible and the other not. After a few seconds, they will start beeping and the visible blocks will change to invisible, and vice versa with the other color. A huge hint to help with things is that they will always beep three times and right after the third one is when they will switch. To make things a little more difficult, this level will also feature the Double Cherry power-up, which will be needed at the end (you will need four by the checkpoint, but only a single clone needs to stay alive after that).
(1 of 2) Sometimes you will need to wait for the Beep Blocks to turn to progress
Sometimes you will need to wait for the Beep Blocks to turn to progress (left), Use the walls to corral the clones when they get out of line (right)
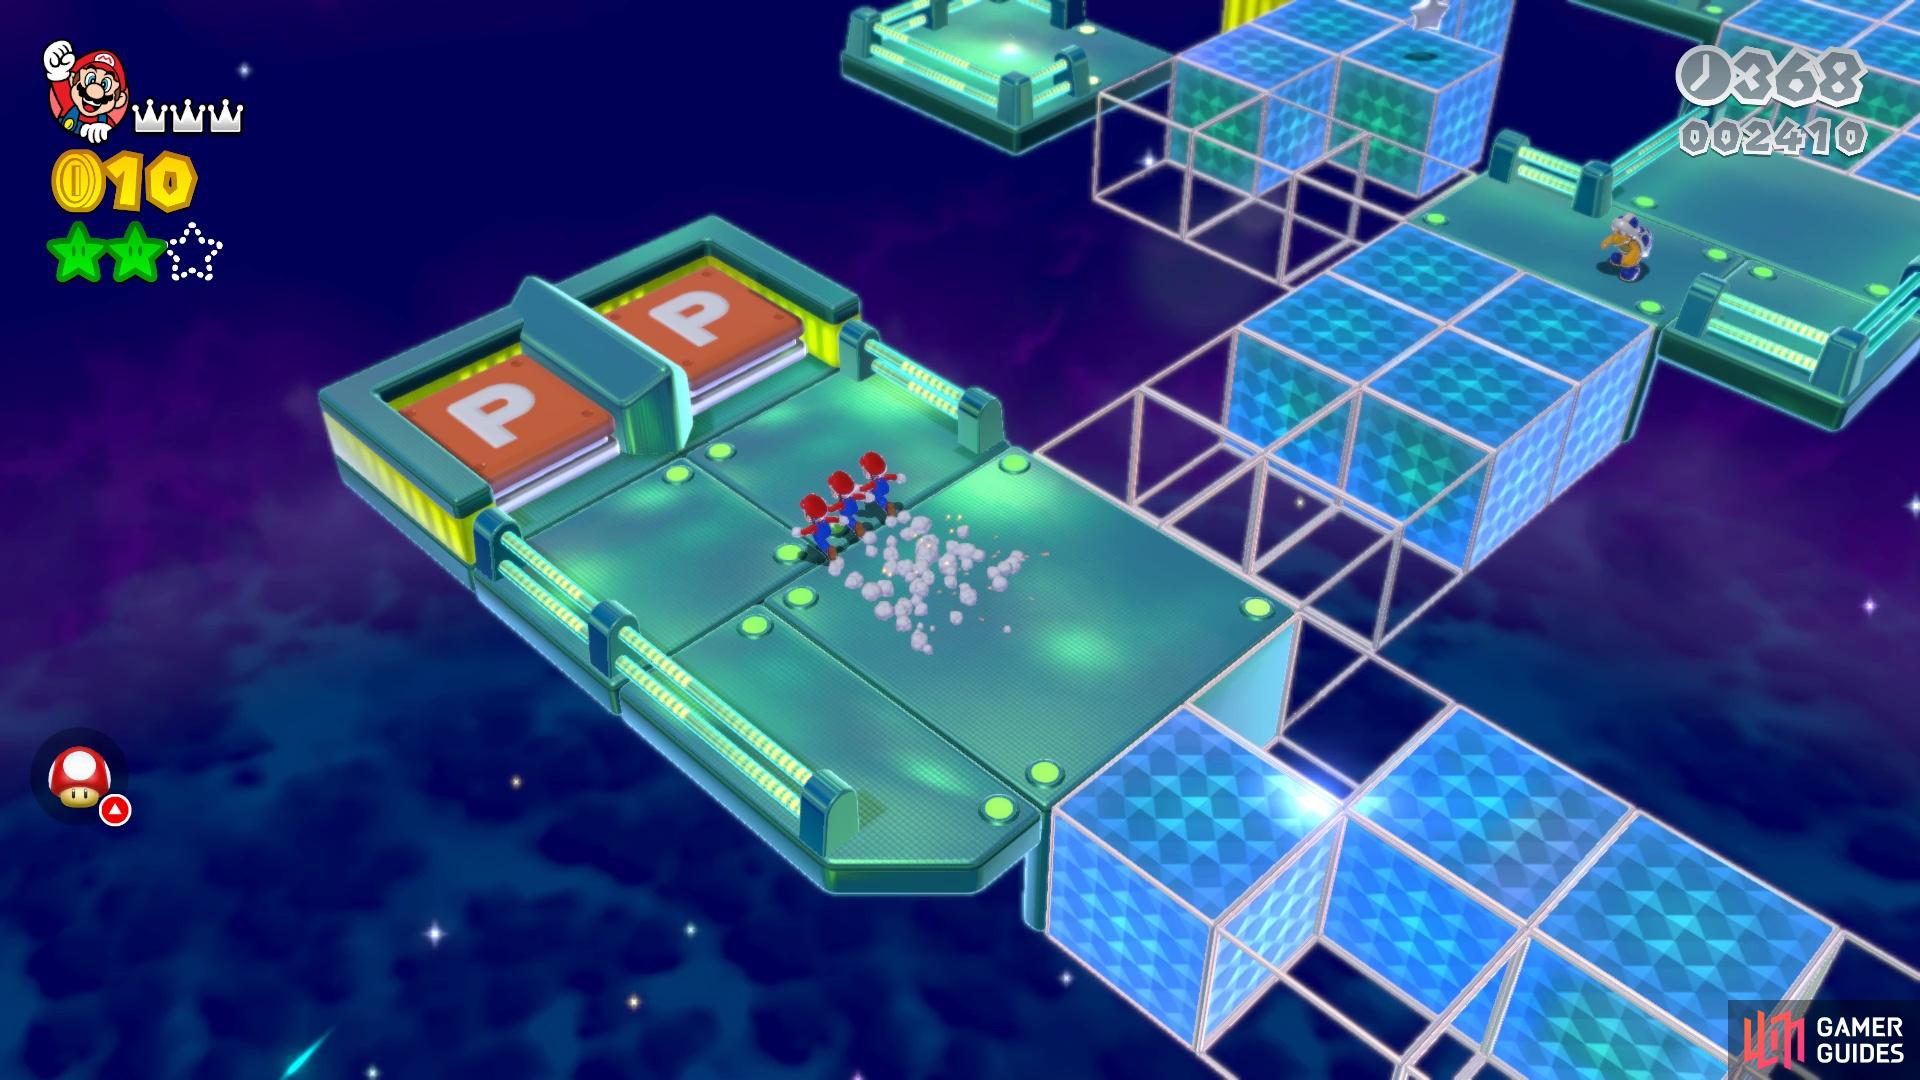
When you begin, cross the first set of Beep Blocks and hit the one ?-Block to spawn a Double Cherry. Cross the next set and hit the ?-Block there to get another Double Cherry. If you are having trouble keeping the clones together, use the walls surrounding the platforms. The next one is a mismatched bridge, so hop across those. The two panels there will only produce coins, so no need to mess with those, unless you need them. Keep going, being watchful of the Boomerang Bro, as you do need three clones by the checkpoint in the next area. You can actually afford to have one clone get hit, but not more than that.
The first Green Star is nearby, so after defeating the first Boomerang Bro, head north and onto the safe platform. There is a second Boomerang Bro on the other side, so keep an eye out for any stray boomerangs. Quickly head onto the Beep Block and collect Green Star #1, then return to the previous platform. It’s a lot easier to go around to the Warp Block in the other direction, as you don’t need to worry about the enemy. The Warp Block takes you to a new area, with another Boomerang Bro straight ahead.
(1 of 2) The first Green Star is in the first area, near the end
The first Green Star is in the first area, near the end (left), You will need four characters in order to reach the Stamp (right)
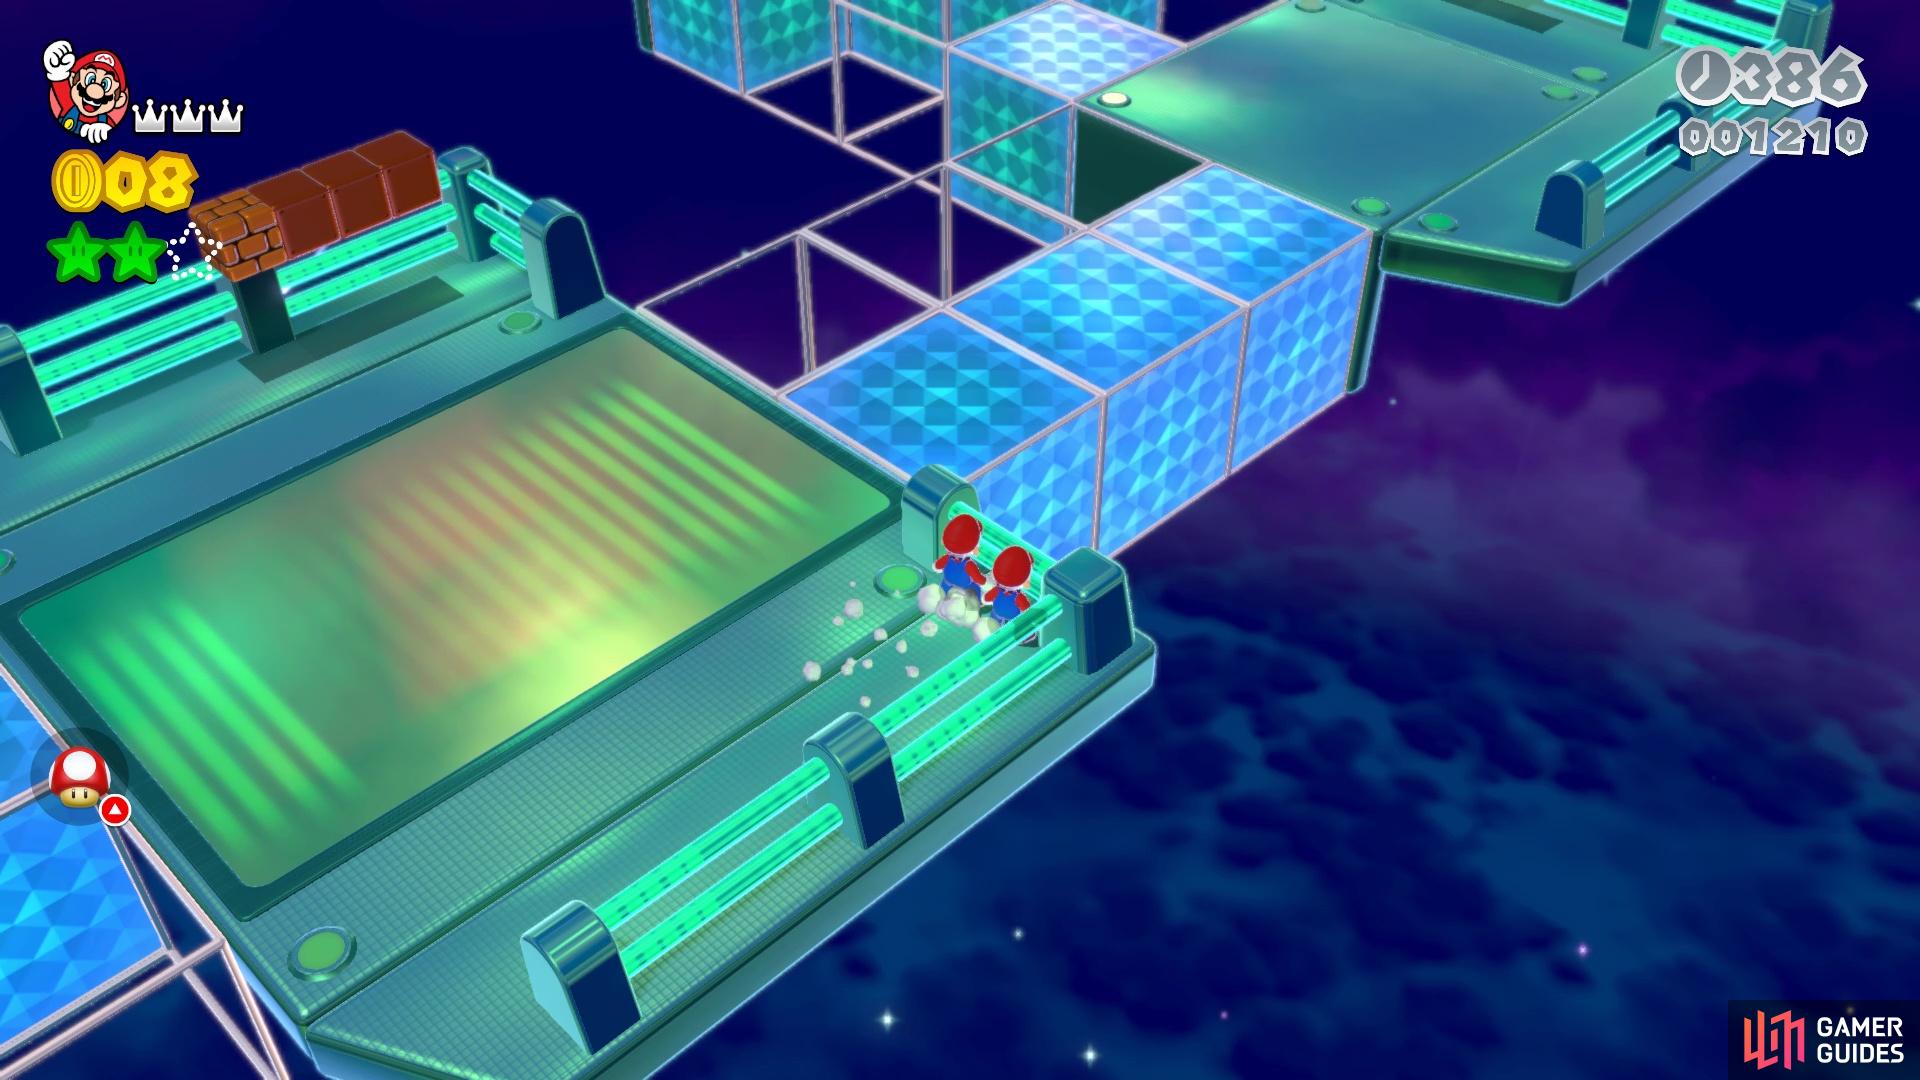
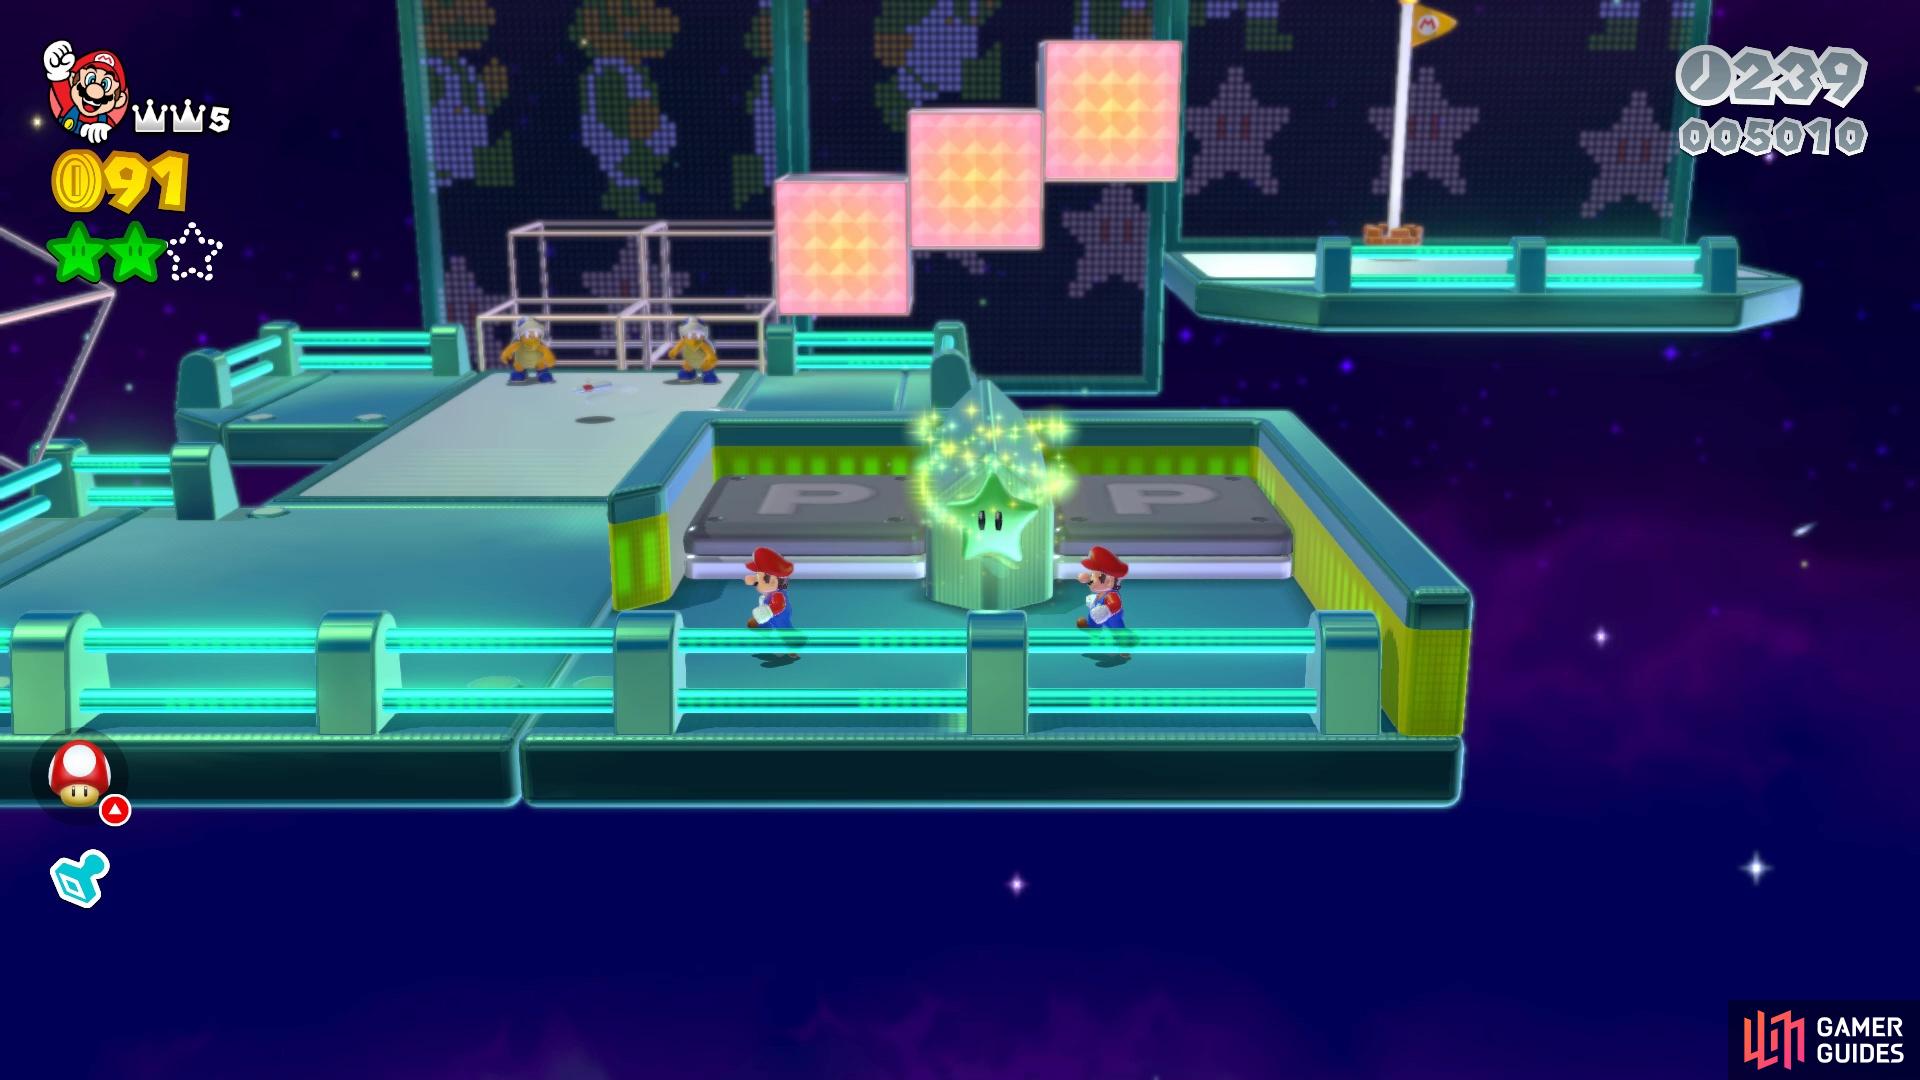
Take it out, then you will find a hidden coin block to the right of the other brick. This allows you to reach the POW Block above it, which will knock loose a Double Cherry from the ?-Block. If you haven’t gotten hit yet, you should have three other clones besides your main character, which is more than enough. If you got hit once, then there is one more Double Cherry on the Beep Blocks stairway, where you will find the Checkpoint Flag. There is also a Multi-Vator here, requiring four characters. If you have them, then have all of them stand on the elevator, which will take you up to the Stamp.
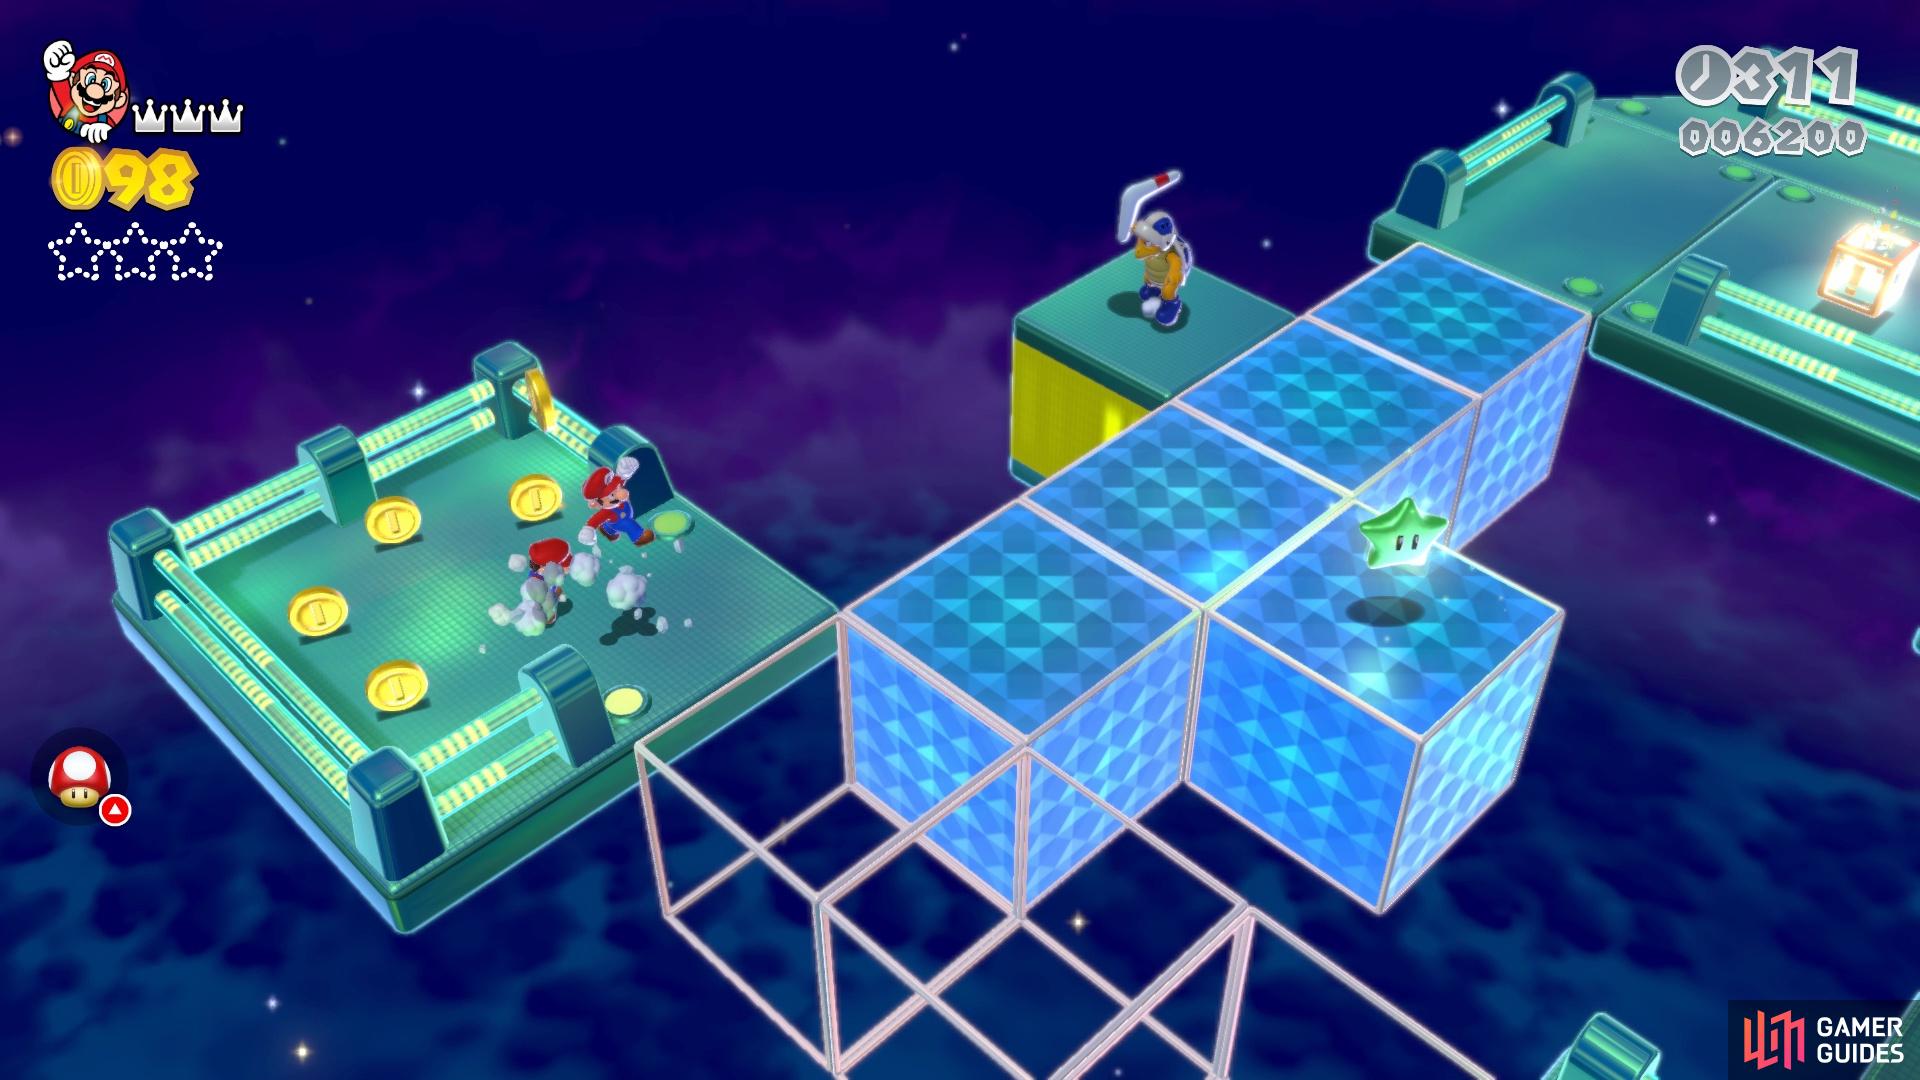
Back on the main course, head down the other side of the Beep Blocks and take the Warp Box there. The final area here will have two Boomerang Bros straight ahead, so dispatch them and hit the ?-Block for one final Double Cherry. Jump up to the pipe and go down it, where a P-Switch will be present. Hit it to make a bunch of coins appear, then collect them all to get Green Star #2. Back in the main course, the next bit will be the most annoying, as you will need to slide down some Beep Blocks. You will need a single clone still alive as you reach the bottom, which is harder than it sounds, thanks to the alternating Beep Blocks as you slide down.
(1 of 2) Use this pipe to head to a bonus area and collect the second Green Star
Use this pipe to head to a bonus area and collect the second Green Star (left), You need at least one extra clone to get the third Green Star (right)
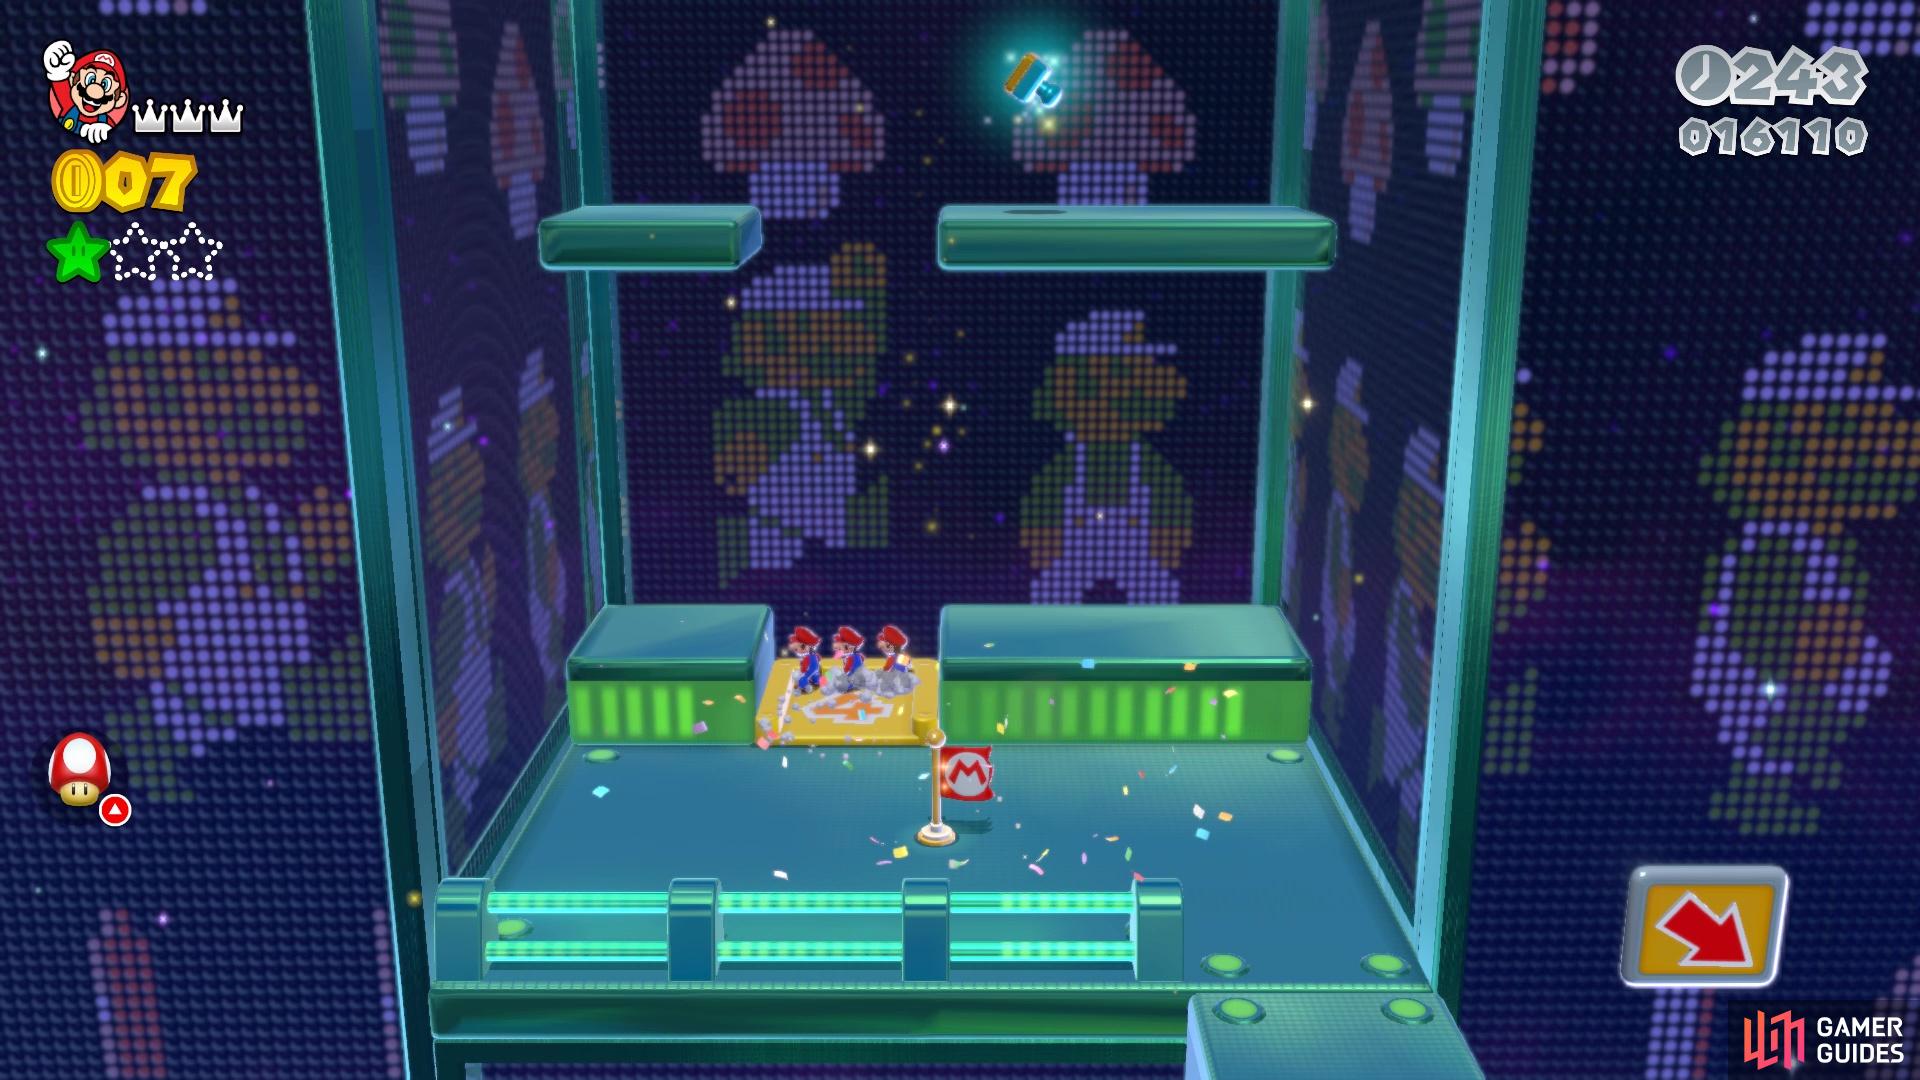
At the bottom, press both panels at the same time (hence the needed clone) to get Green Star #3. After that, the clones aren’t needed anymore, so blast through the Boomerang Bro guarding the final bit to the Goal Pole.

 Sign up
No Comments