
Building the Resistance
When you get outside of the bunker, you will be contacted by Dutch who will give you the breakdown on how you can build the resistance against the Seeds and take back Hope County.
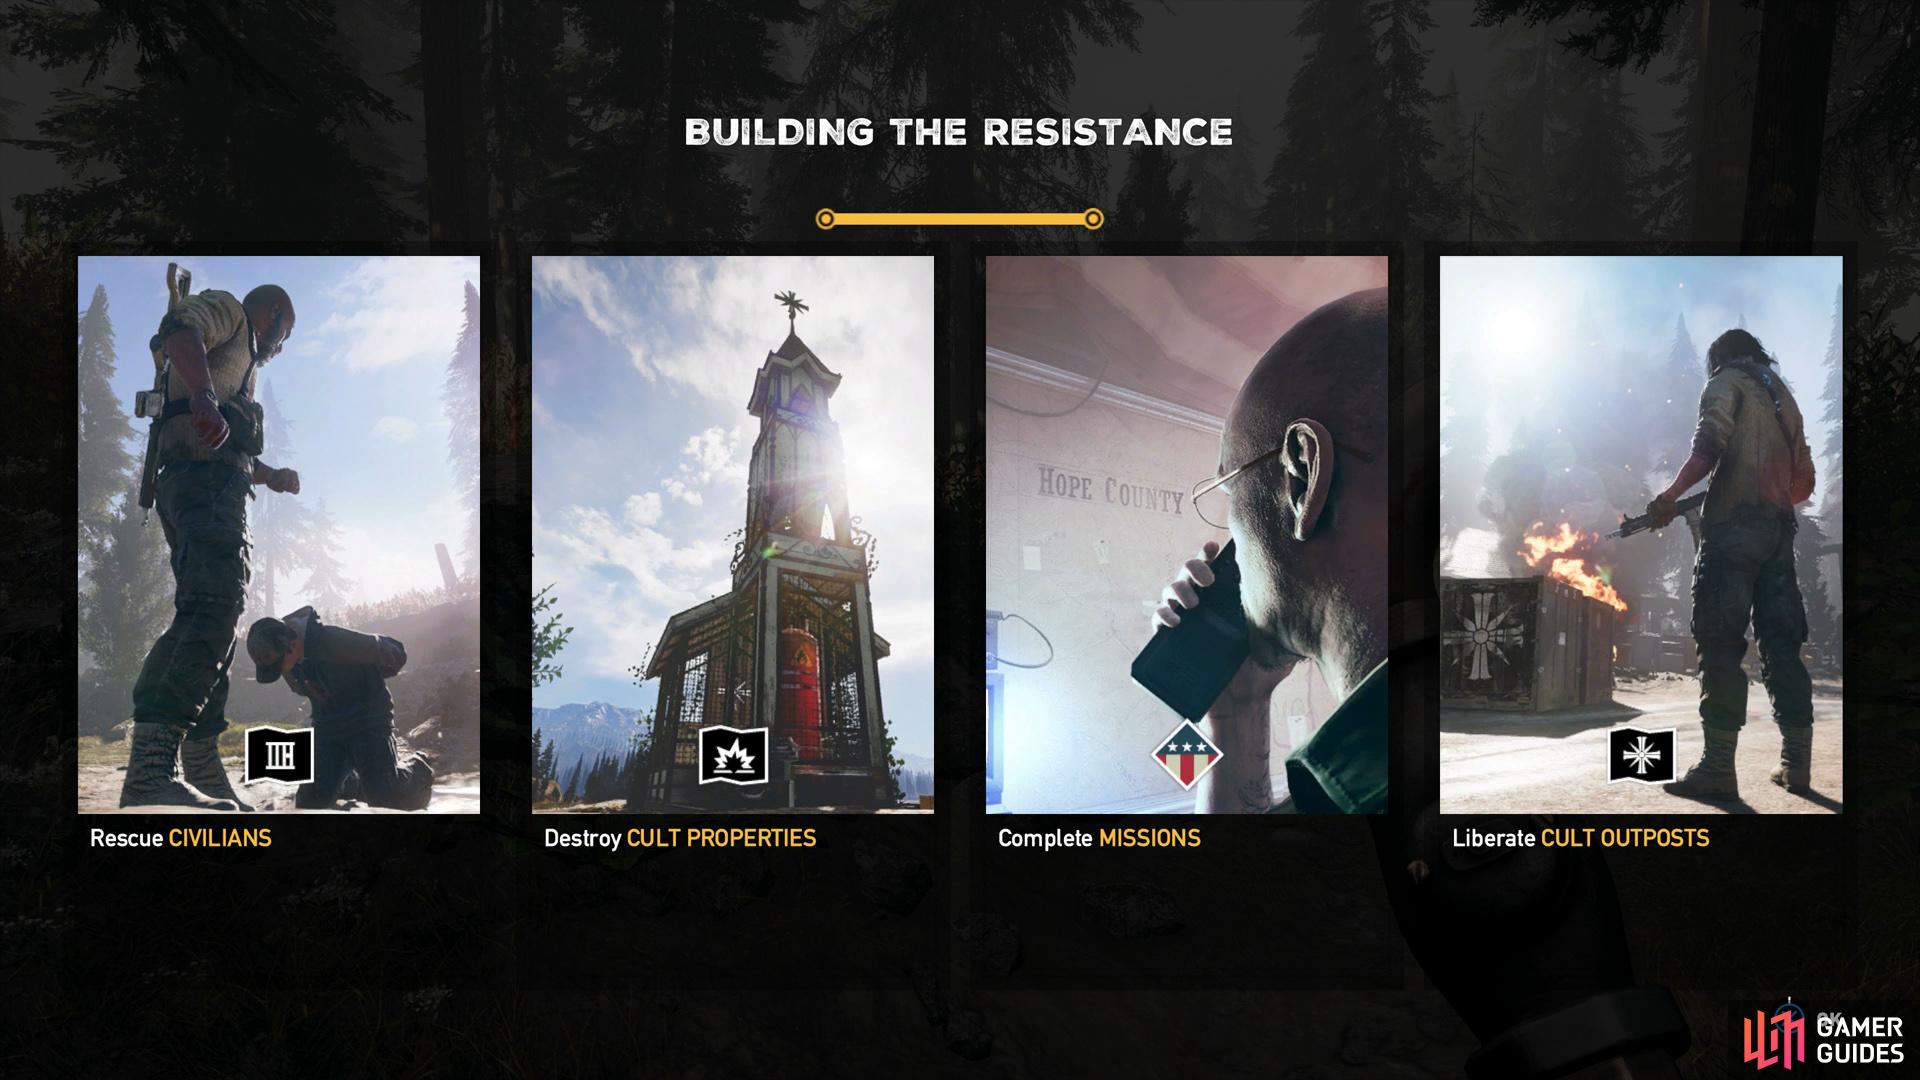
The numerous ways to advance in Far Cry 5
Rescuing Civilians
Throughout the county you will encounter civilians that have been captured by the cultists. Take out any cultists in the area before heading over to the civilian as they may die in the crossfire. Freeing any civilians will result in a small increase to your Resistance Points (RP) and upon talking with them, may reveal the location of missions.
Destroy Cult Properties
You will come across Cult shrines, silos, vehicles and more. Destroying any of these will result in a small increase in RP. For the sake of Dutch’s Island, you can only take out two shrines on foot but later into the adventure it can be more beneficial to take a plane or an armoured vehicle to make quick work of them.
Complete Missions
All missions in Far Cry 5 will reward RP, usually the largest increase there is to be had. Story Missions are crucial but Side Missions all reward RP too so it’s in your best interest to seek out missions everywhere.
Liberate Cult Outposts
You’ll find Cult Outposts littered all over the county, heavily fortified structures teeming with cultists. To liberate, simply take out all the cultists that are guarding the area however beware of alarms that may call for backup if you’re spotted. Not only do you also get a cash bonus for not being spotted, we generally suggest to try and use stealth for these.
For the sake of the Intro and the small location that Dutch’s Island takes place, all of this will be covered in this section. After you get access to the entire map, you will find Side Missions, Prepper Stash’s, Cult Outposts and Cult Properties in their respective sections.
Once you regain control, you’ll find a Prickly Lettuce just in front of you, these can be used to craft Ultimate Survivor Homeopathics from Utility wheel (accessed by holding [R1/RB] on the weapon wheel).
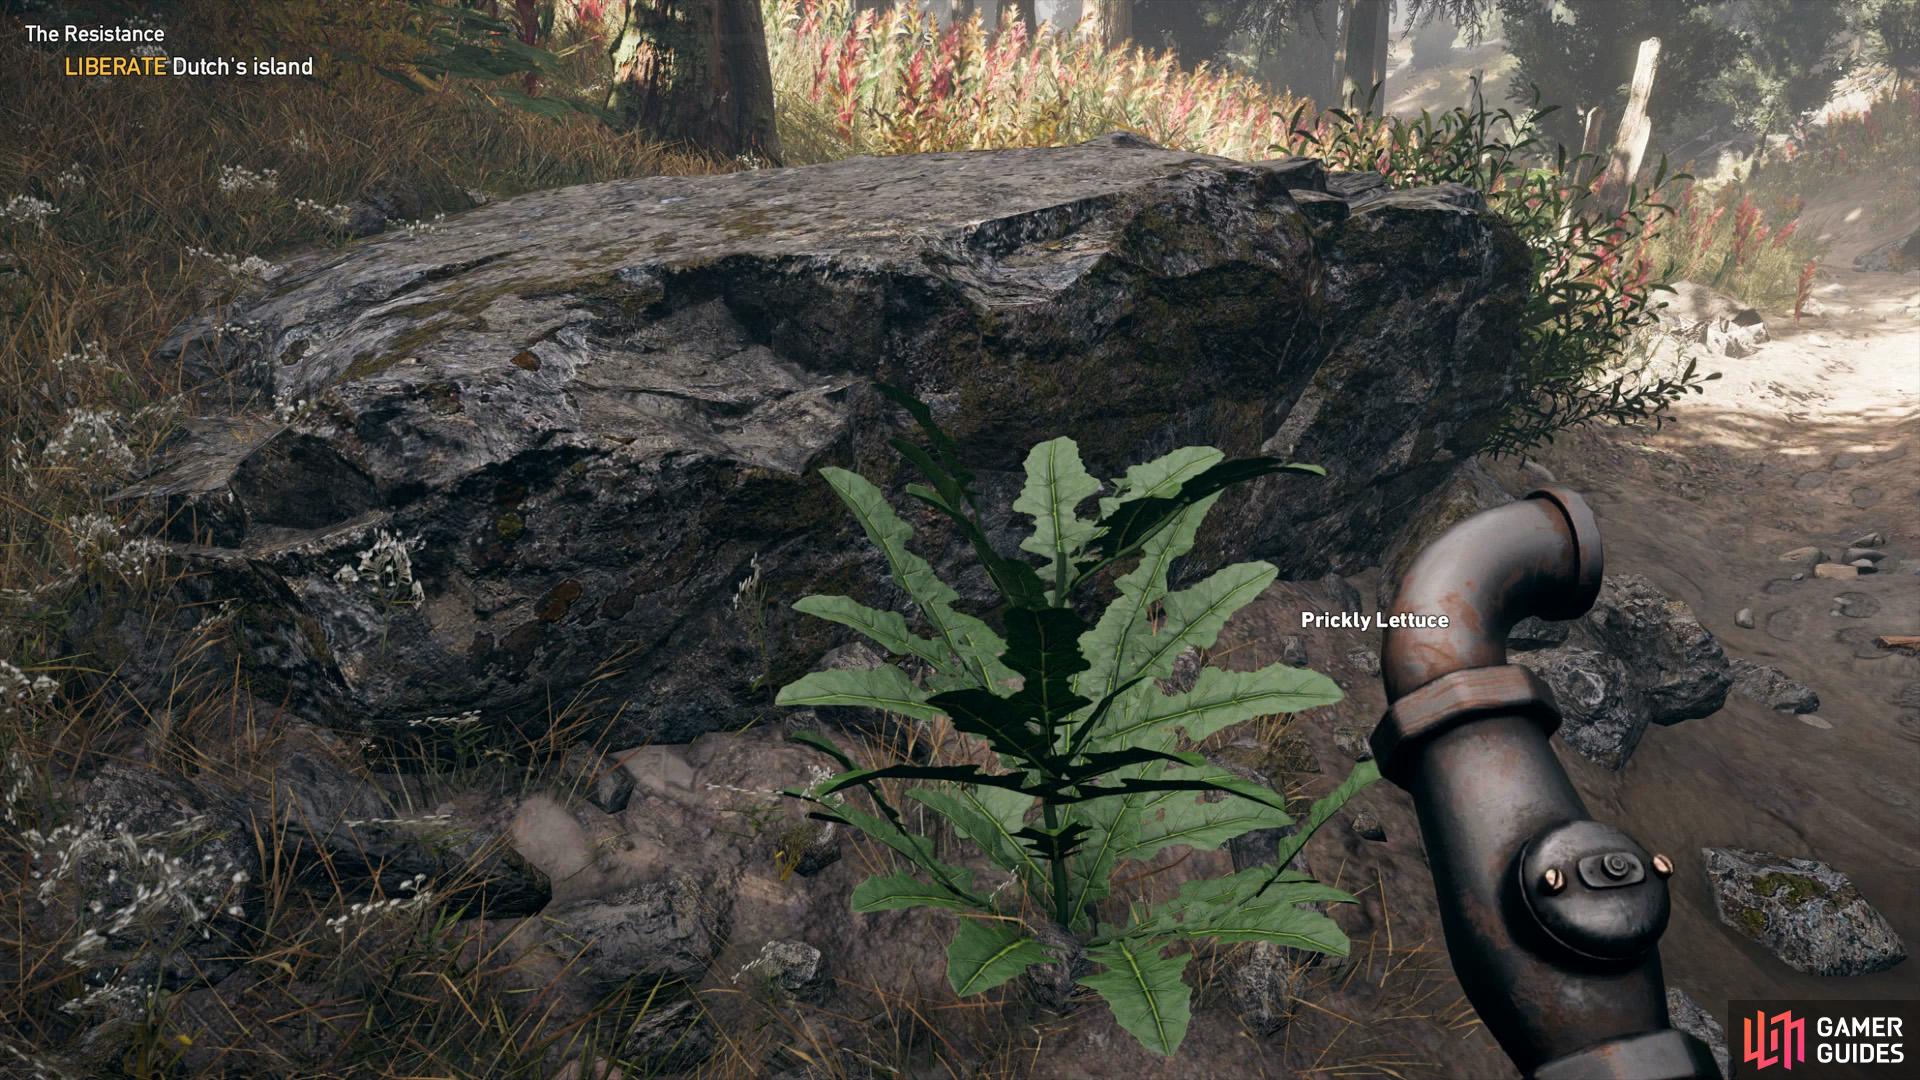
You’ll find many crafting ingredients across Hope County
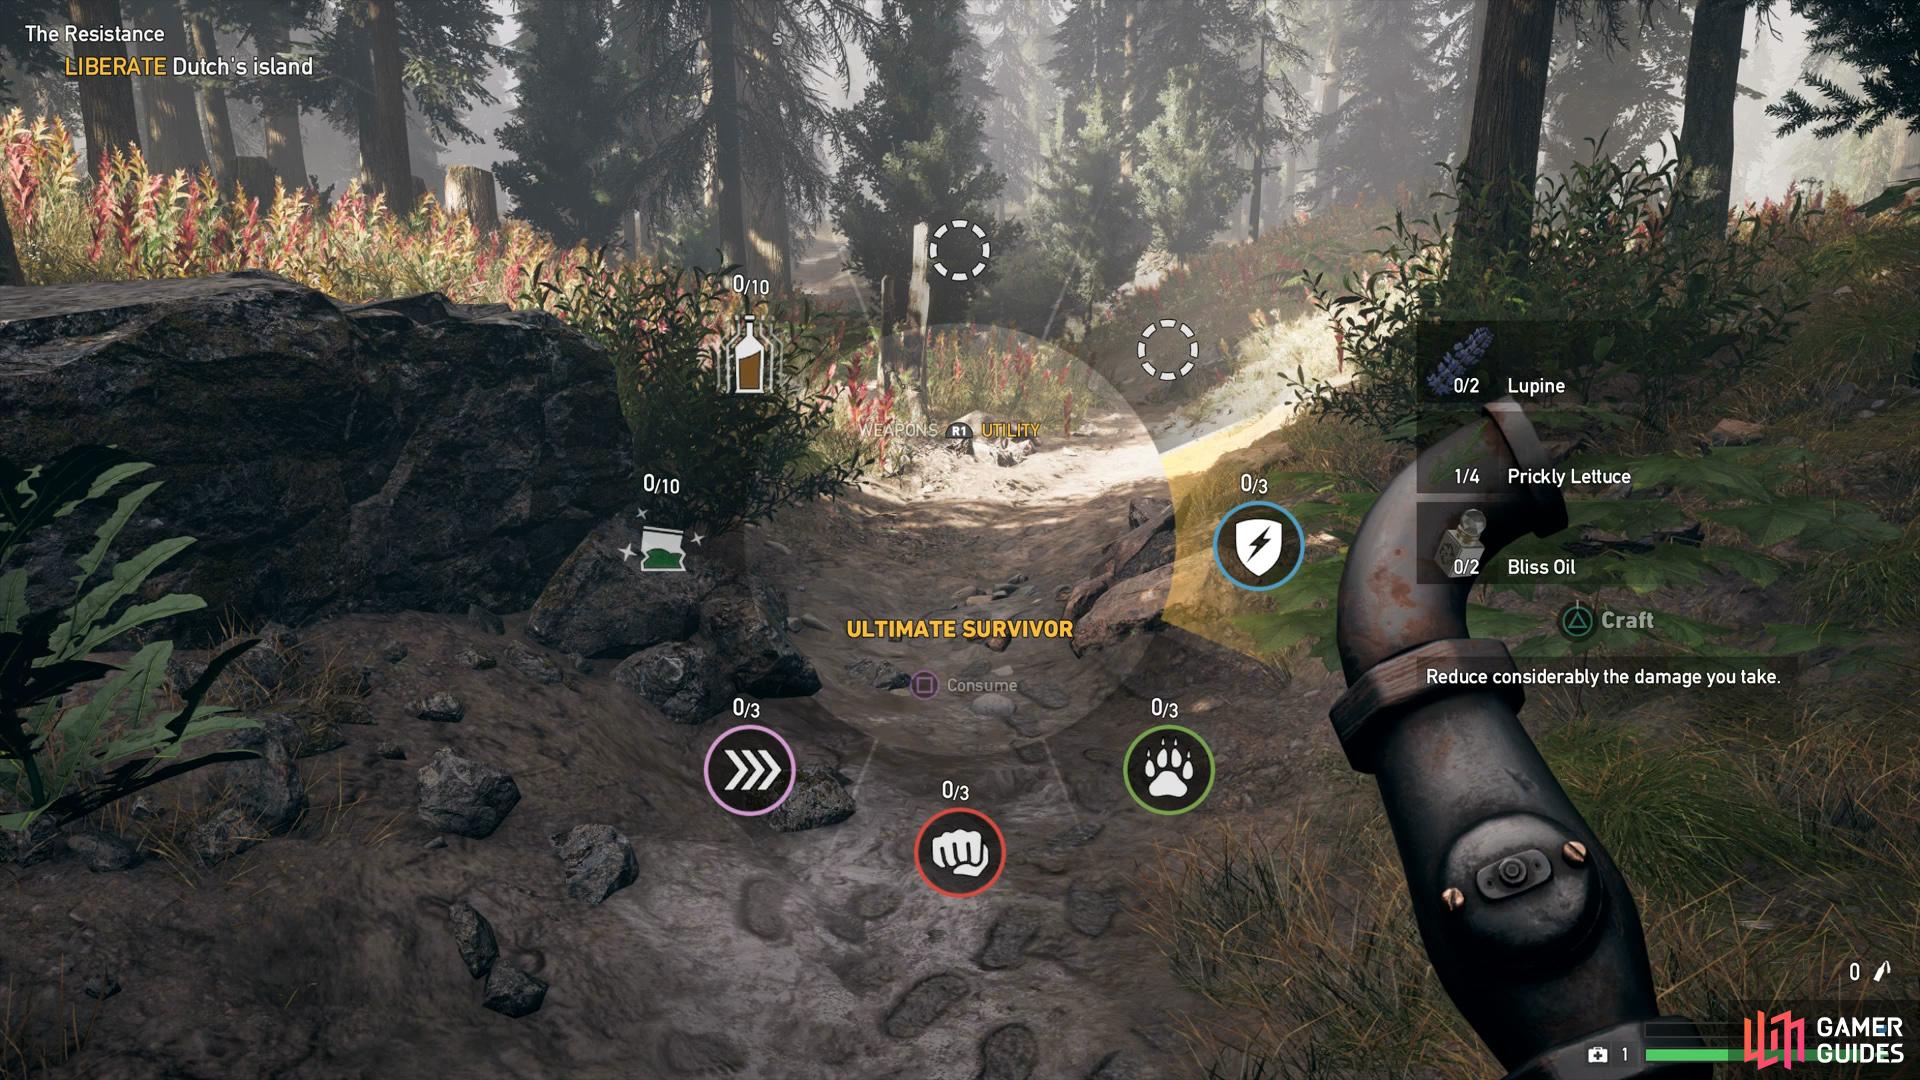
use these to craft powerful Homeopathics (buffs) to aid you
Cultist Shrine #1
Head west towards the edge of the island to come across your first Cultist Property, a shrine. Take out the Binoculars by pressing the [Up] button on the Dpad and tag the enemies around the shrine.
Stay crouched as you head towards the large rock and peer out to the left, using the Binoculars, you should have tagged three enemies.
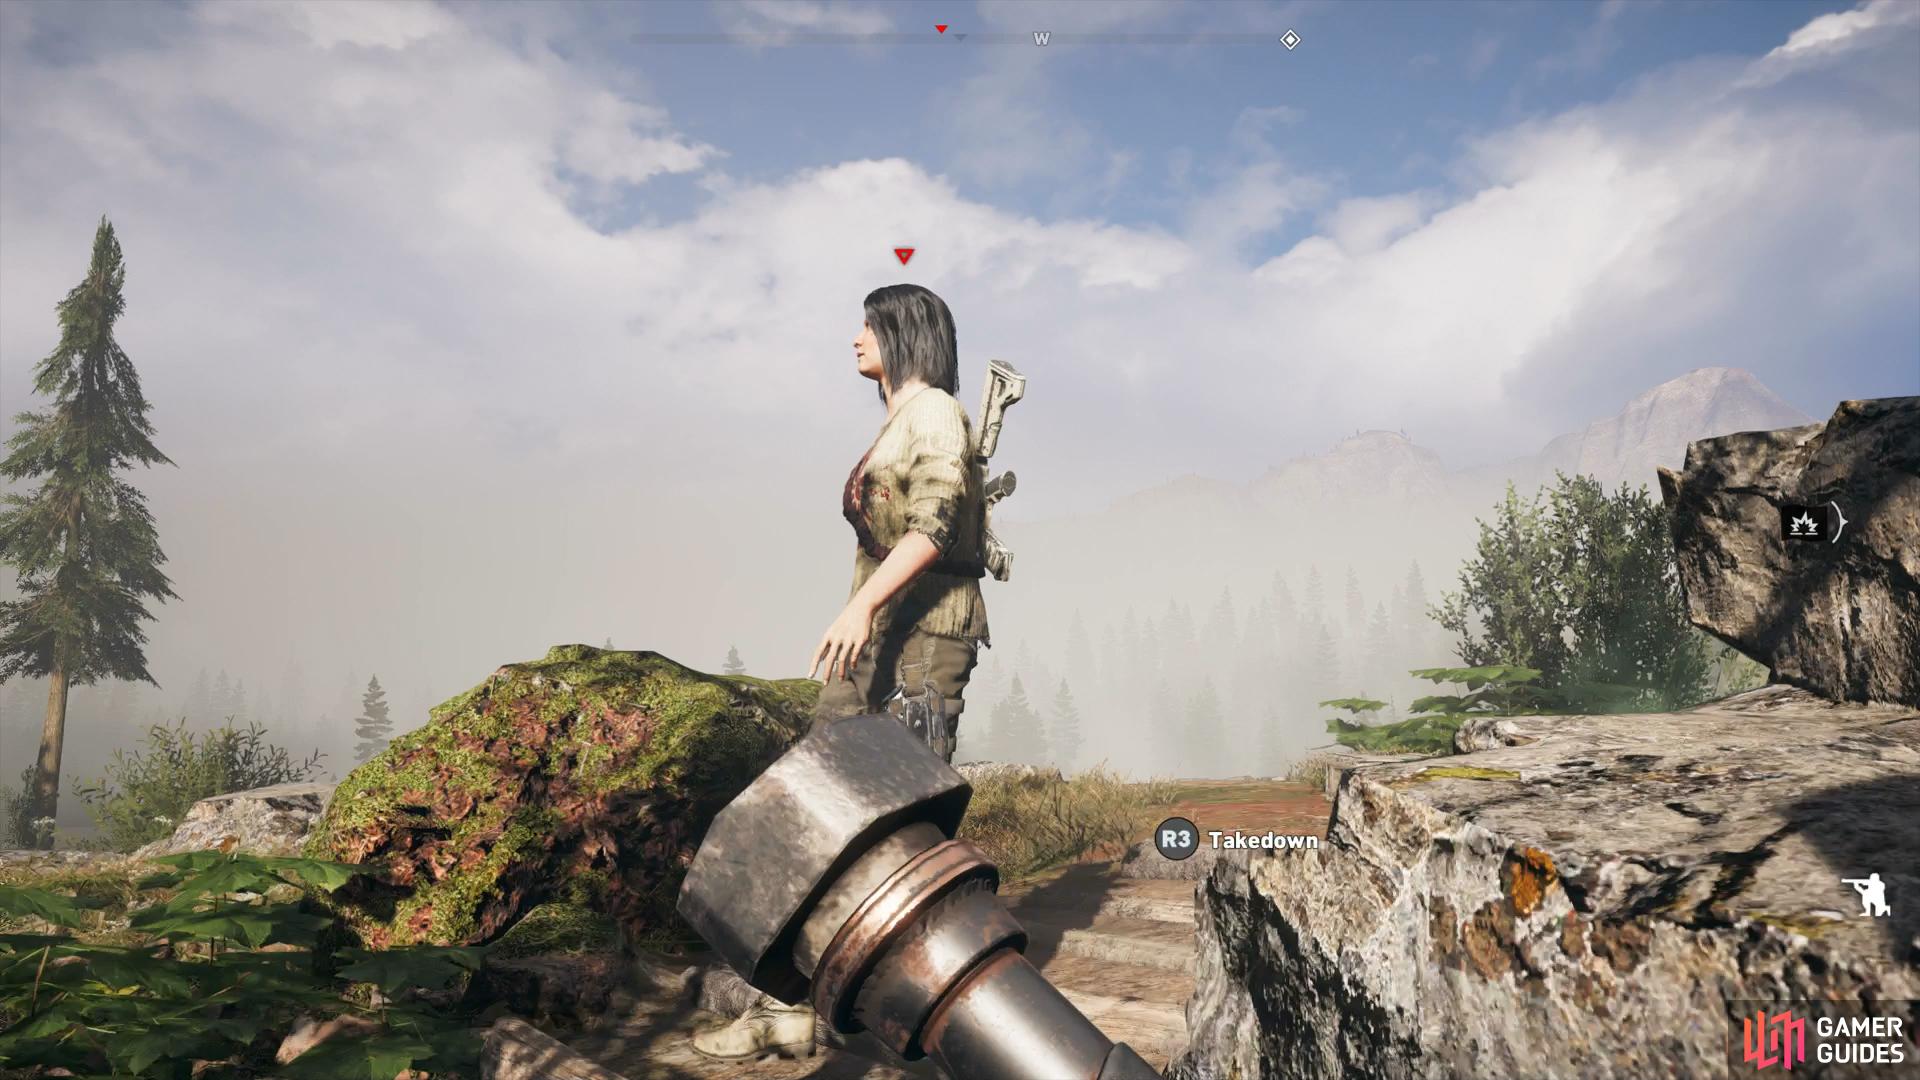
You’ll want to go in quietly here, you can easily be overwhelmed if you charge straight in. Crouch towards the fallen tree and wait for the cultist in the trench coat to walk towards the back of the shrine, this is your cue to get behind the cultist near here and perform a takedown.
Quickly crouch towards the one kneeling at the shrine and take him out before moving quietly towards the trench coat cultist peering across the river, a takedown here will finish the encounter. Be sure to loot the trench coat cultist especially as he has an AR-C for you to grab as well as a Dynamite.
Loot the rest of the cultists and then check near the front of the shrine to find a trunk with some supplies along with a Nitro, a Med Kit and more bullets on the side next to them. If you look closely at the shrine, you’ll notice a gas canister in the centre of it, simply take aim with the handgun at a safe distance and shoot a few bullets in it to explode the shrine and complete the task rewarding 75 RP.
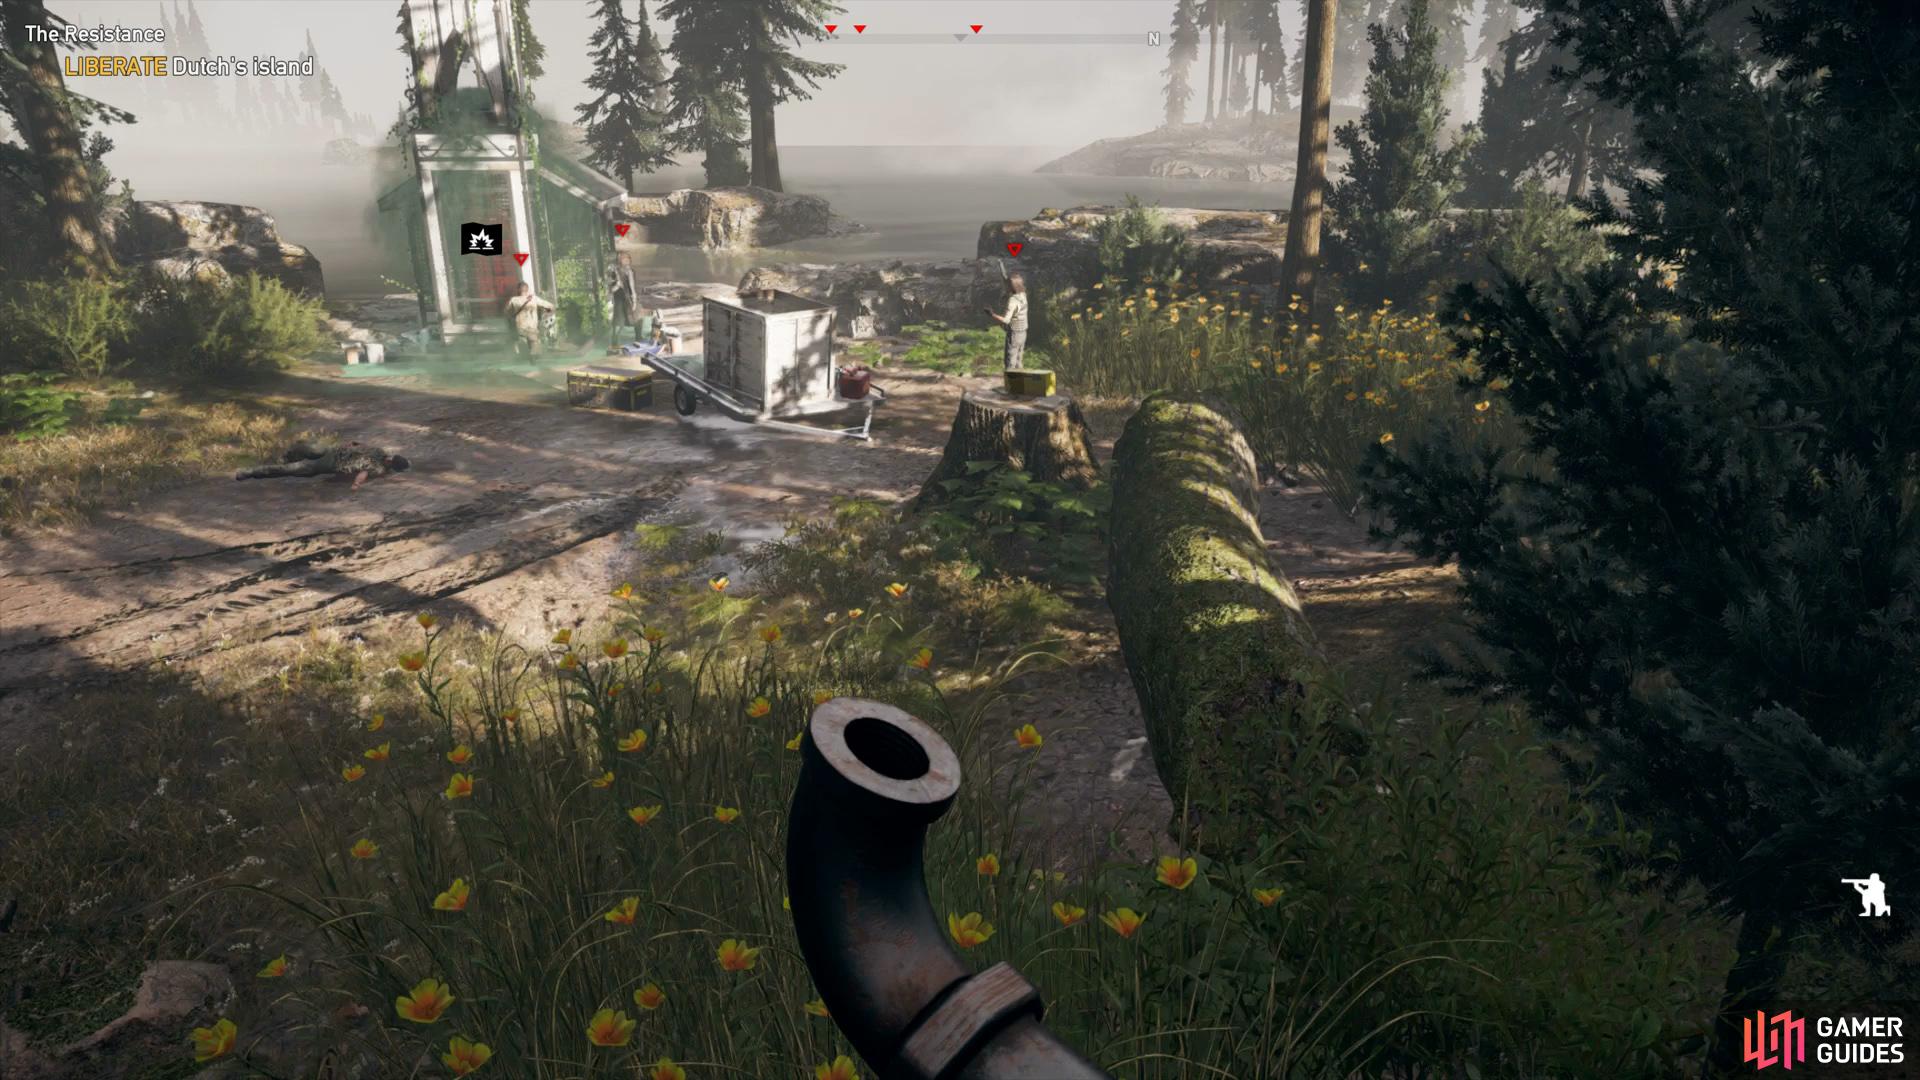
Approach the three cultists from here
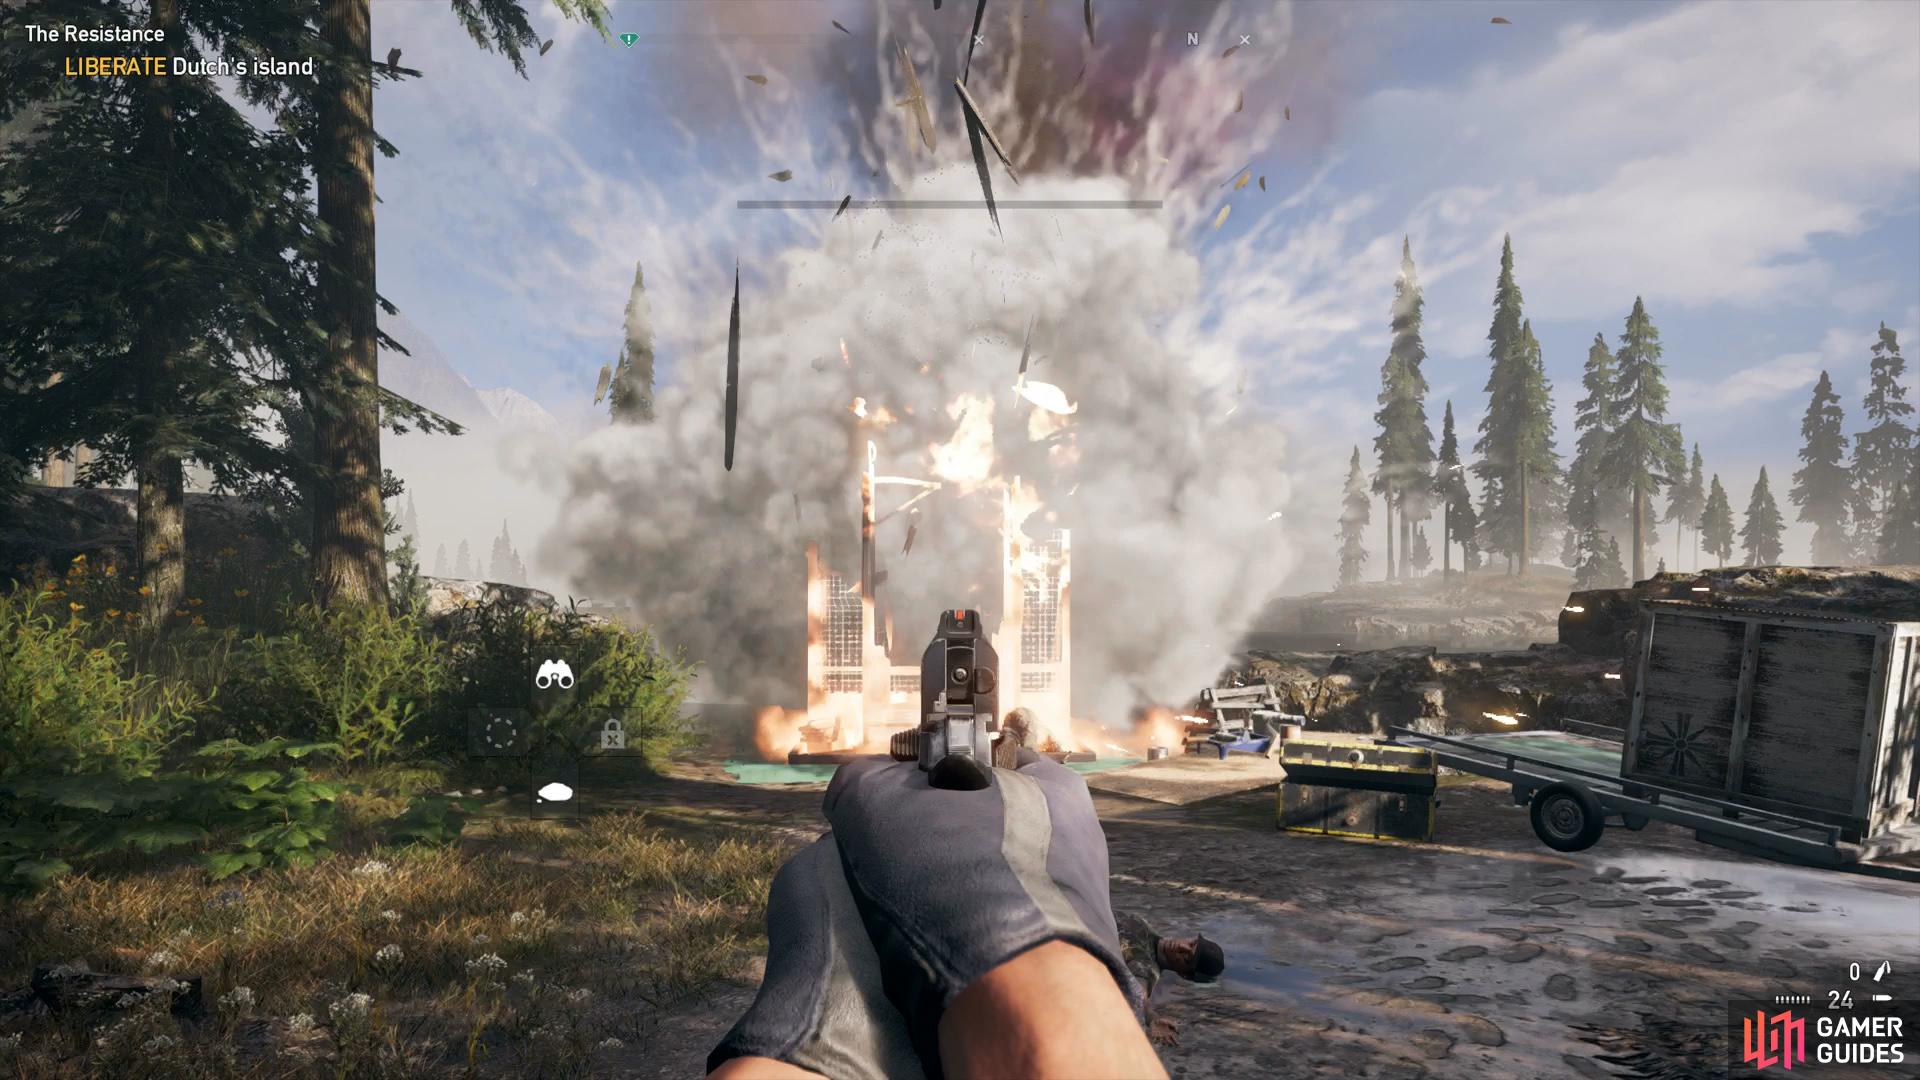
take out the canister in the middle after all enemies are eliminated
Turn away from the shrine and head up the bank to the south to come across Johnson Lookout Tower. Don’t climb up here just yet however, instead crouch and circle around the ledges here to the southeast and towards the Prepper Icon (A green diamond).
Take out the binoculars to survey the scene and you’ll spot two cultists with a captured civilian. Wait for the one furthest from the civilian to walk away and show his back before approaching and performing a takedown. Crouch over and behind the other cultist before he can realise his friend is down and take him out. Loot the bodies and then liberate the civilian here to recieve another 50 RP. Speaking to this civilian after will reveal the location of your first Prepper Stash, something that should always be high on your agenda.
You’ll also get a call from Dutch after this encounter, detailing you about another nearby civilian and starting the Guns for Hire story mission. Head on over to that section for details on how to proceed with it.
Prepper Stash: Sunken Funds
Before you head straight to the diamond on your map, head on over to the previously mentioned Johnson Lookout Tower nearby. Head up the stairs and into the room here to find some ammo on the ground and a phone to interact with. Go out onto the balcony here and look out towards the Prepper Stash icon on your compass with the Binoculars. If you look towards the other side of the lake, you will spot a cultist so be sure to tag him for later. When you’re ready, take the zipline here down to Silver Lake Boathouse.
Examine the note on the side here to discover that you’ll need a key to get into the boathouse in order to get the power running again.
This will add the mission to your journal and direct you towards the boathouse west of your direction. If you head inside here, you’ll be able to loot a cabinet for some supplies and then come to a locked door, the key of which is in the room you’re trying to get into. Come out of the boathouse and dive into the water, taking care not to stay under for too long, and head around to your right and into the boathouse from the water.
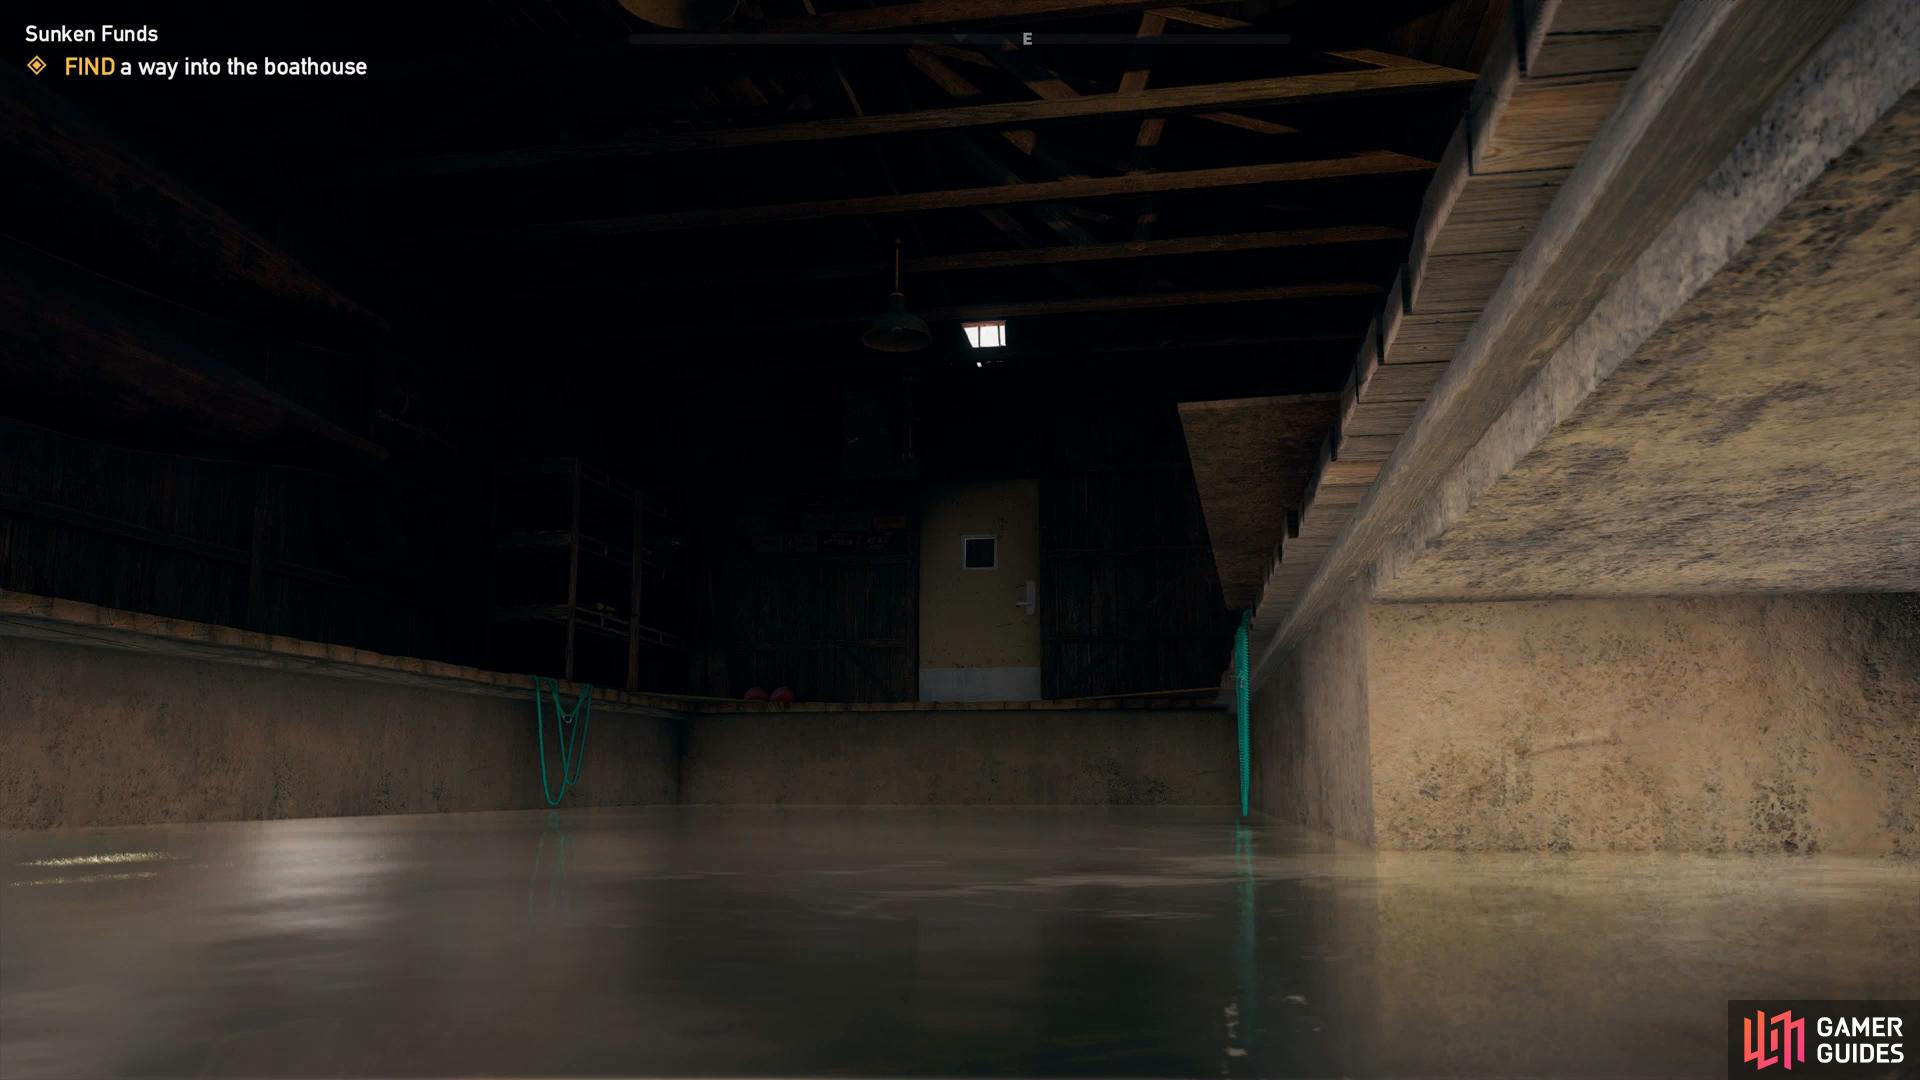
Swim around the boathouse and under to access the locked door
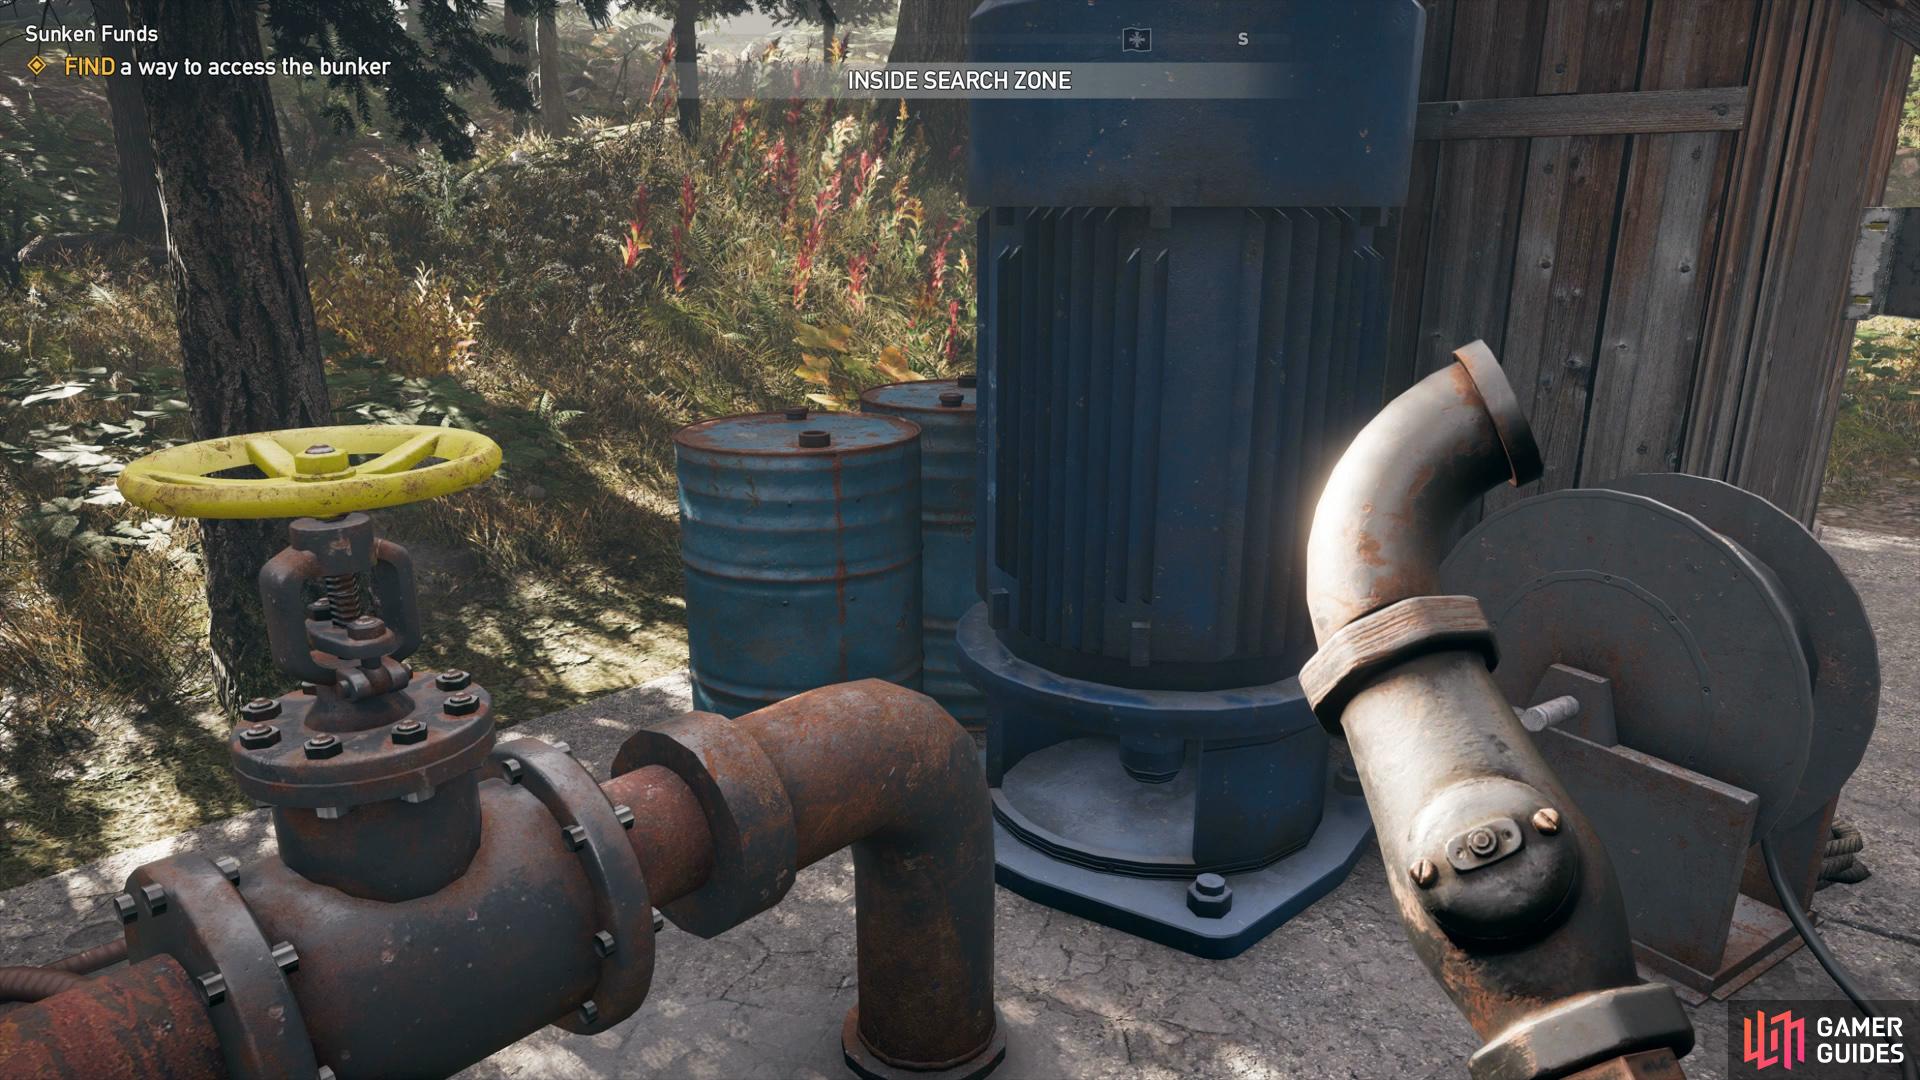
then turn the valve on the pump to drain the water once power is back on
Climb out to your right here and hit the switch on the wall to activate the power back at the bunker where you found the note. You can grab the Boathouse Key near the door here and a Med Kit and Paddle on the shelf on your way out of the boathouse. Head back on over to where the note was and turn the handle on the pump here, draining the water in the bunker below in the process, you can now open the door and head down into the bunker.
Inside you’ll find a Bolted Pipe and some Arrows before coming to what looks like a dead end, fear not however, approach the boarded up door and bash your way through with a melee weapon (or your fists). The mission will conclude upon entering the stash and inside you will find two Fasteners, two Nitros, two Casings, more Arrows along with money in the safe. Finally, on the wall here, you will come across the fantastic Compound Bow, a weapon that is great for all stealth fans. You’ll have a choice to make here as you can only hold one primary weapon at this point, you’ll need to choose between the bow or the assault rifle you acquired earlier. The bow is a great choice if you’re at least semi confident in your skills at staying in the shadows however the AR-C is no slouch either!
Cultist Shrine #2
As you exit the bunker, take out the Binoculars and look across the water to spot your next Cultist Shrine occupied by three cultists. The best way to approach is from the south part of the small island they occupy so jump into the water and carefully swim over without being seen.
Climb up the nearby ledge where the blue ropes are and then immediately crouch and creep over to the side of the small shack here. Wait for the cultists to spread out and then take out the one nearby. After she’s down, continue up the stairs and wait near the rocks to the side for the cultist near the shrine to walk back down, performing a takedown as she walks by. That will leave the cultist facing the boathouse, take him out and then loot all of the bodies. Near the first cultist you’ll find a Med Kit on the crate and a supply box hidden on the small dock here. All thats left to do now is take out your handgun and put some well placed bullets into the canister to destroy the shrine and receive another 75 RP.
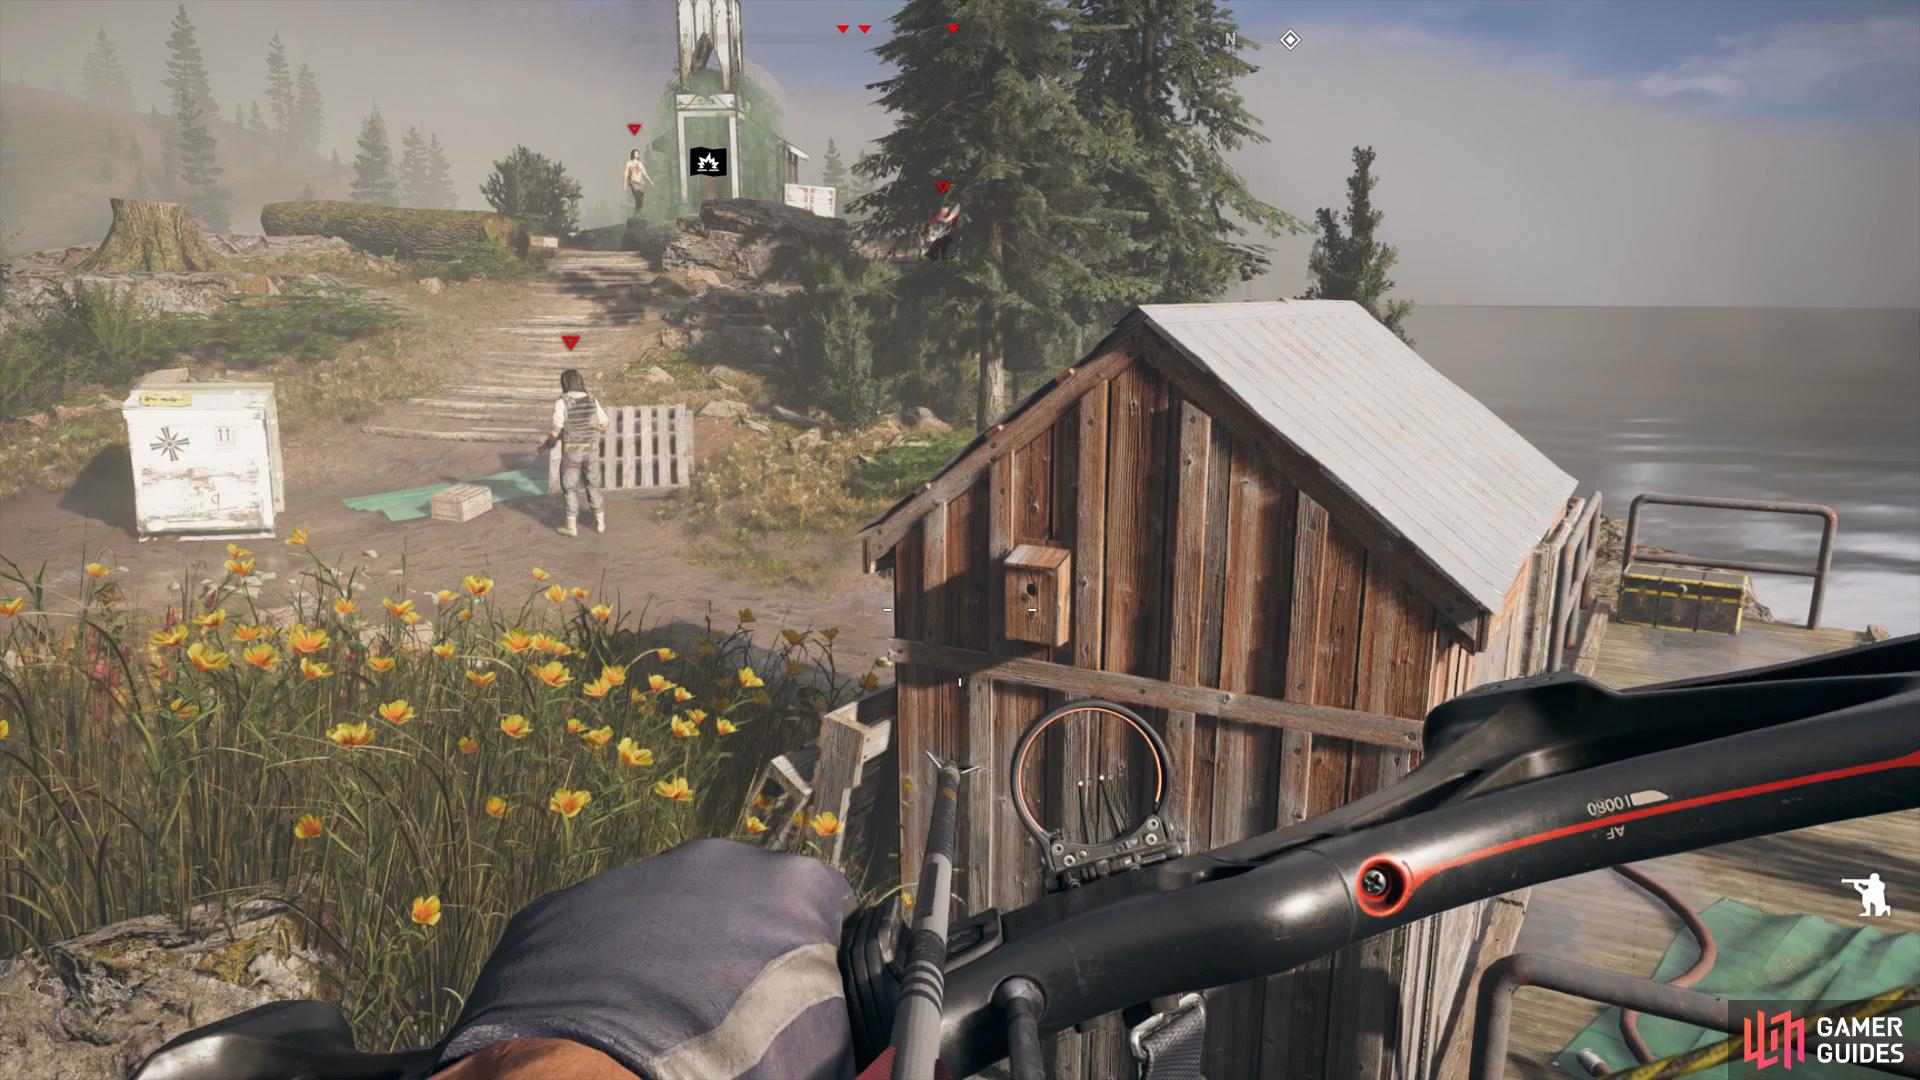
Approach the shrine from this location
you can perform a side takedown here if you’re quick
At this point, it’s a good idea to tackle the Guns for Hire story mission, the reward will be helpful for the rest of this mission here.
Forest Research Station Cleanup
Upon the completion of the Guns for Hire mission, you will find another hostage to liberate in the Forest Resarch Station obtaining another 50 RP in the process. Talking with him after will reveal the location of your first Cultist Outpost, the Ranger Station situated to the south of the island. At the back of the room you’ll find some cash and a bottle of Fasteners along with a note on the table near where the hostage was tied up, this will reveal the location of one of the Cultist Shrines if you haven’t already destroyed them. Finally, you’ll find the game’s first collectable, a Whiskey Cask underwater to the northeast part of the island, under some logs here (it’s actually the furthest part of the area you can access right now).
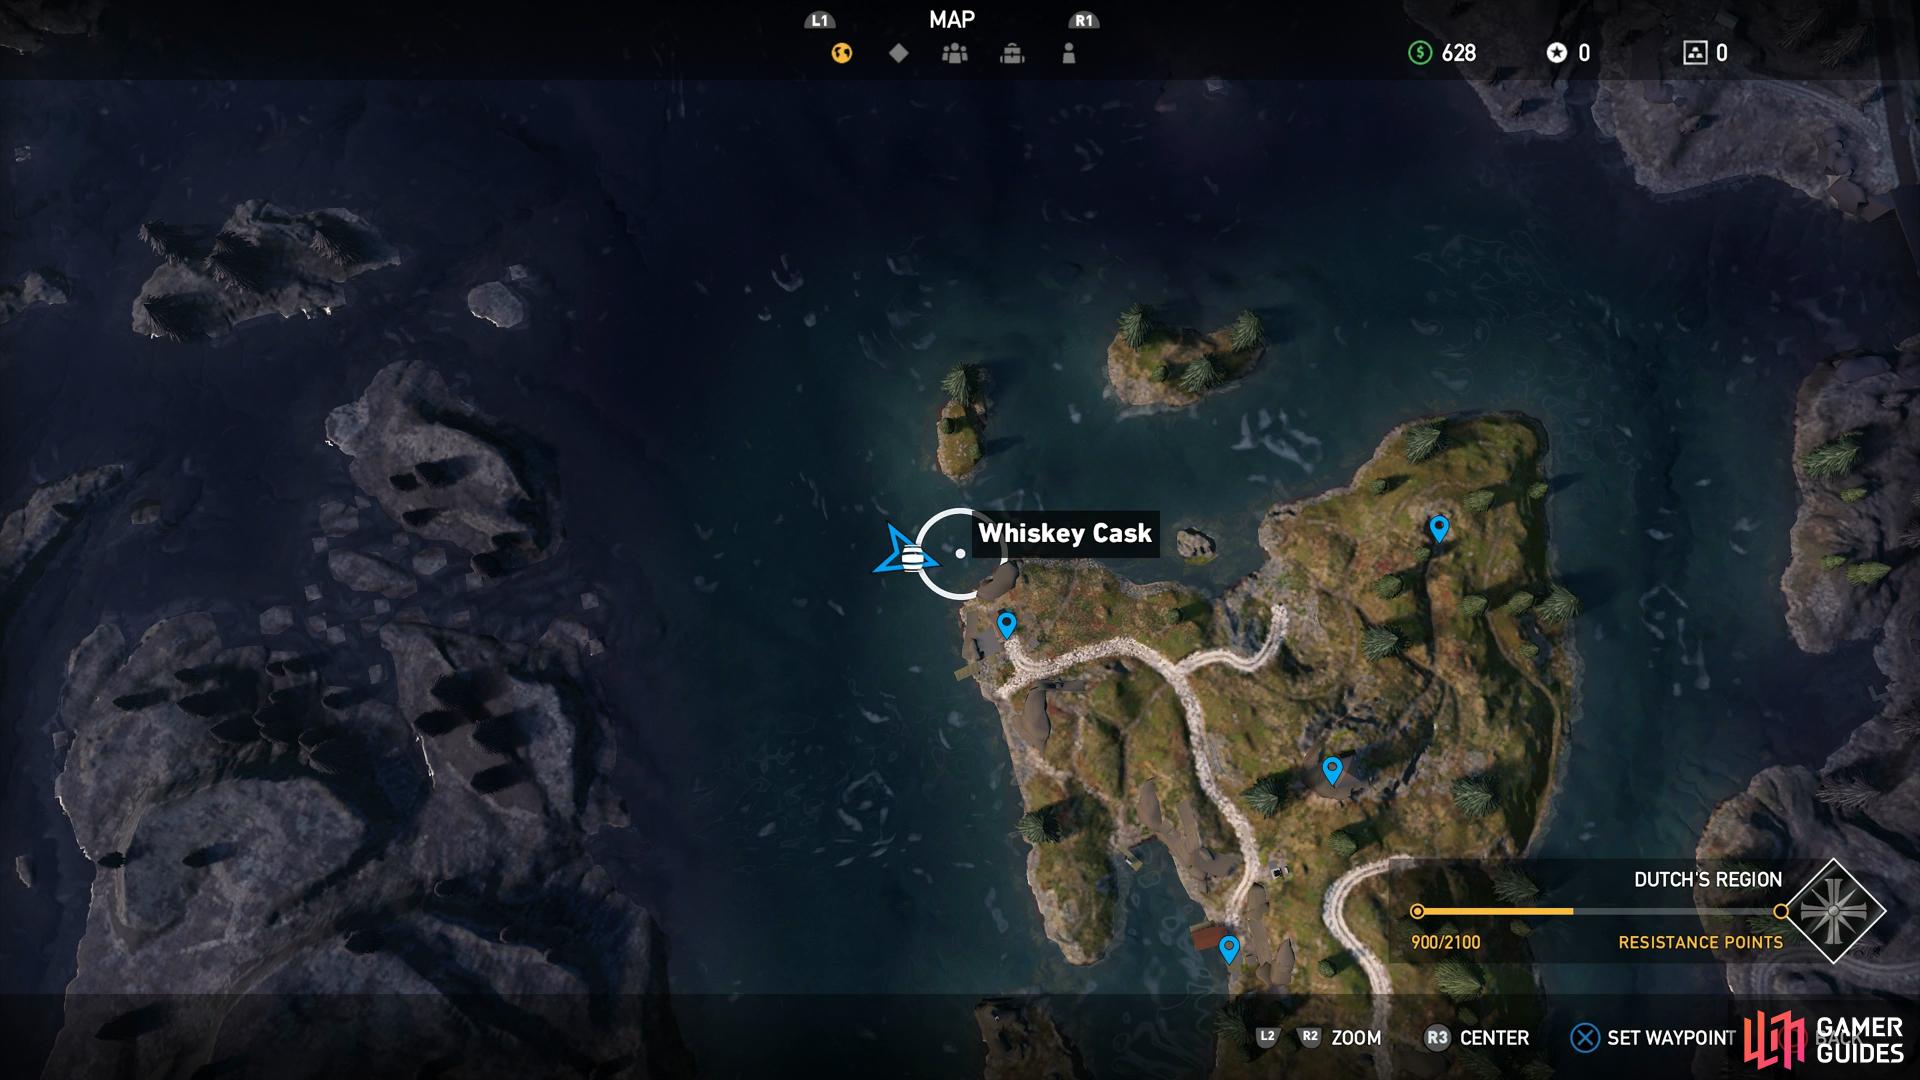
Head here on the map
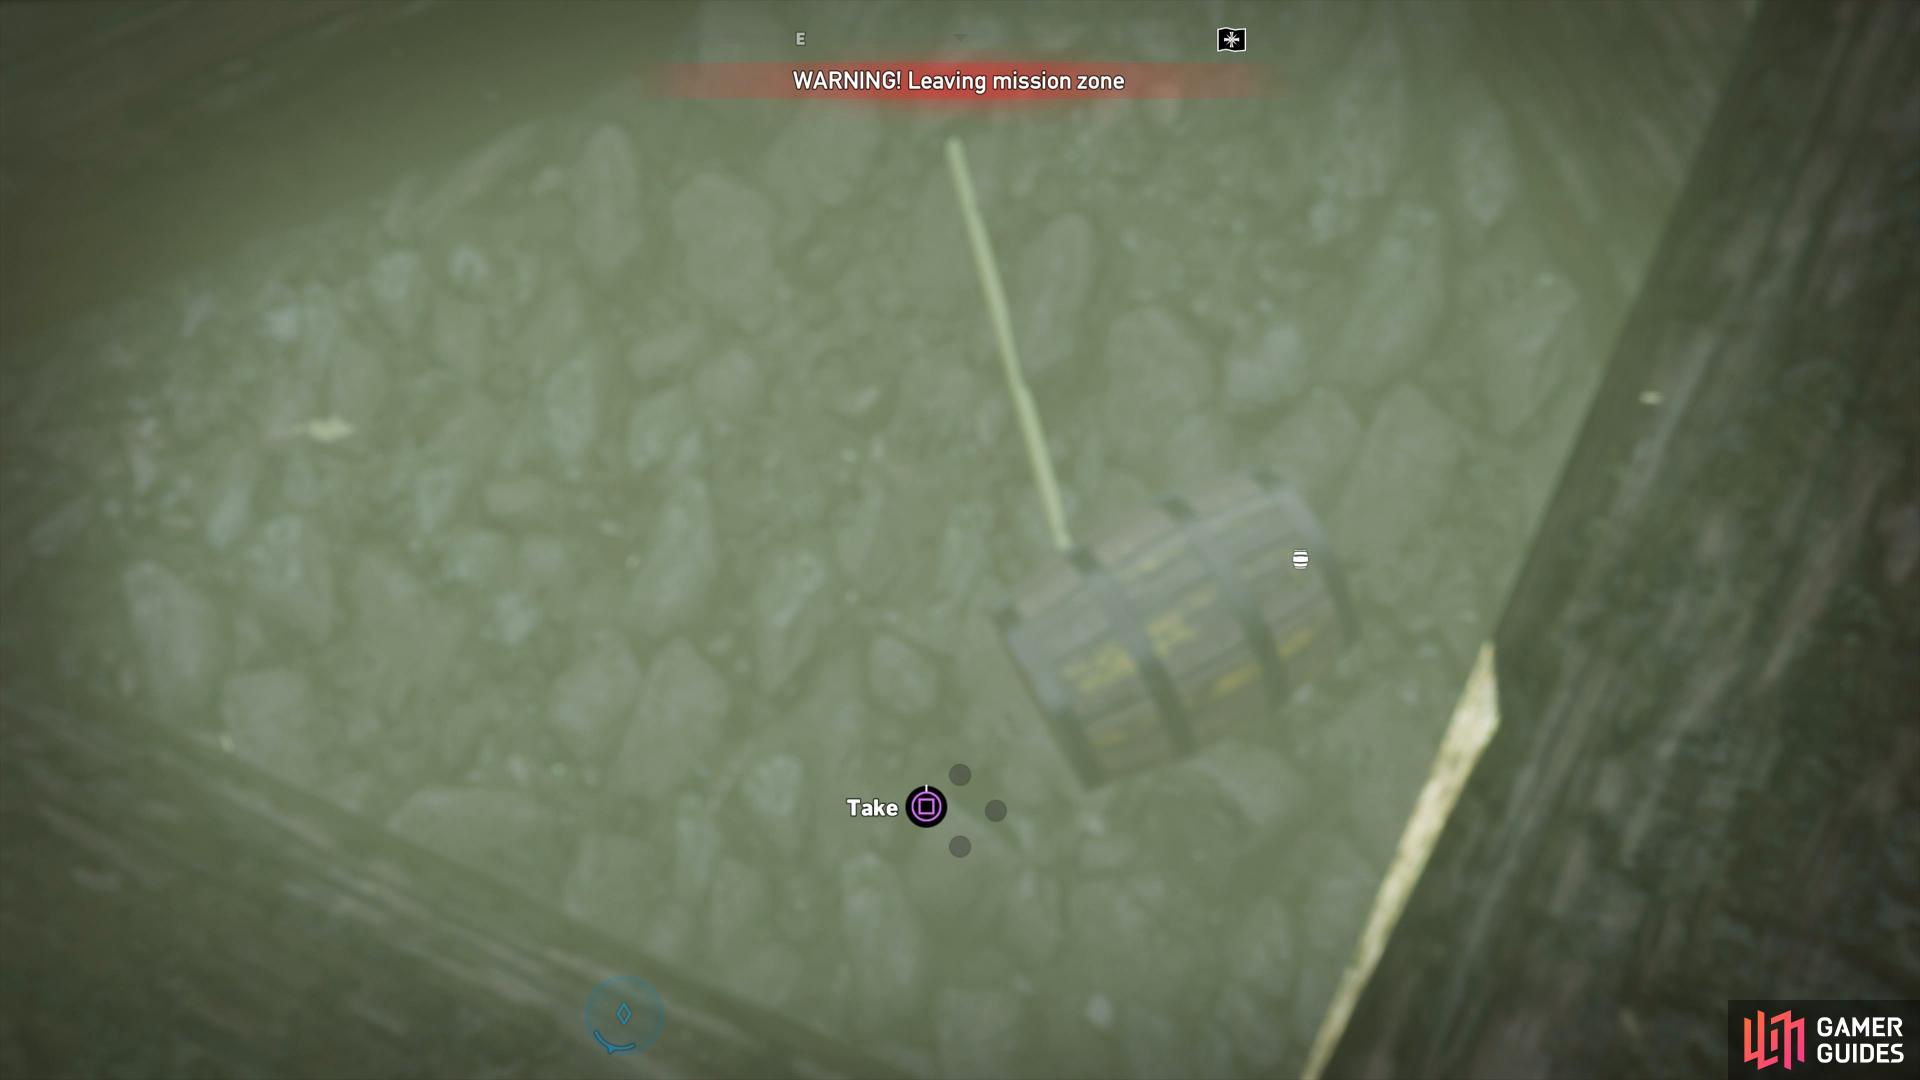
to find the first collectible hidden under the logs
Cult Outpost: Ranger Station
Access your journal and track the Cult Outpost: Ranger Station, you’ll see that its situated on the south side of the island so begin the journey towards the location. As you approach from the north, be sure to crouch to remain undetected and then take up a spot nearby the fallen tree to get out your Binoculars. You should be able to tag four cultists that occupy this outpost, your task is to eliminate all of them, remaining undetected if possible.
Start with dropping down here and heading towards the house and hug the outside wall whilst edging towards the cultist with her back to you. Perform a takedown here and then, while continuing to hug the wall here, move towards the cultist assaulting the hostage and take him out. Quickly move to the cultist kneeling down before finally taking out the cultist facing the south gate and completing this simple outpost undetected.
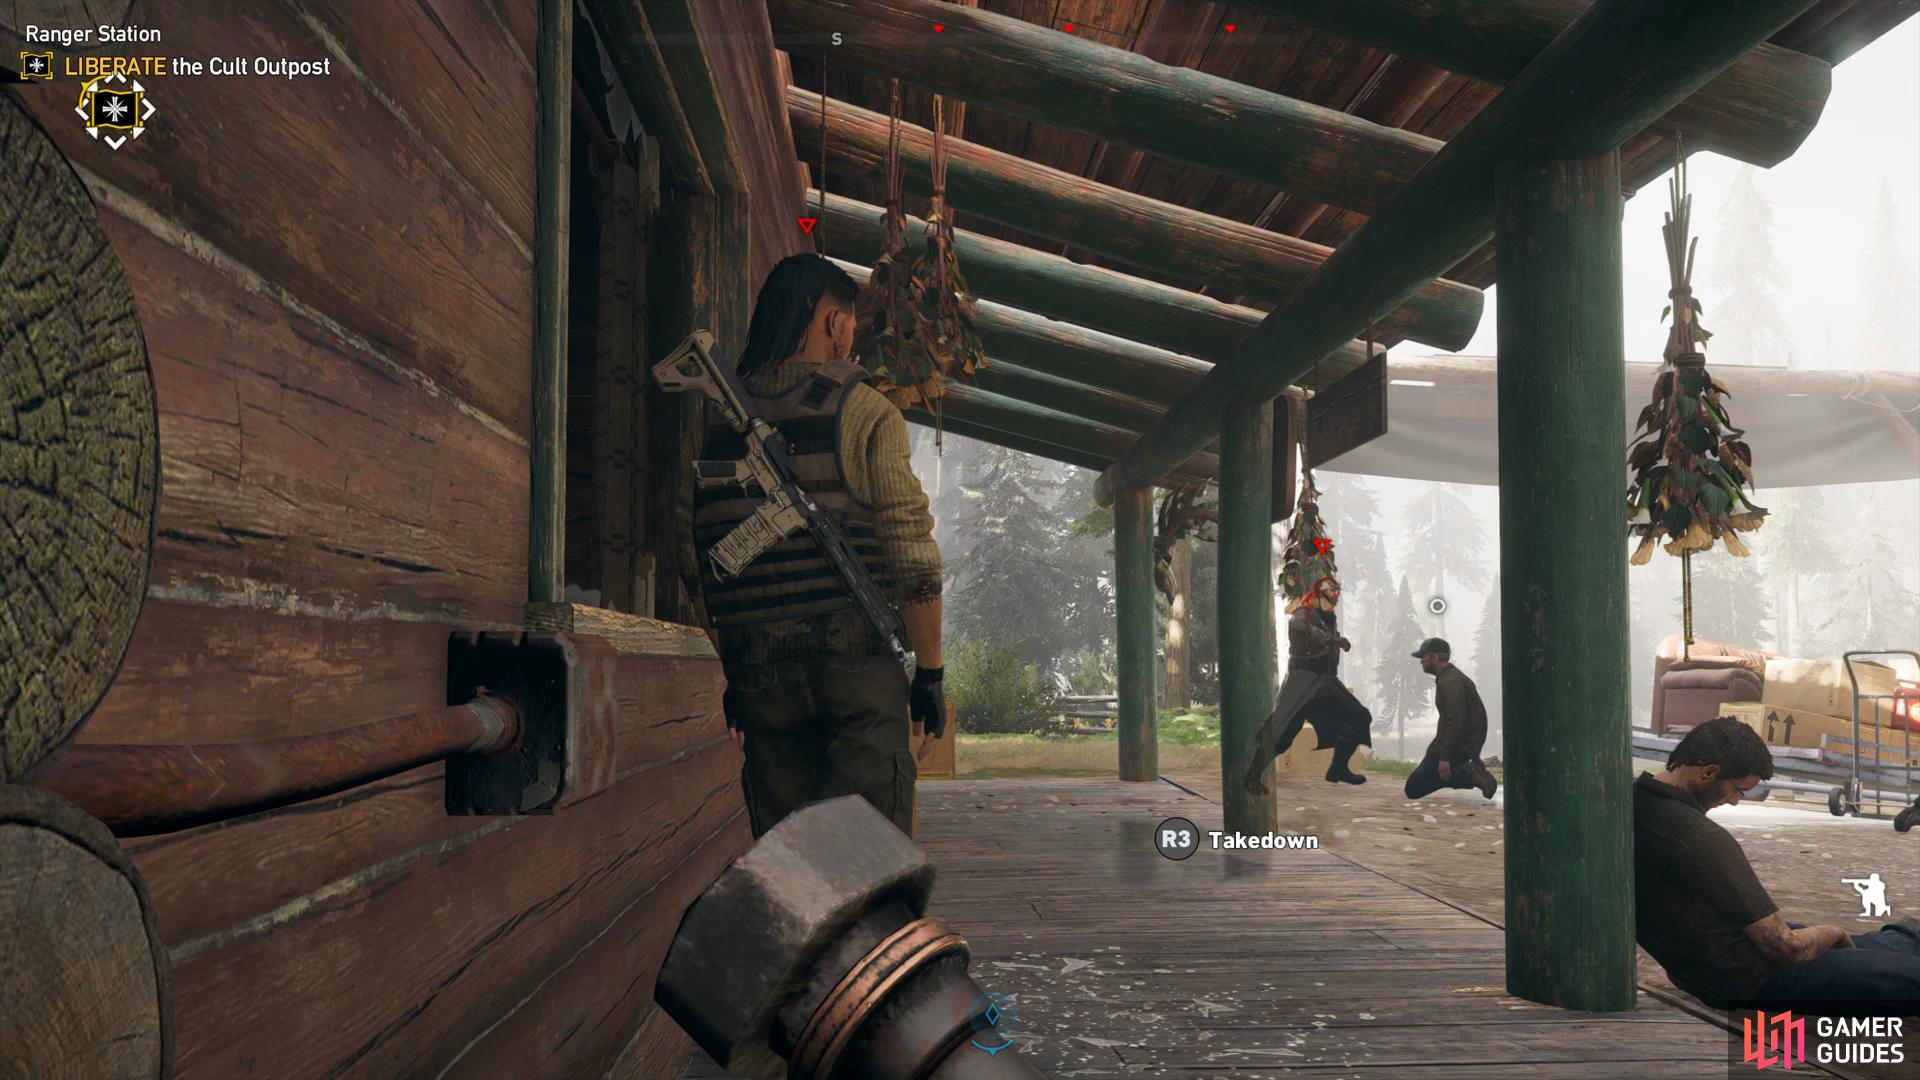
Keep to the side of the house to remain undetected
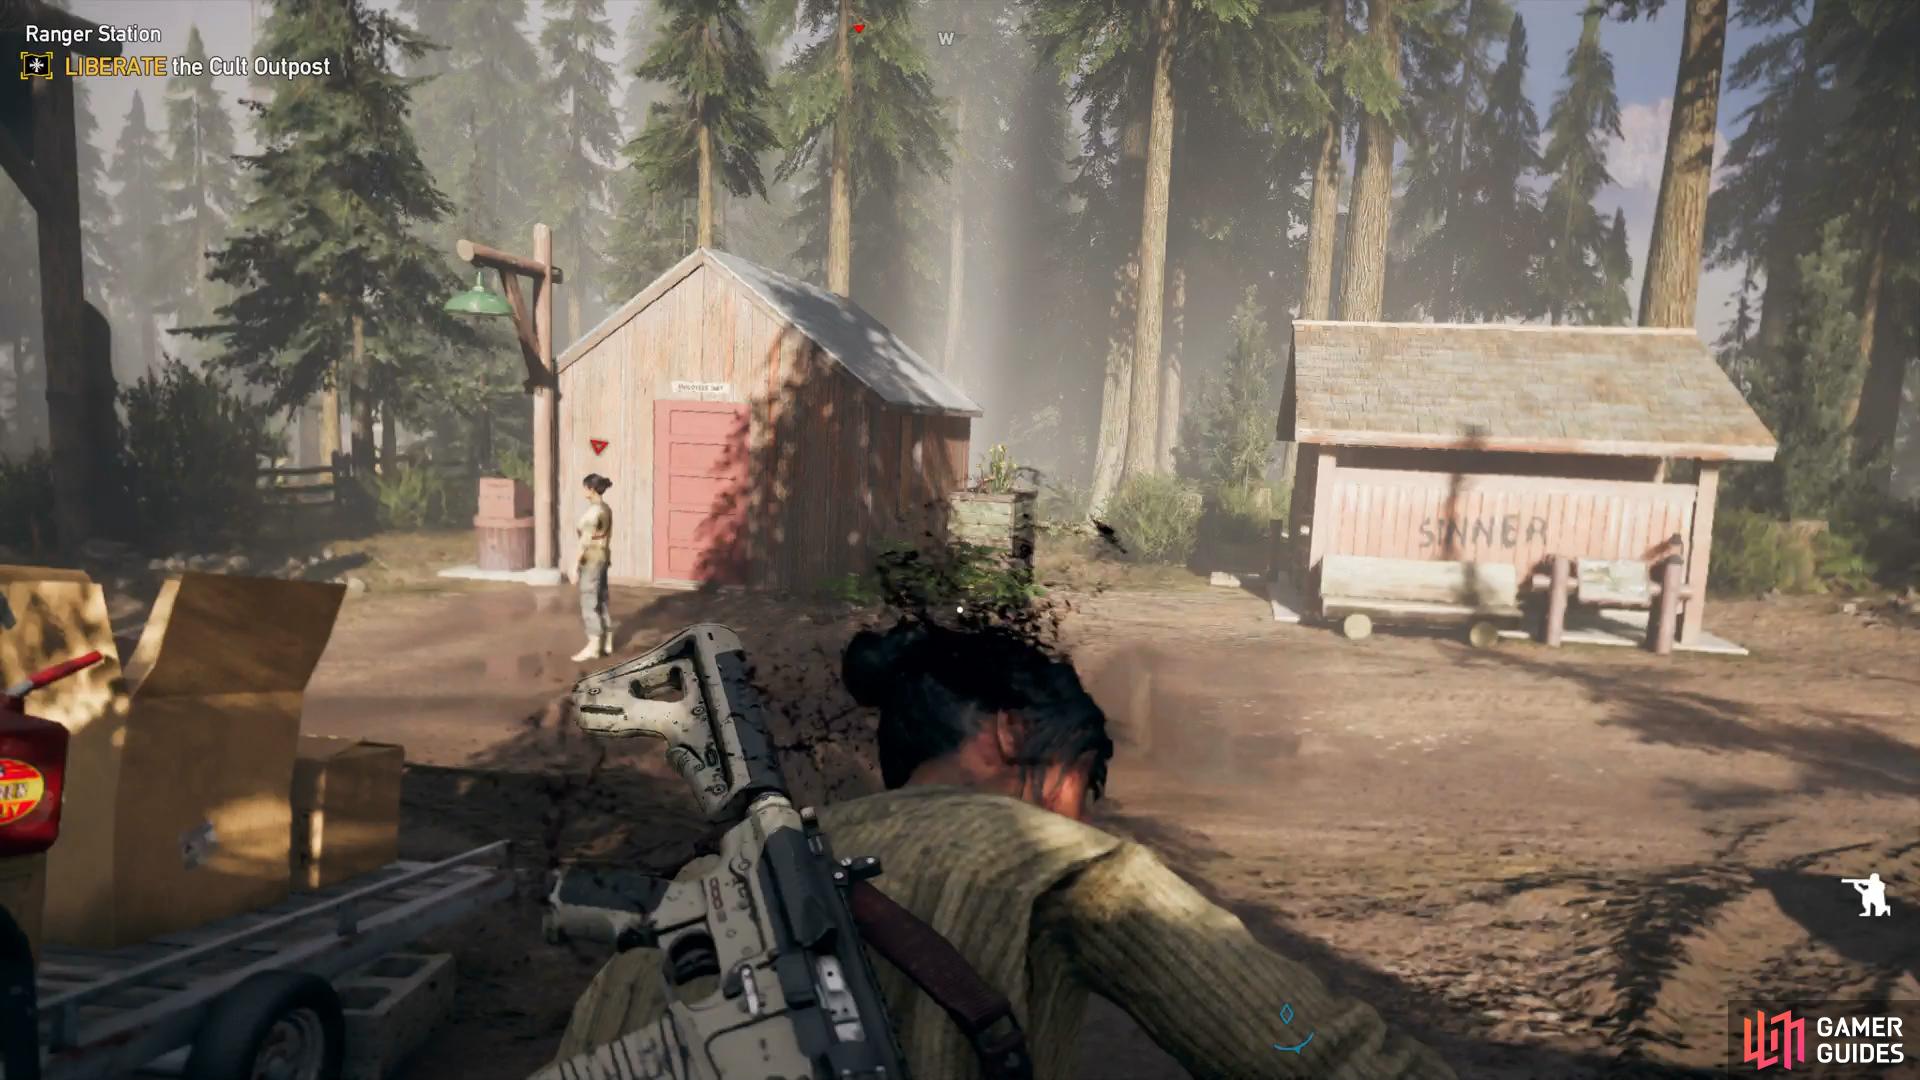
if timed right, the final cultist will be facing the south gate
Your reward for your troubles will be an additional $1000 bonus on top of the 400 RP for completion of the outpost. You’ll see the locals move back into the outpost after liberating it and the area will be free of any hostiles. Dutch will call in at this point and give you the final objective on this island, the Radio Tower to the north.
Before heading there, take the time to explore the house here to find a map that will place any points of interest that you may not have discovered on the island yet (the only remaining one should be the Radio Tower to the south). You’ll also find a Baseball Bat against the bookshelf near the door and a phone to listen to in the back room.
Follow the road south towards the Radio Tower and as you approach around 76m from the objective, turn to your left to discover an abandoned container to the south. To gain access, look on the side of the container to find some levers, hit them and the back will come open rewarding you with another 75 RP. Inside you’ll find one civilian who was not quite so lucky along with an Aluminium Bat, a Nitro, ammo and a note regarding the late Jack.
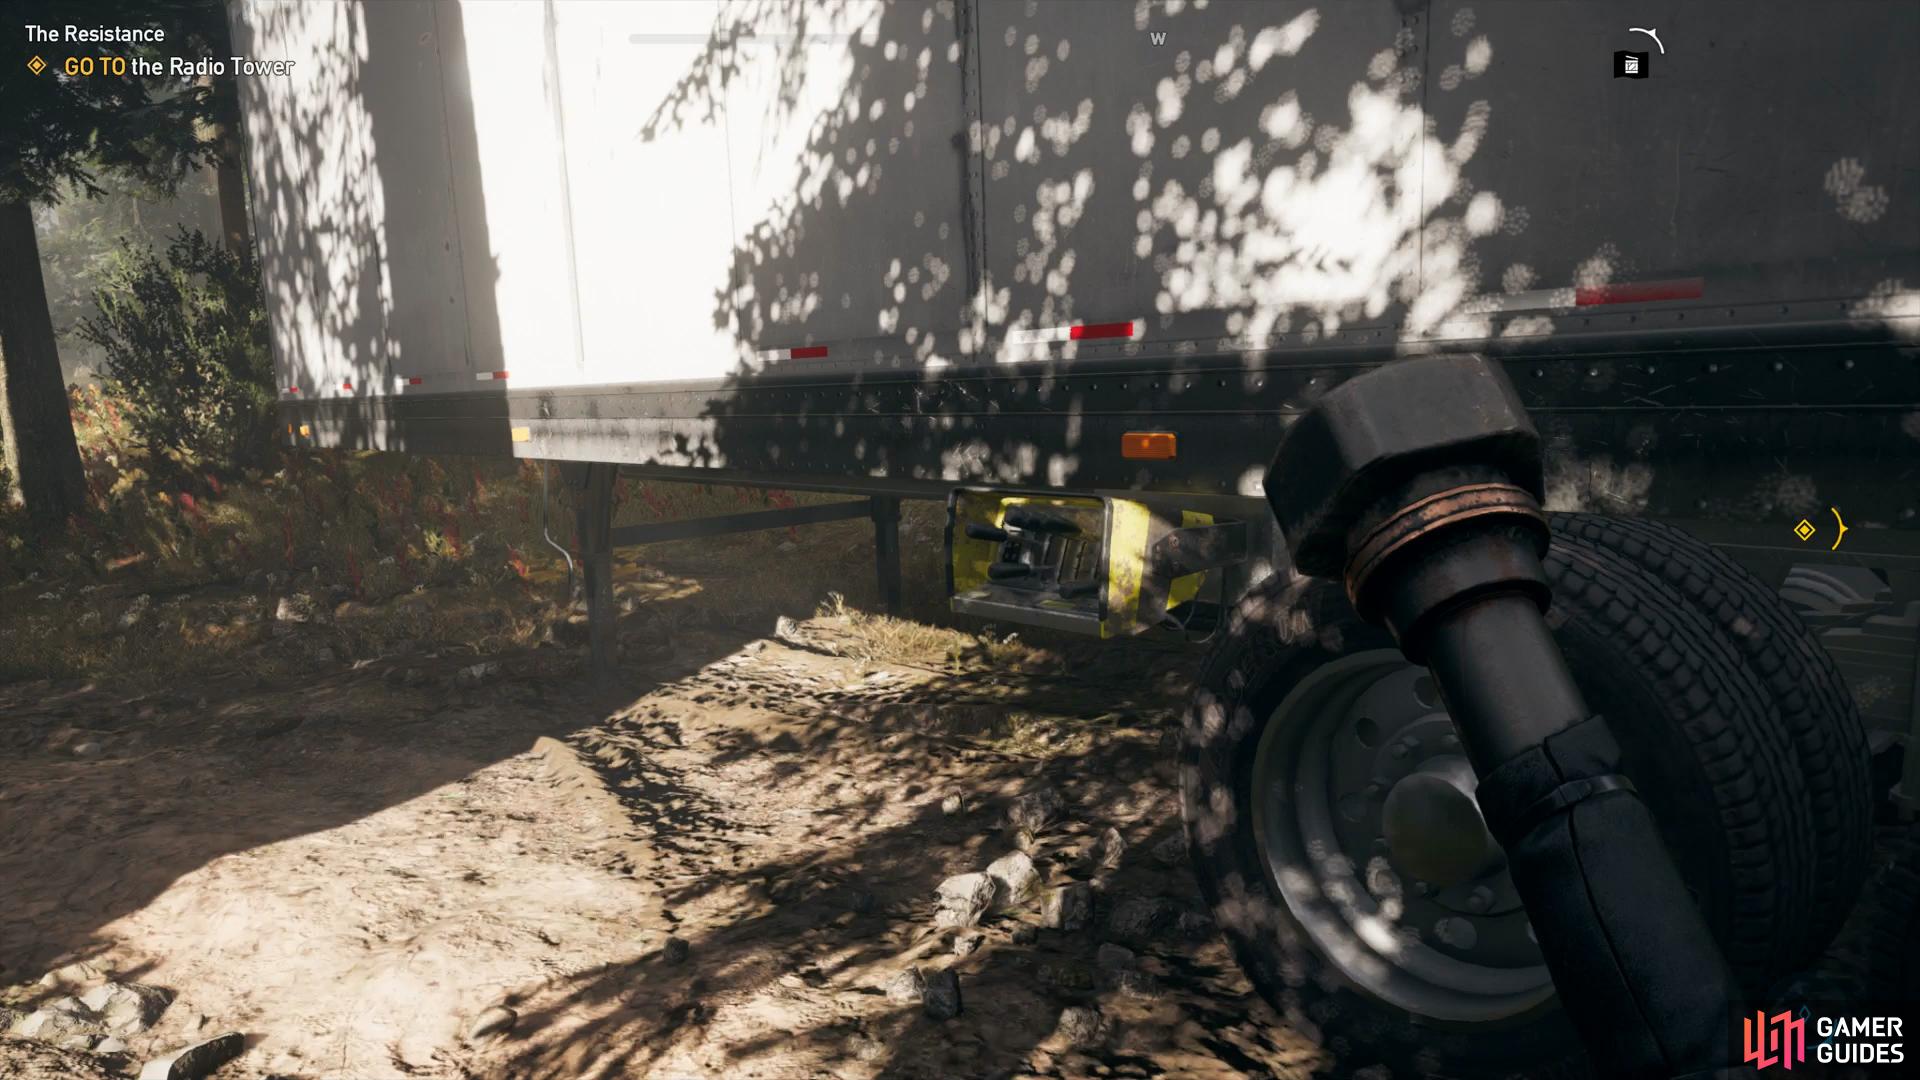
You’ll always find the switch for cultist containers on the side.
Continue towards the Radio Tower and you’ll discover that you need to climb the tower to access the antenna, the warehouse here is locked for the time being. Head into the fenced area here and take the ladder all the way to the top and activate the antenna, finally liberating Dutch’s Island in the process.
Dutch will instruct you to open your map, comply and then zoom out to finally get a view of the entire county. Follow Dutch’s instructions to get the lowdown on each of the three regions and then you’ll be left to fend for yourself. It’s at this point the game truly becomes open and you’re free to tackle anything you like. For the purpose of this guide, we will be taking you to John’s region, Holland Valley as advised by Dutch after leaving the Radio Tower. The guide will be split into regions allowing for easier access to any mission you may be on throughout Hope County.


No Comments