
| Mission Acquisition | Rewards |
|---|---|
| Sheriff Whitehorse, Hope County Jail | 600 RP |
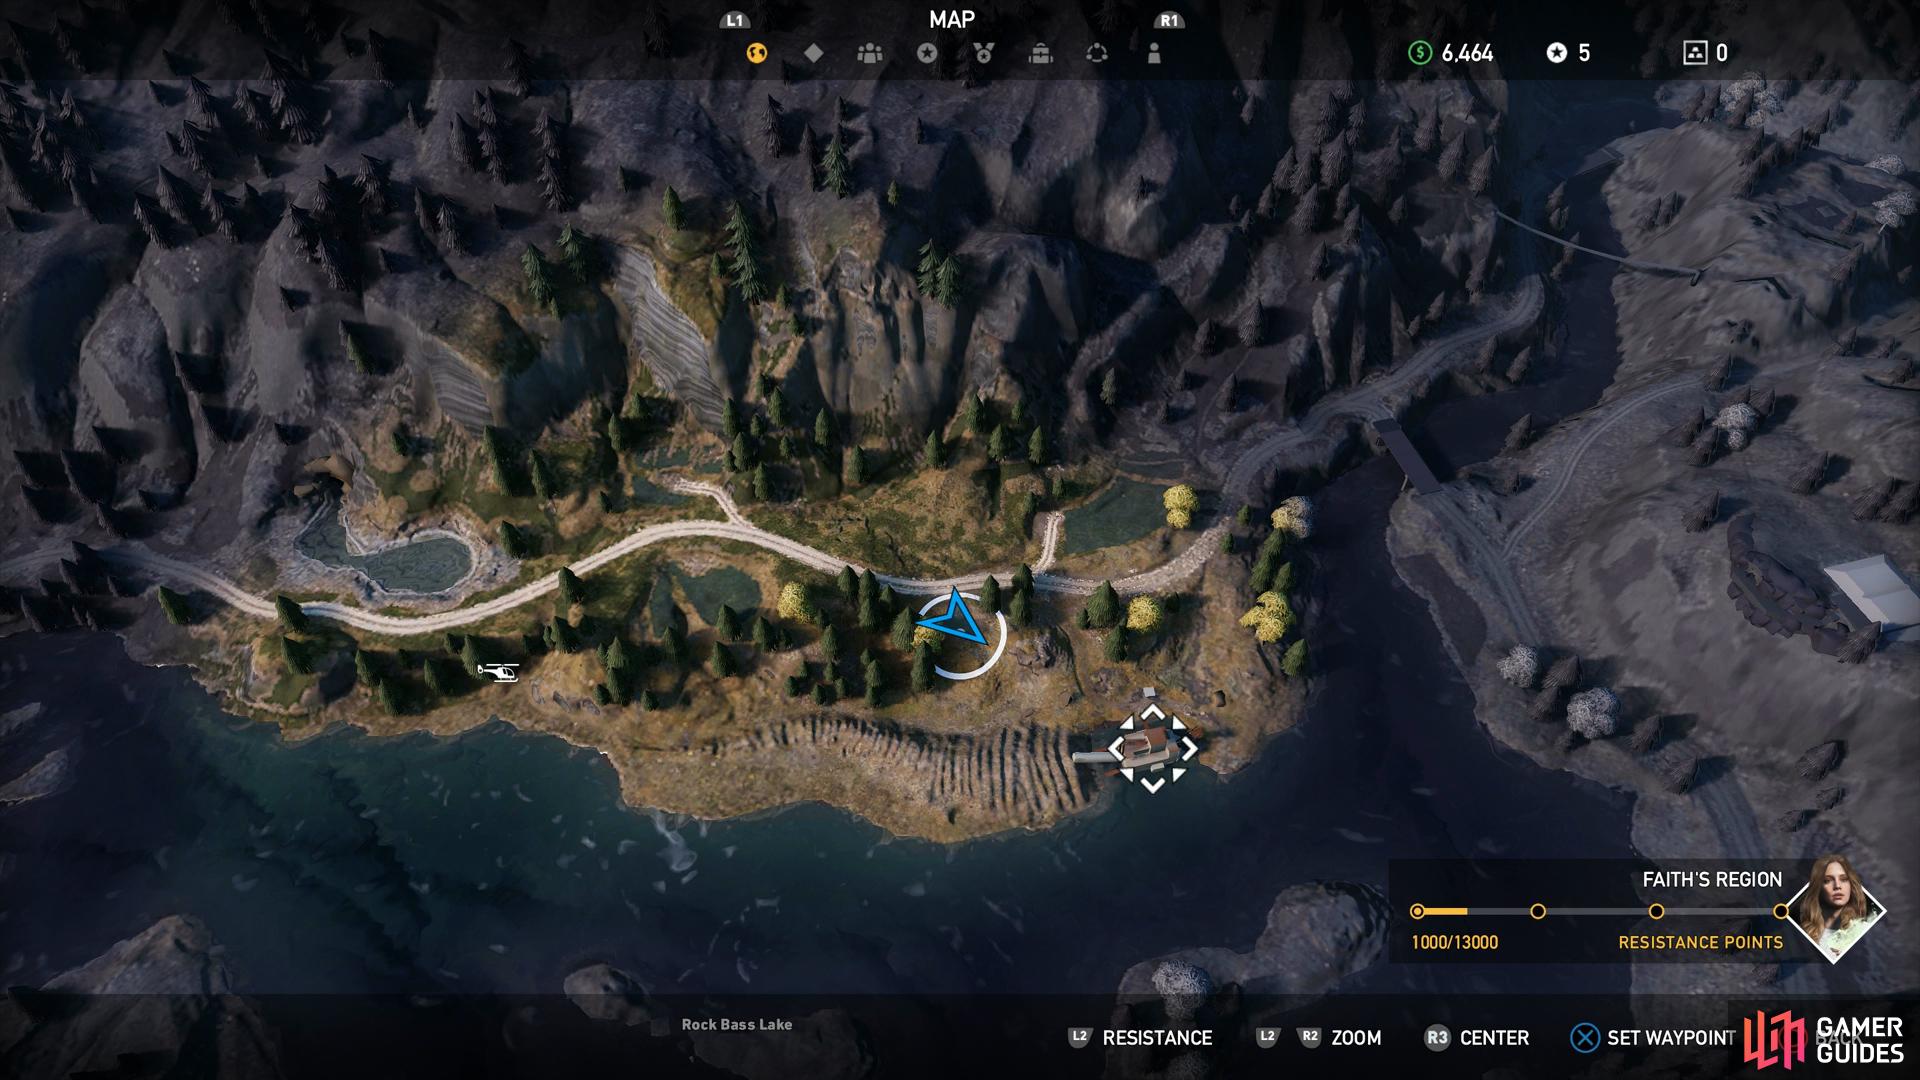
You’ll find the Misery northeast of the Jail
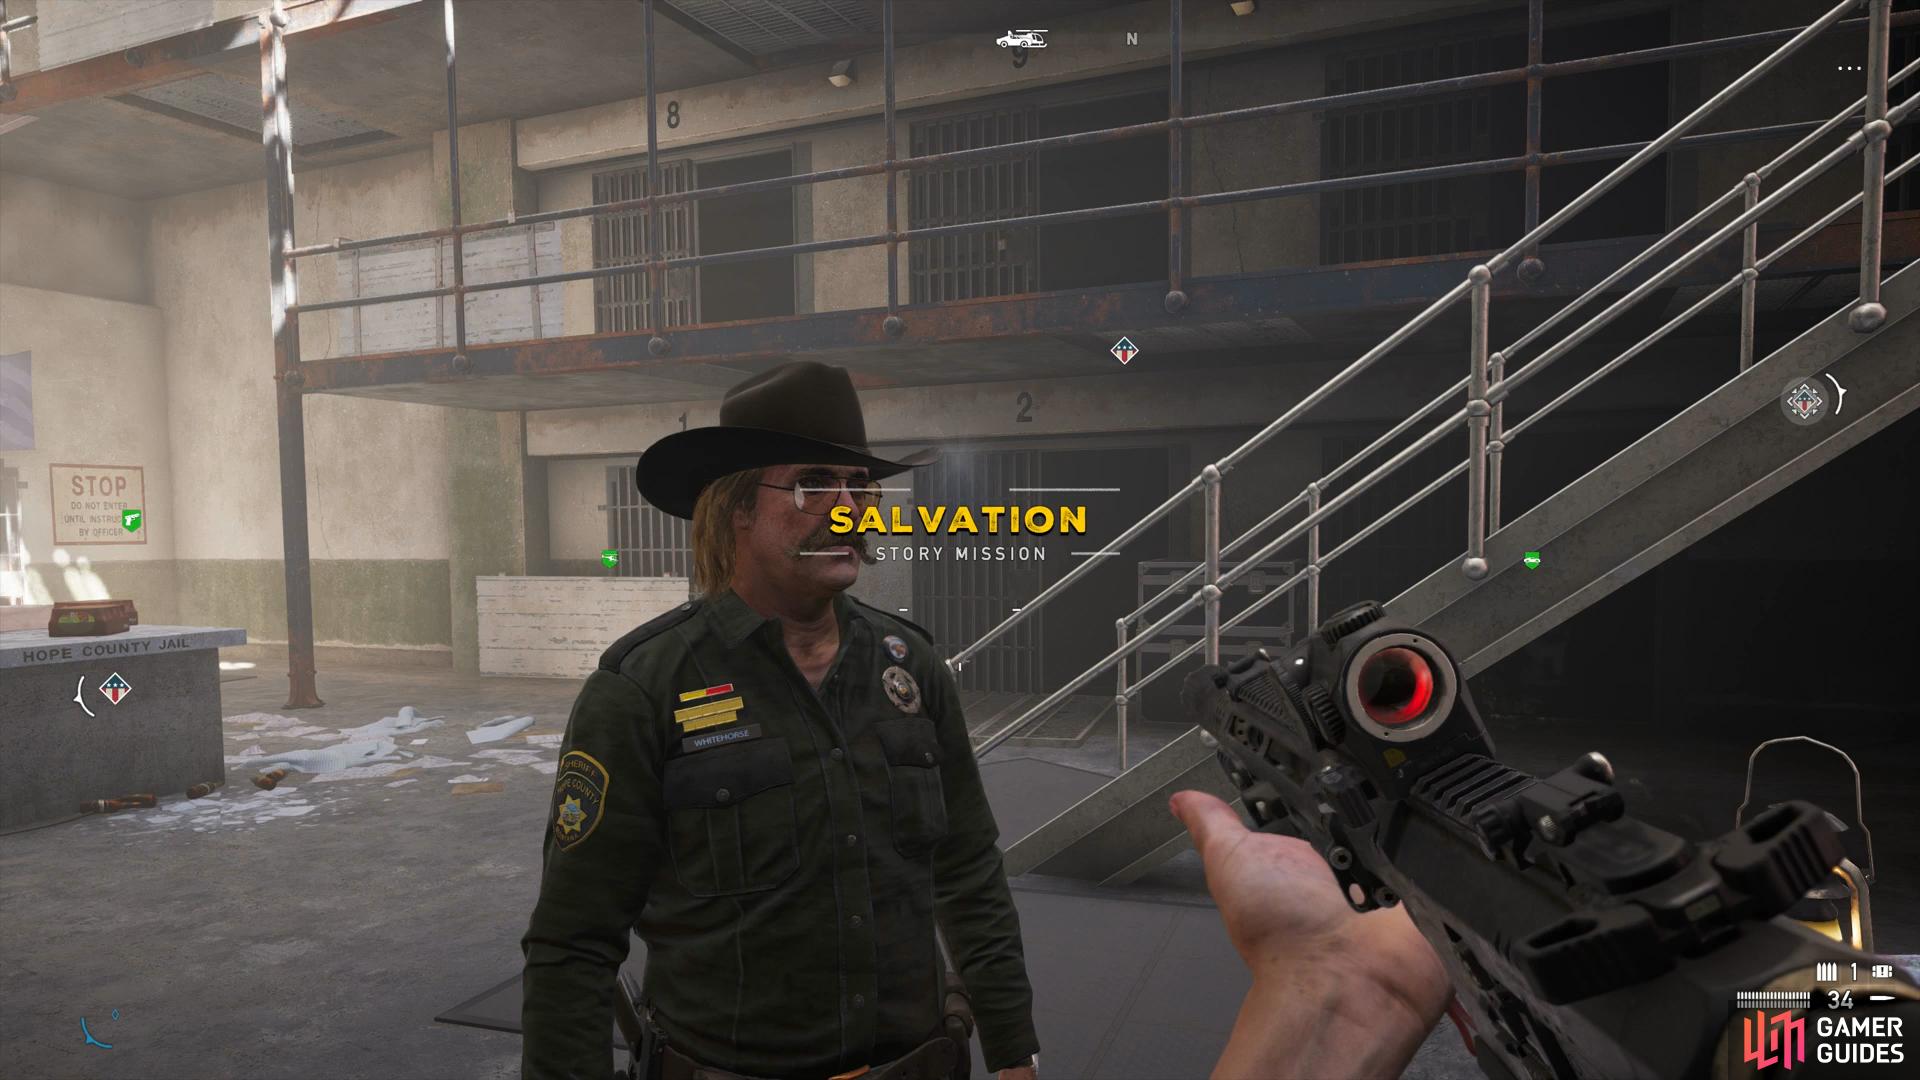
Sheriff Whitehorse issues the mission back at the Jail.
Reach the Misery
Talk to the Sheriff after liberating Hope County Jail and agree to help him search for the missing resistance fighters. You’ll find the Misery to the northeast of the Jail, prepare and head out.
Secure the area
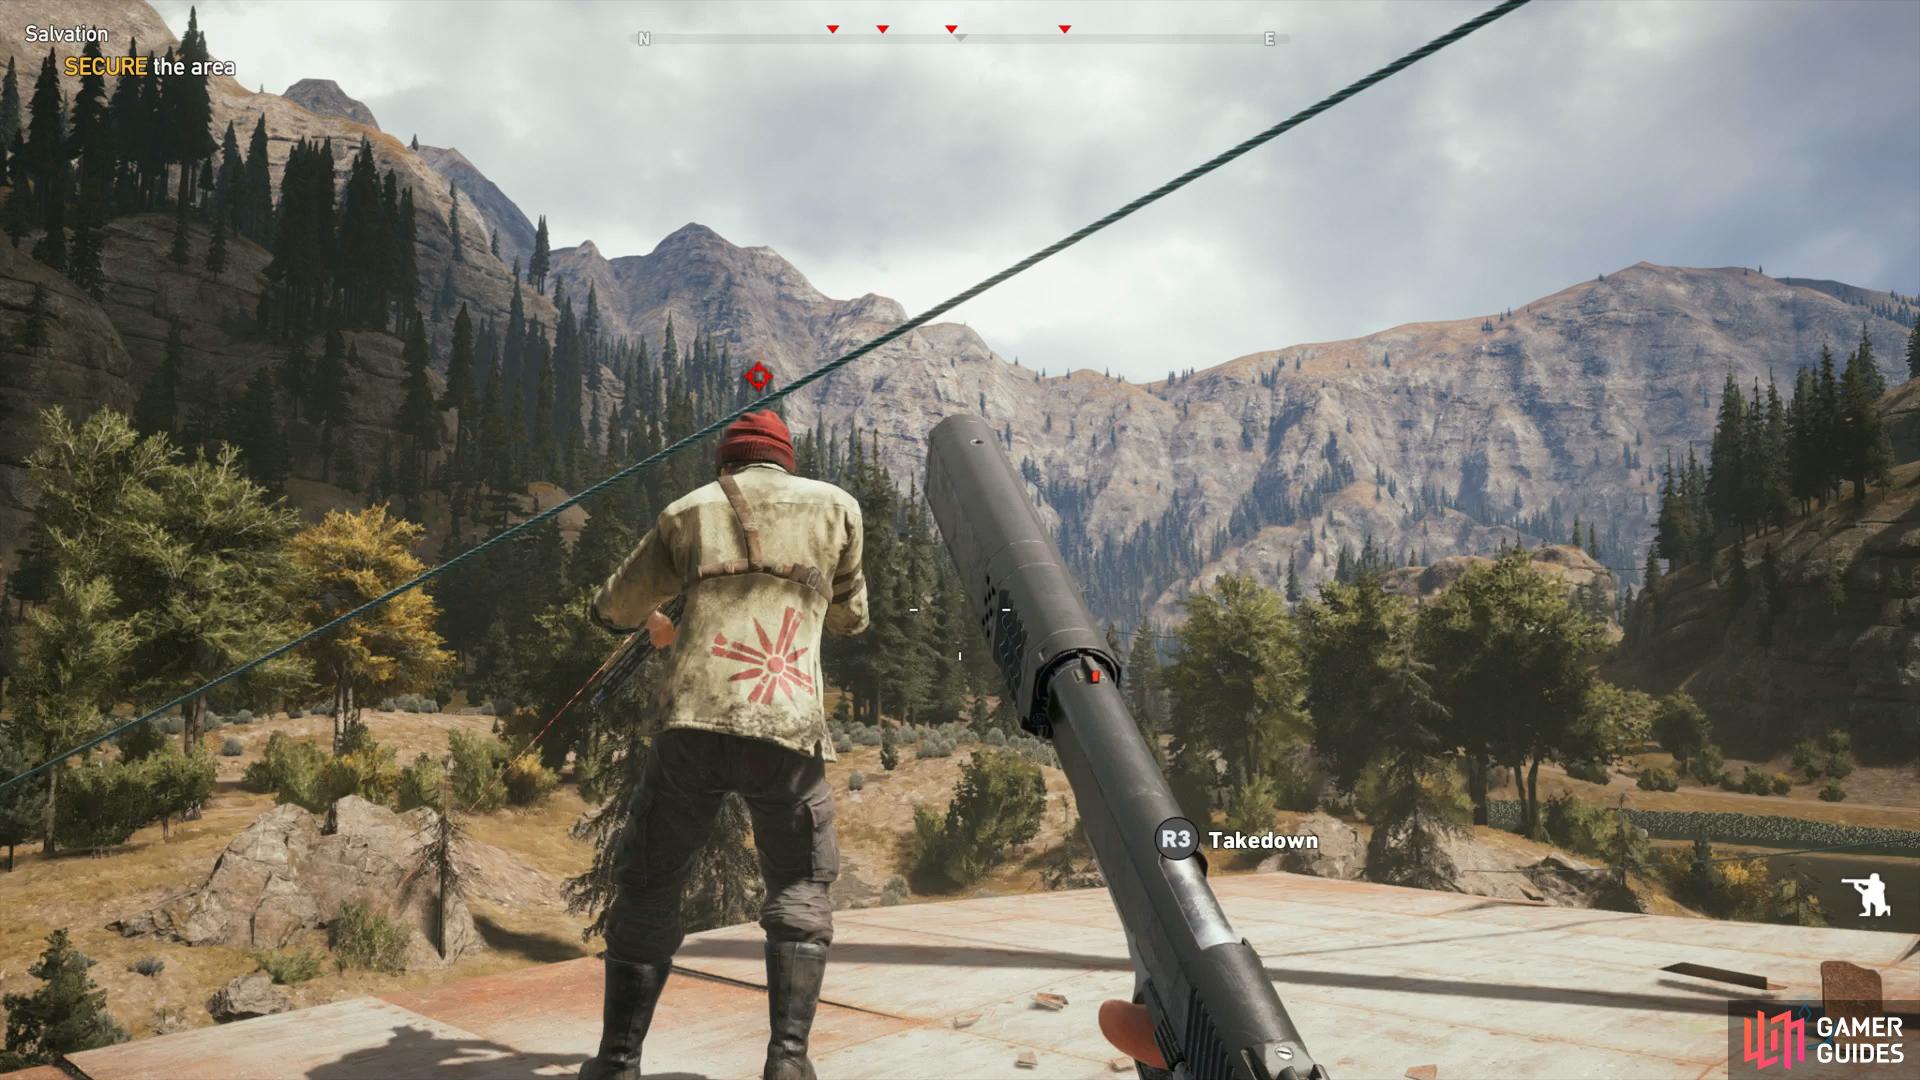
You’ll want to begin your approach from the north, in the hills here where you can get a good view from the binoculars to tag the cultists in the area. The main threats are the Marksman on top and the cultists with an alarm icon above their heads, they’ll call for reinforcements if they spot you and kill any of the hostages that they’re close to.
By far the best way to begin infiltrating is from inside the building and working your way up, taking the Zipline to get onto the boat. As you enter here, turn right and drop down one level before heading left and behind the first cultist here to take him out. Do not release any of the hostages until you’ve cleared the entire area, they’ll only get caught in the crosshairs.
Turn left and take the stairs up, following it around and up another set of stairs where you’ll come across the first reinforcement cultist firing some bullets off into the distance. Carefully sneak behind him, take him out and stash the body back where you came from, taking care not to be seen by the other cultist here.
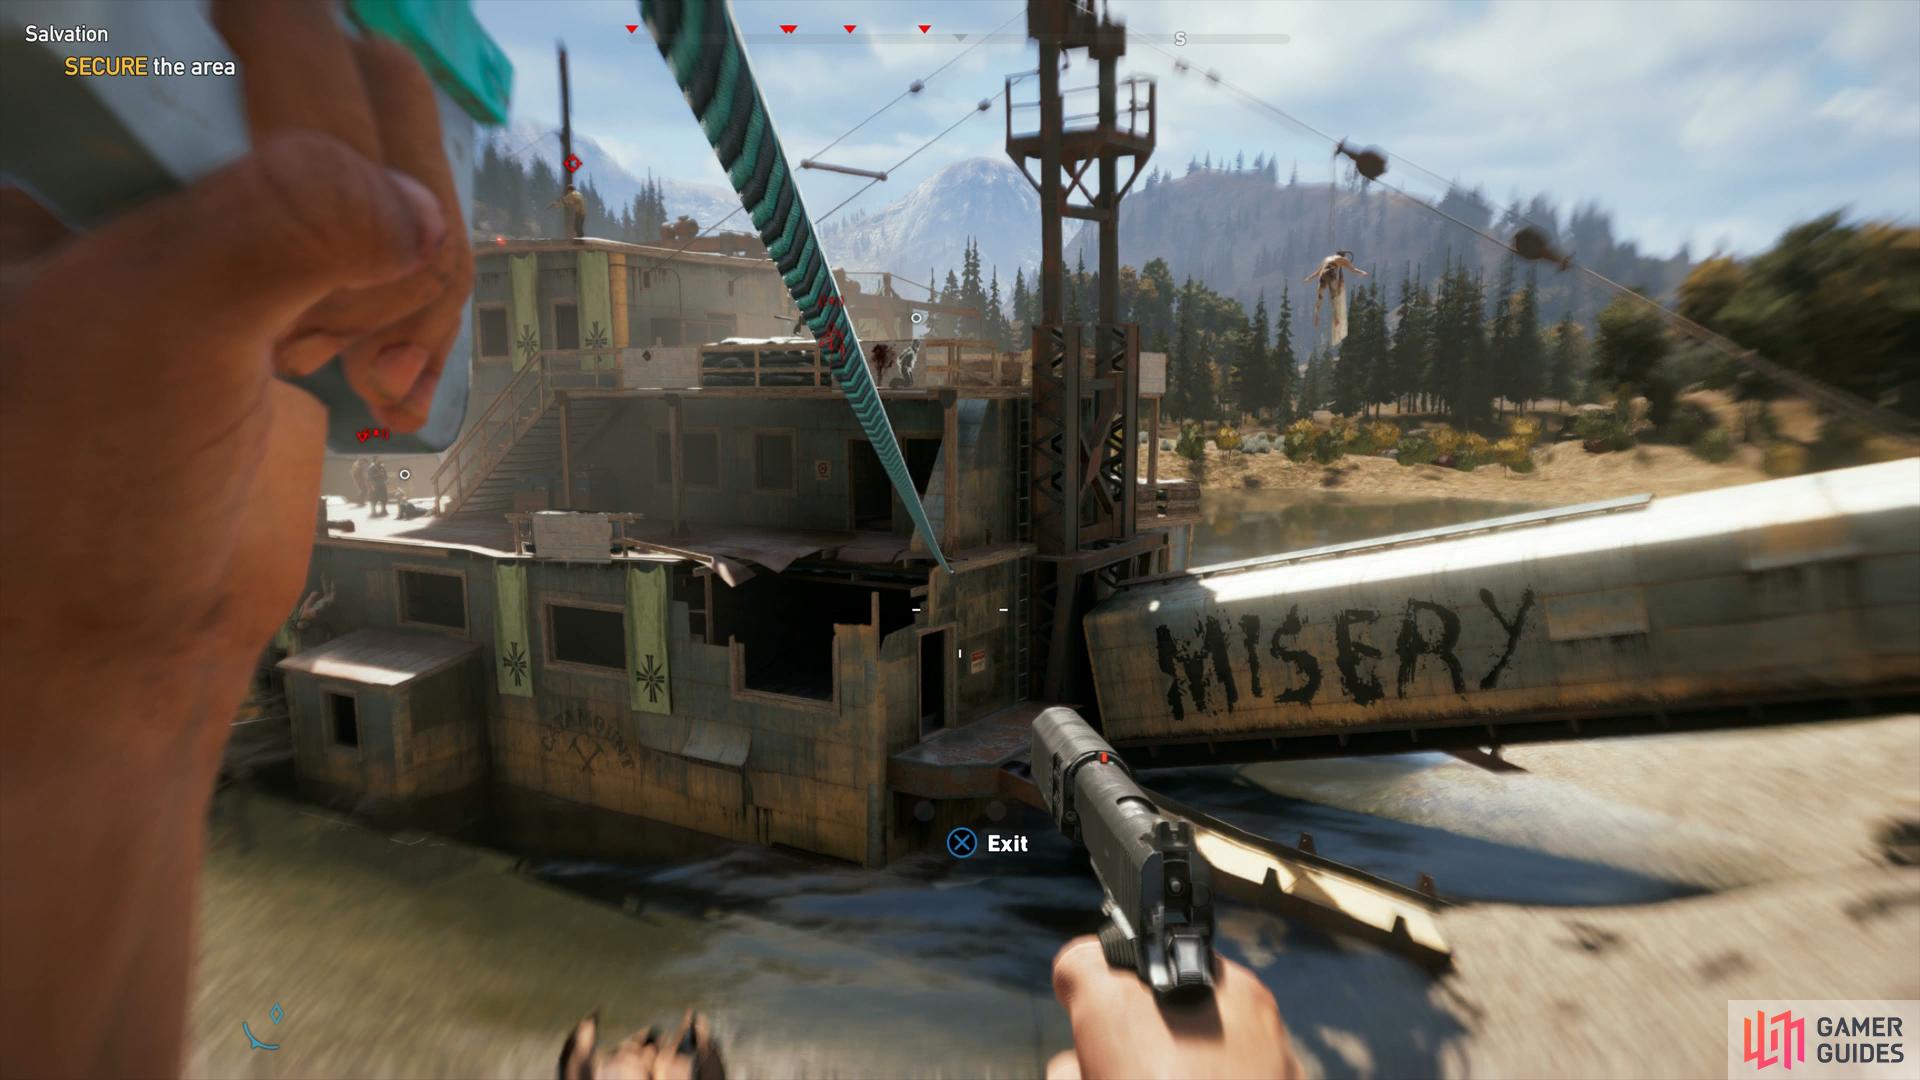
Use the Zipline in the hills to the northwest to enter
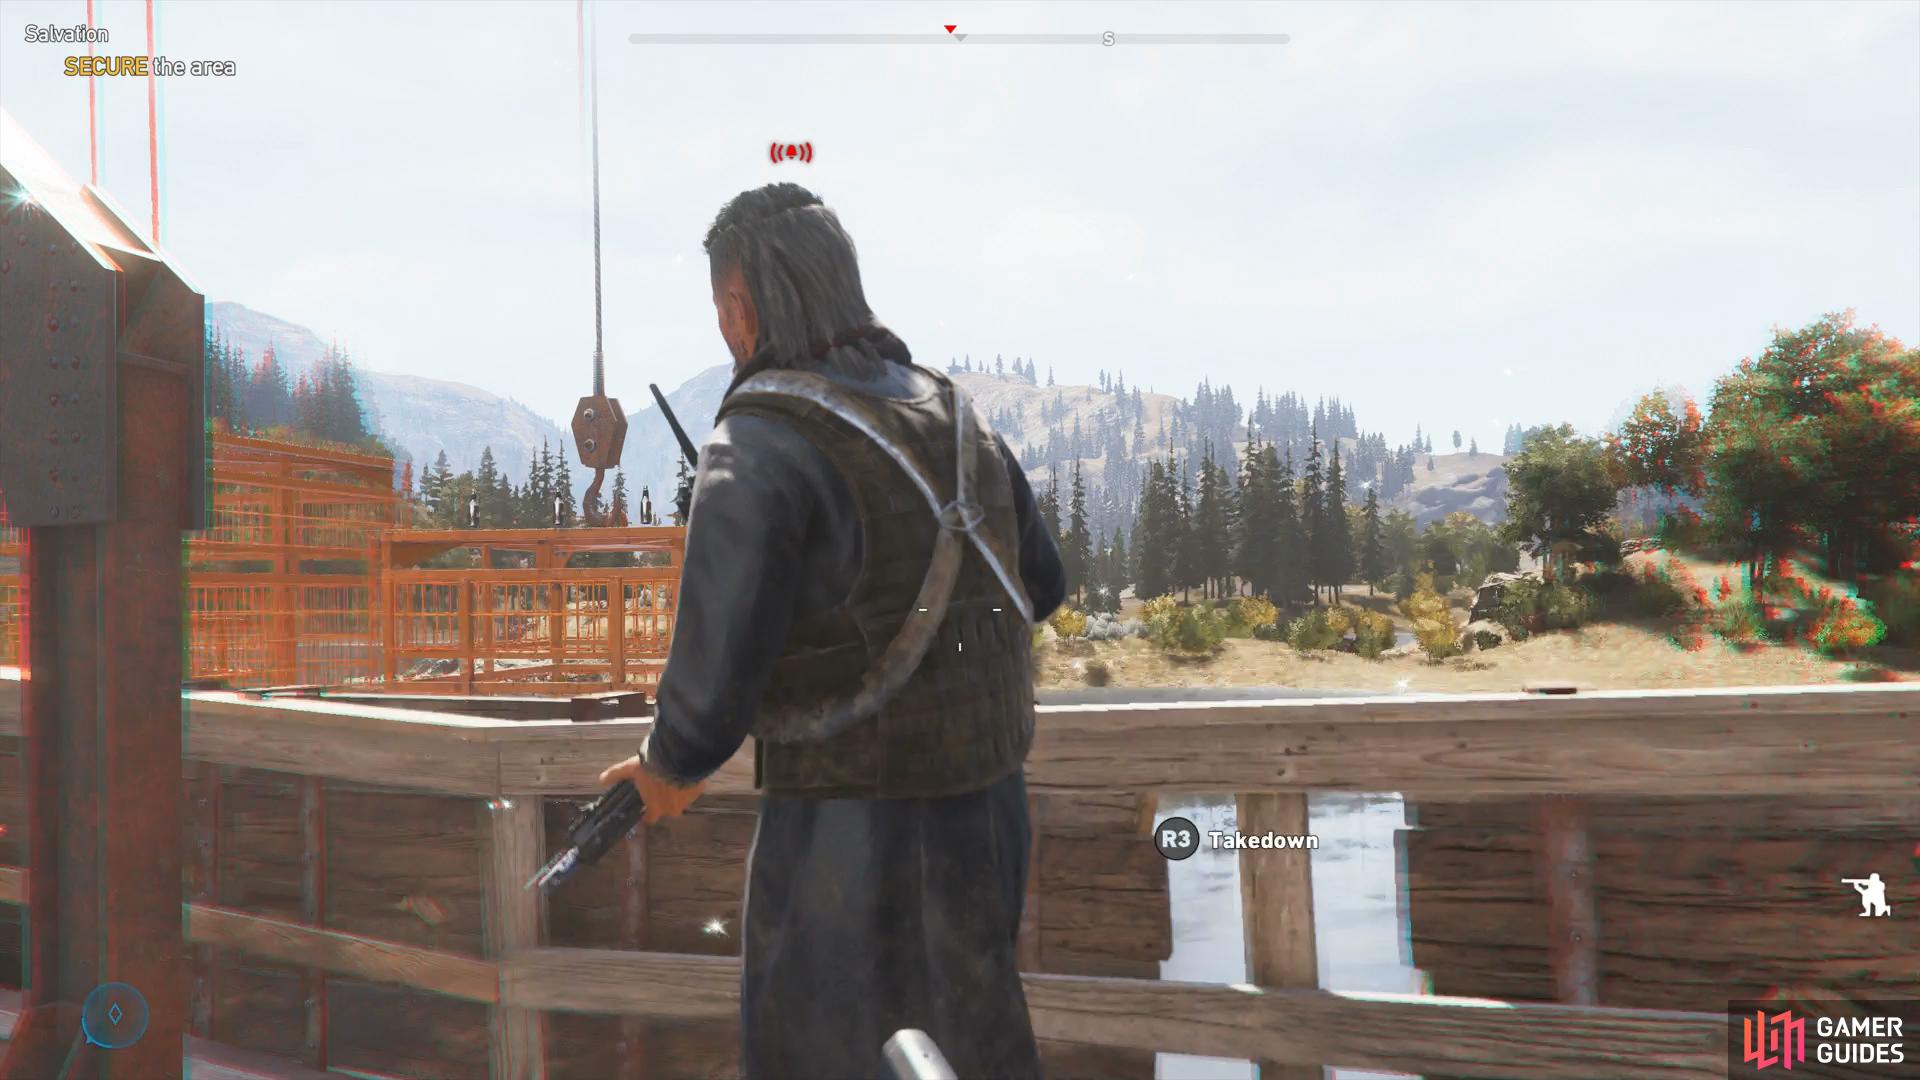
take out the first reinforcement cultist while he’s shooting into the distance.
Head back outside and take the stairs up to dispatch the next cultist near another hostage. Go back down the stairs you just took and up the ladder at the far end where there’s a cultist looking out into the distance (alternatively wait for him to go down a level and drop onto his head), if you’re careful you shouldn’t be seen as you eliminate him.
Once again, go back down the ladder, turn around you and go towards the stairs you climbed a moment ago. Turn around again here to spot a ladder leading to the top and the back of the Marksman cultist. This is an excellent spot to wait for one of the cultists below to turn his back and then drop onto the one assaulting the hostage before quickly taking out the other one standing close by.
The final cultist is outside the entrance, wait for him to walk below you and drop on him for one more takedown and secure the area. At this point you’ll be alerted that the Priestess is on her way along with the objective changing.
Take out the Marksman on top
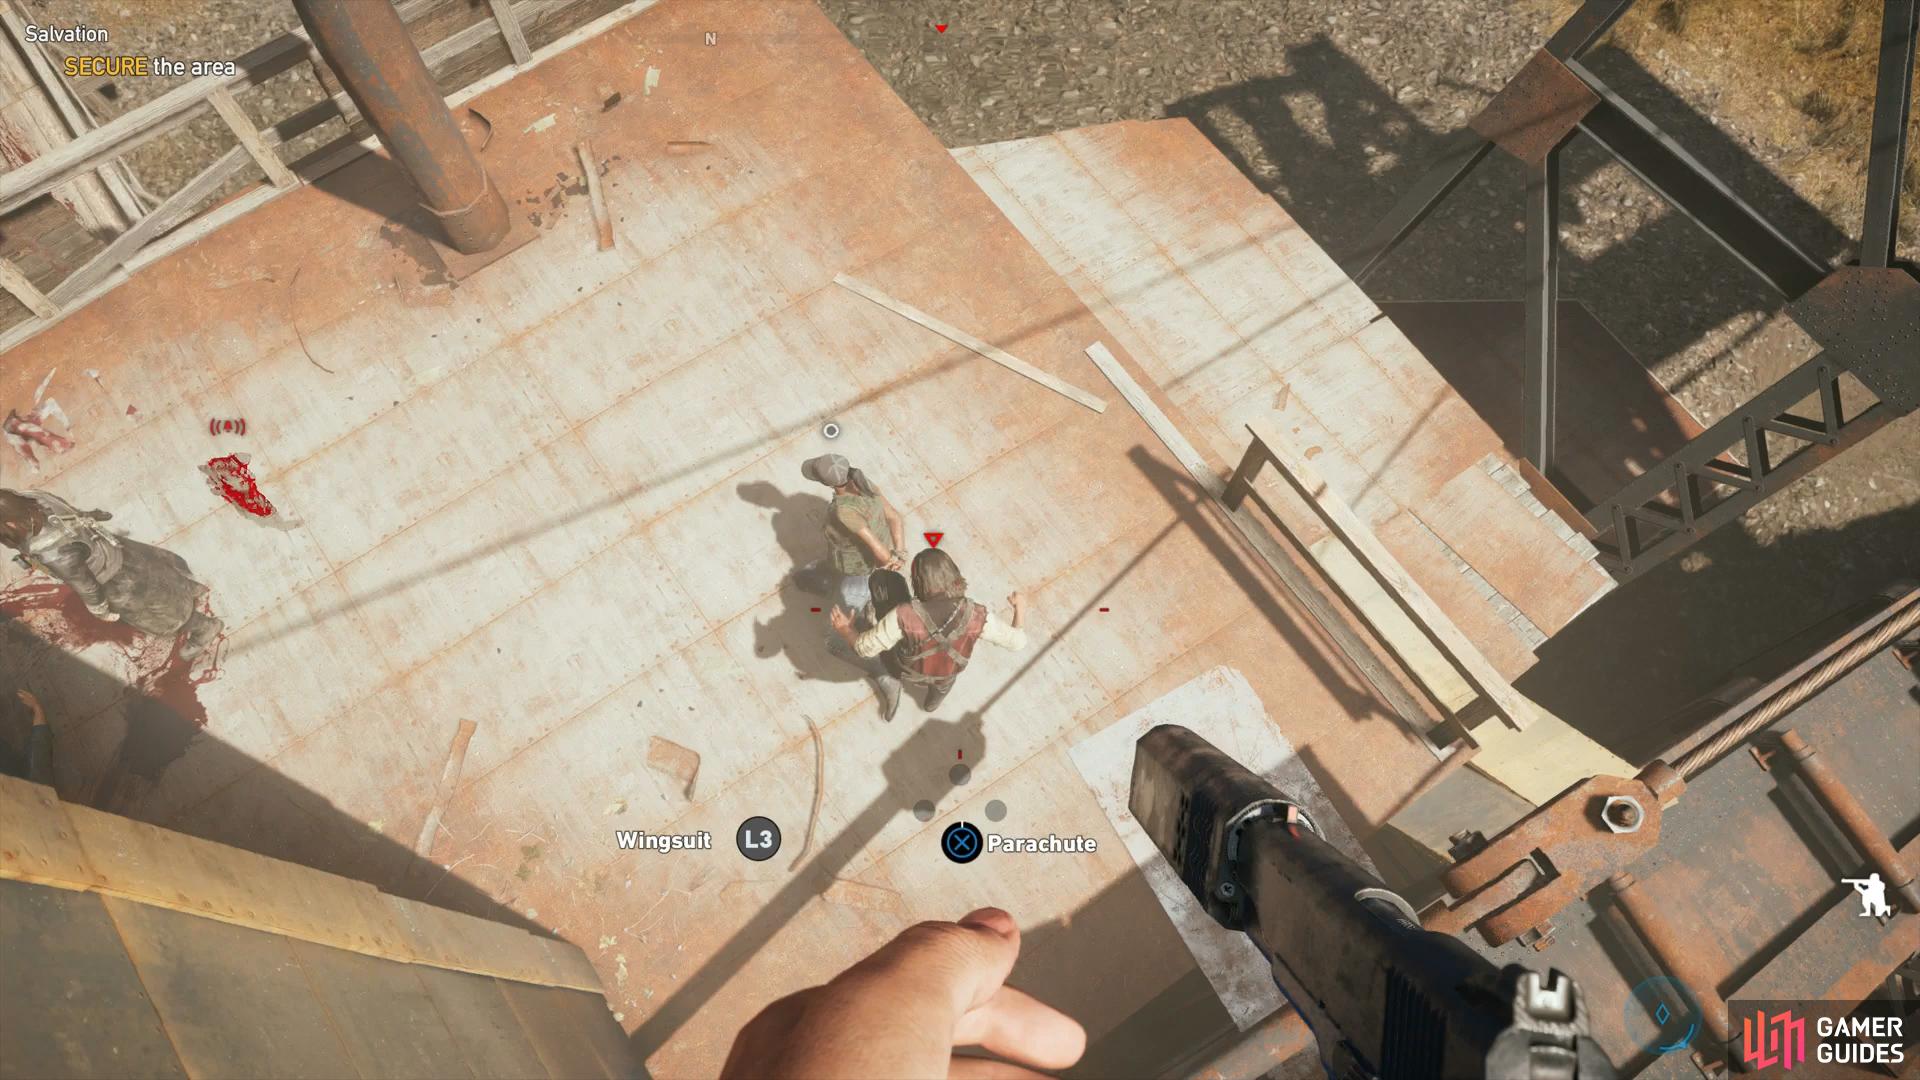
use the area up here to drop on the cultist below.
Ambush the Priestess
Seeing as you’ll already be on the ground from this last takedown, quickly rush over to where the objective is pointing. Throw a Proximity Explosive in preparation for her arival before retreating to the entrance of the boat and peering out the window, gun at the ready.
If you placed the explosive in the right place then the truck should go up in flames, killing her in the process. If you somehow didn’t kill her, you’ll have two other cultists to deal with alongside her, take out a rocket launcher and aim it at their location to take them out in one fell swoop.
Save the remaining hostages
You can now go and liberate the poor hostages that you’ve left in the Misery while on you’re killing spree. You’ll find them at the bottom level, the middle level, the top level and the final hostage in the cages which you can free by interacting with the button there.
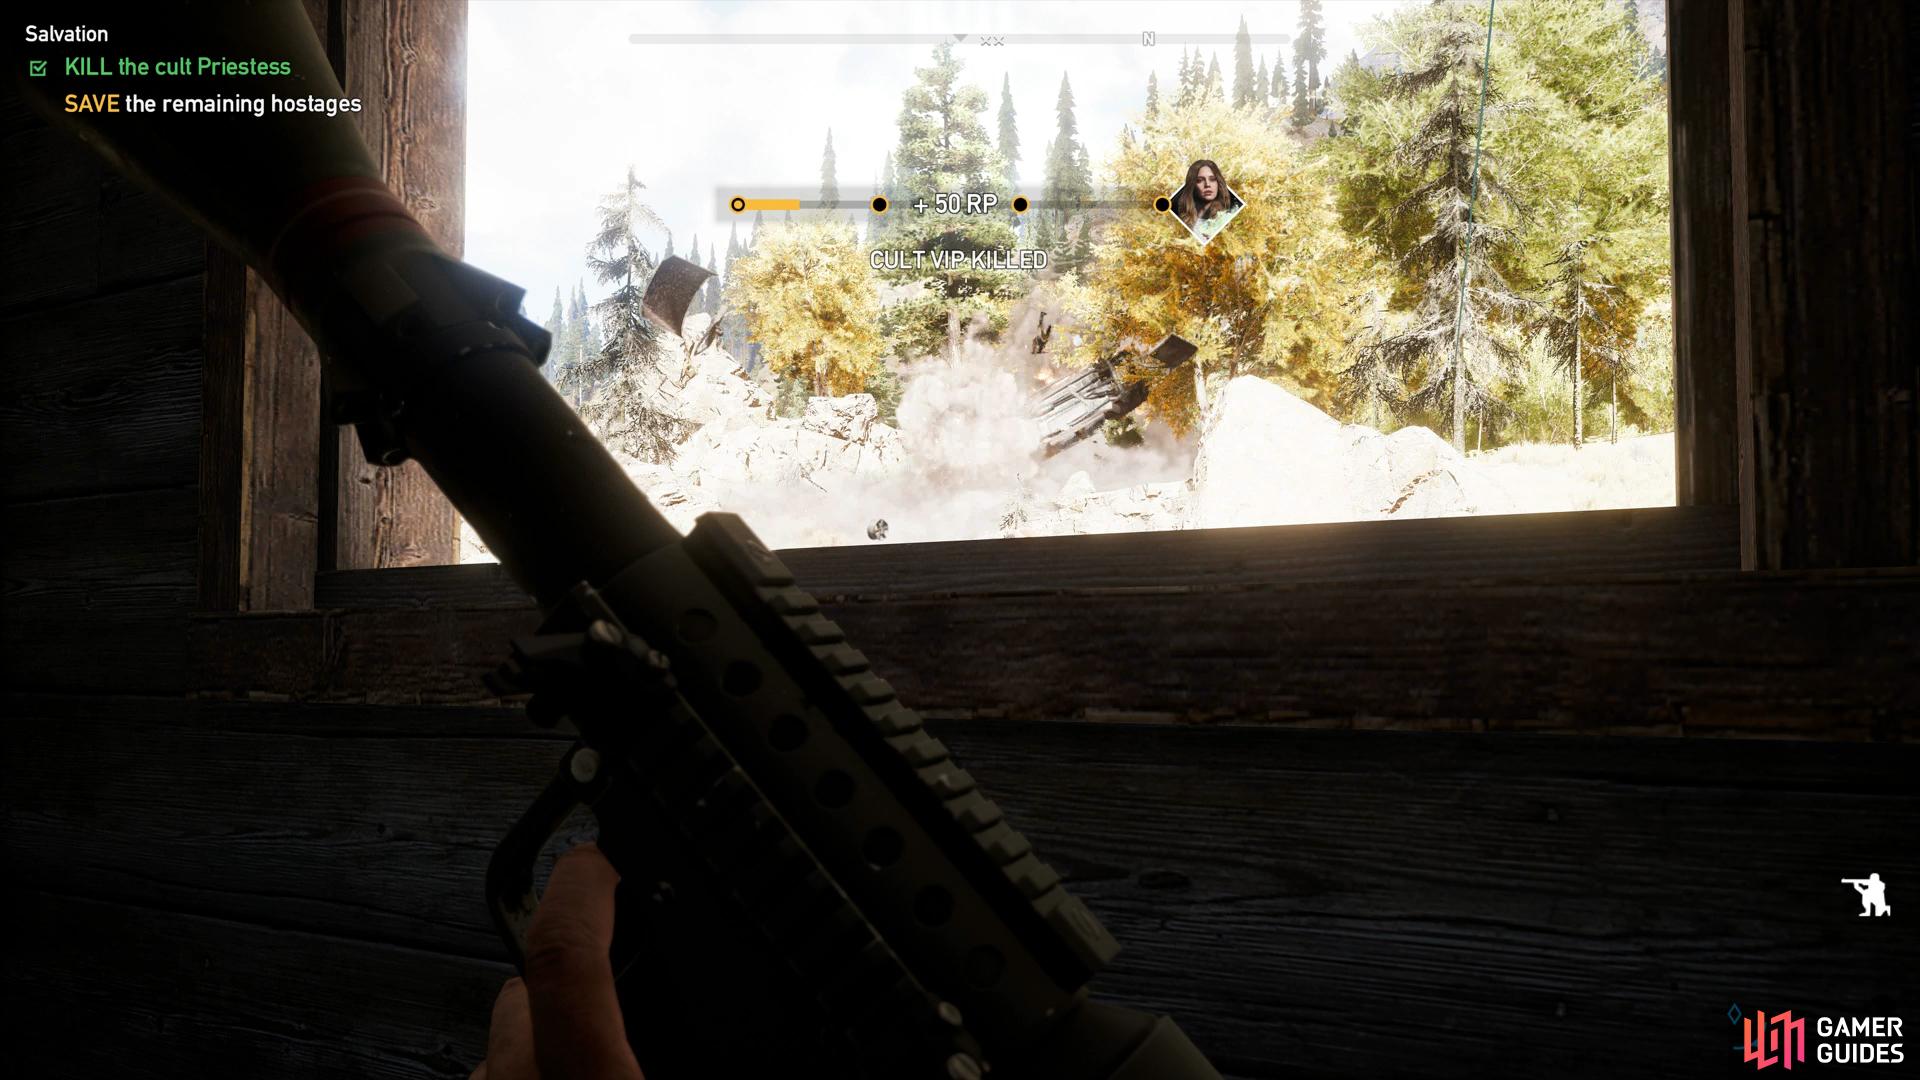
Ambush the cultist with a carefully placed Proximity Explosive
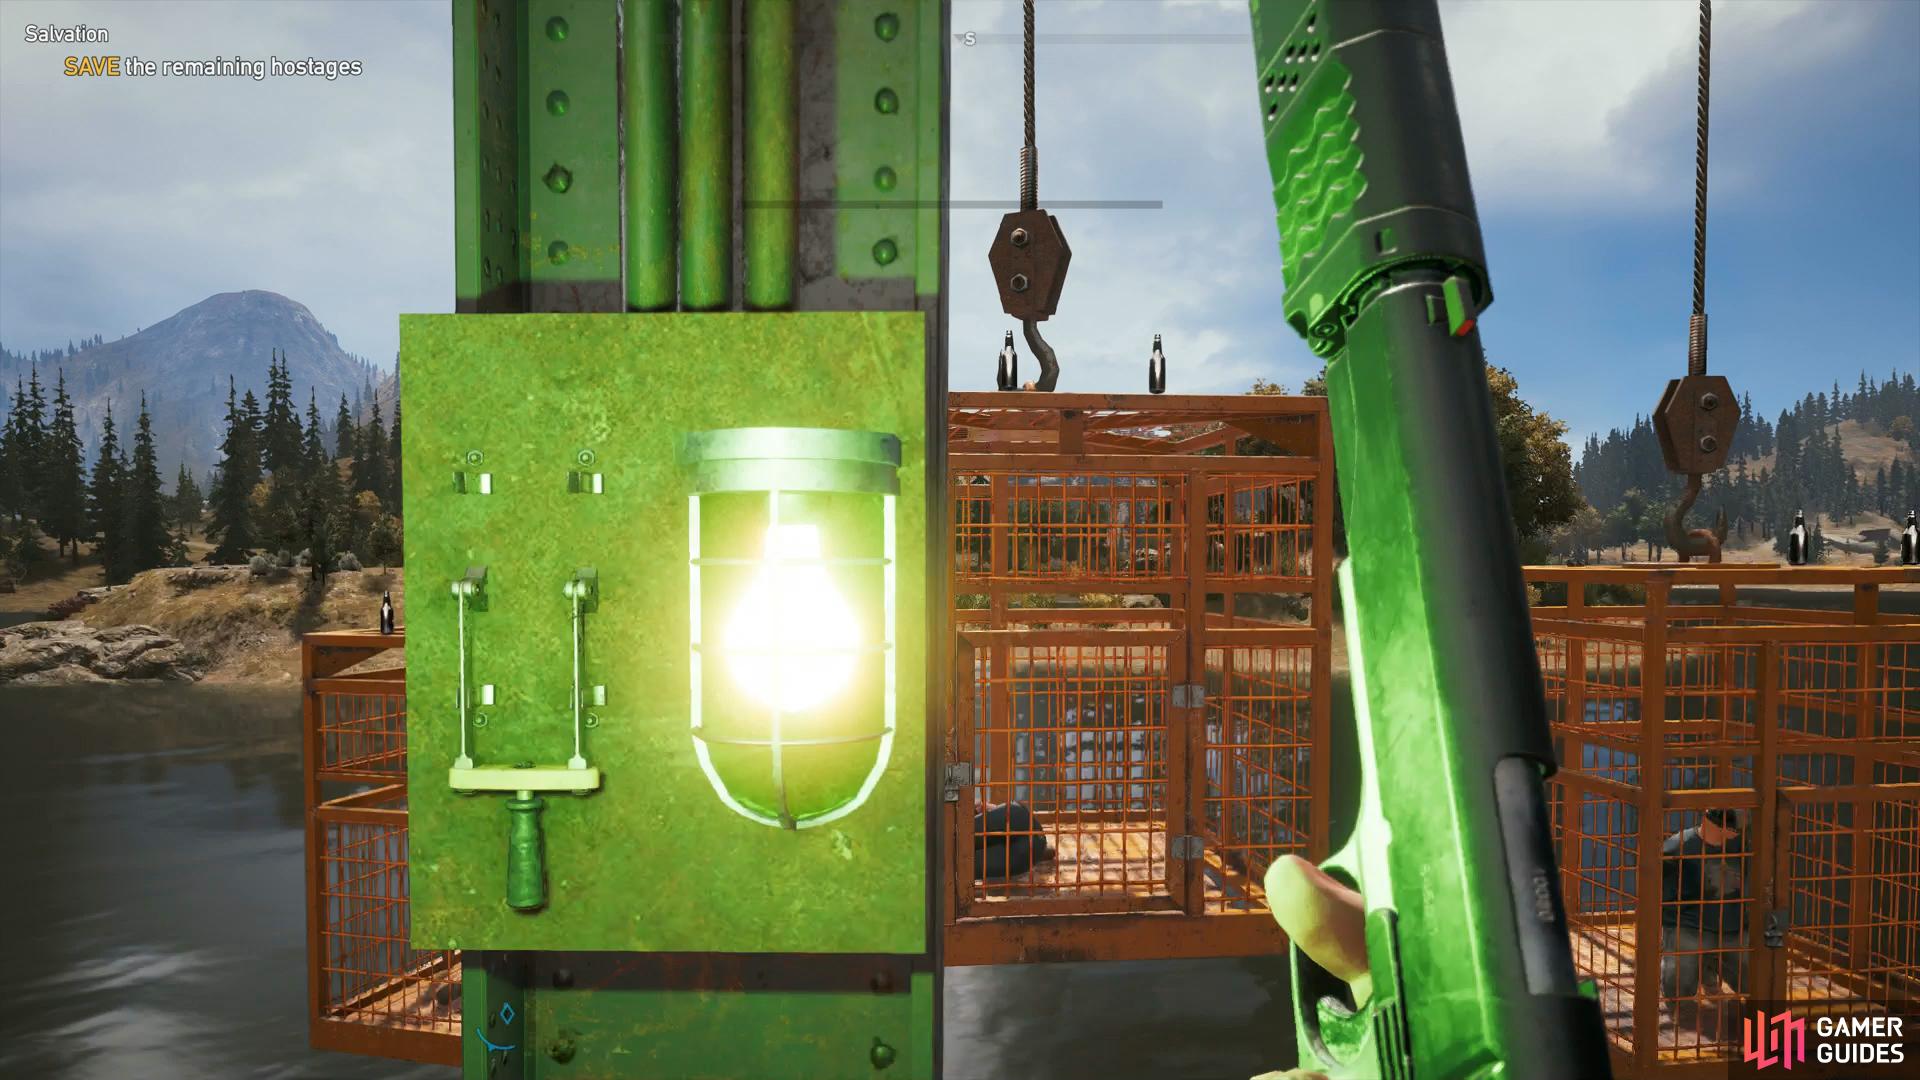
use the switch up top to release the hostage in the cage.
No Comments