
| Mission Acquisition | Rewards |
|---|---|
| Upon completion of Only You | N/A |
Reach Jacob’s Bunker
Once you receive the key from Jacob’s body at the end of the Only You, this mission will begin automatically. Make sure you’re fully prepared before you make the trip, the bunker has a lot of enemies to deal with and can be quite difficult, as a minimum you’ll want an assault rifle of some kind and possibly an LMG. When you’re ready, head over to the gates of the bunker, in the mountains to the north of the F.A.N.G. Center.
Use Key to enter Jacob’s Bunker
Approach from the hills to the east as there’s some cultists on guard at the entrance. There’s a Marksman that patrols from the top of the tower and down the dirt path, take him out first. From here it’s the simple case of getting behind each of the other cultists and silently taking them out, none are close to each other. Once all of them are dead, drop down to the front and use the key to gain access to the bunker itself.
Reach the Control Room
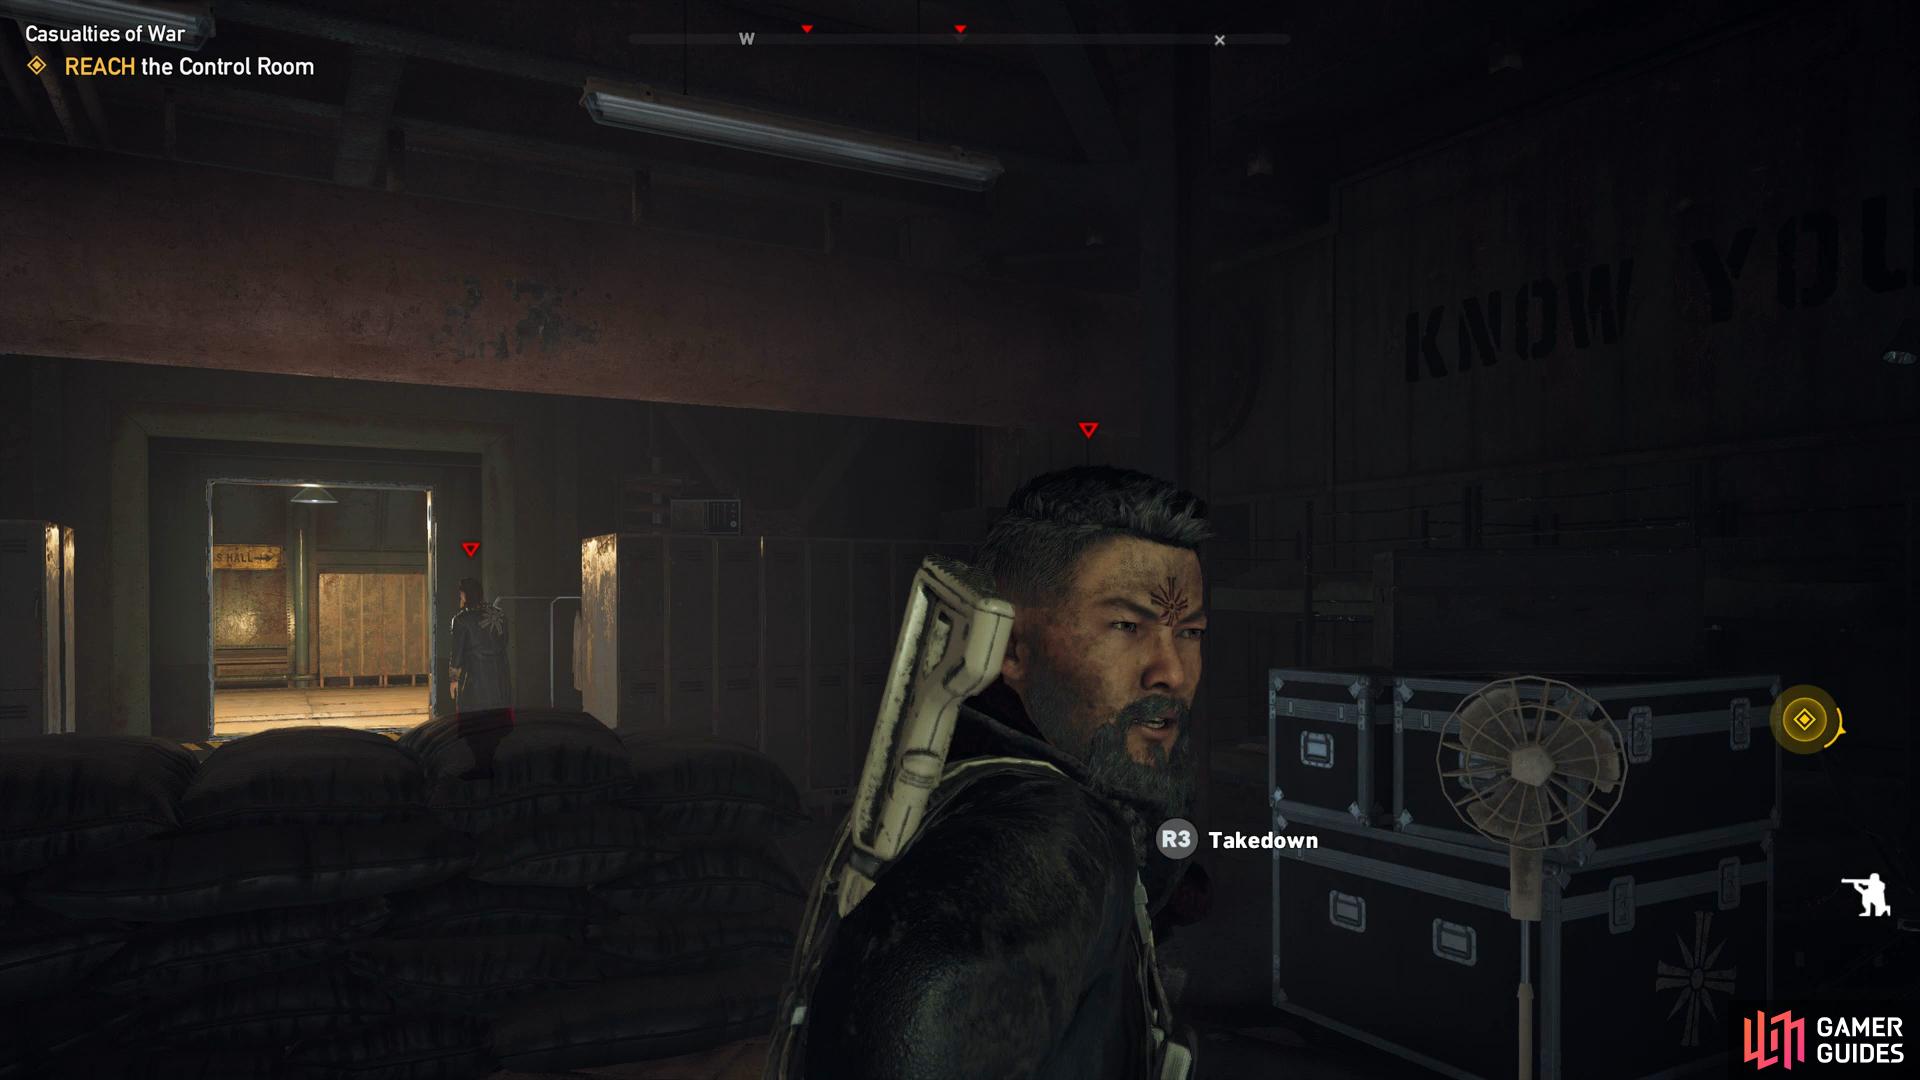
Take the stairs down to the bottom (picking up a Med Kit by the crate) and before you head through the door, use the binoculars to tag the three cultists at the back. There’s two directions to go however only one is sensible, take the door to your right.
You’ll reach a corridor which forks to the right again, there’s only two cultists to deal with here however. Take out the cultist after going right at the fork before waiting for one of the cultists from the previous room to patrol and dispatch him. You can now loop back around to the previous room you skipped at the start for two easy takedowns.
Return to the corridor and take the right split again leading to another room with two more cultists inside waiting for you to dispatch them. Take the nearby stairs down and quietly wait for the patrol of one cultist, taking him out as the opportunity presents itself.
Return to the first room once there’s only two cultists left
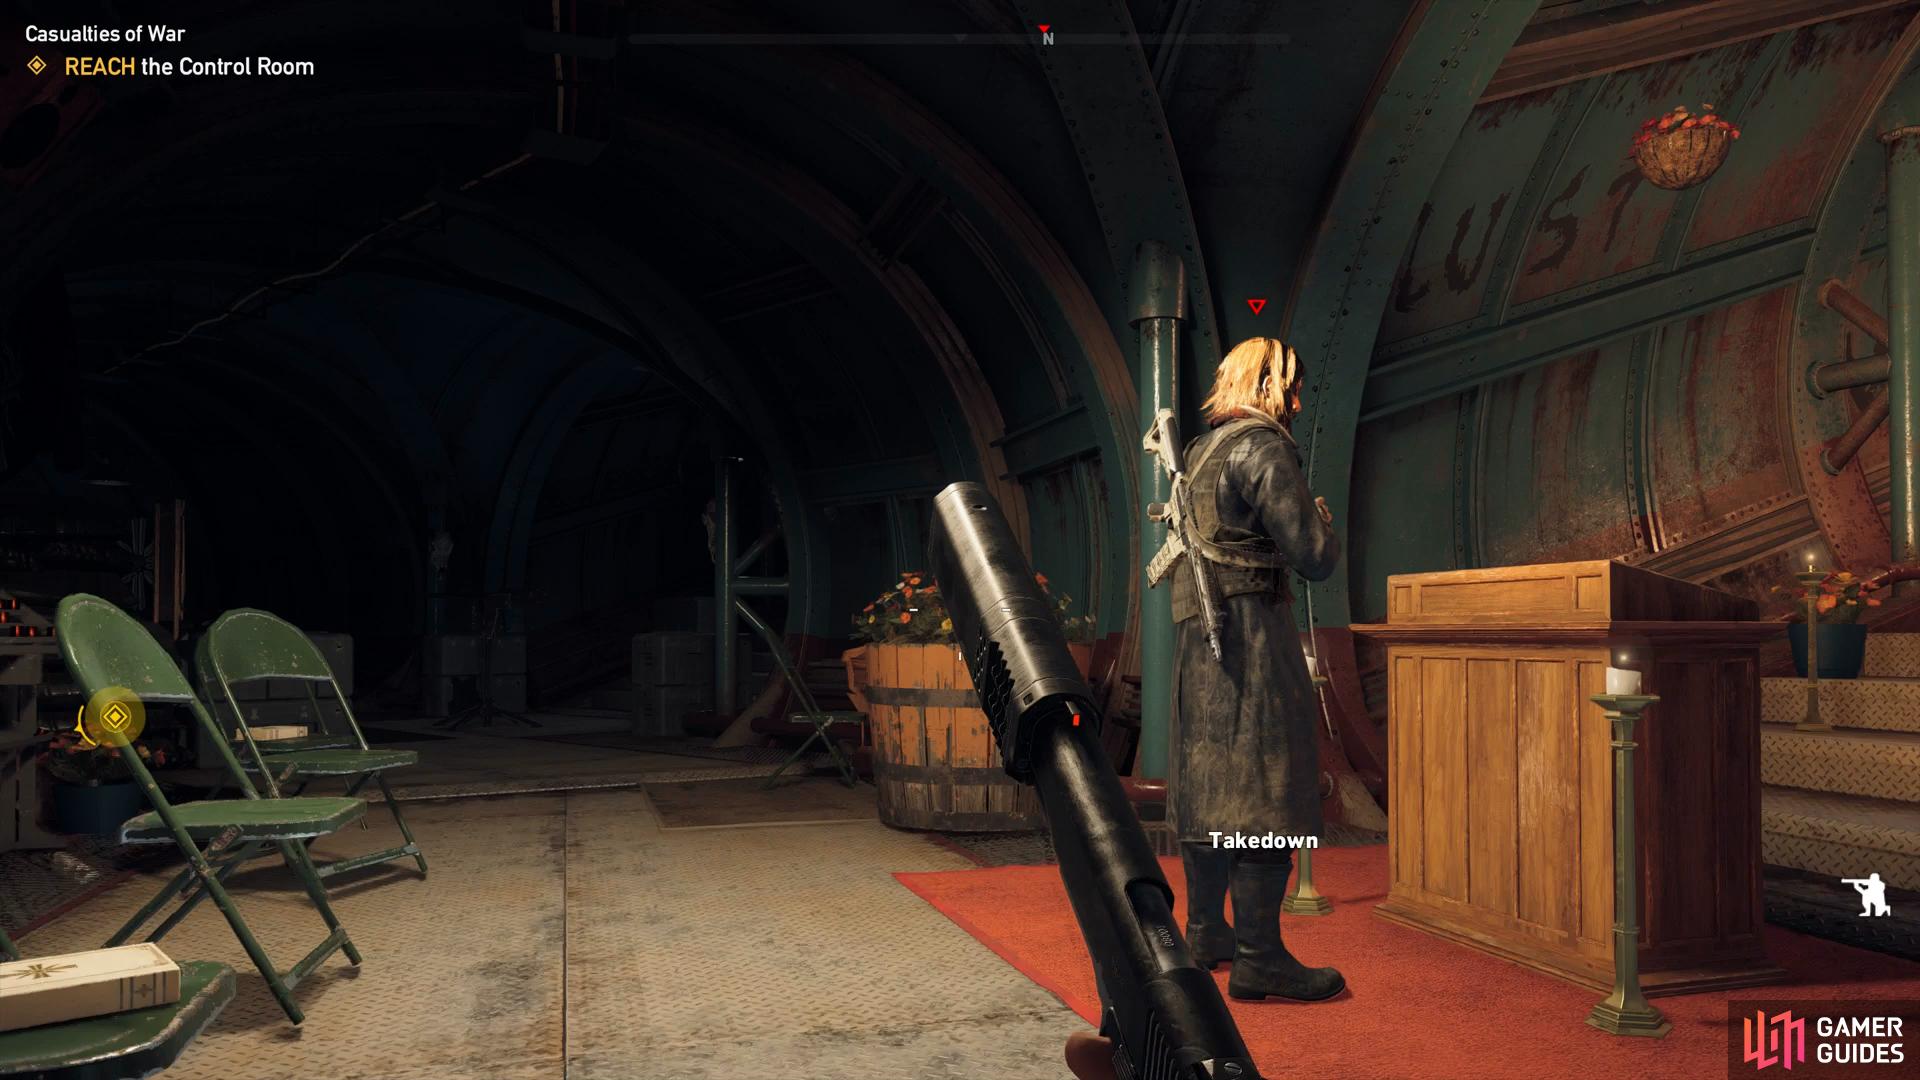
wait for this cultists to begin his prayer to The Father
Be careful as you exit this room and reach the corridor, there’s a patrol here, wait for him to turn to the portrait of Joseph and dispatch him mid worship. At the end of this hallway you’ll finally reach the Control Room where you can unlock the pressure doors.
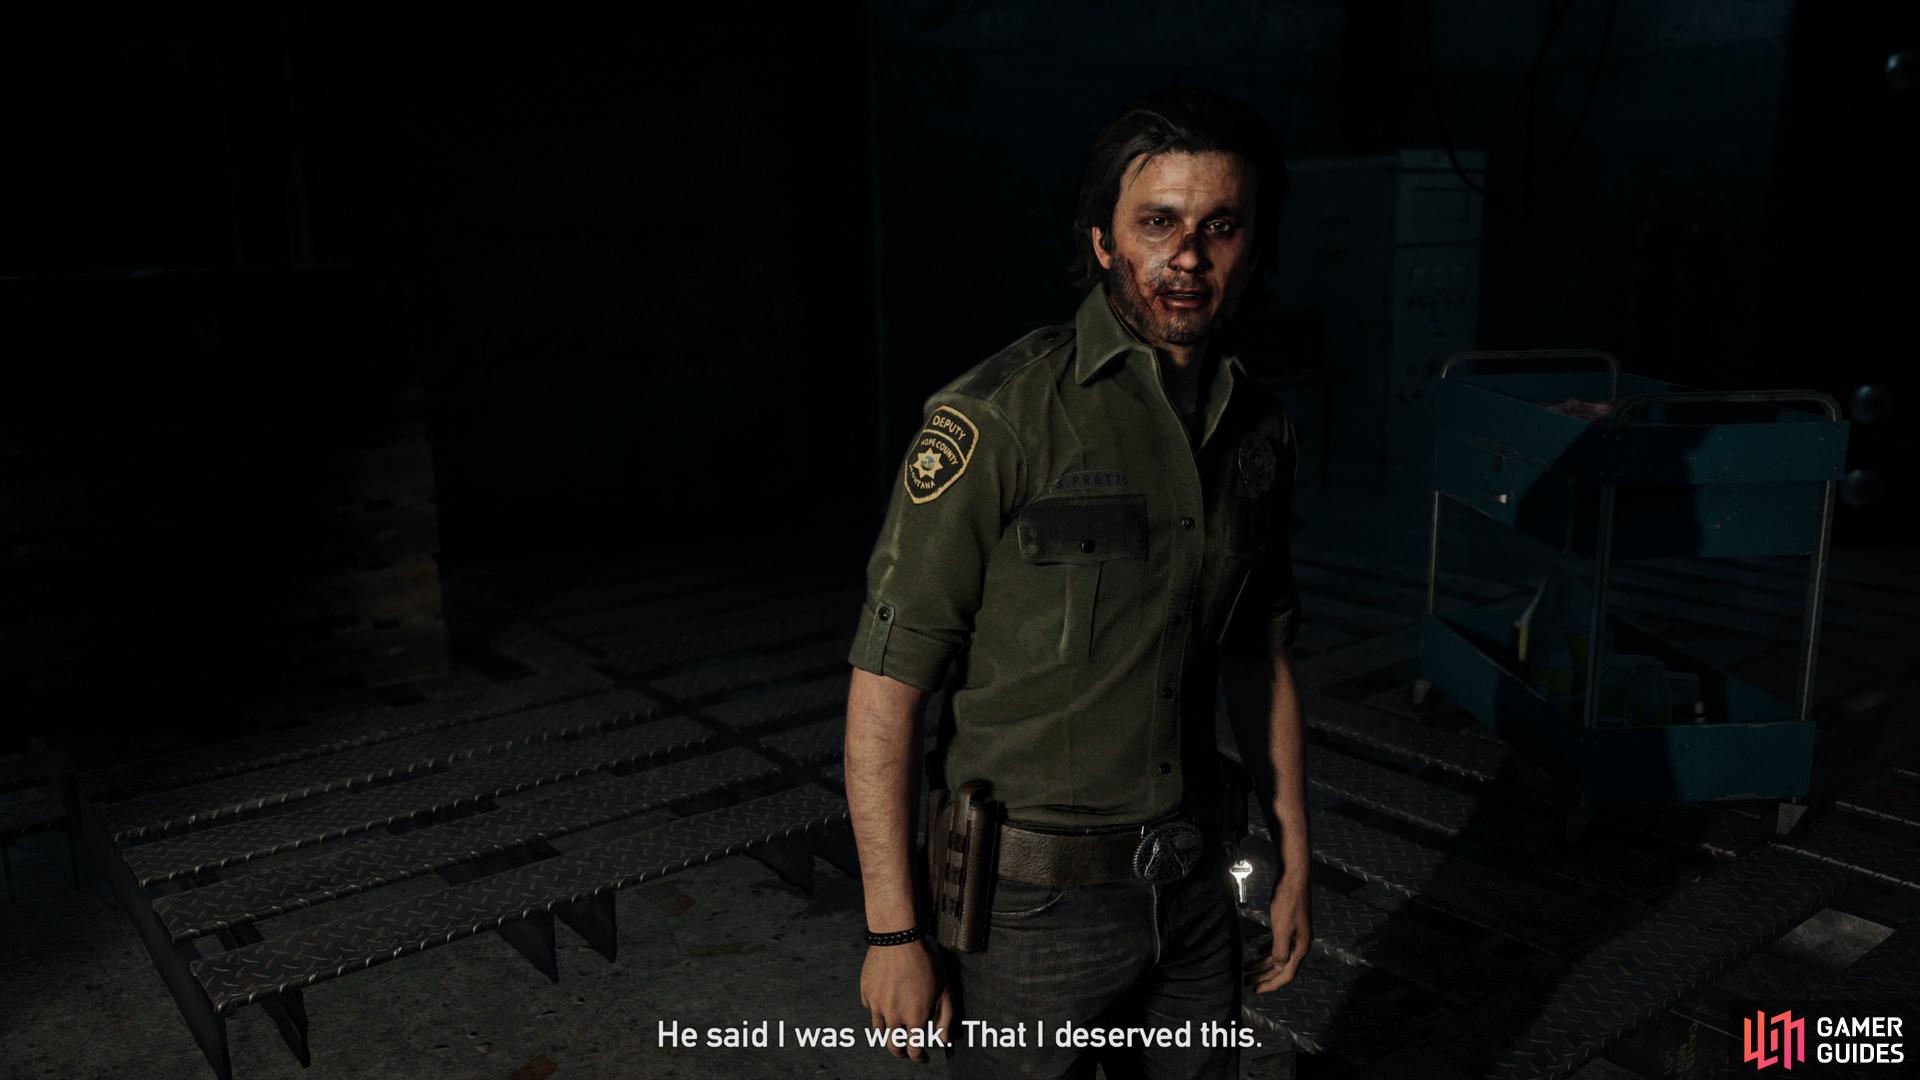
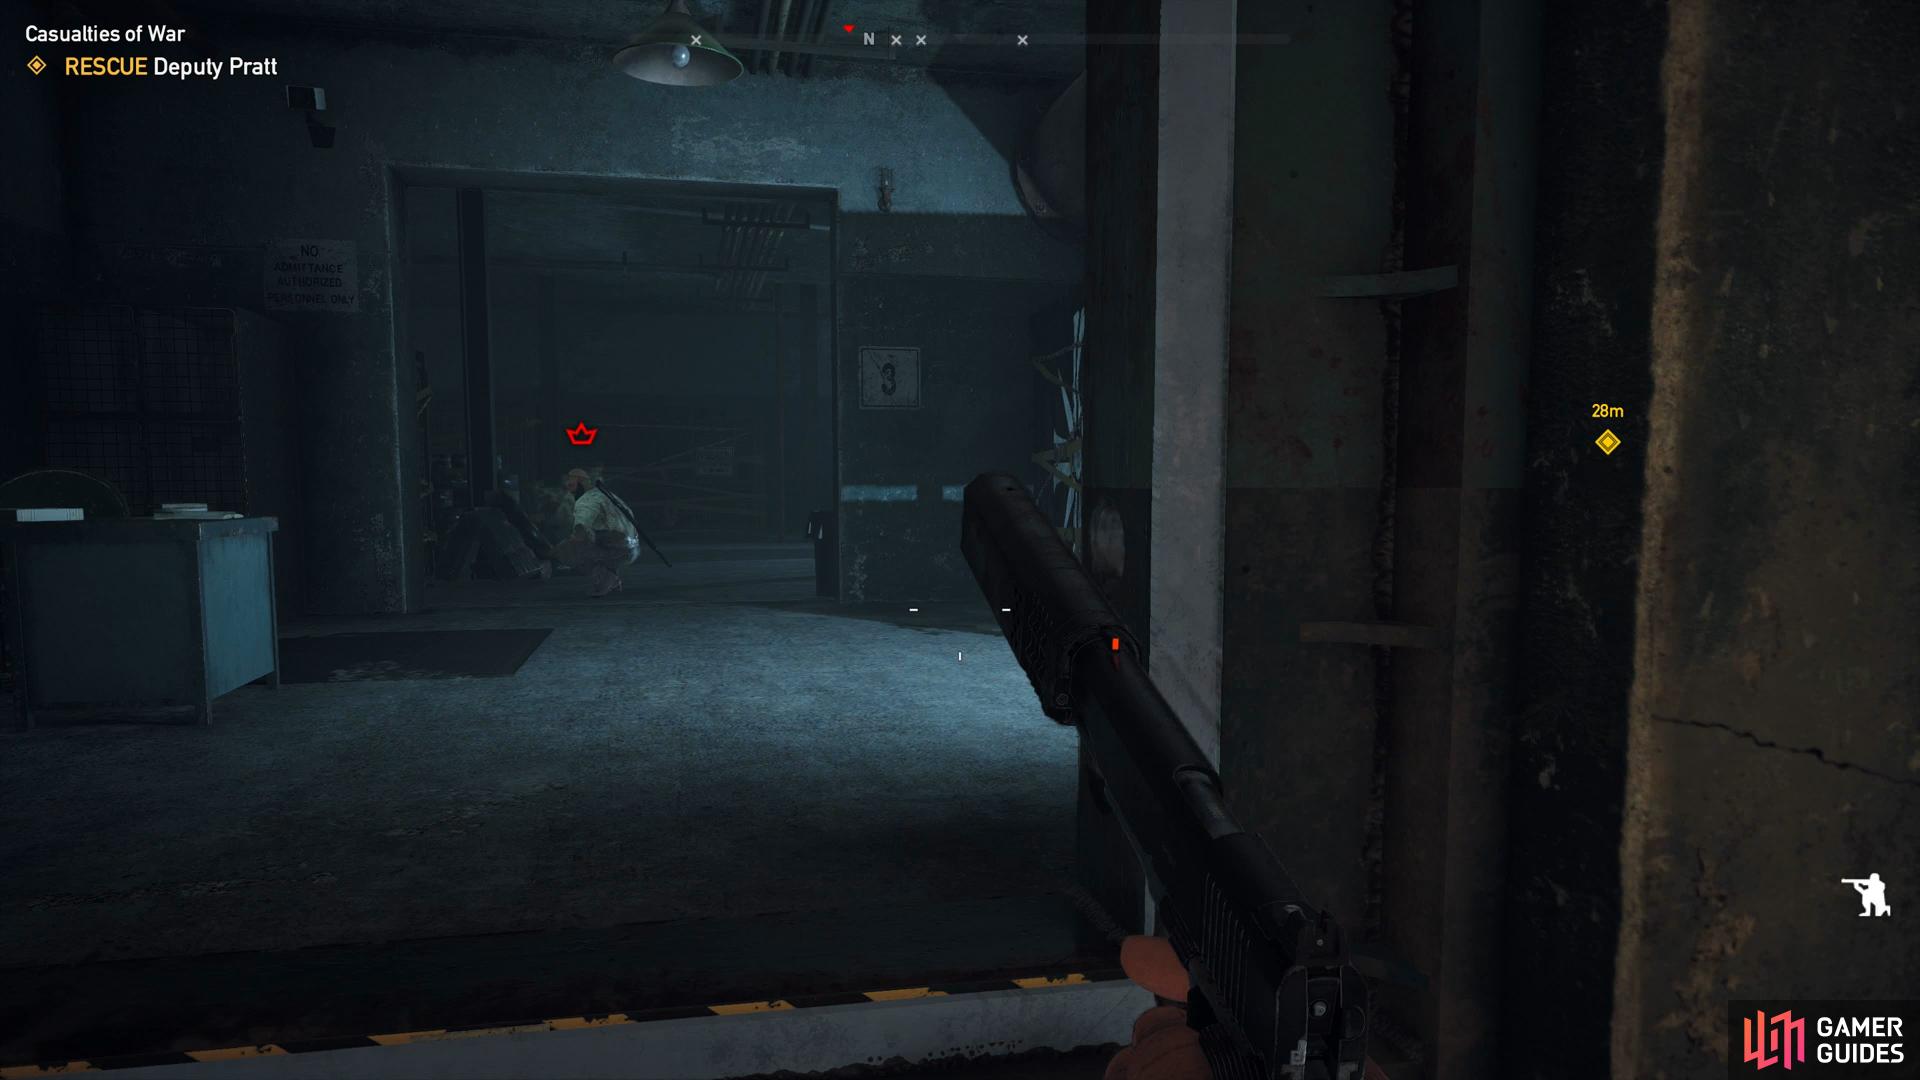
Rescue Deputy Pratt
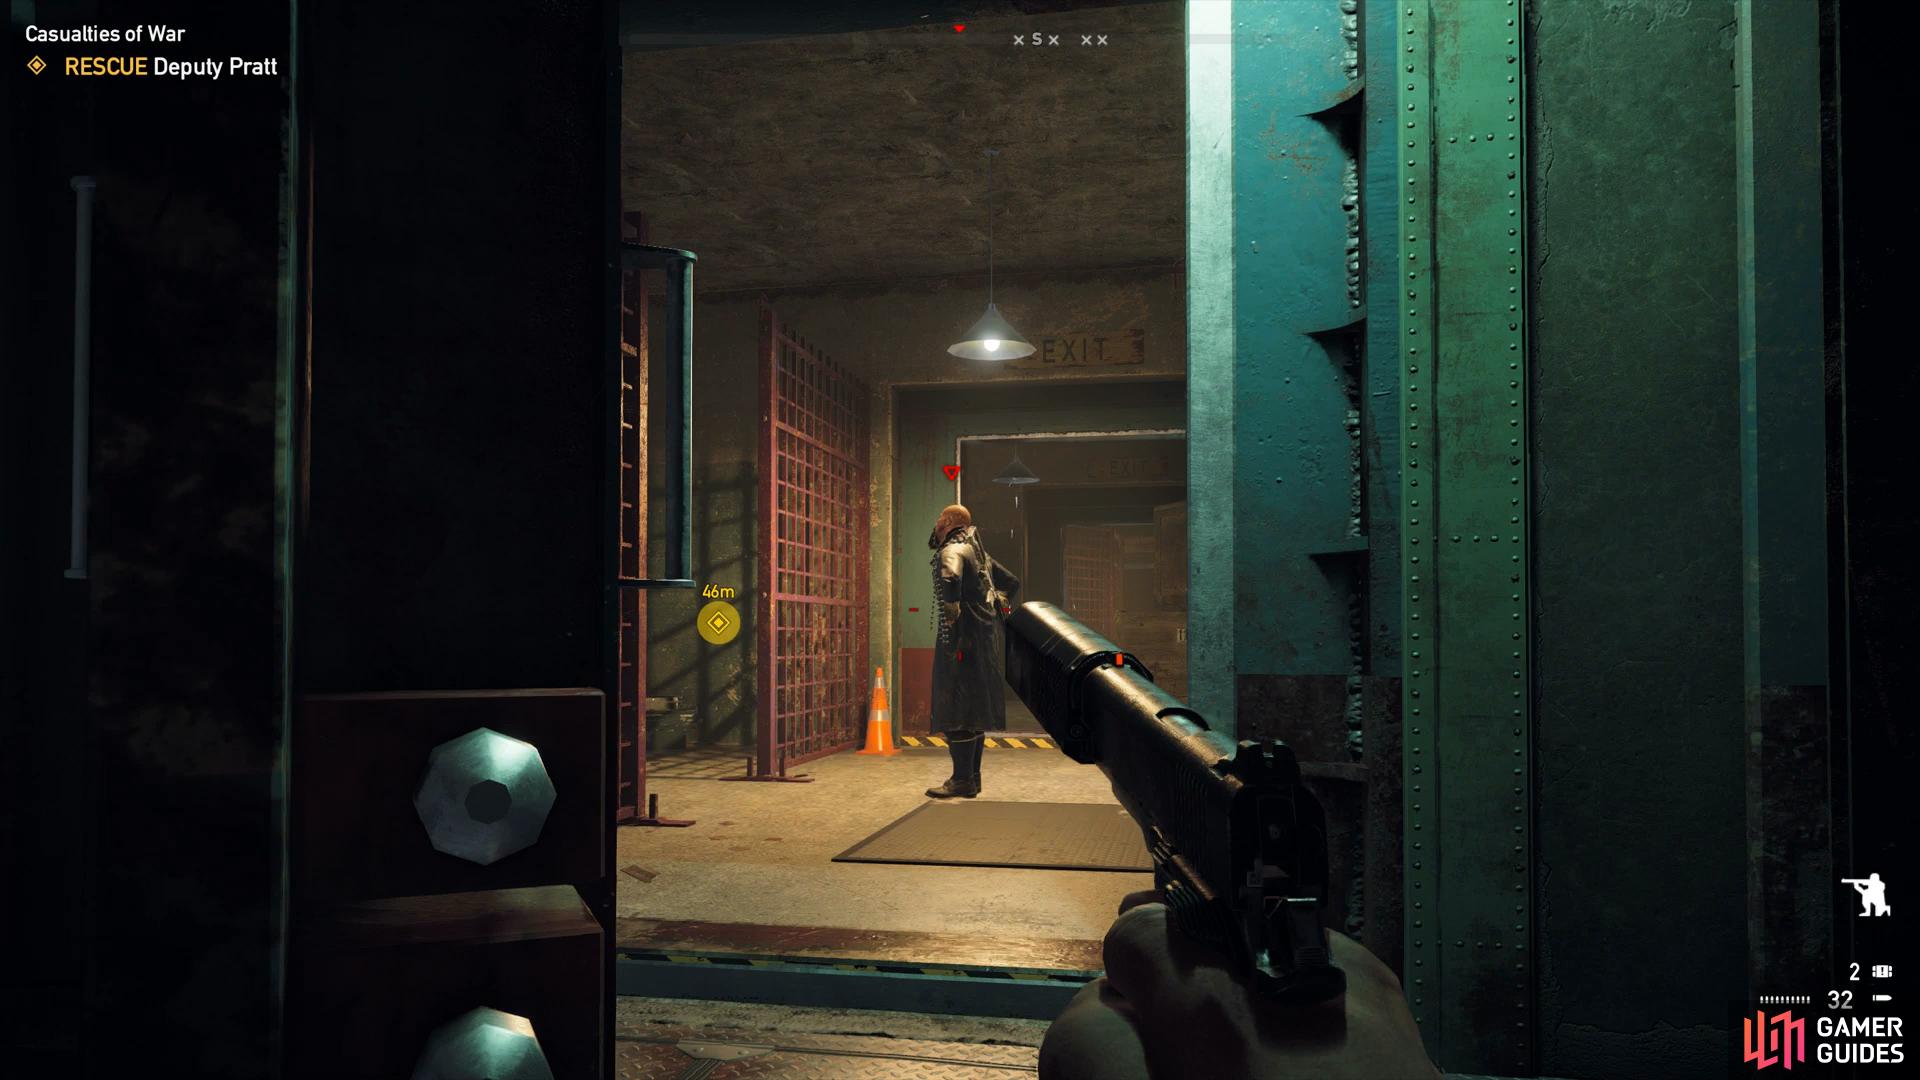
You’ve now unlocked the doors blocking the route to Deputy Pratt but don’t go rushing off as there are more cultists to deal with on the way. Return to the previous corridor and now take a right to find yourself back in the storage room from a short while ago and proceed through the now open door ahead of you, dispatching a cultist in the process.
There’s two more cultists at the end of this hallway, tag them with the binoculars and then wait for them to part before you pick each one off one by one. Take the linear path down the stairs and into the lab where you’ll find a VIP to eliminate. With all threats gone, head into the next room and hit the button to rescue Deputy Pratt at long last.
You risk being seen by this cultist if you rush ahead
this VIP marks the last enemy between you and Deputy Pratt.
Escape Jacob’s Armory
Deputy Pratt has set events in motion and it’s time to escape the Armory, equip your most damaging weapon and begin the dash to the surface. Four cultists intercept in the first room followed by one with a flamethrower, continue up the stairs upon their defeat.
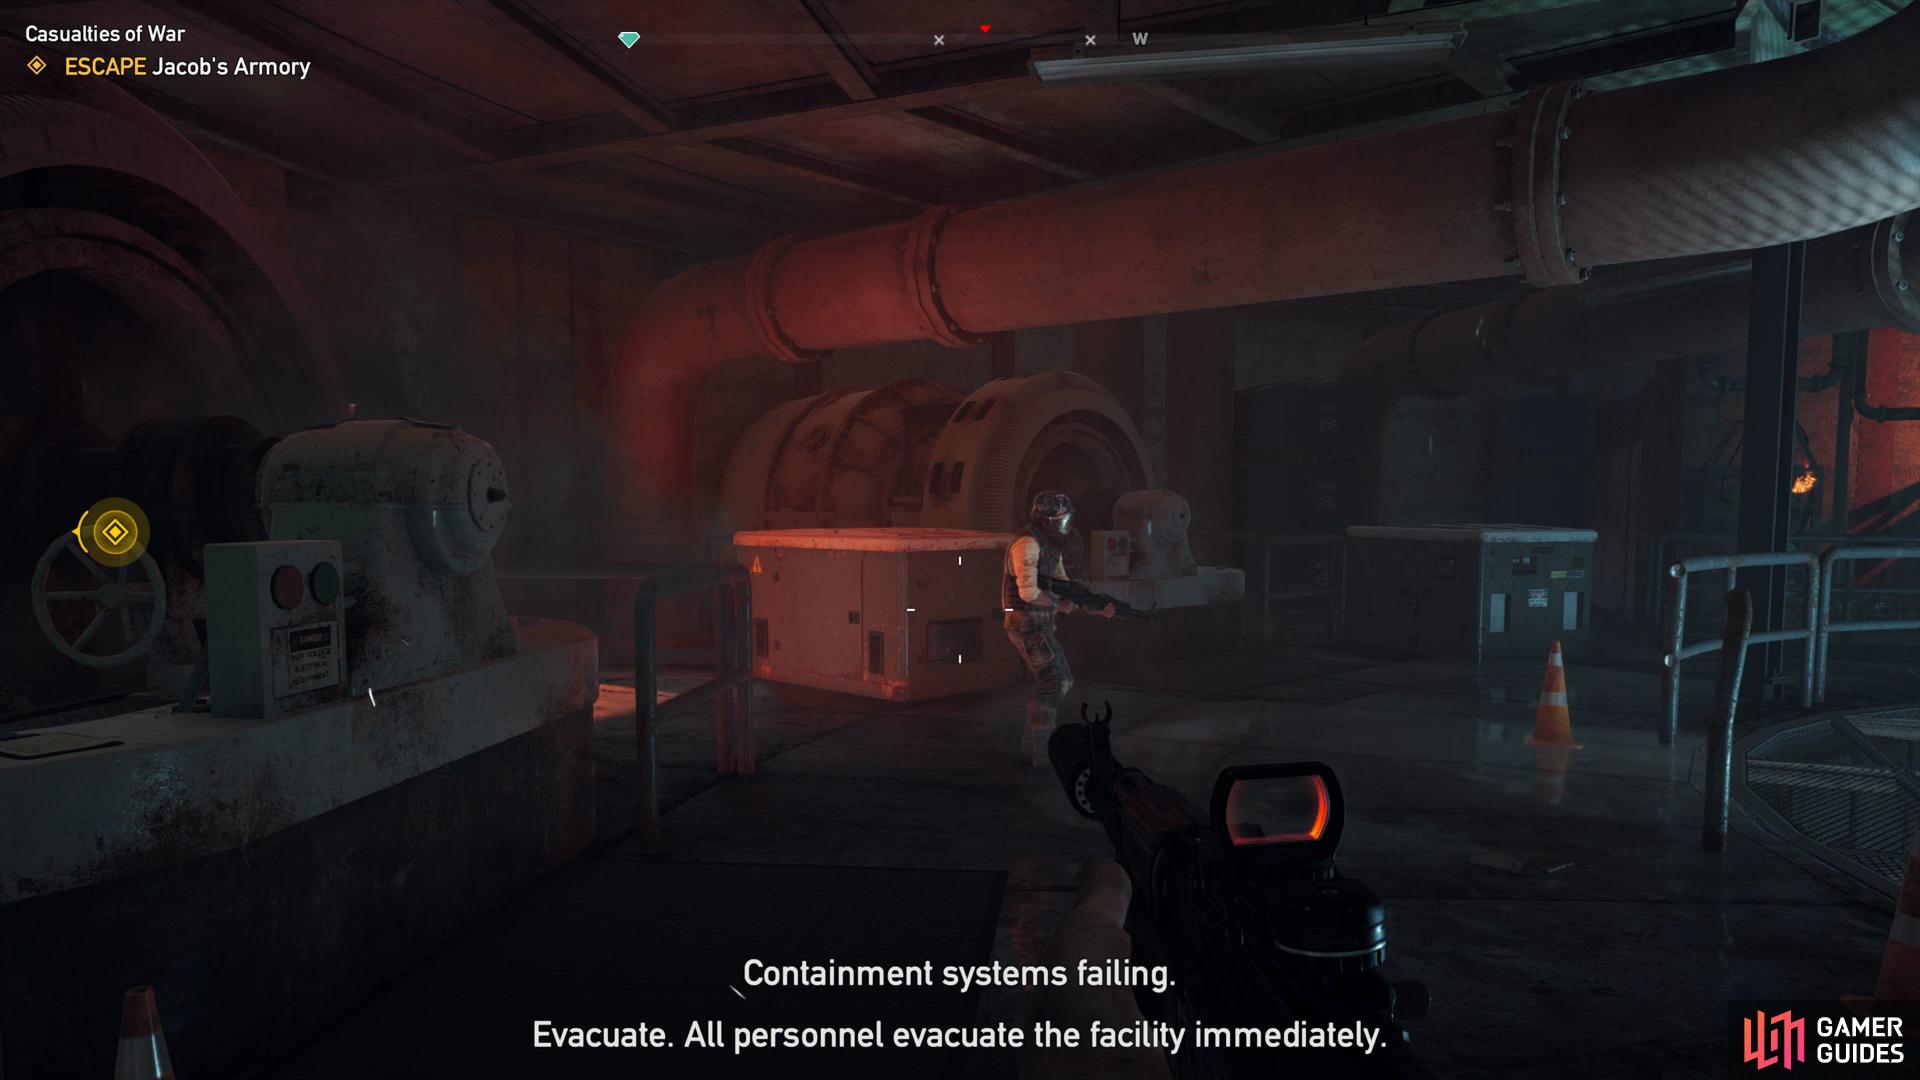
Turn behind you as soon as you enter the last room and take this cultist out first.
Follow the only path here and you’ll be assaulted by another two cultists when the corridor bends around a corner. Take the stairs up to a circular room with five cultists including one with an LMG waiting to be killed. There’s now no more enemies between you and freedom, follow the path and take the stairs to the surface before reaching a safe distance to conclude the mission and liberate the Whitetail Mountains.


No Comments