
This page details how to defeat the boss Escharum, during the House of Reckoning main mission.
Boss Fight: Escharum
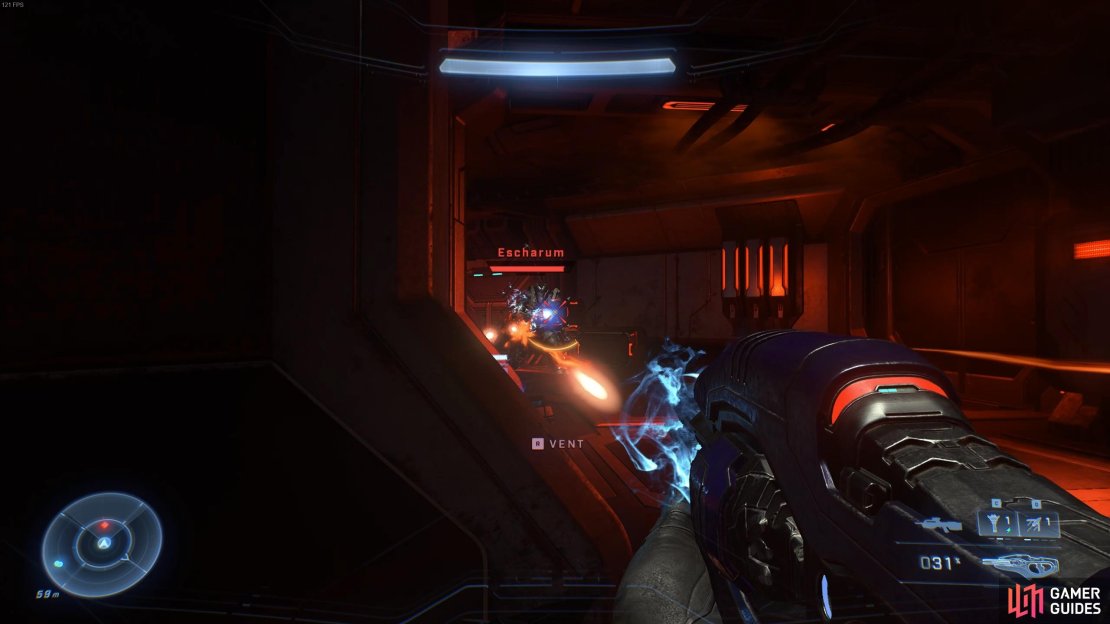
The final challenge in the House of Reckoning is a boss fight with Escharum. This can be broken down into two main phases. In the first phase Escharum will use a powerful cannon to attack you from a distance, and in the second phase he will use a modified hammer / axe which functions in much the same way as the regular Gravity Hammer. The first phase is by far the easiest, but you’ll need to do a few more things during the fight to ensure success. In particular, you’ll need to destroy a series of relays which power the connection between Escharum’s shield and the torture machine which Echo 216 is trapped in. These relays will become exposed whenever you deplete Escharum’s health enough for him to trigger a period where he has an energy shield. You’ll have a visual que for this in the form of the presence of the energy shield bar, but Escharum will also be surrounded by a red energy sphere, as shown in the screenshot below. In addition, either the Weapon or Master Chief will mention when a relay needs to be destroyed.
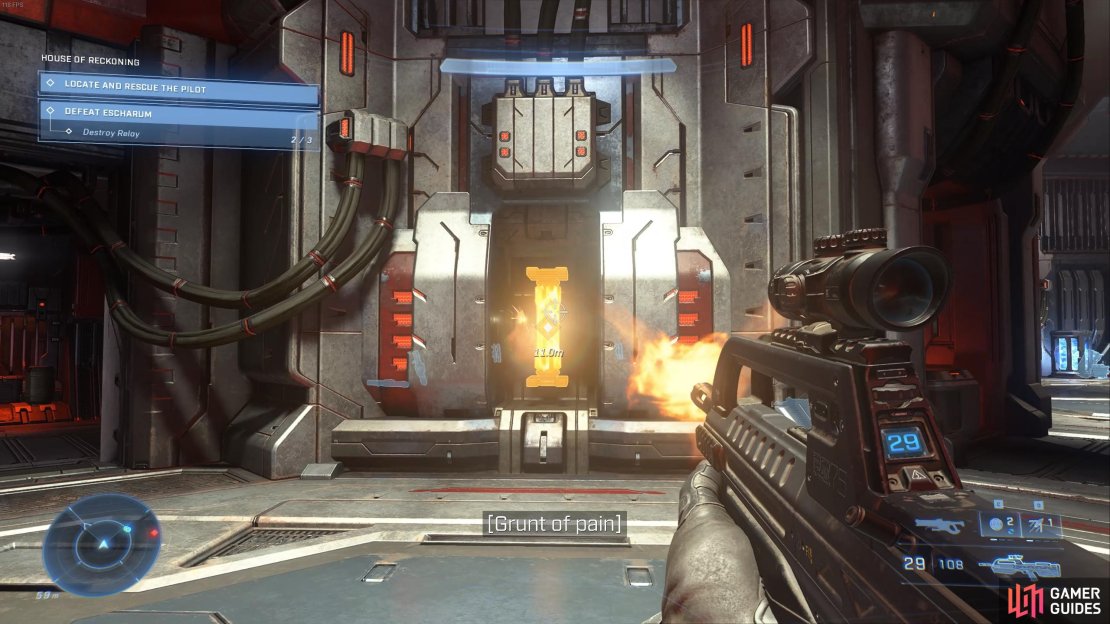
The relays that you need to destroy look almost exactly the same as cooling pylons, which you’ve encountered already during the story. All you need to do is shoot them a few times to destroy them and remove the energy shield from Escharum, allowing you to damage him directly again. During this phase of the fight it’s best that you don’t stand in one position for too long, although this may be necessary when destroying the relays. After this, continue to kite Escharum around the room, using the weapons from the racks nearby and grenades to damage him.
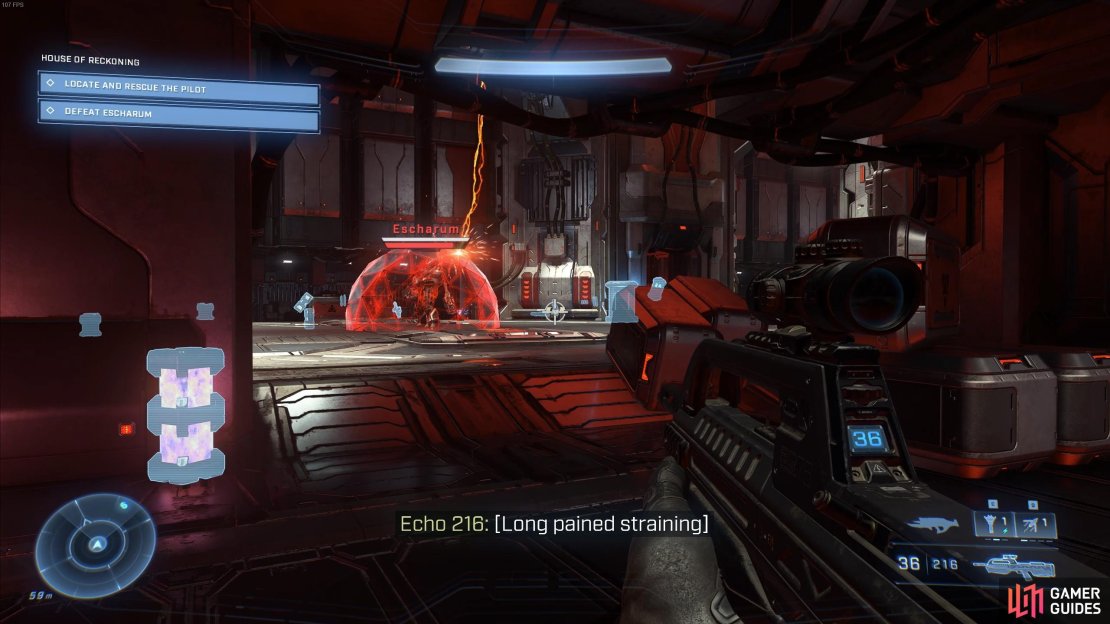
(1 of 3) You can kite Escharum around the room, picking up new weapons as you go.
There will be a total of four relays that you’ll need to destroy to remove Escharum’s shield, each one triggered after taking down his health to specific points. These are roughly 90%, 75%, 50%, and 40%. After the fourth and final relay has been destroyed the second phase of the fight will begin, and Escharum will now wield his melee weapon. He’ll also move much faster, which is a deadly combination since the melee weapon inflicts massive damage. This is the perfect time to use blast coils to bring down Escharum’s health as quickly as possible, while using Grappleshot to create some distance between yourself and Escharum to escape melee range. You can also use grenades to damage Escharum as you run from him. The most important thing here is to balance damage output with positioning. The last thing you want in this stage of the fight is to be caught off guard by a melee attack. Once you finally defeat Escharum you’ll unlock the Legends achievement, and you can pick up his melee weapon which will be useful during the next mission.
No Comments