
How to Complete Repository Collectibles
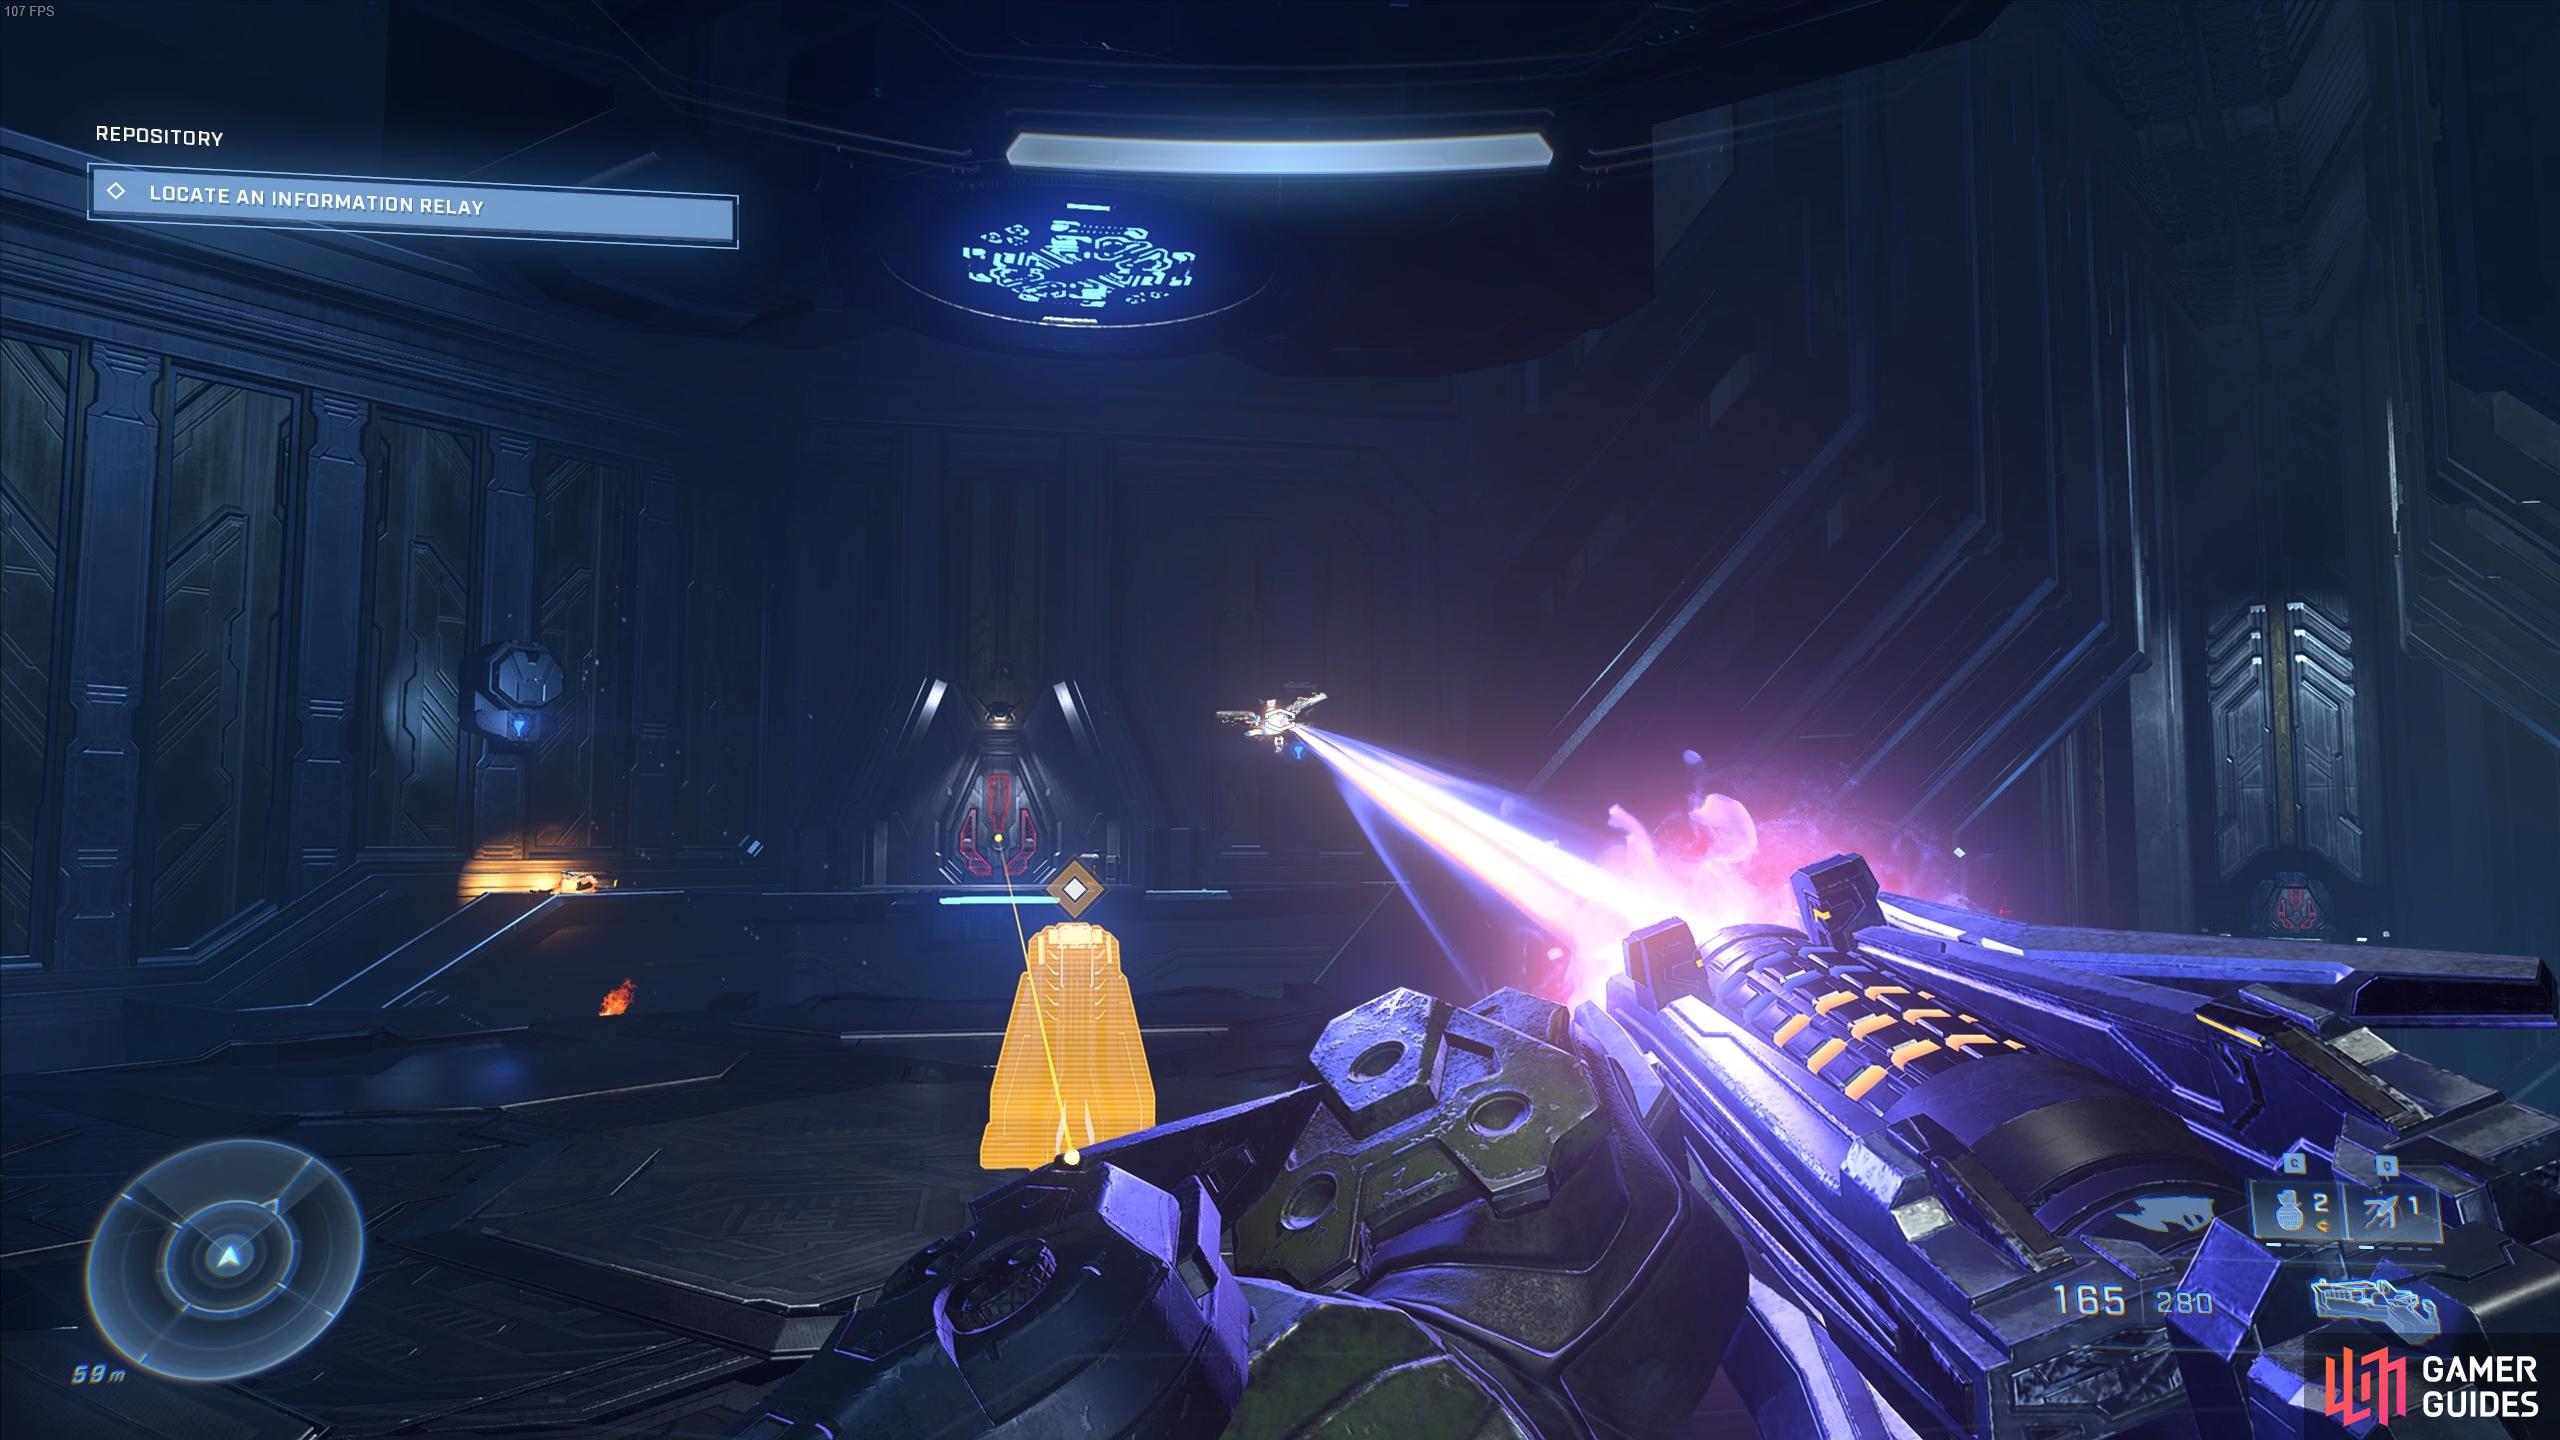
The first thing that you’ll need to do at the beginning of the mission is defeat a number of Sentinels which are patrolling the bridges. The Sentinel Beam is effective at this, especially since the Sentinels will drop ammunition for it each time they die over a bridge. You’ll also find ammo crates in the area. As you move along the bridges you’ll eventually reach a darker room with a terminal at the centre of it, and two doors on platforms which are locked, indicated by their red lights. Interact with the terminal to trigger a cutscene, then kill the Banished who come from the doors opposite. You’ll notice after the cutscene that the red lights on the doors are now blue, indicating that you can open them. It’s important that you take the power seed from one of these rooms and place it in the crucible in the other room before you go on ahead following the quest marker. This is an essential step in the process of accessing the Grunt Birthday Party Skull.
Transfer the Power Seed
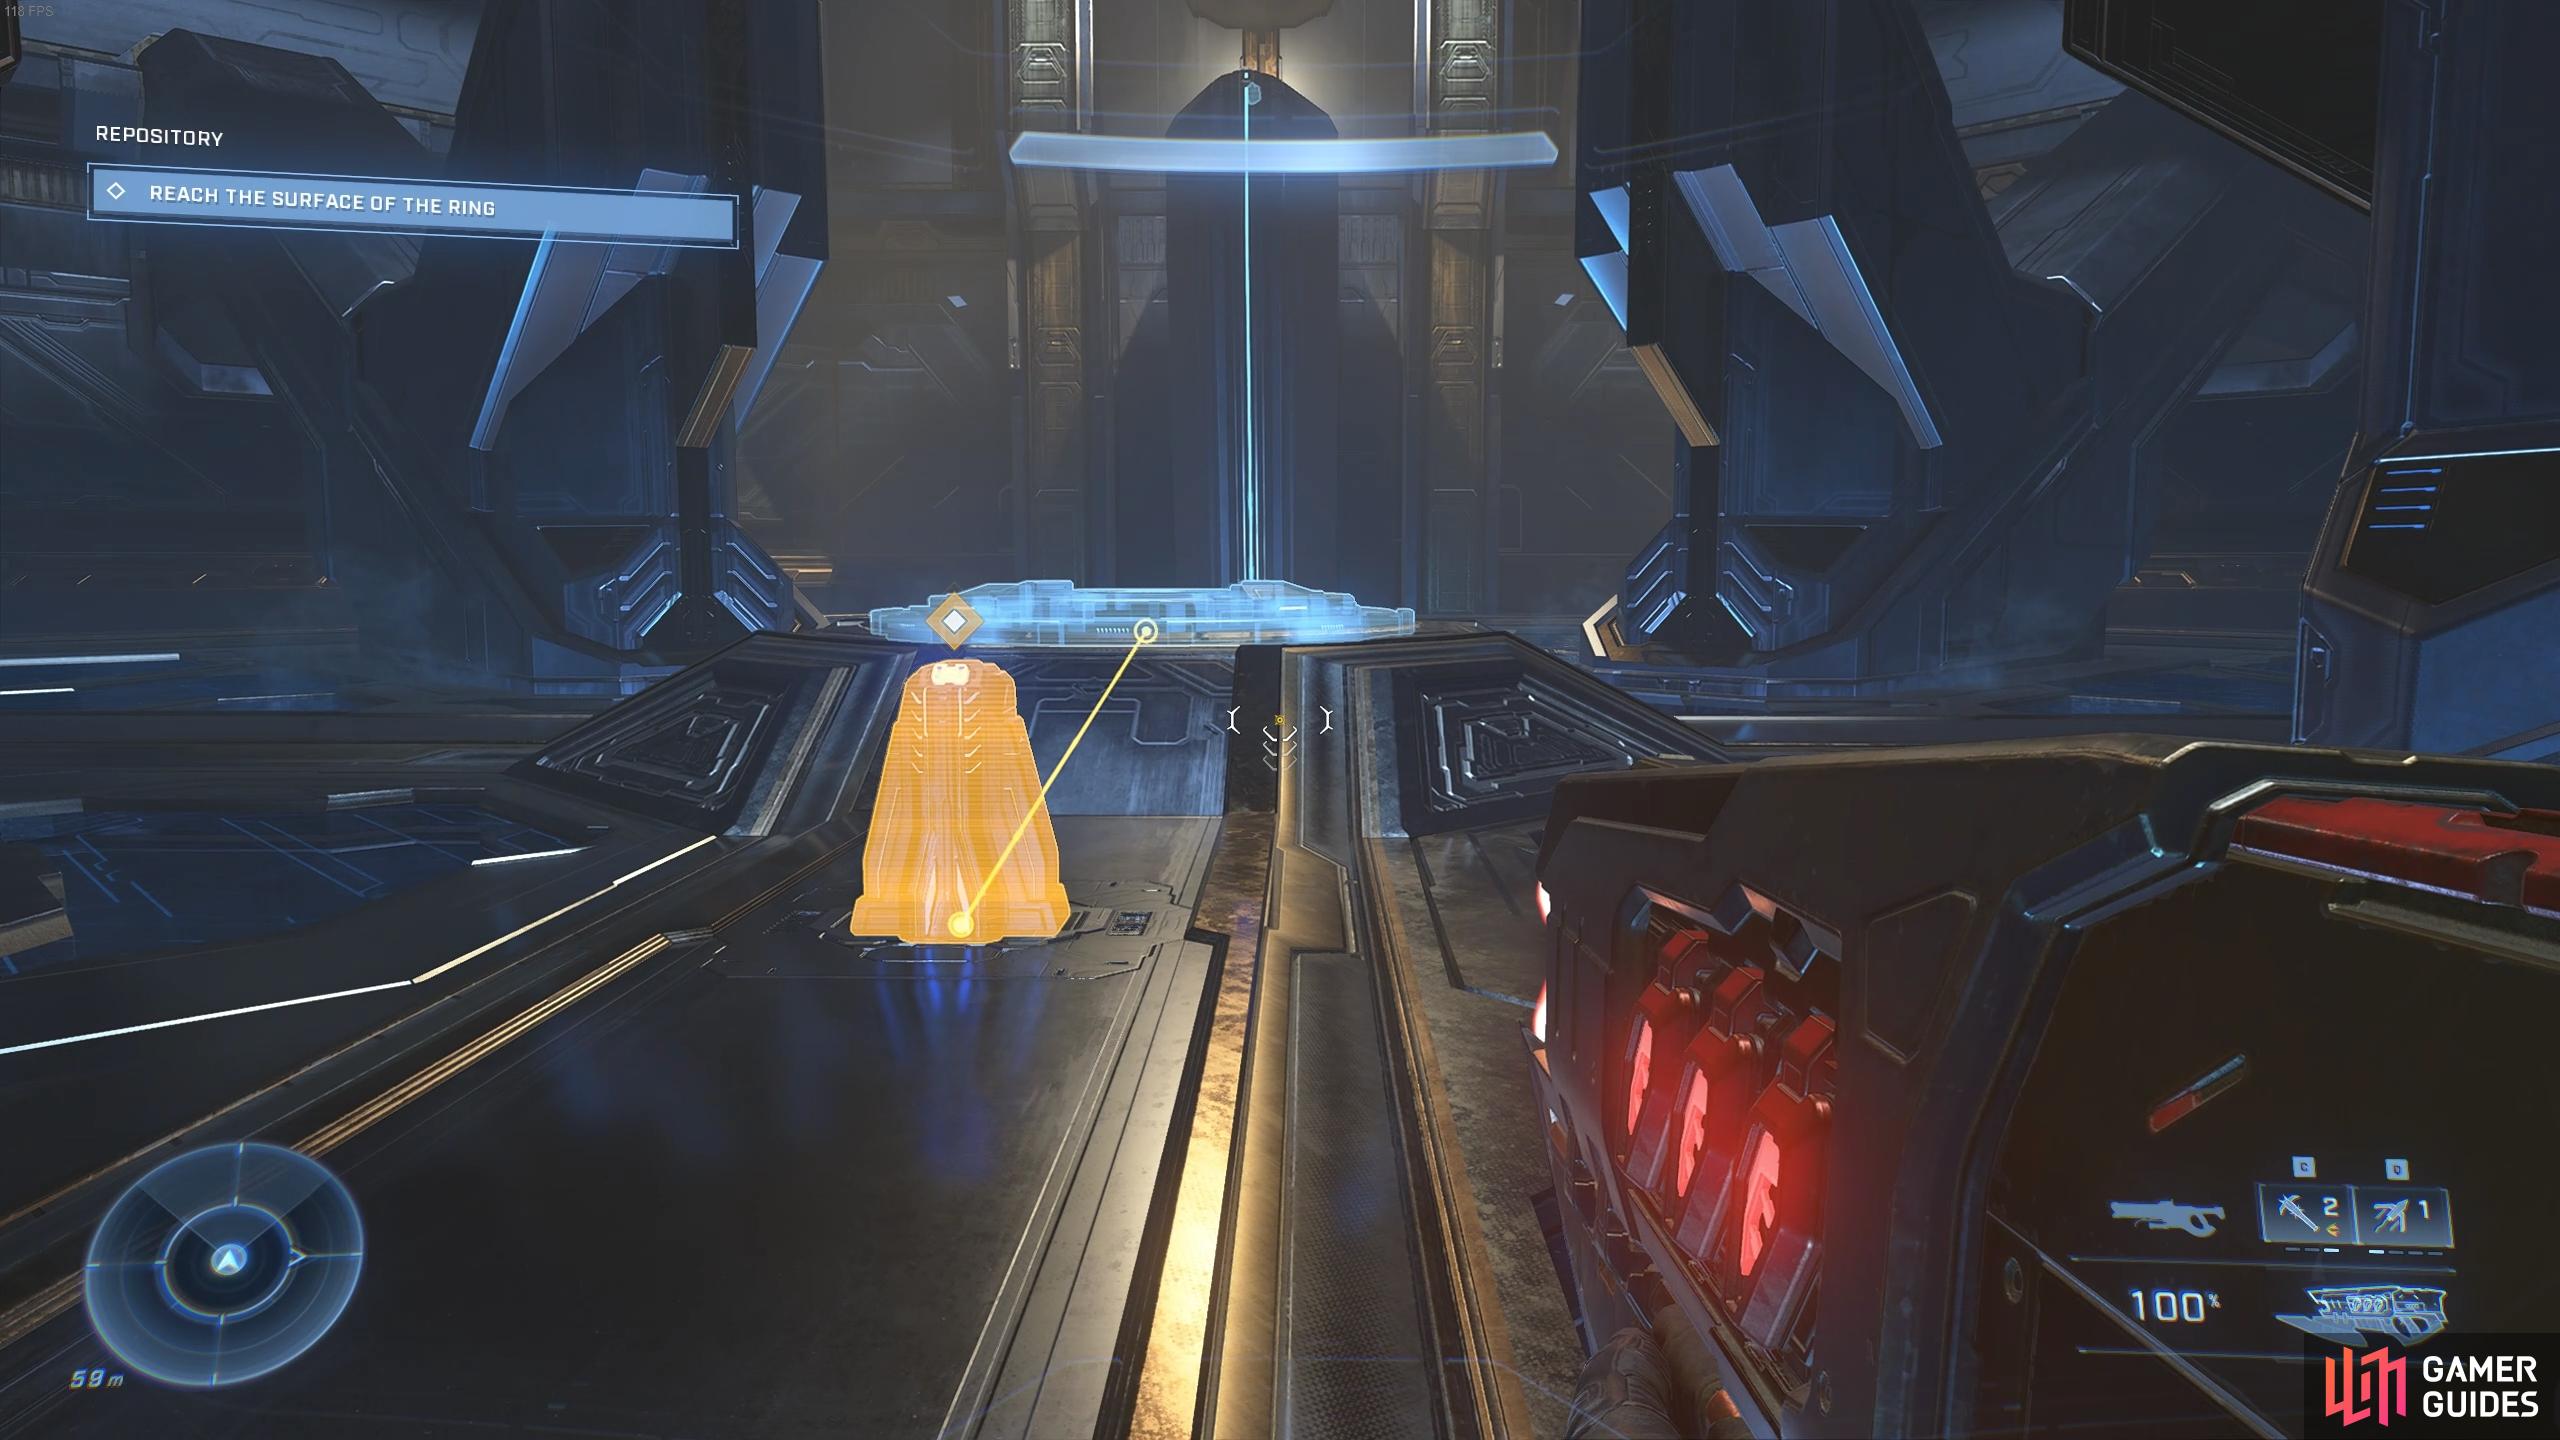
To reach the room with the power seed, you’ll need to jump towards the platform and use Grappleshot to pull you the remaining distance. You can then take the power seed and use Grappleshot again to reach the other side, as shown in the gif below. When you do this a number of Sentinels will begin to attack. You can either drop the power seed and kill the Sentinels, or keep going if you think you can safely outrun them. Once you’ve placed the power seed, an energy barrier in another room ahead will be deactivated, allowing you to access the skull.
Take the power seed from one room:
Transfer the power seed to the crucible in the room opposite:
Repository Collectibles - Grunt Birthday Party Skull
Once you’ve placed the power seed in the crucible, continue on through the door marked by the quest marker (use AI Scan to highlight this if necessary). You’ll face a number of enemies in the rooms ahead including Sentinels, Jackals, Grunts, and a few Elite Brutes. This is nothing you haven’t seen before, you shouldn’t have any issues here. Remember to focus fire on heads to kill Elite Brutes quickly. Eventually you’ll reach a room with a large window looking out at the surface of the ring, with some Banished ships in the distance and a structure of unknown purpose.
(1 of 3) Interact with the terminal near the beginning of the level to trigger a cutscene, after which the red doors will turn blue.
Turn left from the window and follow the ramp up, killing Sentinels as you go. You’ll soon reach a room with some Skimmers and Brutes. Kill these and then head through the door marked by the objective marker. This leads to another room with two Elite Brutes wielding Ravagers and a few more Sentinels. Kill these and then look up at the window, above two large pillars. This is where the energy barrier was which you deactivated by moving the power seed earlier. You can use Grappleshot to get in the room beyond the window, but you’ll need to be extremely careful. The skull is at the centre of the room, but it’s guarded by four Elite Brutes who wield Energy Sword and use Active Camo. This makes for a tough fight if you’re not prepared for it, so be ready to use Threat Sensor as soon as you enter the room, and use grenades to force the Brutes out of their hiding places. So long as you stay near the window the Brutes will remain at the back of the room for the most part, but they can use grenades so you’ll need to look out for these and dodge them when necessary.
Once you enter the room with the skull at the centre of it, you’ll be locked inside until you kill all four Elite Brutes. Try to focus on killing one Brute at a time so you have less to worry about later in the fight, as your ammunition will undoubtedly begin to deplete. If you run out of ammo completely, you can use Grappleshot to acquire one of the Energy Sword from a dead Brute, which should be lying on the ground. You can then aim Grappleshot at a Brute with energy sword in hand, and then strike them with the sword as soon as you reach them. After this you’ll want to get out of melee range as quickly as possible, so you can grapple towards the window or even up at the ceiling for a few brief seconds, potentially allowing your energy shield to recover from any hits.
Repository Collectibles - UNSC Audio Log 1
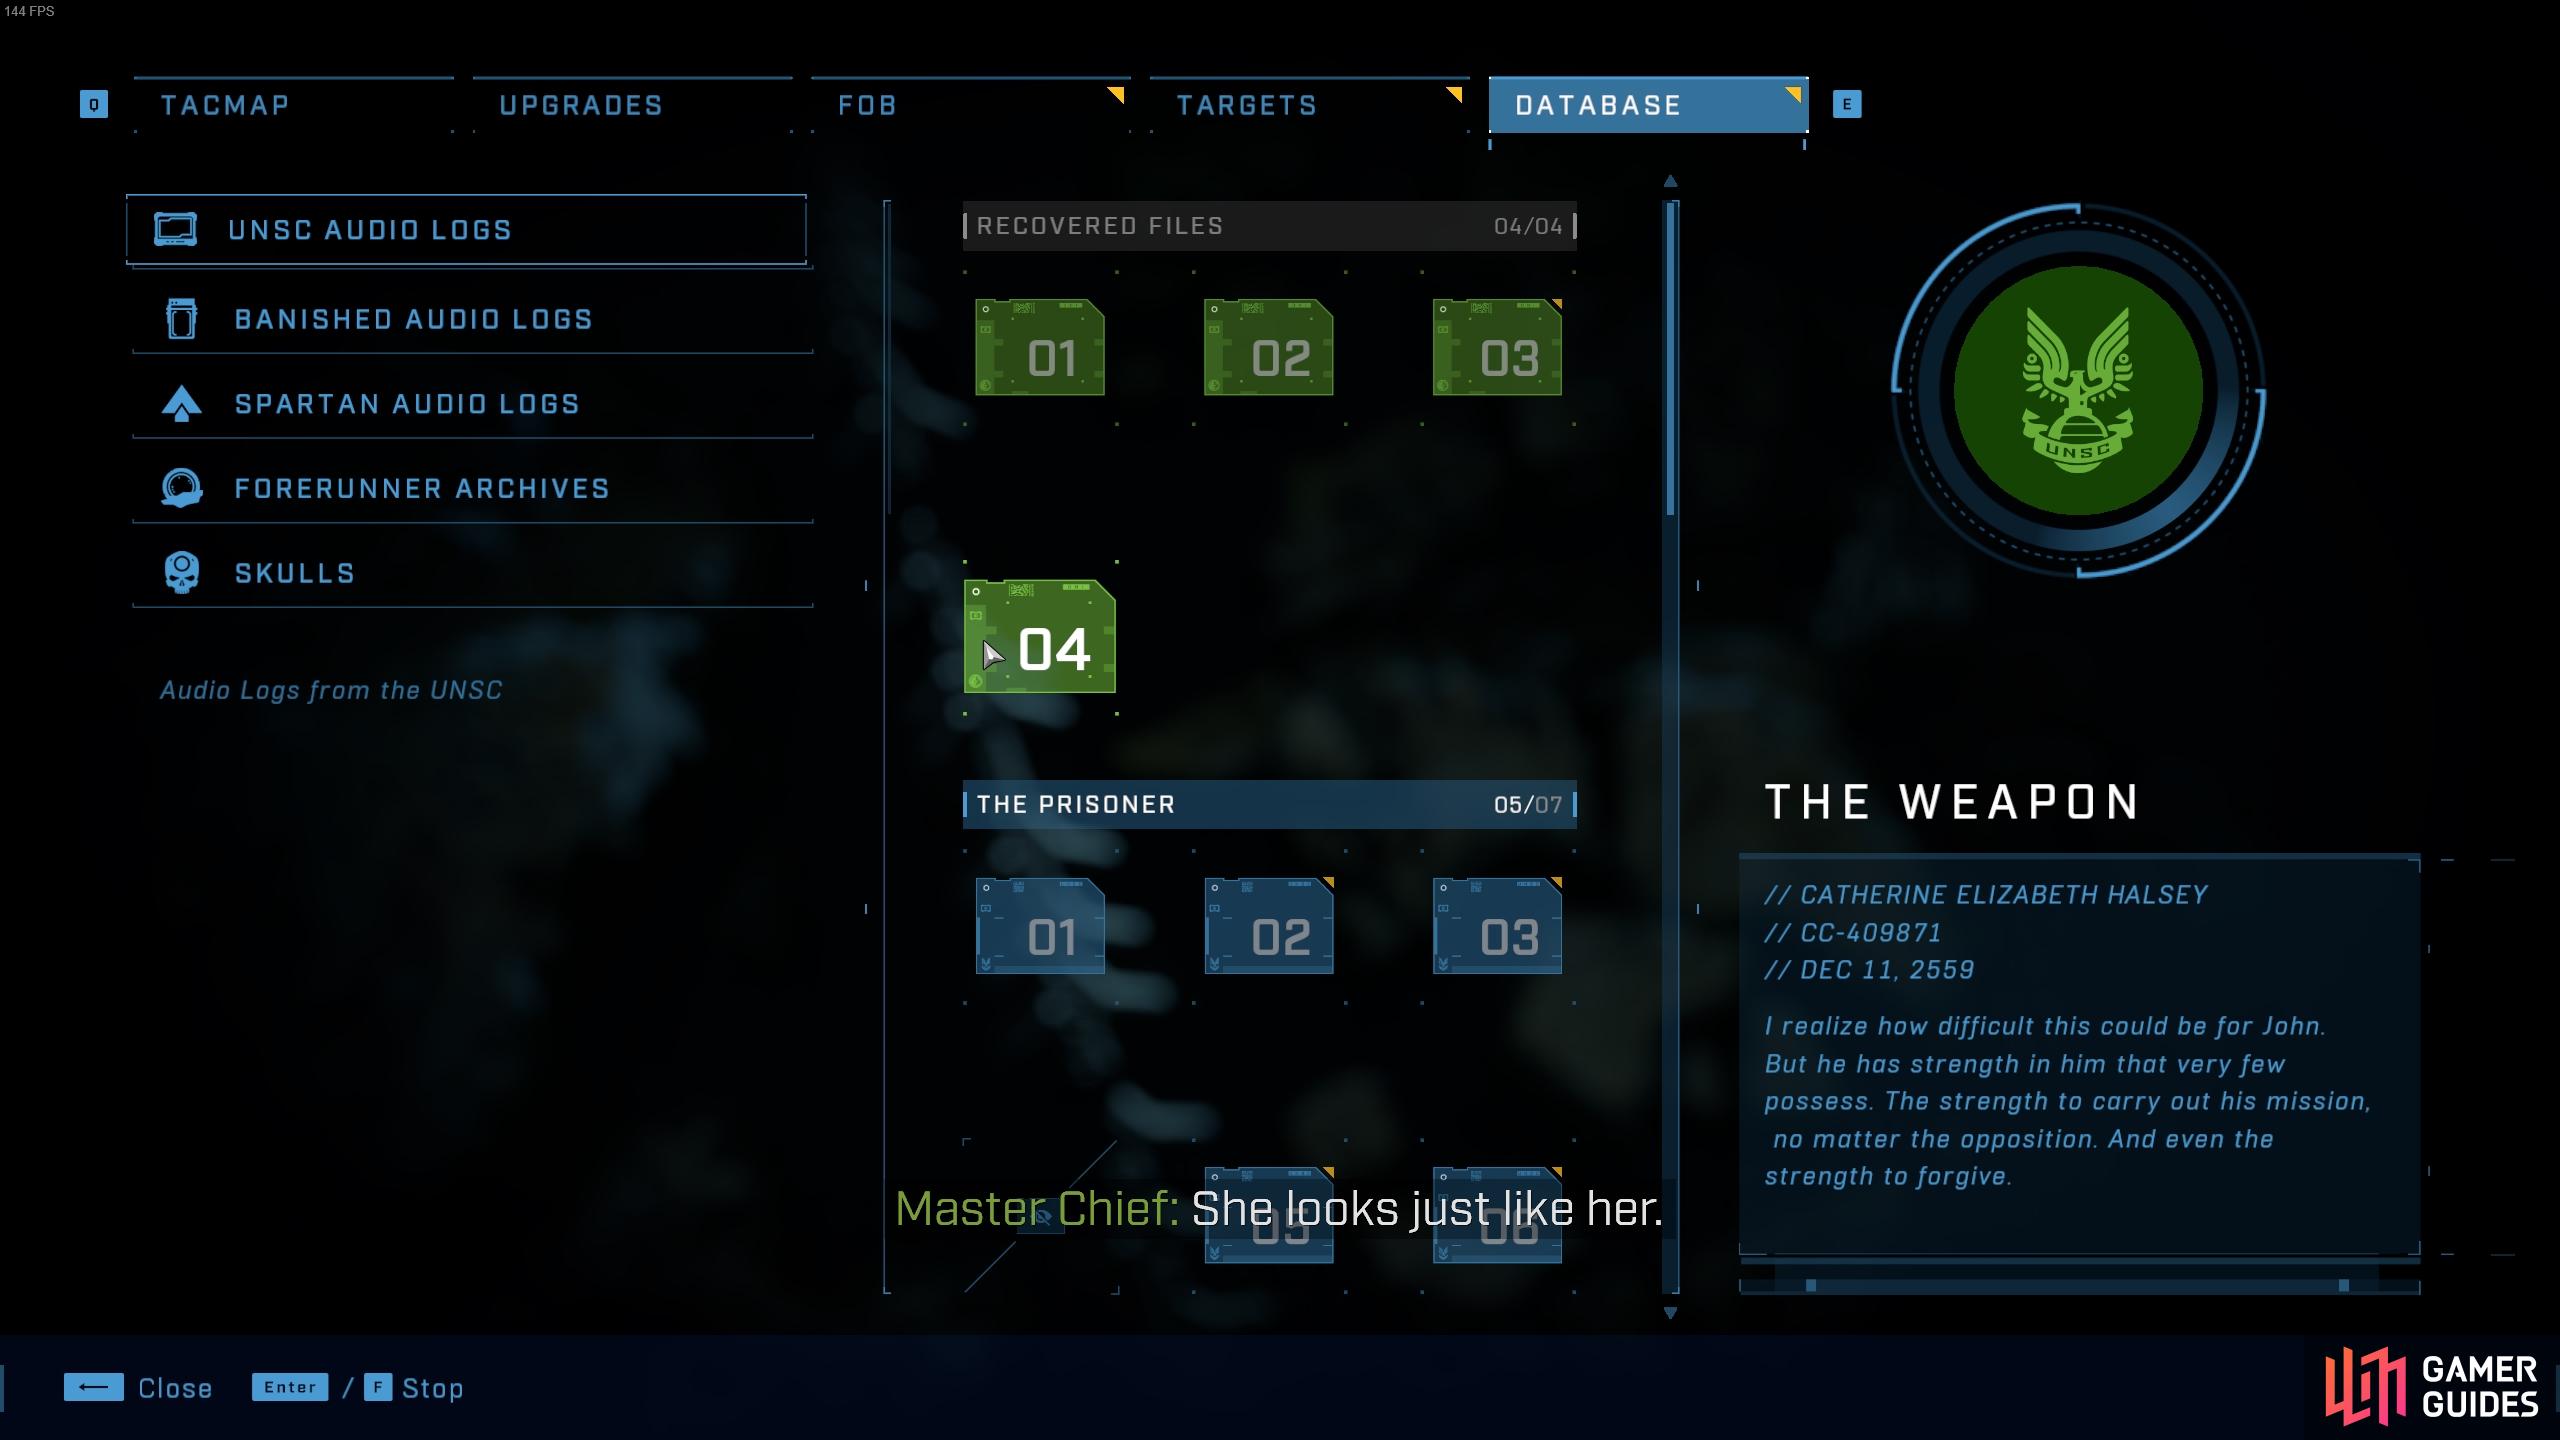
Now that you have the skull, continue following the objective markers through the rooms ahead. You’ll eventually trigger a cutscene near an inactive gravity lift next to a terminal, after which you’ll need to use the now active gravity lift to proceed. During the cutscene you’ll automatically unlock a UNSC audio log known as “The Weapon”, number 4 in Recovered Files from the Database menu. This won’t play automatically, but you can listen to it from the menu once you locate it after the cutscene.
Interact with the terminal near the inactive gravity lift to trigger a cutscene.
You’ll find the first UNSC audio log from Repository in the database after the cutscene.
Repository Collectibles - UNSC Audio Log 2
Find Power Seeds for the Crucibles
After ascending the gravity lift you’ll need to defeat some Brutes, Jackals, and Grunts in a series of rooms. You’ll soon reach a larger room with two unpowered crucibles in it. You’ll need to place power seeds in this to proceed, and you’ll find the power seeds in the rooms beyond the doors and down the ramps nearby. At the end of the ramp in the rooms with each power seed you’ll encounter two particularly tough Elite Brutes with heavy armor. The best way to deal with these is by immediately throwing everything you’ve got at them to inflict as much damage as possible. Throw grenades and use highly damaging weapons such as the Ravager to bring them down quickly. If you run up the ramp the elites won’t pursue you, so if you need a break from the fight this is an option. If you move further into the rooms you’ll trigger some Sentinels who will drop down from the ceiling to attack, so keep this in mind as you attempt to kite the elites, or if you’re aiming to use room features to take cover. Once you’ve defeated the elites you can enter a small side room in the larger room where you found them to pick up a power seed. At this point you’ll see a teleporter spawn just outside the room, which you can use to be brought back to the main room with the crucibles immediately. When both seeds are placed the gravity lift will be active and a cutscene will be triggered at the top, shedding more light on what happened with Cortana.
After the cutscene there will be a few more rooms filled with enemies that you’ll need to clear, before eventually reaching a fairly narrow hallway with two paths. It’s important that you turn left here to find the second UNSC audio log for this mission. Now that you’ve acquired the last collectible for Repository, all you need to do is take the other path to the right and follow the objective markers to the surface, thereby completing the mission and unlocking the Together. Again. achievement.
No Comments