
This page is a guide for everything you need to know about the Map, Deadlock. Here you’ll find out all the Weapon, Equipment and Vehicle Spawn locations as well as tips and tricks on how to outplay your opponent on the different game modes.
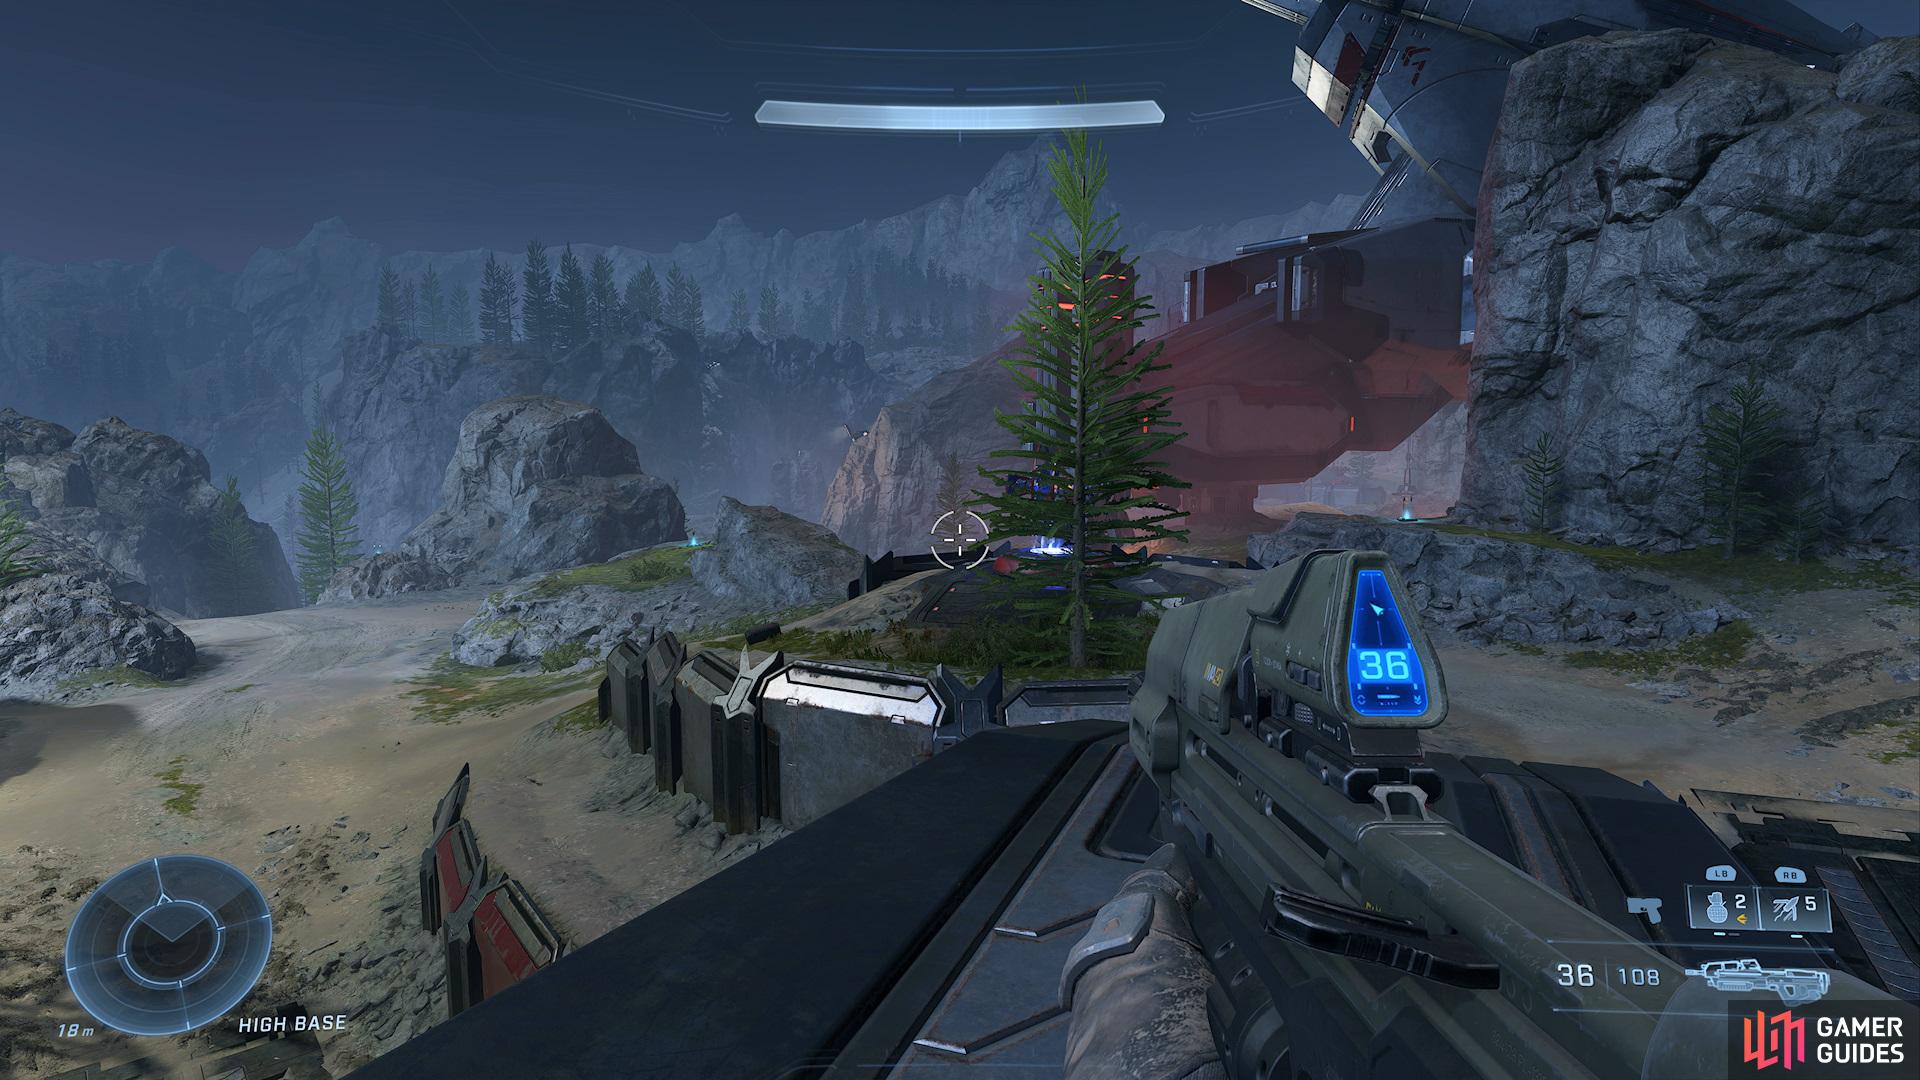
Overlook of Deadlock.
Weapon Spawns
Deadlock is one of the larger maps in Halo Infinite and is only used for Big Team Battle. This map features several different weapon spawn locations for Pistols, Tactical Rifles, SMGs, Shotguns, Rocket Launchers, Pulse Carbines, Energy Rifles and Power Weapons. These Spawns will remain in the same place but the weapon will be different each game. Below you’ll find where they spawn:
Pistol Locations
The Spawn Point for the Pistols is located in the following places around both bases:
| Name | Weapons |
|---|---|
| Bridge | Plasma Pistol, Disruptor or Mangler |
| Watch Tower | Plasma Pistol, Disruptor or Mangler |
Tactical Rifle Locations
The Spawn Point for the Tactical Rifle is located in the following places around both bases:
| Name | Weapons |
|---|---|
| Center of Low Base | BR75 Battle Rifle or VK78 Commando |
| Center of High Base | BR75 Battle Rifle or VK78 Commando |
| Low Cargo | BR75 Battle Rifle or VK78 Commando |
Sub Machine Location
The Spawn Point for the SMG is located in the following places around both bases:
| Name | Weapons |
|---|---|
| Low Cargo | Needler or Sentinel Beam |
| High Cargo | Needler or Sentinel Beam |
Shotgun Location
The Spawn Point for the Shotgun is located in the following places around both bases:
Rocket Launcher Location
The Spawn Point for the Rocket Launcher is located in the following places around both bases:
Pulse Carbine Location
The Spawn Point for the Pulse Carbine is located in the following places around both bases:
| Name | Weapons |
|---|---|
| Back Left of Low Base | Pulse Carbine |
| High Yard | Pulse Carbine |
| AA Gun | Pulse Carbine |
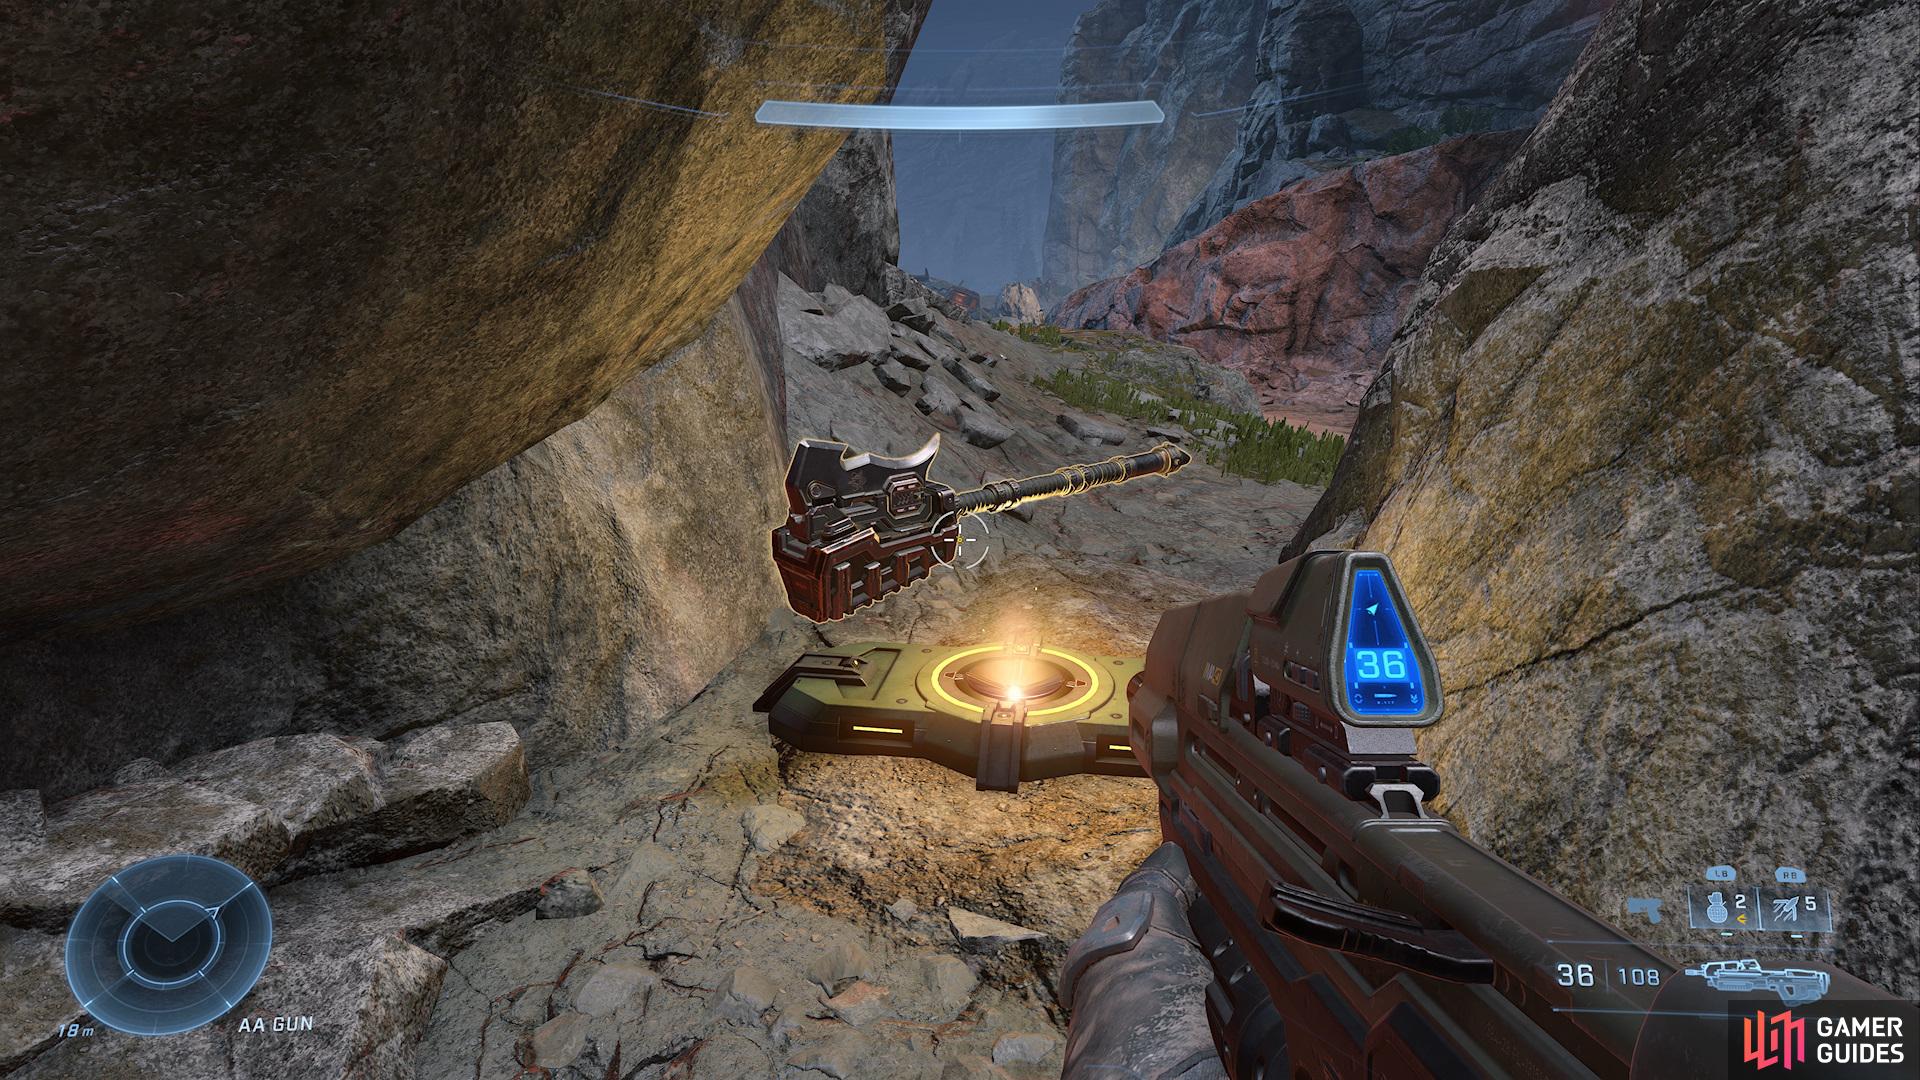
Power Weapon Location
The Spawn Point for the Power Weapons is located in the following places around both bases:
| Name | Weapons |
|---|---|
| Cave | M41 SPANKR or Cindershot |
| AA GUN | Gravity Hammer |
| Crash Site | S7 Sniper |
Equipment Spawn Locations
You can find six types of equipment on Deadlock, such as the Grappleshot, Treat Sensor, Thrusters, Drop Wall and either Overshield or Active Camo.
| Location | Equipment |
|---|---|
| Watchtower and Bridge | Overshield or Active Camo |
| Crash Site and Cave | Grappleshot |
| Low Cargo and High Cargo | Threat Sensor |
| High Yard | Thrusters |
| High Base | Drop Wall |
Vehicle Spawn Locations
Vehicles are available from the beginning of the match and will respawn after two minutes of inactivity or they were destroyed. On the Deadlock Map you can find you can find a Mongoose and Warthog
| Location | Vehicle |
|---|---|
| Low Base and High Base | Warthog |
| High Cargo or Low Base | Mongoose |
Game Modes
Deadlock is used for Slayer, Capture The Flag, Total Control and Stockpile. Slayer is basically Team Deathmatch from Call of Duty and requires one team to reach 100 points before the 15 minute timer runs out. Capture the Flag requires a team to steal the opponent’s flag from the opposition’s base and return it. Total Control is basically Strongholds from Quickplay, but instead you’ll need to hold all three points to three points to win a round. Finally, Stockpiles requires each team to collect and deliver five seeds to their base to win a round.
Slayer 
Slayer is a good game mode, but can be really difficult if you’re aren’t playing in a group. If you’re planning to play more aggressively, then you’ll want to navigate the map with your teammates so you can all focus fire on enemies to take them out faster or trade kills. However, if you are a more defensive type player, then sitting back at base and taking out the opponents with a tactical weapon whilst they’re distracted is the way to go.
Capture The Flag
Capture the Flag is a very fun game mode but you need a lot of teamwork to get and return the flag. Like in with quick play you’ll want to make sure a good amount of your team stays back to defend the flag whilst the others head out to try and get the opposition’s flag. A Sneaky strategy to stealing the flag is to take a Warthog with your team mate and drive straight to the flag, then one tags the flag whilst the other drives you back to your base.
Total Control
Total Control is probably one of the more difficult big team battle modes, as it heavily depends on if your team is focusing on the objective instead of kills. In order to win a round you’ll need to hold A, B and, C. The easiest way to do this is to have some of your team stay back at A to defend whilst the others head out to B and then keep some back at B whilst the remaining members of the team capture C. However, like Strongholds in Arena, whoever gets the momentum on holding the flags will have the advantage.
Stockpile 
In order to win Stockpile you’ll need to collect five Seeds which spawn randomly around the map and bring them back to your base. A neat little trick to winning this mode is by picking up on seed and throwing it towards your base and throwing another. If you keep repeating this then you should be able to bring seeds back to the base at once if you have your team defending you.
No Comments