
This page details how to play the Slayer game mode in Halo Infinite. Includes the basics of point scoring, how to play well with a team, how to maintain a good kill / death ratio, and the differences between Quick Play, Ranked Arena, and Big Team Battle.
Slayer Match Conditions Overview
The Slayer game mode is probably the most simple and the easiest to understand the rules for. To win a standard Slayer match, your team will need to get a combined 50 kills before the other team does. The kill count will increase to 100 for Big Team Battles, but it’s 50 for any standard Quick Play / Ranked Arena match. If your team or the opposing team fails to reach 50 / 100 kills in a match, the team with the most kills by the end of the game wins.
The time limit for Quick Play and Ranked Arena matches is 12:00 minutes, and you’ll get an extra three minutes for Big Team Battles. However, the time and kill limits aren’t the only differences between the match types. Quick Play and Big Team Battles have the same conditions in terms of providing the player with access to a radar in the bottom left of the screen, and friendly fire being off. As Ranked Arena is intended to be the most competitive match type, you’ll start the match with a different weapon which relies more on aim accuracy, friendly fire will be on, and you’ll have no access to a radar.
Quick Play Match Conditions
| No. of Players | Kills to Win | Time Limit | Special Conditions |
|---|---|---|---|
| 4 vs 4 | 50 | 12:00 | Start with MA40 AR automatic rifle, friendly fire off, radar on, no vehicles |
Ranked Arena Match Conditions
| No. of Players | Kills to Win | Time Limit | Special Conditions |
|---|---|---|---|
| 4 vs 4 | 50 | 12:00 | Start with BR75 precision rifle, friendly fire on, no radar, no vehicles |
Big Team Battle Match Conditions
| No. of Players | Kills to Win | Time Limit | Special Conditions |
|---|---|---|---|
| 12 vs 12 | 100 | 15:00 | Start with MA40 AR automatic rifle, friendly fire off, radar on, vehicle access |
Scoreboard Points for Slayer
| Kill | Kill Assist |
|---|---|
| 100 Points | 50 Points |
How to Win a Slayer Match
Make use of Power Weapons
The exact approach that you take to win a Slayer match will partly depend on the type of match (Quick Play, Ranked Arena, or Big Team Battle), and whether your preferred playstyle is more defensive or offensive. However, here are some universal features which apply to all the match types. One of these are power weapons and equipment, which you’ll have access to throughout the game in any match. At the beginning of most competitive matches you’ll start with just one weapon (or two for Quick Play and Big Team Battles) and a couple of grenades, so you’ll need to learn how to use these effectively in the early phases of the match if you want to have a chance of controlling the more powerful weapons and equipment when they spawn.
You can immediately put the grenades to good use by denying space to the opposing team, but you’ll want to do this in a controlled and measured way rather than randomly throwing the grenades into the centre of the map. If you’re playing with friends you can coordinate precisely when and where to throw grenades as you find a decent defensive position or as you push to gain ground. However if you’re playing with randoms, you’ll need to rely on them to play smart and stick together as you carve out a space to control on the map.
Once you’re in a position to pick up a power weapon or a piece of power equipment, in theory you’ll have the advantage in the match for as long as you hold them. With that said, it’ll take some time to become familiar with the power items, and to know when it’s best to use them. Some power weapons may even hinder your performance when facing an opponent with the default setup. For example: the Plasma Pistol and the Sentinel Beam specialize in stripping shields from enemies, making them useful at the beginning of a fight to weaken opponents, but they won’t be as effective in terms of finishing off an enemy with a headshot once their shield is stripped. In this situation the default BR75 precision rifle is more effective, so you’d be better off switching between the two gun types depending on the stage of the fight, rather than assuming that the power weapon will always serve you best throughout a fight.
The same can be said of weapons which specialize in area of effect damage, such as the M41 SPNKR rocket launcher. in Ranked Arena matches this comes with only two shots, but if you use them effectively you can quickly take out an entire team. However, you don’t necessarily want to be aiming for body shots with this weapon. Instead, if you shoot the wall of a corner around which there are 2-4 enemies, the explosion will have a high chance of killing all of them. On the other hand, the risk of missing a body shot to kill an enemy with a rocket can easily result in the gun being wasted. Timing and placement is everything here.
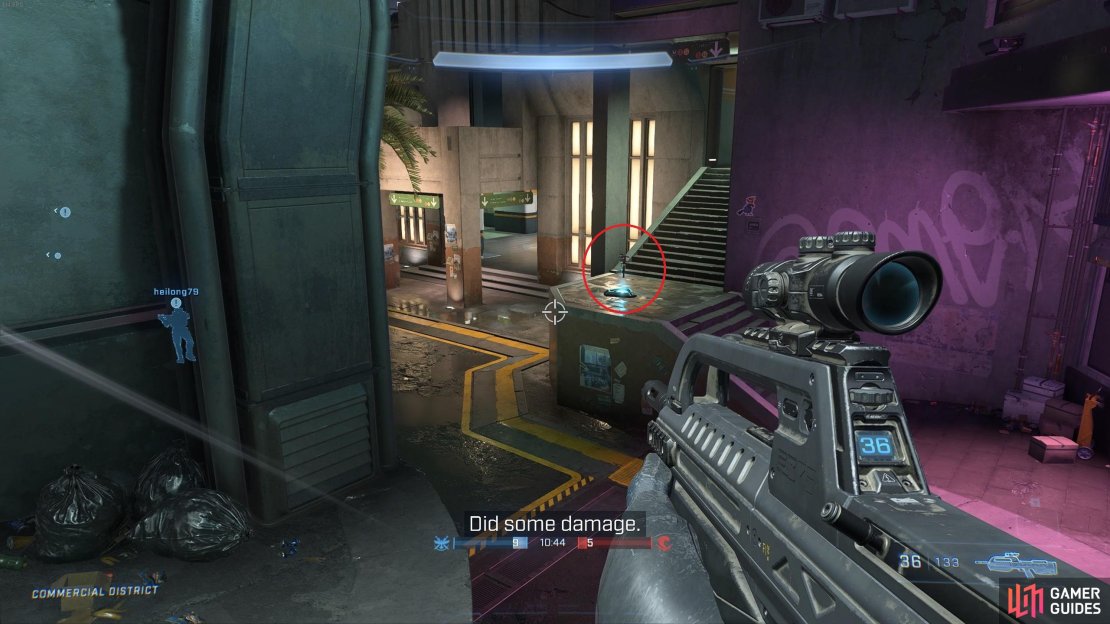


(1 of 3) Be sure to stock up on grenades whenever you come across them on a map.
Make use of Power Equipment
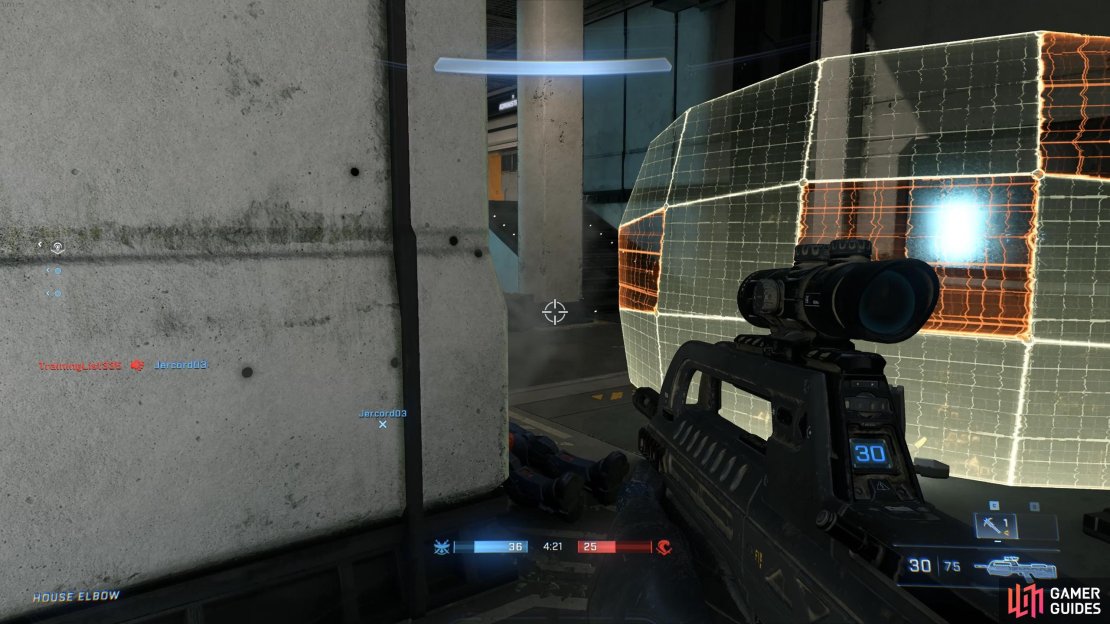
There are currently seven different types of power equipment available in matches, each of which will serve you in different ways depending on your playstyle. If you enjoy playing defensively you’ll find the Drop Wall particularly useful, since it allows you to drop a large shield which can briefly cover you from incoming attacks in one direction. The defensive capability is only brief because the shield is comprised of 15 smaller shield blocks, each of which can be destroyed in a small number of hits. An enemy player can also run through the shield, so it’s most useful for long range defence or as a quick deploy to stop the impact damage from grenades. Keep in mind that you can shoot through the shield from your side without damaging it.
If you want to incorporate a balance of defensive and offensive playstyles, the other six power equipment items can each be put to good use. Some of these, such as the Grappleshot and the Thruster, are primarily used to navigate the map more effectively, enabling you to outmaneuver your opponents at key moments. The Grappleshot can be particularly useful if you find yourself outnumbered by the enemy, but you can see your allies on the other side of the map. A quick shot of the grapple and you’ll fly across the map to regroup with your allies. It can also be used to get out of a tight spot by instantly reaching heights that your opponents will need to navigate with a series of jumps or clambers. The Thruster can be used in much the same way; to quickly retreat from a group or to catch up with a weakened fleeing enemy.
One of the most powerful pieces of equipment is the Active Camo. This gives you the ability to become almost entirely invisible to the enemy for 30 seconds, allowing you to sneak behind their lines and setup an ambush. The only way that the enemy can spot you while you’re in Active Camo is by looking for the blurred outline of your body as you move around. They won’t be able to spot you by using Threat Sensor (another piece of power equipment which allows you to see enemies through walls for a short duration) and you won’t show up on radar outside of Ranked Arena matches. The only thing you need to keep in mind when using Active Camo is that it will deactivate if you sprint or attack in any way, so you’ll need to time your ambush well.
The last two power equipment pieces, the Overshield and the Repulsor, will make you much more difficult to kill in general when used properly. The Overshield provides you with an extra layer of defence against all types of incoming attacks for over 30 seconds, which means an opponent will need to inflict twice the normal amount of damage to bring you down. The only potential downside is that you’ll be glowing white / yellow while the shield is active, which makes you easier to spot and enemies are likely to prioritise hunting you down. The Repulser on the other hand is one of the most versatile pieces of power equipment, allowing you to fire an energy blast which pushes back any enemy, ammunition (including rockets and grenades), and vehicle. If you get the timing right, you can often deflect enemy attacks back at them, but it’s also useful to create some space to get out of a sticky situation.
(1 of 3) Both you and your enemies will see your body only as a blur when Active Camo is being used.
Control Defensive Positions
The need to defend specific positions and push to gain ground is more limited for Slayer matches, since there are no objectives other than to kill and not be killed. However, you’ll increase your chances of both if you can organise your team to stay in a good defensive position, and to know when it’s time to move. In general, if you can gain higher ground and defend it you’ll have a better view of the battlefield and you’ll be more difficult to reach with grenades. The more you see of the map, the easier it will be to plan a defence in a short space of time by use of suppressive fire and tactical grenades.
Ideally you’ll want to find a good space of higher ground which provides access to objects that you can hide behind if you need to run from a grenade or a burst of fire from a power weapon. This will allow you to maintain control of the position while staying out of enemy fire and explosions during an offensive from the opposing team.
Although you should aim to control powerful positions, there will be times when you’ll need to move on to avoid being overwhelmed by the enemy. If your opponents are smart they’ll eventually find a weakness in your position and begin to exploit it. The challenge for your team then becomes to find a new position together, rather than running out into the open at different times. If you expose yourself away from your team, you’ll be easily picked off by any competent enemies. The key then is to focus on team work to make sure that you’re never alone and that your teammates are never alone. All else being equal, you’ll always have the advantage in a 4 vs 3, 2, 1, but if you do find yourself being outnumbered, the power weapons and equipment will provide your best chance of overcoming the odds to get more kills for your team while preventing needless deaths.
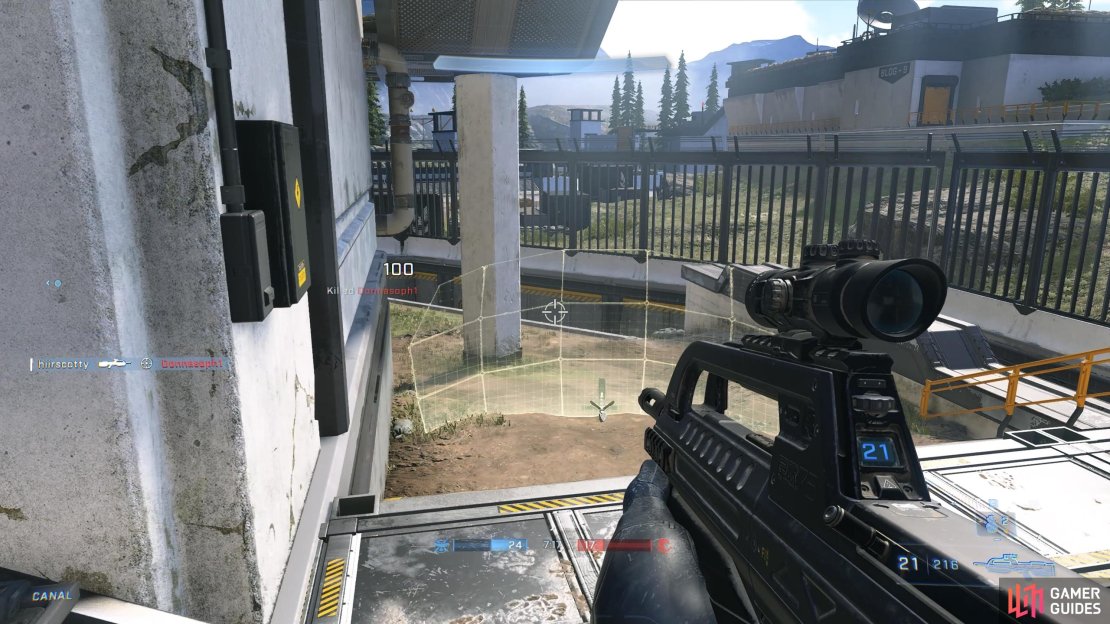
The below is a demonstration of the value of staying close to teammates, waiting for the right time to push together to reduce the risk of dying individually.
No Comments