
This page details a guide for Warship Gbraakon, the first campaign mission for Halo Infinite. Includes how to locate the bridge to deactivate the stasis beam, how to destroy the cooling manifolds, how to overload the engines, and how to escape the ship. The page also details where to find all collectibles during the mission including the UNSC and Banished audio logs, and the Boom skull.
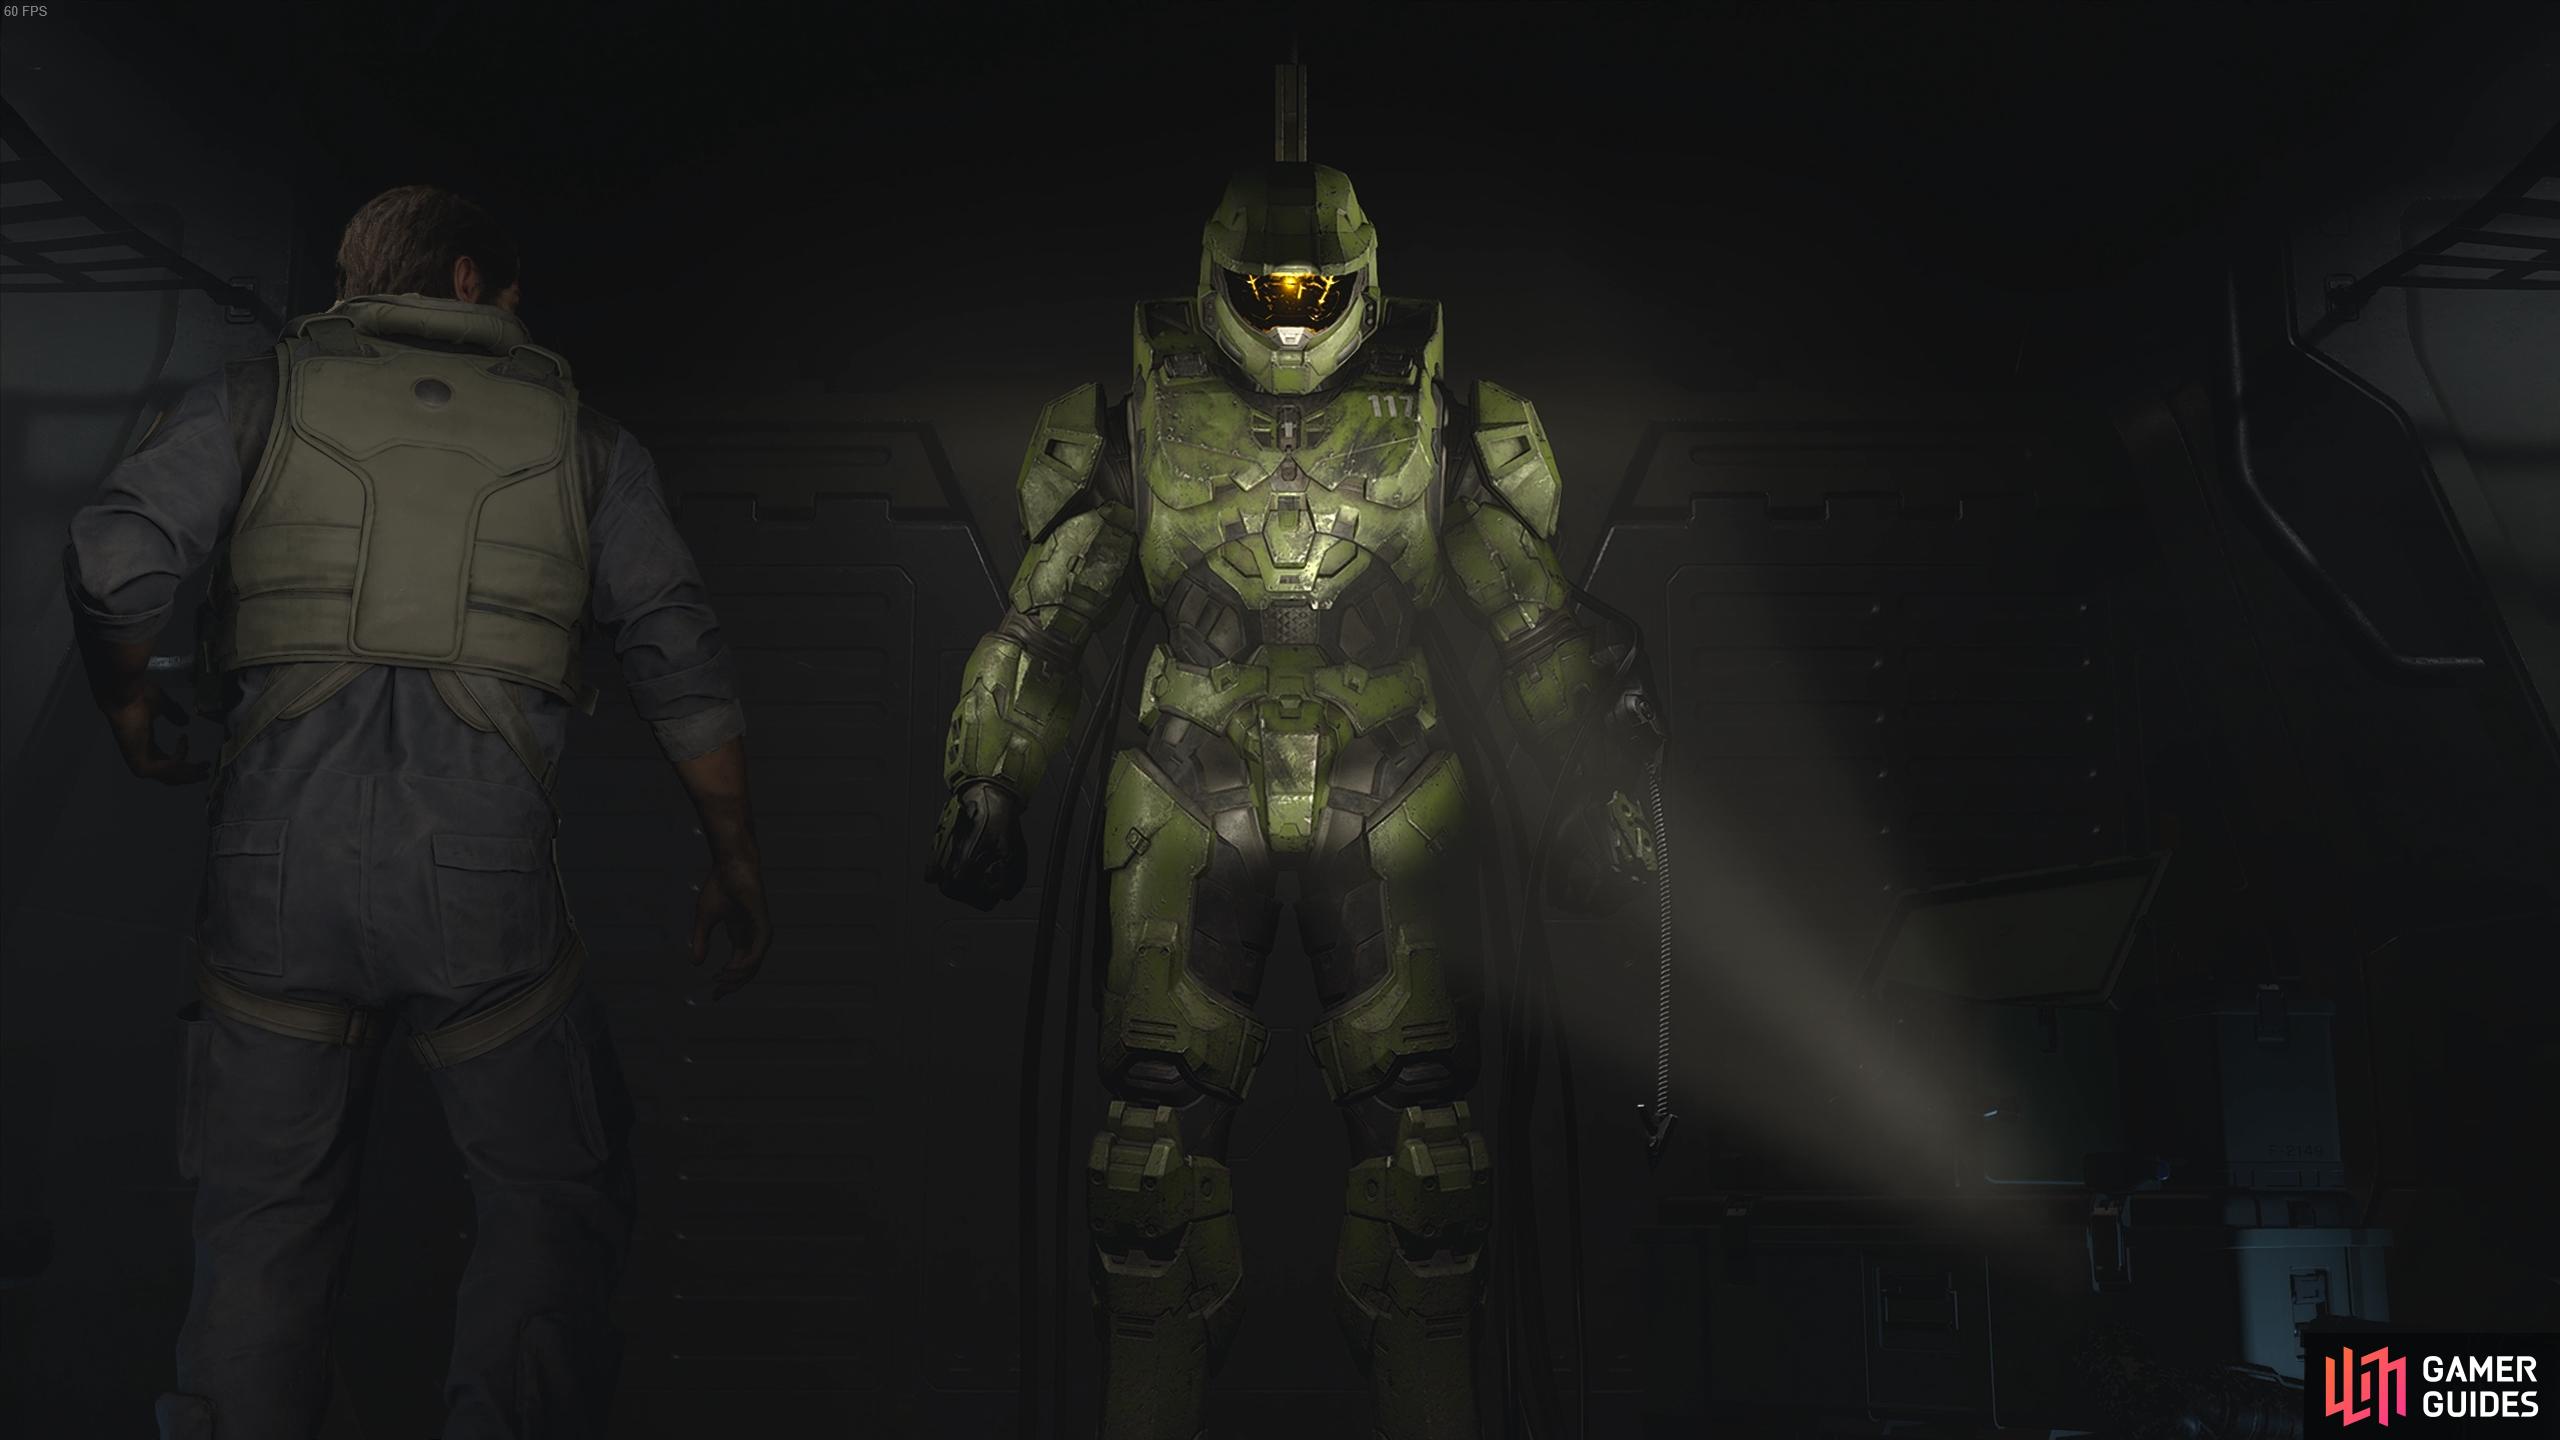
Warship Gbraakon, Halo Infinite Campaign.
How to Complete Warship Gbraakon
Use AI Scan to Locate the Bridge & Deactivate Stasis Beam
This is the first campaign mission that you’ll be thrown into for Halo Infinite. You’re Master Chief, and you’re going back into Warship Gbraakon for some revenge. The first thing you’ll need to do is make your way deeper into the ship towards the bridge, where your primary objective is to deactivate the stasis beam. You can use the AI scan function to highlight the nearby objective, which leads you in the right direction through a series of doors. As you move through the destruction all around you, make use of the Grappleshot to reach places that you can’t otherwise jump to.
Kill the Brutes, Grunts, and Jackals
You’ll encounter a number of Banished enemies in the form of Grunts as soon as you move towards the first door. These are easy to kill and even the relatively weak fire of the MA40 AR Assault Rifle will make short work of them. In the first control room that you enter you’ll find a number of weapons such as the Mangler and the Plasma Pistol. You can use these if you wish, but the default loadout will serve you just fine for now. Just remember to use the MA40 AR with bursts of fire for the greatest accuracy, rather than spraying at numerous enemies without a break in fire. The only time you should do this is when you’re close enough to enemies in order to negate the bloom effect, which essentially forces ammunition to disperse outwards the longer you fire, rather than focus on the centre of the reticle.
After killing the first few Grunts, you’ll soon be challenged by a Brute. These are considerably tougher than Grunts, but still relatively easy to kill, especially if you hit them in the head. Once you’ve killed the Brute you’ll see a hologram of Atriox, the Banished who defeated Master Chief during the first cutscene. You can stand around to listen in to what he has to say, or just keep going through the objective markers. It doesn’t matter either way. As you make your way towards the bridge you’ll encounter more Brutes, and you’ll find a number of Ammo Crates to replenish ammunition if necessary. Keep following the objective markers as you use AI Scan, and use the Grappleshot to make your way across any drops in the surface.
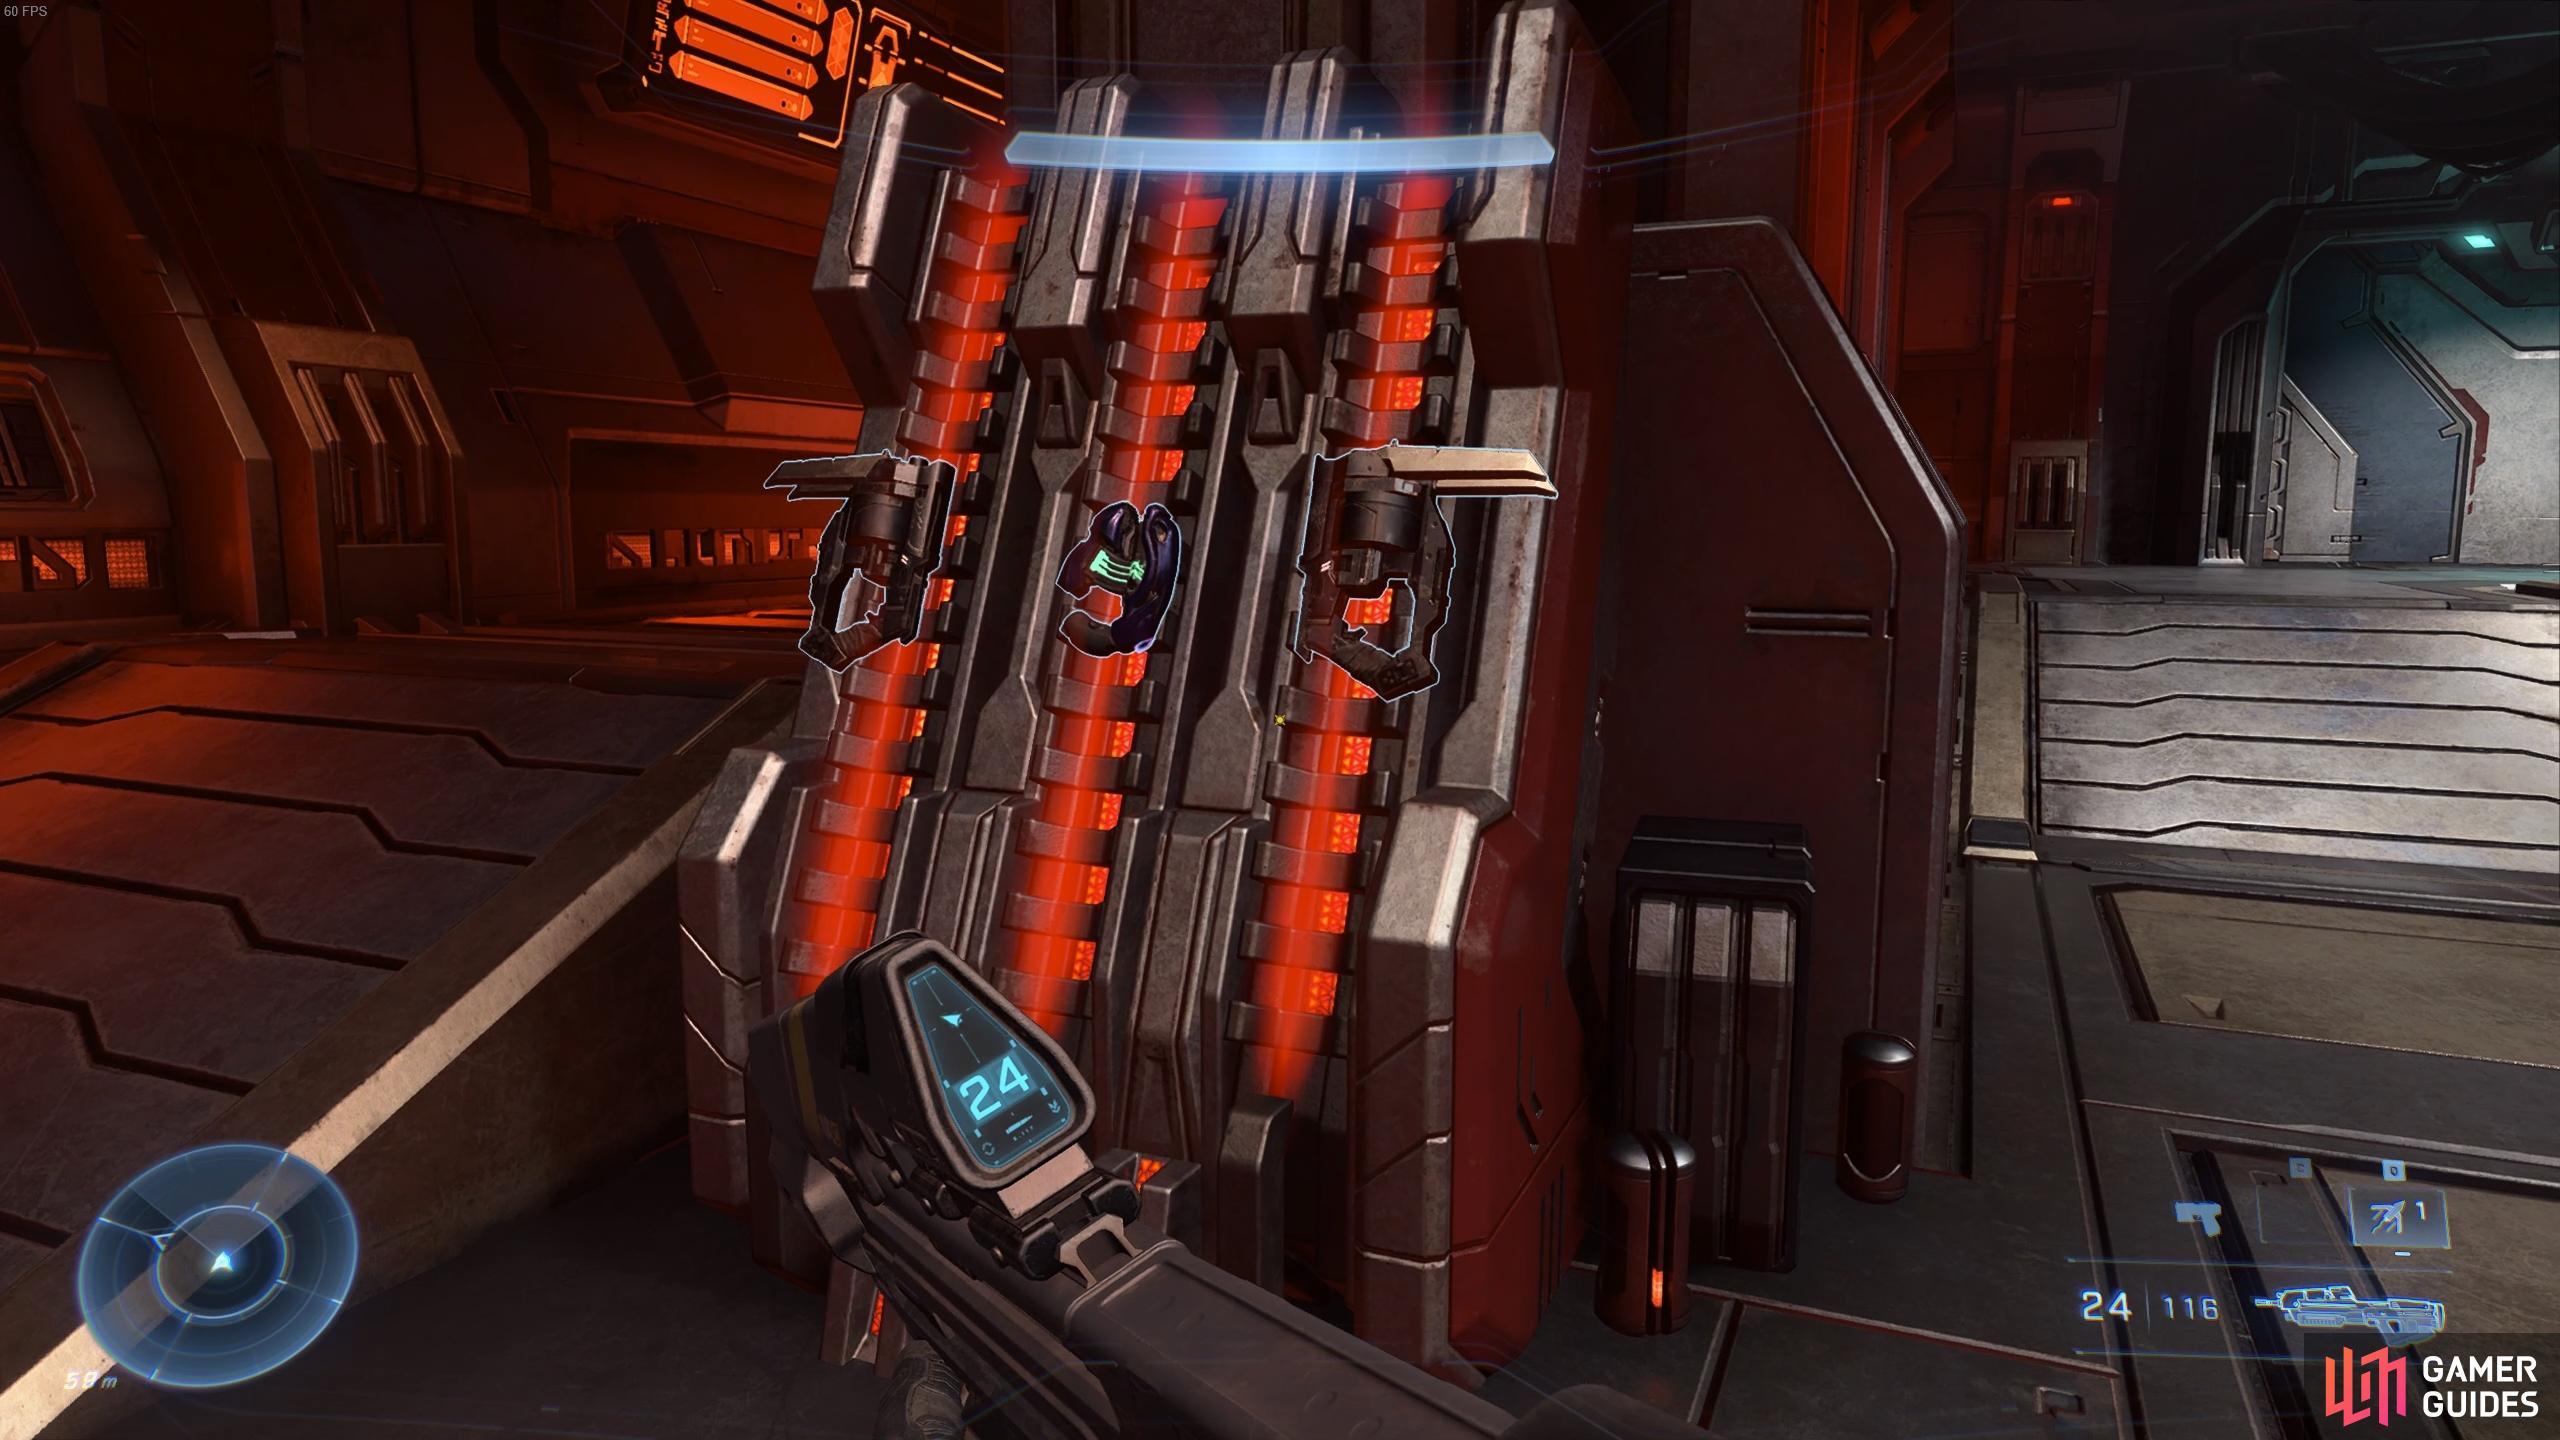
(1 of 6) You’ll find plenty of weapon racks with different types of weapons if you run out of ammunition.
As you move ever closer to the bridge, you’ll encounter new types of enemies in the form of Jackals. These wield large blue shields which can take a lot of damage before being destroyed, especially if you’re relying on kinetic energy ammunition. However, you can make use of the Pulse Carbine to break the shields in one hit. You’ll find plenty of these guns on weapon racks or on the floor after killing some enemies. If you don’t have access to a decent weapon which can break shields easily, you can always throw a few grenades to kill the Jackals. As a last resort, getting up close to execute a melee attack will usually make short work of them, but you’ll be exposed in the process, so this isn’t ideal.
Warship Gbraakon Collectibles - UNSC Audio Log
You’ll soon reach an elevator as you continue towards the bridge. Activate this from inside to be transported up, as Echo 216 communicates with Master Chief. As you exit the elevator you’ll find a UNSC audio log on the floor in front of you. Be sure to collect and listen to this, unlocking the Dispatches From the Front and Infinity Down achievements. From here you’ll be fighting your way through a number of rooms as you defeat Brutes, Jackals, and Grunts. You can make use of Blast Coils by throwing them at groups of enemies to kill them quickly, speeding up the process a bit and saving you some precious ammunition. You’ll find plenty of grenades around too, so pick them up as you go.
Warship Gbraakon Collectibles - Boom Skull
The Boom Skull can be found in a room with two levels. On the right side of the room you’ll see some platforms moving up and down. Look up to your right and use AI Scan to find the skull highlighted in yellow. To reach the skull, all you need to do is wait for one of the platforms to rise, then jump onto the one beneath it. As the platform rises you’ll be brought to the small area where the skull is located. Loot it to unlock the Headstrong achievement, then jump back down to the main level just after one of the platforms rise.
Kill the Flying Brute on the Bridge
Eventually you’ll reach the bridge, where a cutscene of Escharum will play as he makes a speech to the Banished. After this you’ll need to kill all the enemies within the room, which includes a significant amount of Brutes who wield a lot of combined fire power. One of these will fly on a jet pack towards you with a Ravager in hand as soon as you alert them to your presence. It’s a good idea to start the fight by throwing a few blast coils at the Brutes as they’re gathered close together, then focus on killing the flying Brute with a Ravager, since this will inflict some serious damage if you don’t take him out quickly. If you run out of ammunition during or after the fight, you’ll find plenty of weapon racks scattered about. You should also make use of the surrounding features to take cover from the flying Brute as you recovery lost energy shield.
Warship Gbraakon Collectibles - Banished Audio Log
The Banished audio log can be found at the upper bridge of Warship Gbraakon. Once you’ve killed all the enemies on the upper bridge, head to the right side of the room (as you enter) and use AI Scan to highlight the audio log. You’ll see it glowing and beeping constantly, so it’s difficult to miss. You’ll unlock the Two Sides to Every Story achievement once you’ve acquired it.
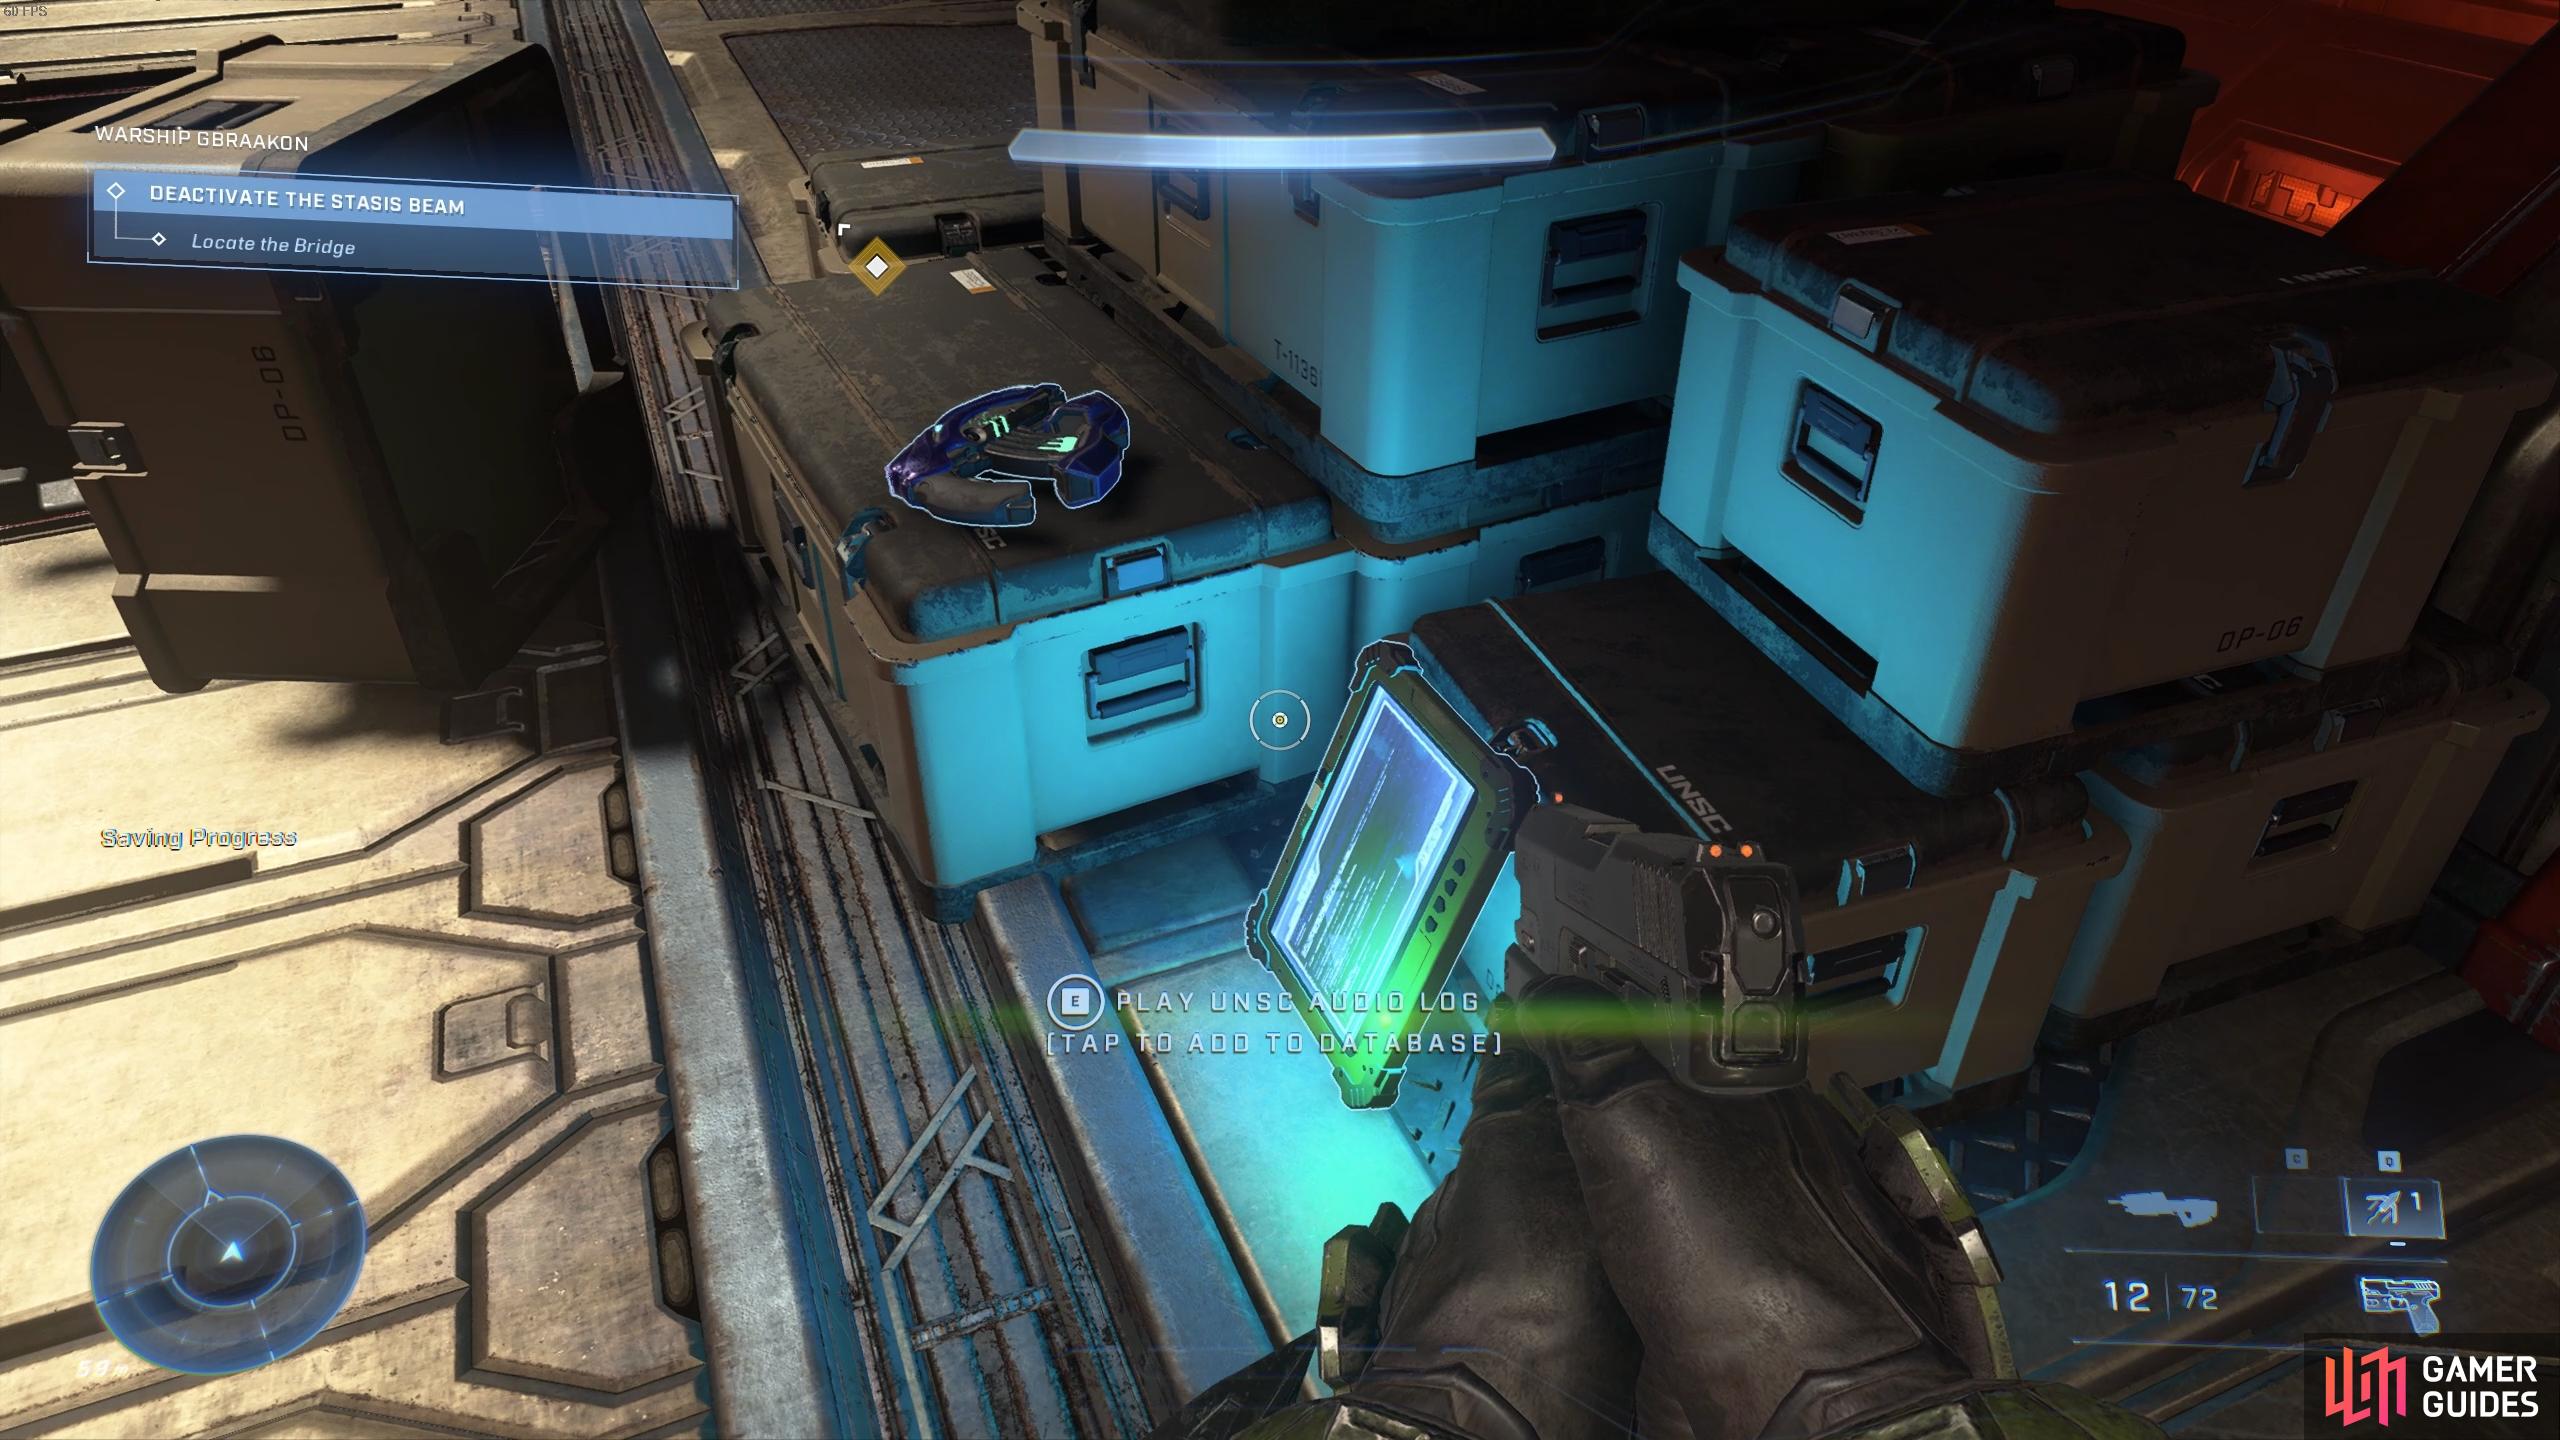
(1 of 3) You’ll find the UNSC audio log just as you enter the room after going up the elevator.
How to Destroy the Cooling Manifolds on the Bridge
Once you’ve killed all the enemies in the upper bridge, go to the main controls area and interact with the interface to disable the stasis beam. You’ll soon discover that it’s locked down, requiring a hack to access. However, Master Chief isn’t here to do that kind of hacking. Instead, he smashes it to pieces and your new task becomes to destroy two cooling manifolds beneath the control deck. Make your way to either side and defeat all the enemies in the area, maintaining the high ground for as long as possible. This will allow you to throw grenades down to deal with enemies without exposing yourself too much. The cooling manifolds will be highlighted by an AI Scan, so you can head straight to them when you’re ready and shoot them a few times to destroy them. If your gun is too weak, throw some spike grenades or blast coils at them instead.
Overload the Engines and Escape the Ship
When both cooling manifolds are destroyed, go back up to the main control deck and overload the engines by pulling a lever highlighted by an AI Scan. This will trigger another cutscene with Escharum, after which you’ll need to run as fast as you can through the ship to avoid being blown up with it. There will be numerous enemies along the way, but most of them will be destroyed by explosions from the ship. You’ll need to keep using AI Scan to highlight exactly where you need to go as you move through the ship, but the path is fairly linear and obvious, so you shouldn’t get lost. Once you’ve escaped you’ll be picked up by Echo 216, unlocking First Contact.
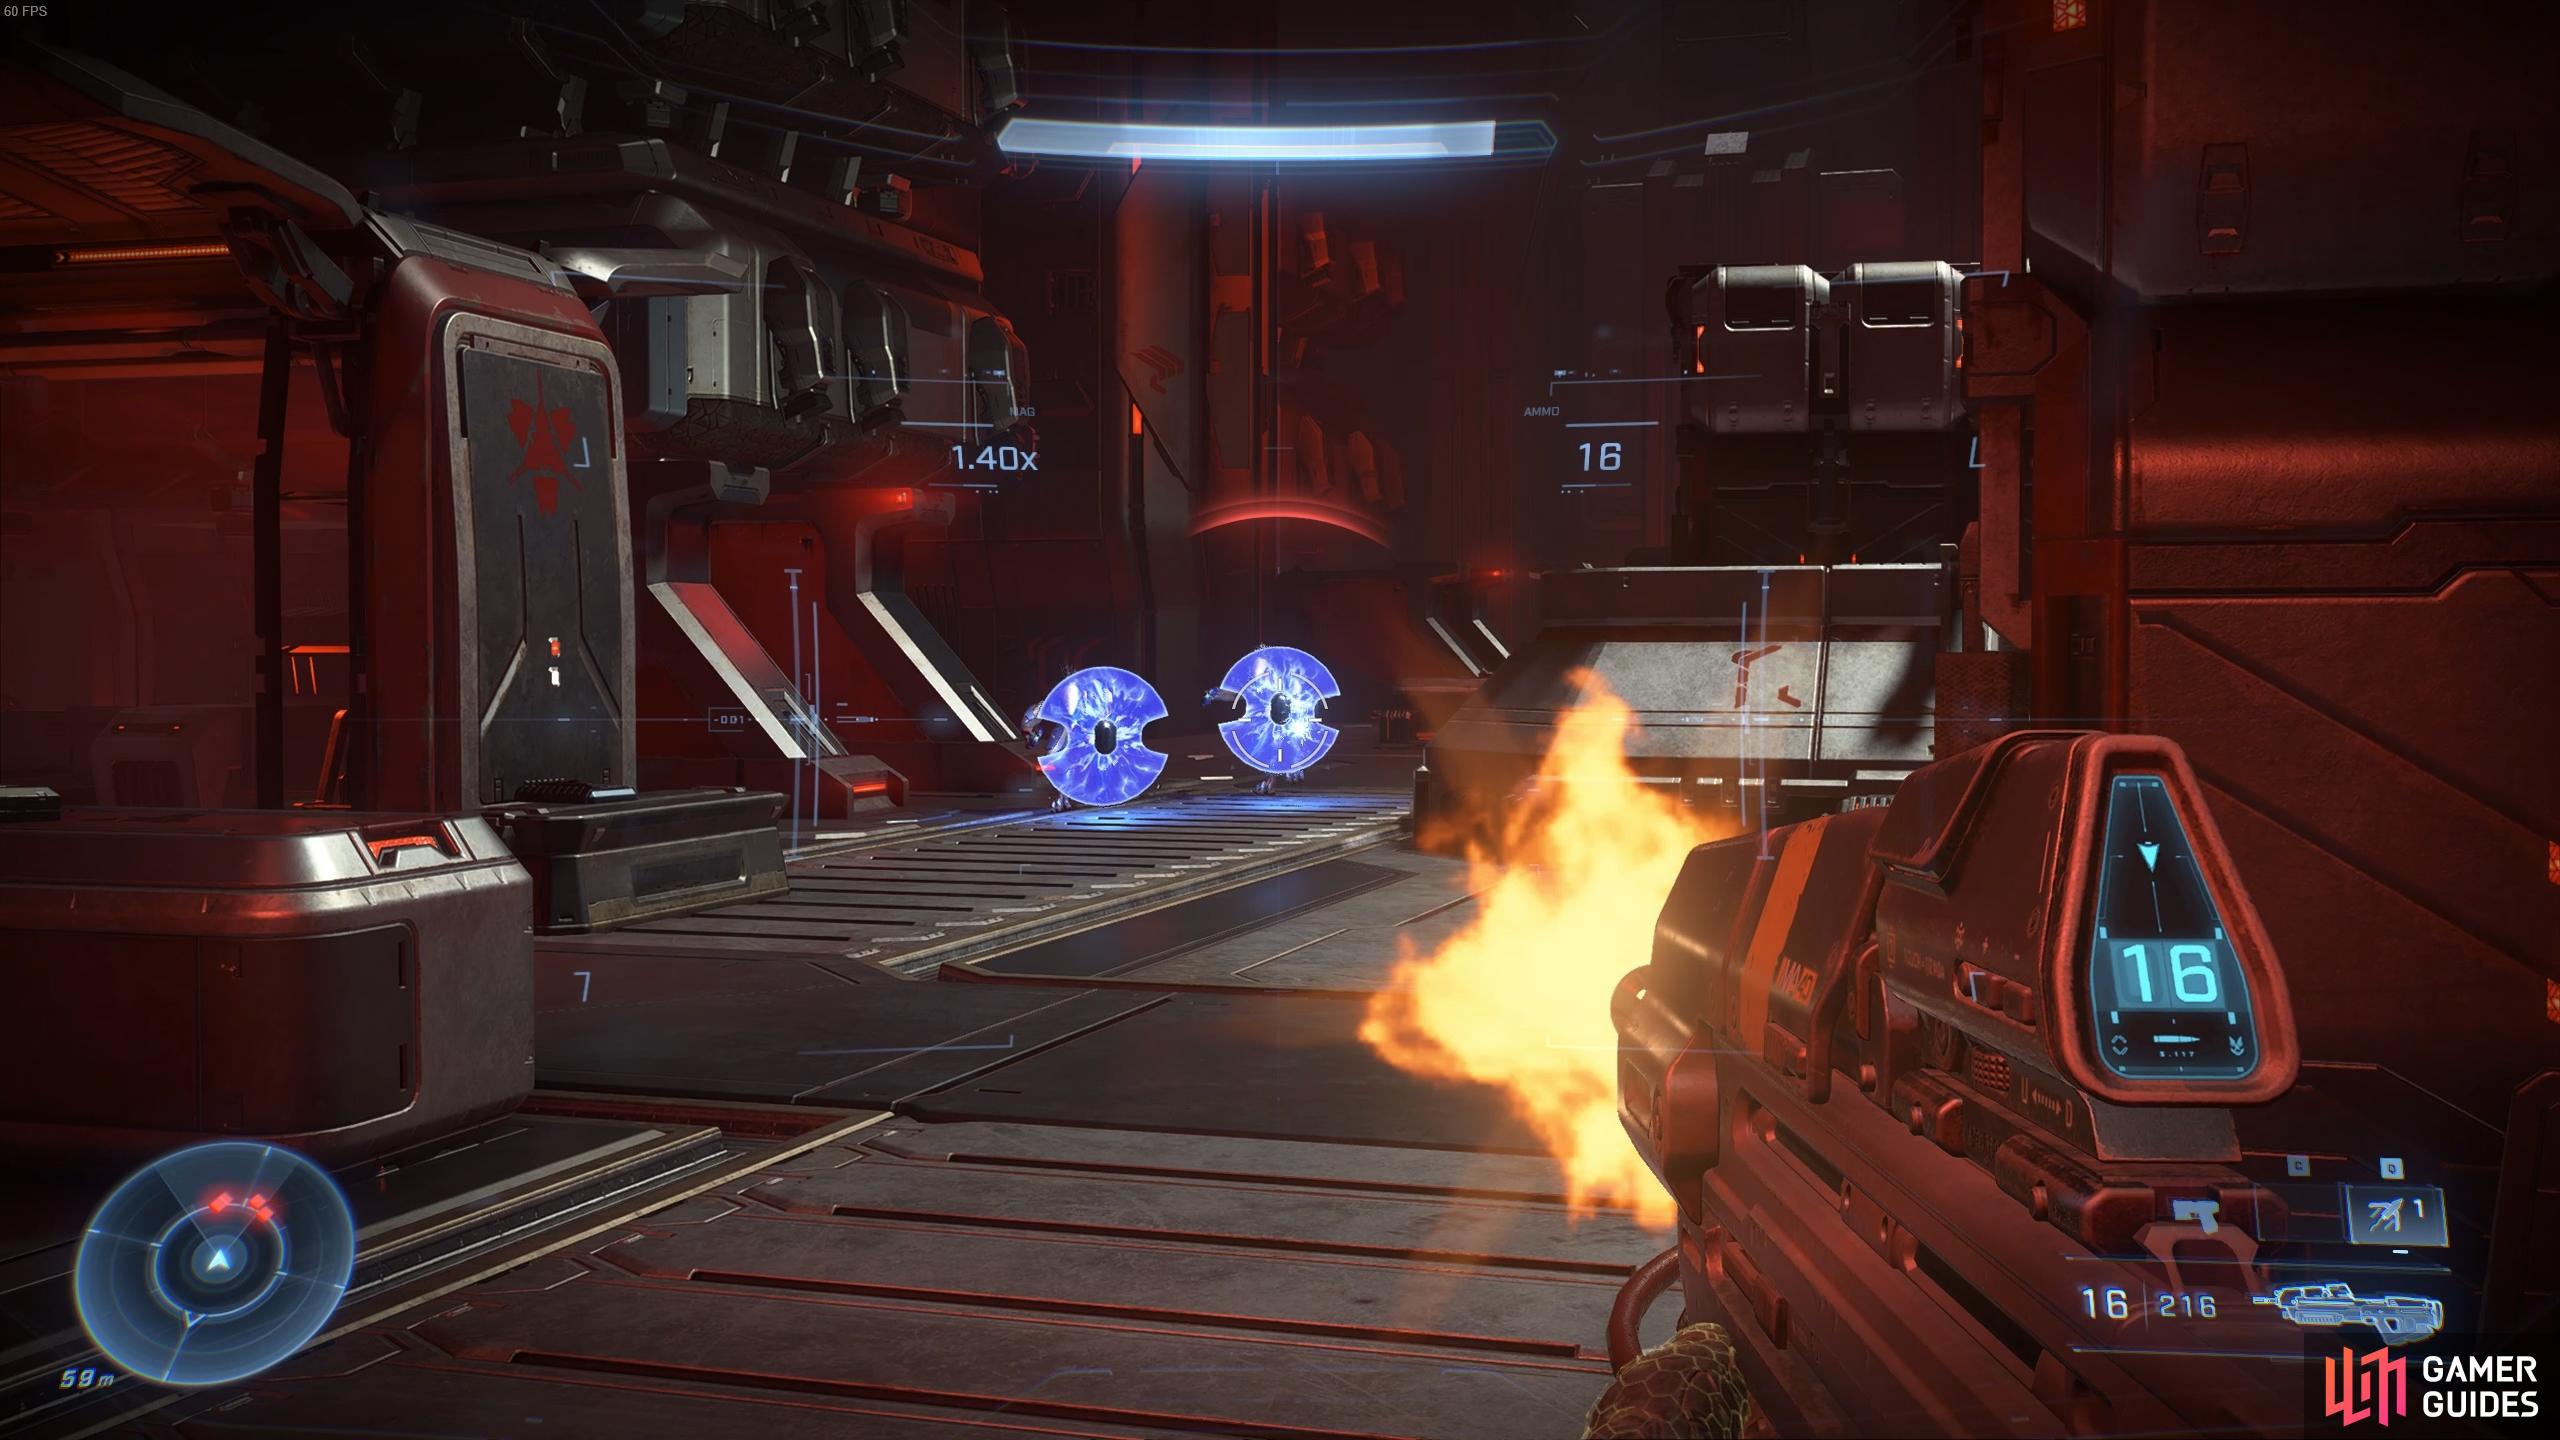
(1 of 6) Jackals with shields are much tougher to kill with kinetic energy weapons, but Pulse Carbines and other plasma weapons will eat through their shields quickly.
No Comments