
Ordo ’Mal Location & Profile
You’ll find Ordo ’Mal to the northwest of Fob Hotel, which itself is located northwest of the Annex Ridge outpost in the southern part of the map. His profile is as follows:
“During the Covenant War, Ordo ’Mal was unequalled among Sangheili Wraith pilots, and was responsible for the deaths of at least 654 UNSC personnel. His deathtoll increased to over 1,200 in the years following, many of those taking place during the Banished raid on the UEG colony of Palghanar. Unlike others, Ordo ‘Mal did not join the Banished until well after the Covenant’s collapse, in the wake of the Sangheli civil war. Returning to his native keep, he united a network of feudal raid lances under his aggressive and mercenary leadership before being directly approached by Atriox for service in the Banished. In the intervening years, Ordo ‘Mal found increasing favor with Escharum, Atriox’s right hand. This ascent earned him the title ‘Wraithmaster’ among the Banished. He remains one of the single most dangerous elements in their combat stratagem.”
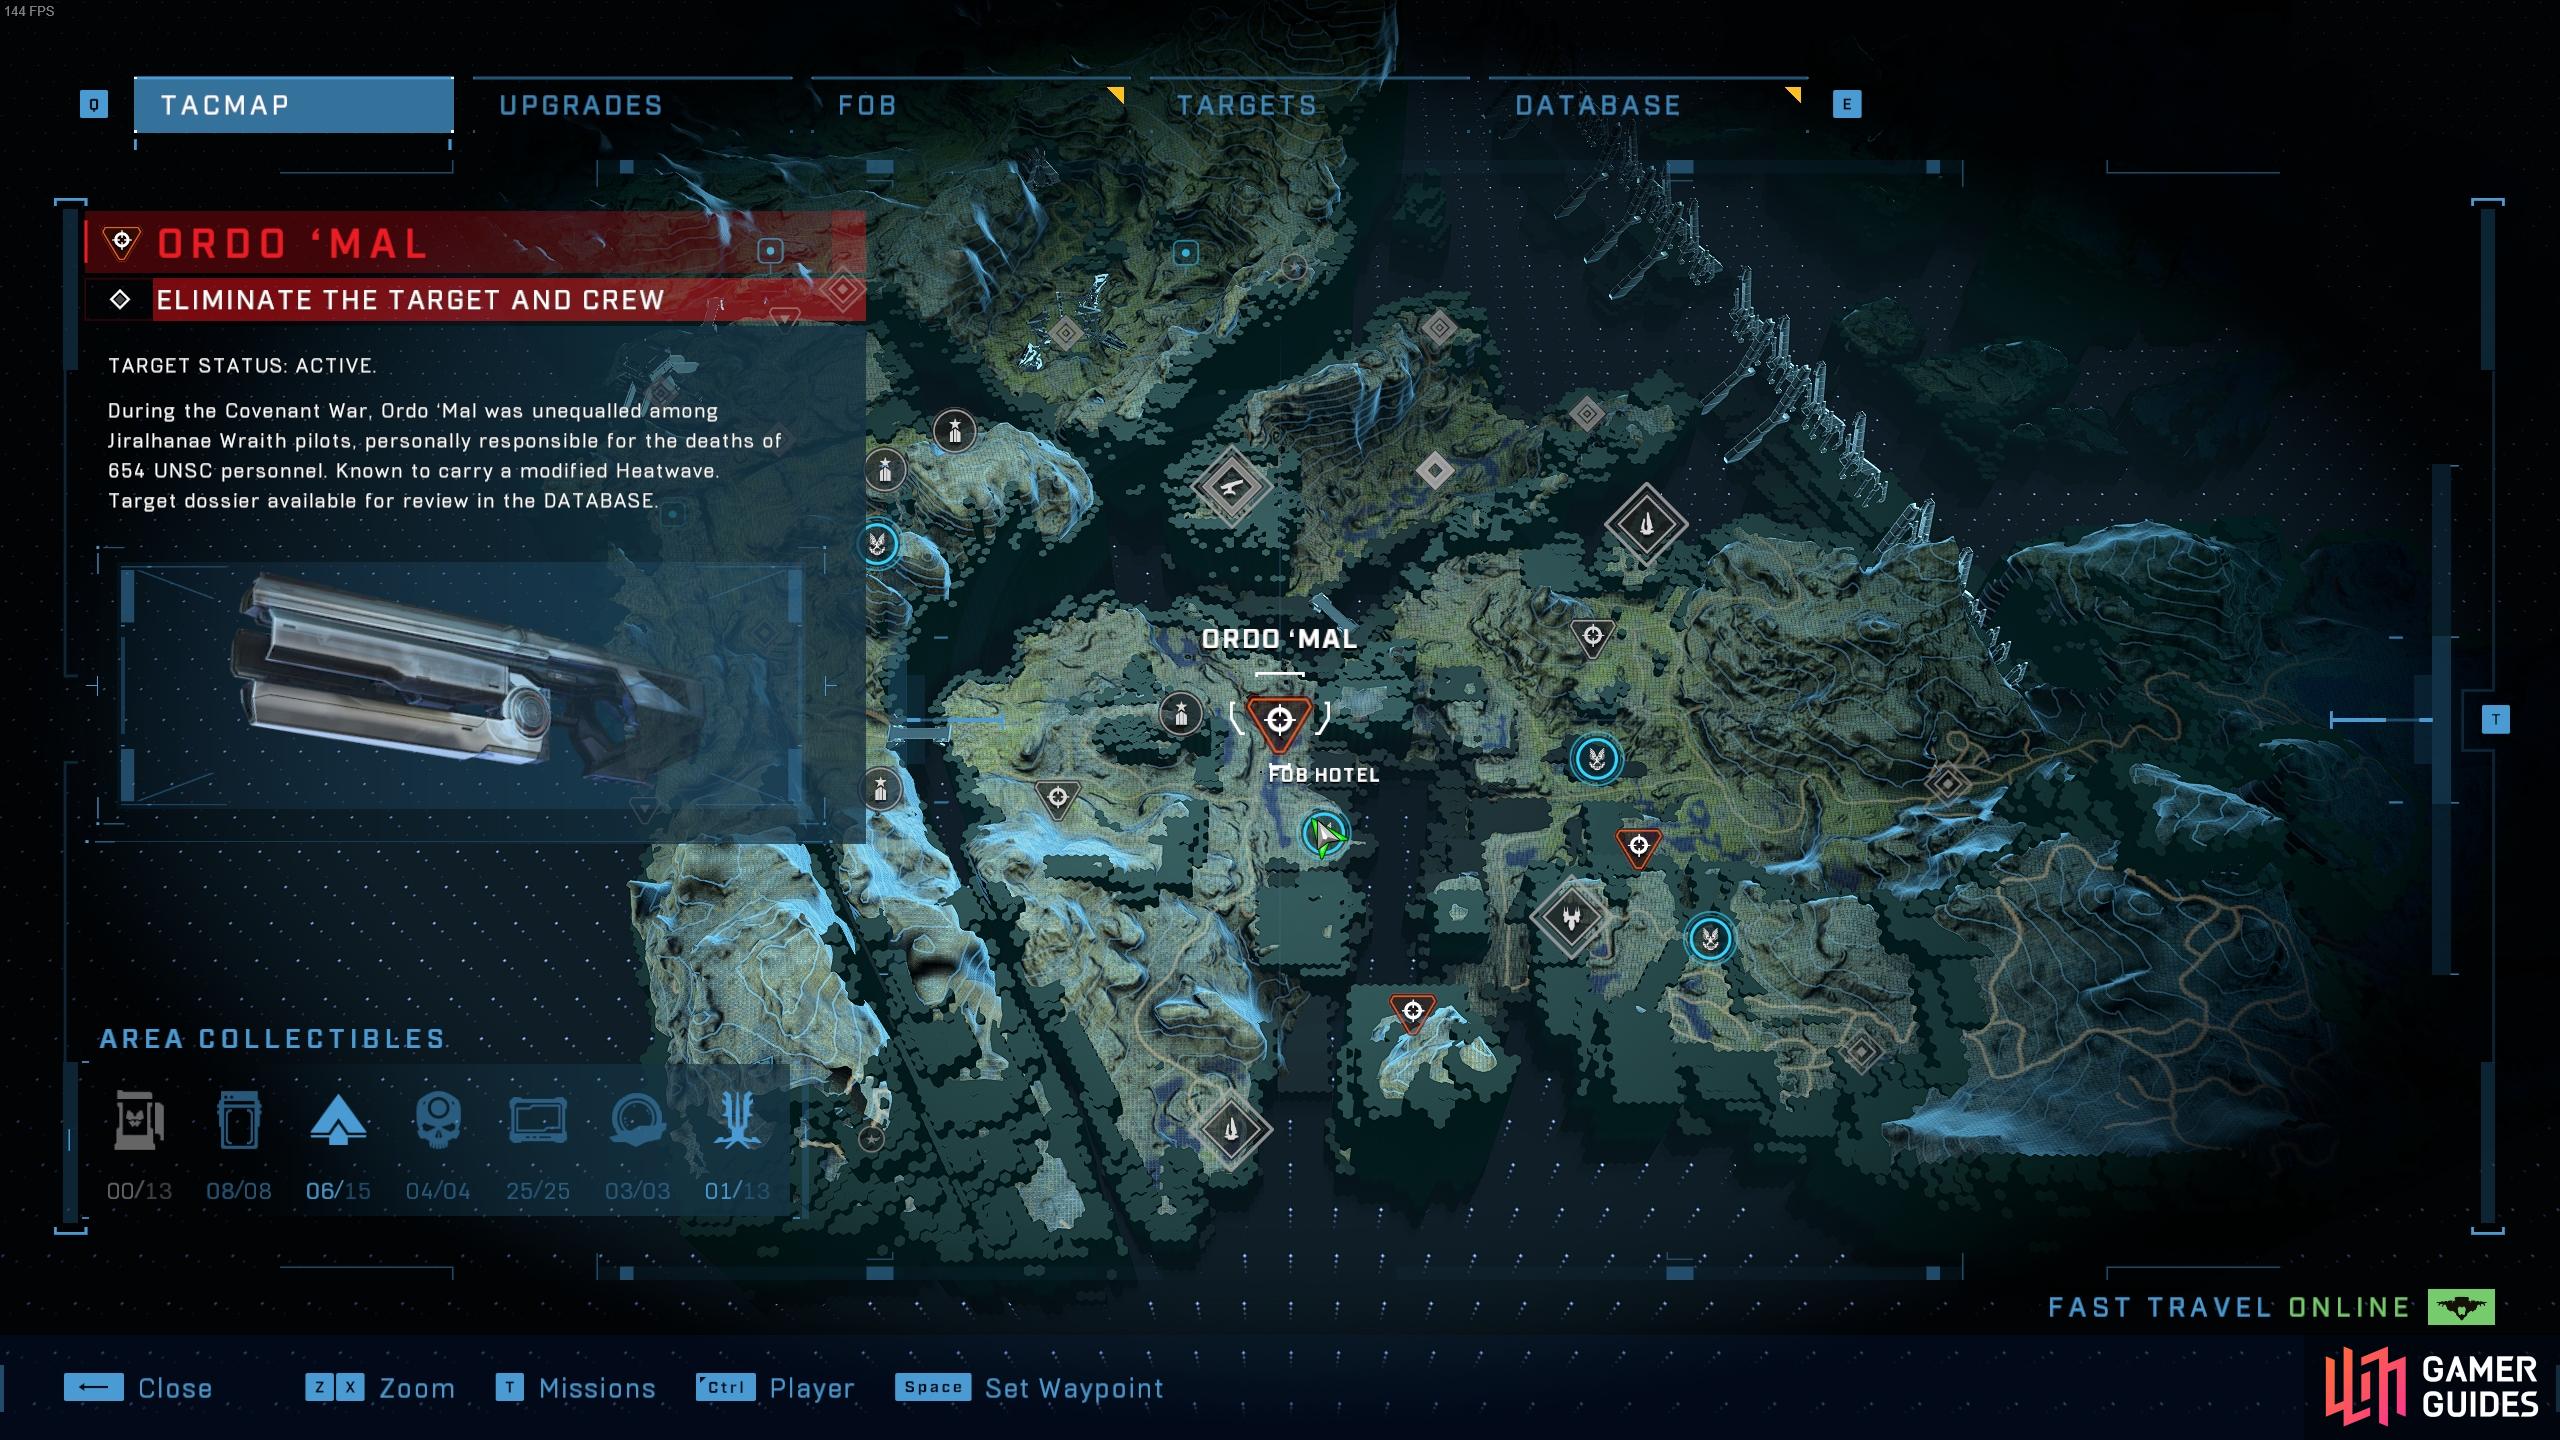
The location of Ordo ’Mal, northwest of Fob Hotel.
How to Defeat Ordo ’Mal
This is one of the toughest high-value target fights, partly because Ordo ‘Mal remains in his Wraith tank for most or all of it. This gives him superior fire power which makes it difficult to approach the tank, and he can also fire plasma blasts from the tank cannon which will kill you in one direct hit. Fortunately, these are relatively easy to avoid if you’re at a reasonable distance away from the Wraith, so you can see them coming and move out of the way. However, you’ll also have to contend with numerous elite Brutes in the area (at least three of which wield Skewers), making it difficult to fly above the area in a AV-49 Wasp or Banshee, especially since there’s a plasma cannon on the northwestern side of the road. There’s also a relatively large force of Jackals and Grunts on the ground, so you’ll have a lot to deal with before you can attack the Waith without being harassed from multiple angles.
A good way to begin the fight is by taking out the plasma cannon on the northwestern side of the road. You can approach slowly to take it by surprise, then destroy it to put it out of action. You can try to use the cannon to your advantage for a brief period, but staying in one place too long during this fight will inevitably get you killed, so we’d advise against this. The shots from the Wraith, numerous enemies surrounding you, and the Skewer shots from elite Brutes will kill you too quickly if you mount the cannon for too long. Instead, once you’ve destroyed the cannon you can begin taking out the weaker enemies in the area, such as the Jackals and Grunts. You should also deal with the elite Brutes as soon as possible, since their shots can be the most deadly if they land a hit. You’ll find most of the Brutes on the hill ledge to the northeast from the cannon. If you keep moving along this ridge, you’ll have a good view of the marshland and the location of Ordo ’Mal in his Wraith as you take out his allies.
Once you’ve thinned the numbers of Brutes, Jackals, and Grunts, you can begin to focus on damaging Ordo ’Mal. His Wraith tank will take a lot of punishment, but you can put the cannon out of action by shooting the additional enemy wielding it, whose head will be exposed just above where Ordo ‘Mal is positioned, near the top of the tank as you face it. You’ll find it much easier to navigate the battlefield when the plasma cannon is gone, but the Wraith can still inflict massive damage with its regular attacks.
If you’d rather keep your distance from the Wraith and attack from afar, you can pick up one of the Skewers dropped from an elite Brute. Each shot will inflict massive damage to the Wraith, and you should have enough ammunition to take the tank out. Alternatively, you’ll find some M41 SPNKR - Rocket Launchers on the ground in the vicinity, but these can be more difficult to land shots with due to their lower velocity. Any powerful weapon can destroy the Wraith with enough hits, but if you’ve ran out of ammunition with most of them, you can use one of the nearby Ghost vehicles, which will give you infinite shots with its plasma cannon and excellent maneuverability, allowing you to avoid most of the incoming fire from the Wraith. Ordo ‘Mal will most likely remain in his tank to the end, so he’ll die once you destroy it, but if he does jump out he may go into stealth mode, so be ready to use Threat Sensor to locate his position and finish him off.
After defeating Ordo ‘Mal you’ll have access to the Scatterbound Heatwave, a variant of the regular Heatwave which adds tracking abilities after the initial rebound of a shot.

No Comments