
This page will detail the Sigrun’s Curse favor in God of War Ragnarok.
How to Start the Sigrun’s Curse Favor in God of War Ragnarok
You can start this favor during Kratos’s first trip to Midgard during the main quest The Word of Fate, or any time you have the freedom to explore afterwards (including immediately after The Word of Fate). Any time you’re in Midgard, visit either The Derelict Outpost or The Oarsmen regions and this quest will begin automatically. You’ll have to find parts of a key at the two aforementioned areas, then head to The Lost Treasury to open a locked door, where you’ll learn about Sigrun’s past.
Travel through The Oarsmen area to find the first key half on an altar.
How to Find the Fjoturlund Vault Key Half Location at The Oarsmen
From Tyr’s Temple head north, northeast (between the realm towers at roughly 12-o’clock and 1-o’clock), jump over a wooden beam, then push a stone pillar out of the way. Beyond the rock you’ll be forced to turn left (west) and you’ll reach a fork where you’ll find some brambles to the right (north), some rubble to the west, and a path to the left (south). Burn the brambles away, then jump the gap to the north to reach The Oarsmen.
Continue northeast down some stairs to reach a subterranean chamber occupied by some Hel-Raiders and a Hel-Raider Chief. Kill them and continue northeast past a Nornir Chest (which you can’t open yet), climb a ledge, then turn right (east) to find a wall you can scale. Do so and you’ll find yourself back outside, where a Stalker and some more Hel-Raiders will greet you. Defeat these enemies, too, climb a chain to southwest, then continue southwest and drop down another ledge. Down here you’ll find another, much larger chain on the ground - pull it and you’ll open up some stairs to the east. Note that you can also turn west to find a door you can break open with the Blades of Chaos, which provides a shortcut back to the beginning of this region.
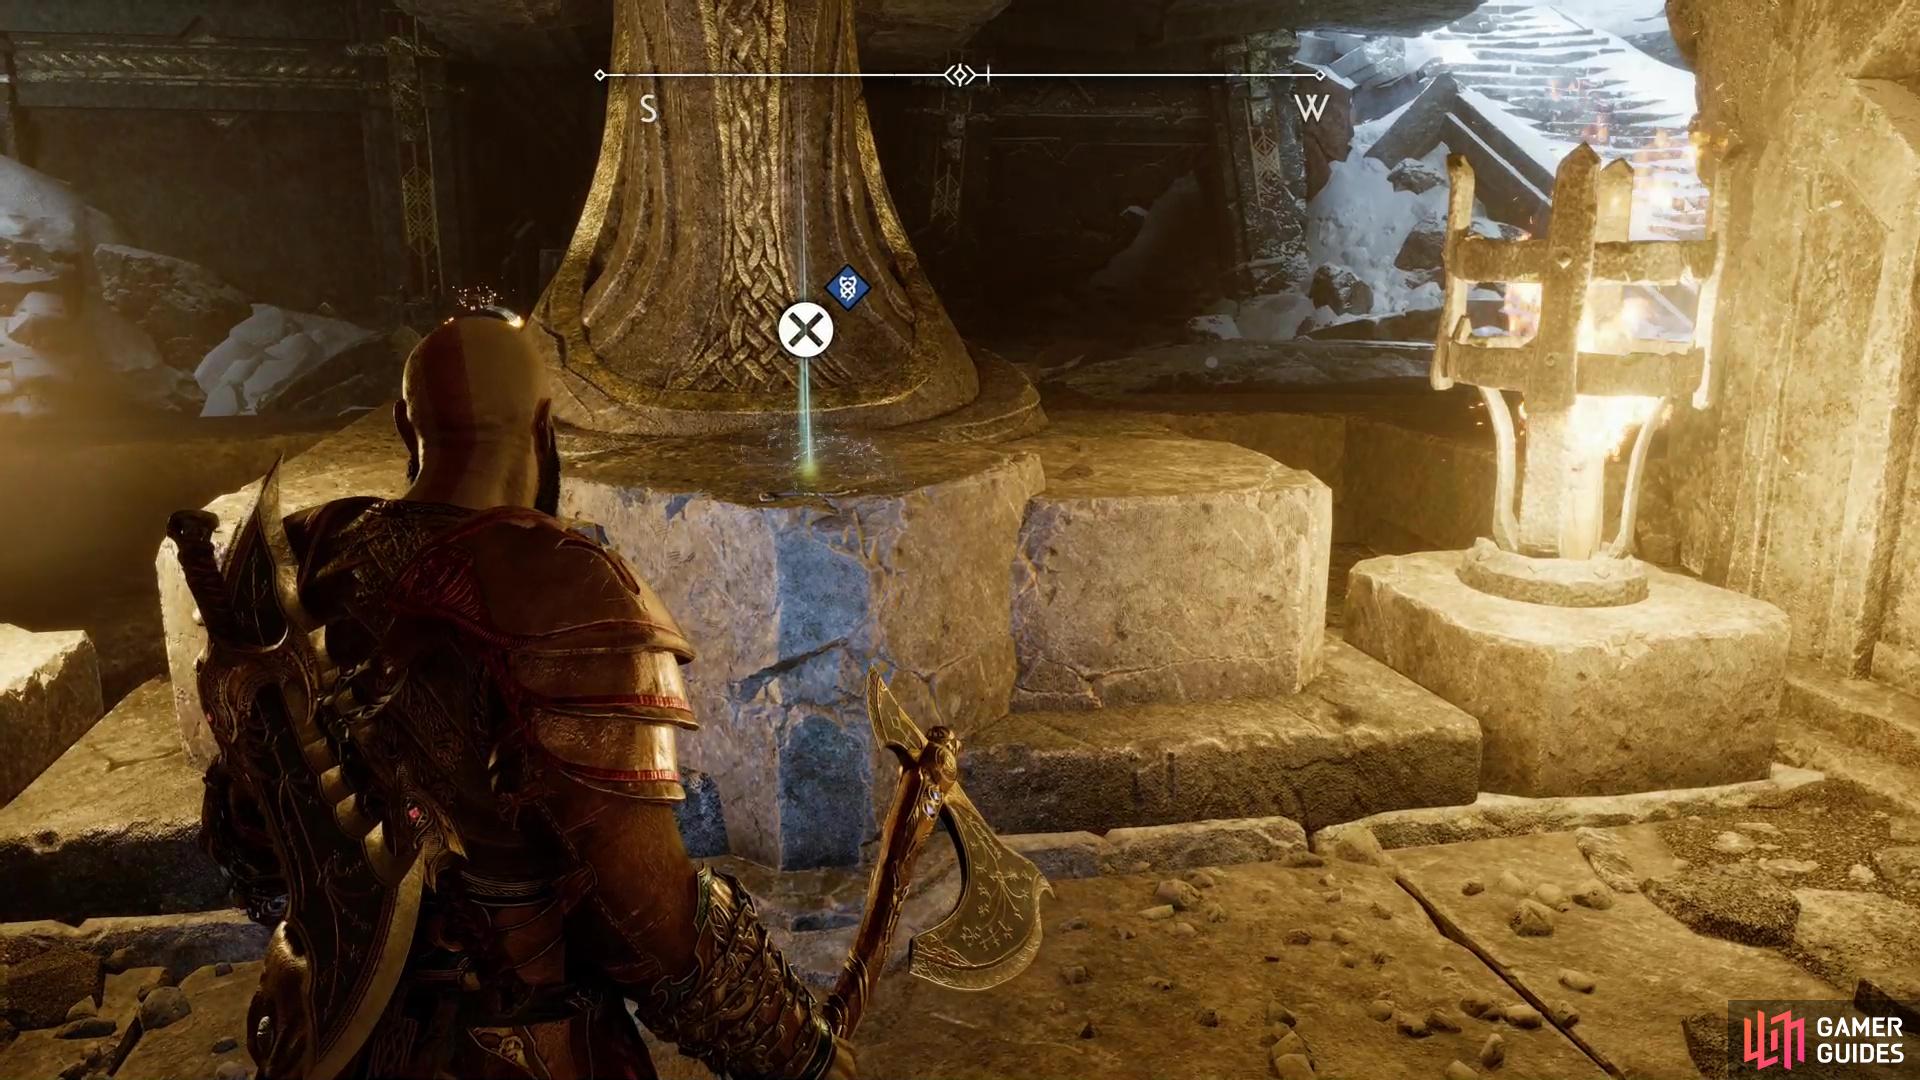
Go down the stairs to the east to reach the far side of the chamber where you fought Hel-Raiders earlier. There aren’t Hel-Raiders on this side of the chamber, but you will need to exorcize some Wisps before you can explore in peace. Once the Wisps are defeated, continue to the northeastern end of the chamber, near a Lore Marker, then turn left (northwest) to find a sealed door leading back to the other half of the chamber you previously explored. You can open the door from this side, but before you do, turn left (southwest) to find an altar upon which rests the first Fjoturlund Vault Key Half.
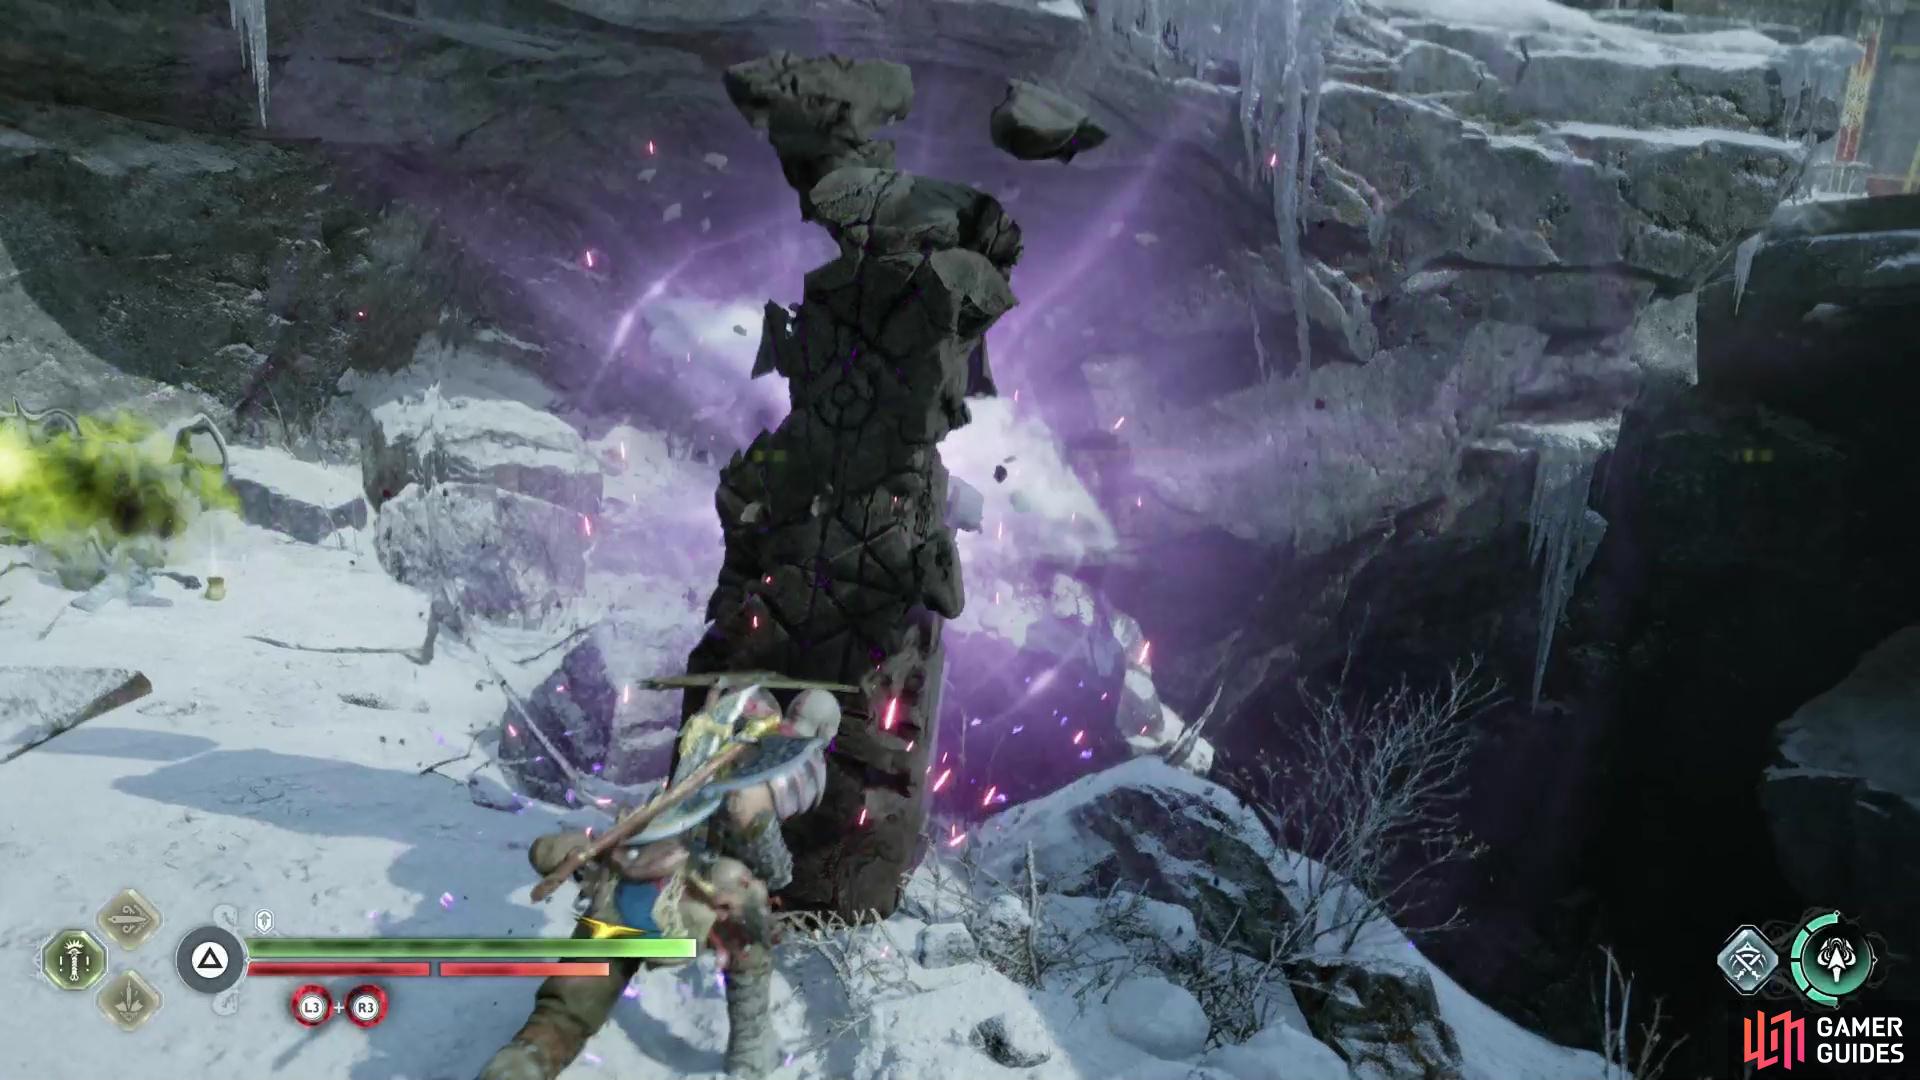
Destroy a Wisp-spawning pillar,
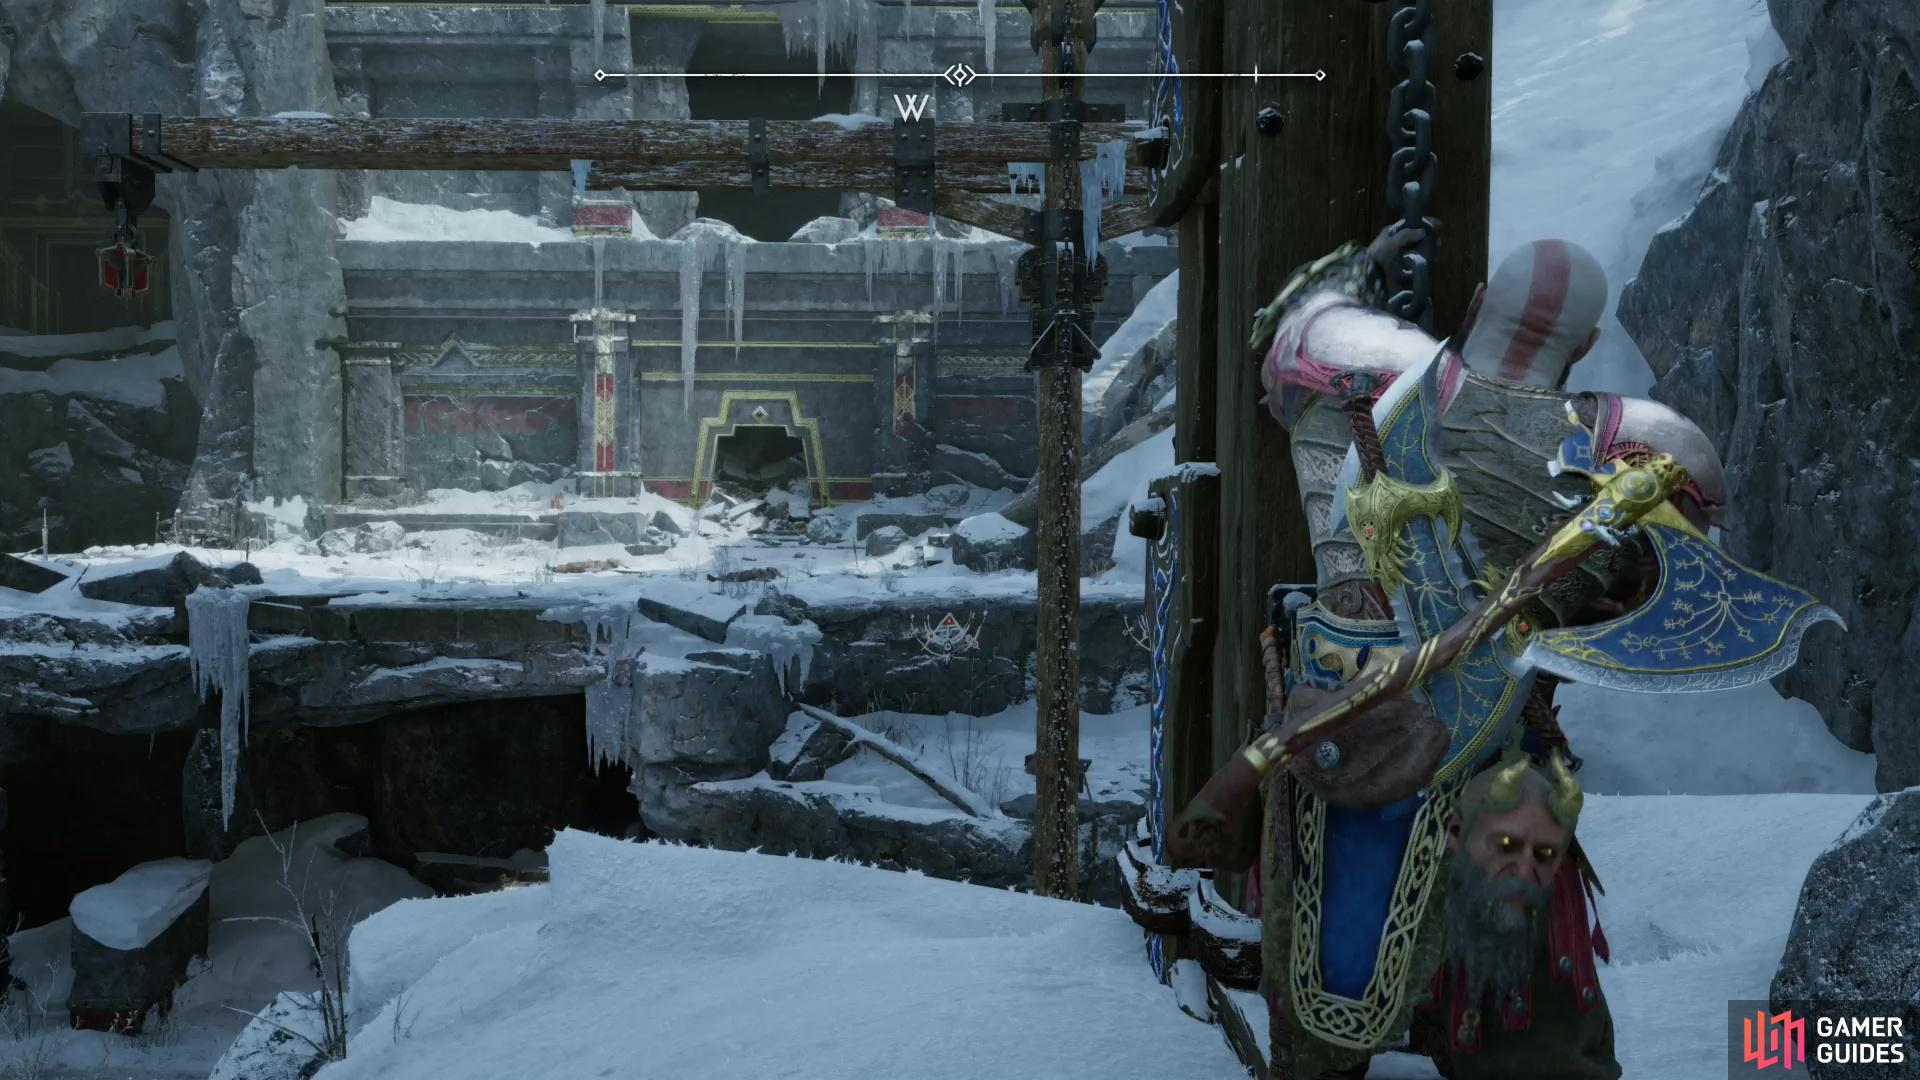
then use a chain to raise a pulley.
How to Find the Fjoturlund Vault Key Half at The Derelict Outpost
The Derelict Outpost can be found southwest of the Lake of Nine, follow a trail of wrecked ships and you’ll arrive - there’s even a Mystic Gateway outside.
From said Mystic Gateway, head north and climb a chain, then make your way west past a dwarven shop before turning left (south) to find a hole in the wall. Use the Blades of Chaos to swing over to the south, then turn west to find another gap. Hit the panels on a pulley with the Leviathan Axe to swing a grapple point over the gap, which you can then use to swing over to the west.
Once across, kill some Wisps and seek out a glowing pillar - this will keep spawning Wisps, so be sure to smash it.
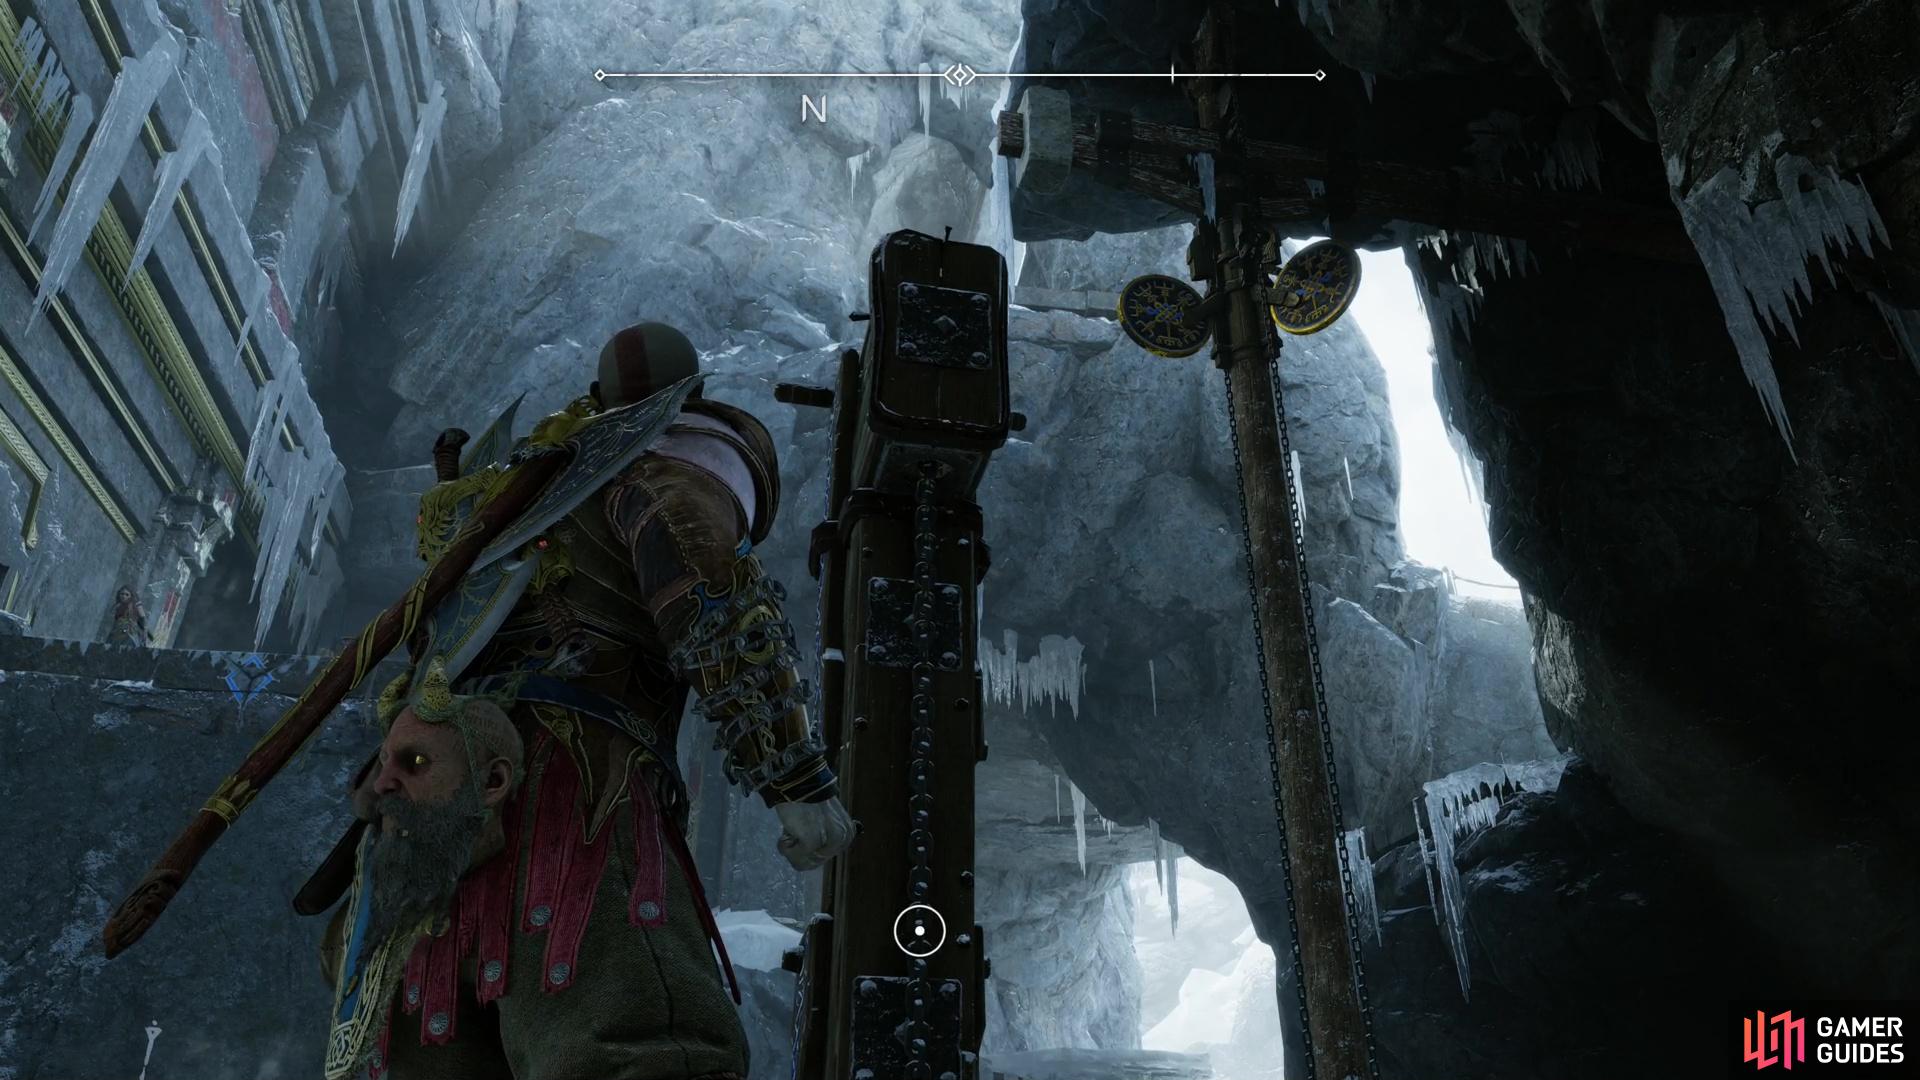
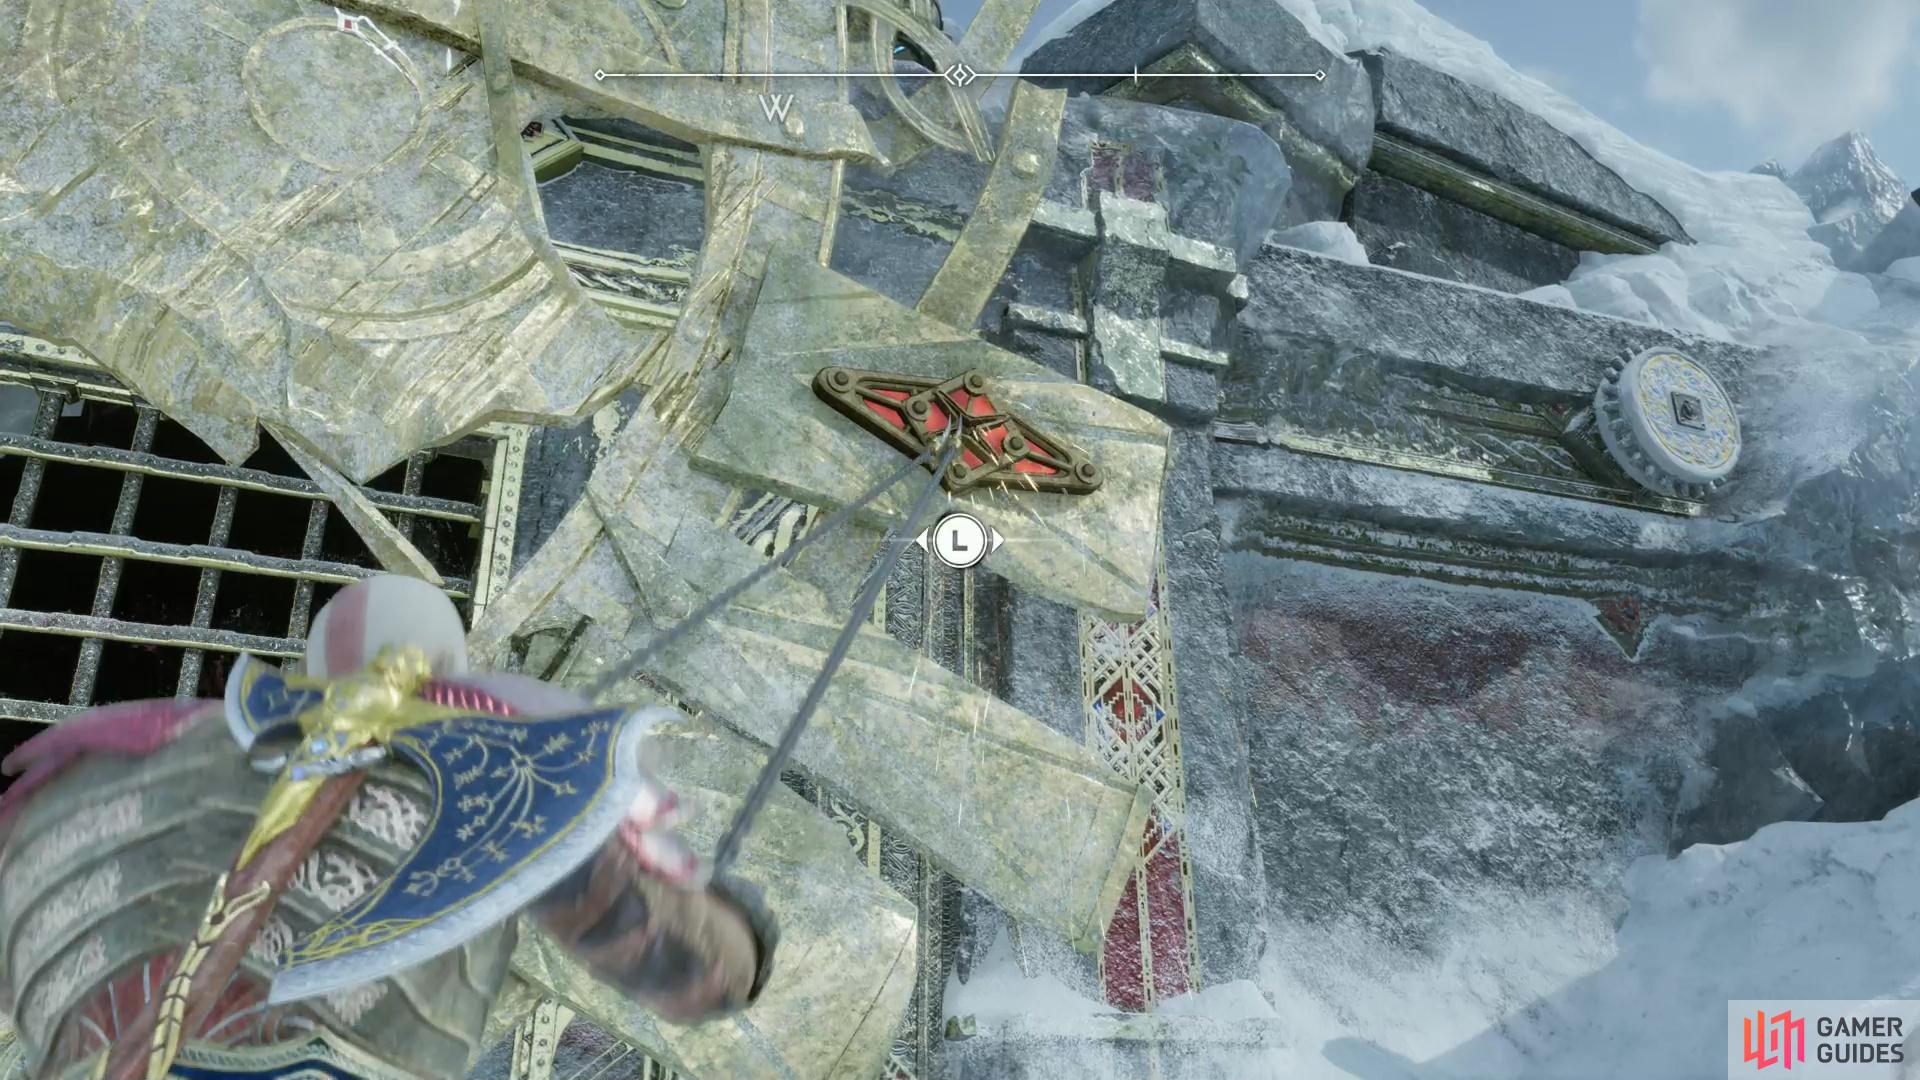
After the Wisp-spawning pillar is dealt with, return east to where you entered this area and turn left (north) to spot another pulley. You know the drill - strike the panels to rotate it until a grapple point is over the gap, then swing across to the north.
Continue north, then climb a ledge to the left (west), and when you mount it, immediately turn right (north) to find another ledge you can scale. Nearby you’ll find a chain you can pull, which will raise another pulley. Do so, then swing across a gap to the west and kill the Hel-Raiders that spawn when you land.
Put the Hel-Raiders to rest, jump a gap to the south, climb up a ledge (also south), defeat a pair of Wisps and another Hel-Raider, then jump another gap to the west. Follow the linear path ahead, smash some icicles blocking a doorway, and you’ll find yourself in a chamber with another pulley. Drop off a ledge to the south to find another chain, which will lower the pulley. Lower it as much as possible, hit the rightmost panel with the Leviathan Axe to swing the pulley out over the gap on the ledge to the north, then raise the pulley again. Now that you have a way across, climb back up the ledge and swing across the gap to the east.
Climb a cliff to the northeast and you’ll find yourself back outside, near a Lore Marker and a Legendary Chest. Read and loot them, then climb a wall to the west and enter the ruins beyond to find another Fjoturlund Vault Key Half. Grab it, then leave the ruins via an alternate route to the left of where you found the key - you’ll have to fight a Wight and some Hel-Raiders.
The Lost Treasury
Now that you have both key halves, you’ll need a door to put them in, and that door just so happens to be at The Lost Treasury, which is also southwest of Tyr’s Temple in the Lake of Nine, just follow the cliffs to the right as you leave The Derelict Outpost and you’ll find it. When you arrive, climb onto a ledge outside of the The Lost Treasury and defeat several Hel-Raiders that spawn. Once done, you’ll find another, more formidable barrier blocking your entrance - Tyr’s shield.
How to Open the Treasury Door
The wheel in front of the shield is currently of little use to you, but note the gears on either side of the shield - you’ll eventually need to turn the wheel to open a gate, then hit both gears to stall the gate’s mechanism long enough for you to get through. Before that, however, you need to roll the shield into a position from which both gears and the gate are visible from the wheel.
Head up to the shield and pull it to the right using the Blades of Chaos, then climb the face of the shield to reach a ledge above. Destroy some rocks by smashing a fire pot, which will knock a stone pillar down.
Climb back down the ledge, then use the Blades of Chaos to move the shield to the left. Climb it again to reach another ledge, kill some Wisps, then make your way through a doorway (now free of the rocks that were blocking it, assuming you destroyed the fire pot on the other side of these ruins) and use the Blades of Chaos to pull the pillar you toppled earlier forward. Now that the shield has been moved aside, the pillar will prevent it from sliding all the way back when you drop down and pull the shield back to the right… speaking of which…
(1 of 3) Hit the gears beside the shield with runic arrows and the Leviathan Axe to free said gears,
Drop down off the ruins and use the Blades of Chaos to pull the shield back right. With the pillar in the way, it won’t be able to roll as far as it did previously, allowing you to see both gears you need to freeze, and the gate you need to pass through. The solution is simple, turn the wheel in front of the shield until the gate is open, hit one of the gears with a Runice Arrow, then the Leviathan Axe to freeze it, then quickly recall the Leviathan Axe, hit the other gear, then run through the open gate before the rune-frozen gear can thaw. Once you’re through the gate, turn around (east, towards the gate) and recall the Leviathan Axe, which you can use to destroy a target on the wall to the right, causing the gate to open permanently.
With the shield puzzle solved, you can now explore the rest of the ruins unimpeded.

Sigrun’s Secret
Pass through the gate and at a Legendary Chest turn left (south) to find a sealed door. Assuming you found both Fjoturlund Vault Key Halves, you can use the reunited key to open the door to reach a small chamber. Head inside and kill a Traveler and some Wisps, then search the northwestern corner of the room to find the Lore Marker - Love’s End. Read it to complete this favor.
No Comments