
This page details everything you need to know about how to complete the In Service of Asgard Favor in God of War: Ragnarok. We’ll cover how to find and shut down the Modvitnir’s Rig, Radsvinn’s Rig, and Althjof’s Rig. There are platform puzzles for each of these mines, which we’ll take you through in detail.
Where to Find the In Service of Asgard Favor in Svartalfheim
A Favor for Mimir in Svartalfheim
You should acquire this favor as you naturally play through the story while exploring the dwarf capital of Nidavellir in Svartalfheim, but if you’re having trouble you can find it from Raeb, the proprietor of the tavern in Nidavellir. He’ll mention it in relation to Mimir, who helped Odin set up the mines long ago.
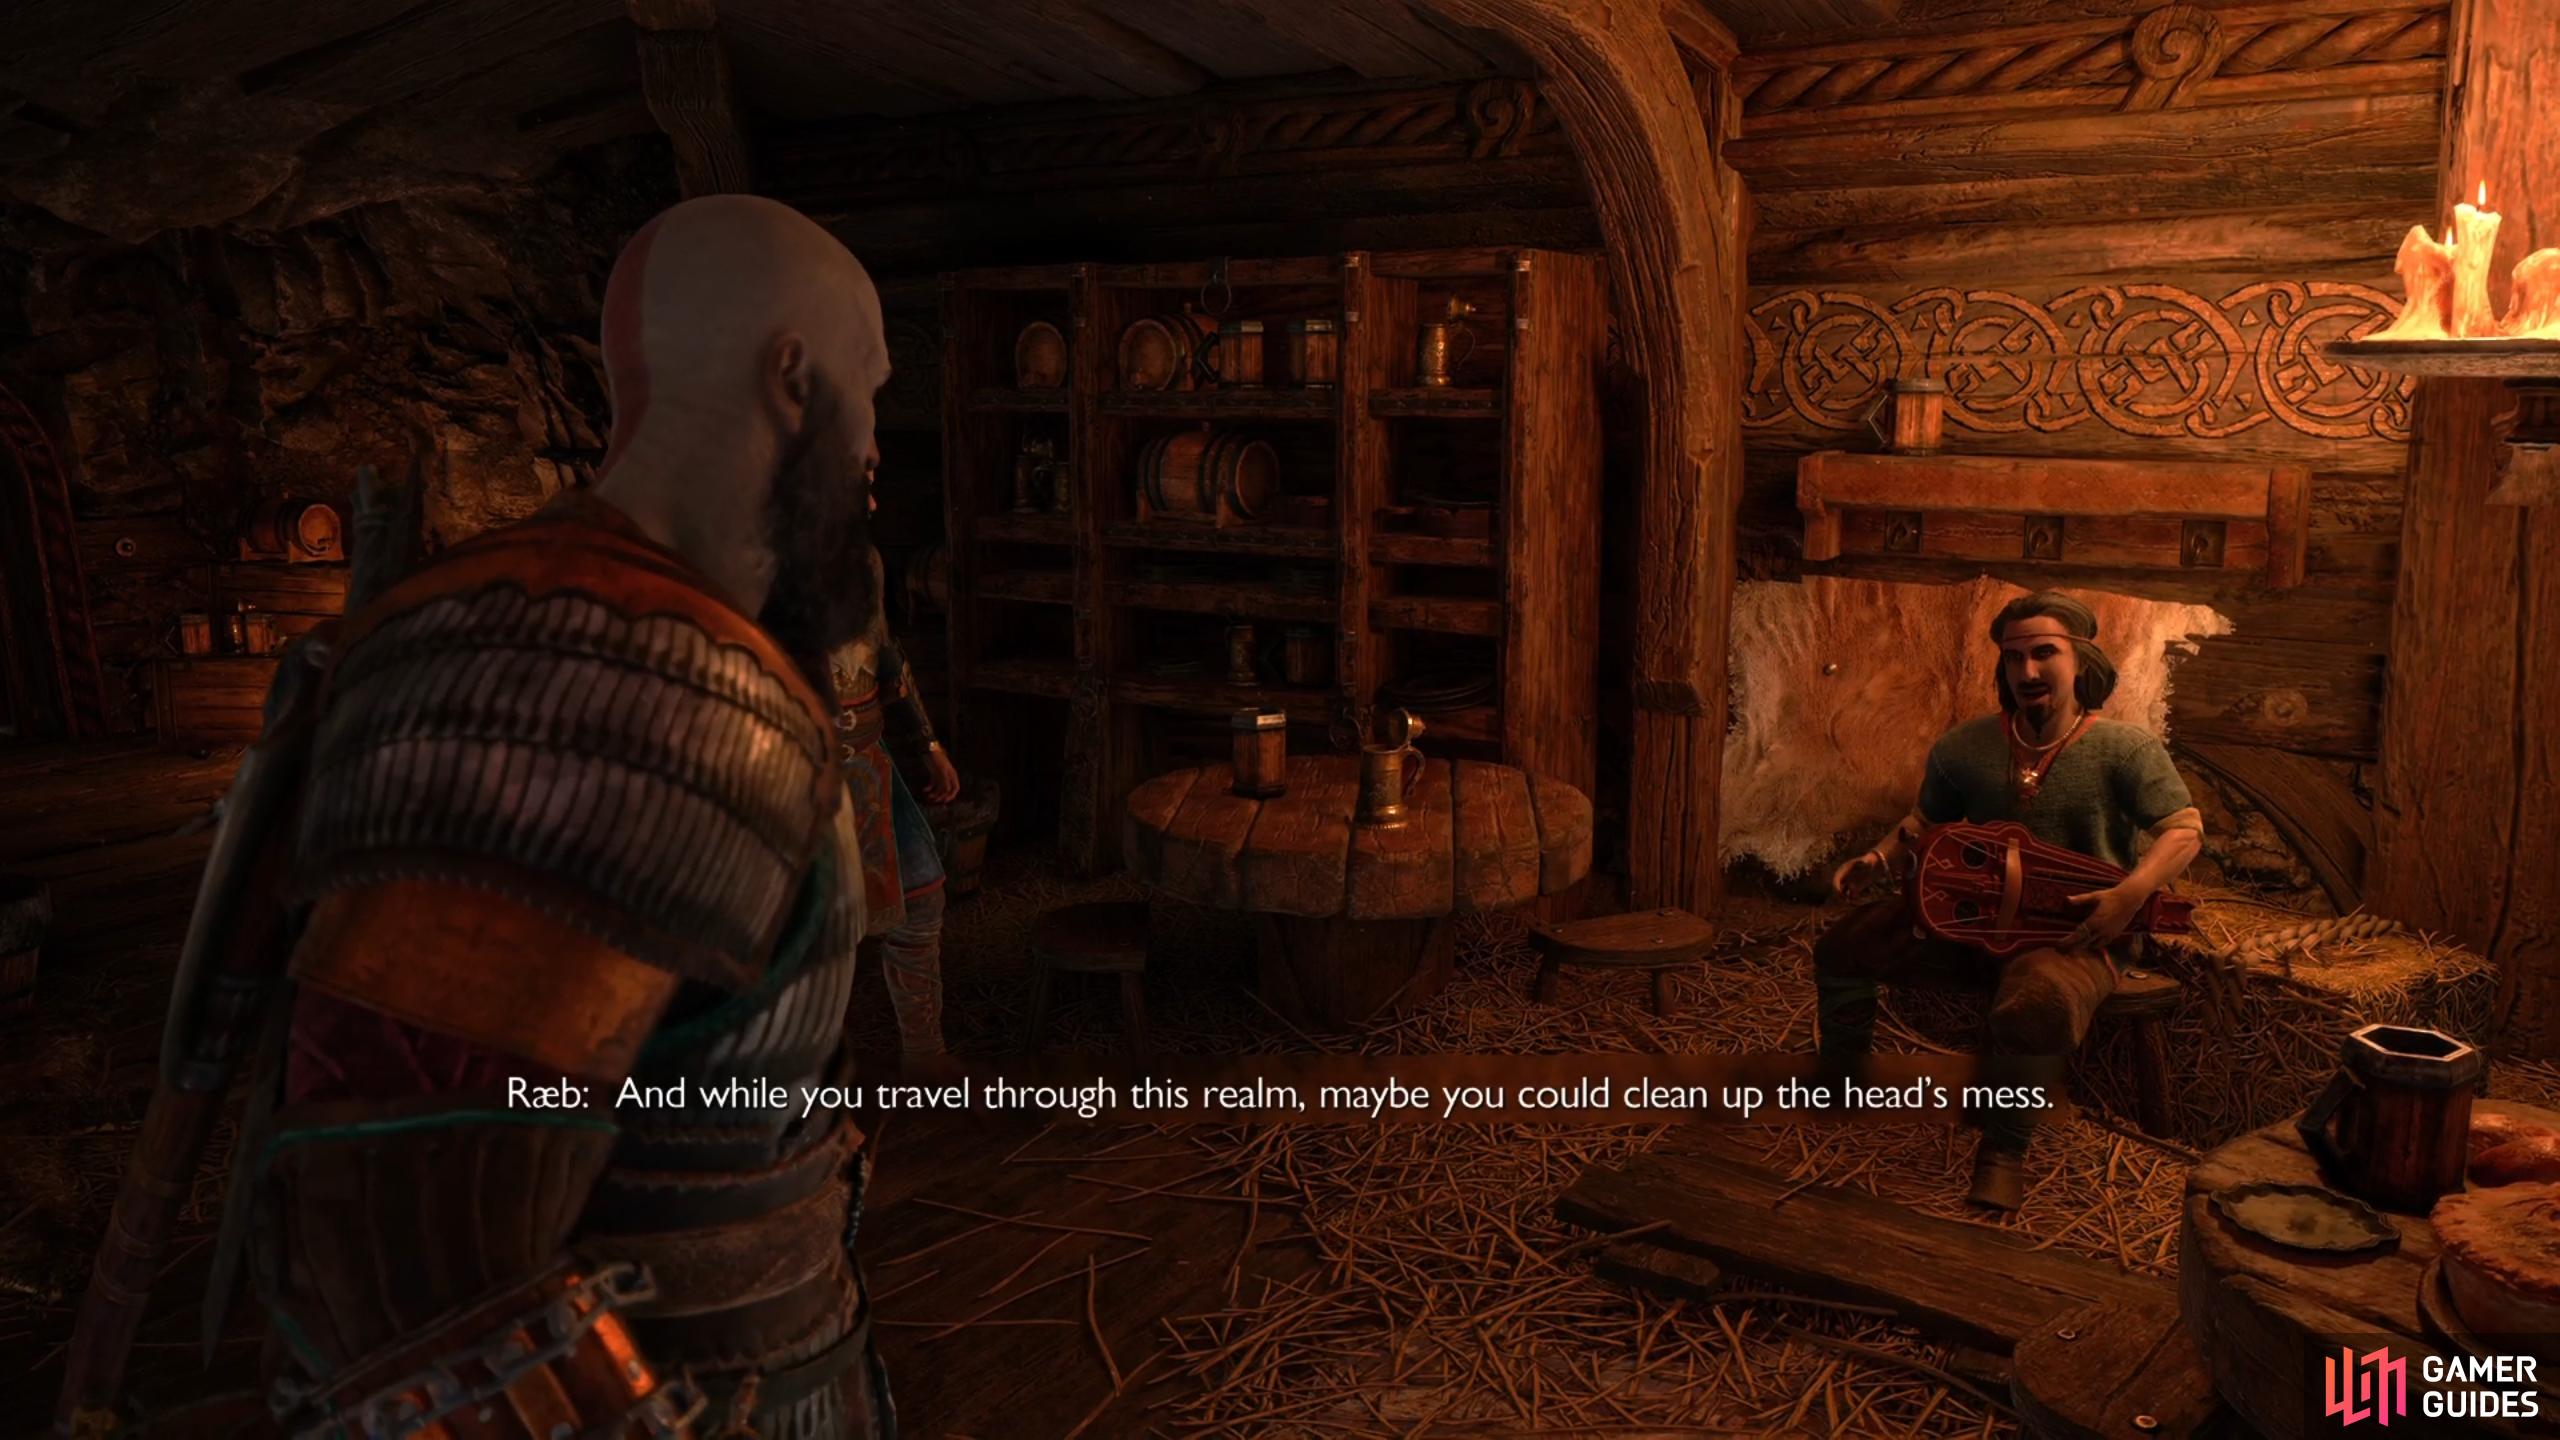
You can acquire the In Service of Asgard Favor from Raeb in the tavern of Nidavellir.
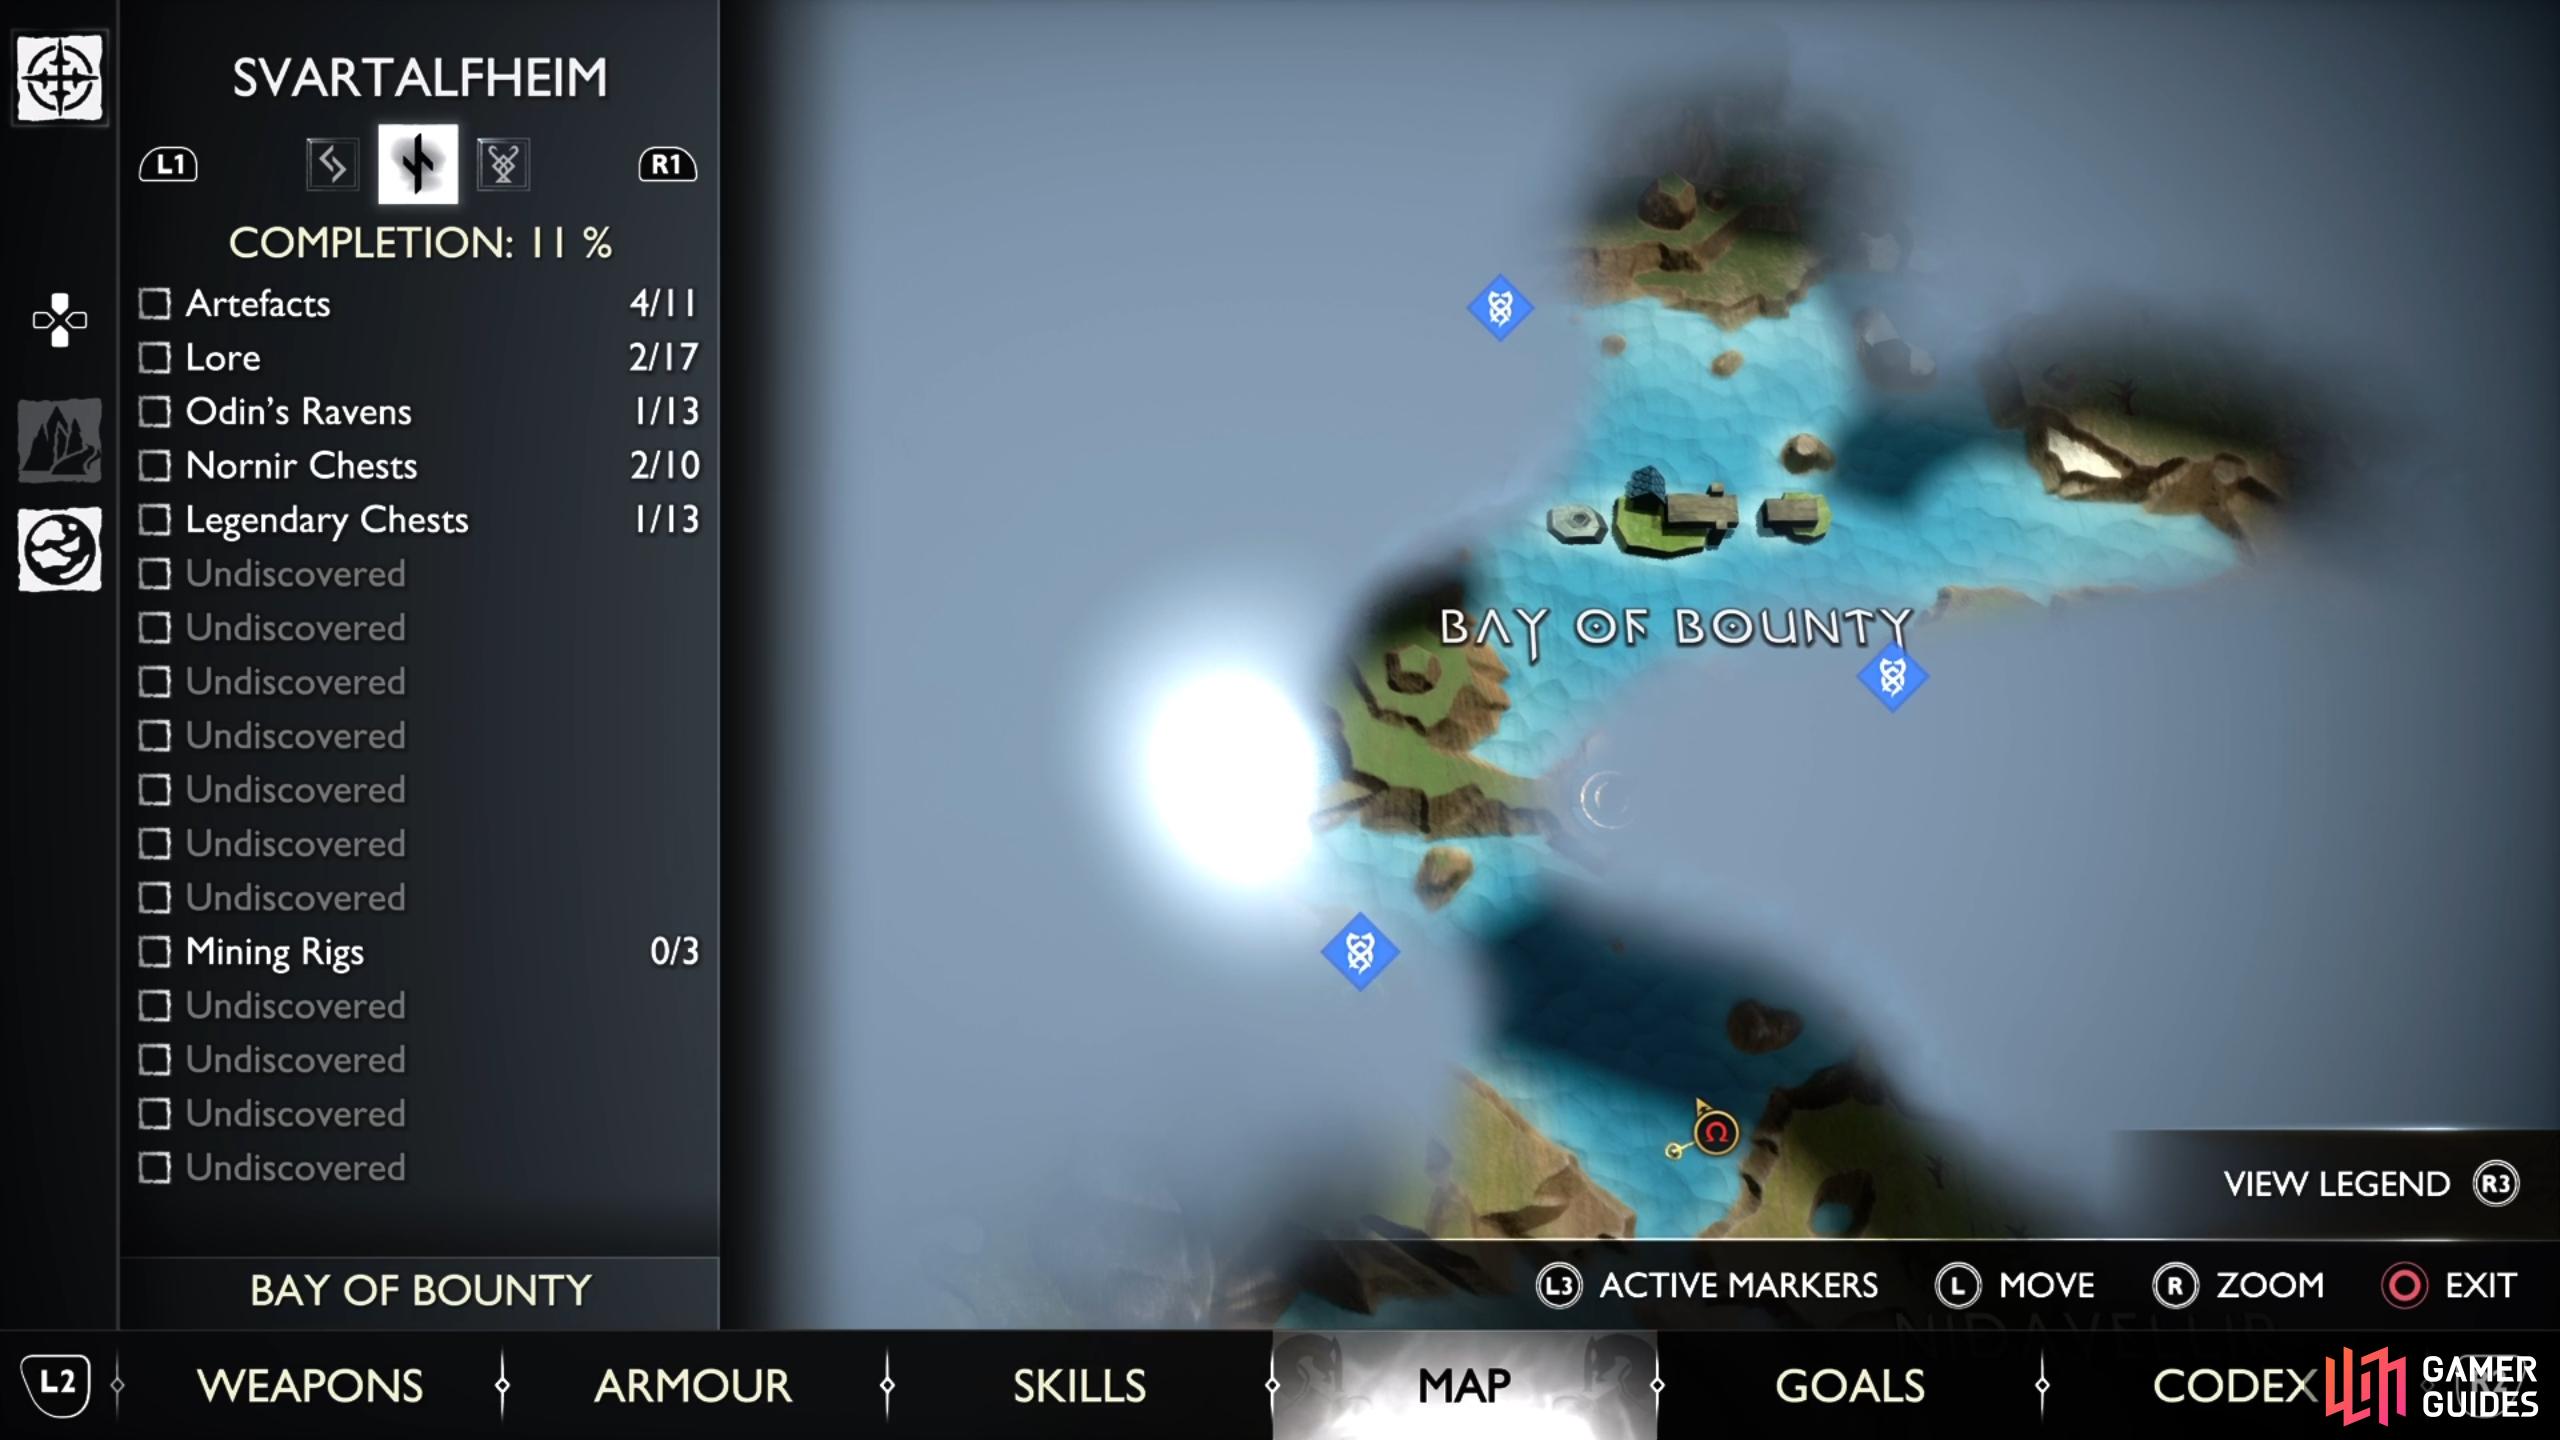
You’ll see all three mining rig locations around the Bay of Bounty in Svartalfheim.
How to Complete the Mine Rig Puzzles
Modvitnir’s Rig
The first mining rig we’ll cover is Modvitnir’s Rig. You’ll need to defeat a few waves of Wild Wretches as you arrive on the island, then climb up the ledge and turn right, using your Blades of Chaos to climb up the next ledge. Here you’ll find a spinning wheel that you can hit with your Leviathan Axe to lower the gate ahead, then jump over to the other side and climb around the platform to the left, and up on to the top. Another wave of Wild Wretch’s will attack you here, and looting the chest in front of you will begin The Crucible favor, with one piece of a Muspelheim seed.
After looting the chest, turn south and use the Blades of Chaos to grapple onto the hook and reach the platform opposite. Once you’re on the other side, turn east to find more spinning wheels on either side of the crane mechanism. You’ll need to hit the right spinning wheel twice to bring the hook in front of you to the south, then grapple onto the hook again to reach the other side. More Wild Wretches await here, so deal with them first before hitting the right spinning wheel twice again, allowing you to reach the chest on the platform to the east.
Now grapple back over to the other side and climb the chain to the south. You’ll notice a creature known as a Bergsra to the east, and when you approach it more Wild Wretch’s will spawn. This can be a fairly tough fight as you need to keep on top of dealing with the Wretches, while sustaining damage to the Bergsra at the same time. If you don’t kill the Bergsra the Wretches will keep spawning, so it’s important that you don’t neglect it. You’ll find that most of the attacks can be blocked or parried, but the Bergsra will sometimes use unblockable attacks marked by a red circle, as shown in the screenshot below. Be ready to dodge or roll away from these!
The Bergsra will also frequently spit poison at you, but you can see the animation for this as it pulls its head back before launching it, giving you plenty of time to prepare a block or parry, or dodge / roll out of the way. So long as you can avoid these main attacks, and you remember to use Atreus’ arrows to help you with stun damage to both the Wretches and the Bergsra, you should get through this fight just fine. However, don’t be afraid to tone down the difficulty settings if you really need to, and you can always use Spartan Rage to tear through the Bergsra’s health while healing yourself halfway through the fight.
Once you’re done with the enemies, all you need to do is interact with the mining rig furnace to cut through it and trigger an animation that shuts it down. Be sure to loot the resources which the rig spits out at the end, including the Nidavellir Ore which can be used to craft Nidavellir’s Finest Armor. Shutting down each rig provides you with enough ore to craft a whole set.
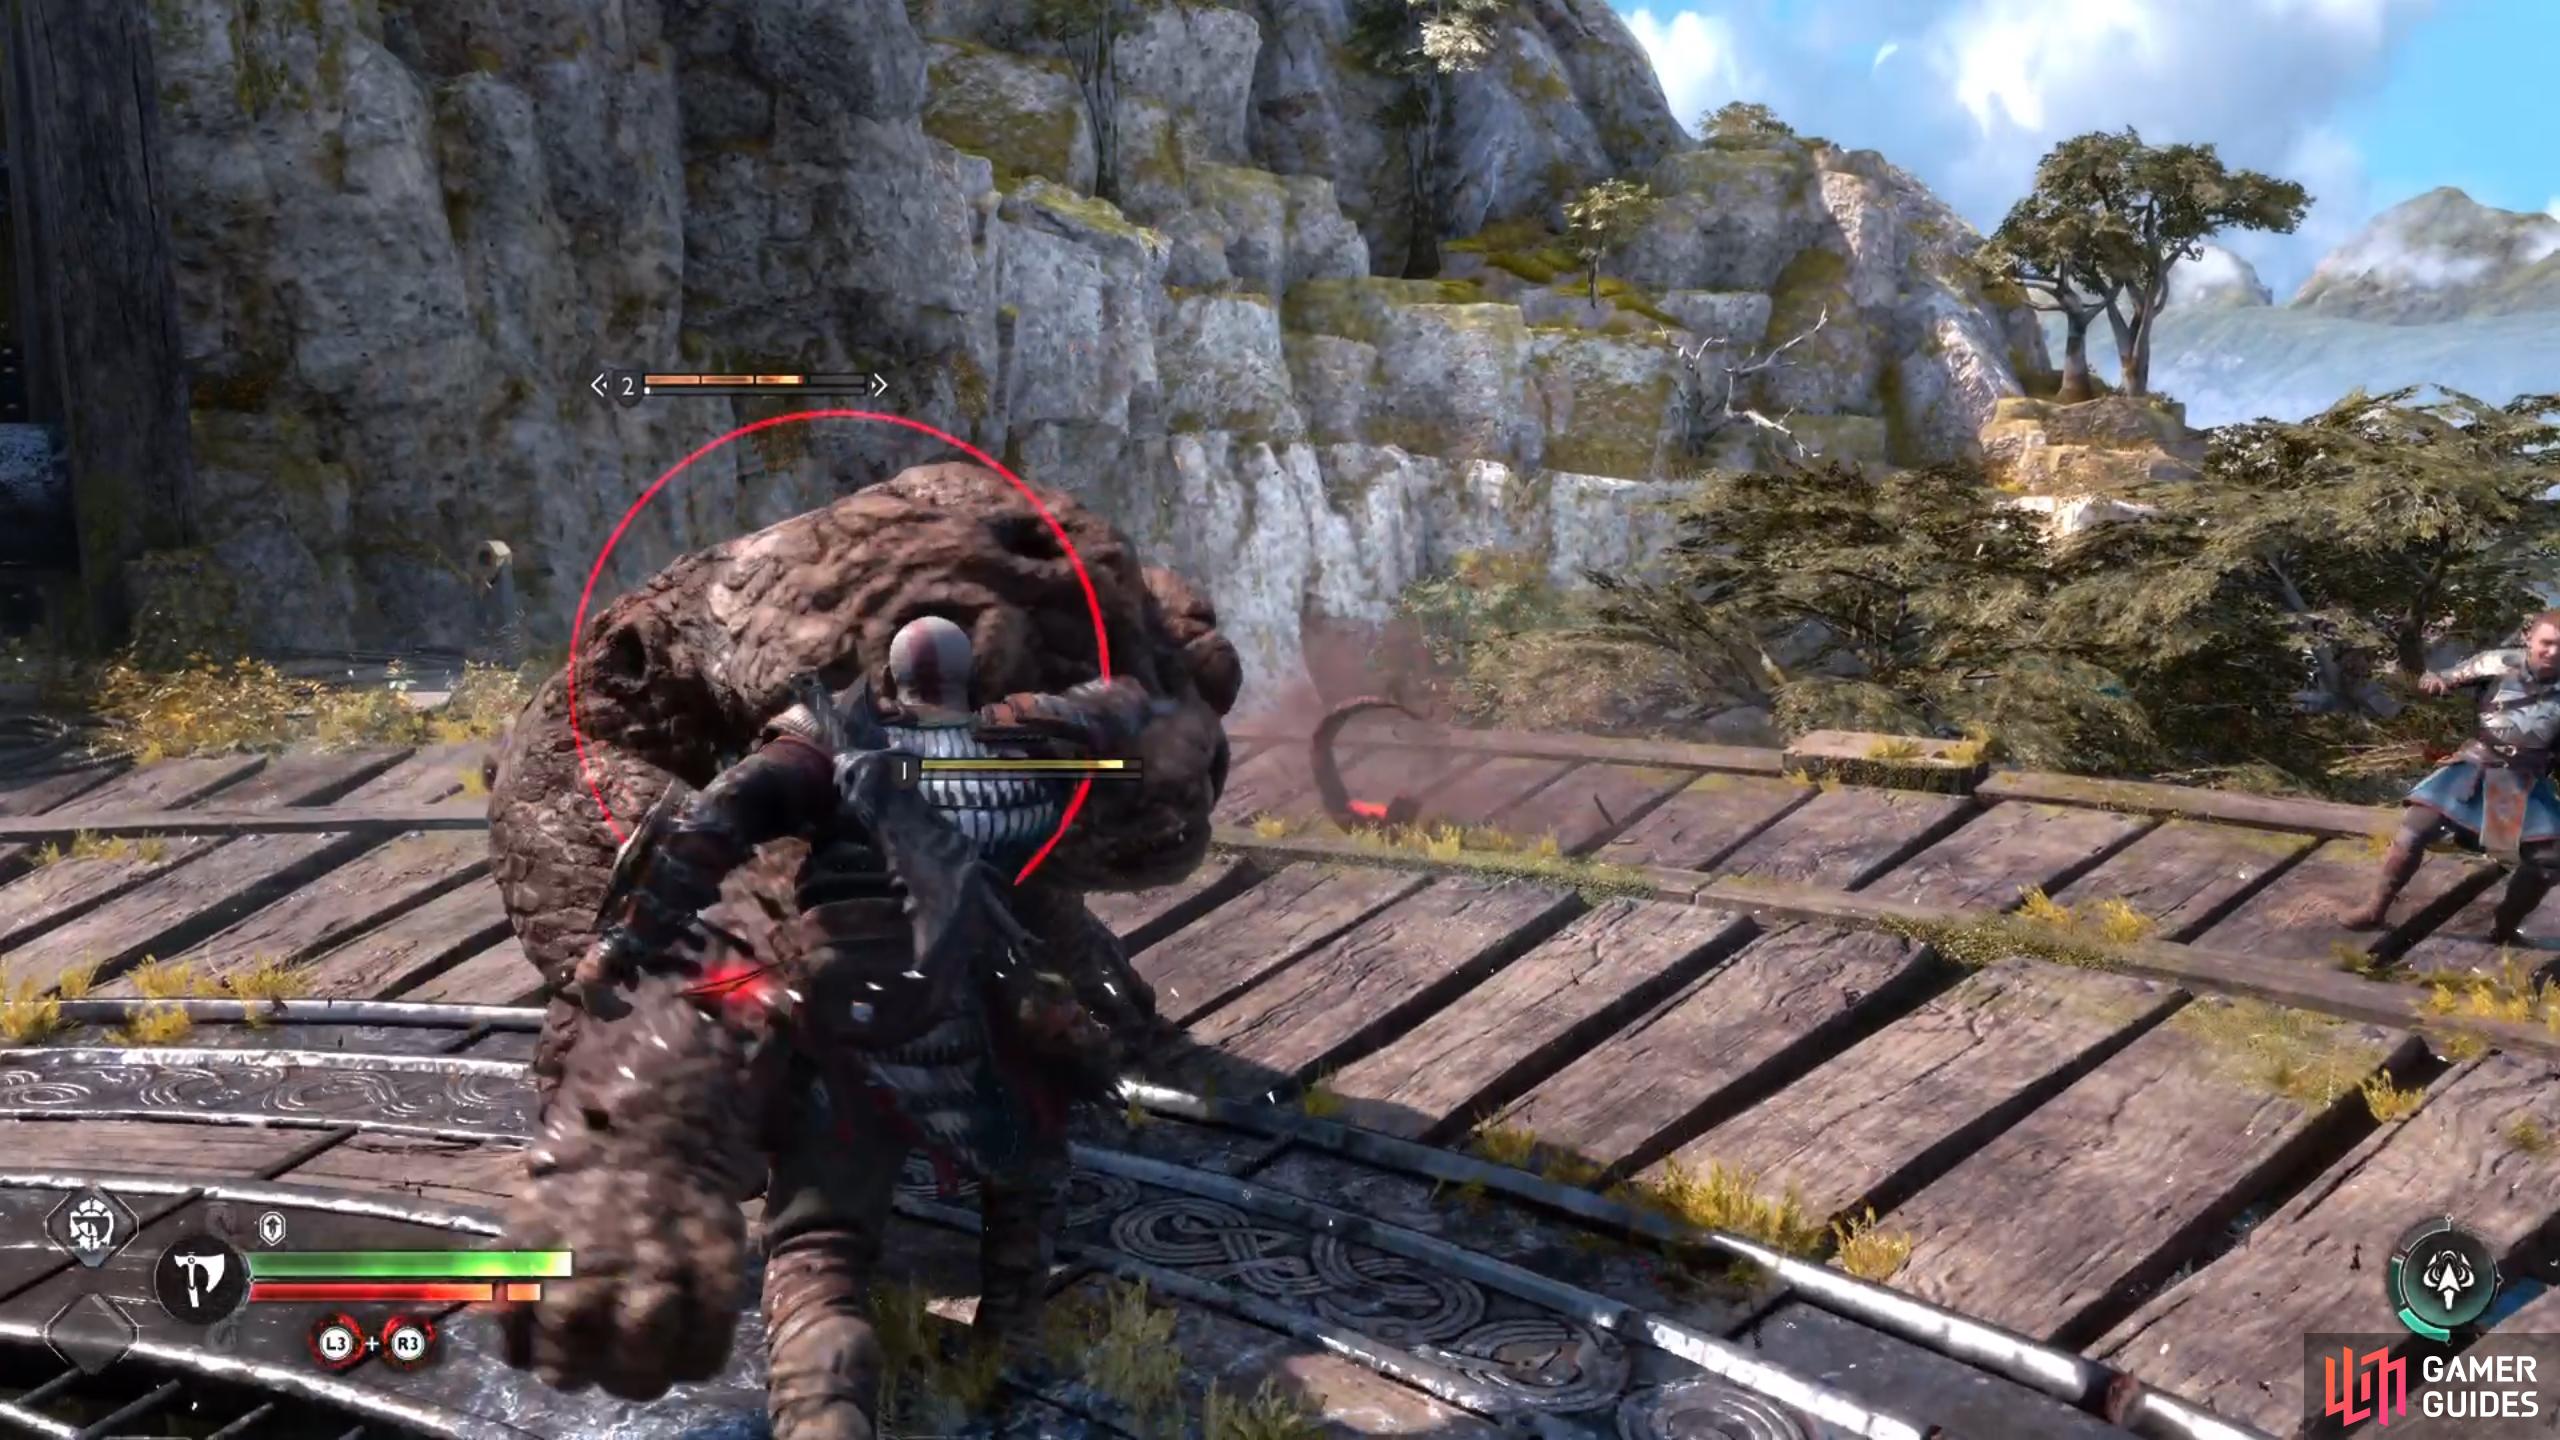
(1 of 4) You’ll need to dodge or roll away from unblockable attacks, marked by a red circle.
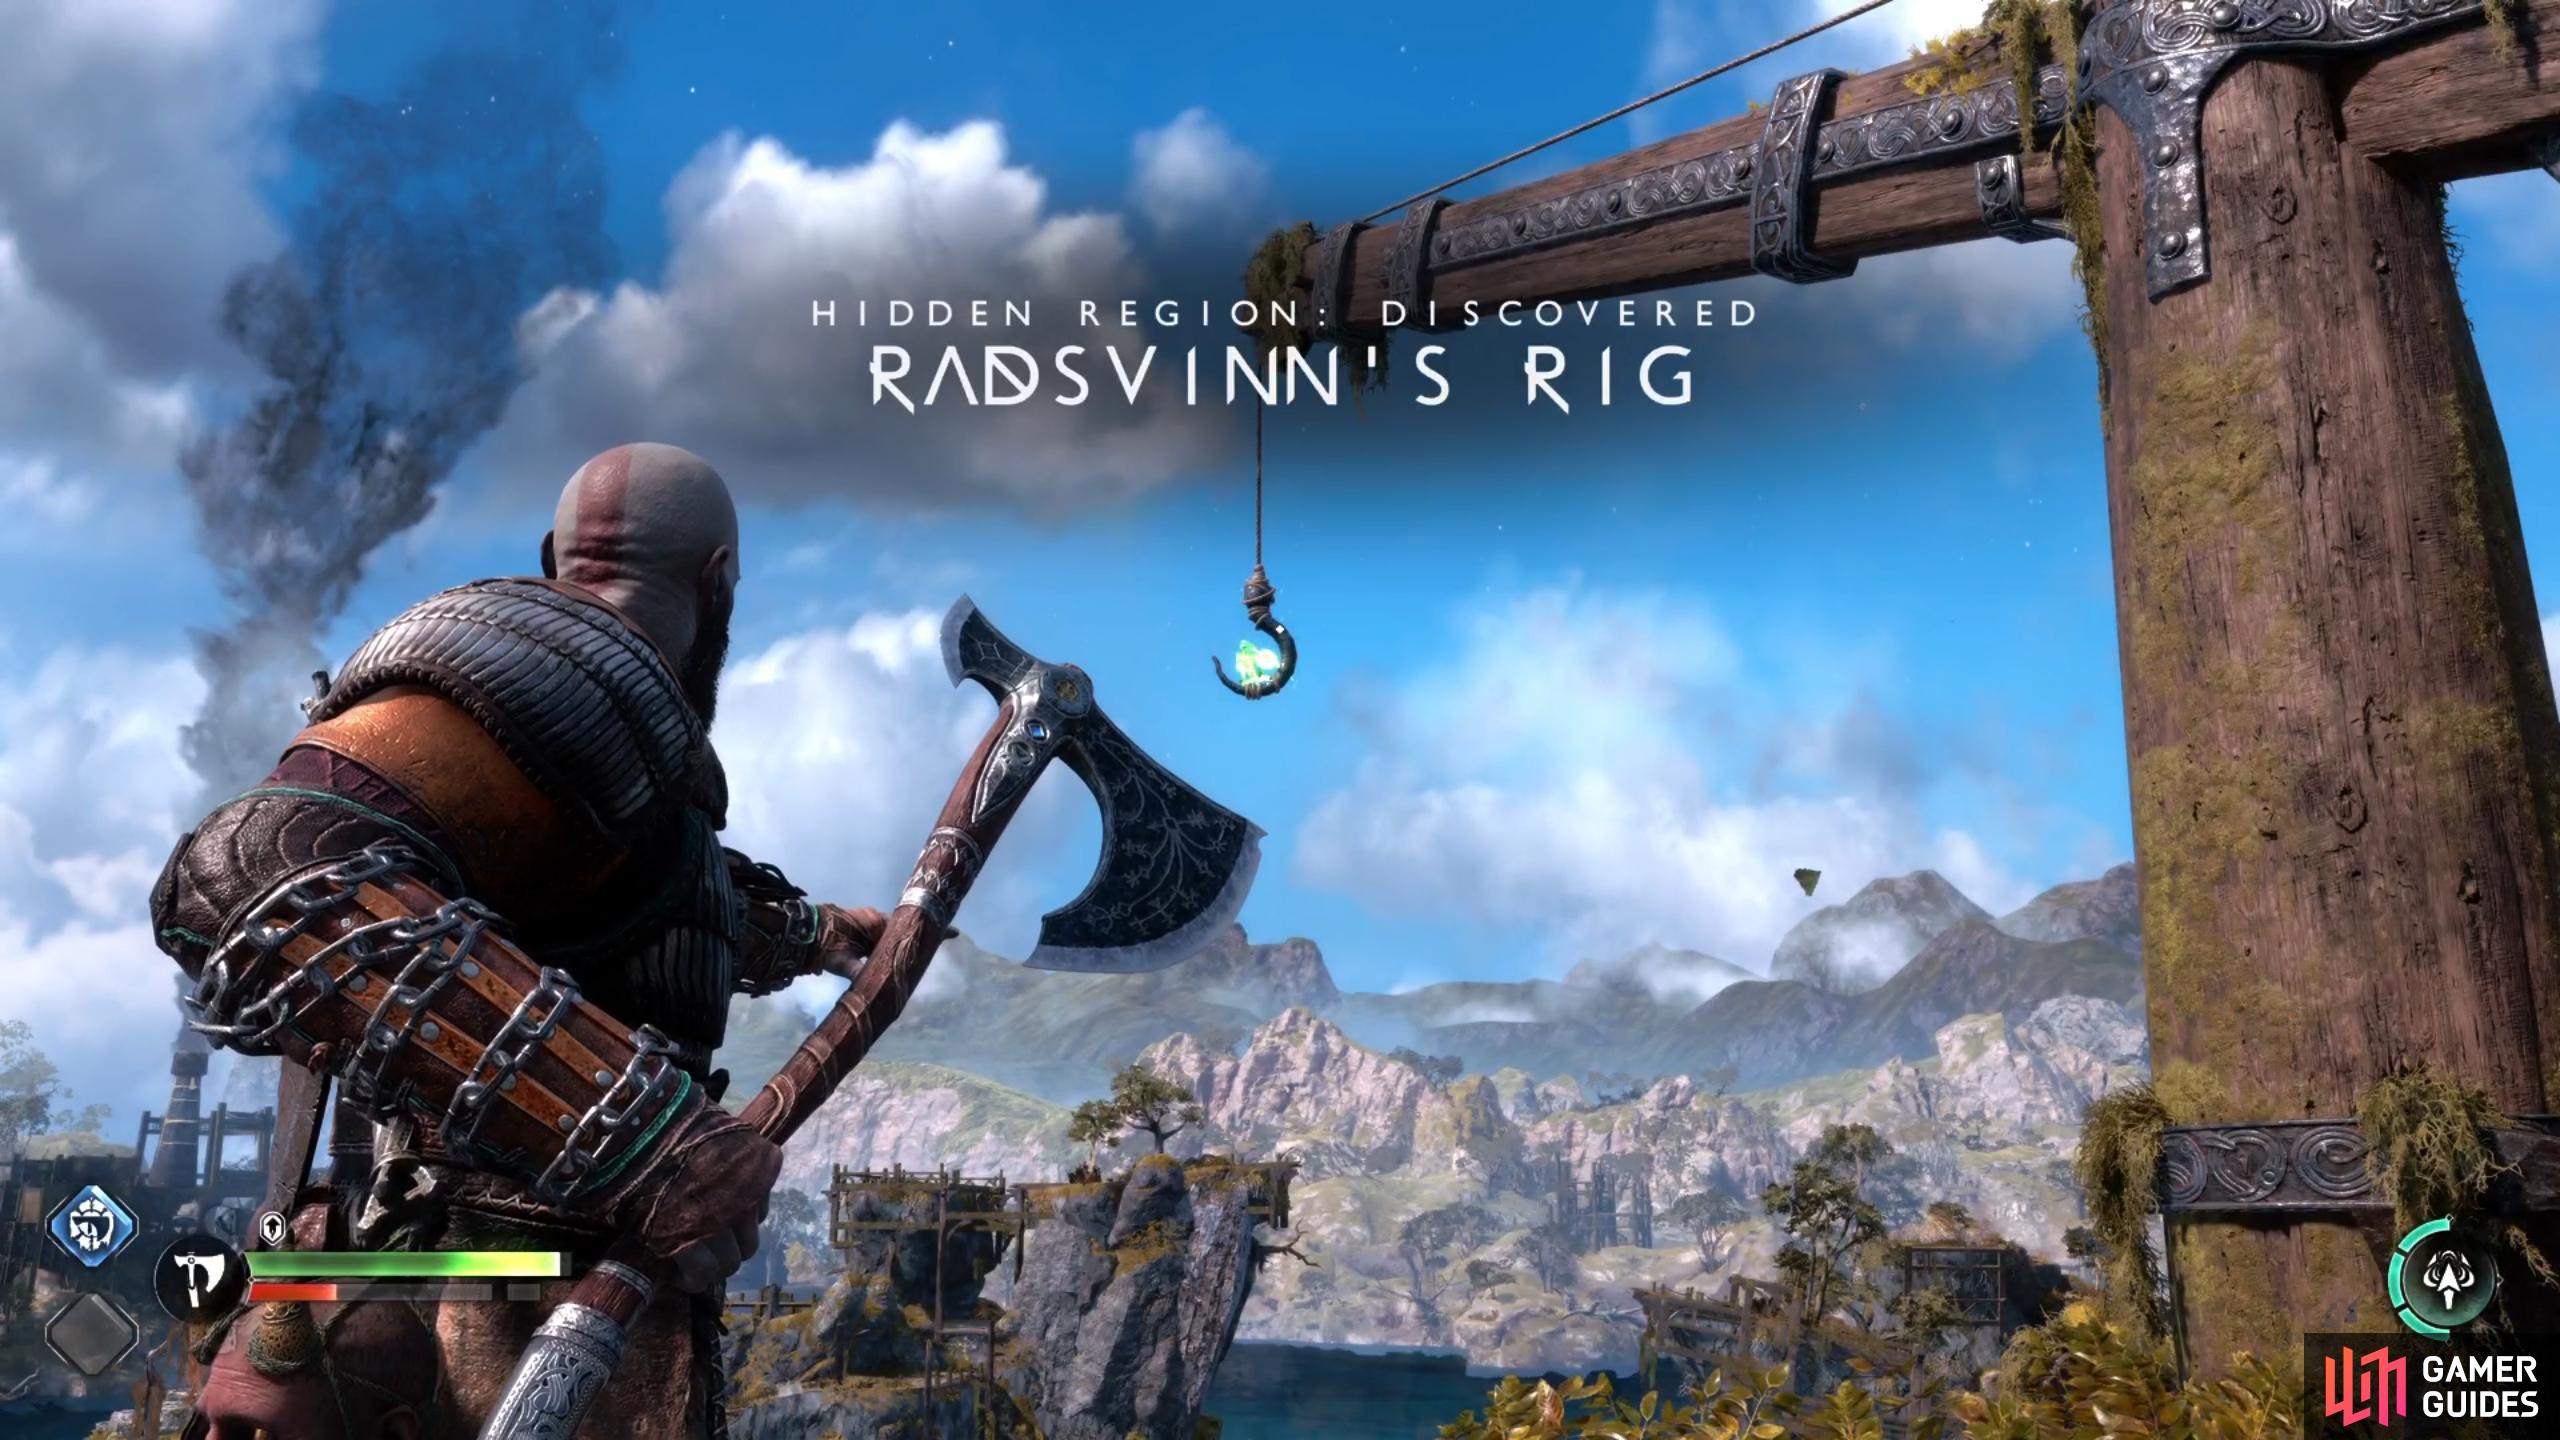
Radsvinn’s Rig
The next rig we’ll cover is Radsvinn’s Rig, which you’ll find on the same island where the Watchtower is located, and where Sindri pops up with a shop. You don’t need to travel far once you’re on the island to reach the area where the mining rig furnace is, just head northeast from Sindri and climb up the ledges. When you’re at the top, look to your left (north) to find one of Odin’s Ravens on the crane hook.
You won’t have much time up here before you’re attacked by numerous Grims from all sides. You’ll need to focus on dealing with these first before you try interacting with anything. There are a few fire pots around which you can hit with your Leviathan Axe to cause explosions and create fire surfaces to burn the Grimes, but you shouldn’t have much trouble dealing with these regardless, and it’s good practice for getting used to their attack moves. After killing a few of the Grims a few Nightmares will begin to spawn, so you’ll need to focus on killing these with ranged attacks. Atreus’ arrows are perfect for this.
Once you’ve killed all of the Grims and Nightmares here, you can interact with the mining furnace and shut it off without being interrupted. Be sure to loot the resources that it spits out afterwards. There’s a Nornir Chest and a Lore Marker to pick up here, so be sure to check our page on All Collectibles in Radsvinn’s Rig for those.
(1 of 4) Be sure to hit the raven to the north when you reach the level of the furnace.
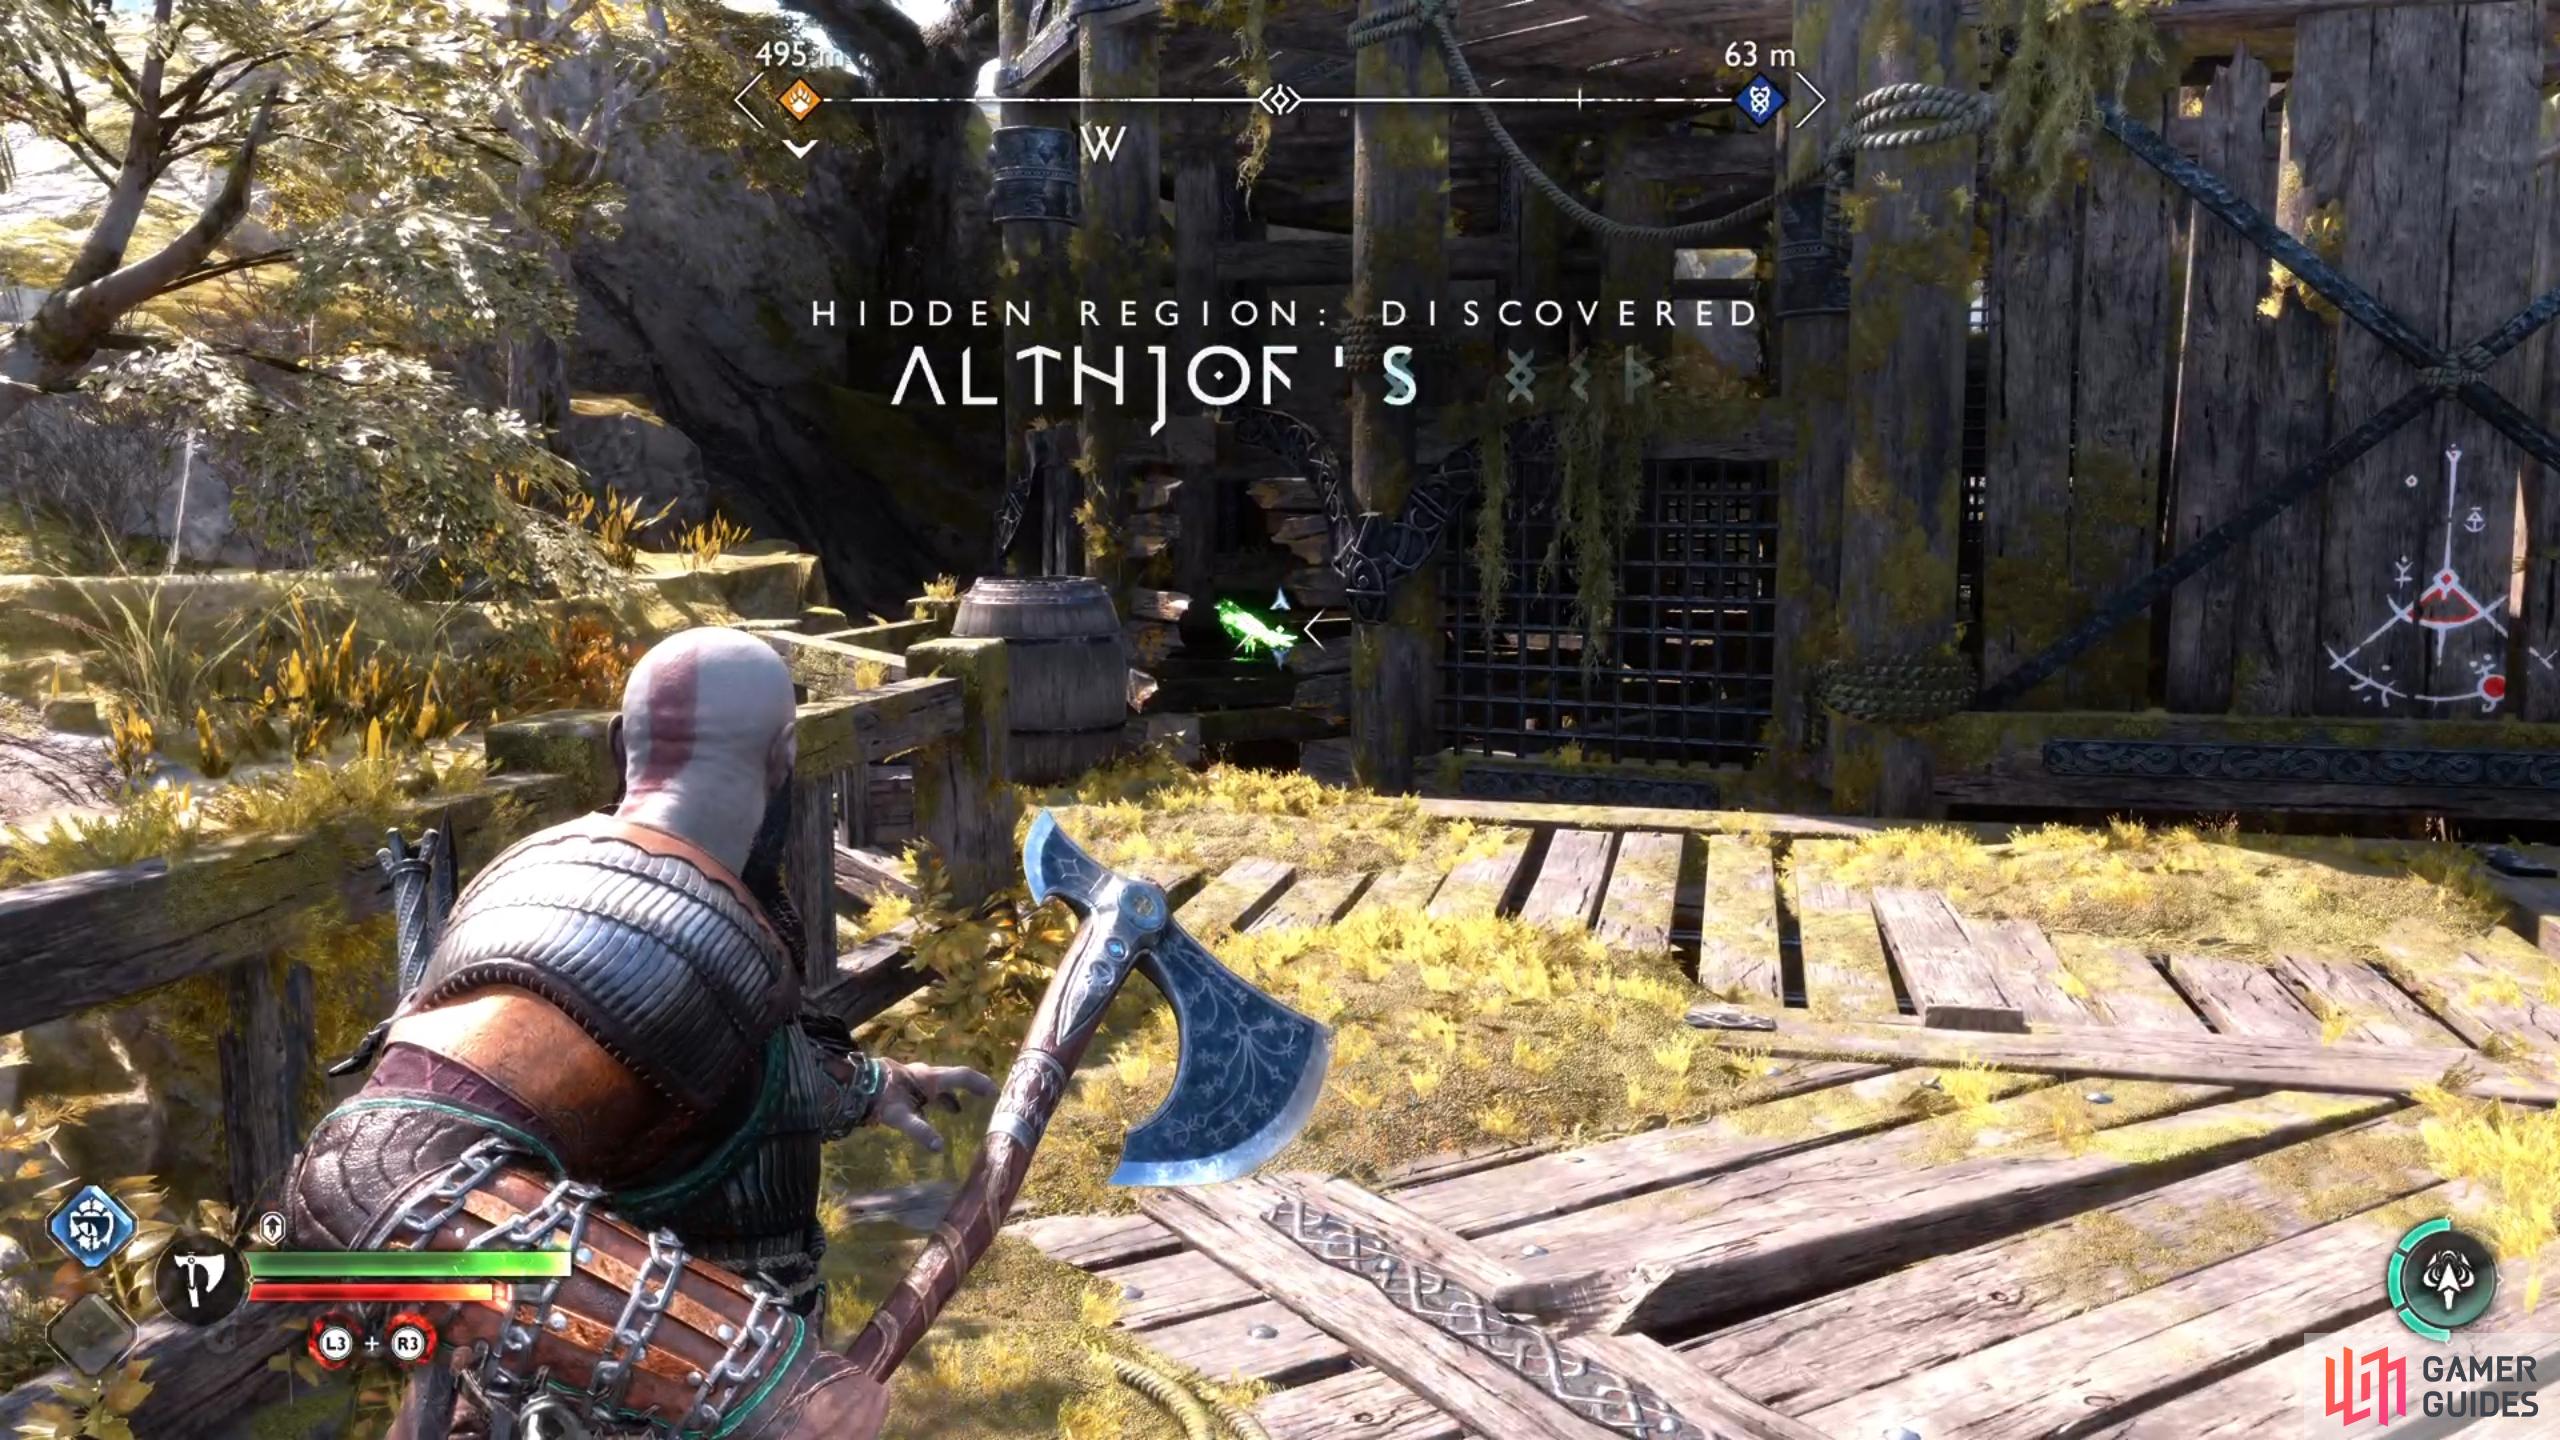
Althjof’s Rig
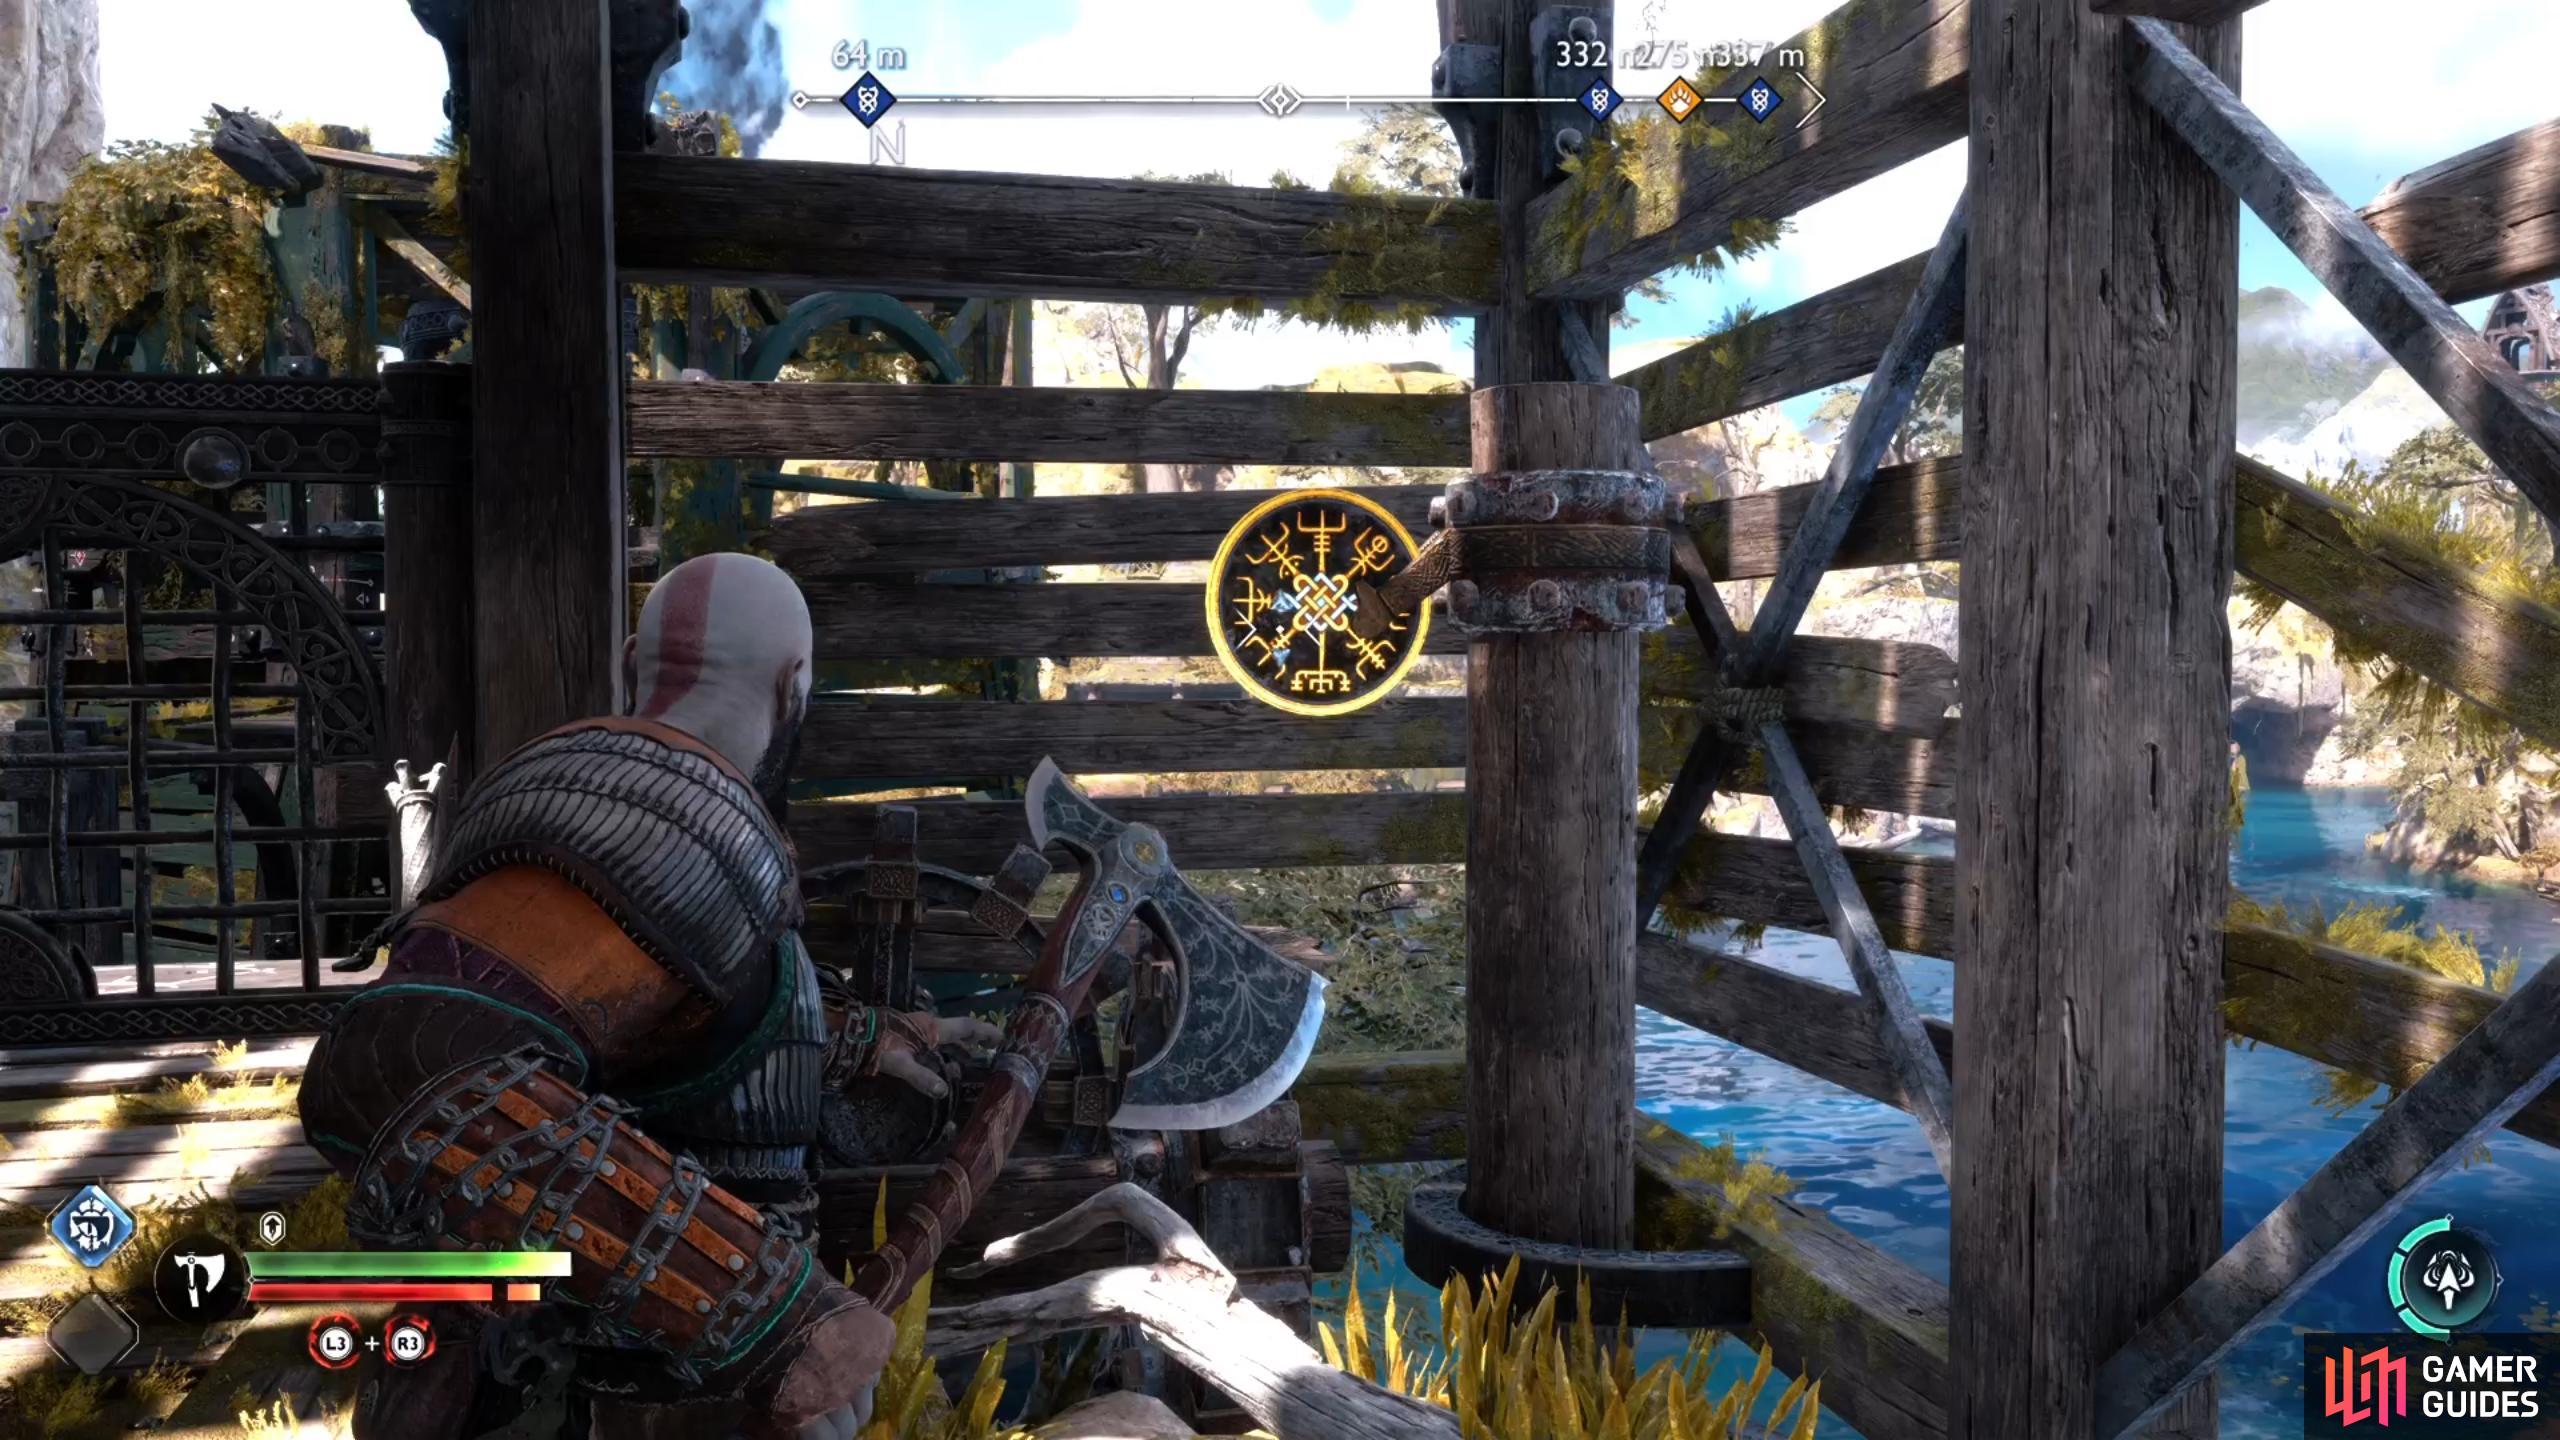
The final rig, Althjof’s Rig, is located just north from Radsvinn’s Rig. This mining rig has the most elaborate puzzles of all three, since it involves a lot more platforming. After docking the boat and climbing up the chain, look immediately ahead and slightly to your left to find one of Odin’s Ravens. With the raven out of the way, head to the crane lift mechanism to your right and use it to bring the lift down by two movements, so that it’s aligned with the platform opposite as shown in the screenshot below. Next, go to the platform where you just moved the lift crane down to and use your Blades of Chaos to pull the lift in front of you down.
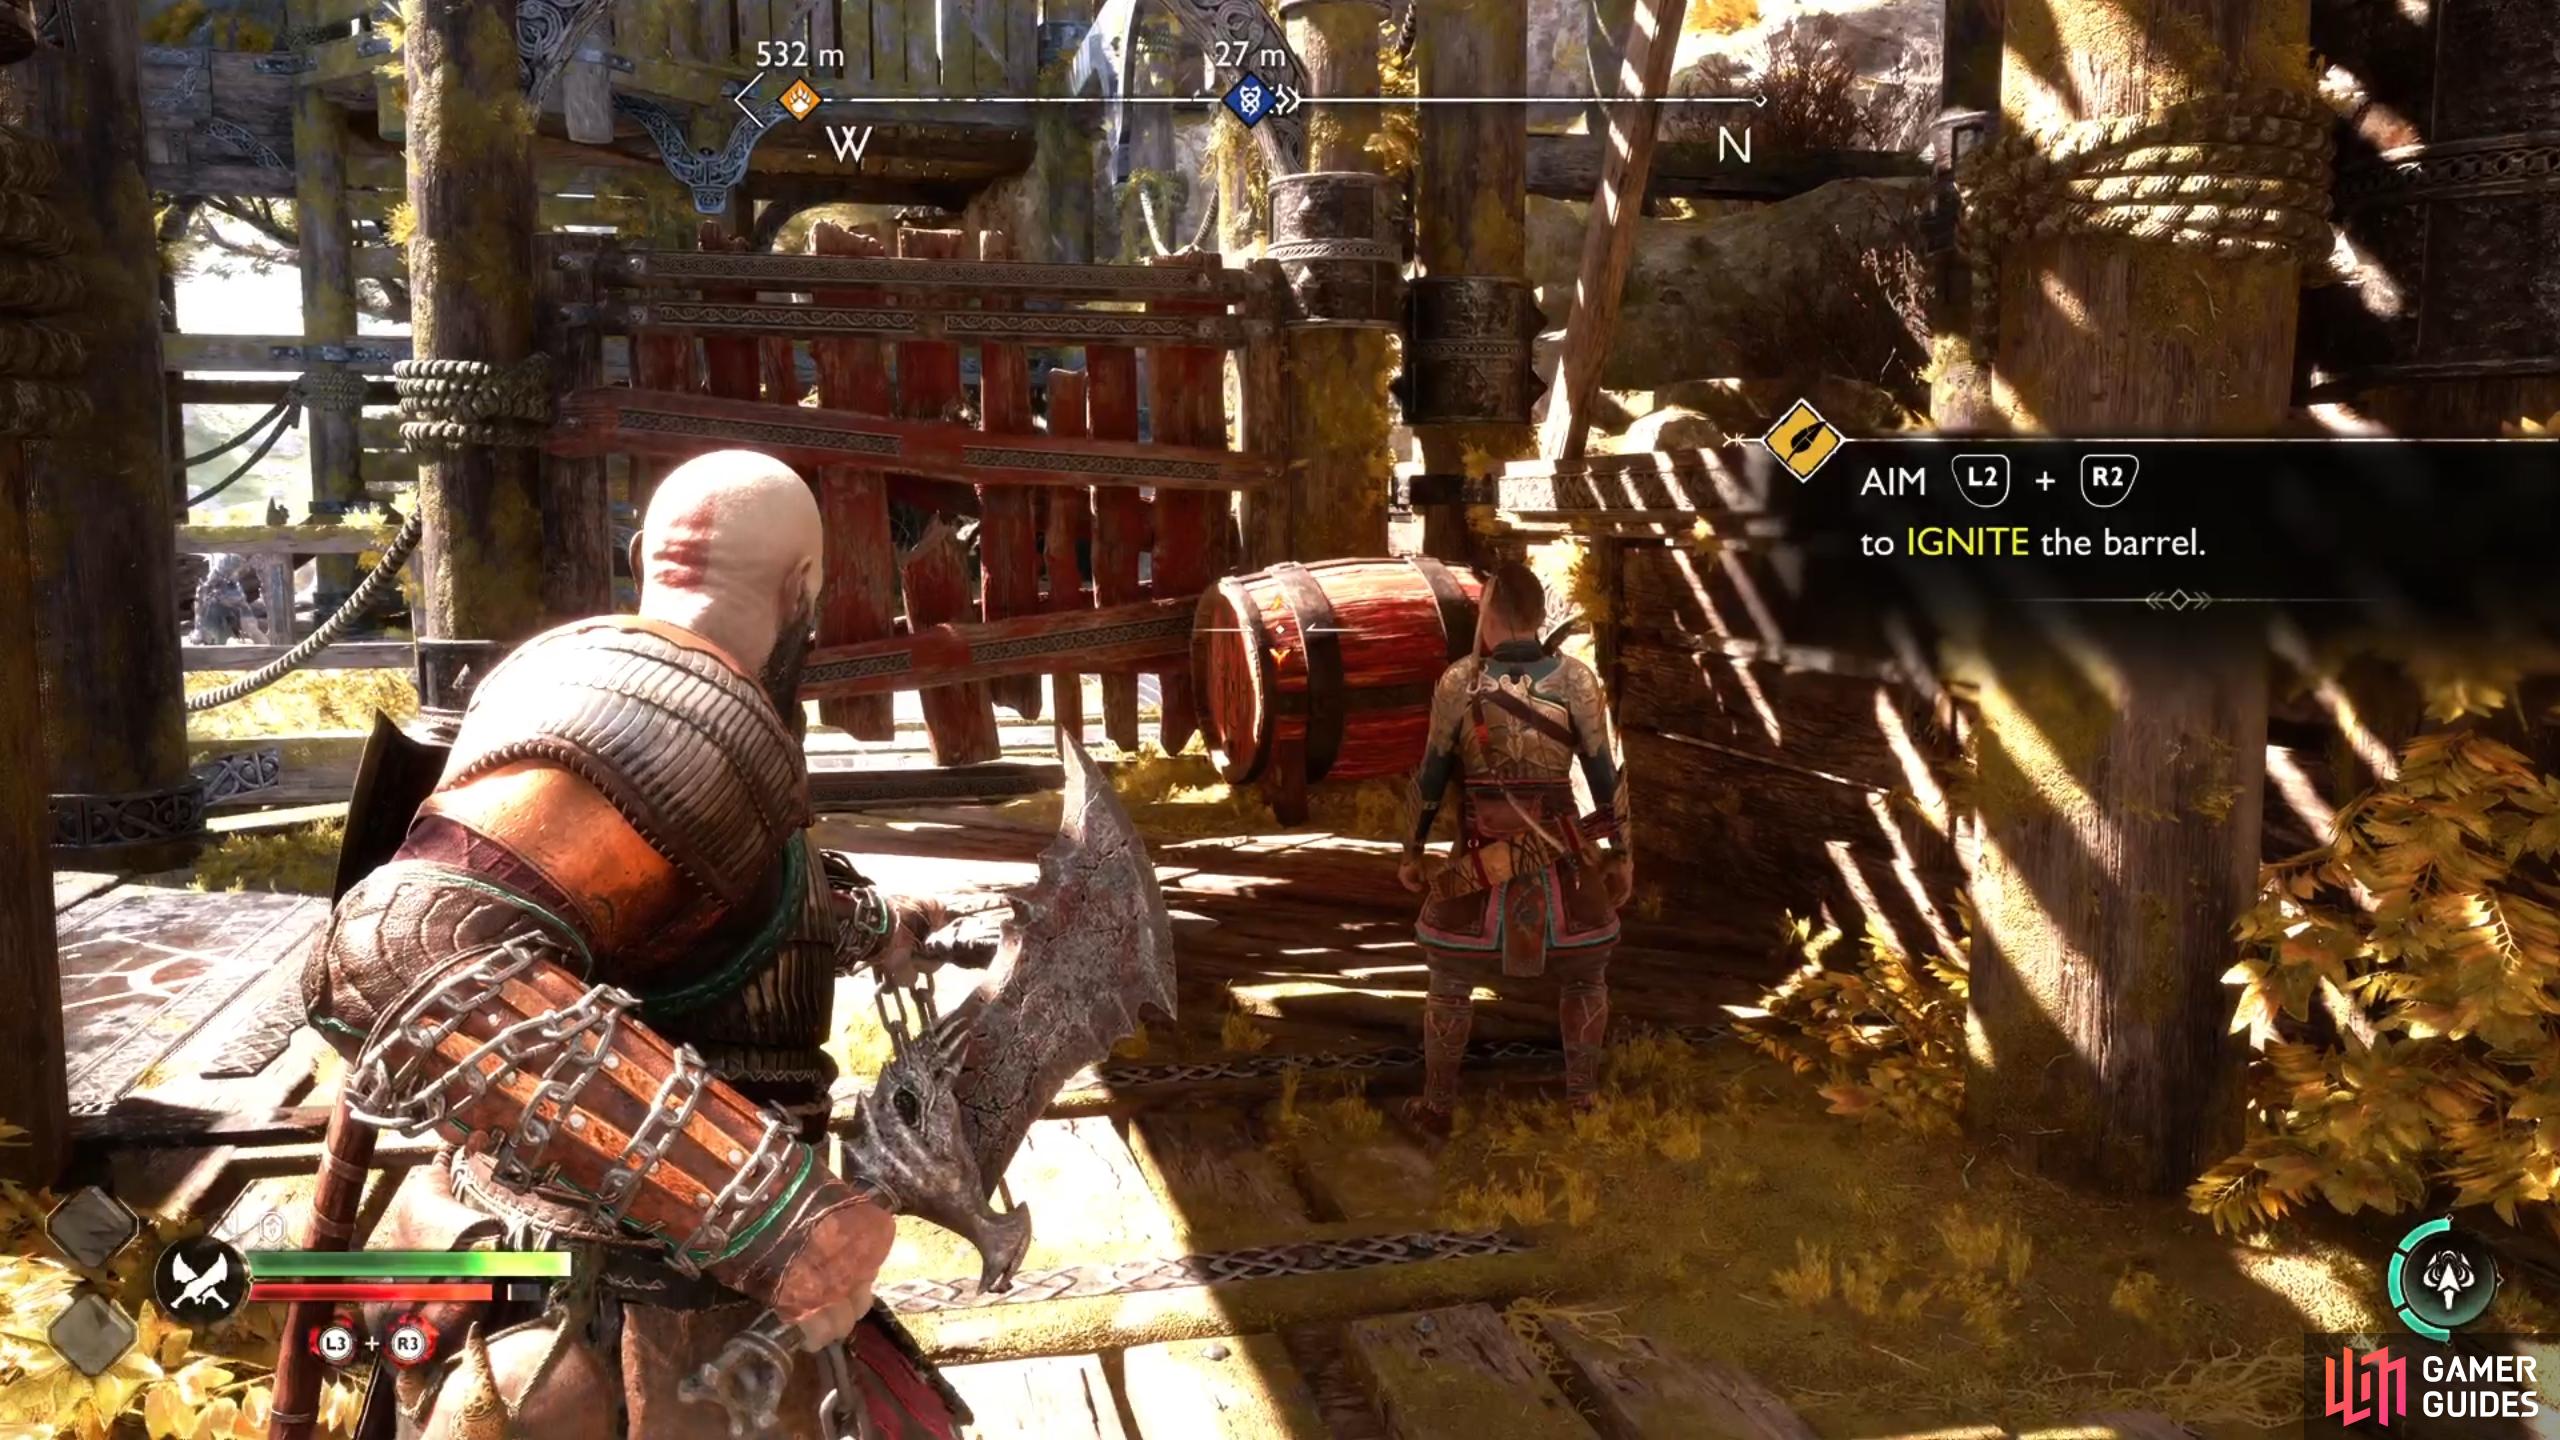
You can now use the hook on the crane lift to jump over to the eastern side, where you’ll find a red barrel next to a damaged wooden gate. Mimir will comment that you can use your Blades of Chaos here to ignite the barrel, which you’ll need to do with a heavy ranged attack. The gate will be destroyed after this, giving you access to a new area with some frozen Draugr, but be sure to loot the small chest behind you before moving on from here.
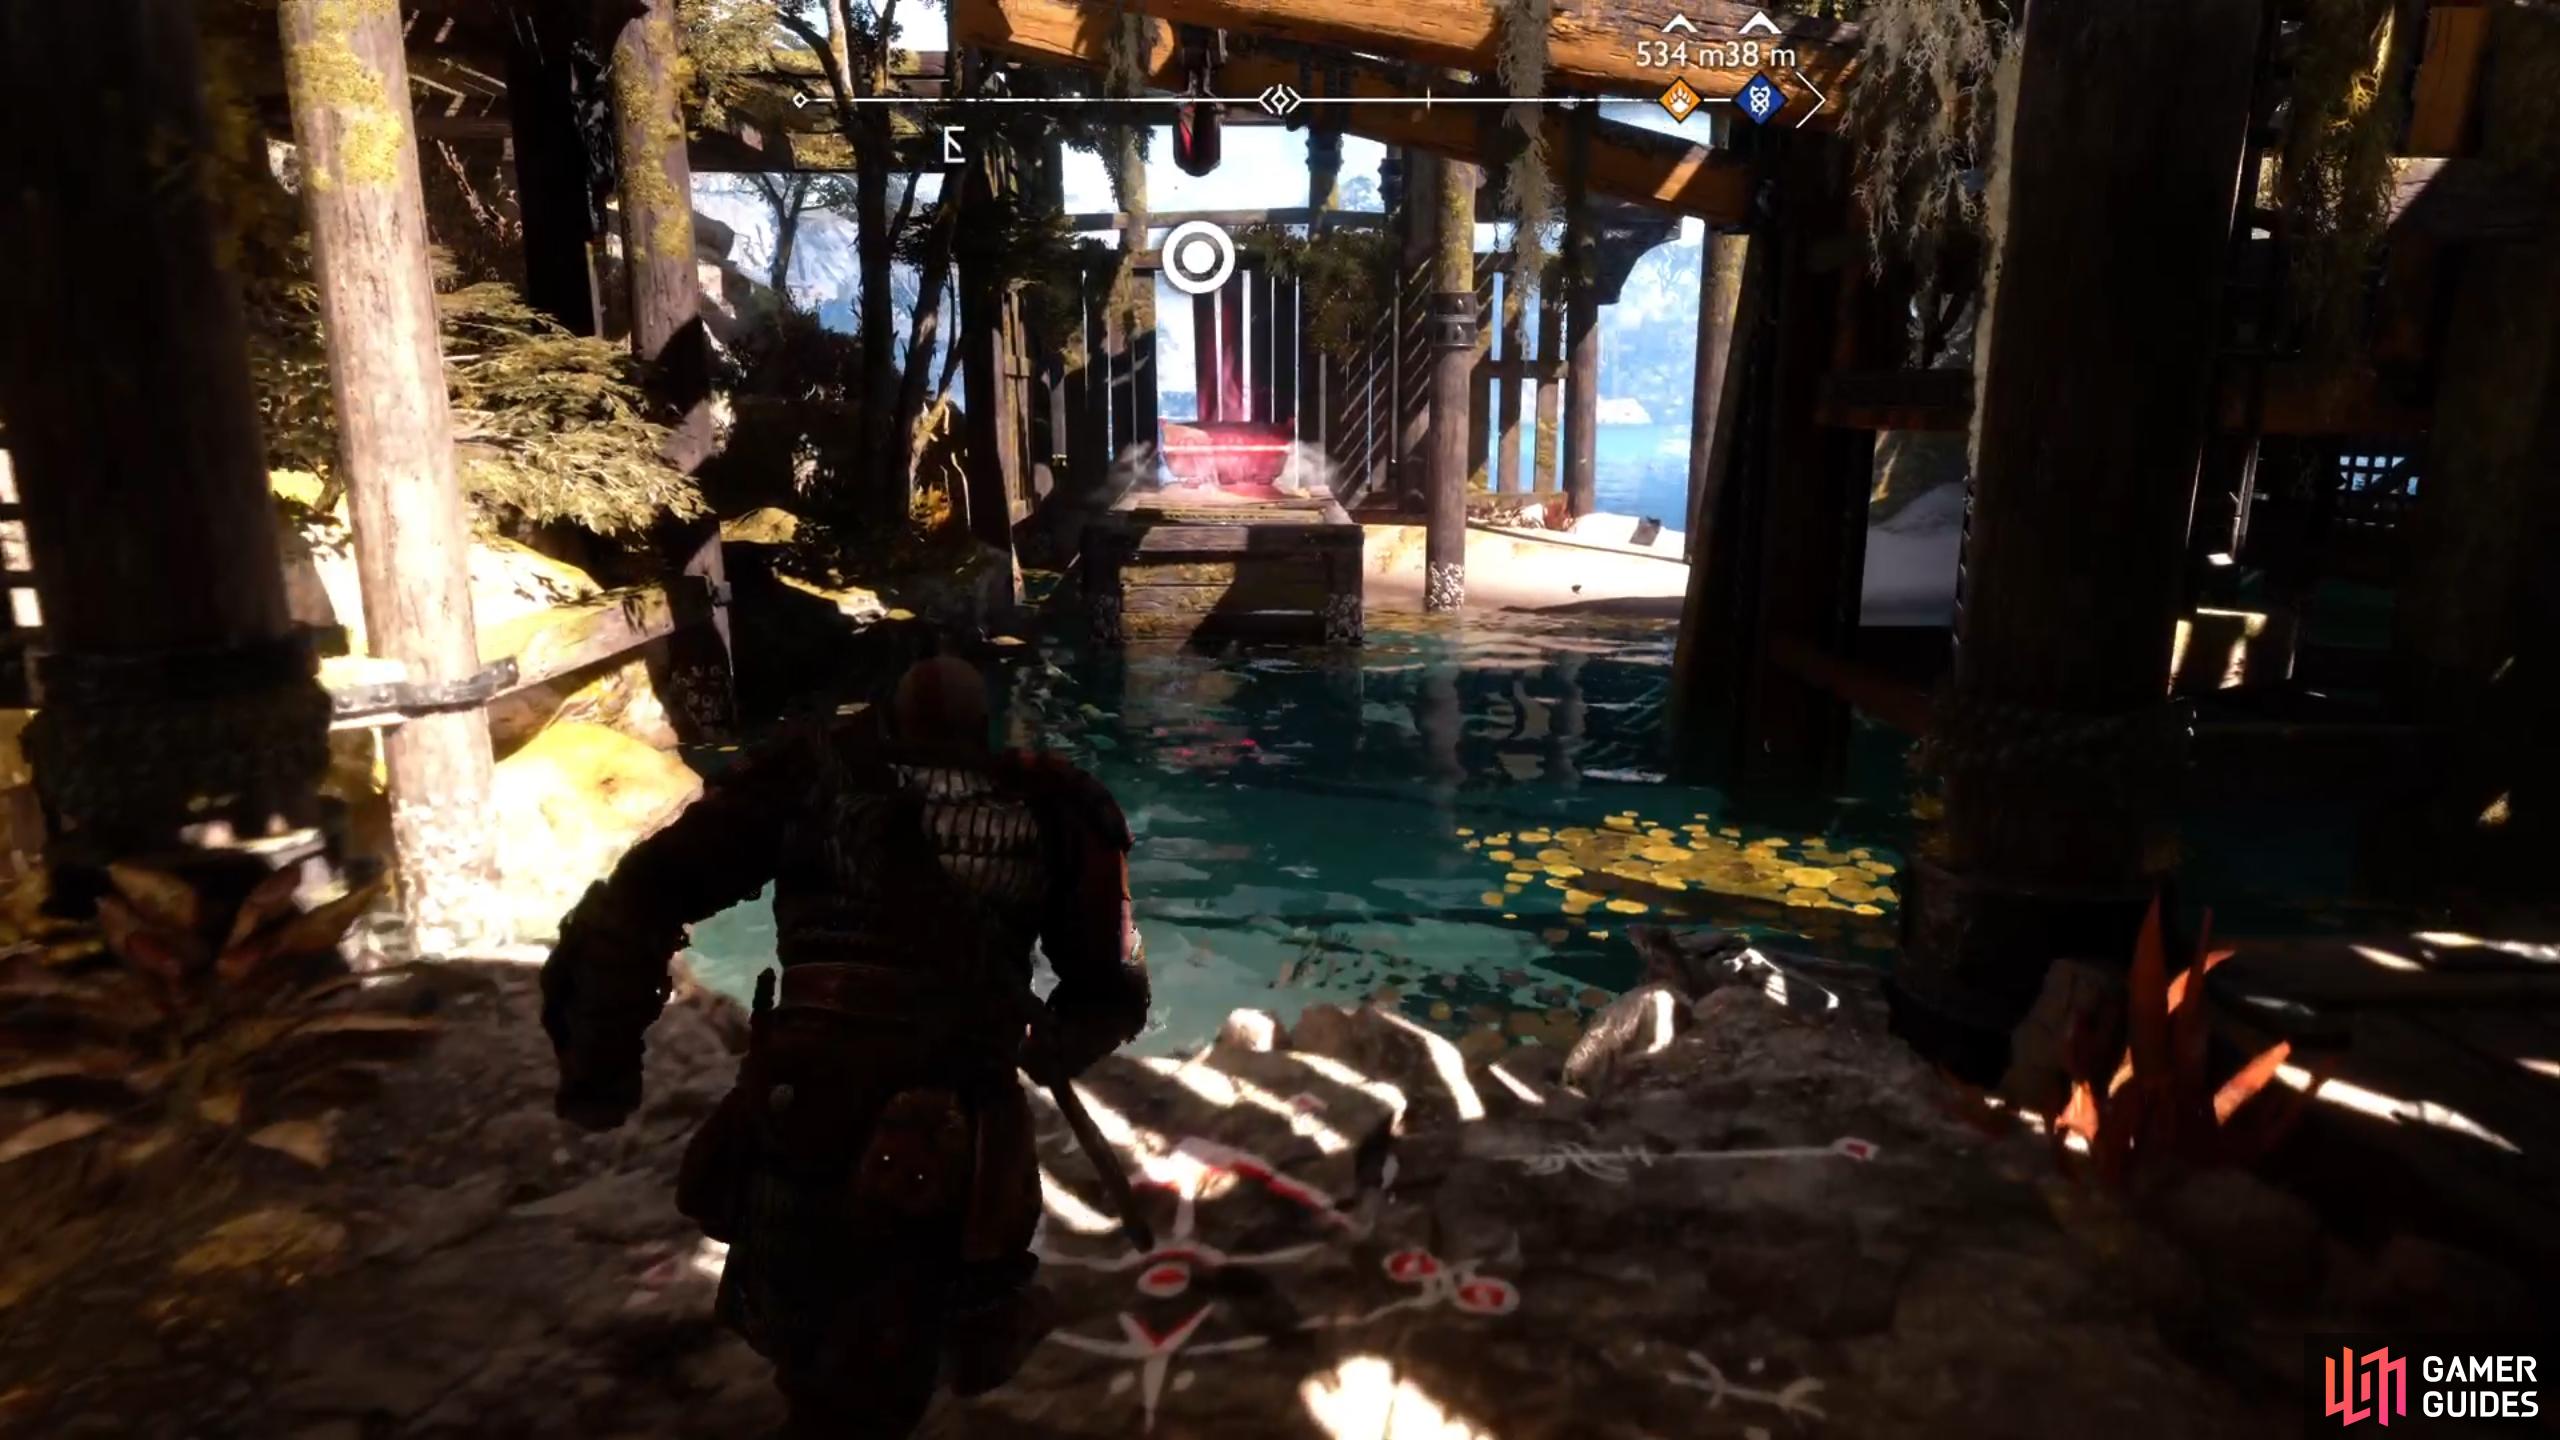
Once you’re in the area with the frozen Draugr, use the Blades of Chaos to climb up the wall on the southern side. From up here you can knock down the shield which was blocking the climb up the wall opposite where you first climbed up from the chain, giving you easier access next time. You can now turn west and interact with the gate here to open it. On the other side, turn right and jump down to find another barrel that you can ignite with your blades, opening a path to your left where you can climb up the wall and jump to the left (west), then continue around until you reach another point where you can jump and climb up onto the platform.
From up here, you can look down at the weakened floor below and dive into it by pressing  . This will send Kratos crashing through the ground and opening up yet another area, this time containing some fire Draugr that you’ll need to kill. After dealing with them, look to the northern wall to find a rune Lore marking for The Squasher, and interact with it to collect it.
With the lore collected, look to the southeast to see a Minor Chest on the other side of the water. You won’t be able to collect this yet until you move the crane lift again. You’ll find a small chest on the southern side of this area which you can loot before climbing back up the wall on the northwestern side. Once up here, head back to the crane lift mechanism and lower the lift to its lowest point. You can now return to the area where you fought the Fire Draugr (beneath the weakened floor) and use the crane lift hook to jump to the chest.
With the Minor Chest looted, jump back to the side where you fought the Fire Draugr and look to your left for the lift hook that you can pull up using the Blades of Chaos. When this is done, return to the crane lift mechanism and raise the lift to its highest position. You can then climb up the wall to the left of the mechanism and use the platform / crane lift hook to reach the other side to the northeast, towards where the mining rig furnace is located. Be sure to kick the chain down to your right once you’re on the other side, then climb up the wall to reach the furnace.
(1 of 4) You’ll need to align the crane lift hook so that you can jump to the Minor Chest using the Blades of Chaos.
The end is in sight, but you’ll need to kill a few more Draugr and some Grims up here before you can shut the mining rig down. Once they’re all dead, just interact with the furnace to shut it down and complete the favor! There are two more collectibles to find here in the form of a Lore Scroll and a Legendary Chest, so be sure to check our page on All Collectibles in Althjof’s Rig to make sure that you’re not missing anything.
No Comments