
In God of War Ragnarök, there are six Draugr Holes you need to complete for the Favor “Born From Fire”. Draugr Holes, like their name suggests, is a hole that spawns Draugr, more specifically a Draugr that goes by the name “The Hateful”, and some minions. Once you defeat The Hateful, you’ll receive a Chaos Spark among other loot for your troubles. You’ll need six of these to create a Chaos Flame which is what you need to upgrade your Blades of Chaos an extra level as well as complete the Favor. This page will tell you how to locate, and defeat The Hateful that spawns from the Draugr Hole in The Watchtower - Svartalfheim.
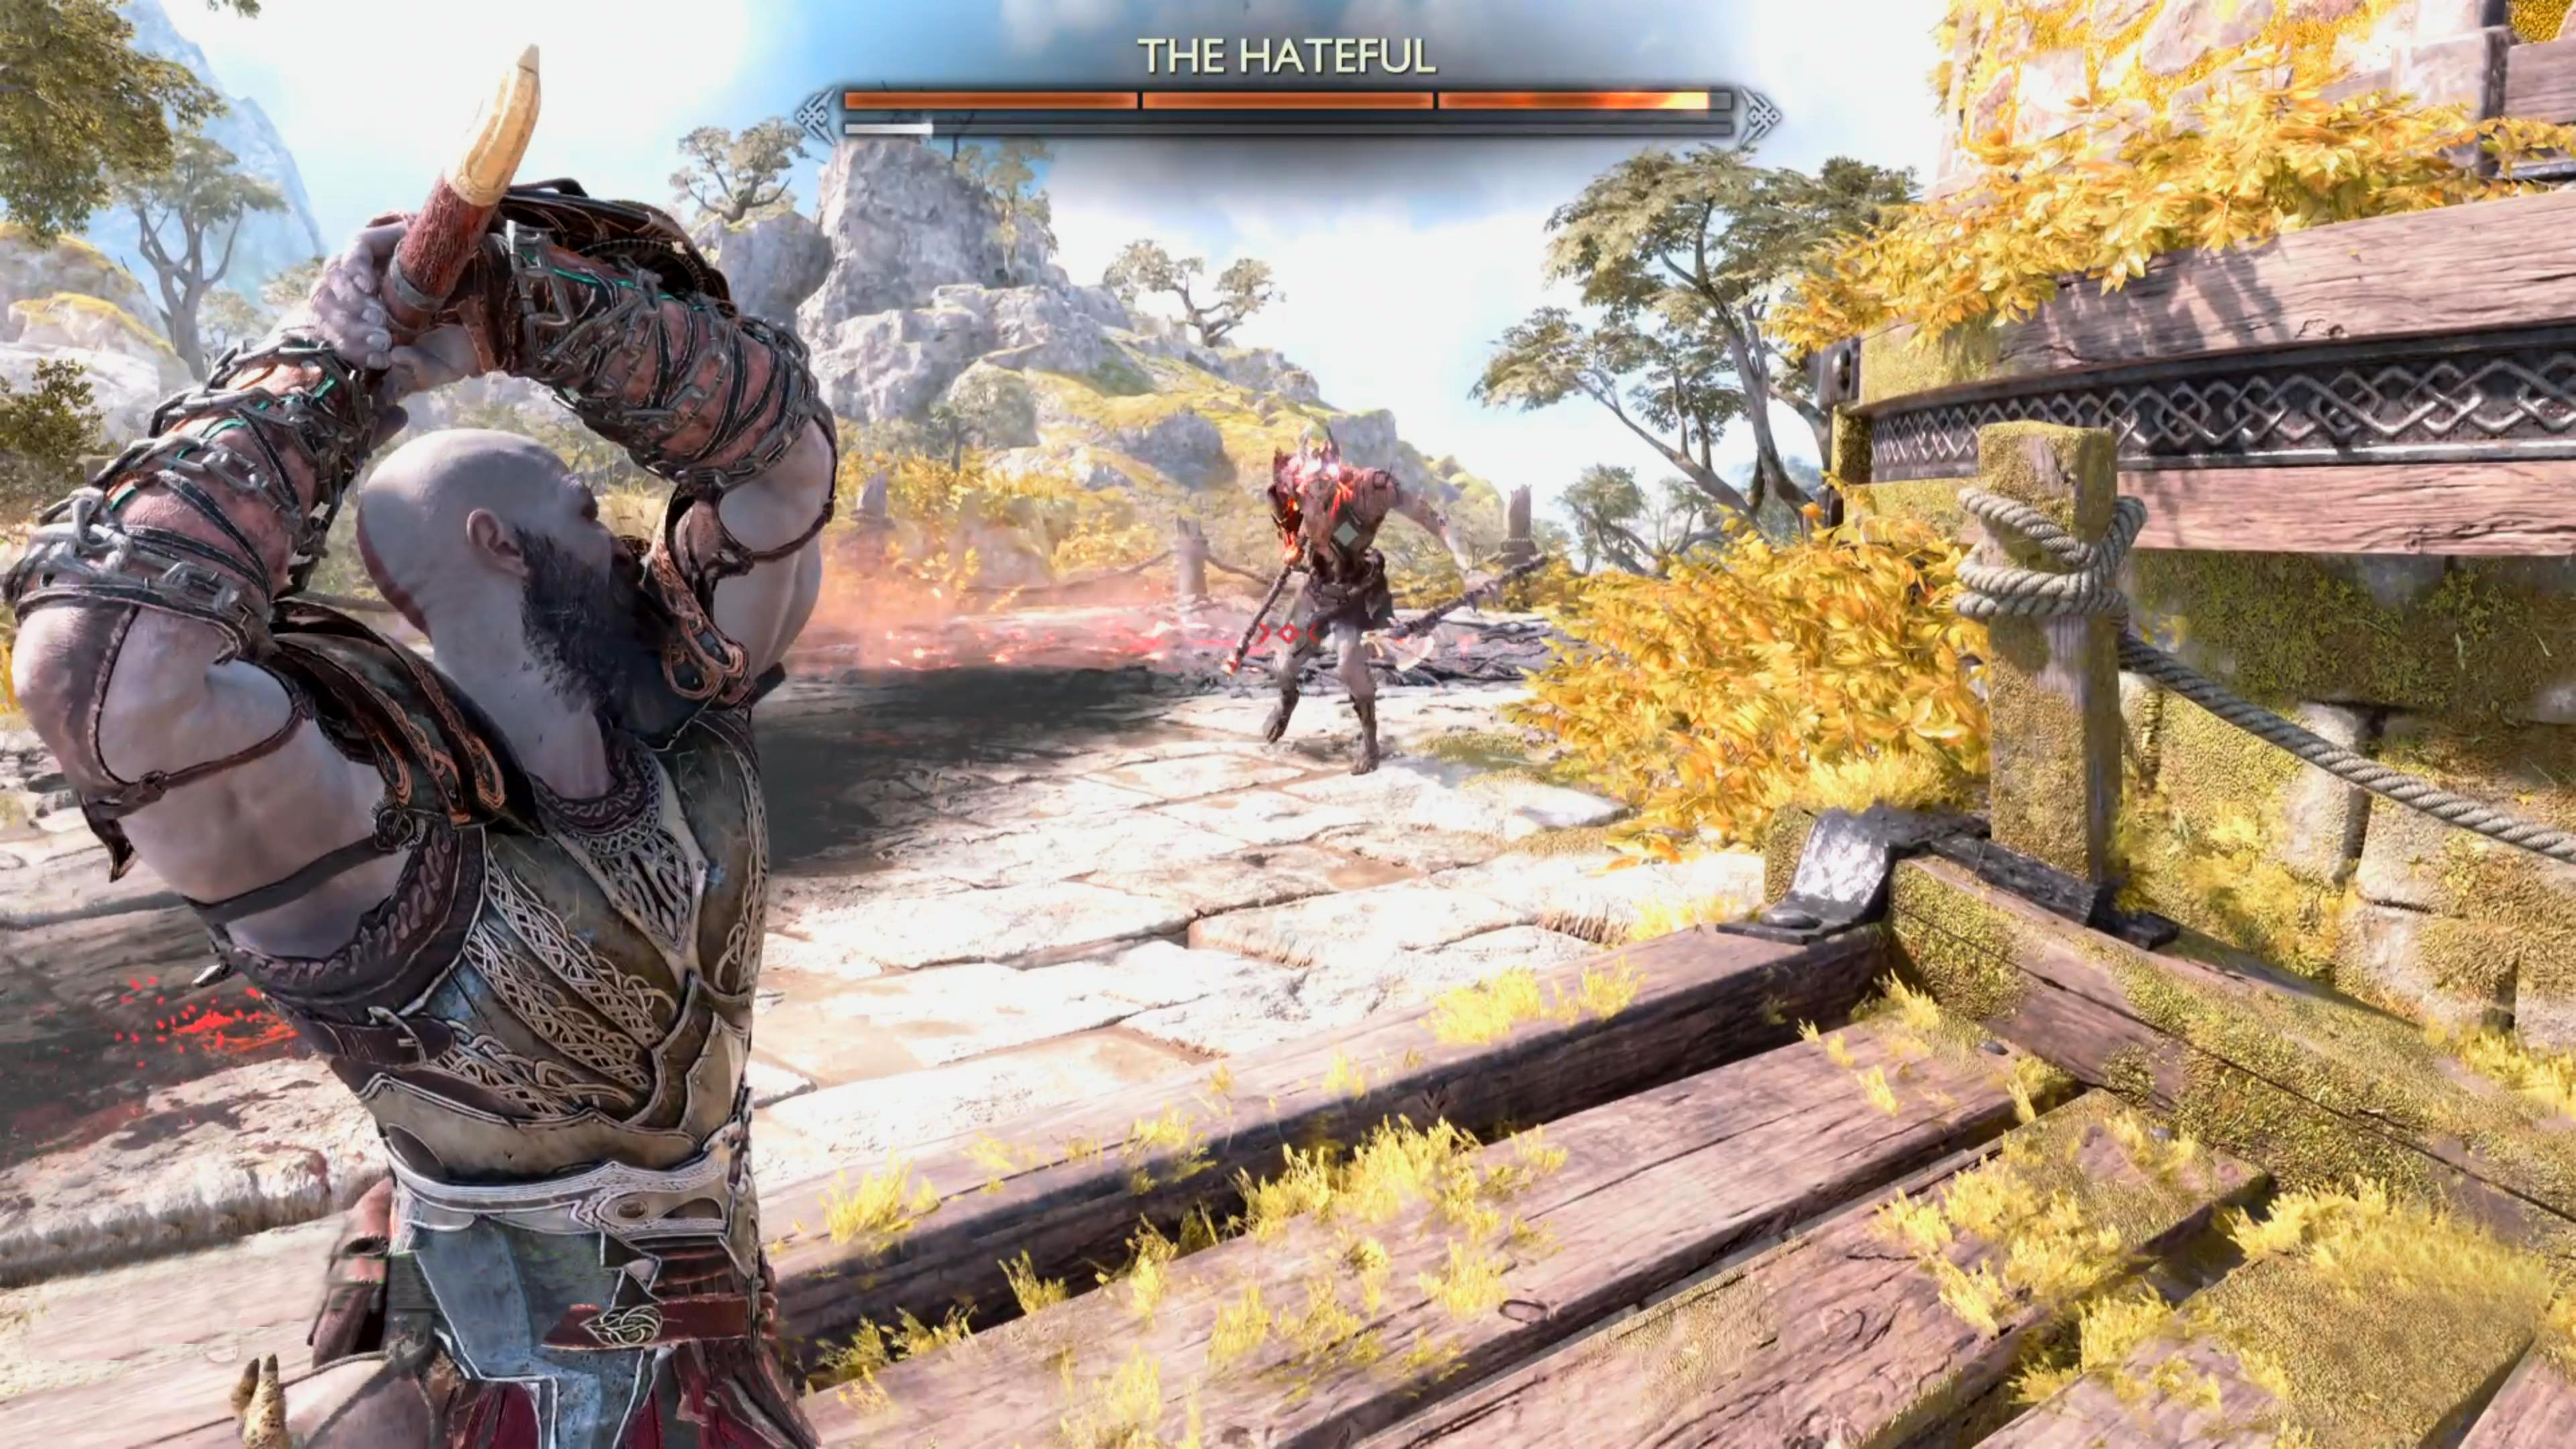
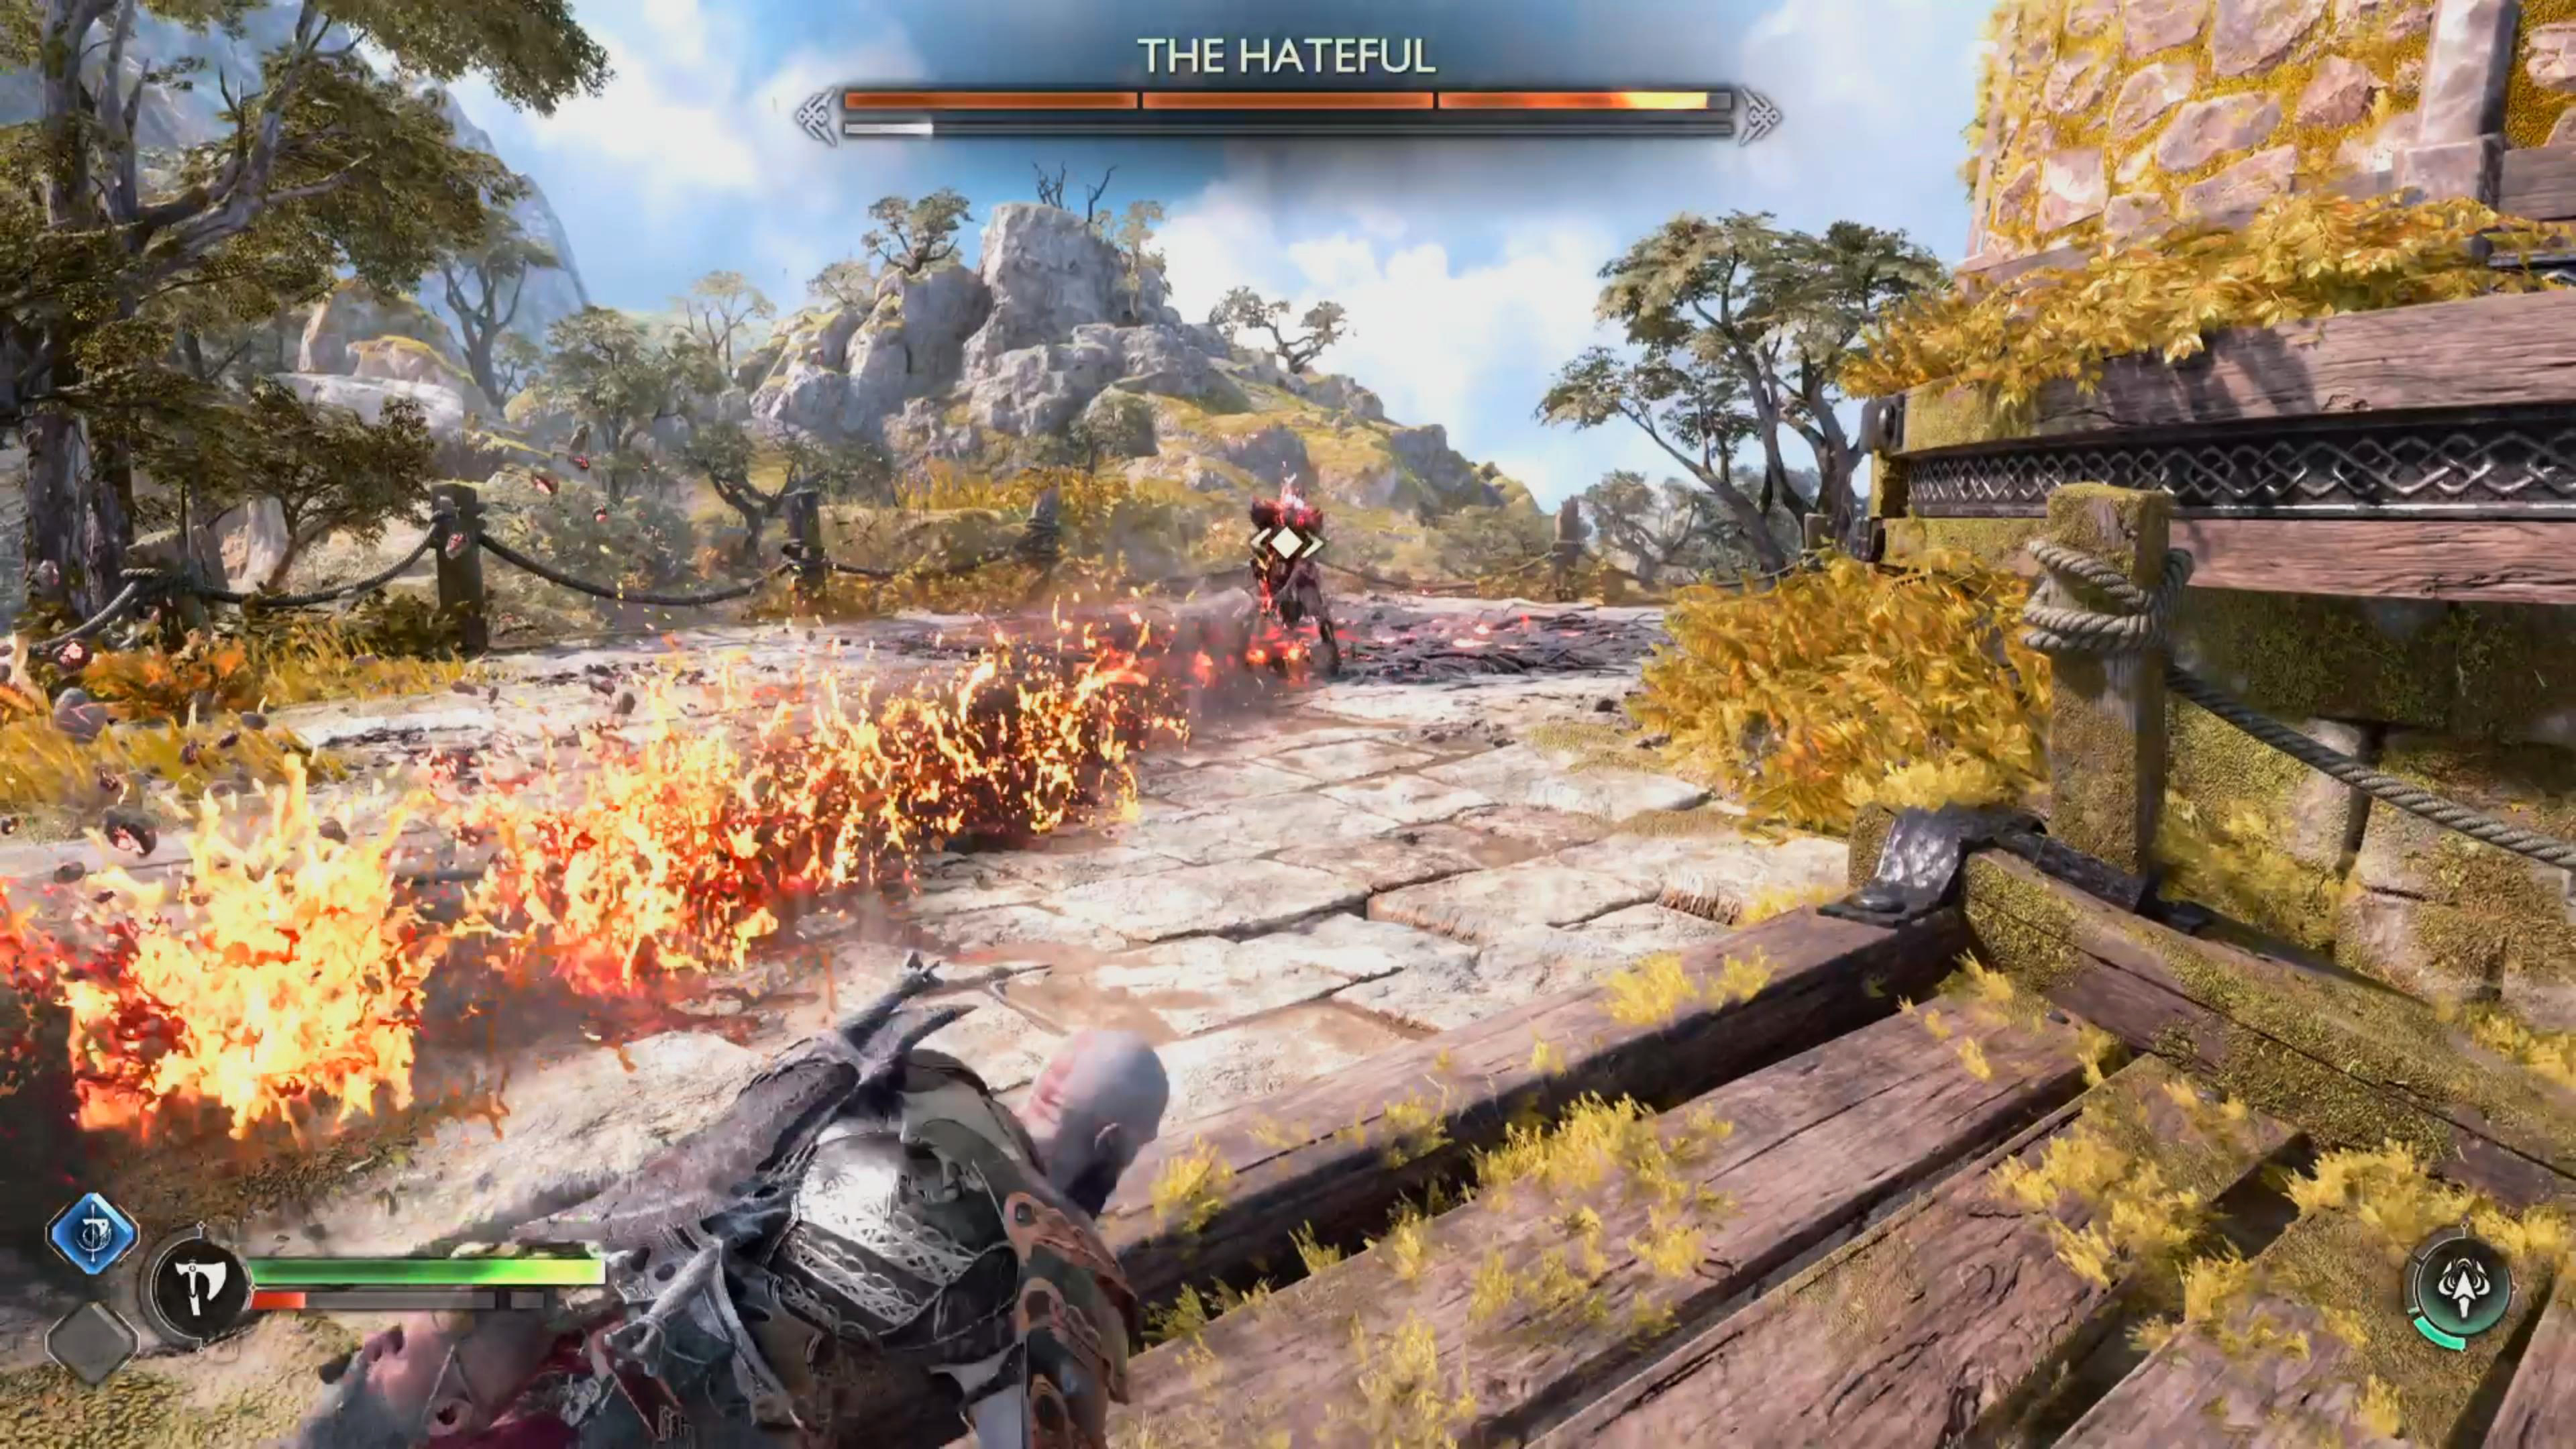
The Hateful is a Draugr miniboss. This particular version can be found at The Watchtower.
God of War Ragnarok - Where to Find the Draugr Hole Location in Svartalfheim
The first Draugr Hole can be found in the Svartalfheim region. After you’ve progressed the story past the dwarven town Nidavellir, you’ll ultimately end up sailing into the Bay of Bounty area in the search of a dwarf who goes by the name “Durlin”. This is the first time the game really opens up, and you’ll have a lot of diversions available. What you want to do is to head to the area called “The Watchtower”. This area can be found by going under the arches that lead to the northern end of the bay, and the beach you need to land at to reach The Watchtower, can be found east of the arches.
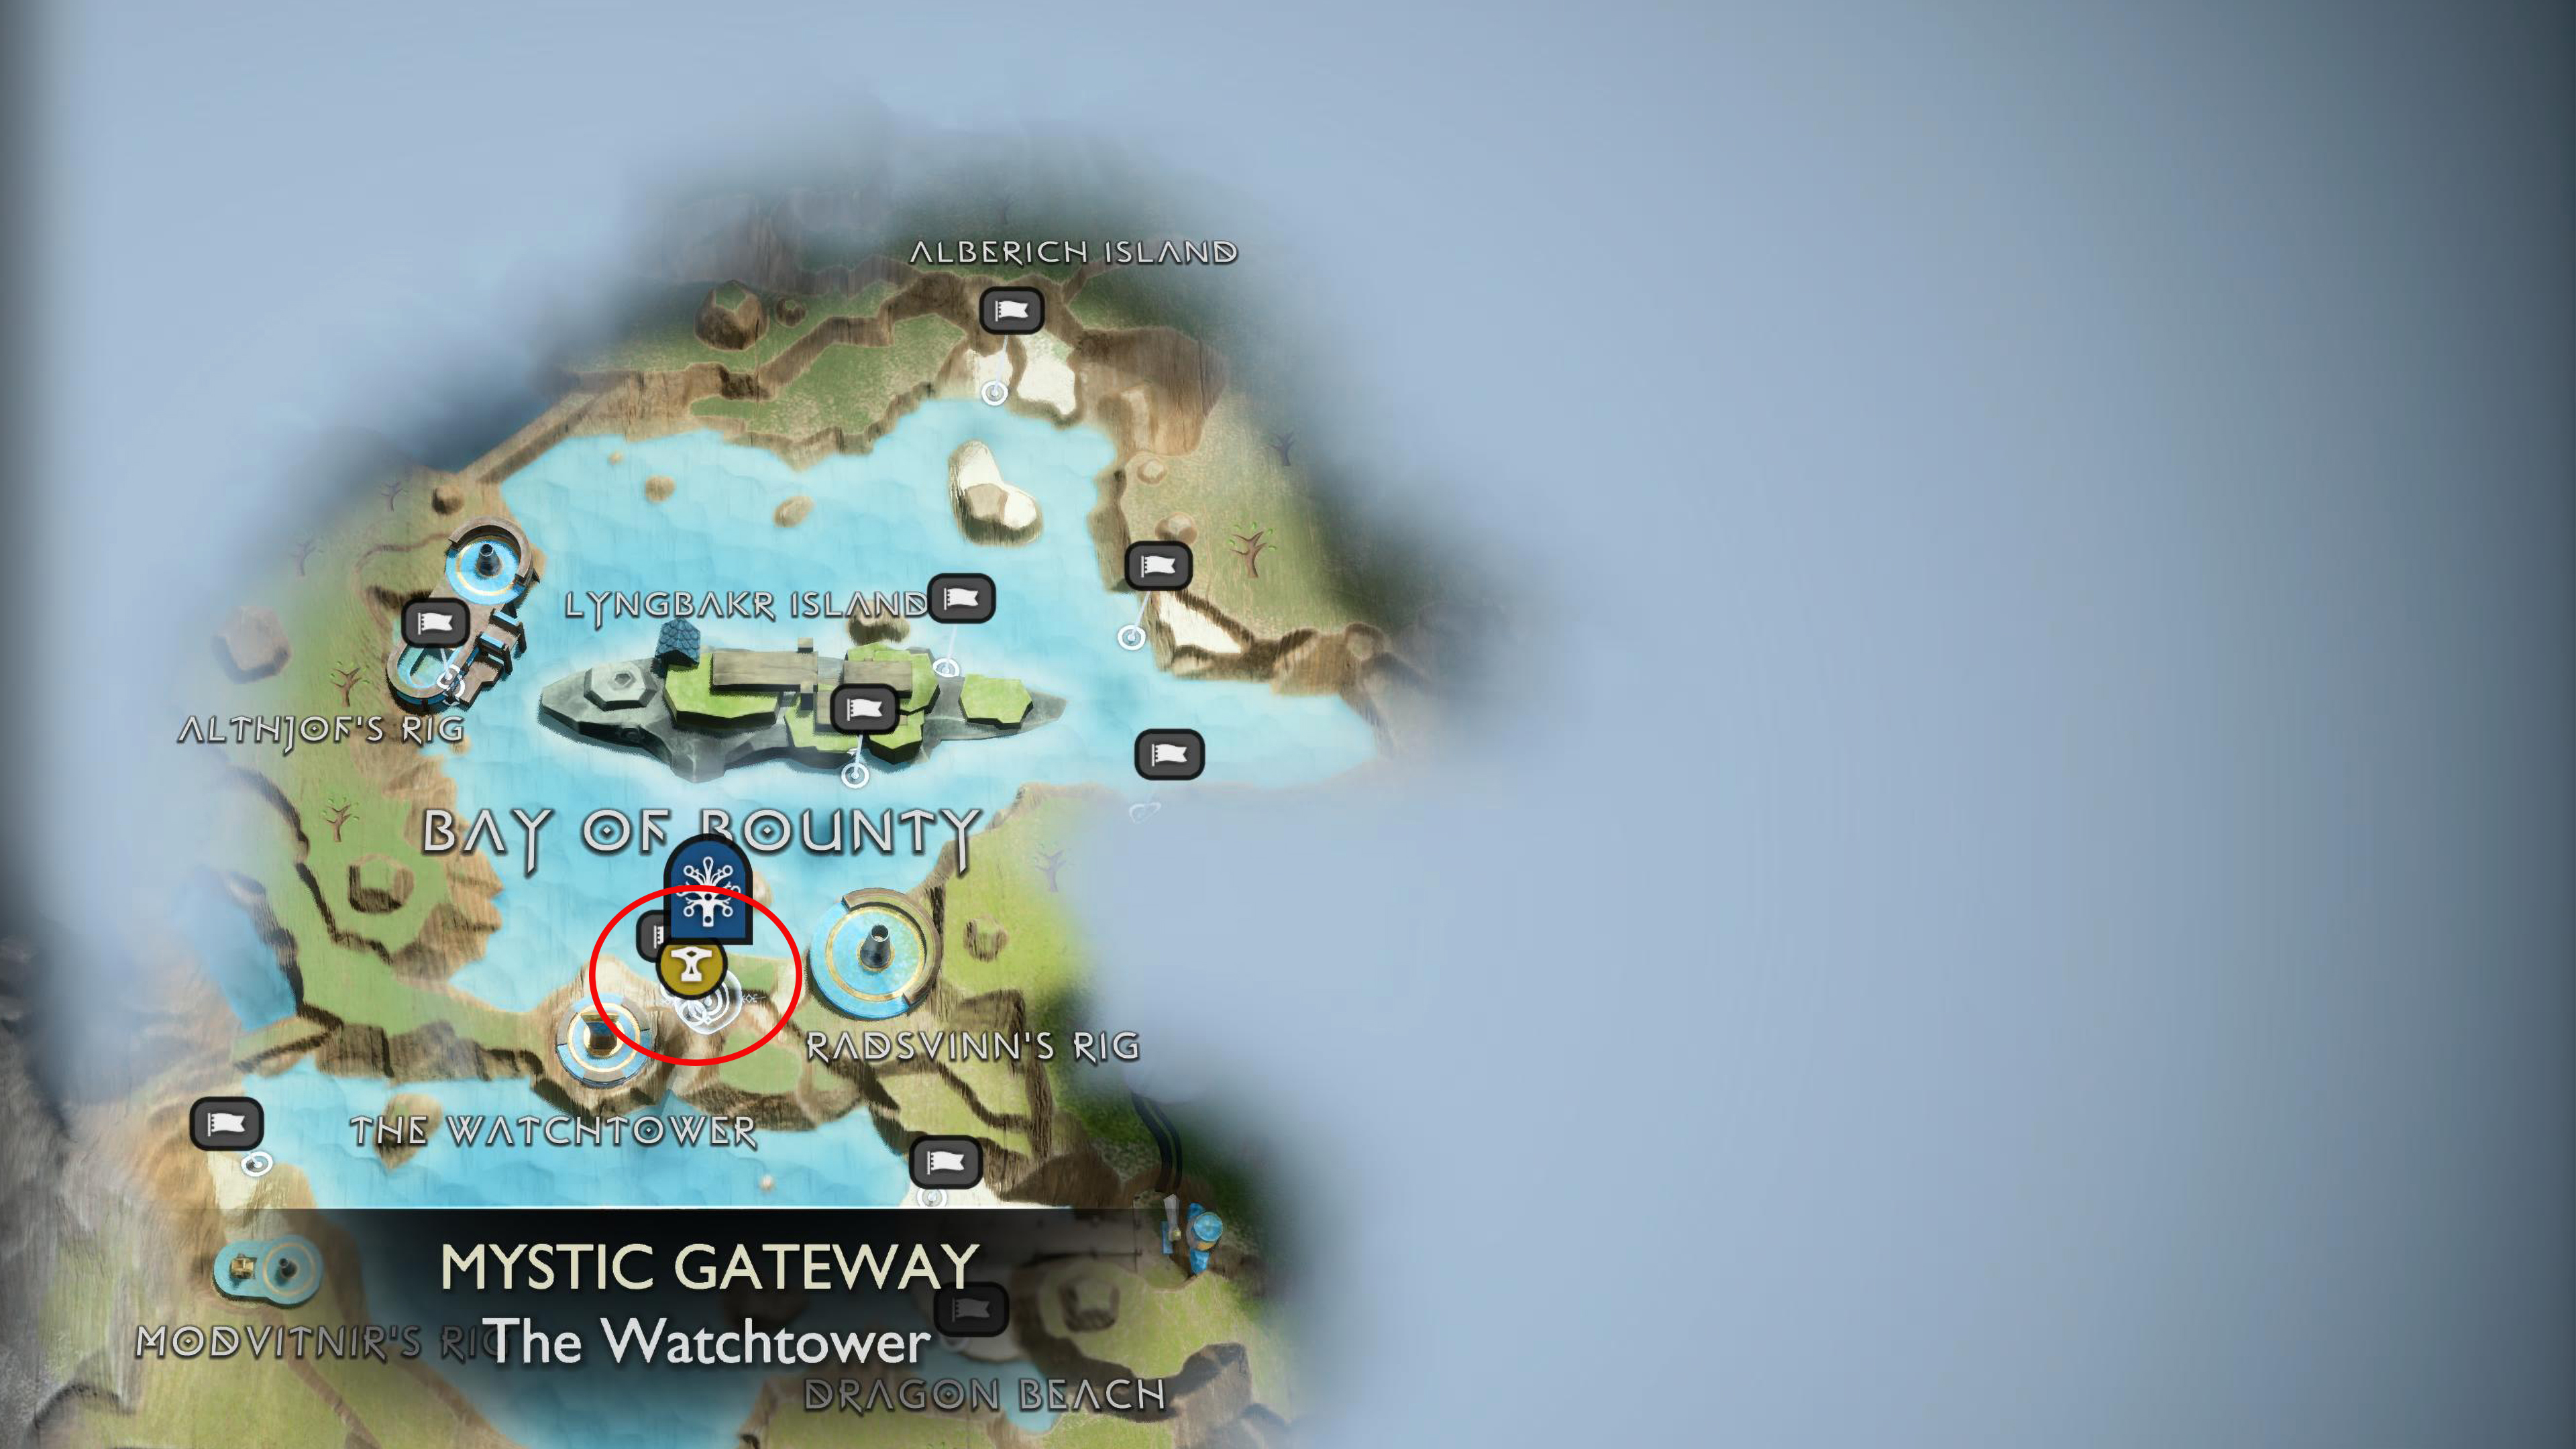
You can find The Watchtower to the east of the arches in the Bay of Bounty.
How to Defeat The Hateful
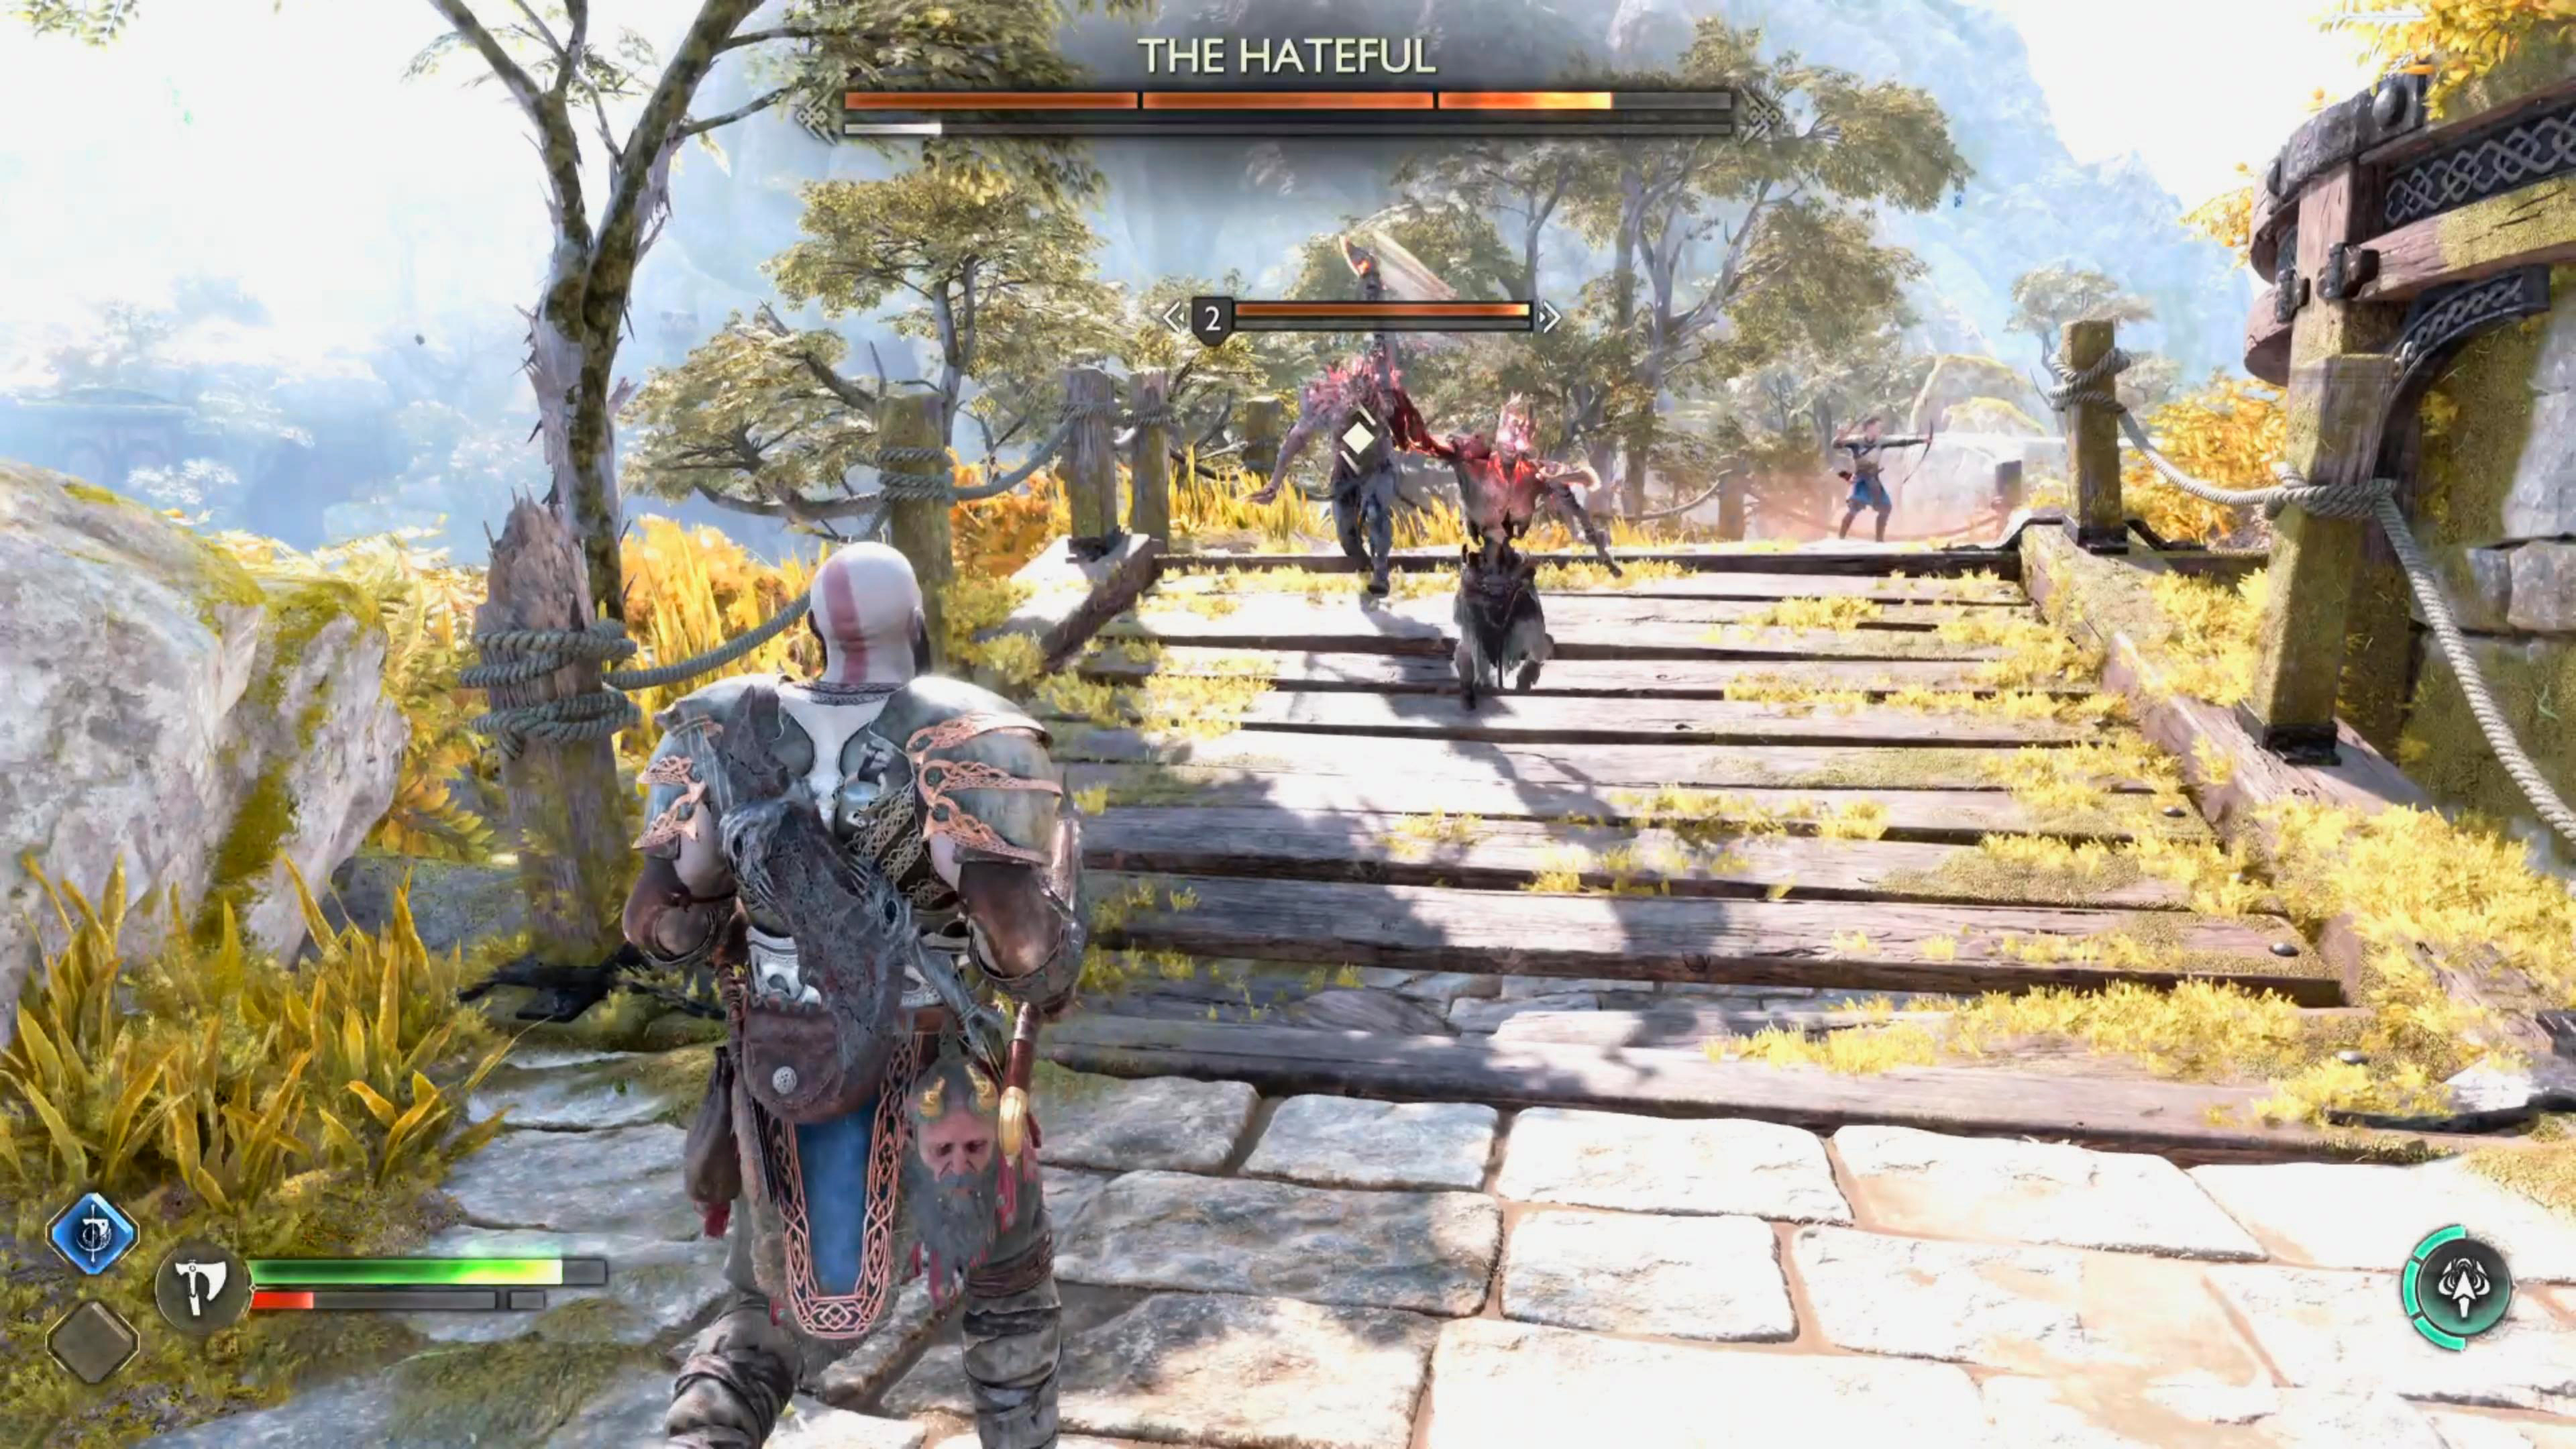
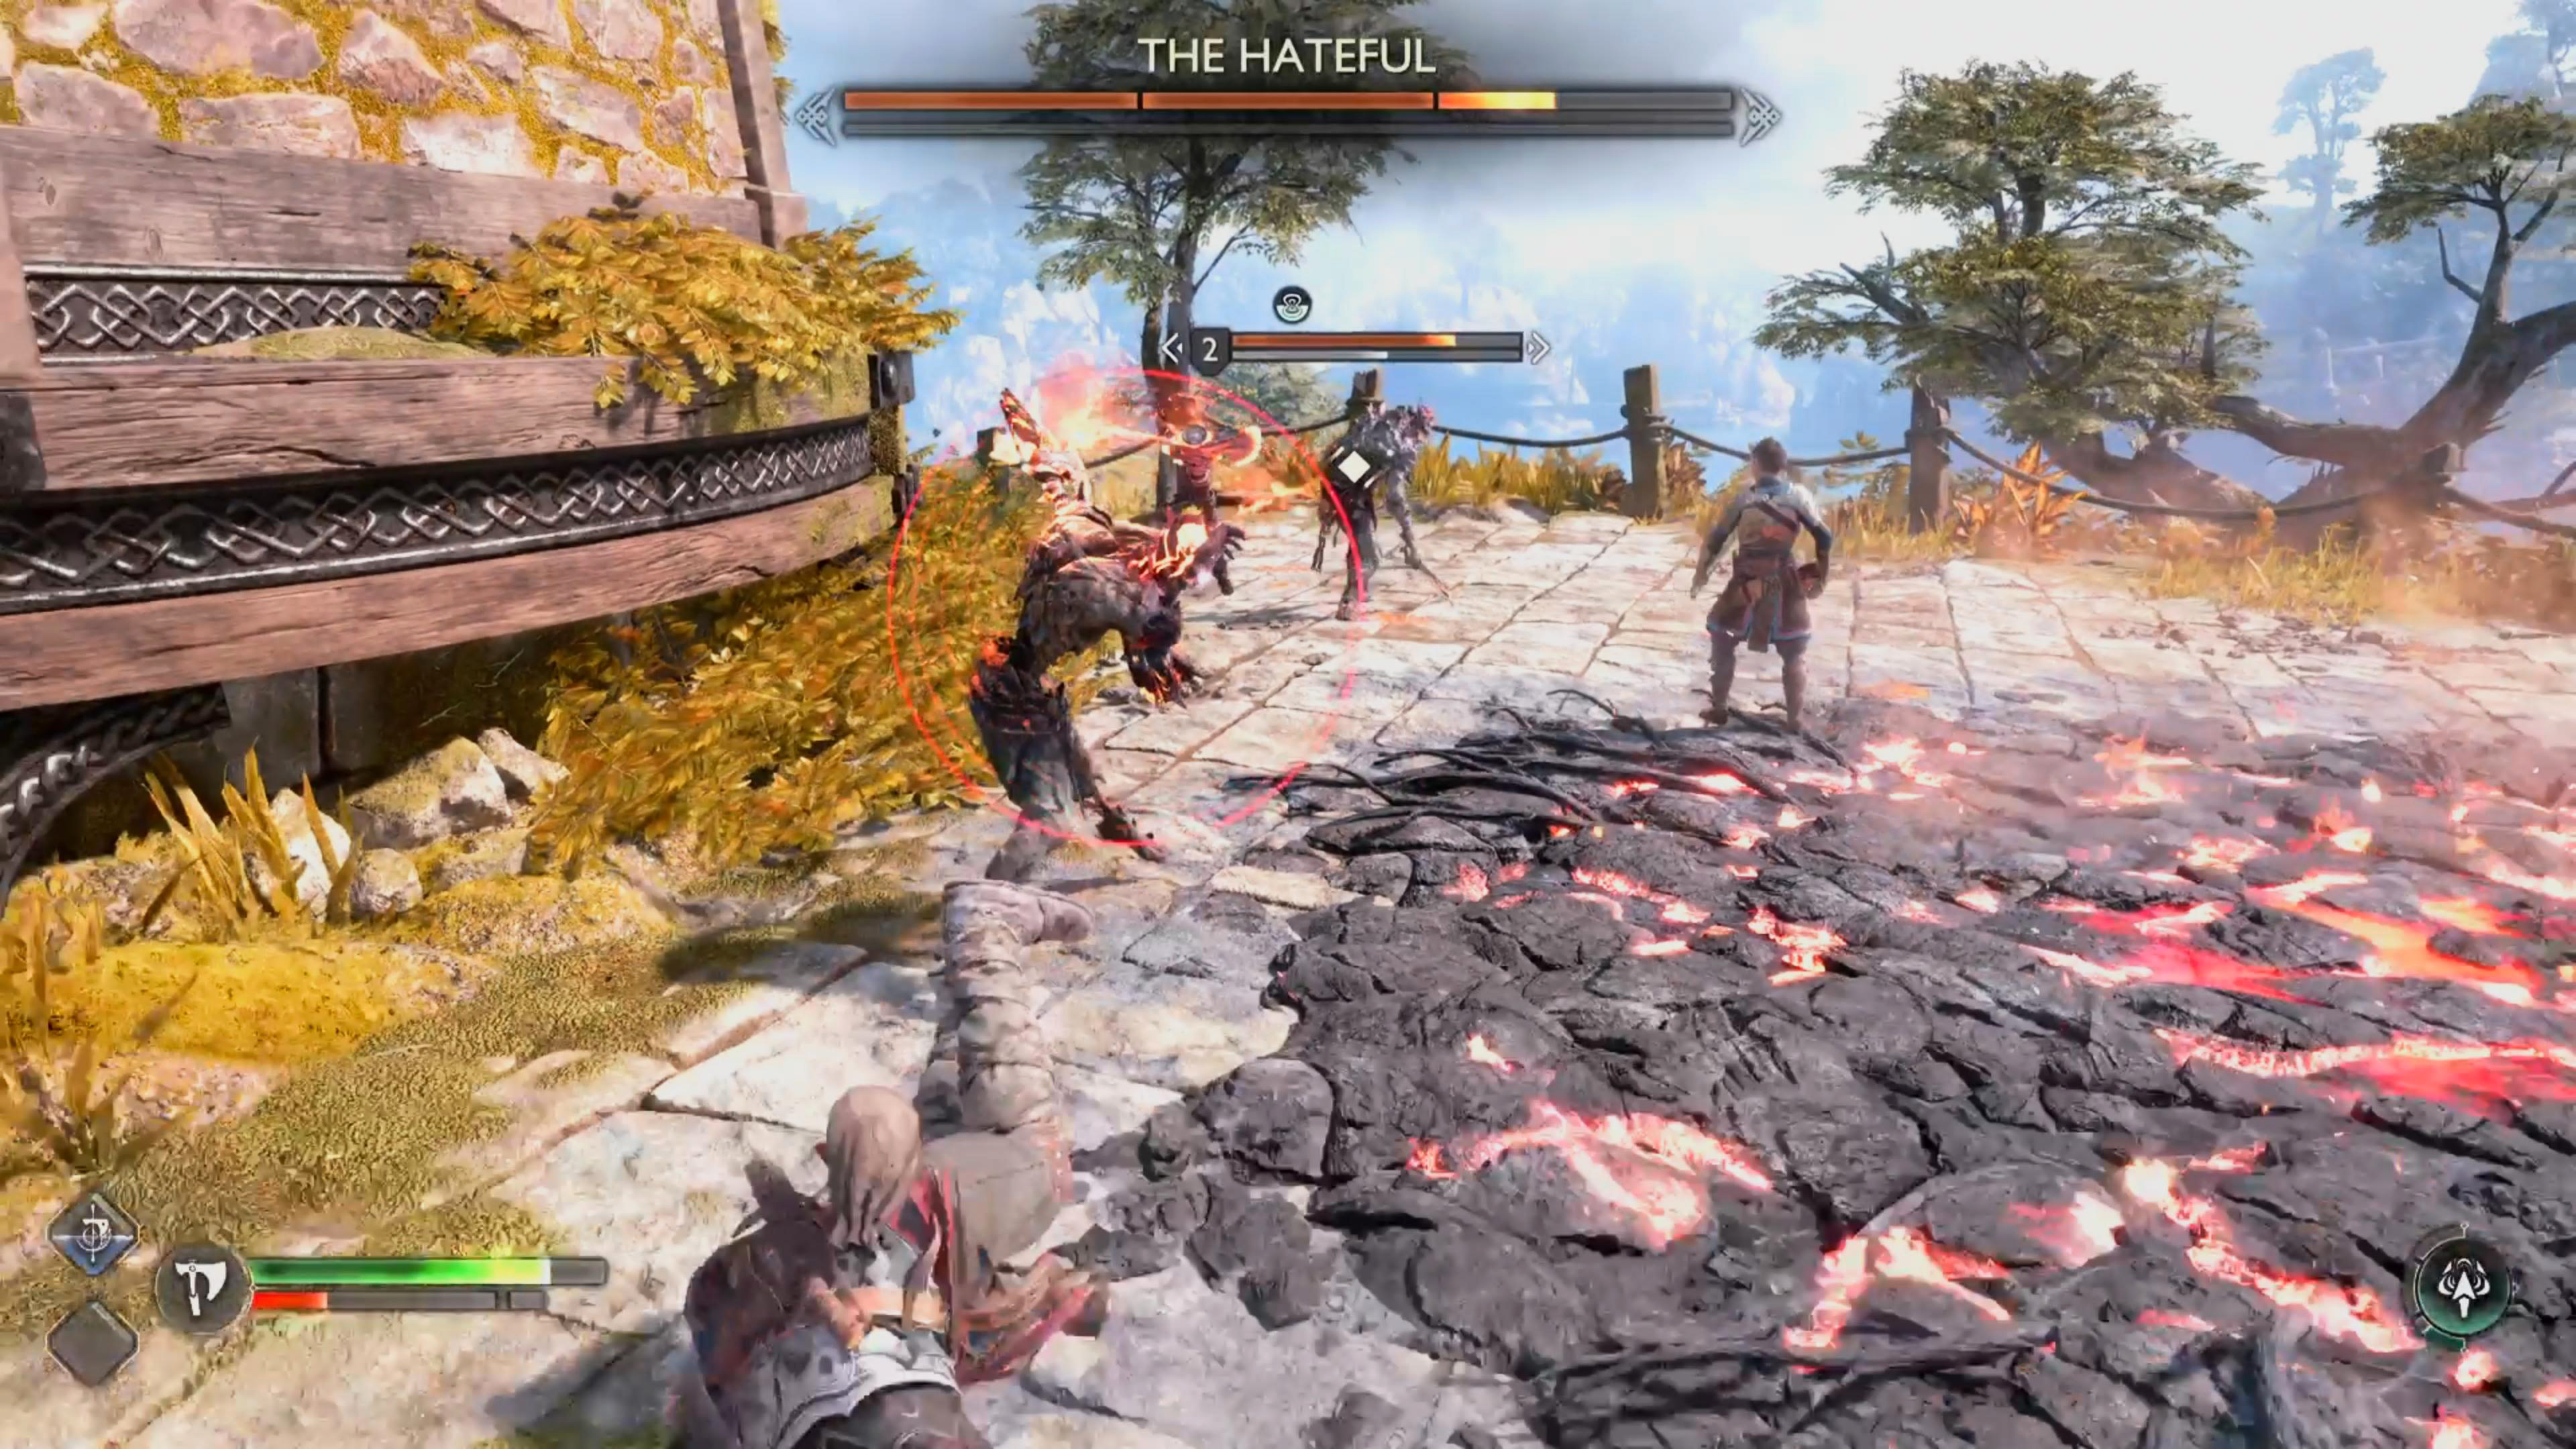
As soon as you approach the hole on the floor, a Draugr will spawn called “The Hateful”. This is a miniboss, and has a similar health bar to normal bosses. After doing a small amount of damage to it, it’ll summon two minions. Although you don’t need to defeat them to complete the Draugr Hole, they will attack you, and make the fight significantly harder. Whether you choose to defeat the minions or not is your call, but if you don’t, be prepared to dodge whenever you see a small red arrow around you as one of them will be attacking you.
On easier difficulties, this fight shouldn’t pose too much of a problem. On the higher difficulties, it can be quite challenging. The Hateful has a few different attacks to watch out for which you can read about below:
Charging Slash Combo (Normal)
The Draugr will charge at you while waving its dual axes in tandem. It’ll perform three slashing strikes, with the last attack being a spinning overhead slash. All of these attacks can be parried, blocked or dodged. This attack and the unblockable variant are most likely the toughest attacks you’ll have to avoid.
The Hateful will perform a three-hit combo with the last hit being a twisting overhead slash.
It can also perform the same attack, but with the first hit being unblockable. This is indicated by the red ring.
Charging Slash (Unblockable)
This attack can throw you off if you get too used to the normal combo. Almost the same as its normal variant, but it’ll toss an unblockable attack indicated by a red ring. The easiest way to avoid this attack is to keep dodging to the side. Try to dodge by pressing double  as it’ll give you more distance. Only the first hit is unblockable, so you can parry/block the following hits, although it’s easier to just dodge all of them.
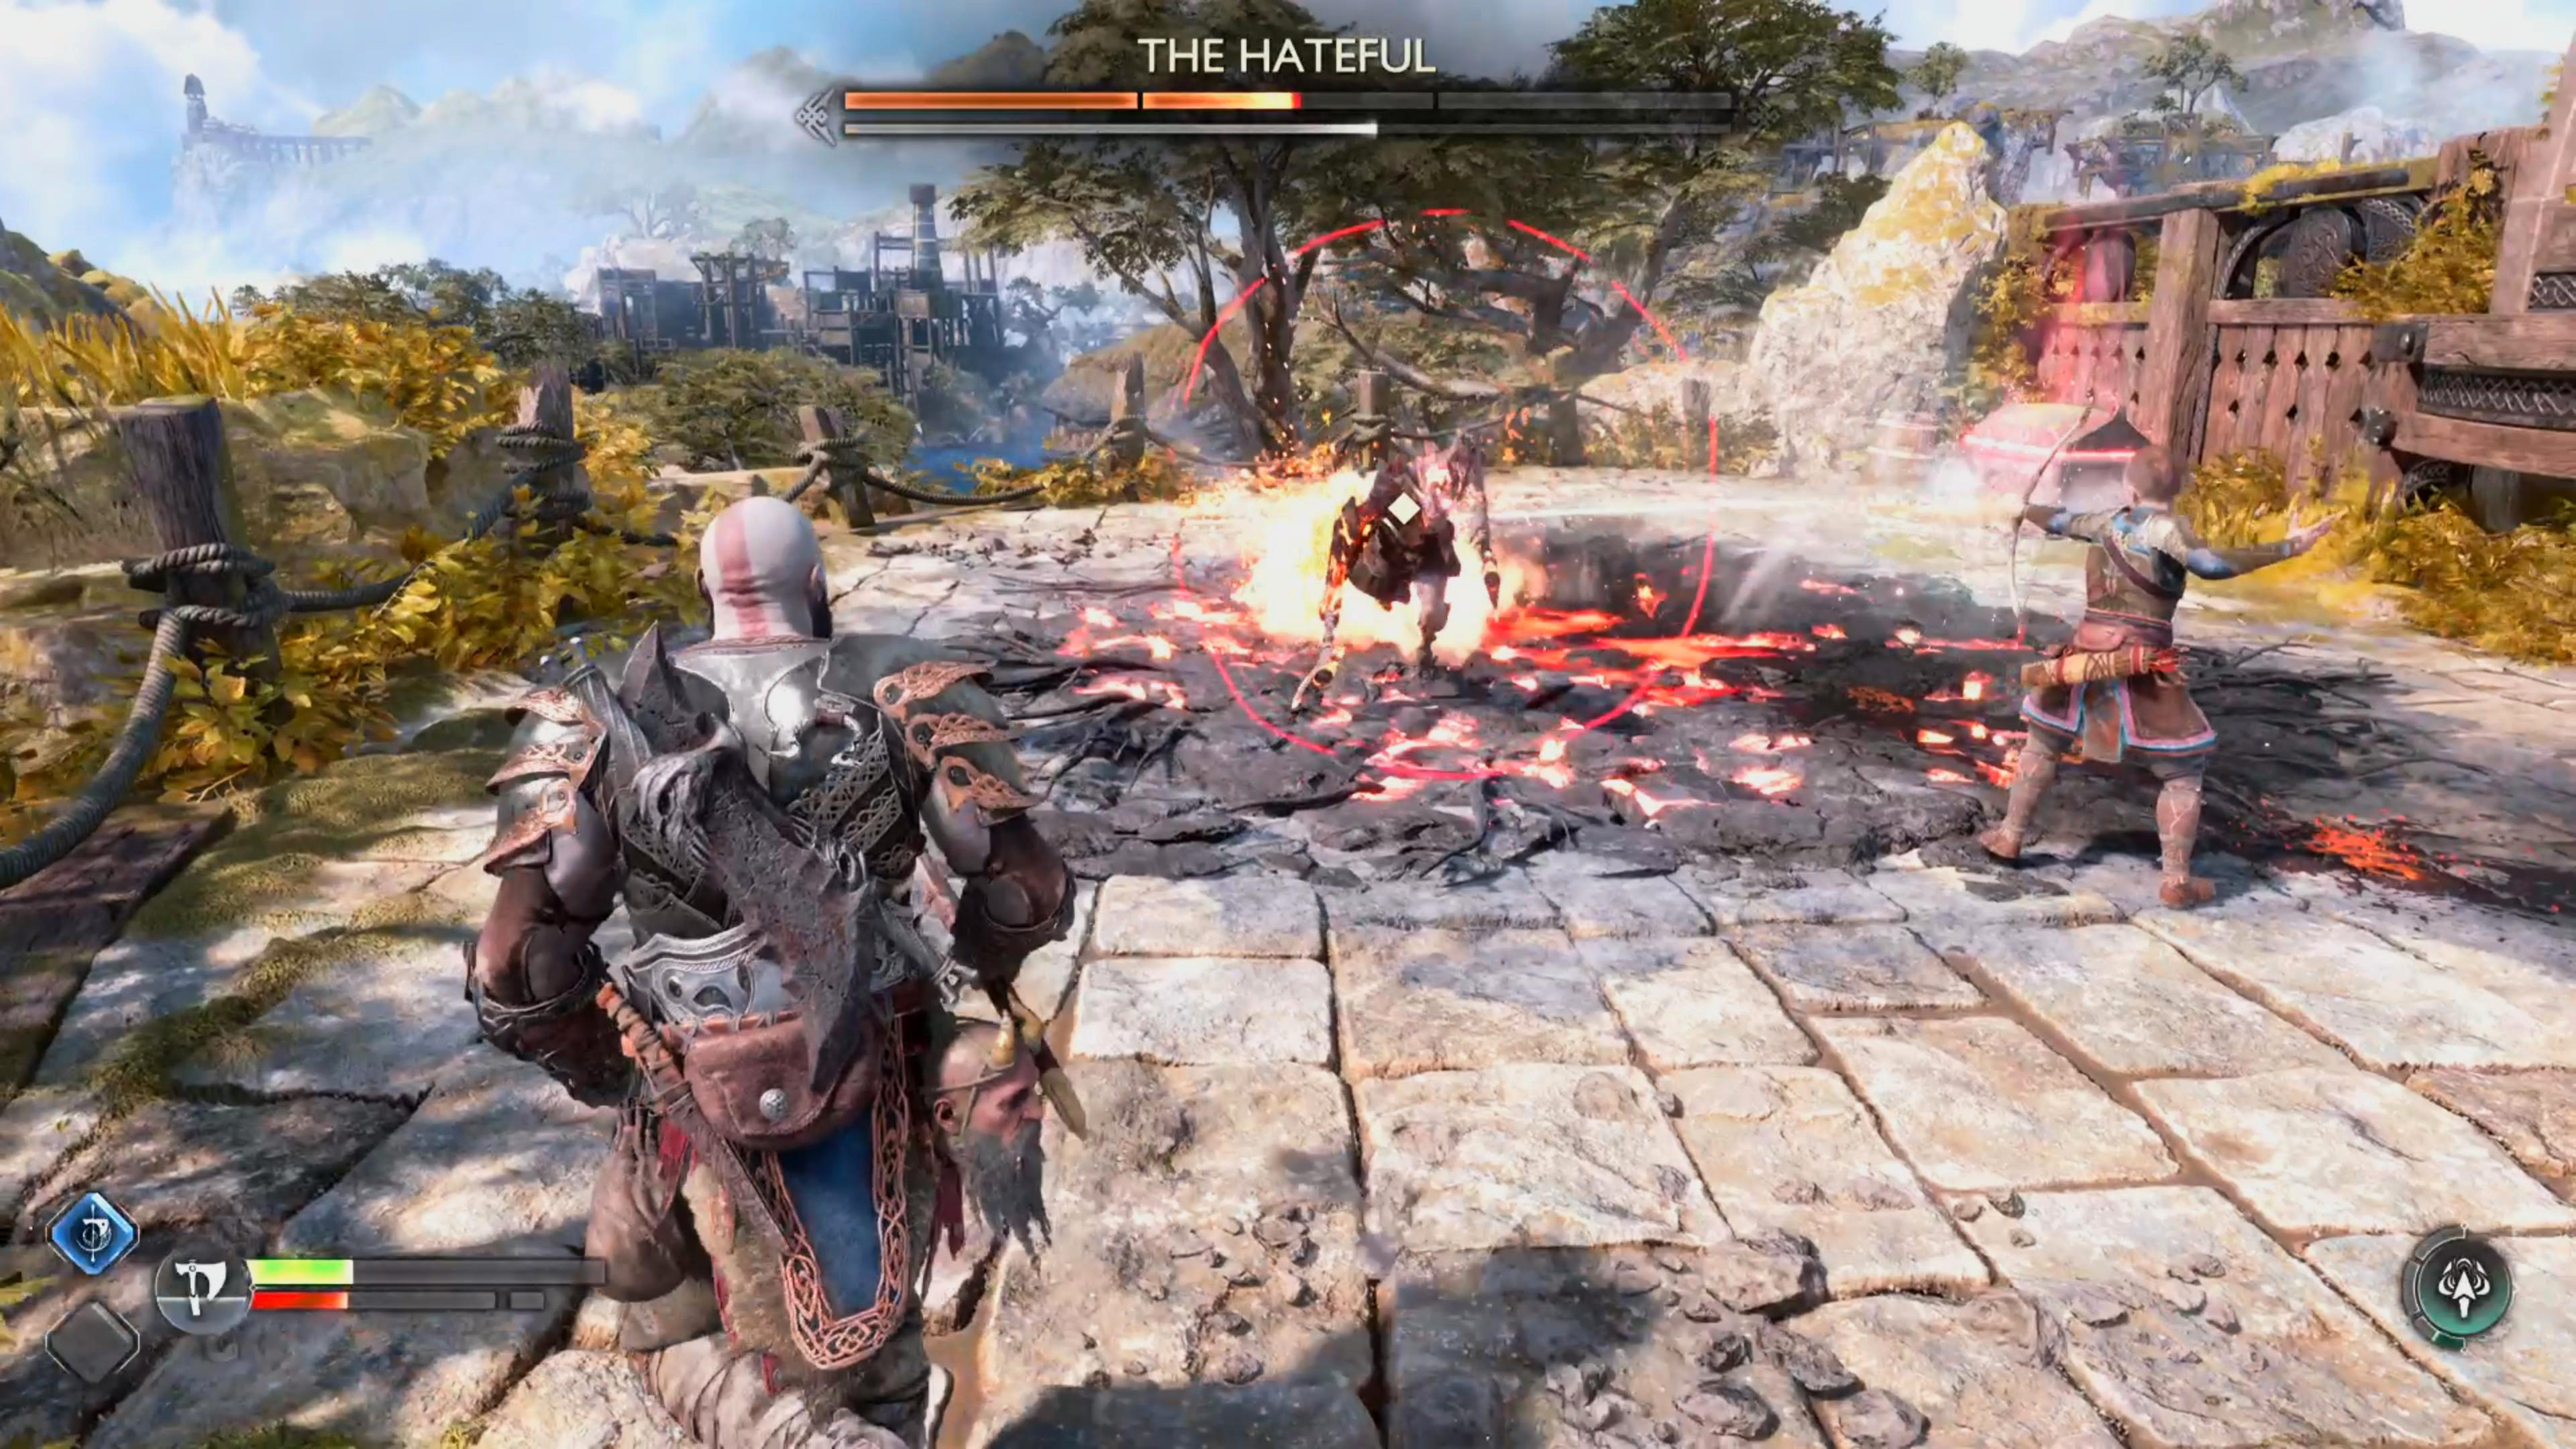
Fire Slam
The Hateful will slam its weapon into the ground sending a stream of fire in a line towards you. You’ll know this is coming as it’ll raise its weapon in the air, and an unblockable red circle will appear around it. This can be easily avoided by dodging/moving to either side, just don’t stand in front of it. This attack can, and will be used from ranged, so always keep an eye on what The Hateful is up to if you’re fighting the minions. Note: If you do get hit by this attack, you’ll get afflicted with the burn status which will deal damage over time to you for a short period of time.
The Draugr will raise its axes before slamming them into the ground creating a stream of fire at you.
Probably the easiest attack to dodge, the Draugr will charge and lean forward while performing a singular slash.
Reaching Slash
The Draugr will charge and throw a singular lazy slash at you where it almost stumbles over. You can parry/block or dodge this attack. After avoiding the attack, you’ll have a short window to get some free damage in.
Unblockable Uppercut
It rarely uses this attack, but if you spend a prolonged time in front of the creature, it’ll perform a backhanded uppercut which deals a fair bit of damage. This can be tough to dodge as it comes at you pretty quickly, but if you see the unblockable indicator when both axes are pointed downwards, odds on the uppercut will follow. To avoid it, simply dodge any direction other than forwards. Sometimes he’ll combo this attack at the end of the Reaching Slash attack.
(1 of 3) The Draugr will lean down and pull its axe behind its back before it unleashes a backhanded uppercut that can’t be blocked.
Overhead Slash
A simple overhead slashing attack that does a decent amount of damage, but you should only get hit by this if your camera is turned away from it. Simply parry/block or dodge it, and punish it for its aggressiveness.
Retreating Evade
Although not an actual attack, the Draugr can use a retreating evade which can make some of your attacks miss. The reason this “move” is mentioned here is that it can combo it into a charge, so make sure you’re ready for any follow-up attacks.
Tips
Here are a few tips to make your life easier during the battle:
- Save your Rage for the fight, if you’ve already used it, explore the nearby islands, and fight some enemies to charge it up again.
- Although the Draugr Hole has fire coming out of it, it’s safe to stand on, and it won’t deal any damage to you, so feel free to fight in it.
- You don’t have to fight just where the hole is, you can use the entire area including the stairs, and the path next to it.
- Repeatedly use Atreus’ Arrows, get used to using them whenever they’re off cooldown. This tip is useful for the rest of the game. You can achieve this by repeatedly pressing
 .
. - Take out the other Draugr’s first, they don’t respawn, and they have relatively low health, and stun bar. This will make the battle a lot easier.
- The Hateful is susceptible to large stun damage from parrying, shield strikes, and Atreus’ arrows, make use of this.
Strategy
Before you approach the Draugr Hole, power up your Leviathan Axe by holding  . This will increase the damage you do with your next attack as well as change what attack you do. When you approach the hole, The Hateful will spawn. It almost always uses its Fire Slam attack from the start. You can use the time it takes it to spawn to rush in and get a few free attacks, just be ready to dodge its inevitable Fire Slam attack.
When you deal about 10% of its health, two normal Draugrs will spawn. On their own, they shouldn’t cause you many problems, but when combined with The Hatefuls attacks, that can get in a few cheap attacks on you when you’re focusing on The Hateful. For this reason, we suggest taking out the minions first while you keep your distance from The Hateful.
When you combine your attacks with Atreus’ arrows, you can get them stunned in no time, then you can press  when it’s stunned to finish them off. If you take the time to defeat them at the beginning of the fight, no more will spawn, and it’ll just be you, and The Hateful which makes the battle a lot easier. On lower difficulties, you can most likely ignore them, and focus on the boss.
The best way to deal with the miniboss, is to wait for it to perform its singular attacks, and punish it each time it attempts to hit you. Also, you should repeatedly launch arrows at it with Atreus to build up its stun bar. If you’re more skilled or feeling particularly lucky, you can parry all of its normal Charging Slash Combo for big stun damage. A lot of its attacks can be interrupted with a shield strike (double-tap  ) for large amounts of stun damage too.
One thing to note, when the stun bar feels up, it won’t become stunned (yeah, I know), but it will take a large amount of damage from it, so it’s still worth doing. For the most part, this shouldn’t be too tough to defeat as long as you don’t stand in front of it, and button mash. Slowly chip away at its health, and you’ll have it defeated in no time.
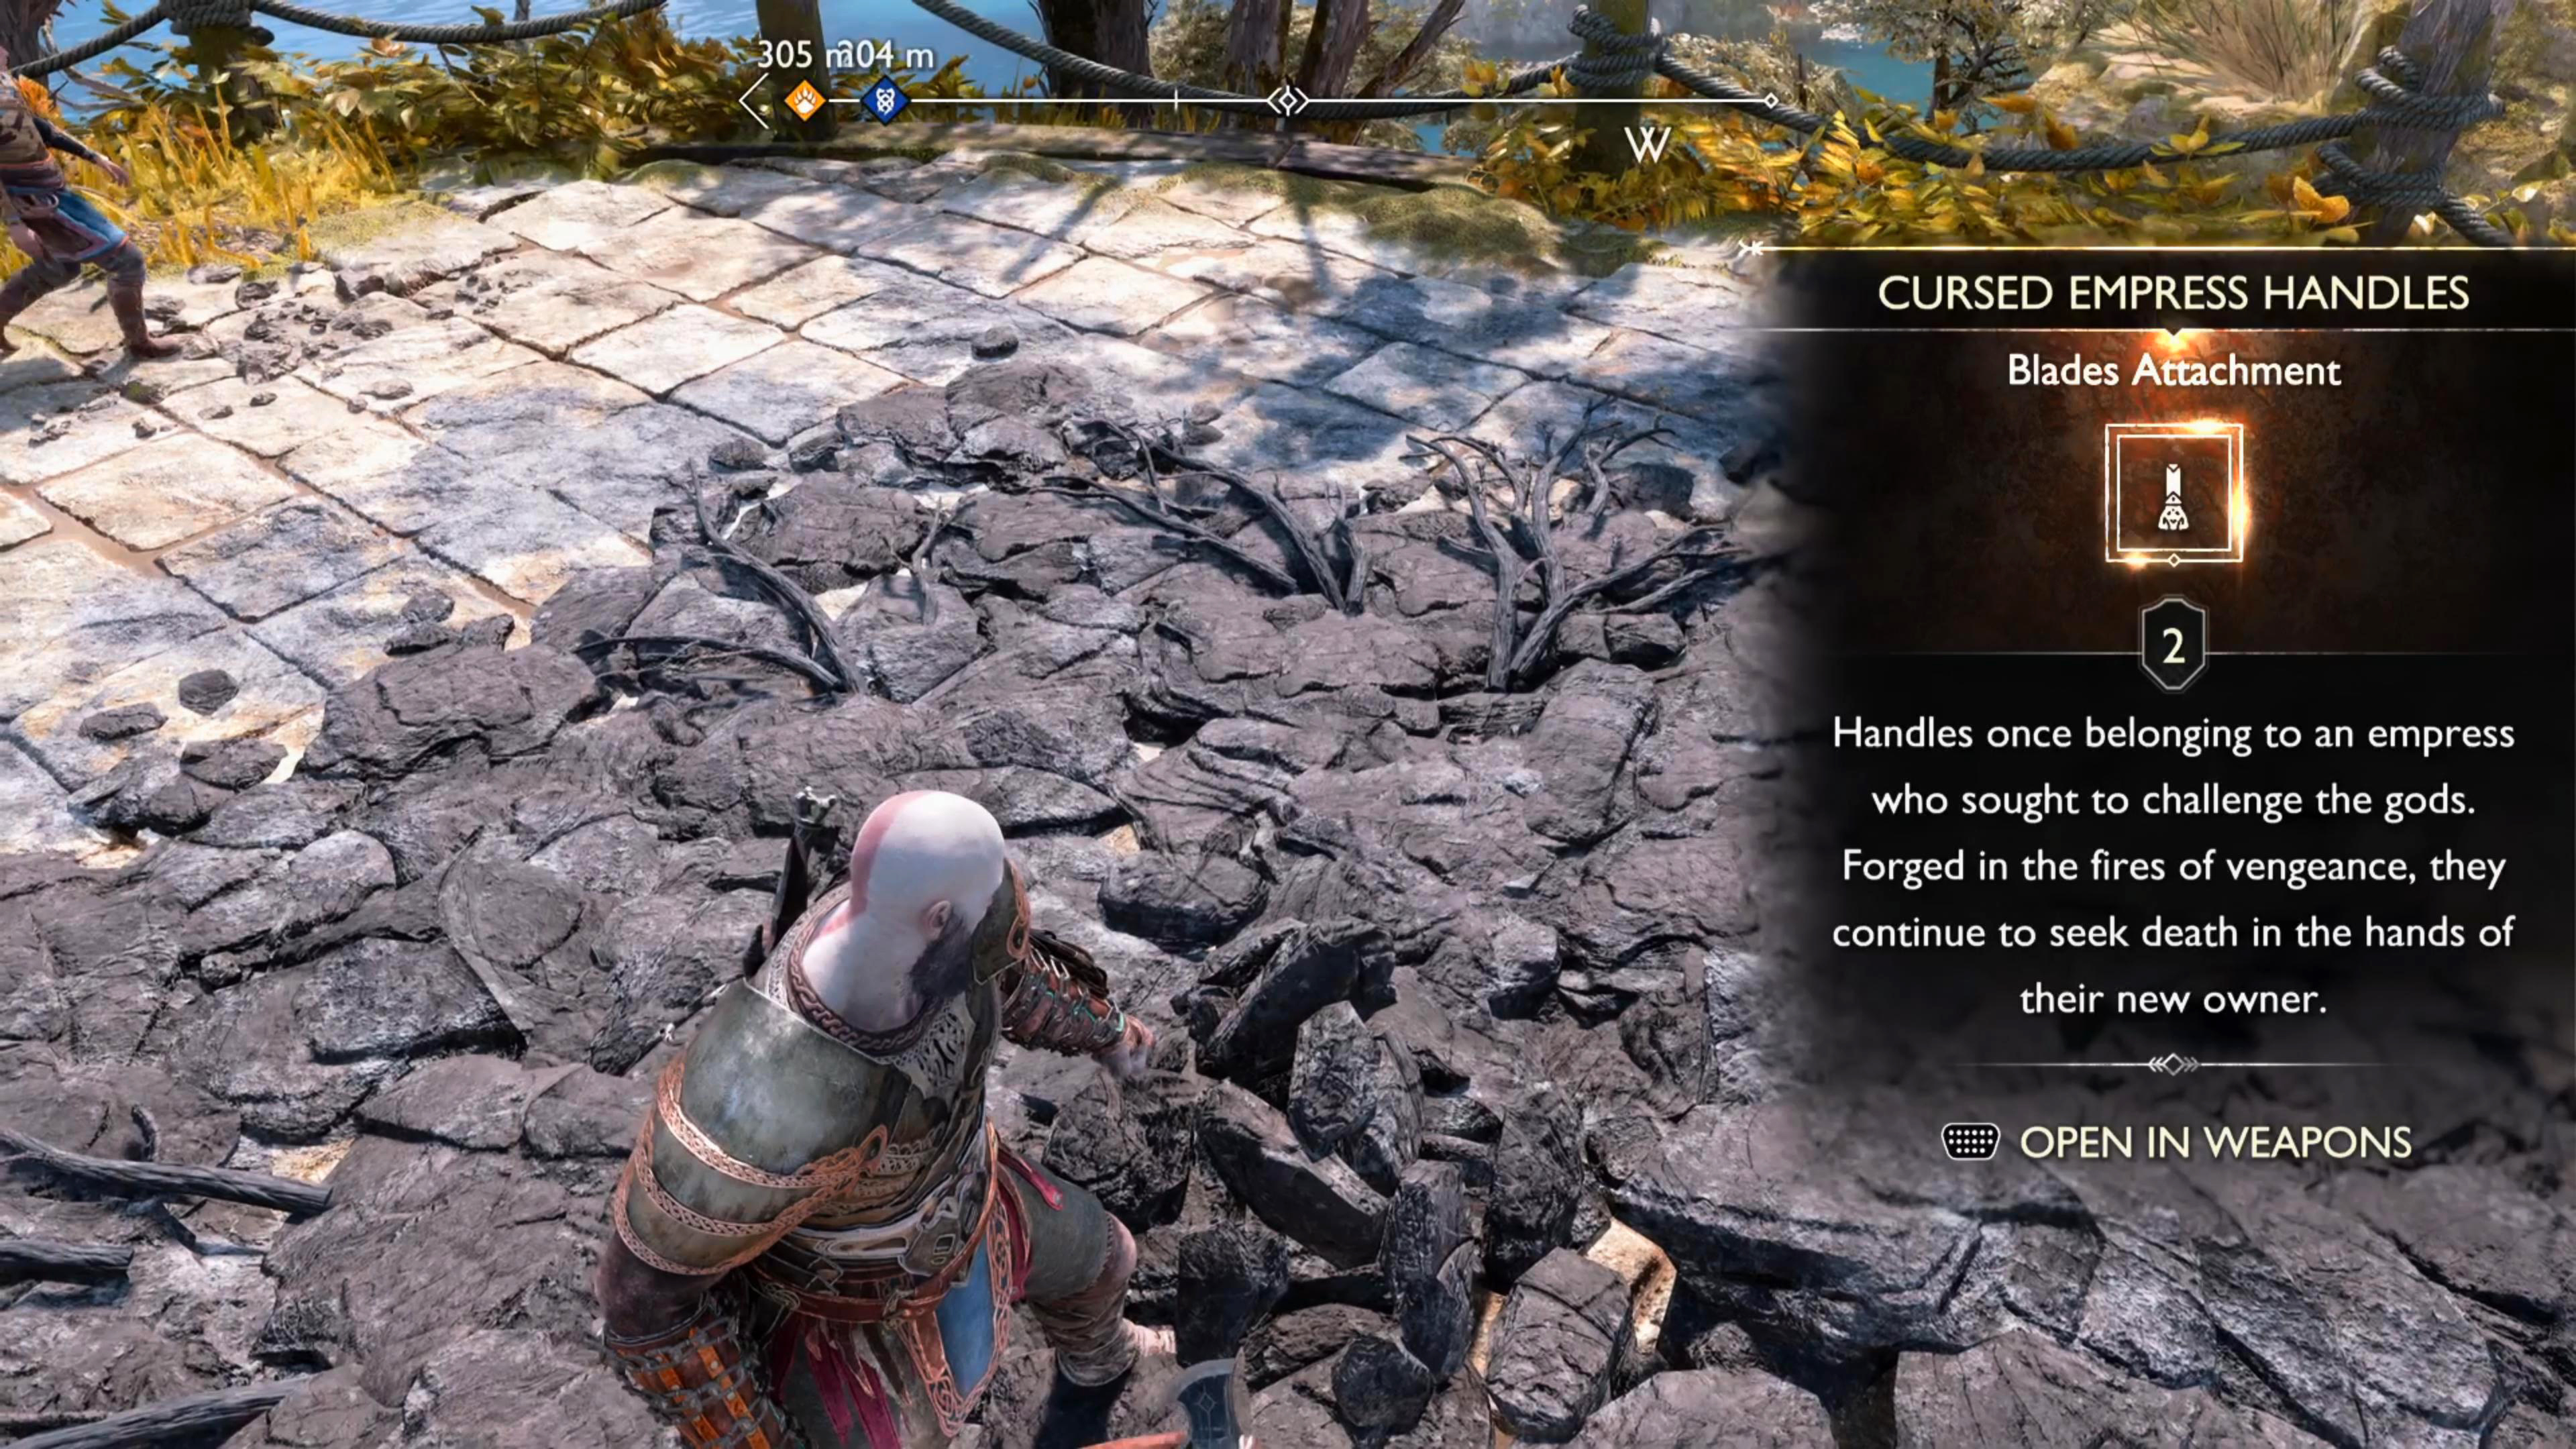
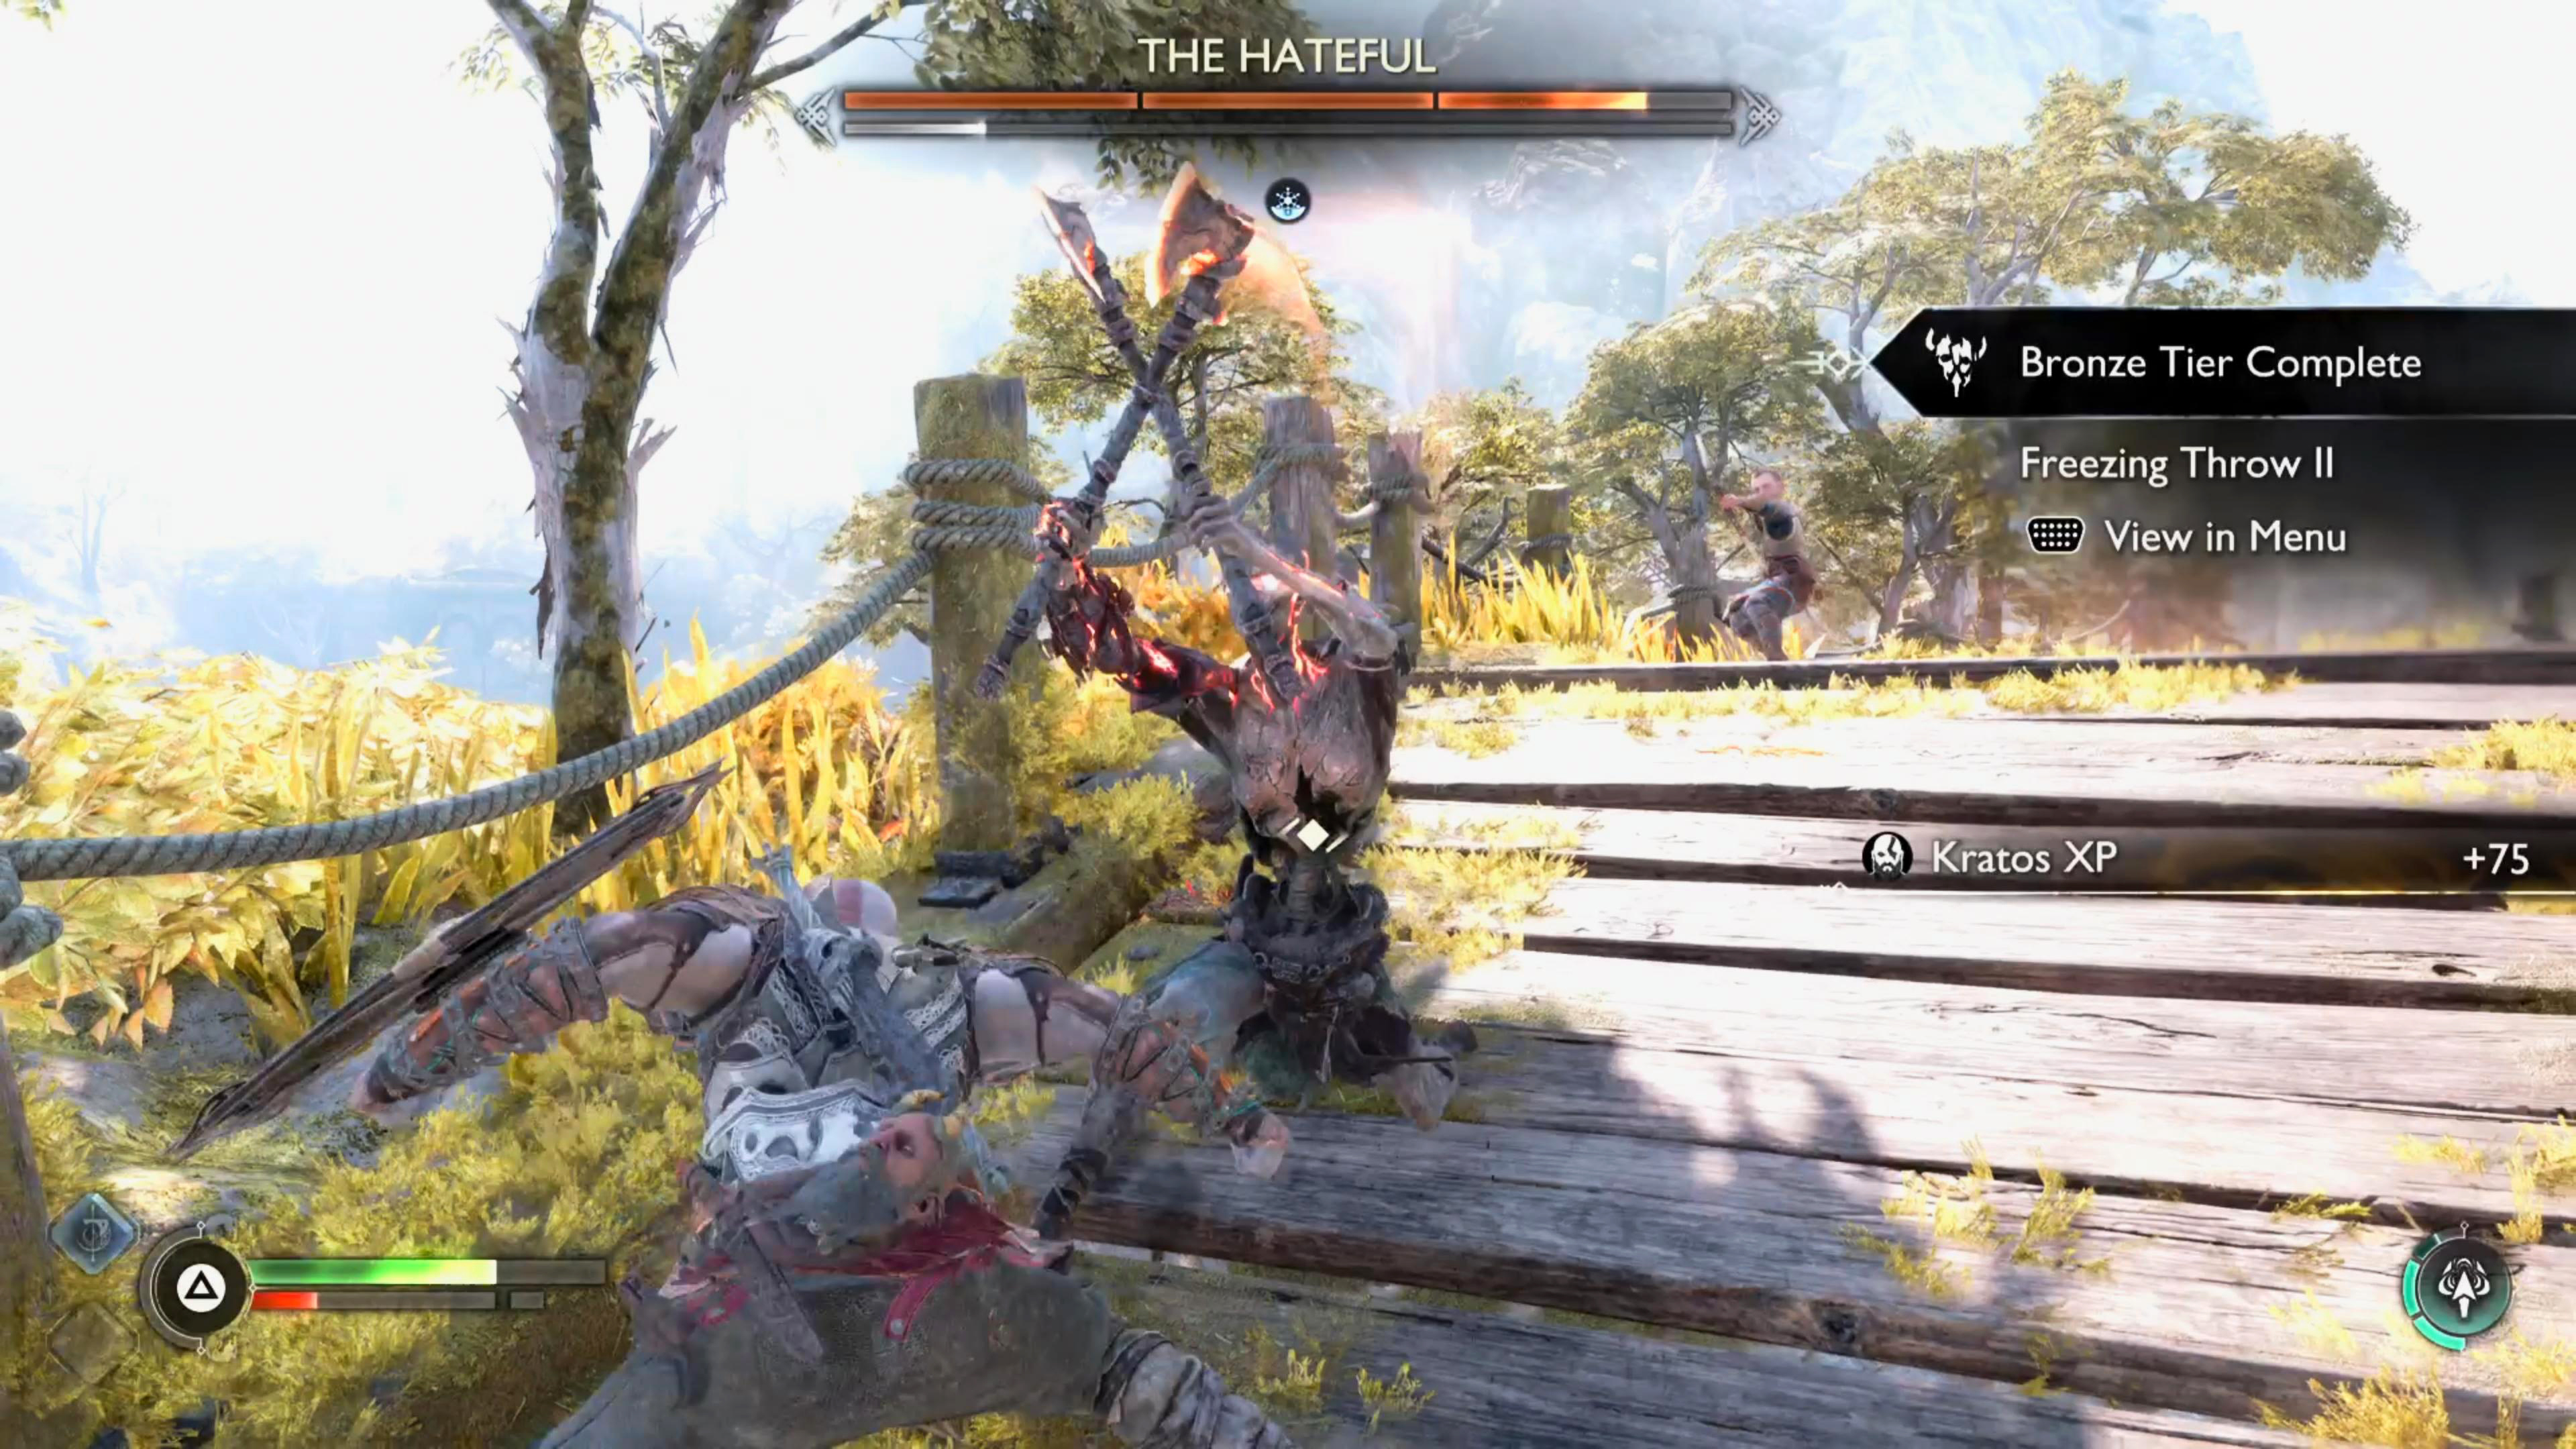
Once you defeat The Hateful, you’ll receive some materials, but the most notable reward will be the Cursed Empress Handles Hilt.

Another reward that you’ll receive will be the Chaos Spark. Six of these will create a Chaos Flame which can be used to upgrade your Blade of Chaos.
The Hateful (The Watchtower) Rewards
Once The Hateful has been defeated, you’ll be rewarded with various materials, but more importantly, the Cursed Empress Handles Hilt, and a Chaos Spark. You’ll also begin the Favor “Born From Fire” which will require you to defeat another five of them!
No Comments